life-long learning

Upcoming: Arts Itoya Residency in Takeo, Japan!

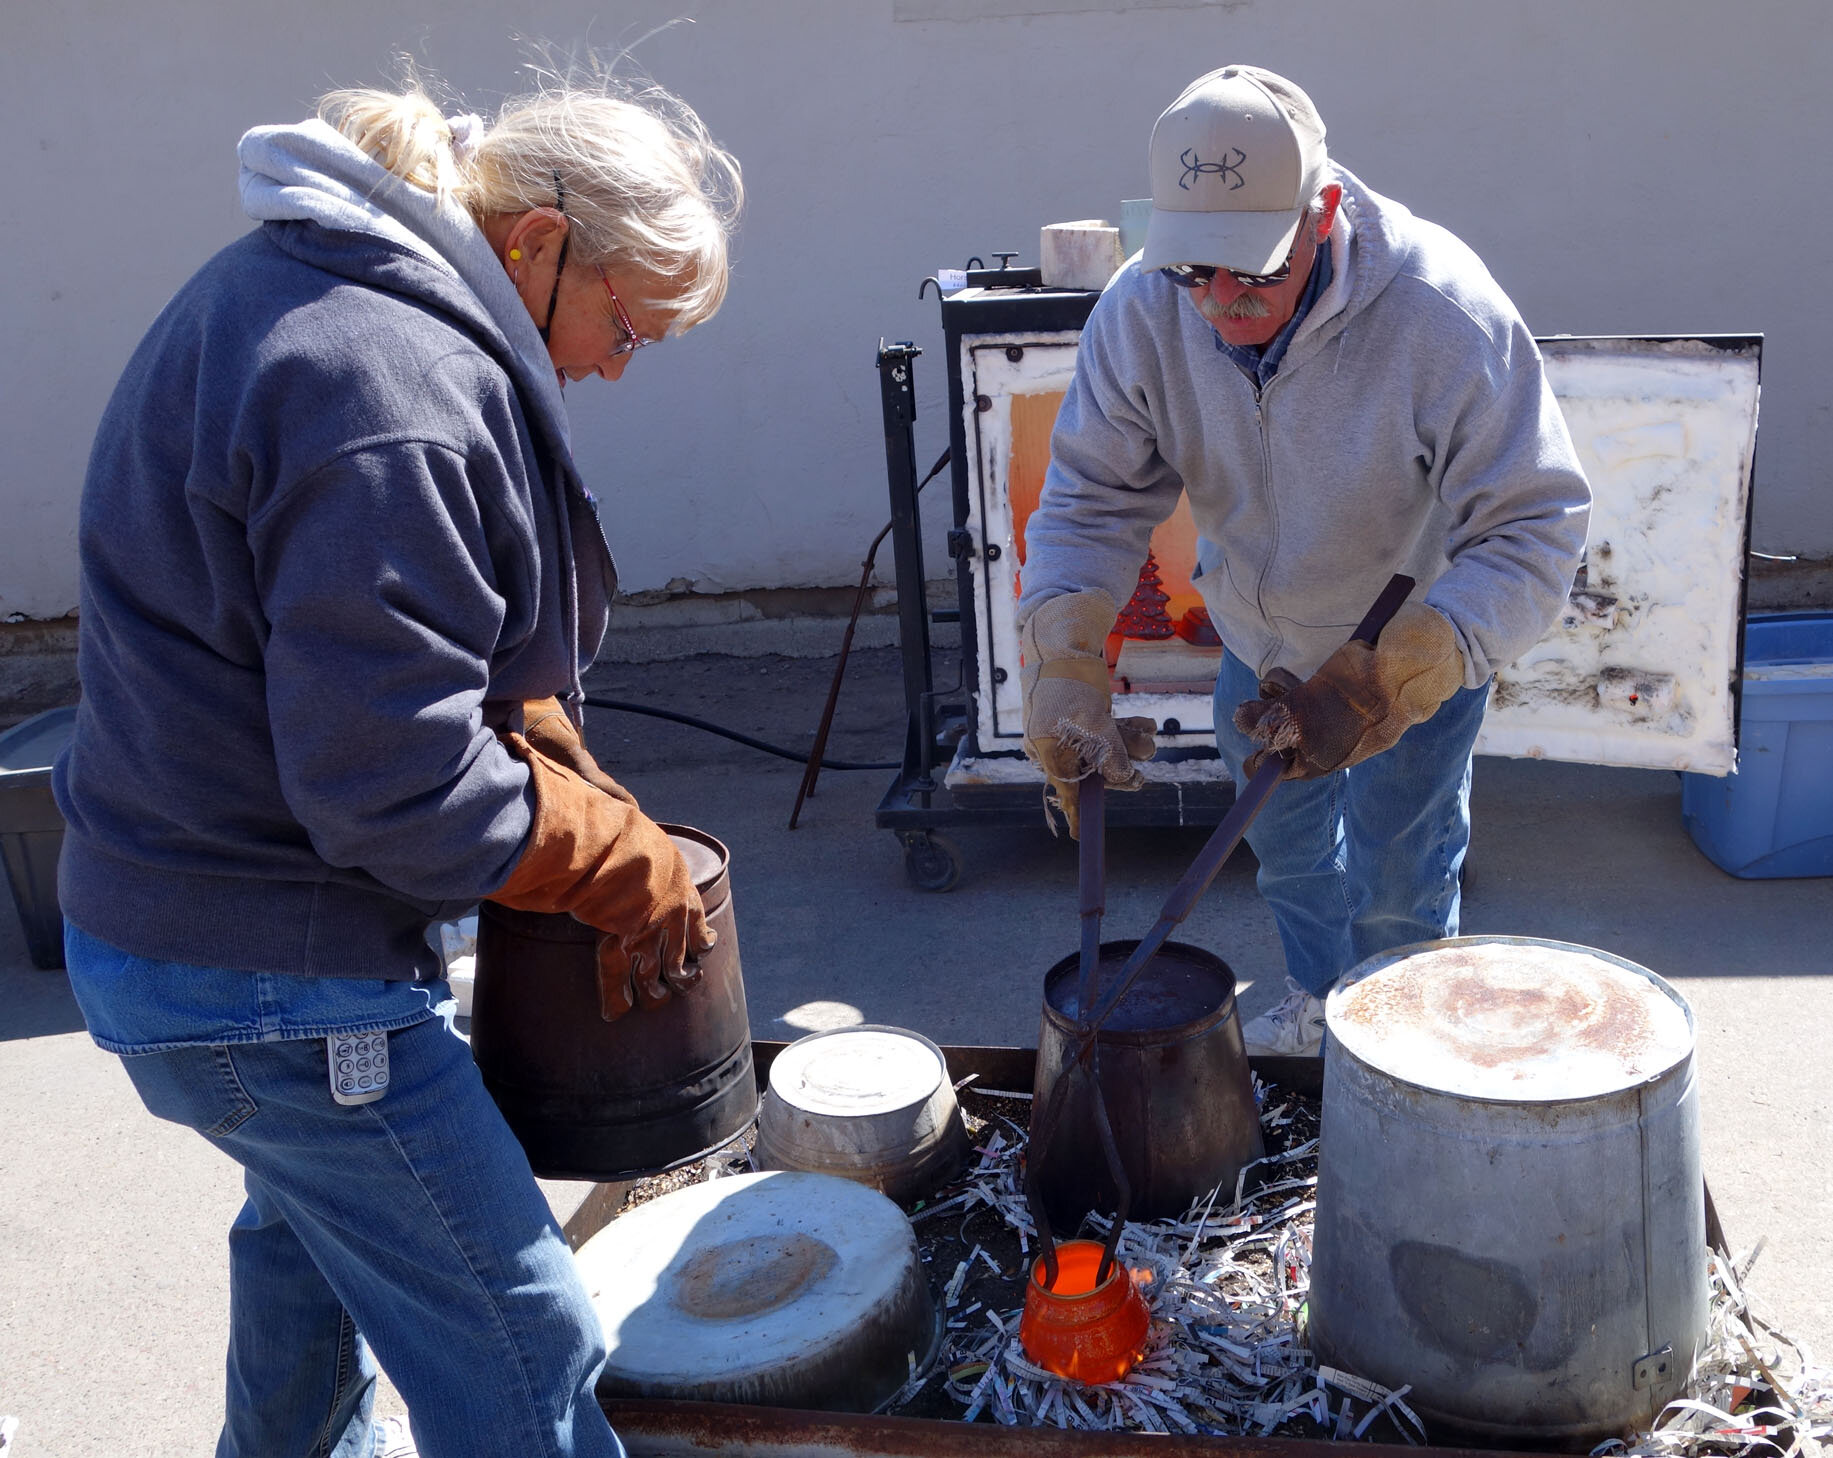
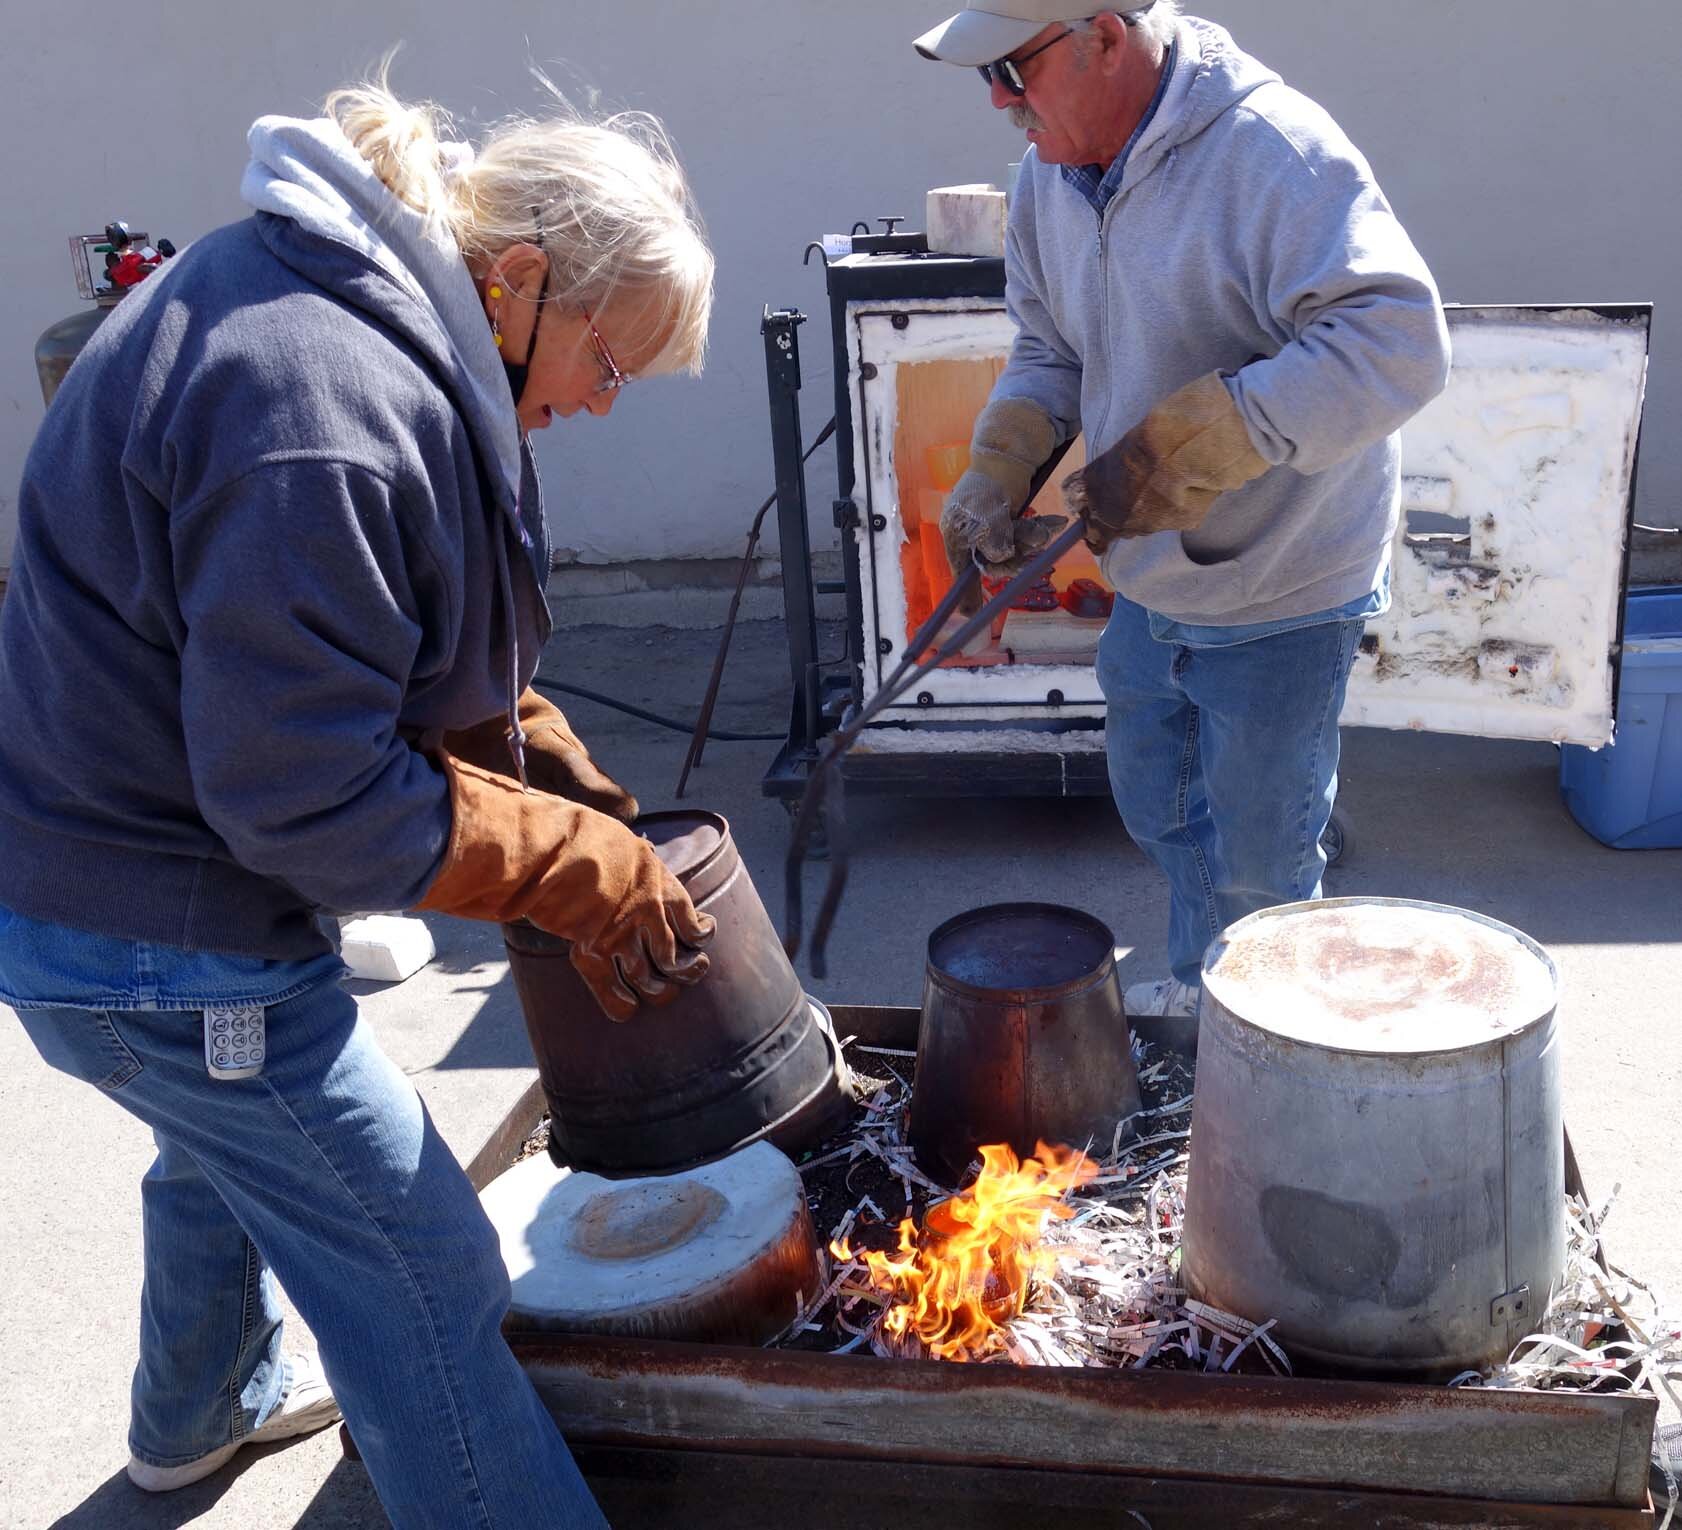
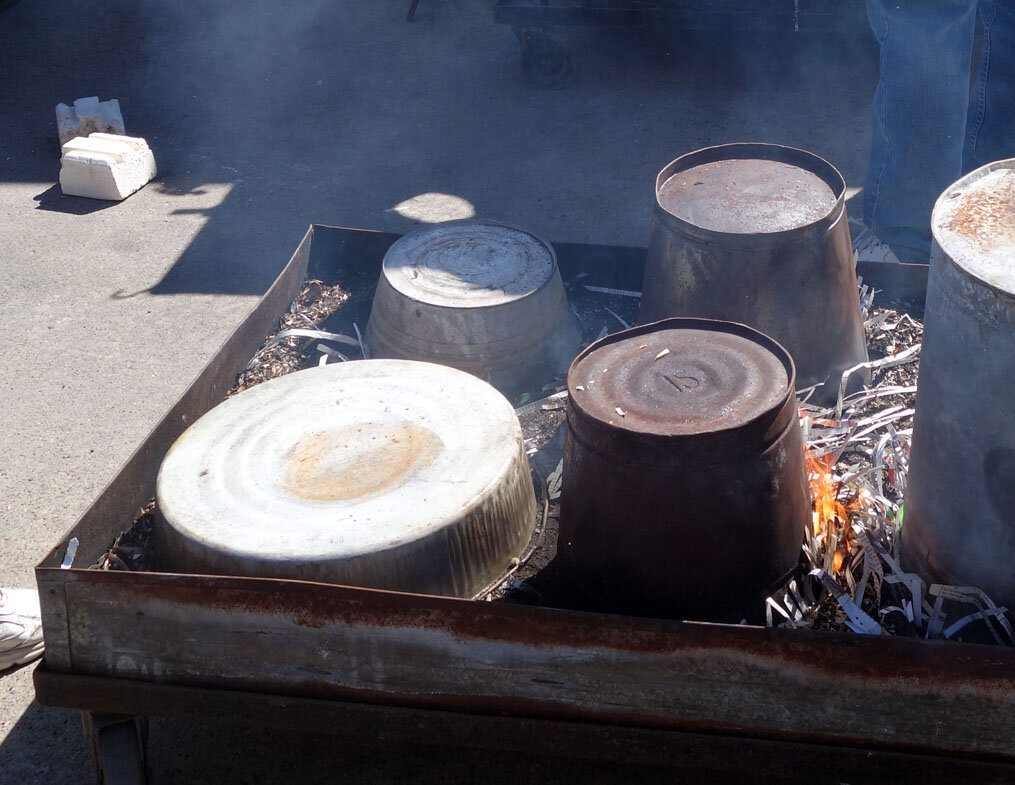
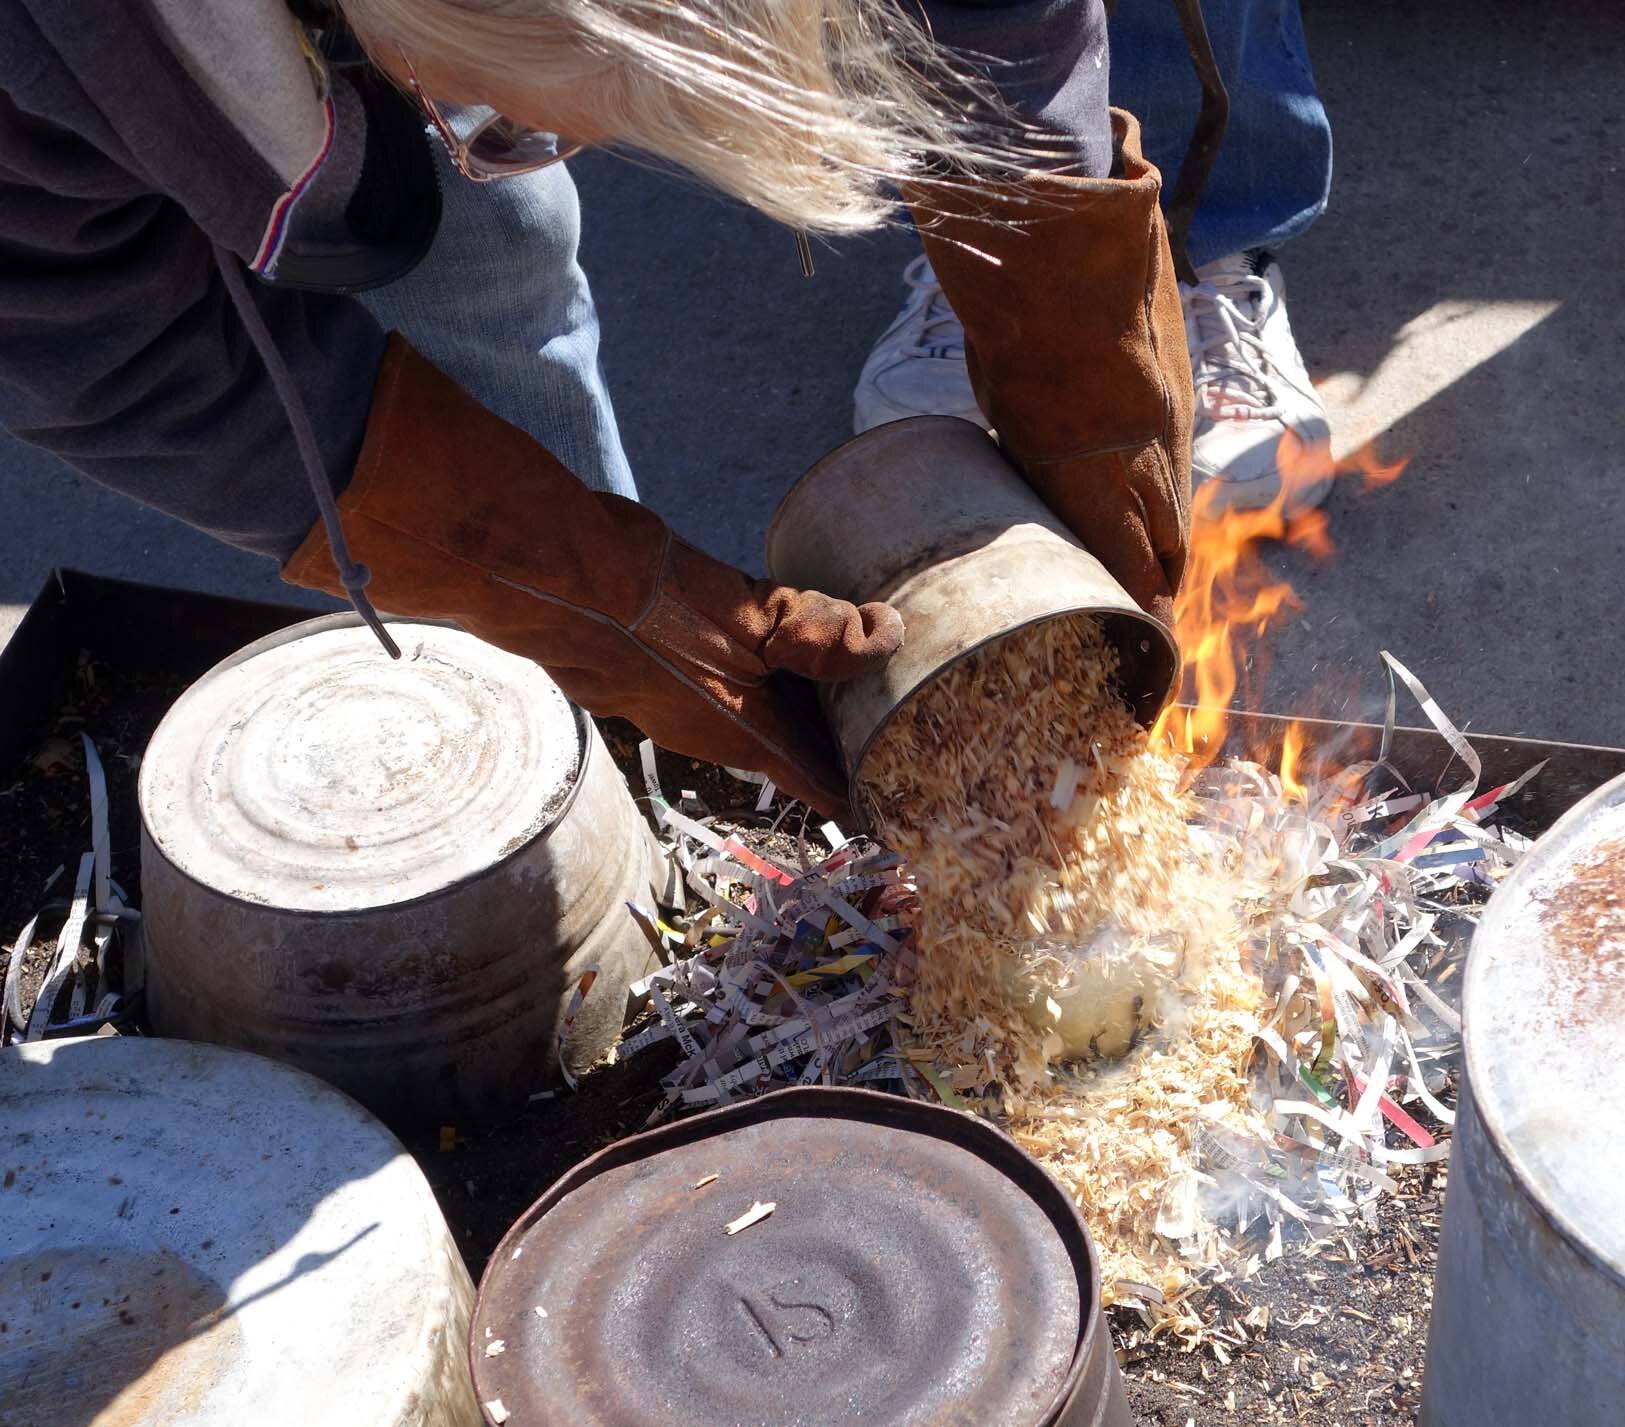
I’m excited to share that I will be attending the Arts Itoya residency in Takeo, Japan this summer for a four-week stay! Morningside University has been very supportive, and has given me both a Morningside Experience Grant and Ver Steeg Faculty Scholarship funding to help me accomplish this exciting project.

I try to learn at least some of the local language for all of my residencies, with varying levels of success. I’m proficient in Spanish, which helped a lot with my learning some French and Portuguese for residencies; with my recent Greek residency I learned enough to say a few greetings and somewhat be able to read the Greek alphabet, which helped in finding destinations via signage. For this Japanese residency, I knew I was going with enough advanced notice to actually enroll in a Japanese I class at Morningside this fall, and have been continuing to study Japanese this spring via Duolingo and a couple other apps as well as watching a lot of anime.

Japanese is a tough language to learn! The US State Department has categorized languages in terms of difficulty for native English-language learners. Spanish is a category I language, requiring an average of 750 class hours to achieve general proficiency. Greek is a category III language, requiring an average of 1100 class hours. Japanese is in the highest category, IV, at 2200 class hours. The other category IV languages are Arabic, Cantonese, Mandarin, and Korean.

At this point, I’ve studied Japanese more than any other language besides Spanish, and I am nevertheless not conversant yet in it. I can pretty much only accomplish basic one-way communication - me asking where the restrooms are, or saying that I am vegetarian - and very limited reading (I can read hiragana and katakana, but only know maybe 100 kanji). I can type it, but handwriting without looking at reference syllabaries is also not really within my capacity.

All that being said, this investment in learning as much of the language as I can ahead of time has already led to my giving a short speech fully in Japanese to our visiting Yamanashi City sister city delegation this fall, and has deeply enriched my knowledge of the culture and ecology of Japan. Several of my students have also gotten a kick out of being a classmate of mine! 私はこのなつ日本に行きます。たのしみです。

I Fired a Kiln!

I began my journey with ceramics in early 2020, and now four years later I’ve hit a new milestone. I mostly loaded and then fired a kiln all by myself - and I didn’t burn down the university!

It doesn’t take four years to learn to fire kilns independently, of course - I could have prioritized it much sooner, but we’ve always had a ceramics faculty member who ran the kiln room. Managing it during the active school year means not only firing the kilns, but also taking into consideration the sizes and types of ceramics being produced as well as the student artists’ timelines in order to load the kilns in the best possible way. This meant I’d usually be getting in the way if I loaded my own pieces in wherever I wanted or independently decided to fire a kiln. Plus, since my pieces are not tied to assignment due dates, mine are almost always the least important to get into a specific load! I therefore followed the same protocols as the students: dropping my finished pieces off on the waiting-to-be-loaded shelves and letting our ceramics instructor Paul take it from there. However, over time I’ve asked about and observed how the process works.

Over academic breaks, I’m often the only one aside from Paul who’s still producing ceramics. This winter break, I made a sufficient quantity of items that it seemed to me it’d be less work for him if I just loaded my work myself into each kiln - so I did. Then, between the two of us we made enough work that we filled the glaze kiln almost full… and last night, I glazed some more pieces which filled it completely.

All the dominoes had aligned: his ceramics class has only just started gearing up, so none of them are using glaze yet. I’d mostly loaded the kiln myself with a few additions from him, and we had maximized the space. It was ready to fire, I knew how to fire it, and Paul wasn’t around. I took the plunge and did it myself!

I came in this morning and checked it, and everything still looked good! Paul also happened to be in and he confirmed that I did it correctly. It still needs to cool in order to unload - I always knew it took a couple of days, but I’d never tracked the time super closely until now. I began this load at approximately 6pm on Monday and it was a Cone 6 high-fire glaze load, meaning it was set to reach approximately 2230°F. By 5pm on Tuesday it was in the cooling process and had gotten down to 358°F. That’s still too hot to unload; my research indicates that you can rush to begin unloading around 200°F by wearing full protective body coverings and being careful about where you place the pieces, but that sounds like a lot of bother and can risk cracking damage. Instead of returning late this evening, I’ll just wait until tomorrow when it has fully cooled down to ambient temperature.

Cross Off Another Bucket List Item: I've Done Raku!

I’ve always wanted to do raku firing ever since I first saw a piece of raku pottery and learned of the technique as a child - but it’s never been an opportunity I could take advantage of until now! A few months ago I attended a Saturday raku workshop at Dakota Potters Supply in Sioux Falls, SD, joined by my ceramics faculty member Paul Adamson and graduating senior Anna Uehling. Raku, first practiced in Japan, is a low-firing technique that makes use of wide temperature swings, reduction, and carbon trapping to create some really ornate artwork. Due to the low-fire nature of the process, the pieces are mostly decorative; they are neither watertight nor food-safe.

Here is a slideshow of the day’s adventures. This post will be followed by a series of posts exploring each of the three different glazing techniques I tried! There were five different techniques available, and I was most interested this first go-round in three of them.

  • Crackle glazes (either clear or white), with the goal that carbon gets trapped in the crackles

  • The “baked potato” technique, wherein you coat the bisqueware in ferric chloride, sprinkle it with sugar, salt, and/or horsehair, and then bundle it up in aluminum foil like a baked potato before firing it

  • Copper glazes

  • Ferric chloride spray

  • Horsehair and/or feather application