I’m not always good about taking as many in-process photos as I could, but I do try to remember to do so! Here are the ones I took from my first half of Phoenix Athens residency artwork. Keep in mind the overall lighting, angles, flatness of papyrus, color accuracy, and so on are not that important to me when taking progress pictures; there are sometimes big jumps in the overall quality between them and the finished portfolio image, where I take great care with all of those factors. You can click into any of the images to see them larger and page through them.
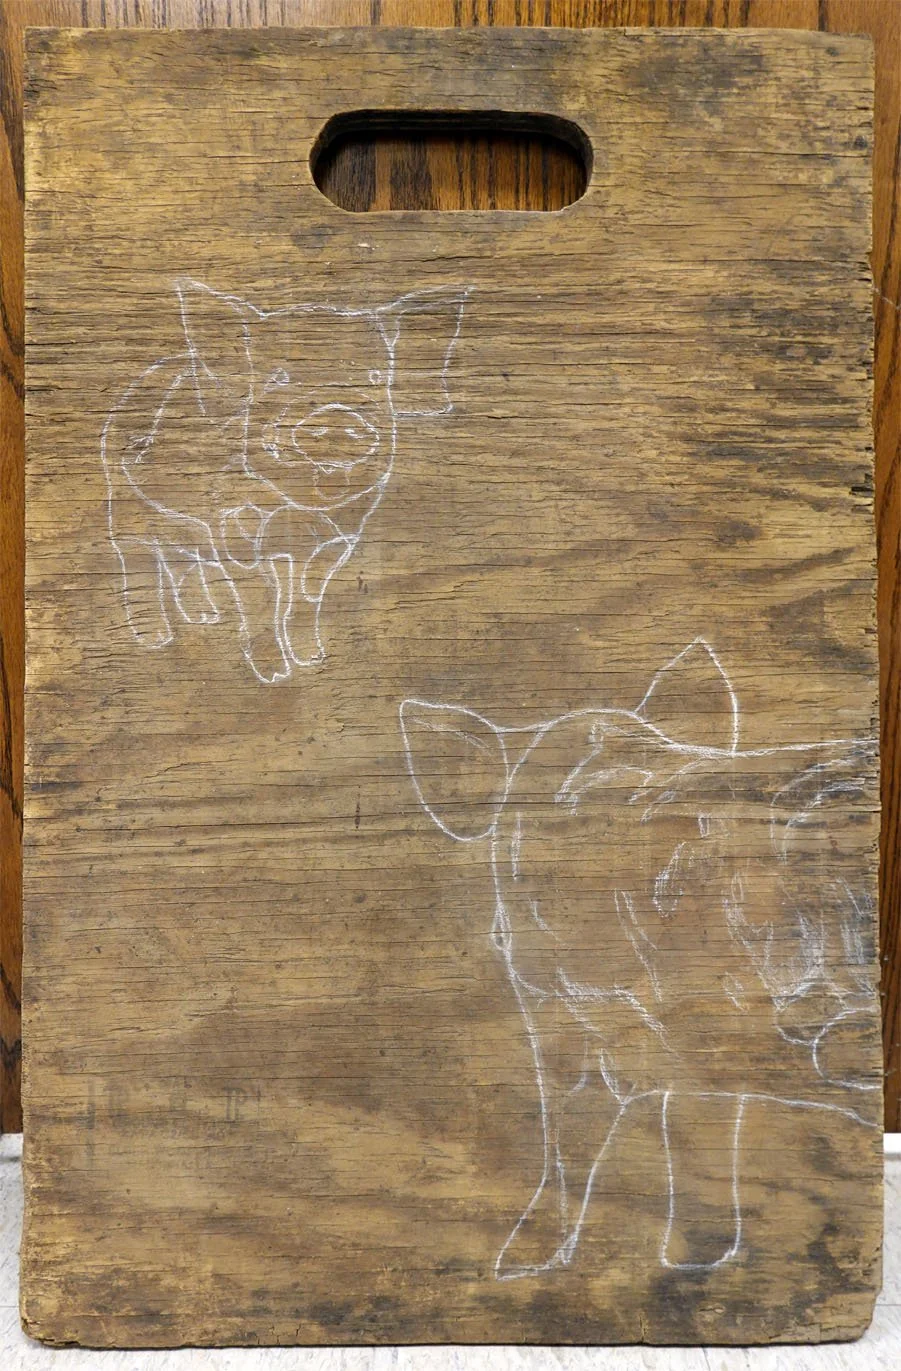
Potential:

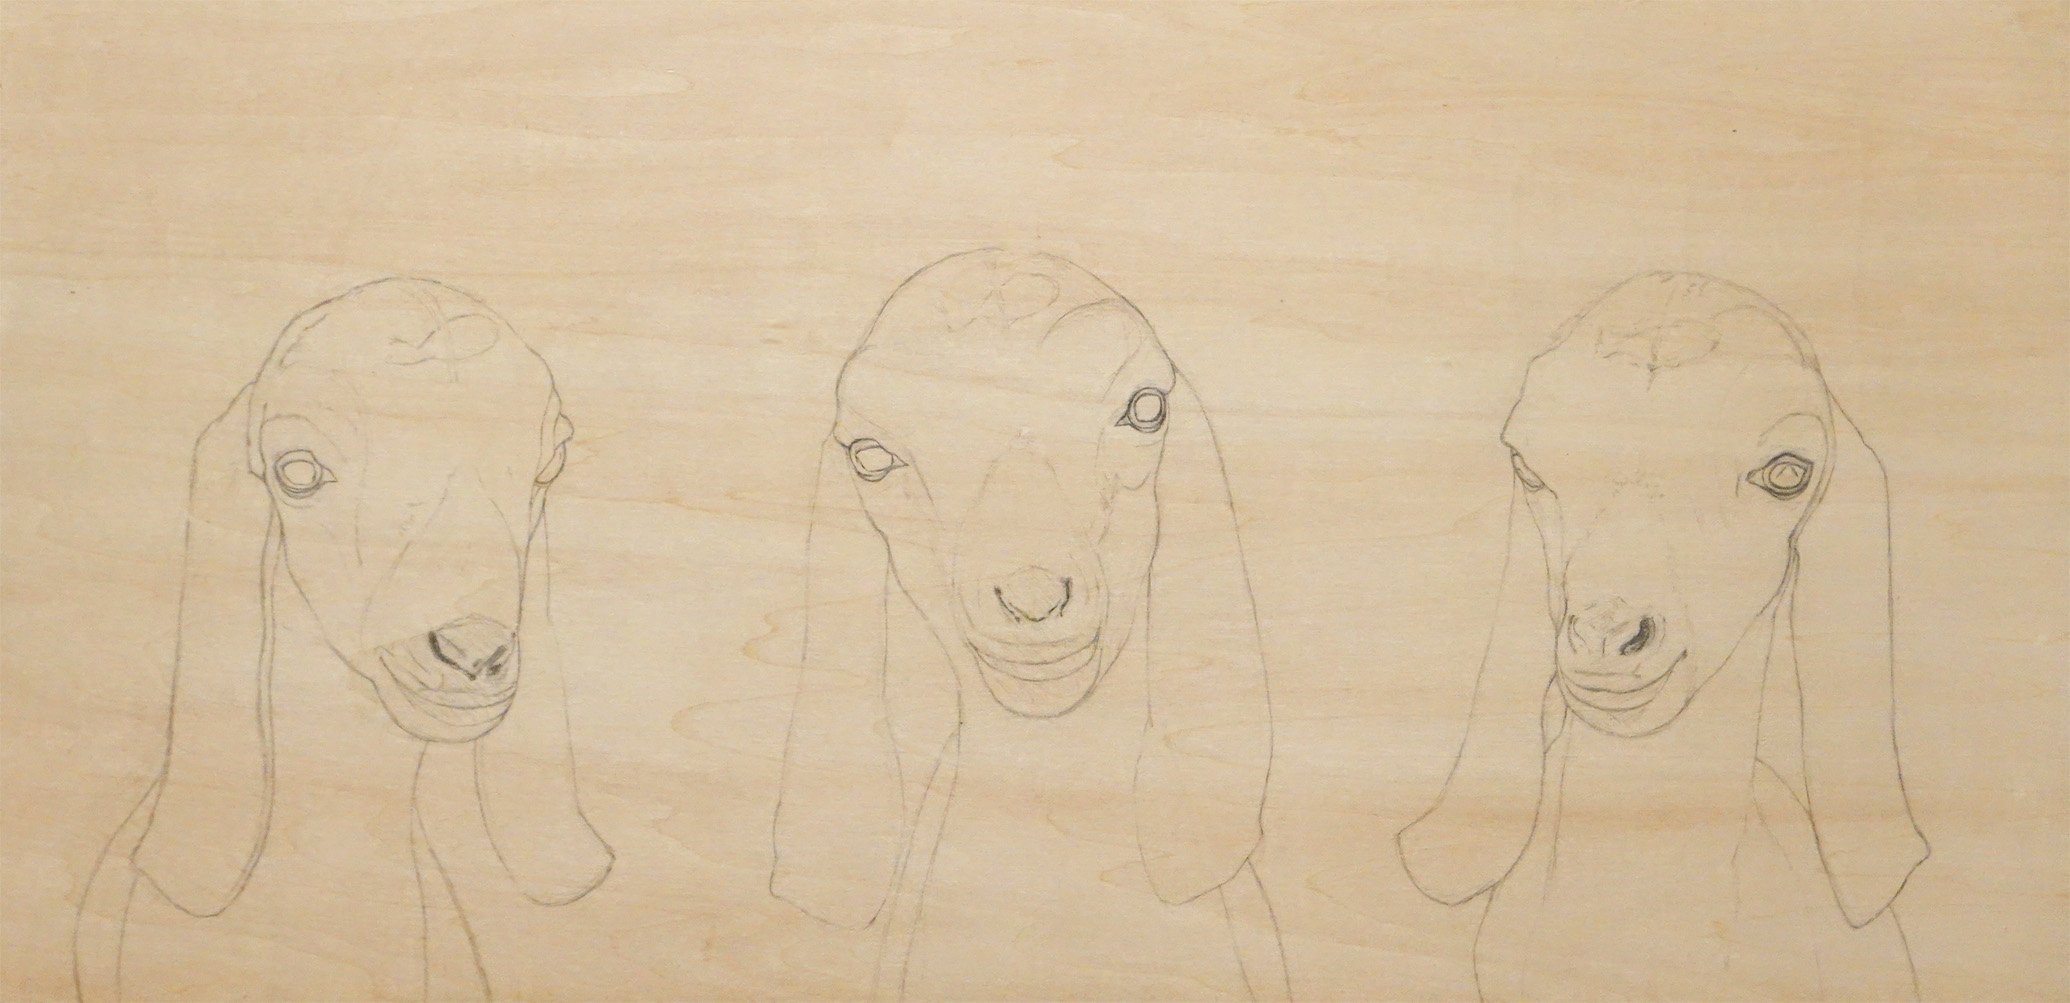
Syncretism:


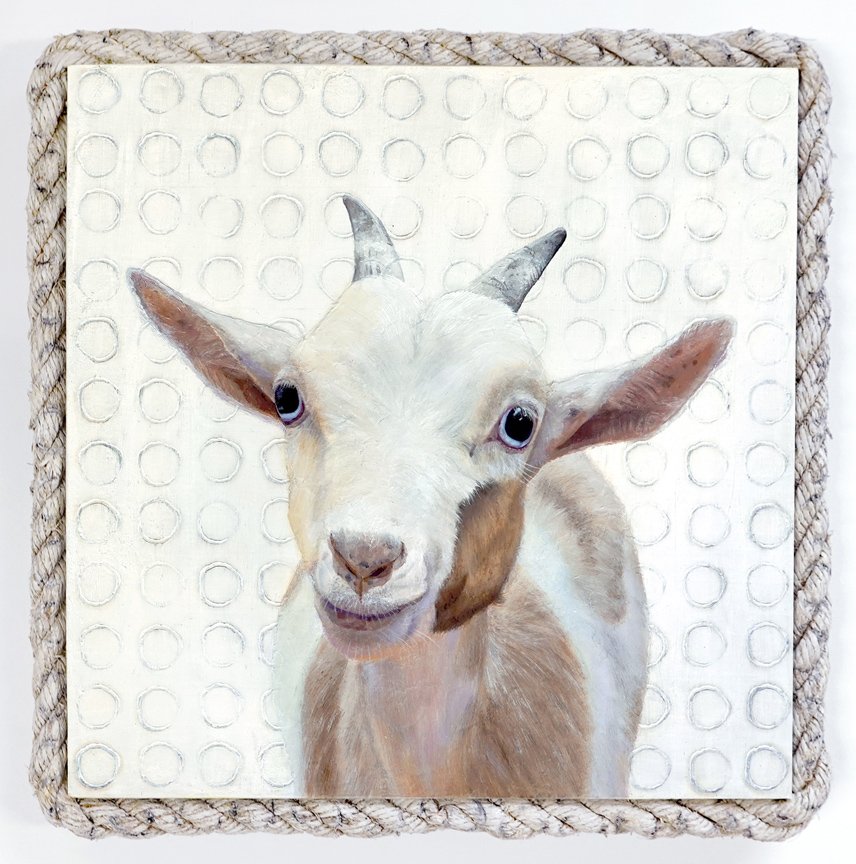
The Seed:


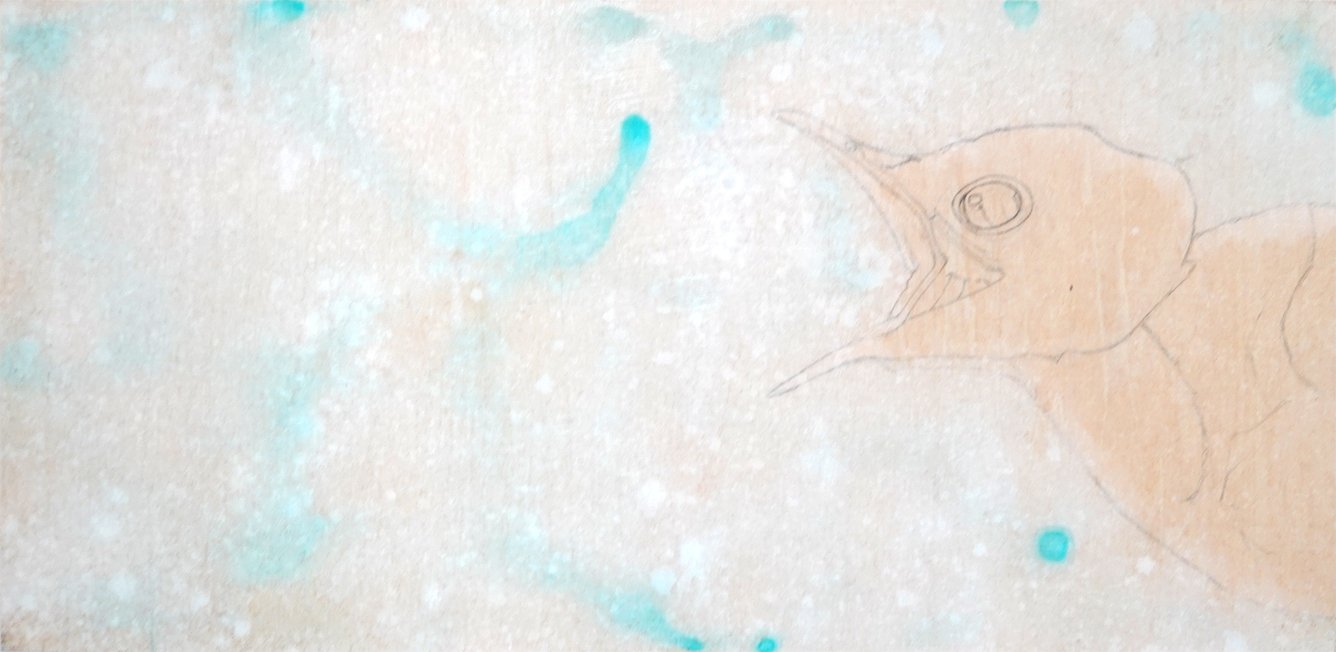
Marginated:


Symbolism: