obvara

Obvara and Slip Resist Naked Raku Workshop

I just got back from another raku workshop at Dakota Potters Supply in Sioux Falls, SD! I brought along a group of faculty, alumnae, and students from Morningside University.

This workshop specifically focused on obvara and slip resist naked raku. I really like obvara, but since I just did a bunch in the fall, I only put four pieces through the obvara process and ran ten through two slip resist processes: one-step and two-step slip resist. Dakota Potters Supply had tried to troubleshoot the slip resist one-step process in advance of our workshop, but they really hadn’t figured it out so we were all experimenting and troubleshooting with our the slip resist attempts throughout the day.

I still need to edit the photos of my pieces - plus, two of them were underfired enough that Dakota Potters Supply kept them back to refire again later, so I don’t know when those might rejoin me (if they stay whole)!

Here are photos from the day of the workshop (Saturday, April 20, 2024):

A New Challenge: Burnishing!

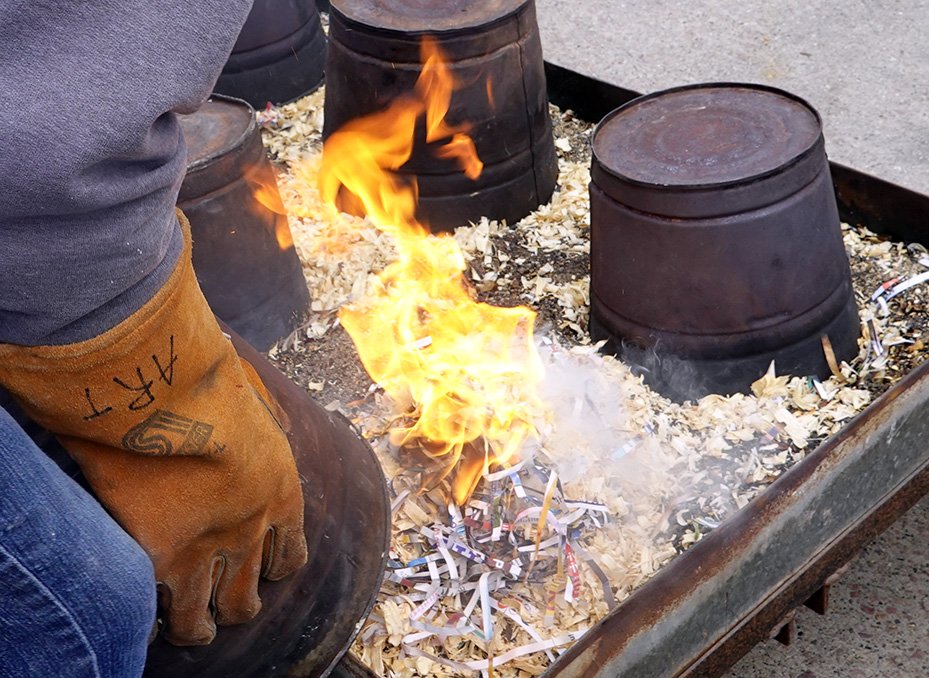
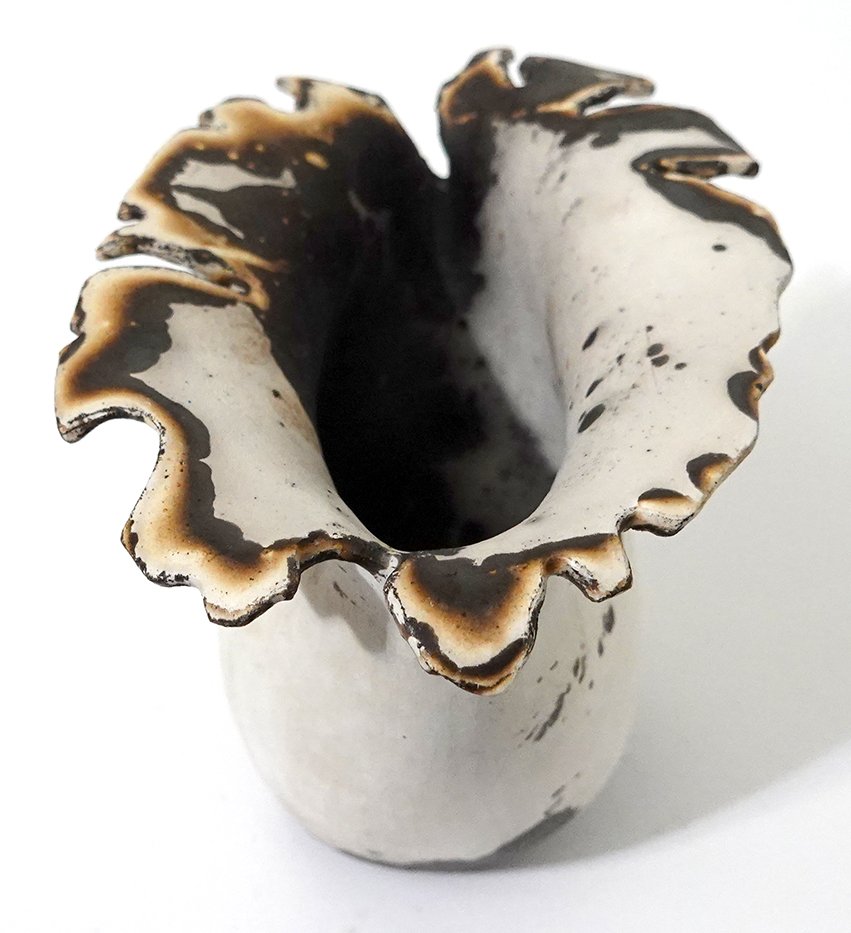
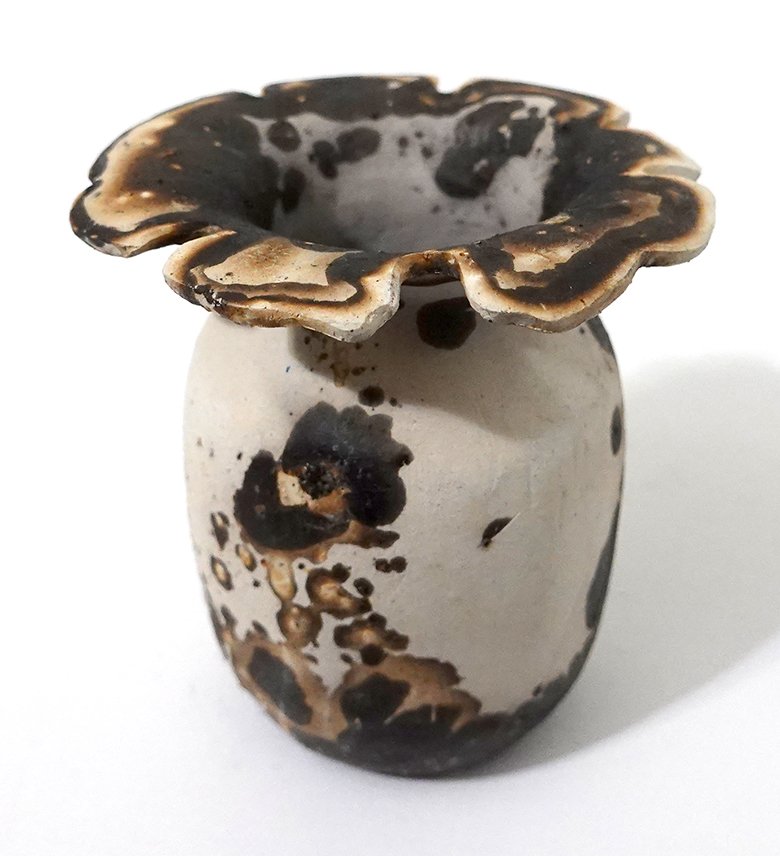
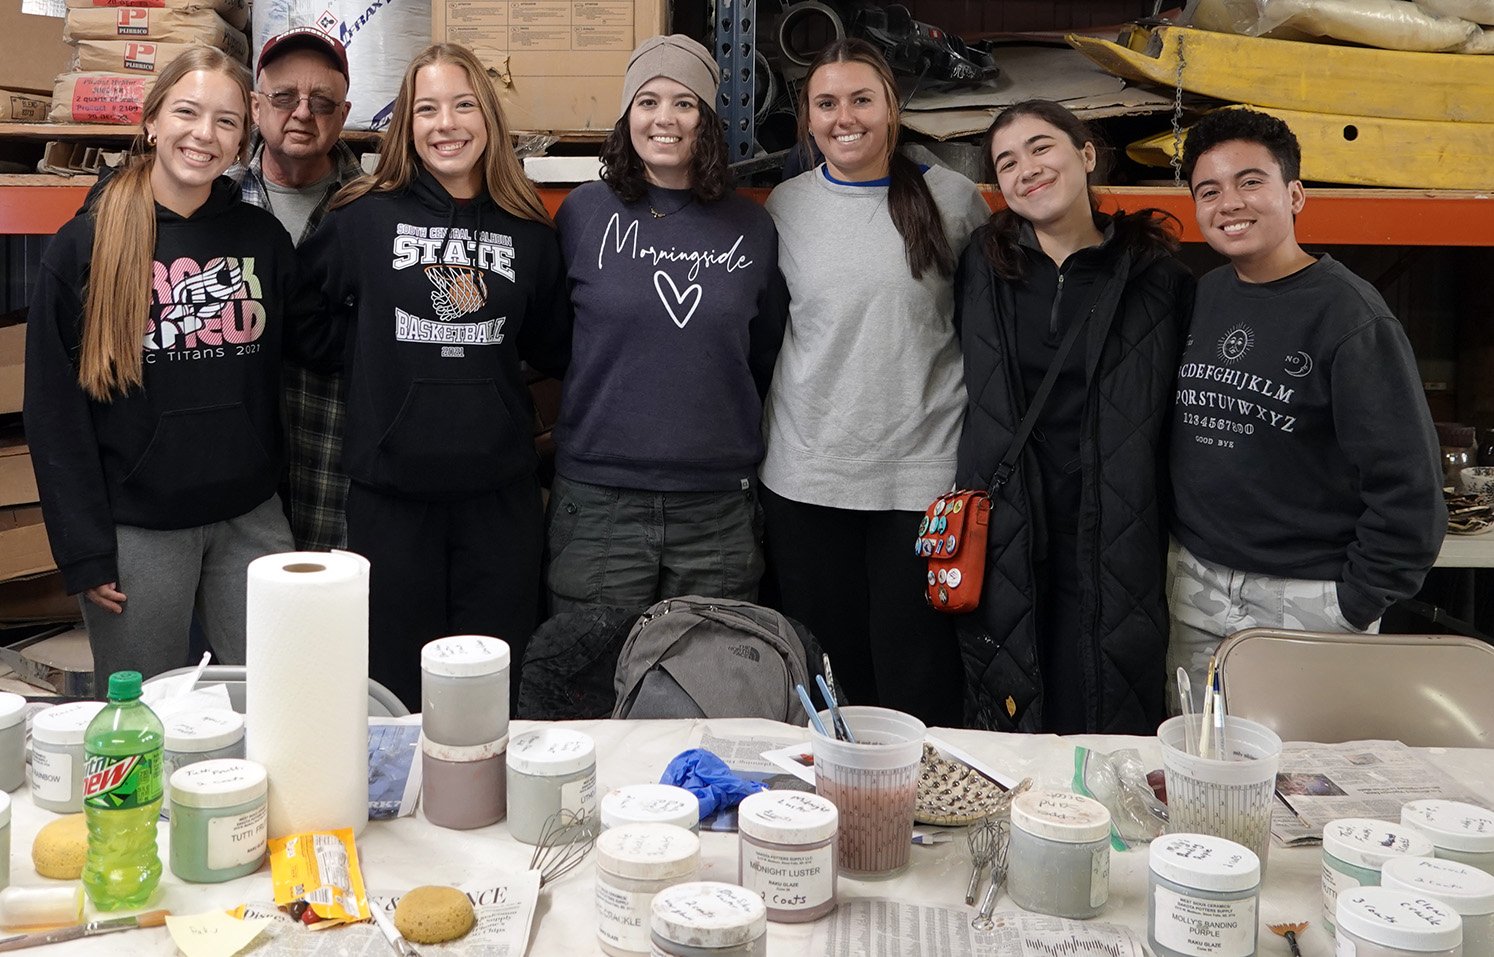
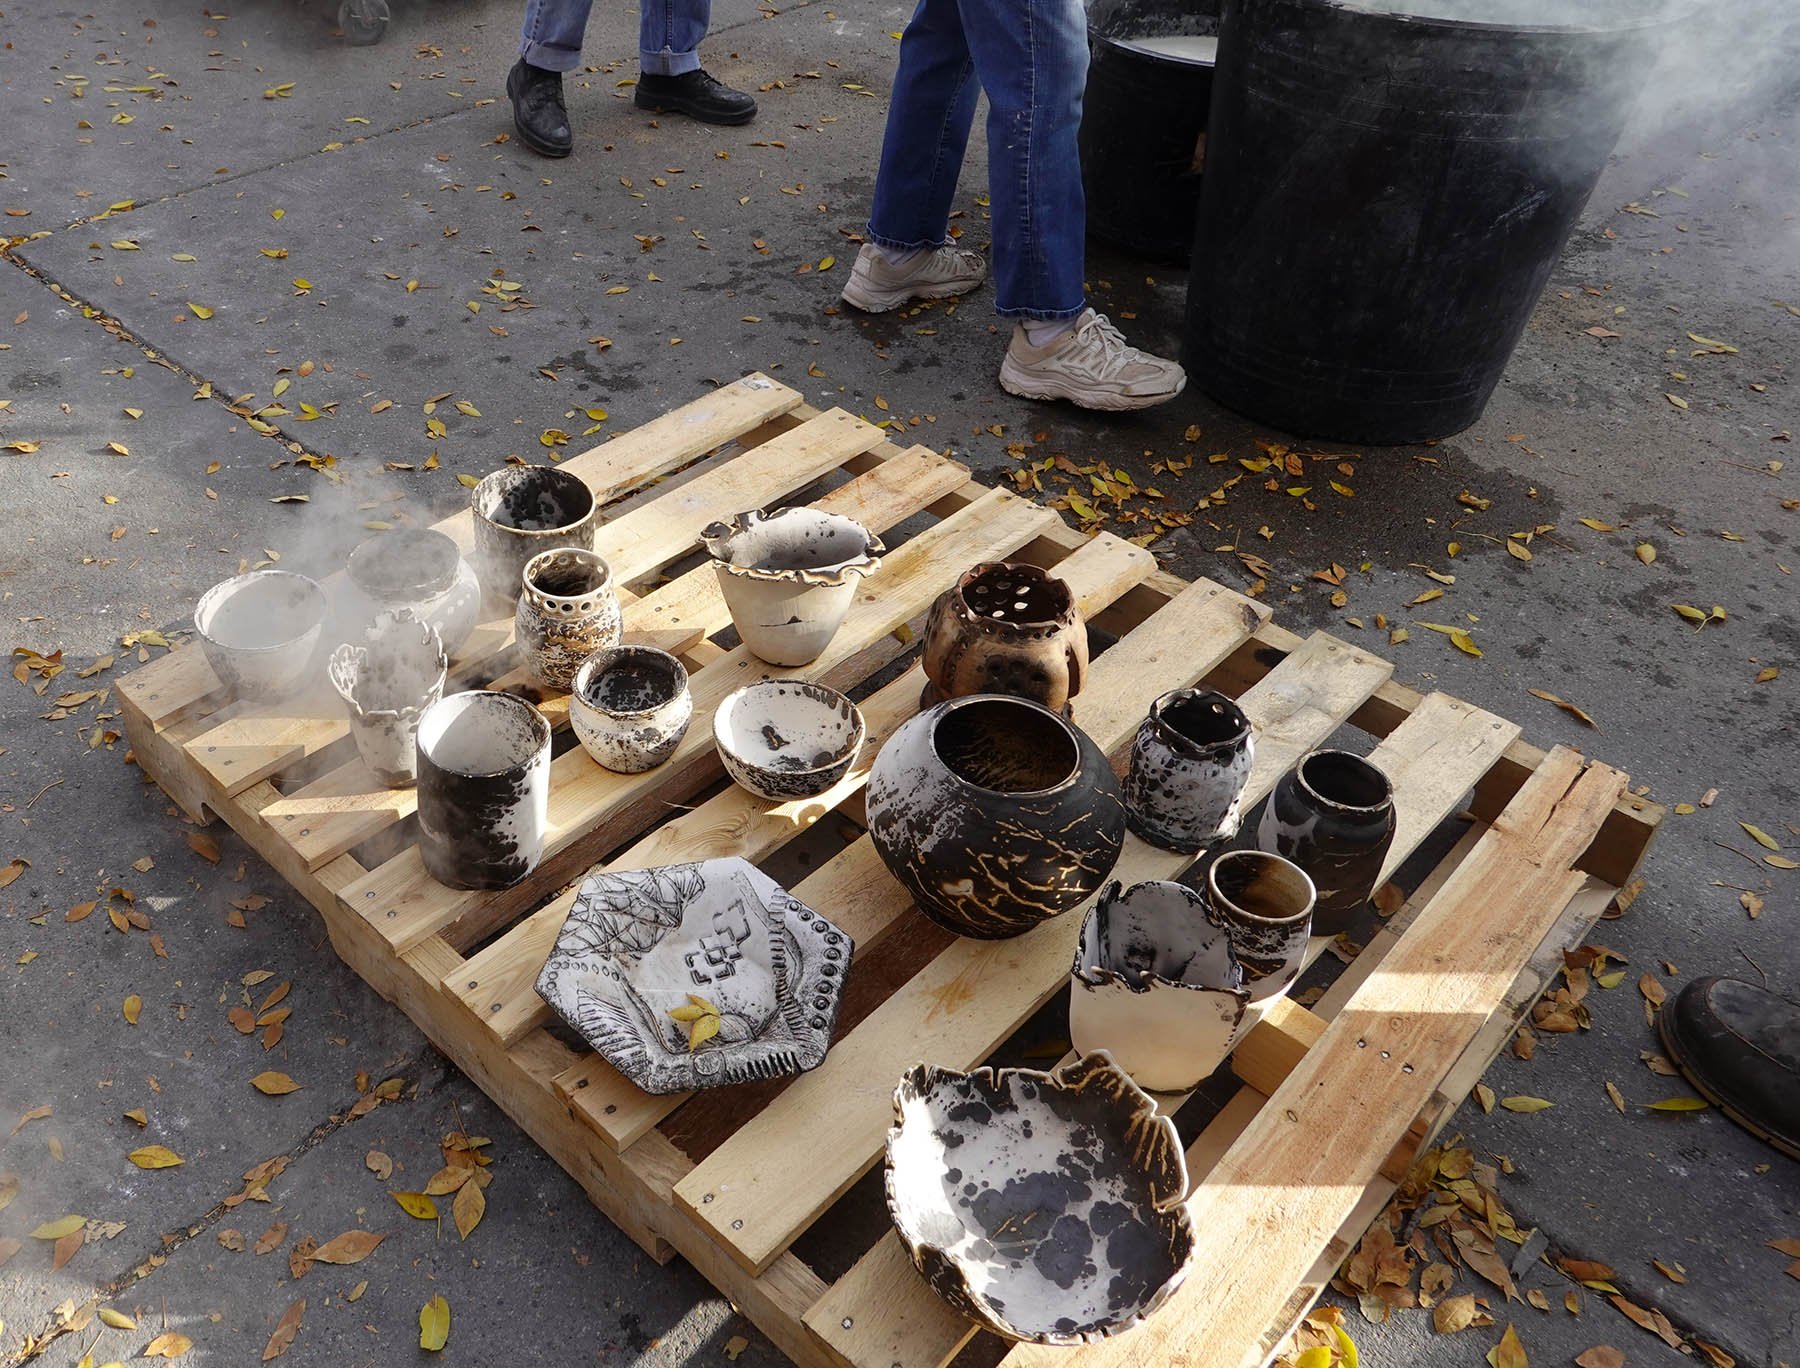
I’ve been preparing for a special raku workshop I’ll be taking faculty, alumni, and students to in late April where we’ll be doing slip resist naked raku as well as obvara again. The slip resist naked raku in particular is a new challenge that is pushing me to explore outside of my comfort zone and develop my skills, as we’ve been advised that we should use terra sigillata and burnish these pieces for the best finish.

What is burnishing? Simply put, it’s when you polish the surface of the clay to a high shine. Why burnish? It is a luminous way to finish the surface of a low-fire piece of pottery that will not be receiving any glazing, spray acrylic coatings, or other surface alterations like wax or paint.

I’ve dipped my toe into burnishing before, as I tend to make very smooth pieces and have casually burnished parts of a piece while smoothing. However, I’d never really looked into burnishing before or set out to fully burnish a piece and keep its burnish post-firing.

After researching, I believe there are six main variables. Those are:

  • clay body

  • clay body wetness level

  • lubricant

  • polisher(s)

  • bisque temperature / cone

  • final firing’s temperature / cone

I also learned that any piece I’d partially burnished before automatically lost its shine during the quartz inversion and vitrification stages in a high fire, and that it’s also a waste to do with pottery that you’ll end up glazing as the glaze will take the place of the burnished surface. Good to know! Burnishing is really for low-fire, “naked” processes. (You might think to yourself that I have done some of those processes before, including obvara and saggar-fired raku. And I have! So I now want to try using burnished ceramics for those, too!)

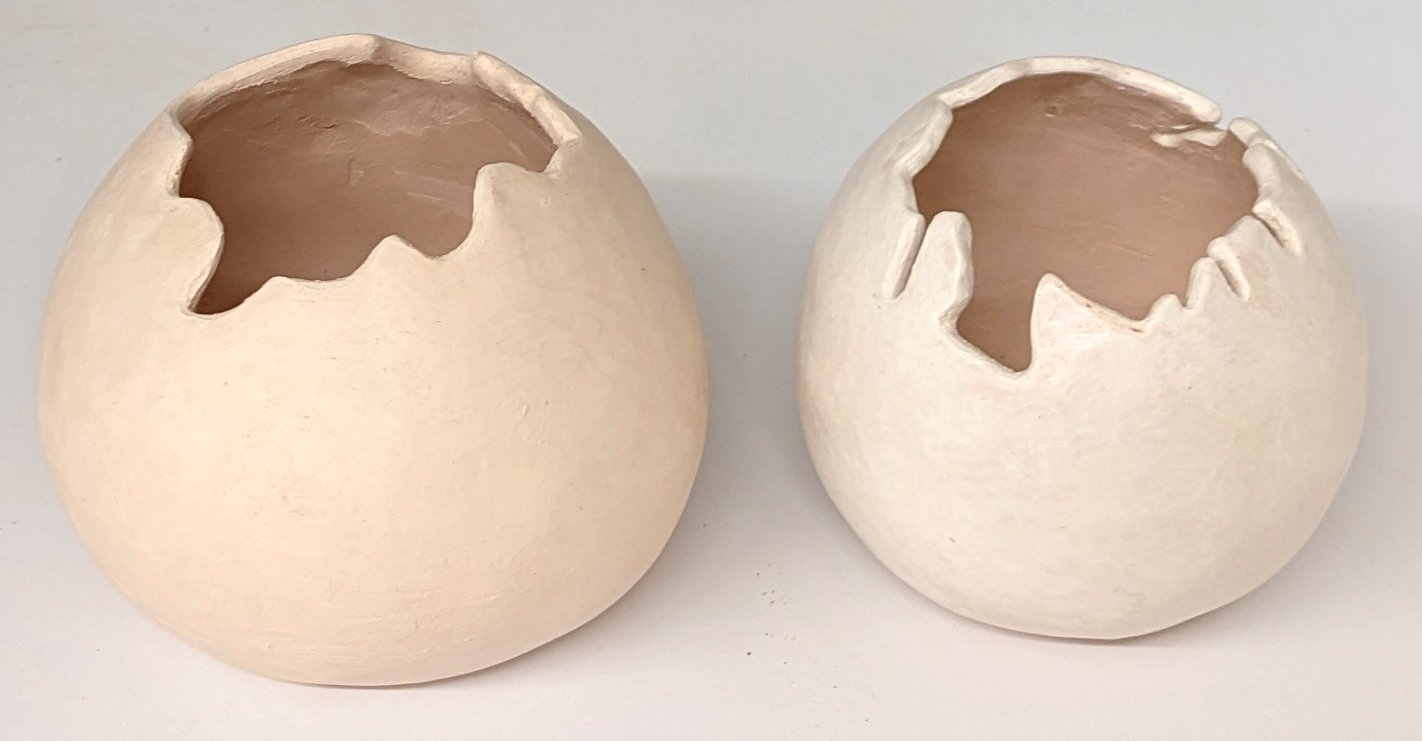
My clay body is Chad’s Bod, which I believe is a new local mix that’s proven to handle the thermal shock of raku well but means I don’t think anyone’s published any information on how it handles burnishing. I was advised by the workshop coordinators to apply the terra sigillata to leatherhard pottery and then burnish with pantyhose, a soft cloth, or a plastic bag. I gave that a try, but then gave up quickly on the cloth/plastic bag approach and moved back to my tried and true agate tools. The terra sig began to sort of start to mix into the clay body, but I did get a very nice shine! However, once bone dry, all of those pieces lost their luster. I spent some time digging online and found out that’s to be expected, as at a microscopic level the clay surface wrinkles enough to disrupt that reflectiveness as it fully dries out. I reapplied another layer of terra sig and reburnished a couple of these pieces, but the terra sigillata began to delaminate / flake off. Upon googling, that’s also a frequent problem with this specific sequence (burnished leatherhard pottery with a terra sig layer atop when bone dry and reburnishing). I tried another lubricant I read about online, vegetable oil, for the second burnish of a couple more of these pieces in the hopes that it’d be less likely to flake off, and it seemed to reduce the delamination a bit but there were still hot spots. So my first four pieces have some minor surface irregularities.

Next, I decided to try the advice I saw online to apply the terra sig to bone dry ceramics. I did so, and that did seem to be a better solution. The terra sig seems less likely to delaminate. On one of those, I tried putting the terra sig on and letting it fully dry, then using vegetable oil to burnish; that worked out pretty well. Then I tried putting the terra sig on and burnishing it once it was mostly soaked in, and that also worked out pretty well. Since the latter is the faster method, that’s what I plan to do moving forward.

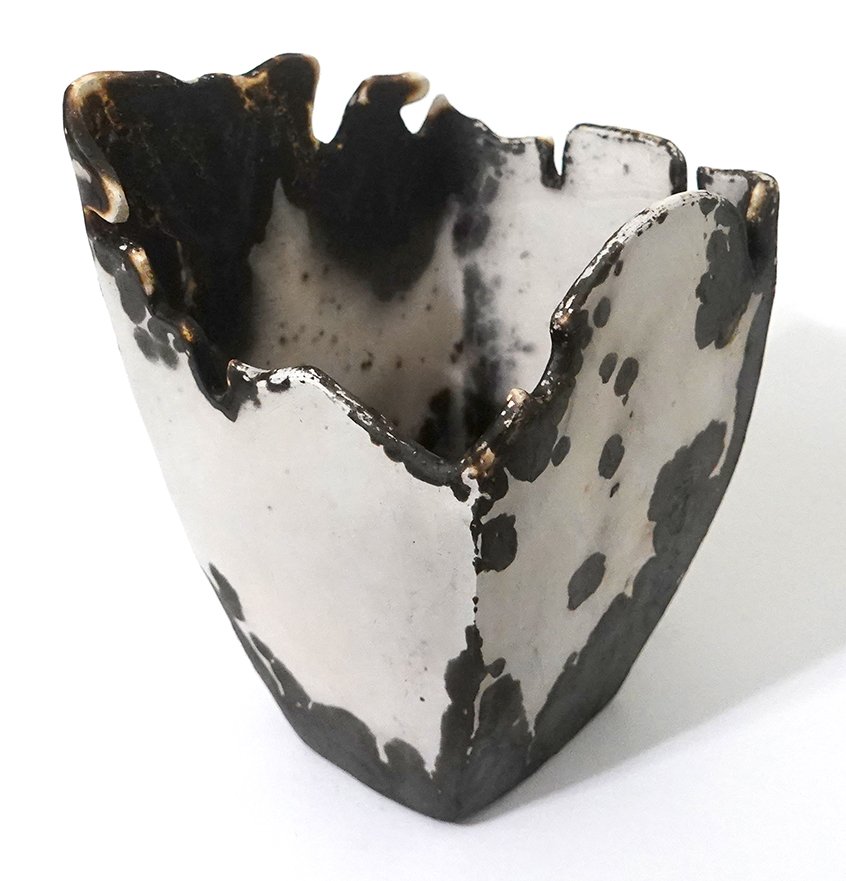
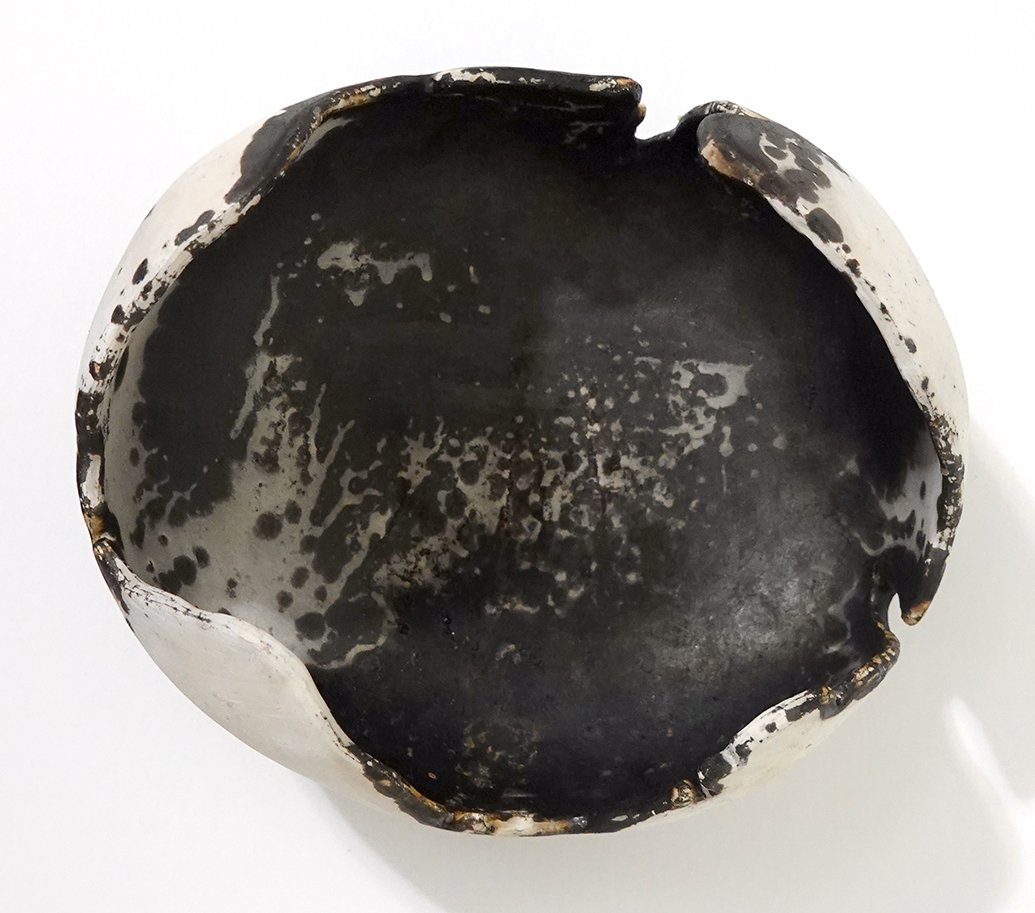
Once I troubleshot and mostly resolved the delamination / flaking issue, I refocused on getting a perfect burnish. In my mind, Magdalene Odundo’s ouevre is my gold standard for burnishing. Her handbuilt pieces have such a flawless burnish and high shine. My best pieces thus far still have some ridges and low spots… but I’m also just starting my burnishing journey!

I’ve come to believe that to get that clean a result, the piece itself needs to be flawless pre-terra-sigillata and then I need to try to ensure a perfectly even terra sig application. Easier said than done, but now that’s the next step I’ve been working on.

Amongst all of this, I was worried as I’d read that some beautifully burnished pieces lose their burnish in the bisque fire due to the quartz inversion stage and my friend Susan also witnessed that firsthand. My studio typically bisque fires to cone 08, and that’s not too far from the cone 06 to 04 temperature of our normal raku firing. I decided to risk putting my first five burnished pieces into a cone 08 bisque kiln load to see what would happen, as if they lost it there, it’s very likely they’d lose it in the raku too. I am very, very pleased to report that they kept their luster! This also means I am quite hopeful that they will be able to keep it through the raku firing processes as well.

Whew, this is getting long! I’m writing all this out for a couple of reasons. The first is that as much as I can find it frustrating at times, I deeply enjoy creative problem-solving and wanted to share a taste of such an experience with you. The second is that after spending a lot of time researching burnishing online, there are a lot of vague or contradictory pieces of advice out there. I want to provide a resource that explicitly spells out every variable I’ve used and tried so that future burnishers can easily compare notes.

So - below are my current, best burnishing techniques and I will update this post with any new insights as they come:

  • clay body: Chad’s Bod clay body, smoothed as perfectly as possible (but not burnished) during the forming and leatherhard clay stages using wooden ribs and plastic spreader; try to have a completely flush surface with no bumps, pits, or scratches

  • clay body wetness level: wait for the clay body to become bone dry

  • lubricant: apply terra sigillata as the lubricant because it performs well and it is whiter than the clay body which will increase the contrast of the final product; apply it carefully with a fan brush to both the interior and exterior of the piece and try not to leave any visible brush marks; brush it on continuously until you’ve put two to three layers onto the main decorative areas, and at least one onto hard-to-access interiors

  • polishers: after you’re finished applying the terra sigillata (when it’s not so wet as to come off on your fingers, but the bone dry pottery sucks all the moisture out very quickly so I do it pretty much immediately upon finishing application), use a combination of the plastic spreader, agate tools, needle tool, and river stone to polish, not pressing very hard and trying to go in multiple directions to catch any imperfect lower spots

  • bisque fire at cone 08

  • raku fire at cone 06 to 04 (fingers crossed!)

On the left, an unburnished Chad’s Bod bisqueware vessel. On the right, a terra sigillata burnished bisqueware piece (on this piece, I did not apply terra sigillata nor burnished the interior). Note the difference in sheen and color.

My Obvara Raku Vases

And here’s the last batch of obvara raku ceramics from my recent workshop at Dakota Potters Supply - these are the burnished vases!

This first oblong vase was the only one that I saw and heard crack during the sequential baths. It is still usable decoratively, but it does have that asterisk about it so I likely won’t exhibit or sell it. (Note, I purposely selected photos of it that don’t draw attention to the relatively large crack.)

While at the workshop, I thought that was my only casualty - but when I was applying kitchen wax to the surfaces at home, I noticed this next squat vase has a small hairline crack as well. It’s not nearly as apparent as the above piece’s flaw as it requires close examination to spot. While a crack is never ideal, in a low-fired piece like these which was always going to be decorative (not water-tight nor food-safe), it’s far less problematic than it would be in a piece intended for that kind of usage. I’ll probably keep this one myself!

The rest of the below vases are completely unblemished. This little bud vase is the smallest of the bunch.

Next we have a larger, somewhat soft rectangular vase!

And finally, a somewhat flared cylindrical vase.

I hope you’re as into the obvara pieces as I am. I really like the aesthetics this process produces - but more than that, from a conceptual standpoint I love the organic chaos that creates those aesthetics.

My Obvara Raku Plates and Platters

In my previous post, I shared the obvara raku bowls I made on my October 21, 2023 workshop at Dakota Potters Supply. I also made some plates and platters! As always, you can click on any of the photos below to see them larger.

This first burnished plate depicts a bear, and you can’t convince me otherwise.

This next burnished plate is smaller than the first - it’d be good to hold jewelry or other small items.

A small obvara raku plate by artist Shelby Prindaville.

This final piece is the largest - it’s a platter or tray, and it has some light texture on its inside surface.

My Obvara Raku Bowls

Here is the first batch of my obvara raku pieces from my Dakota Potters Supply workshop on October 21, 2023 - I made enough that I plan to publish three posts covering the artwork! This post shares my obvara bowls and bowl-like vessels.

Again, as background, obvara is a low-fire scalding-and-sealing process wherein you create a fermented sourdough/beer bath, plunge approximately 980°C naked ceramics fresh out of the kiln into it, wait for them to start to bloom with different tan-to-brown markings, and then arrest the surface carbonization process by rinsing the pieces off in a water bath.

The obvara process itself scalds and somewhat seals the surface of the pottery, but I went ahead and added a thin layer of kitchen wax to these pieces as well for extra protection and sheen unification. All of the below images in each gallery row are of the same artwork from different angles.

This first open bowl has a burnished-smooth surface!

This second piece is another open bowl, but this time the surface has some light texture as well as a more variable form.

This third piece is burnished smooth and a bit more closed, though there’s a quite variable lip. All of the pieces I’ll be showing you are handbuilt, pinch-pot designs.

Next we have another burnished and even more closed vessel! This one was a favorite of my fellow workshop attendees; they loved how the obvara surface turned out.

While you can click into each of the above images to see them larger, I want to close this post out with just one large image of the last burnished bowl I made!

An obvara raku handbuilt bowl by artist Shelby Prindaville.

An Obvara Raku Workshop!

After asking about it repeatedly for three years, I successfully convinced the lovely folks over at Dakota Potters Supply to allow us to do an obvara raku workshop on October 21, 2023! Obvara is a low-fire scalding-and-sealing process wherein you create a fermented sourdough/beer bath, plunge approximately 980°C naked ceramics fresh out of the kiln into it, wait for them to start to bloom with different tan-to-brown markings, and then arrest the surface carbonization process by rinsing the pieces off in a water bath. Obvara has an even higher chance of cracking due to the extreme thermal shocks involved than non-bath raku processes.

Getting the chance to do raku is relatively rare, and many ceramists haven’t even heard of obvara, let alone had the opportunity to do it - so I’m really grateful for the experience! Joining me on the trip were Morningside faculty Paul Adamson, alumni Calissa Hanson and Deb Murakami, and students Laura Greene, Taylor Greene, and Lauren Hedlund.

In addition, I learned about honey raku from a ceramist at this year’s ArtSplash festival - it’s basically like horsehair, feather, or sugar raku surface carbonization, but with honey! I brought some along and we tried it out too - though I want to experiment with it some more at future workshops as I was so excited about the obvara opportunity that I only kept one textured plate aside for honey raku.

Here are some photos from the workshop itself, soon to be followed by pictures of my finished pieces! I applied for and was granted funding from our Faculty Development Committee to help with my costs, so I made and brought 18 pieces along this go-round - both to make up for any thermal shock victims, and because I didn’t need to apply glaze to my obvara or honey raku ceramics so I could get more processed compared to when I need to apply 1-8 layers of glaze to each piece on-site before firing (for crackle and copper glazes or ferric chloride dips). If you’ve been following my raku workshop production, 18 is about double the number of ceramics I typically aim to bring.