On day four, I flew to Yakushima! At this point, I have two large suitcases, one roller carry-on, and a backpack. Trying to haul all of that to a remote island on a tiny plane sounded like a bad, expensive idea to me. Fortunately, Japan has already solved this problem and I sincerely wish all countries have this: takkyubin! These are luggage transport services that will ship your luggage to your next destination, and you can ask for them to hold the delivery for a few days as well. This meant that when I shipped my two large suitcases on the 28th, I asked that they be delivered on June 1st in Takeo (where the artist residency is located). I just took my roller carry-on and backpack along to Yakushima!
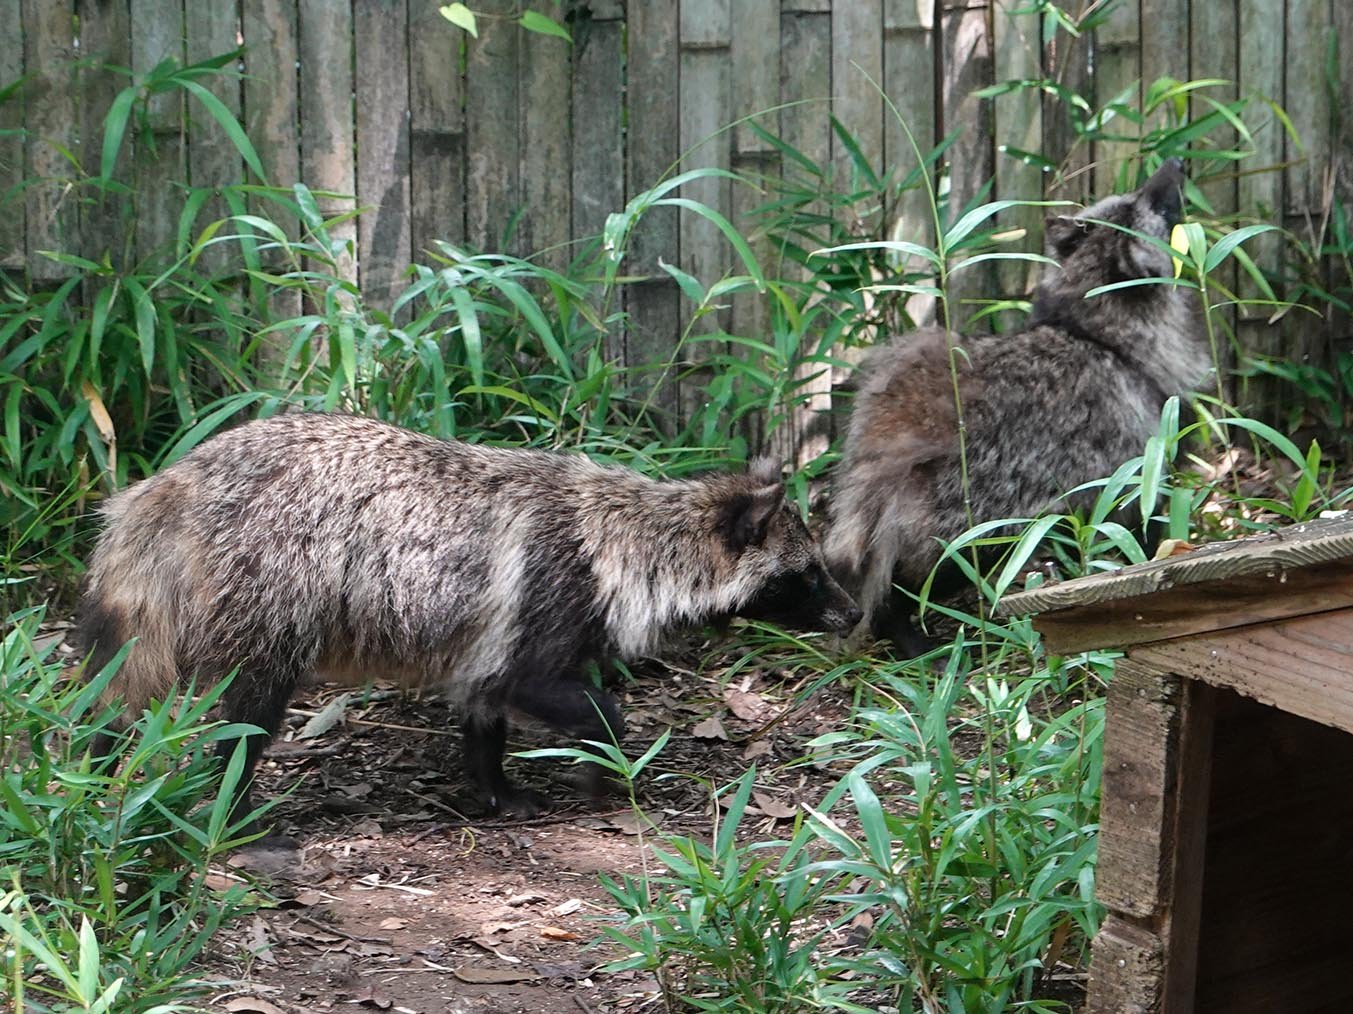
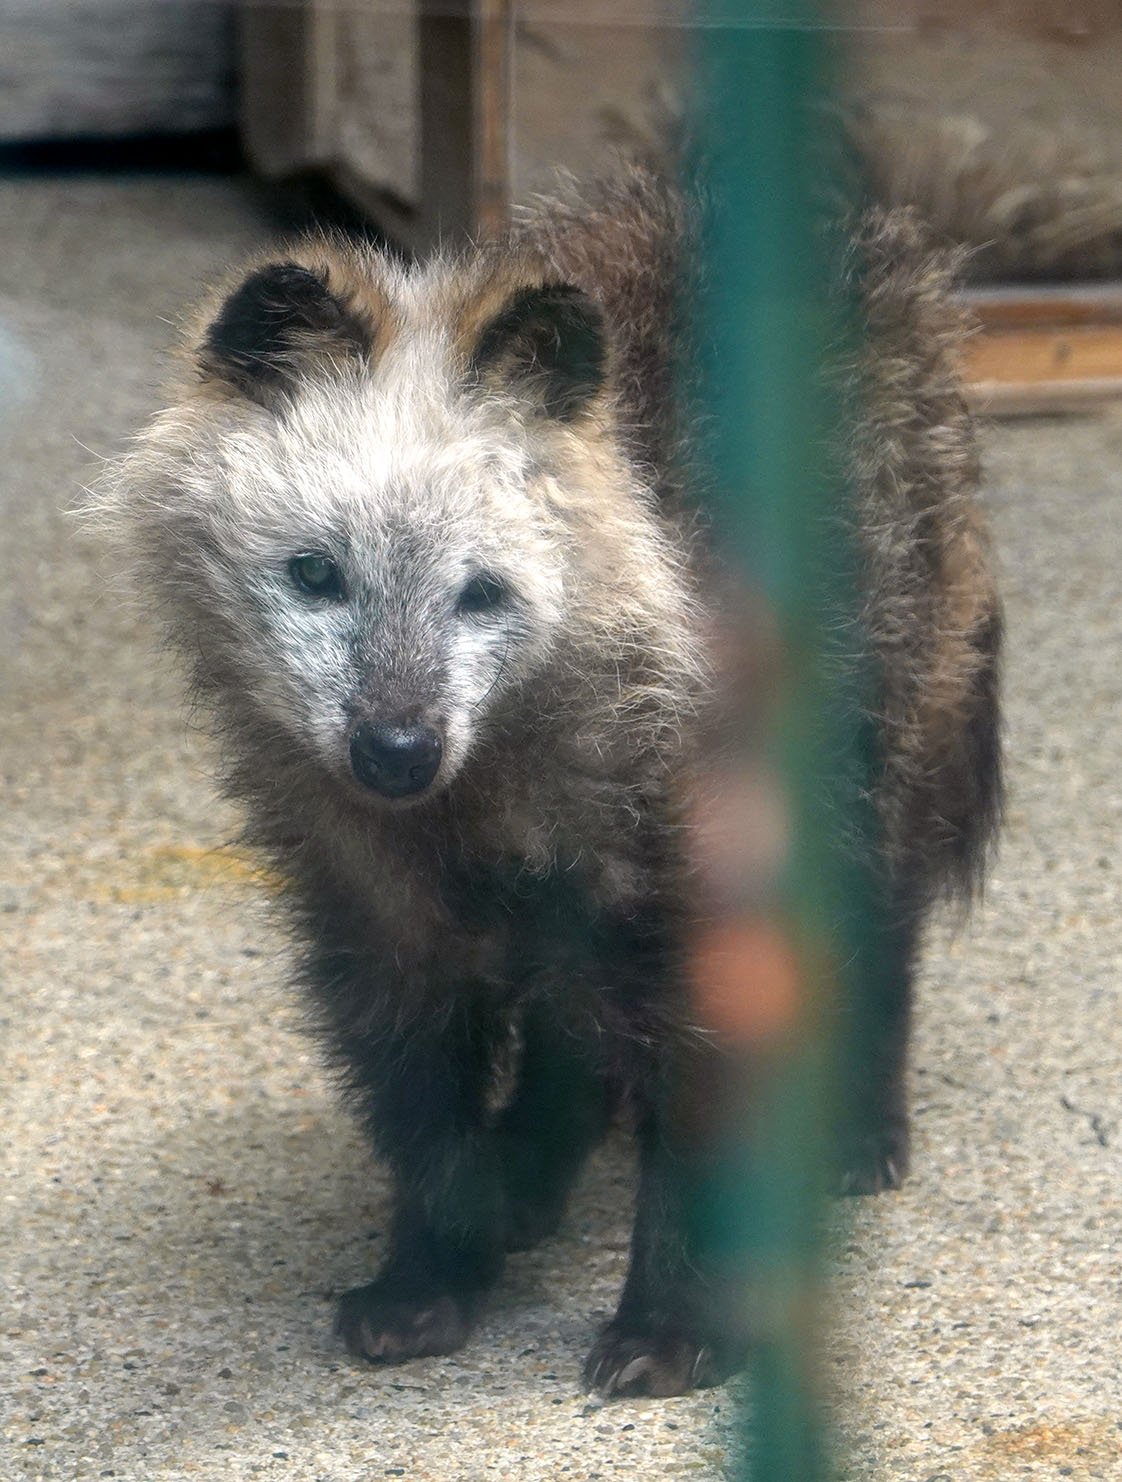
My flights from Tokyo to Kagoshima and Kagoshima to Yakushima were each delayed, as an incoming typhoon was disrupting weather patterns and causing a lot of rain and wind. The YES Yakushima tour service was also messaging me about maybe canceling / swapping my tours around, which was worrying, as they had been inundated the day before and had to shuffle those folks’ tours plus they were worried I and other travelers would be delayed overnight. Fortunately, I arrived that evening, and by that night the tour company had decided we’d stick to the original plan (which was my preference too!). In the bathhouse late that evening, I encountered the largest hunstmen spiders I’ve ever seen! They were larger than my hands. My one Yaksuhima regret is that I didn’t manage to get photos of them - by the time I left it was closed for the night, and every other time I brought my underwater camera, it was earlier and they weren’t out… but I was either out on an excursion or too tired to go the other late evenings.
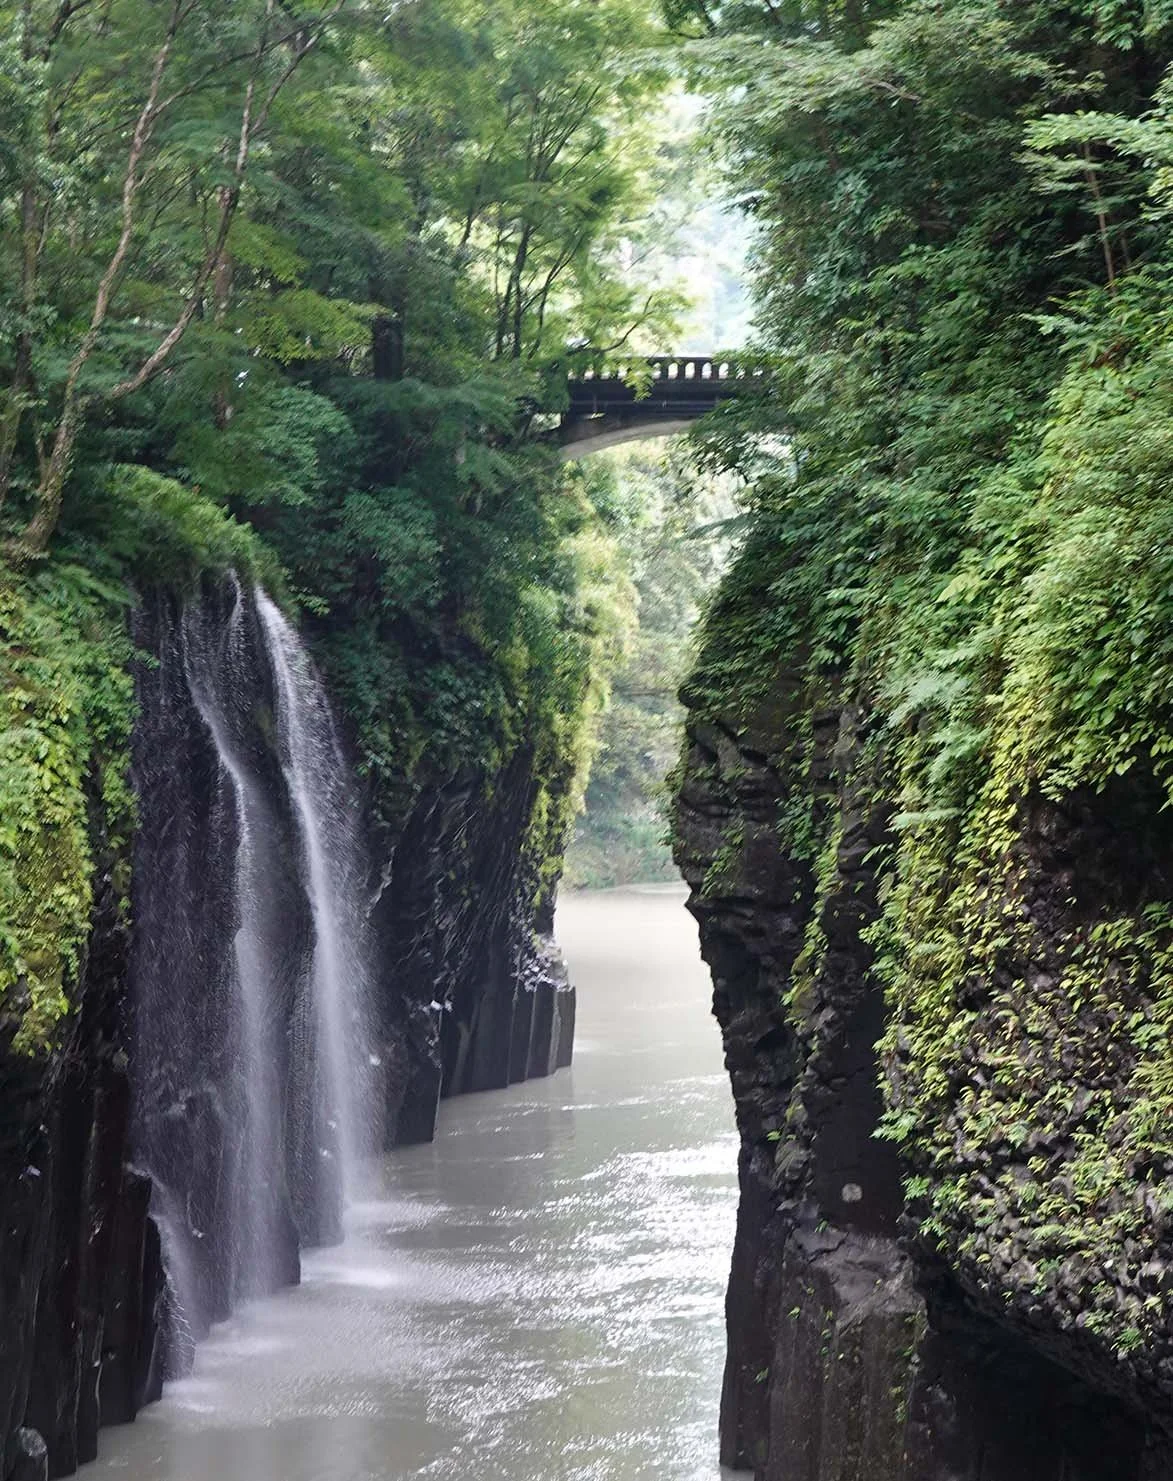
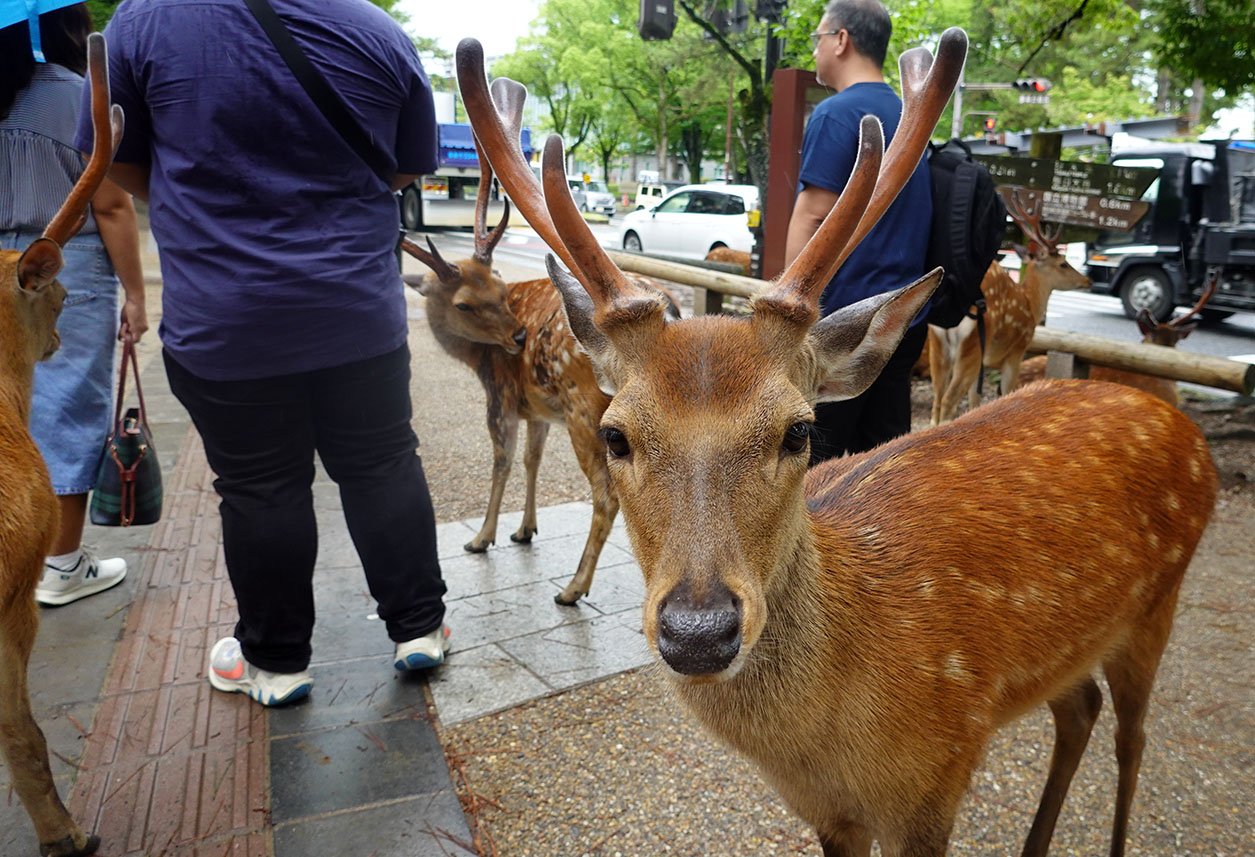
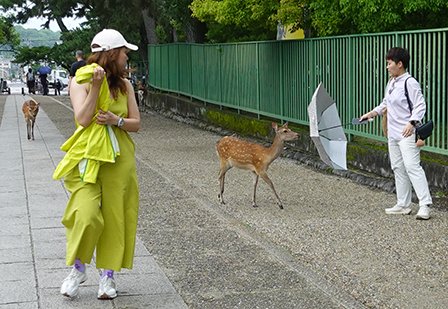
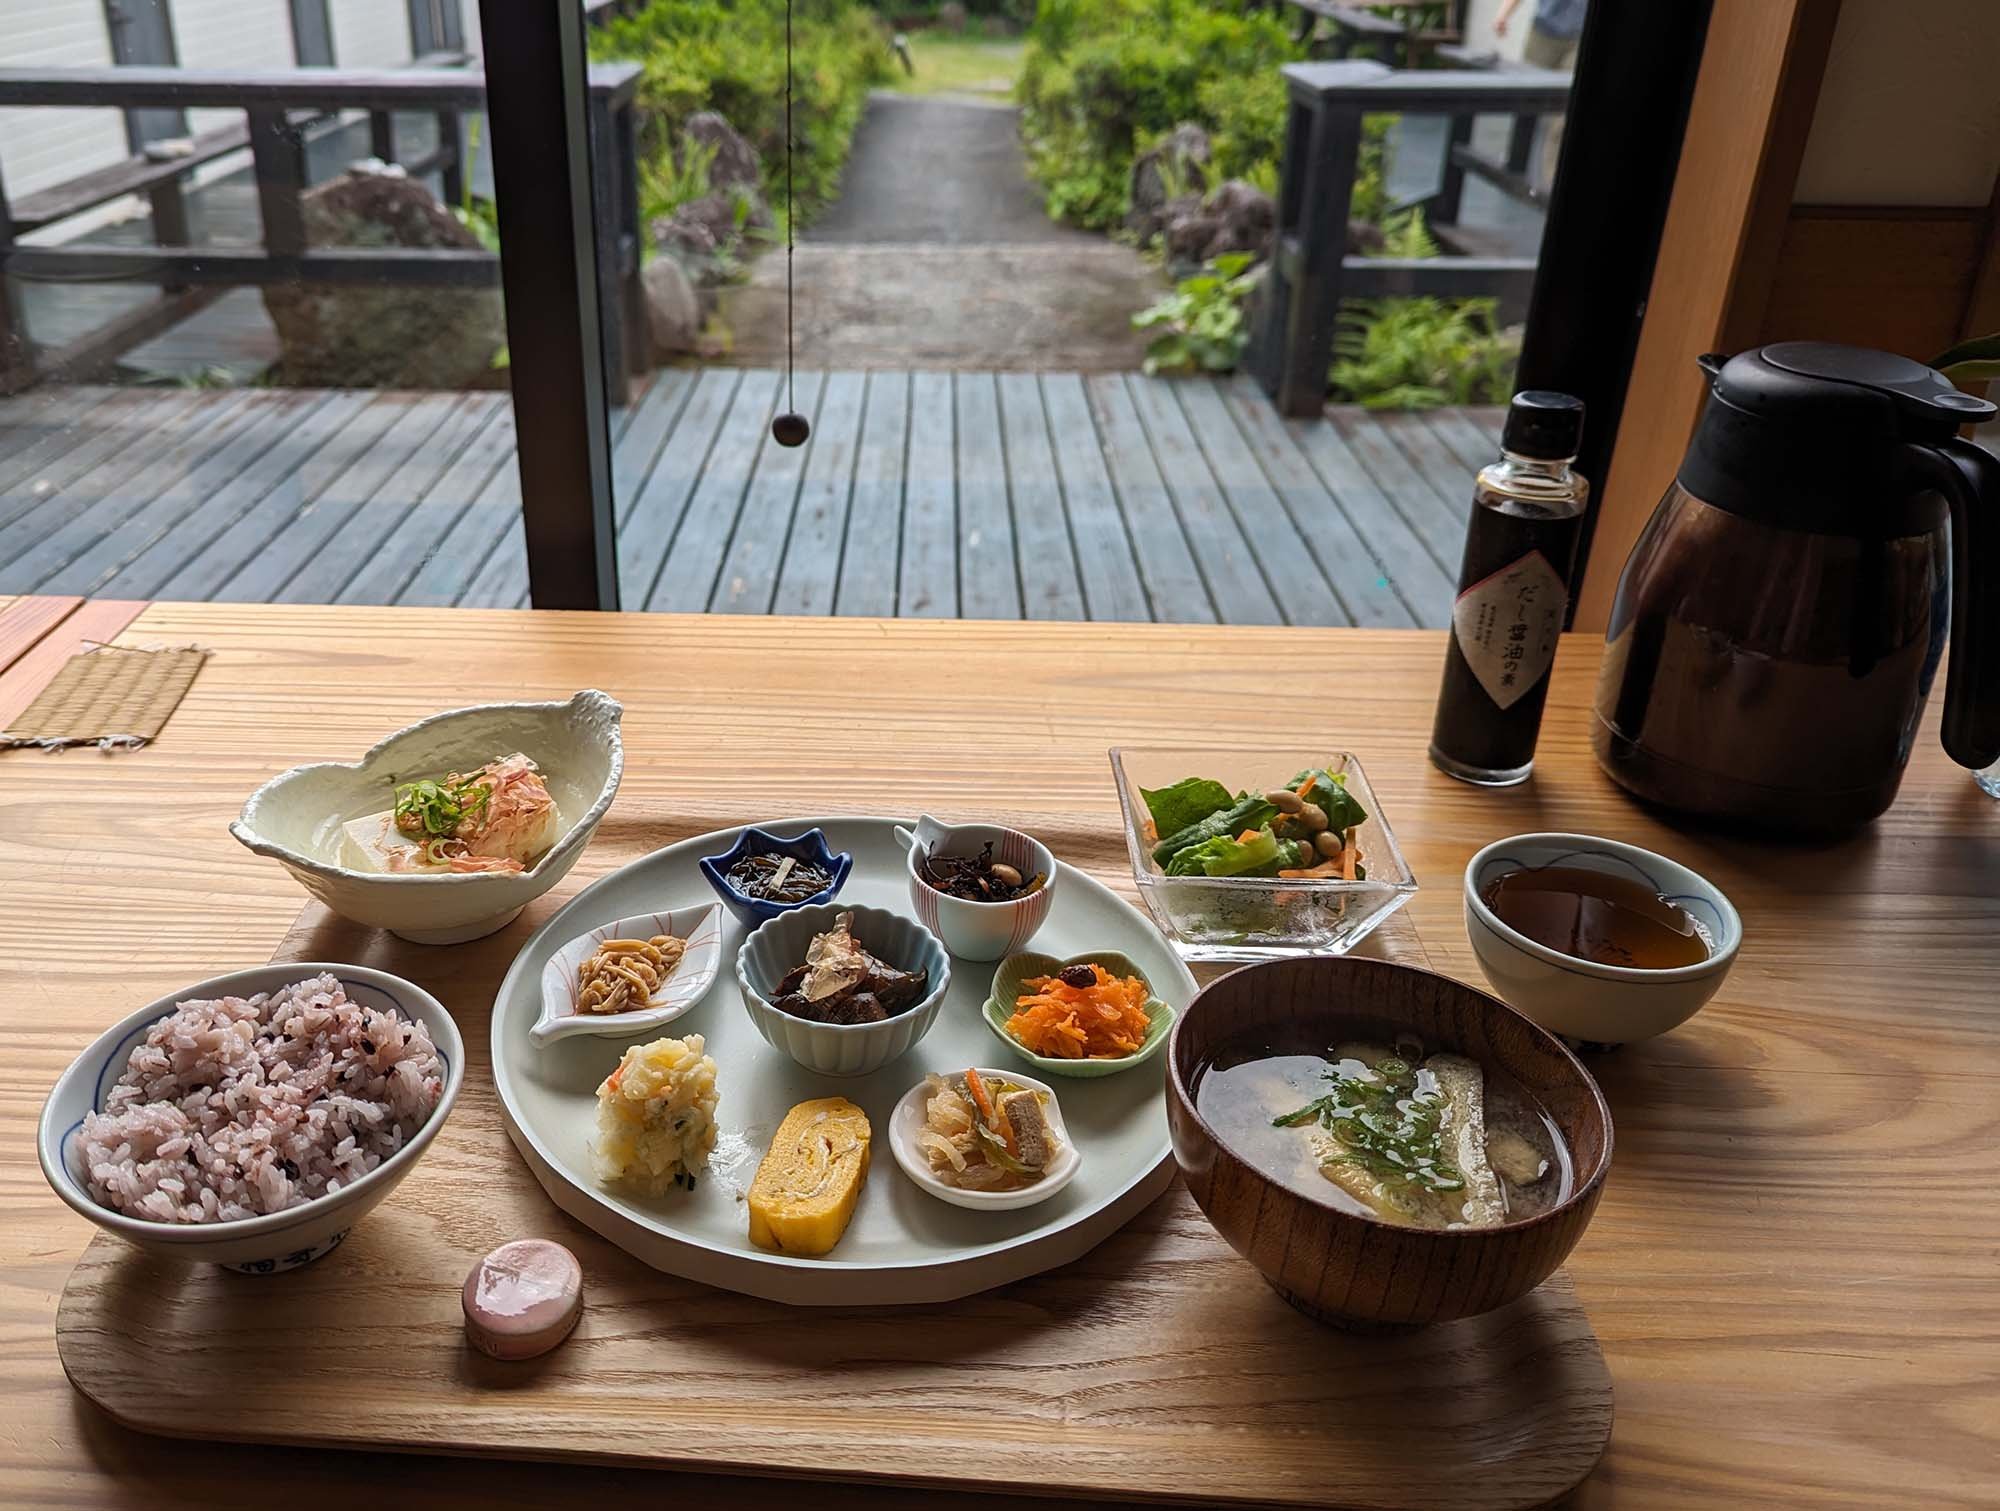
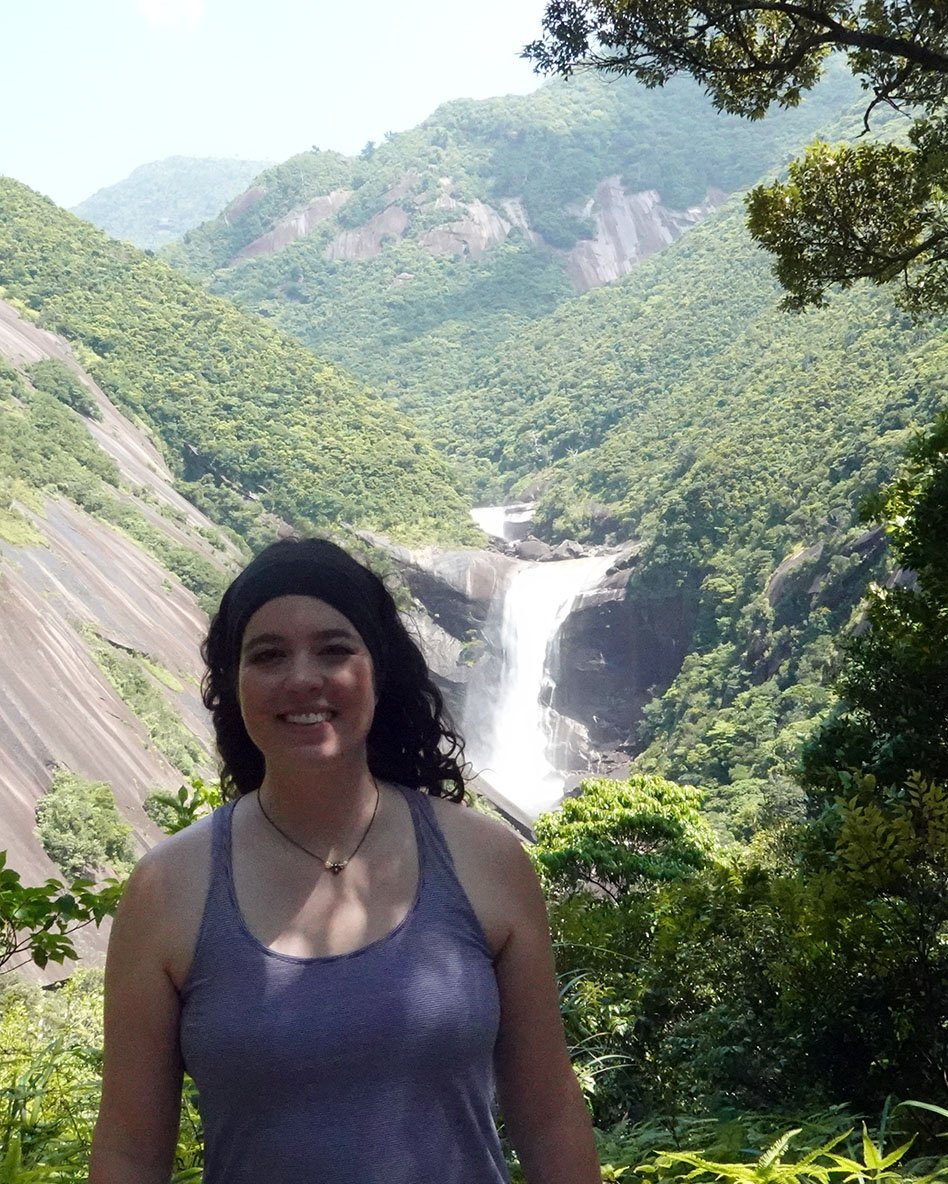
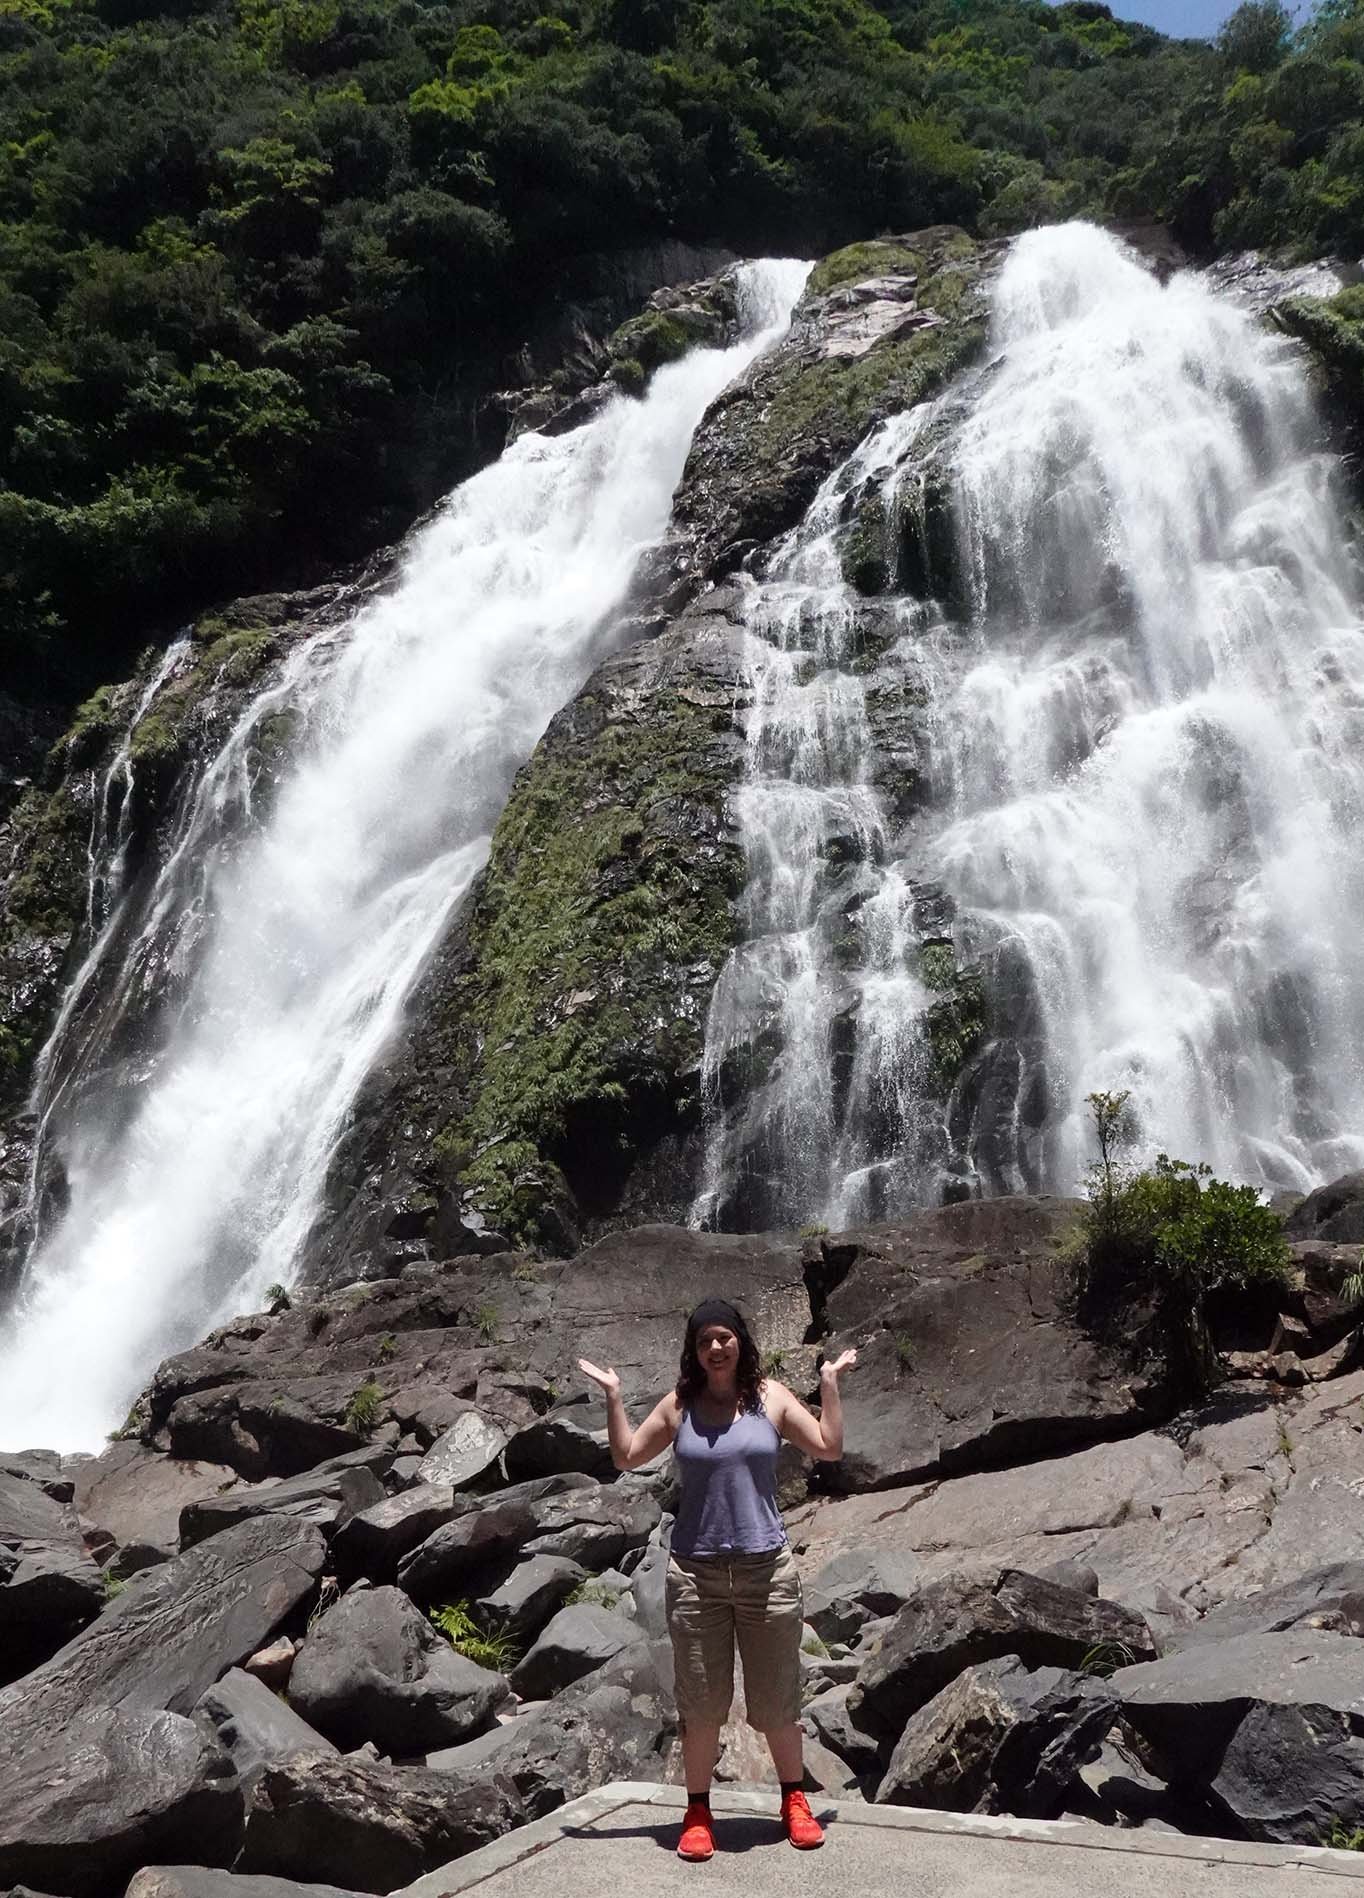
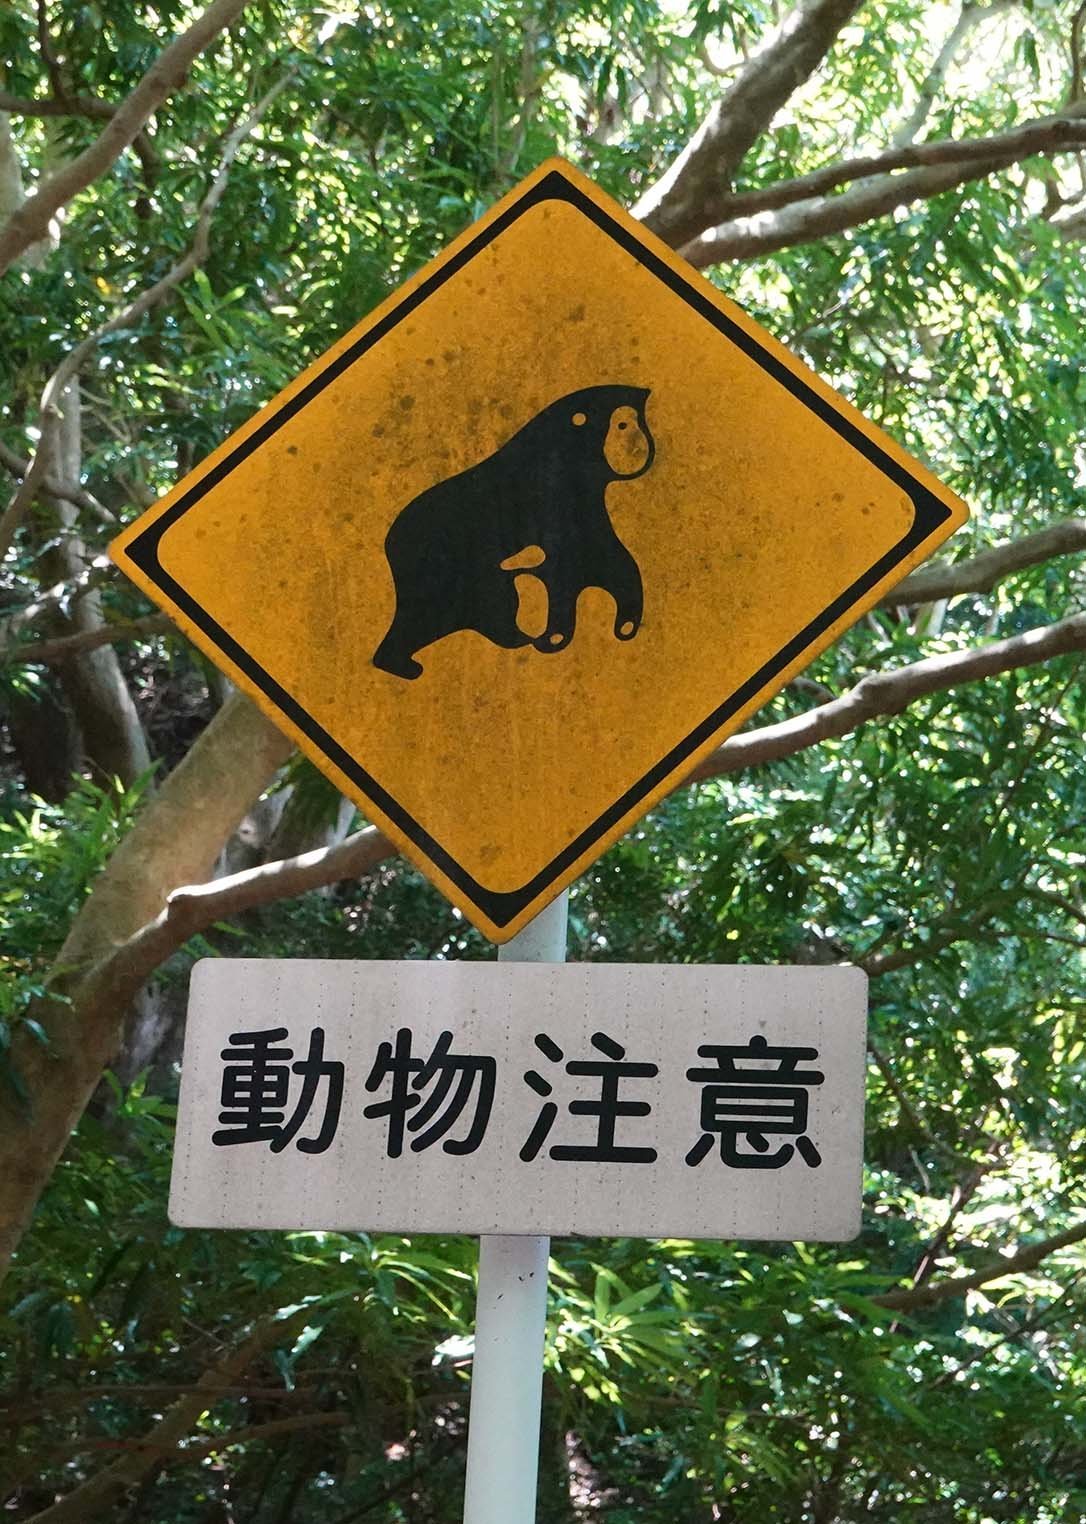
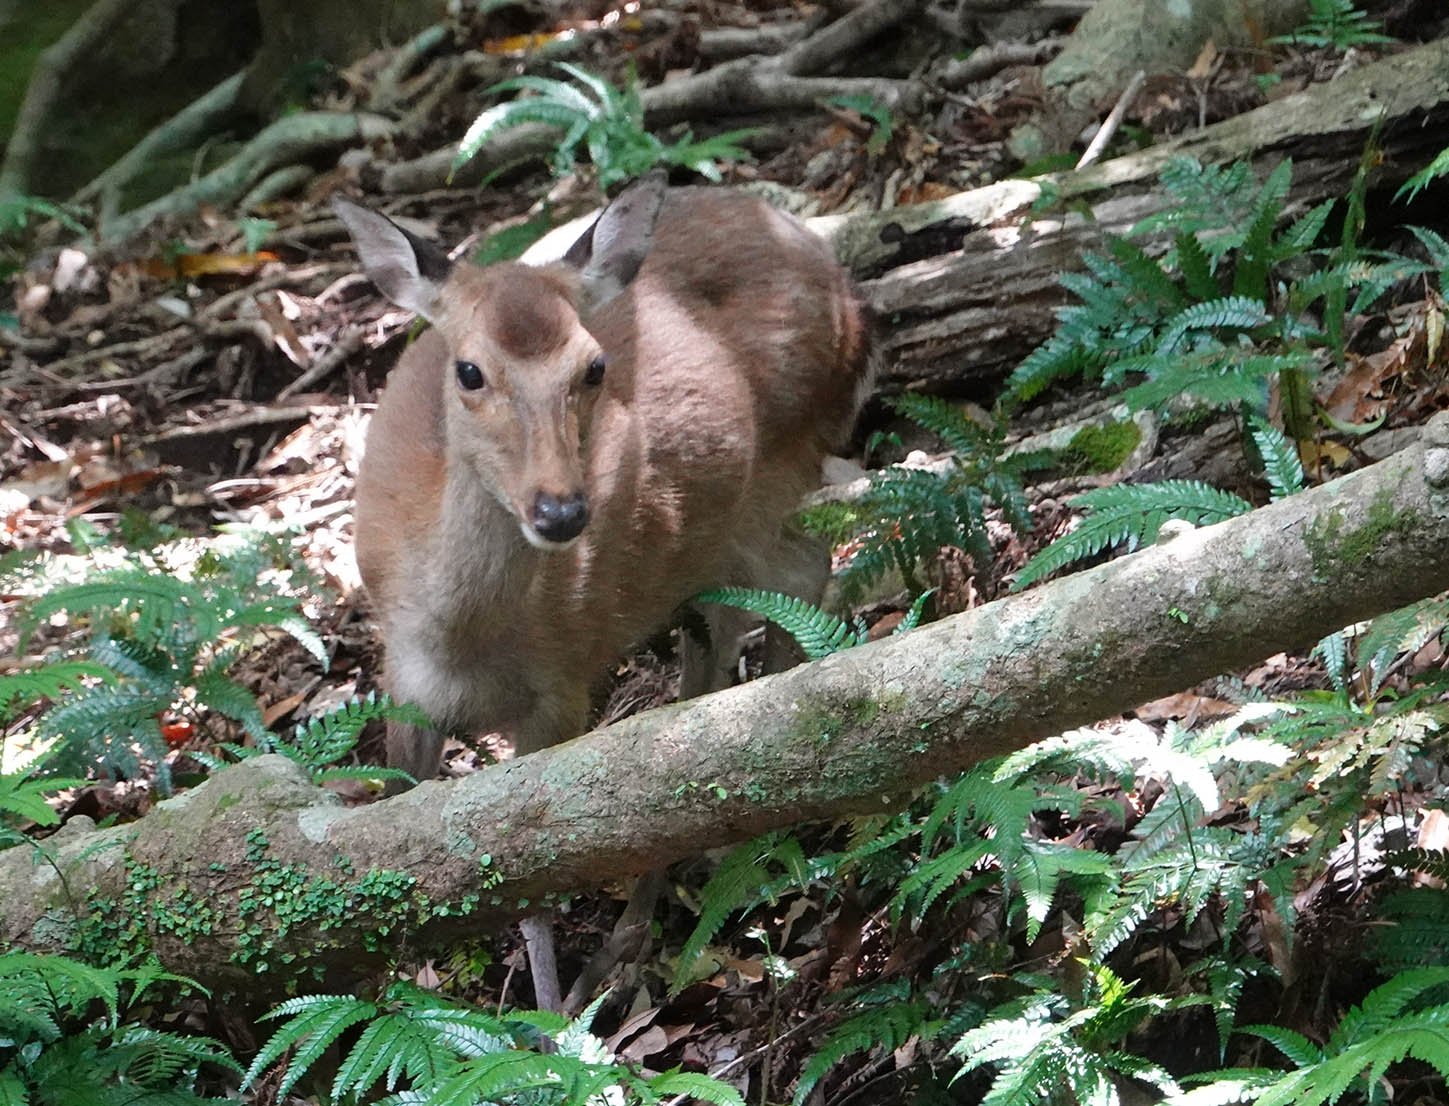
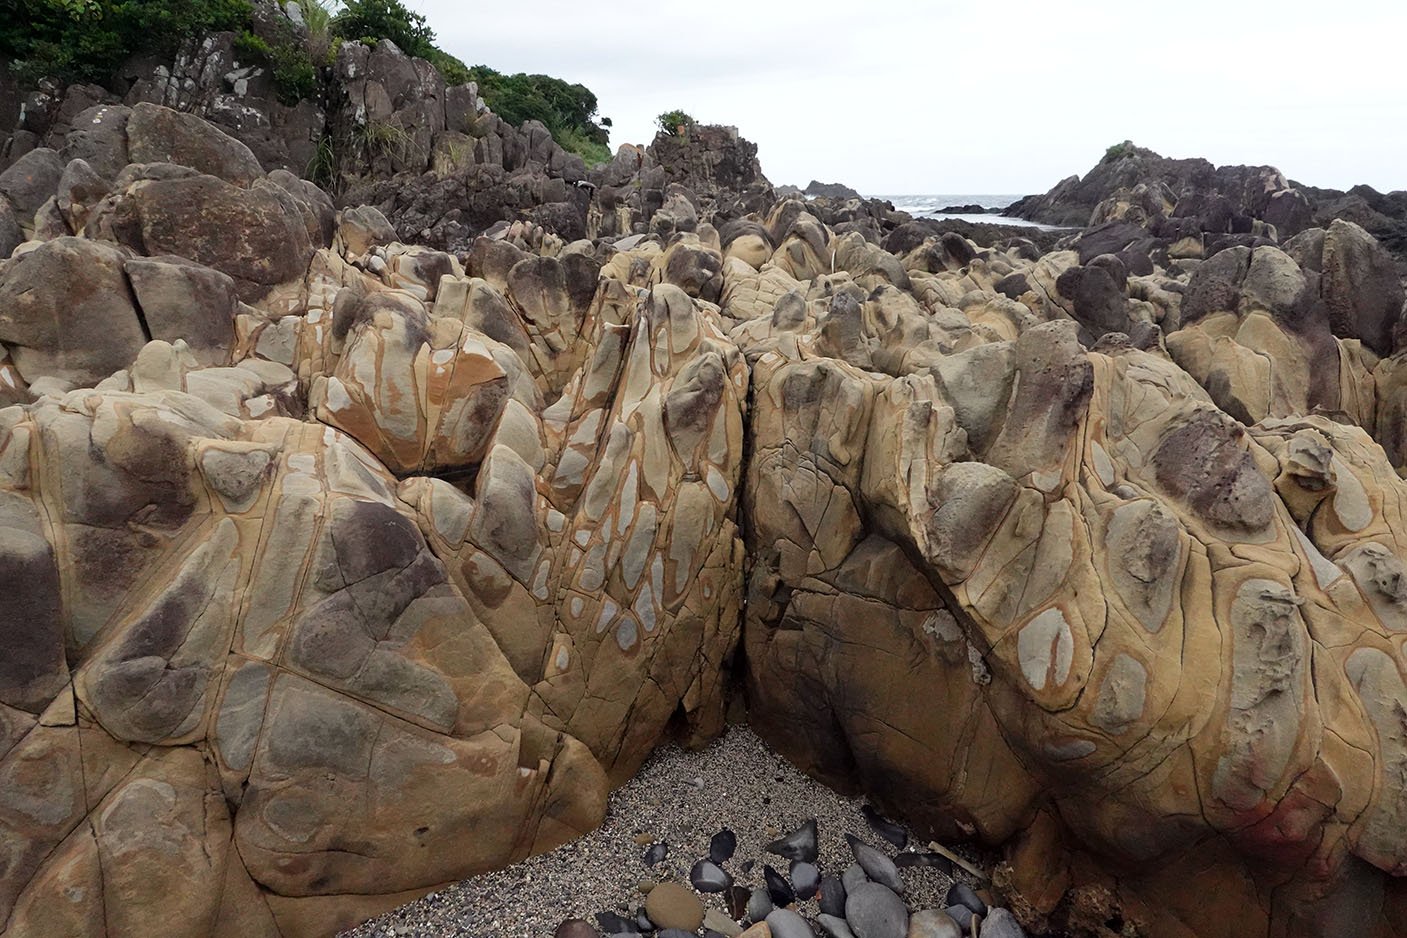
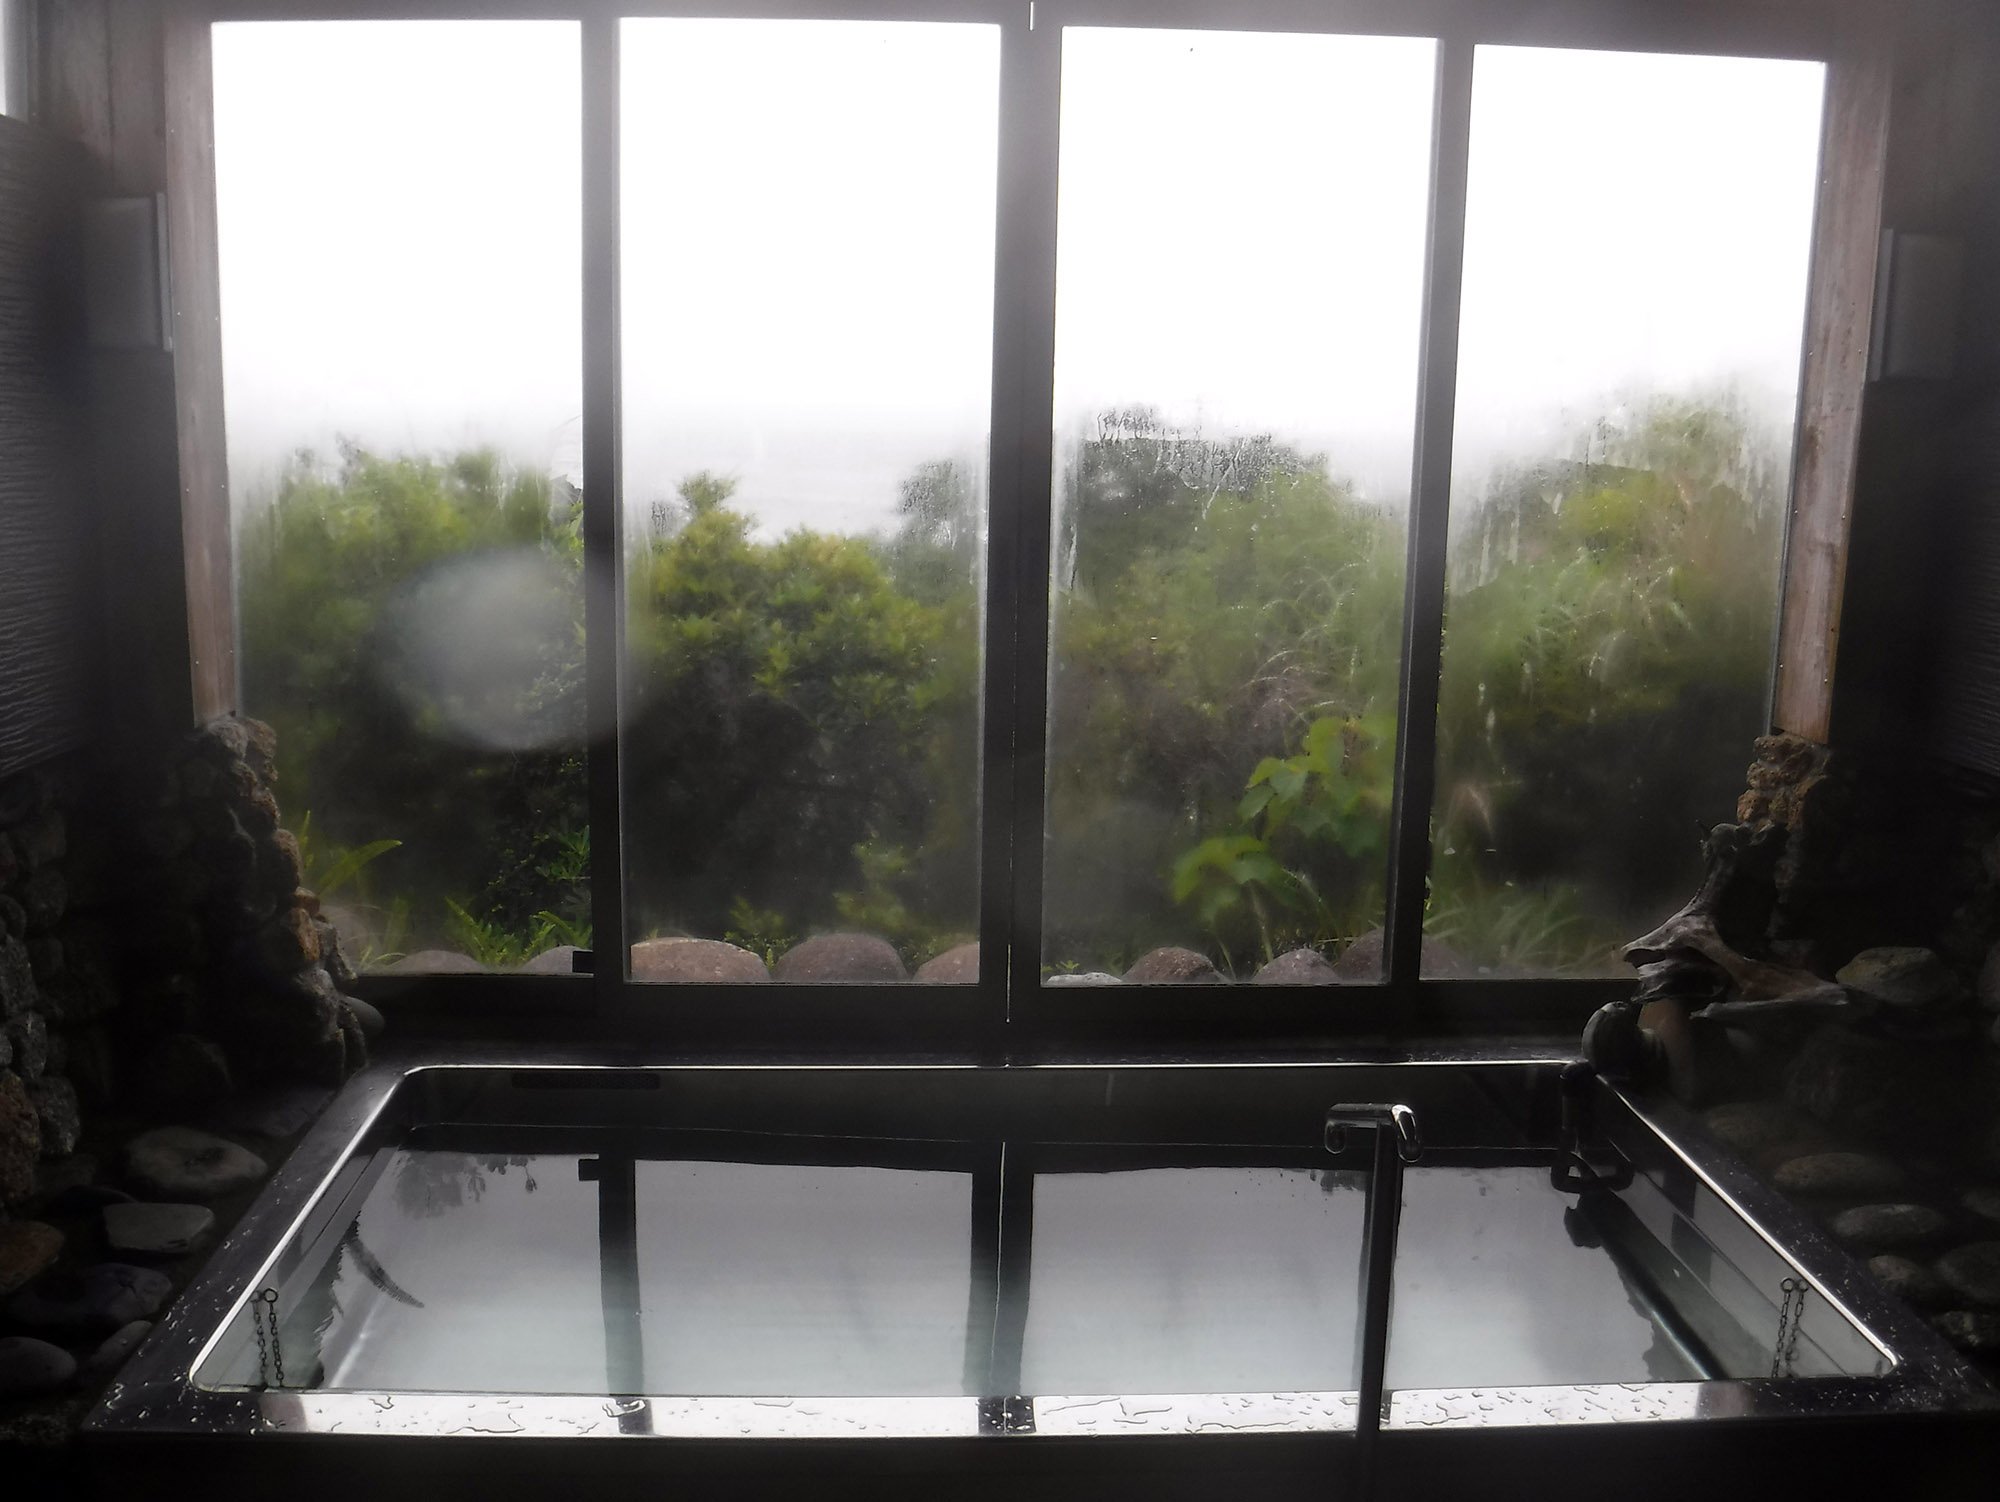
The next day started at 7:30am with a prepared vegetarian breakfast at the guesthouse (asked for in advance when I arrived), and then at 8:30am we set out on an island tour! We stopped at a tea farm, several waterfalls, drove a road known for Yakushima deer and monkey (but saw few monkeys, due to the hot weather that day), and stopped at a natural hot spring outdoor onsen. The tour concluded around 4:30pm, and at 7:30pm I had signed up for a turtle egg-laying evening tour. In between, I took a nap and ate. The turtle tour involved waiting until after nightfall when a sea turtle was already in the process of laying eggs and then carefully going in a group to watch her with the aid of red-light flashlights. My turtle was a loggerhead, which is the more common species. They rarely get green sea turtles on shore laying eggs, but it does occasionally happen. No cameras were allowed on the beach, and it was so dark I’m not sure they’d have done much anyhow. It was a cool excursion, though, as much in observing the logistics of the event coordination as in observing the turtle herself! We got back around 11pm, and the following day I had an early morning ahead so I crashed.
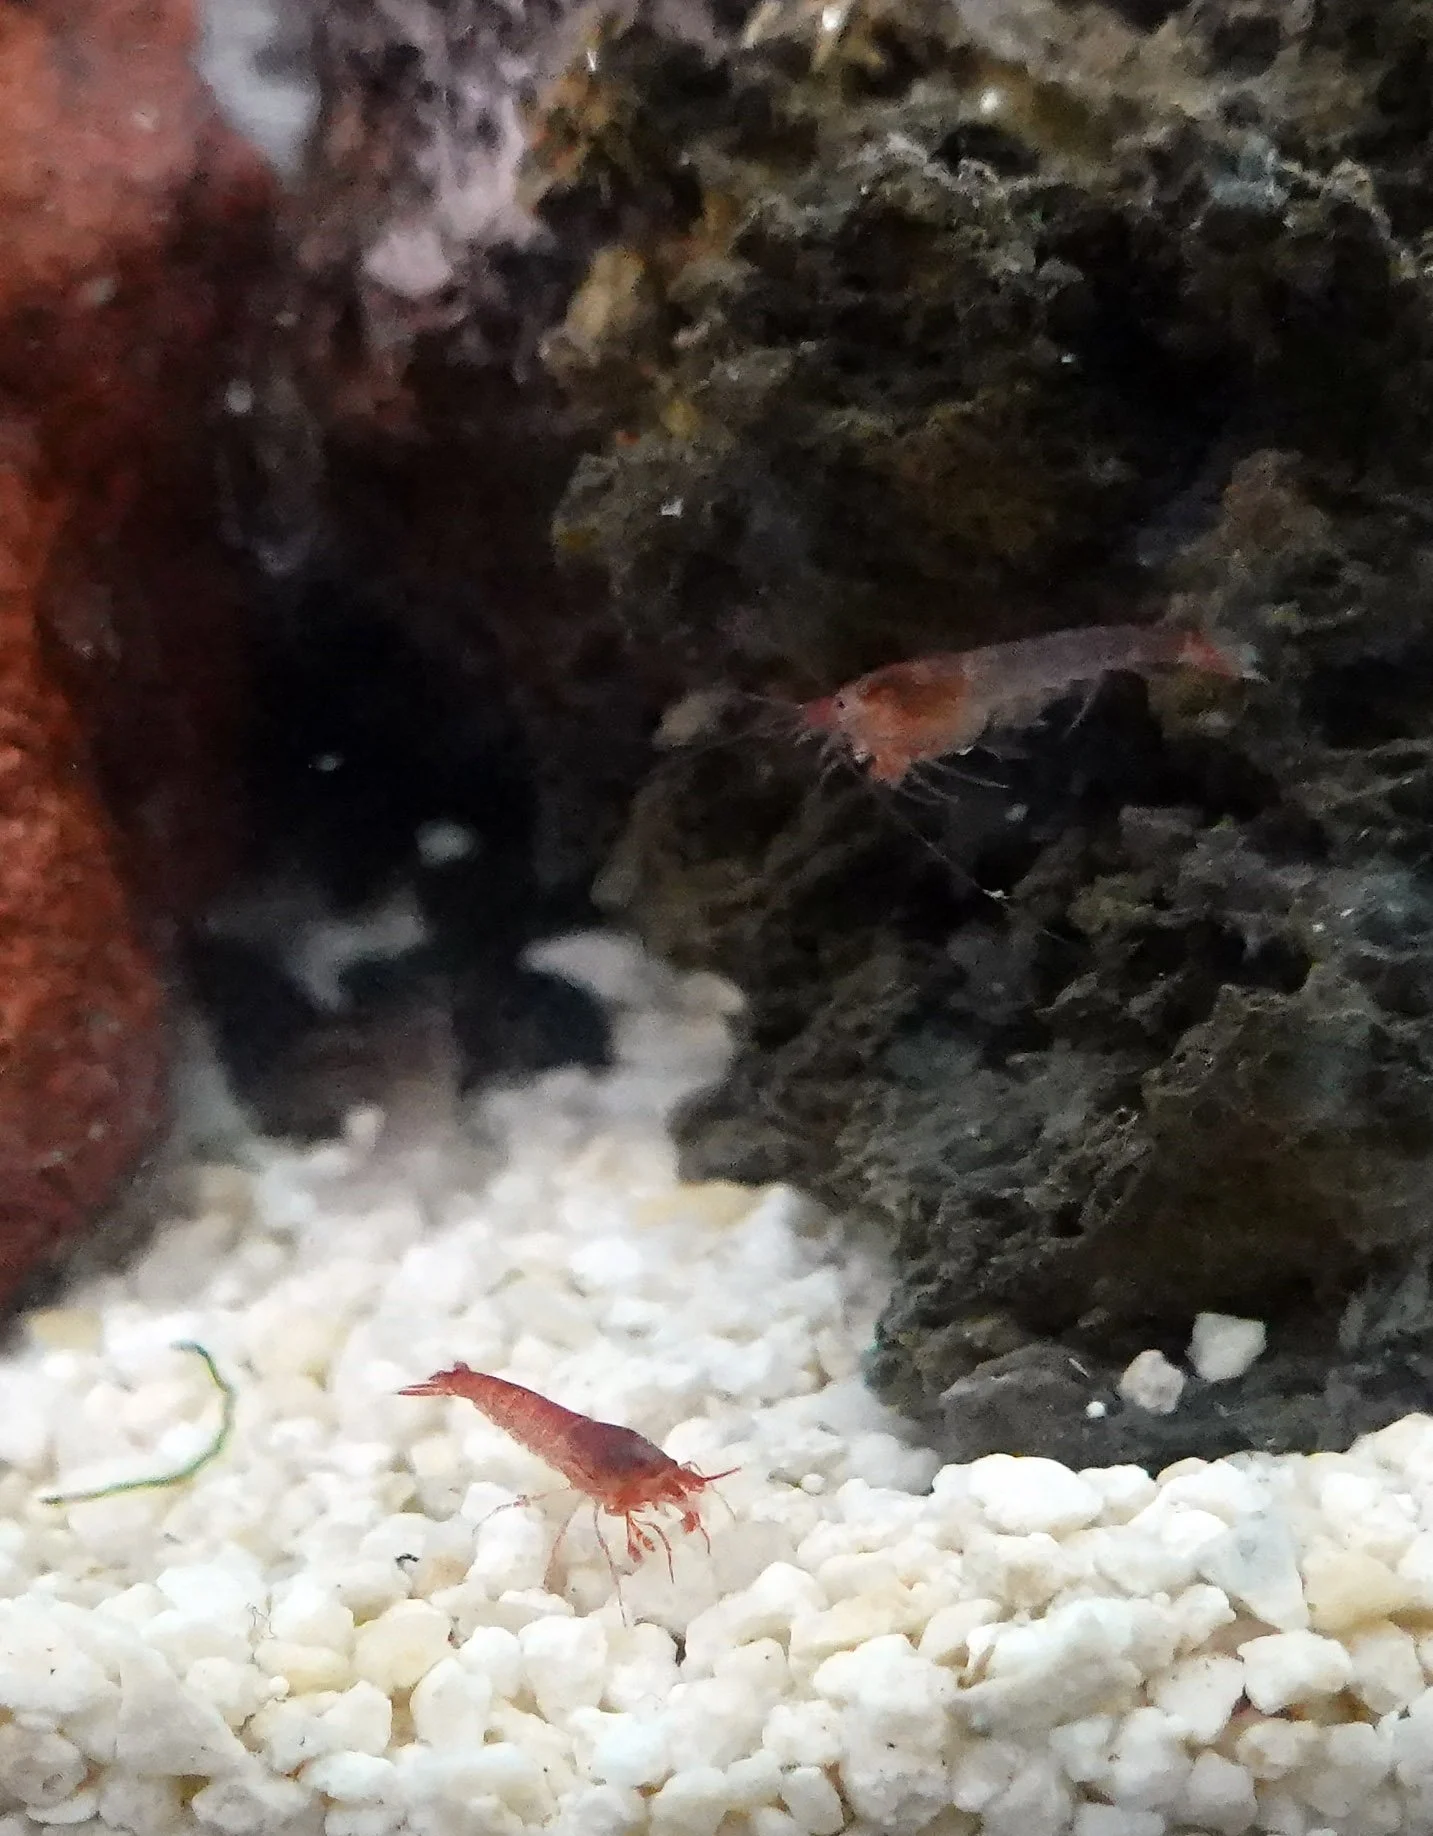
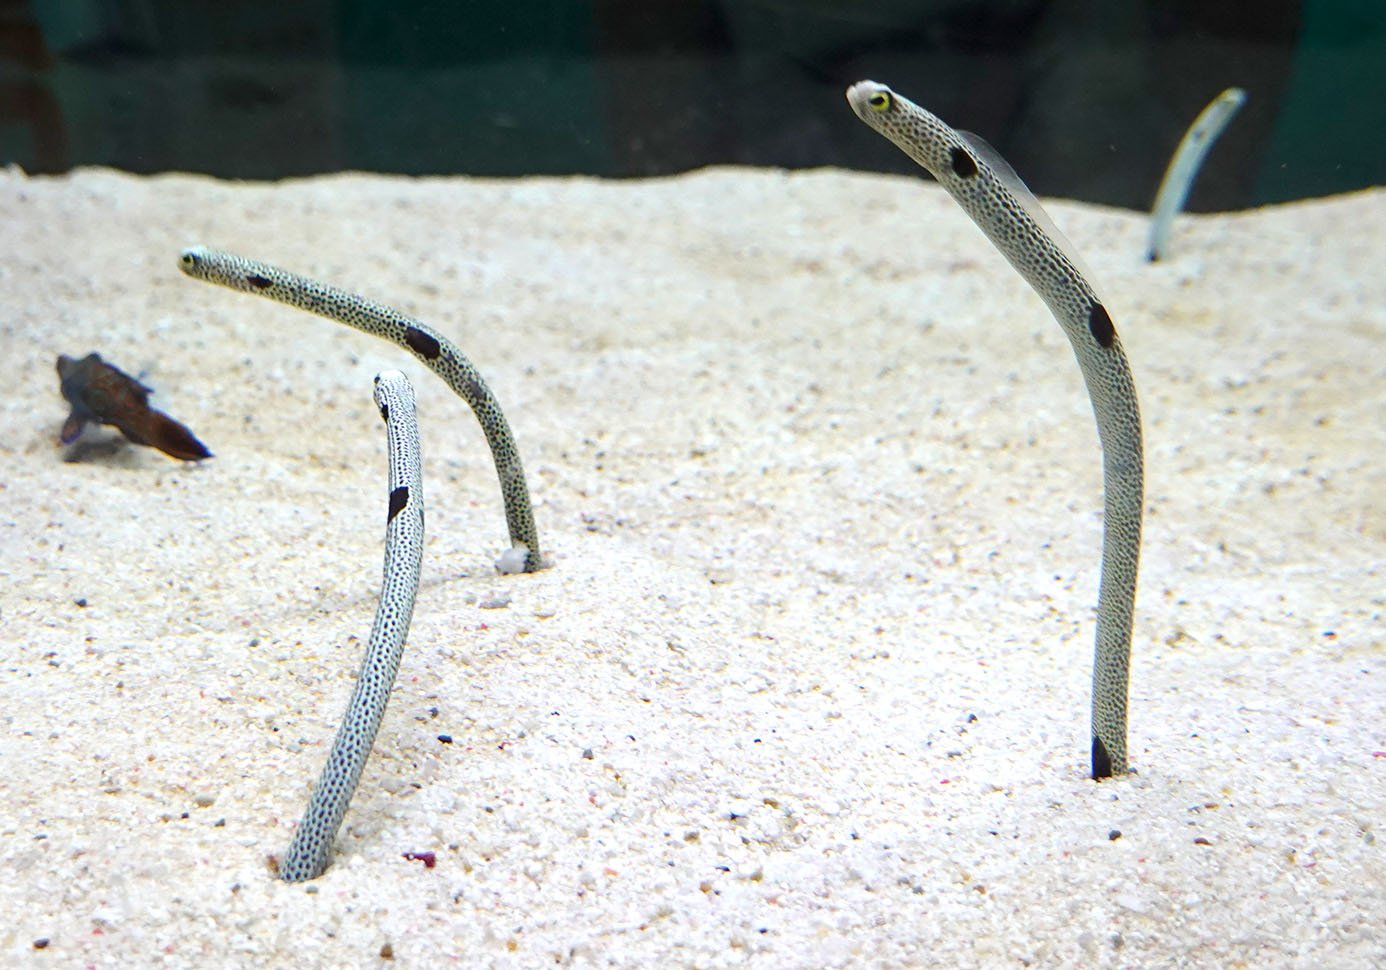
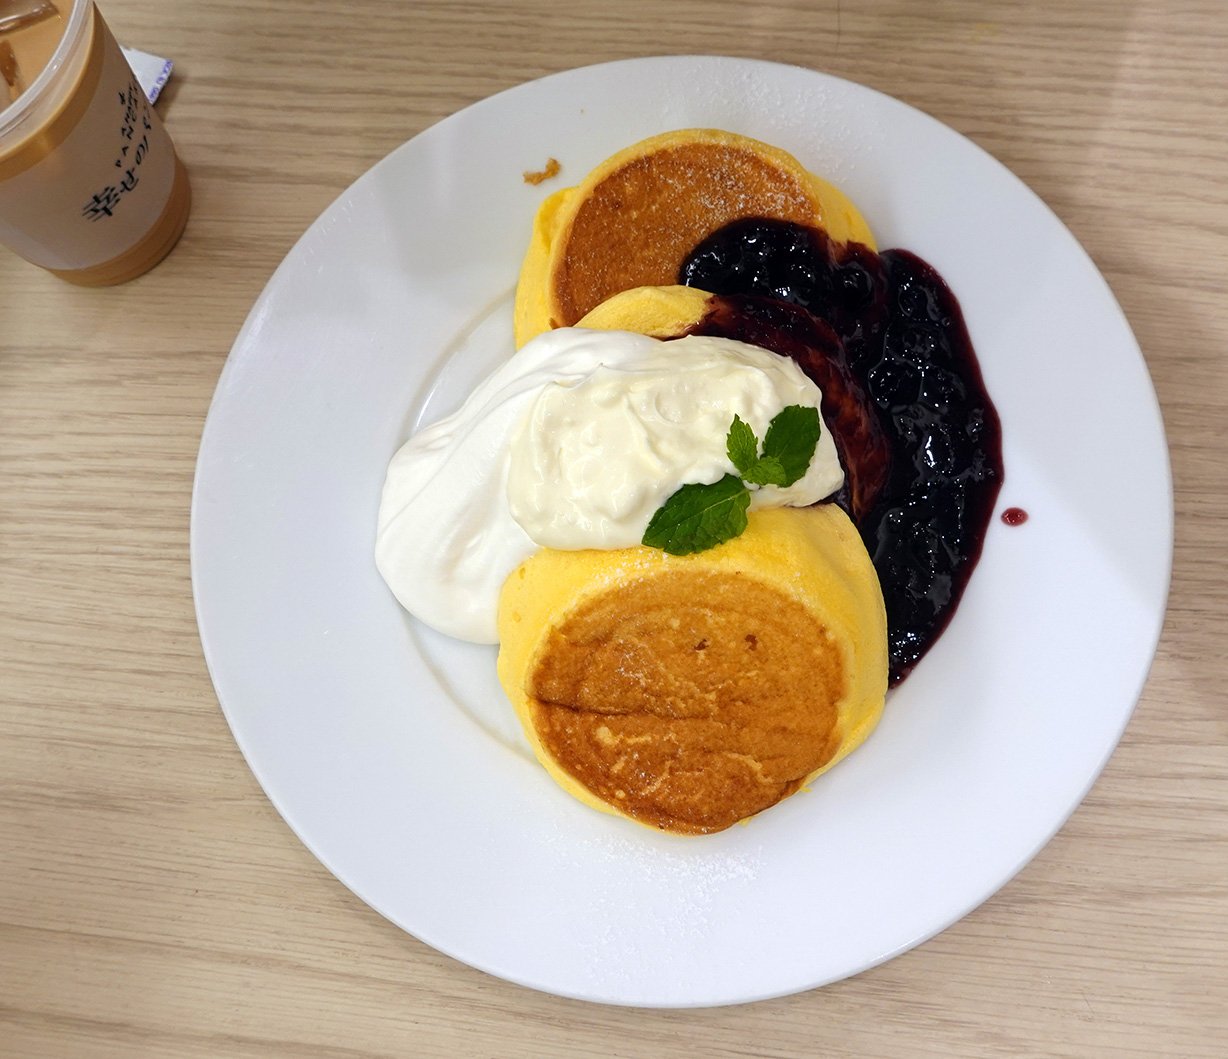
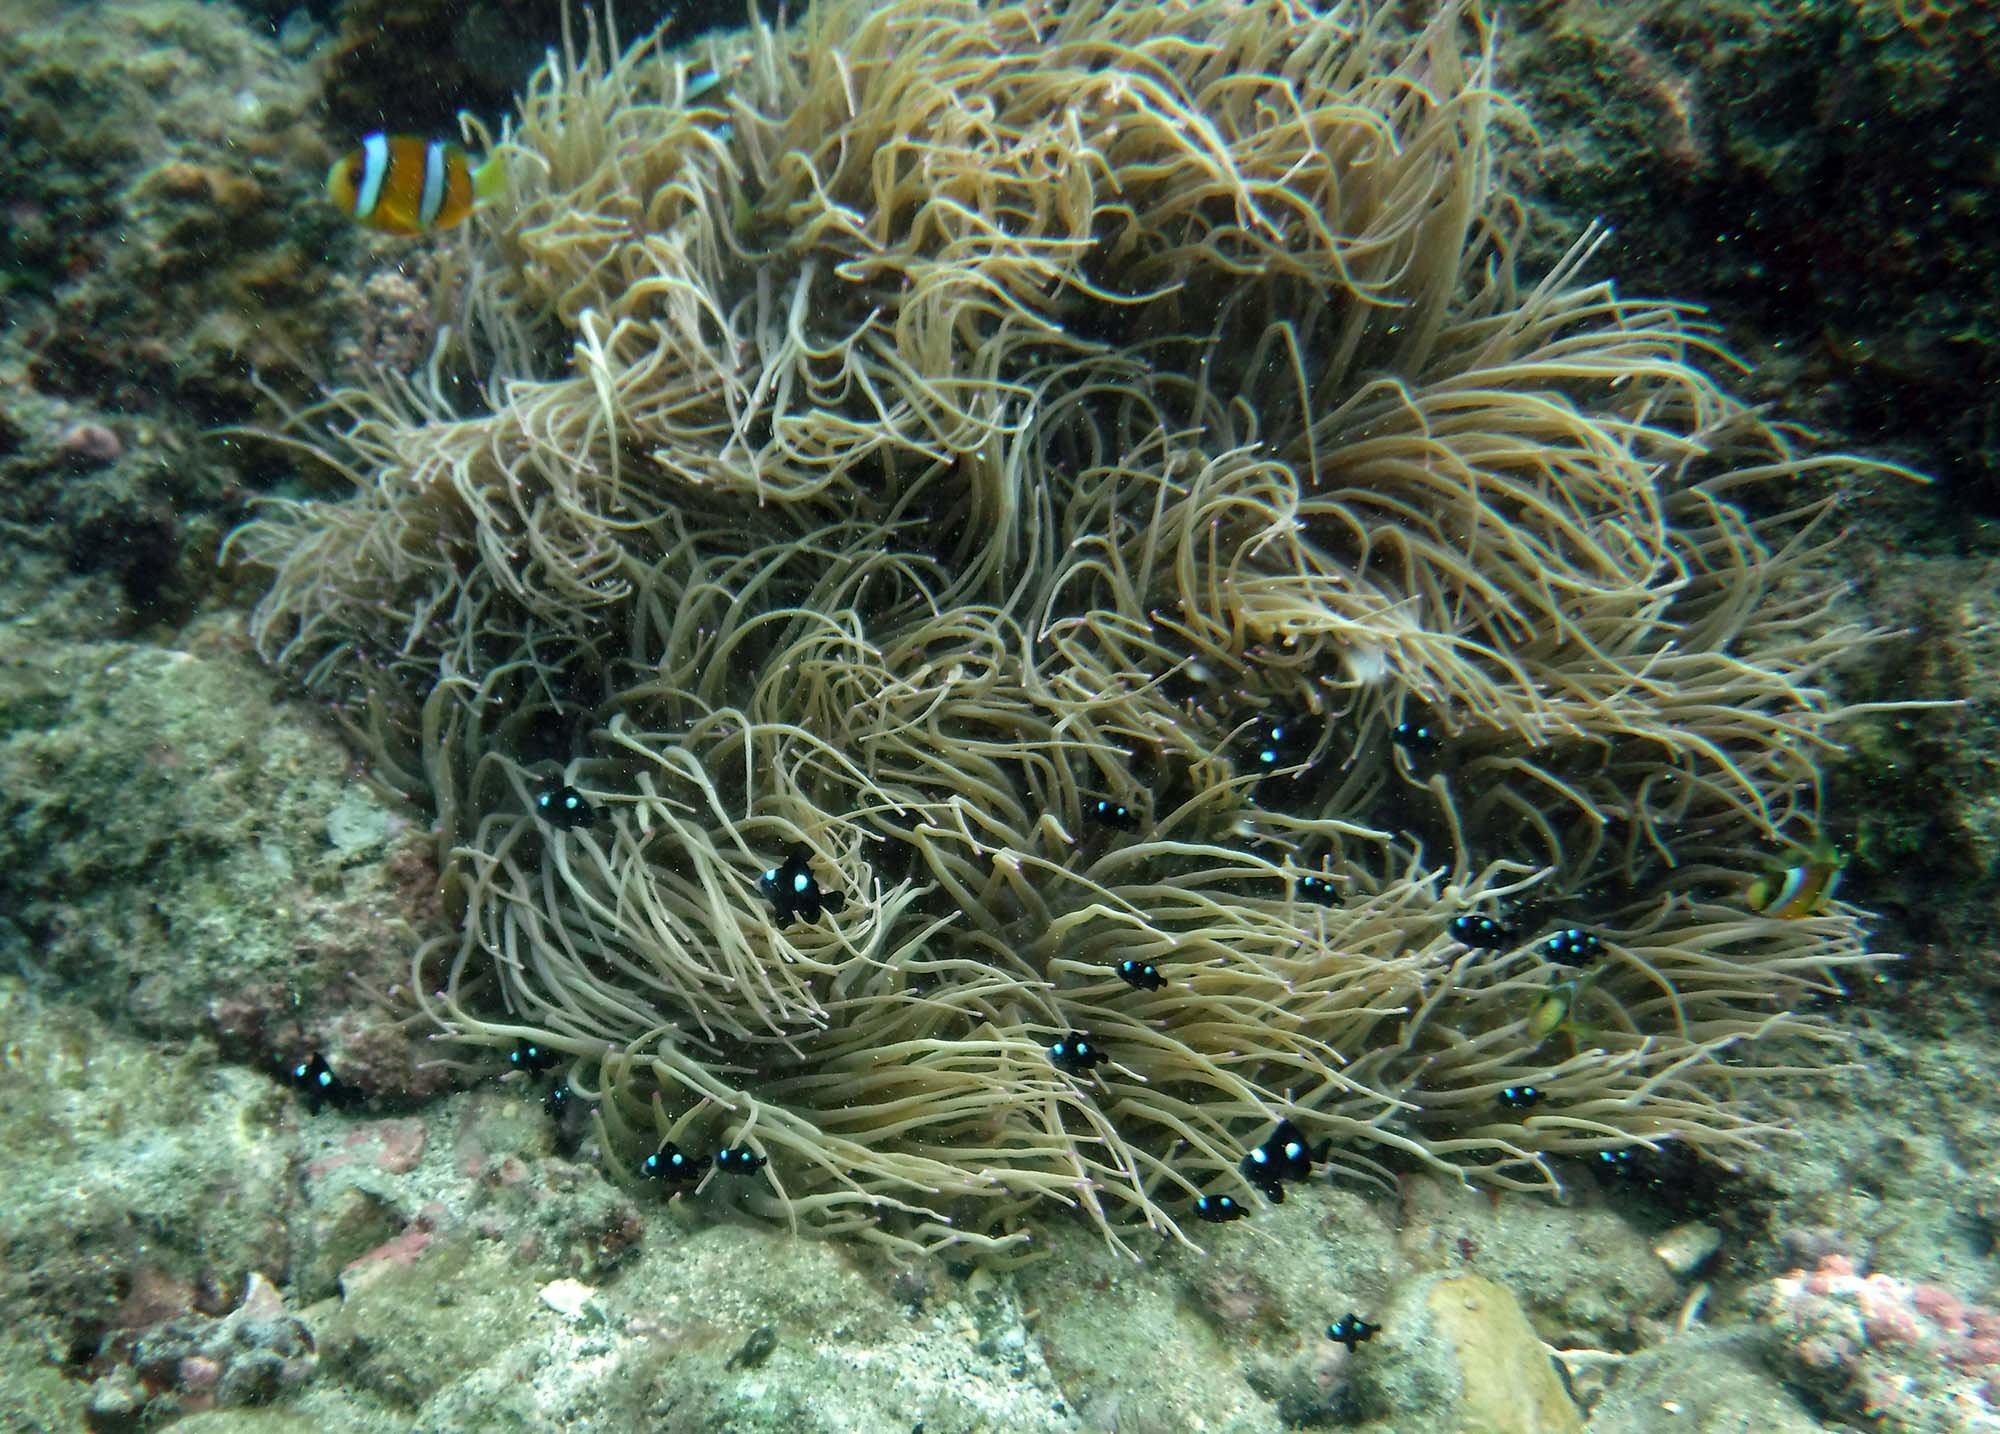
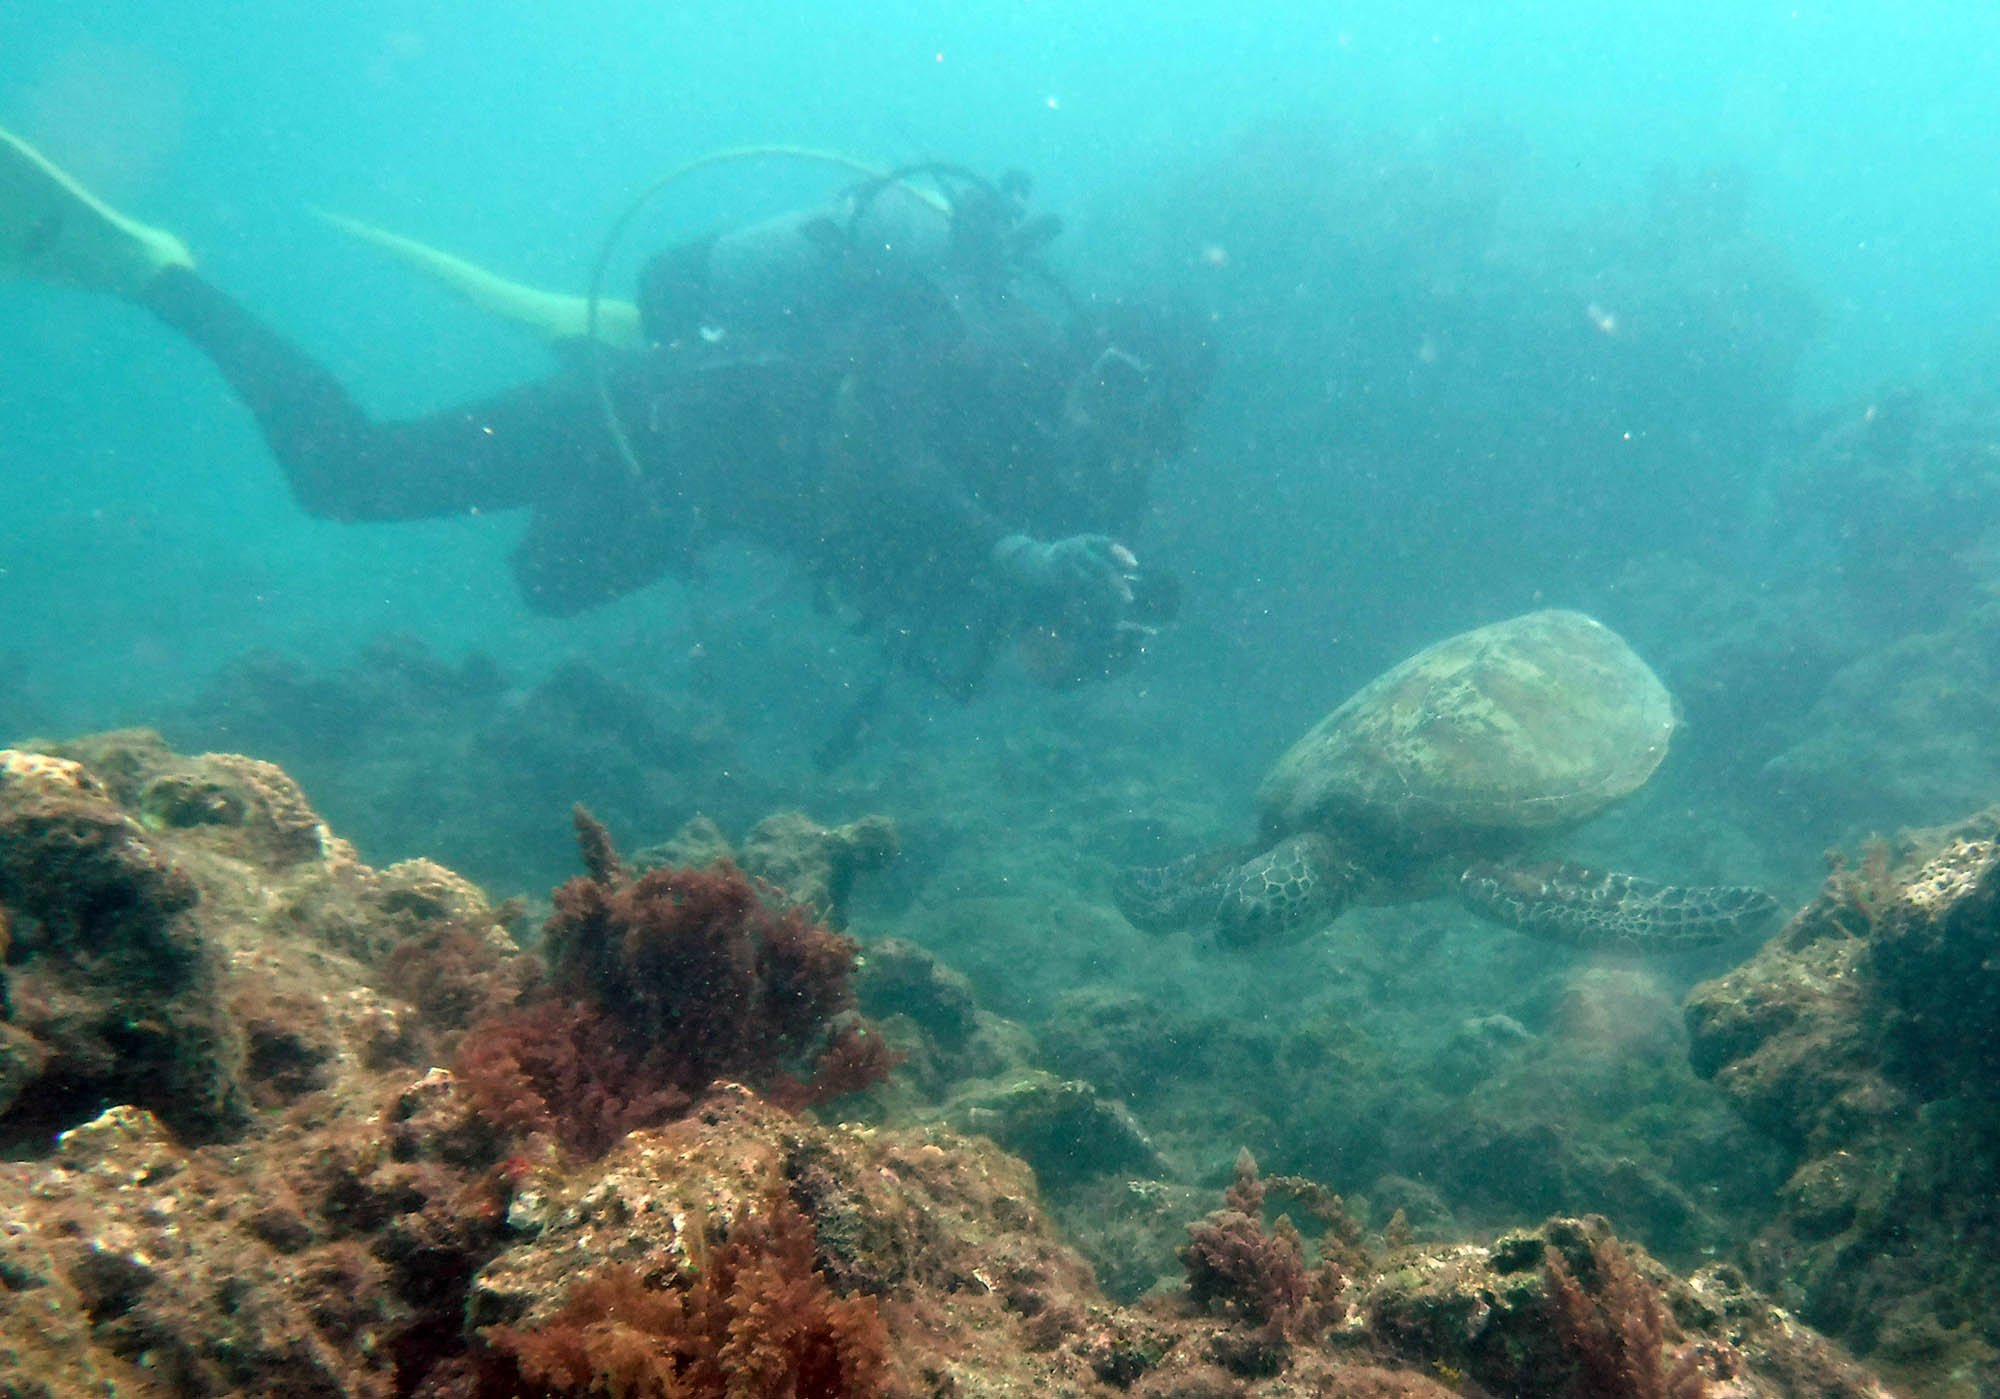
I woke up at 6:30am in preparation for a departure to the Yakushima Diving Center at 7:30am. We went over safety procedures and picked our beach entry spot, and then did a reef dive for about an hour. I’ve done scuba diving several times before in 2019, and I loved it then and continue to love it now. We saw an octopus, a moray eel, three green sea turtles, a beautiful nudibranch, starfish, fish, anemones, and a giant clam. I got some decent photos of one of the sea turtles and some nudibranch and fish, but it’s a fight to get my camera to focus and animals that are moving a lot (the octopus and eel in particular) are next to impossible to capture, at least at my current skill level. I got back to the guesthouse around noon, so I walked to a nearby restaurant for lunch, had some more rocky beach time myself, and then walked up to the main road and visited a few souvenir shops before going home and enjoying the bathhouse and having an early night.
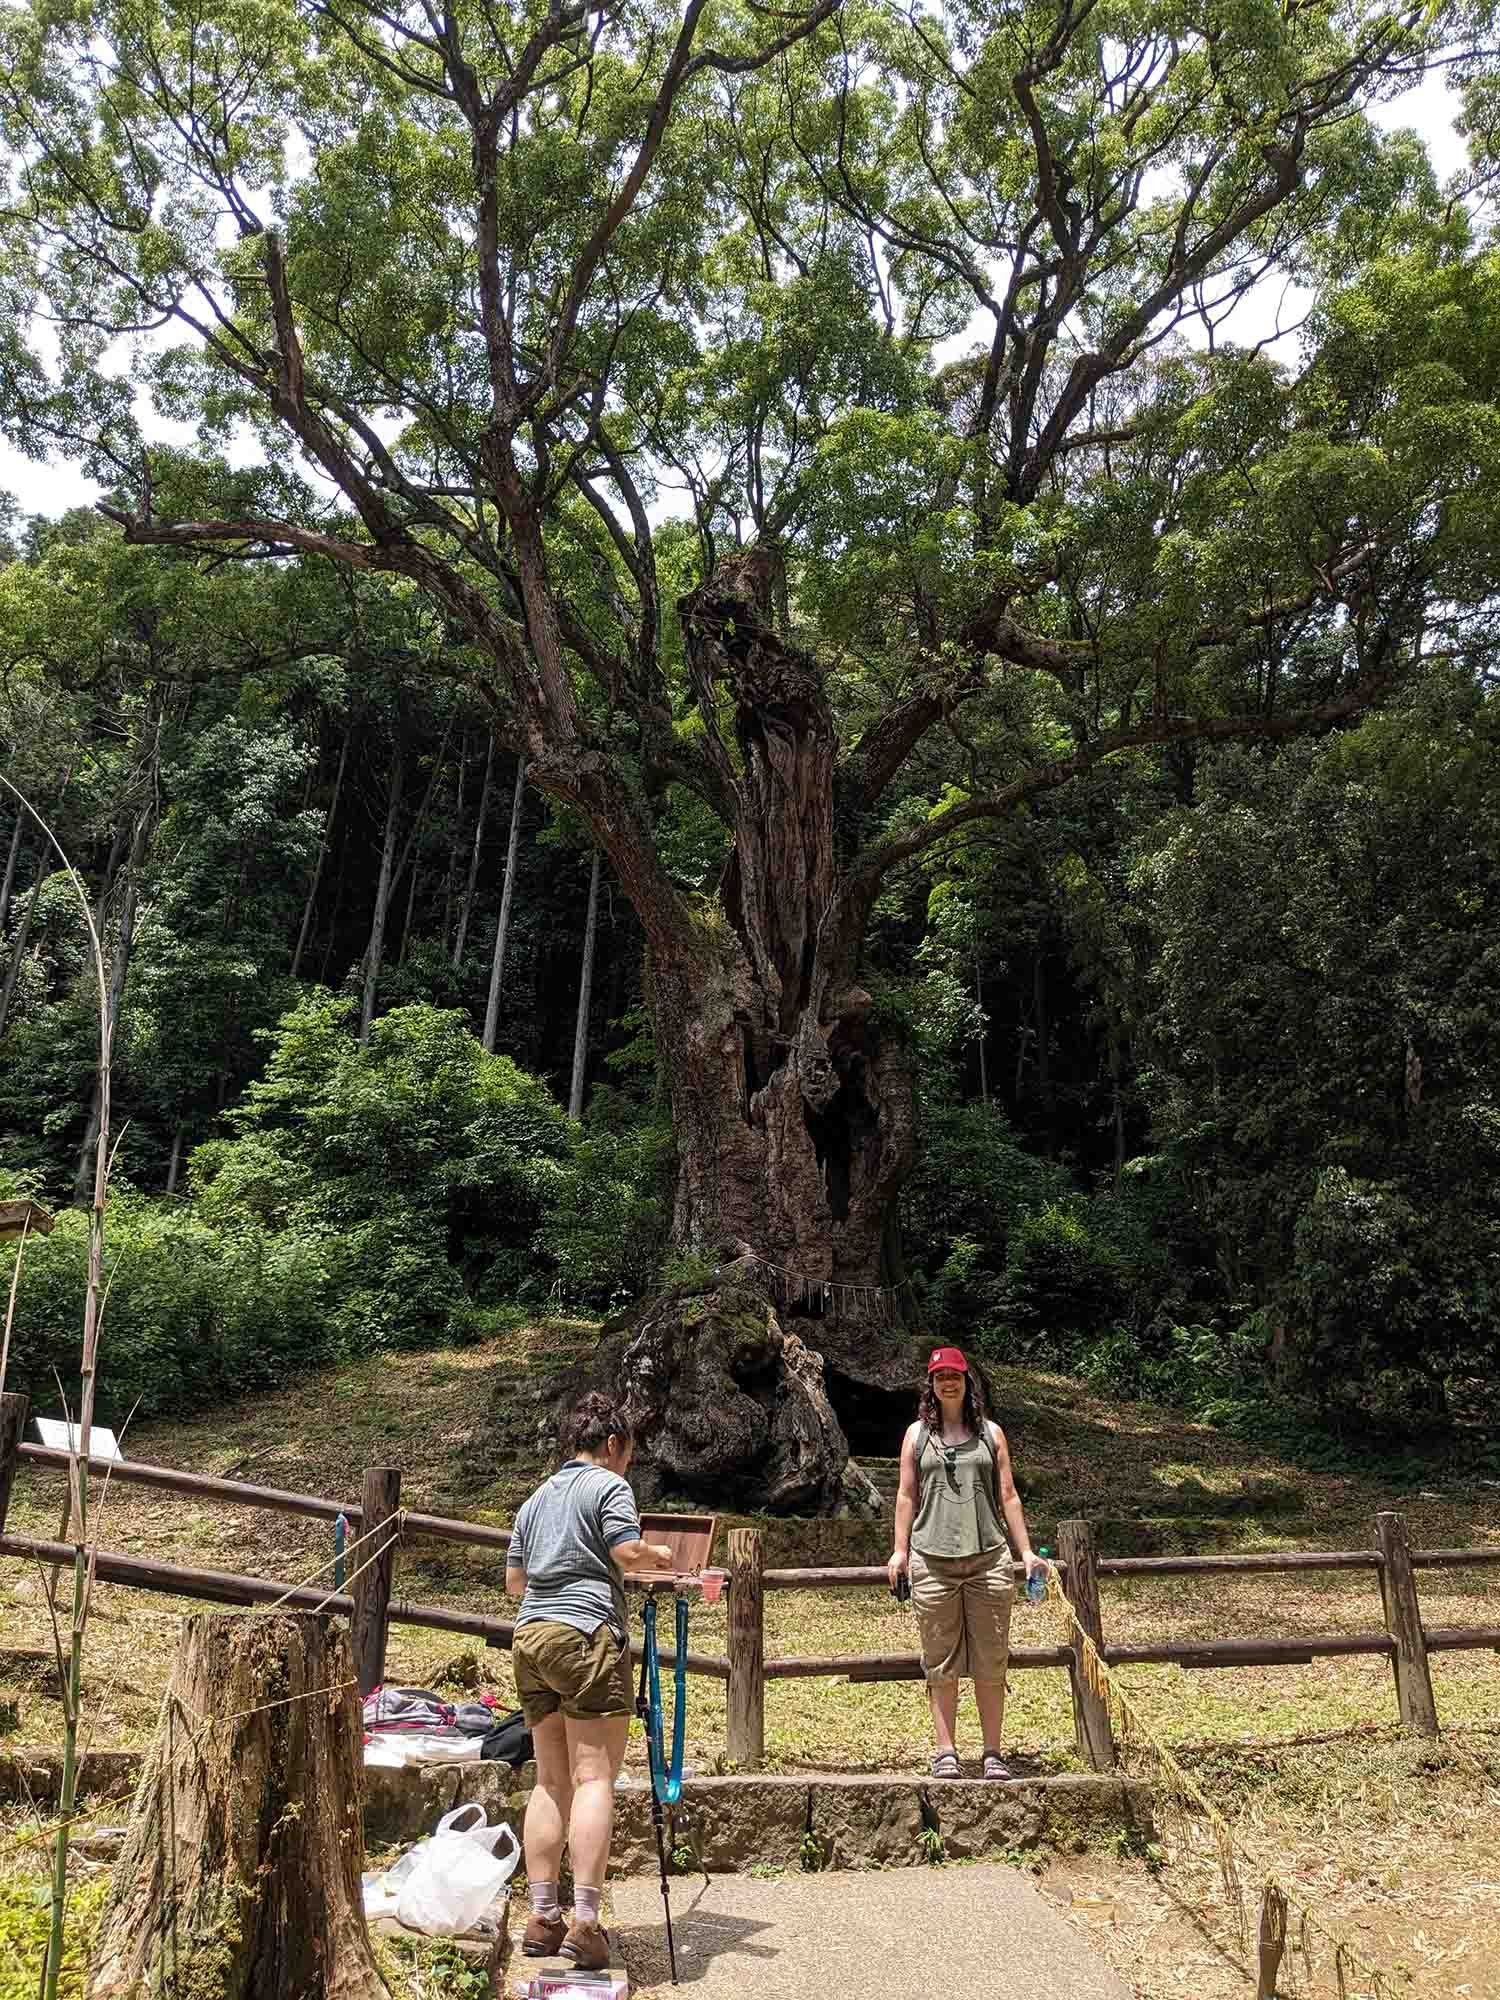
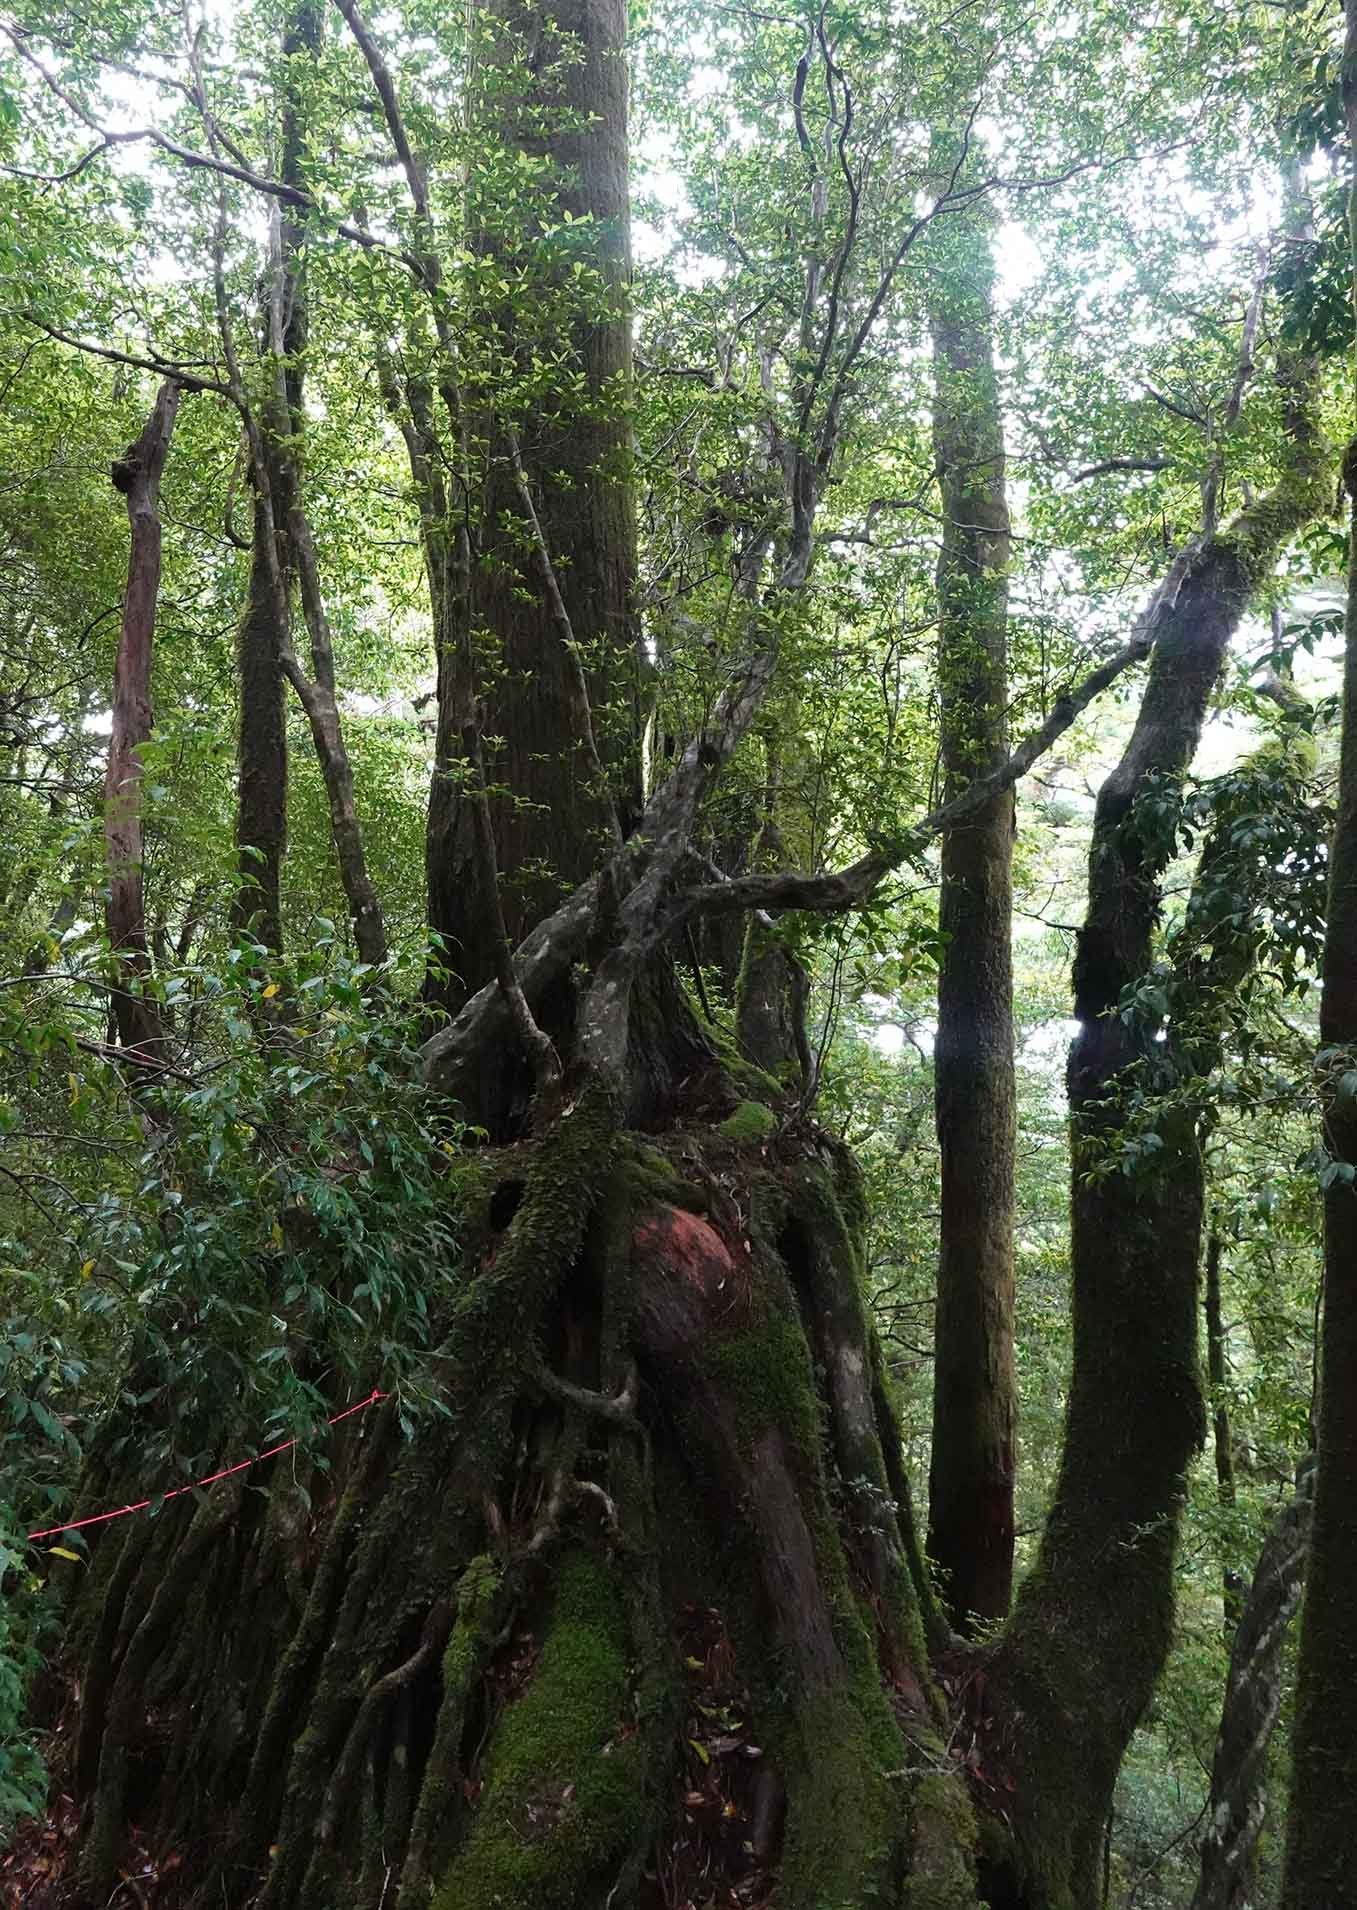
My last full day in Yakushima was a seven-hour forest hike! We departed at 7:30am for the Yakusugi Land & Yamato Sugi hike, which was rated as a 3/5 of difficulty but which I’d probably rate as more of a 4/5 due to constant elevation changes and lack of a trail for most of the hike. It also started raining about a third of the way into the hike, and none of the guest hikers felt like using an umbrella was possible because of the trees/branches all around us so we all just got soaked. It did feel very apropos for Yakushima. A decent part of this hike was in territory which has small leeches. Our guide tried to get us to see them as cute, but I was adamant that I did not want one. While I kept getting dirt on me that looked suspicious, I and one other hiker made it through without a leech! Our guide and two other hikers got one each. I did get bitten by something that I was allergic to though, so I rocked a large bite wound thereafter. The other most rigorous hike I’ve done was an 8-hour hike up and down two mountains in the Peruvian Amazon - this one was more intense, but at 37 I am actually fitter than I was at 27 so I performed better on this one! In fact, I was the fastest woman on the hike; we had our male guide and a male guest hiker who were faster, then me, and then a mother and daughter along. We got back to the guesthouse at 4:30pm and I hopped into the bathhouse right when it opened at 5pm, tried to hang up all my wet belongings, had an early dinner, and was asleep by 8:30pm or so.
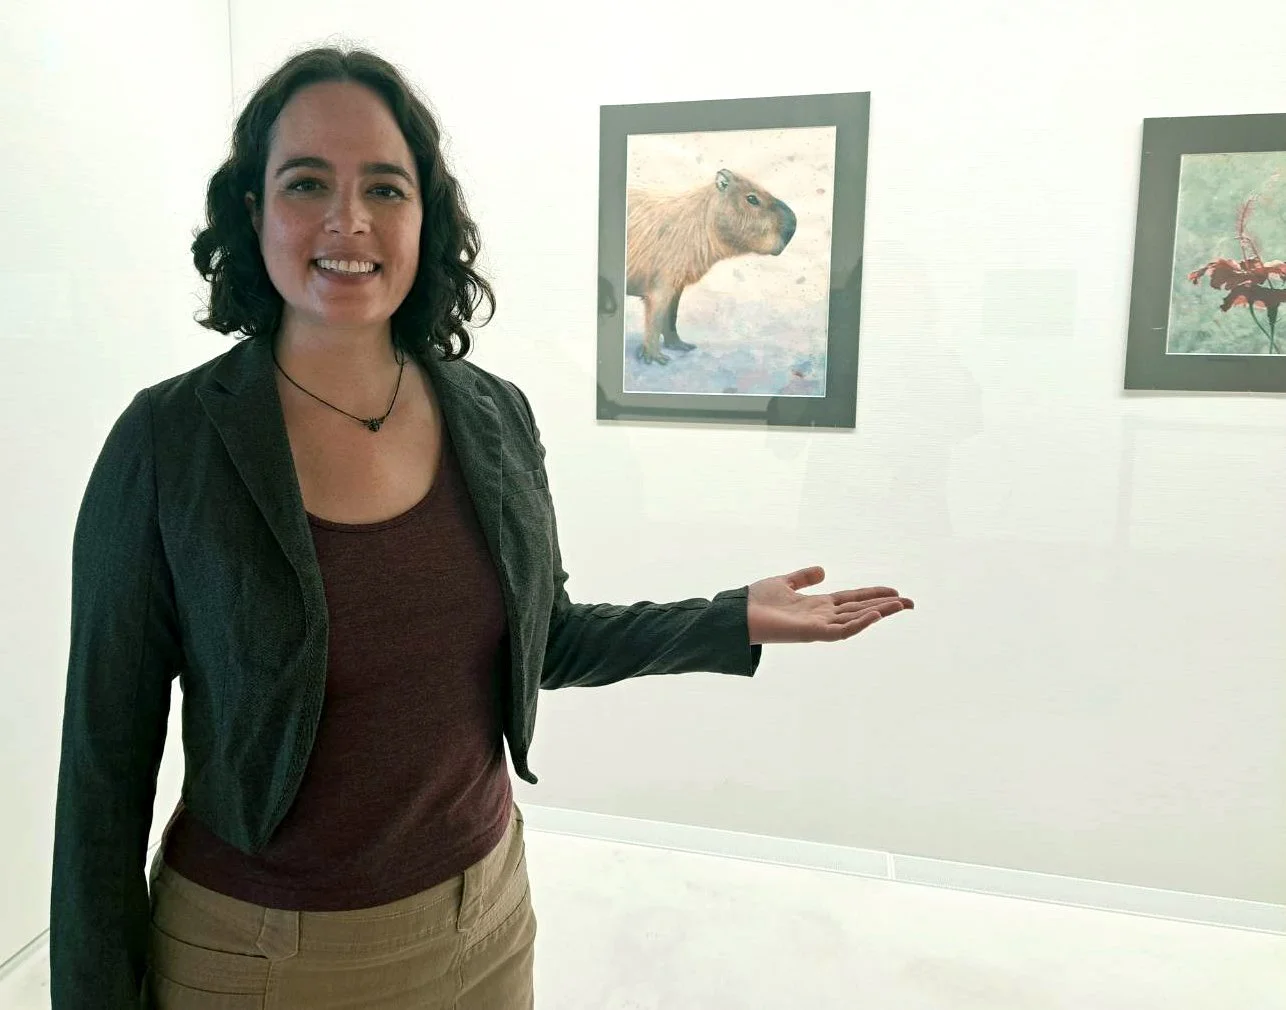
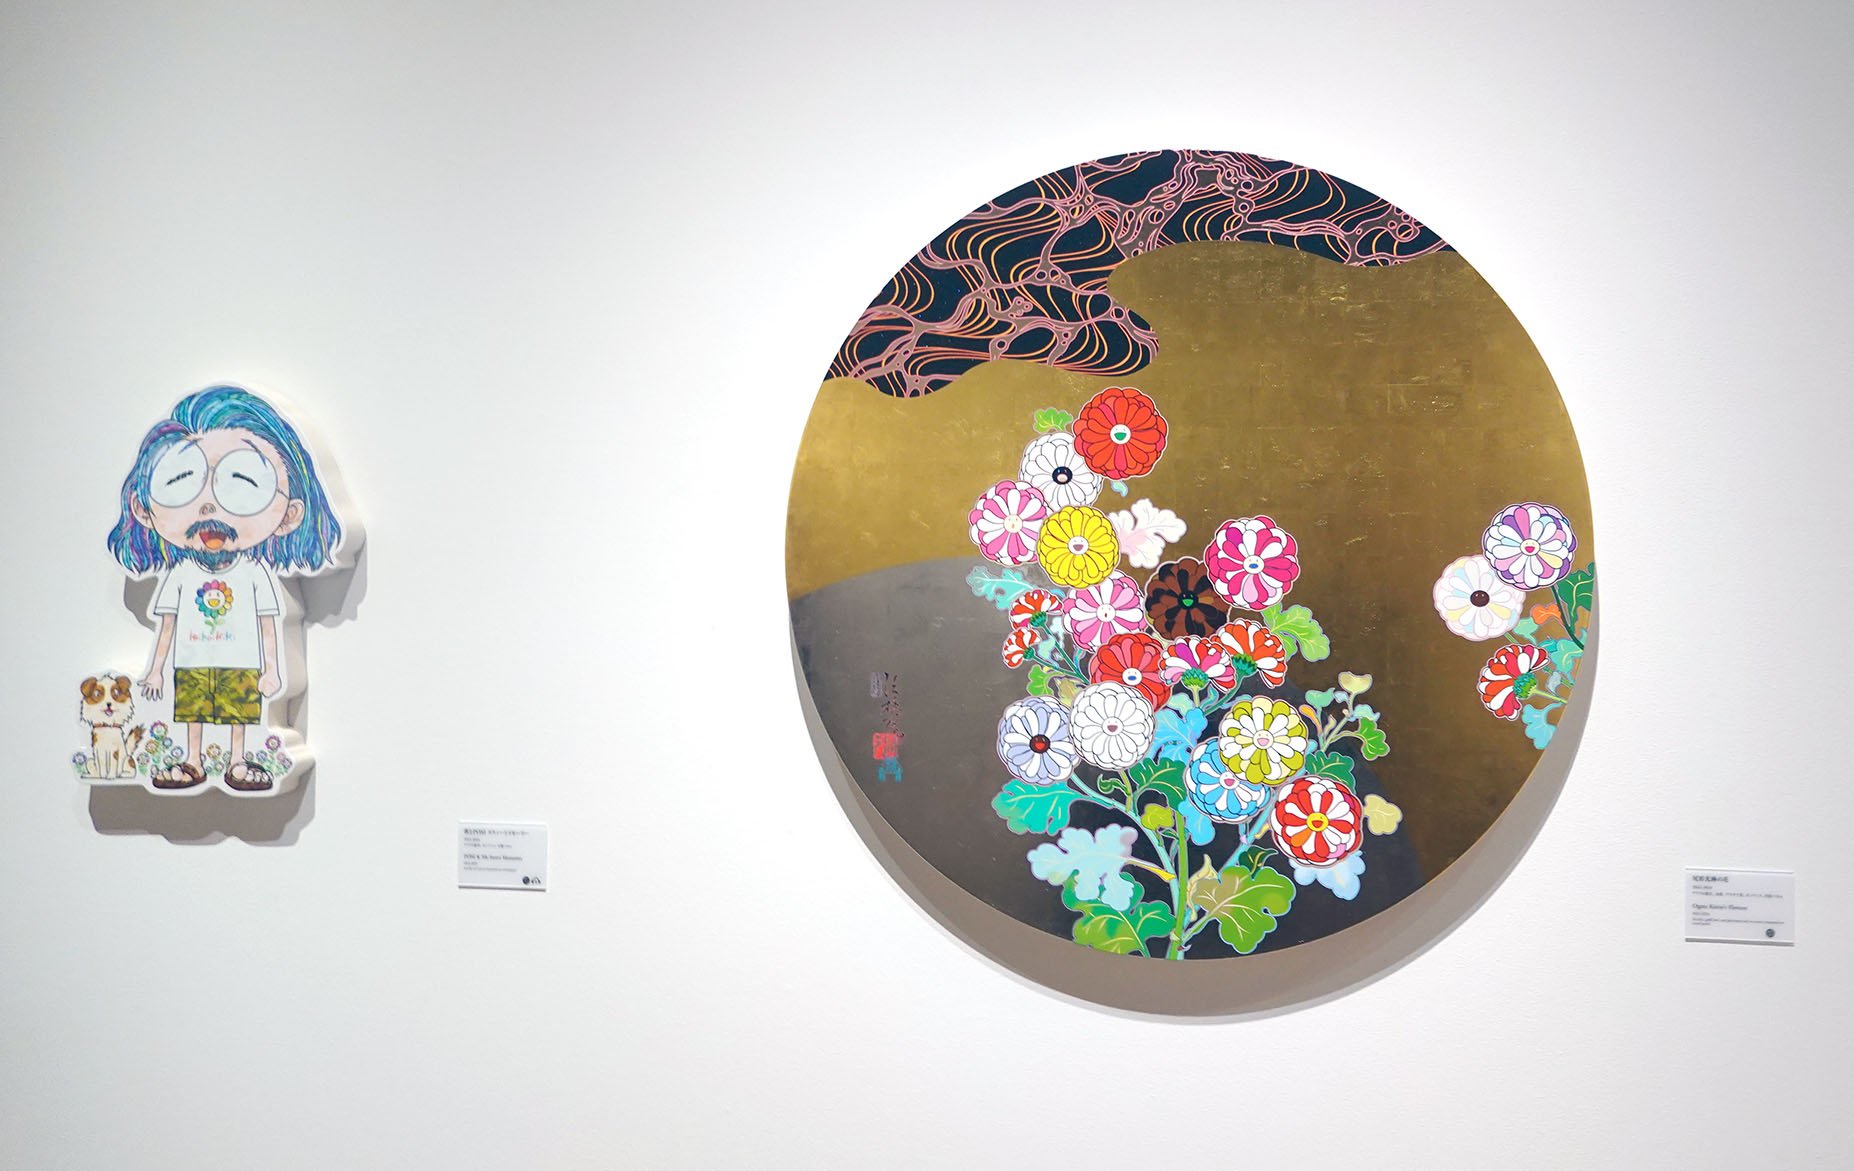
The next day I ate another prepared guesthouse breakfast, packed up, and then took a taxi to the airport at 10am. My flight wasn’t until noon, but I wanted to check out the shops and an art gallery near the airport (the airport is so tiny it’s within walking distance to several stores). I popped my luggage in a coin locker and wandered around for about an hour. Then I headed back to the airport and made my way through security. At the gate, a Japanese reiki therapist named Rina befriended me and we chatted until we boarded the plane to Fukuoka!