I’m just going to call it how I see it; the white crackle pieces I got out of this first round of raku firing were by and large underwhelming. The instructions say to put three coats of the white crackle glaze on; I think my interpretation of what three coats should be was thinner than the intended result. Next time, I plan to do at least five coats. However, it is also the case that in order to deter cracking, we did not plunge these pieces into water upon removing them from the kiln. Though dunking into cold water does increase the chances the whole piece shatters, it will also increase the crackle effect in any survivors. Not doing so may have also limited the resulting crackle in these ceramics.
I did apply and rinse off India ink on all the below pieces in a post-process attempt to heighten the crackle’s contrast; this did have a very slight effect, but it didn’t do nearly as much as I’d hoped.
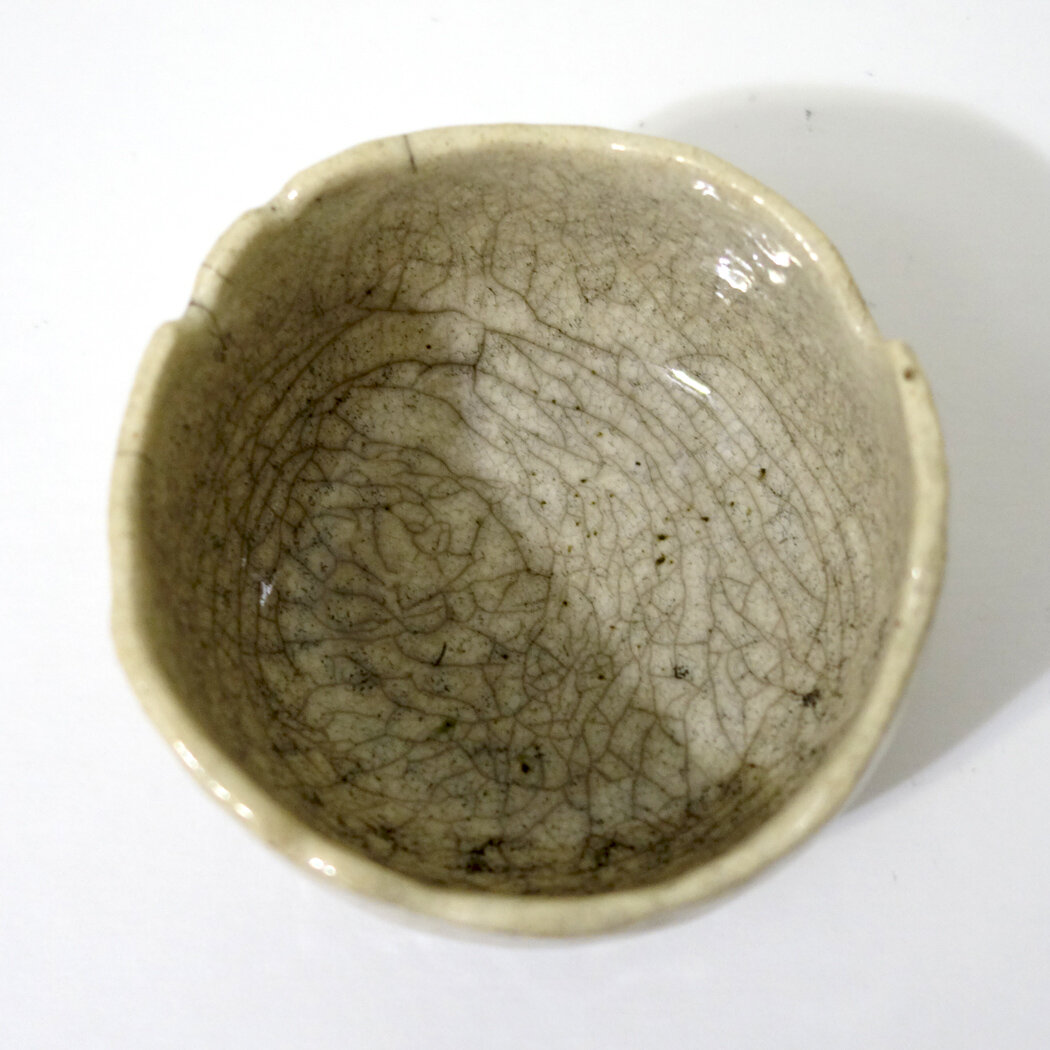
Below is the first piece; it’s a small dish, and honestly, the crackle is more impactful in these photos than it is in person. To me, it’s not that interesting of a piece, which is a shame as the costs of the process make it more expensive than I think its aesthetics merit.


The second piece has a similar aesthetic; it is perhaps a bit stronger, but still not as powerful in the crackle as I’d like. This one is a planter; raku is not watertight, so I plan to coat the interior with Thompson's WaterSeal to hopefully increase longevity before planting inside.


The third piece is much the same as the second, including it being a planter. The India ink soaked into the general glaze body more on this one, though, in a kind of pitting or freckling effect.
I had completed all of my white crackle glazing on these pieces before I fired any of them, which I now realize was a mistake; I should have glazed and fired one and then adjusted my process for the subsequent pieces. Admittedly, that is only somewhat possible as there are a limited number of firings per workshop, but it is a strategy that I plan to consider moving forward.


Finally, I present to you the only white crackle piece from this workshop that I consider to be successful! A combination of luck and possibly forgetting how many coats of glaze I applied and thus erring on the side of adding another contributed to this result. The brownish tinge near the top rim is an artifact of the smoke staining the surface; it is easily removable in the first 24 hours of the ceramic’s post-glazing life but then settles in. I somewhat thoughtlessly removed it from all the above pieces, but with this one I realized I could use it as a design element and didn’t remove it all. The strong black at the base is an artifact of the burning substrate (newspaper, in this case); it too could have been readily removed early on in the process but I again thought it added a dynamism to the piece. This one, too, is a planter, and will be receiving the Thompson’s WaterSeal on the interior.


I am still intrigued by the possibilities the crackle glazes (white and clear are the most standard options; turquoise is a rarer possibility as well) offer, but I will be more conservative moving forward with this glaze type due to this overall turnout on my first batch of attempts.