Bisqued pottery ready for the workshop!
Here are the Mason stained, ferric chloride dipped, and saggar fired pottery resulting from my fall workshop! I used three different Mason stains: chartreuse, jade green, and dark teal. I mixed the stains with terra sigillata and applied them in a variety of ways (brush, sponge, scraper). I was purposely going for choppier, sectioned out applications of the Mason stain this workshop to compliment the choppy, random ferric chloride saggar markmaking. (I previously experimented with all-over solid dark teal in varying terra sigillata tints.) To the right is an image of all the bisqued pieces for awaiting ferric chloride dipping for this workshop.
After applying the ferric chloride, I did use a combination of sugar, copper mesh, copper wire, and/or Muehlenbeckia axillaris aka Creeping Wire Vine to contribute additional texture/carbonization, and then wrapped the pieces up in aluminum foil.
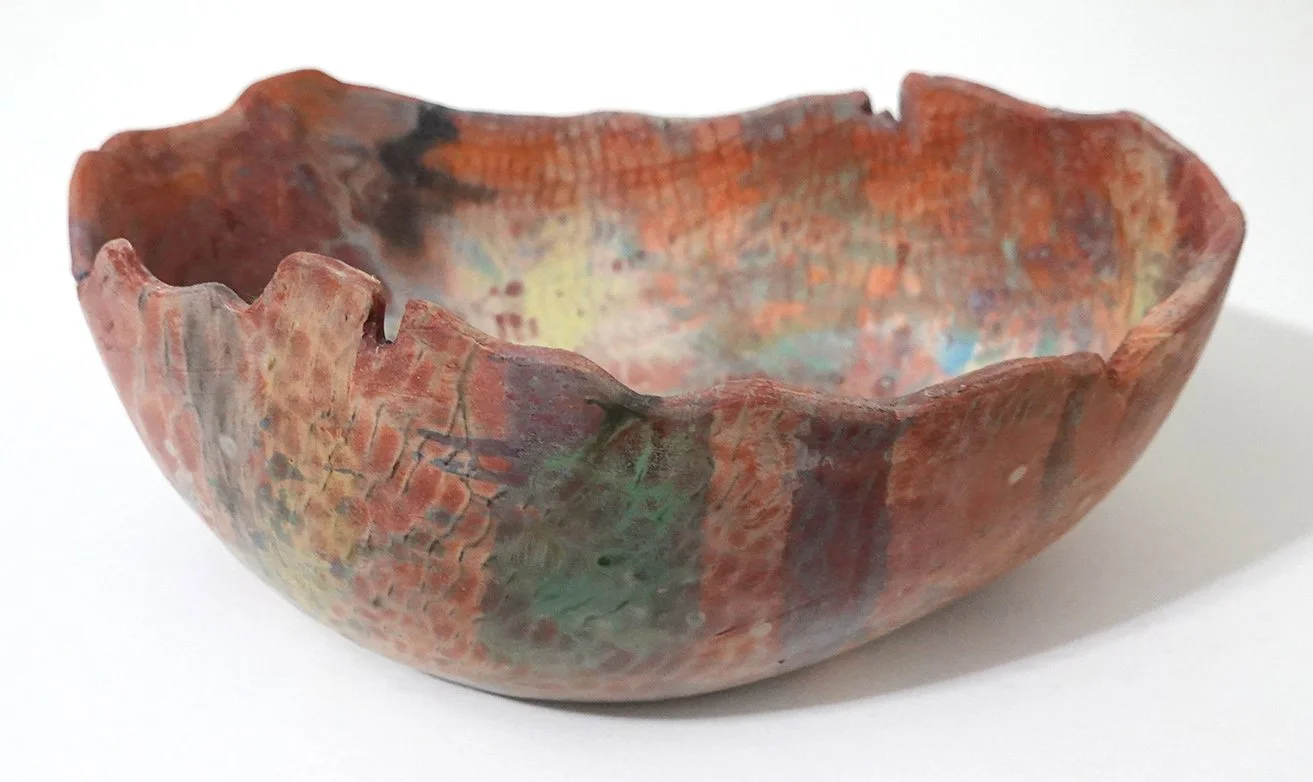
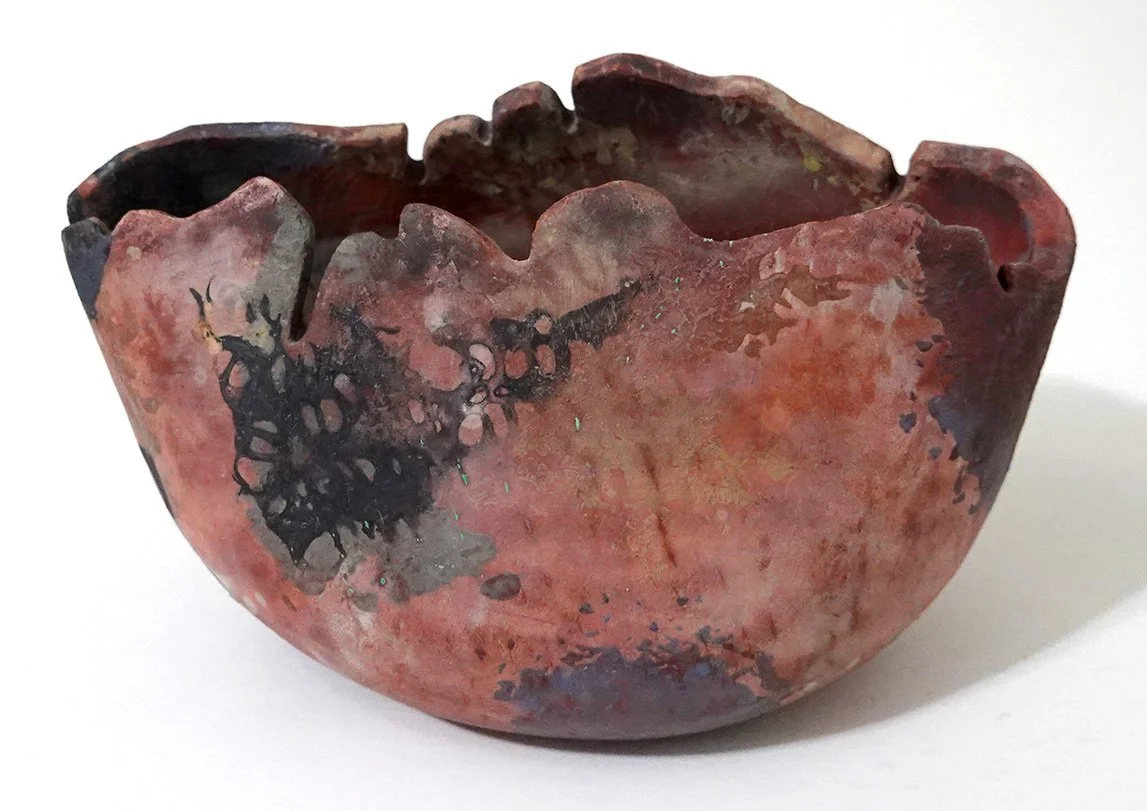
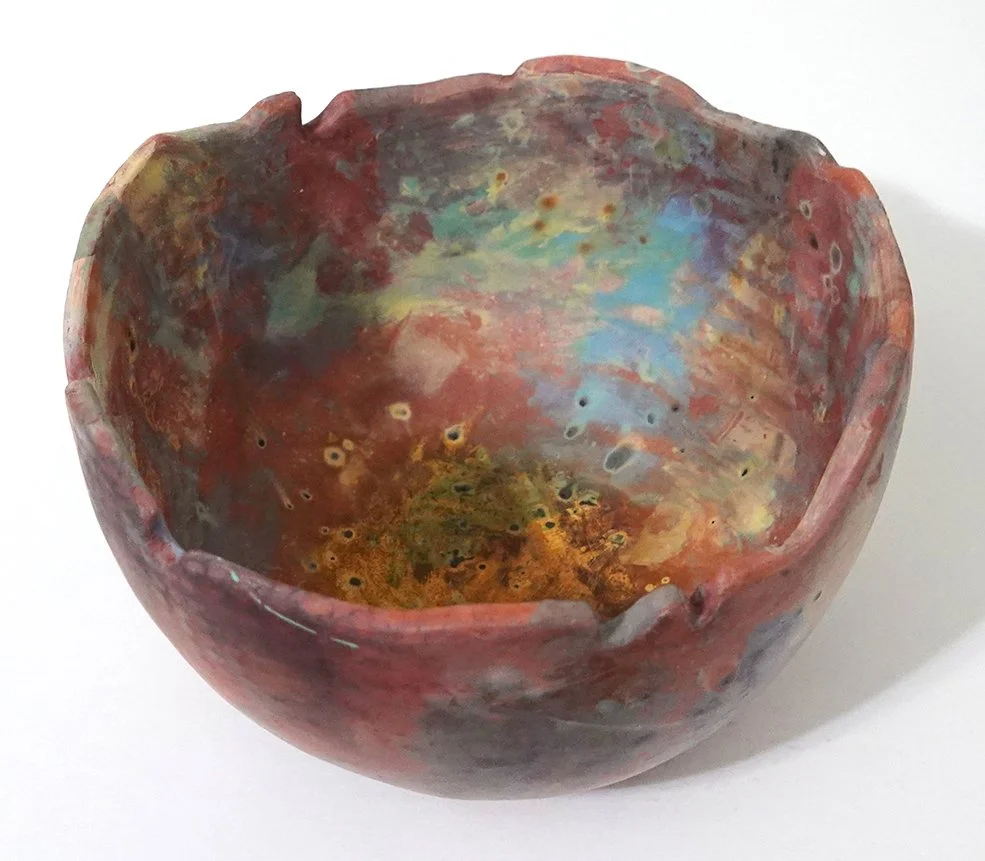
First, a large bowl:

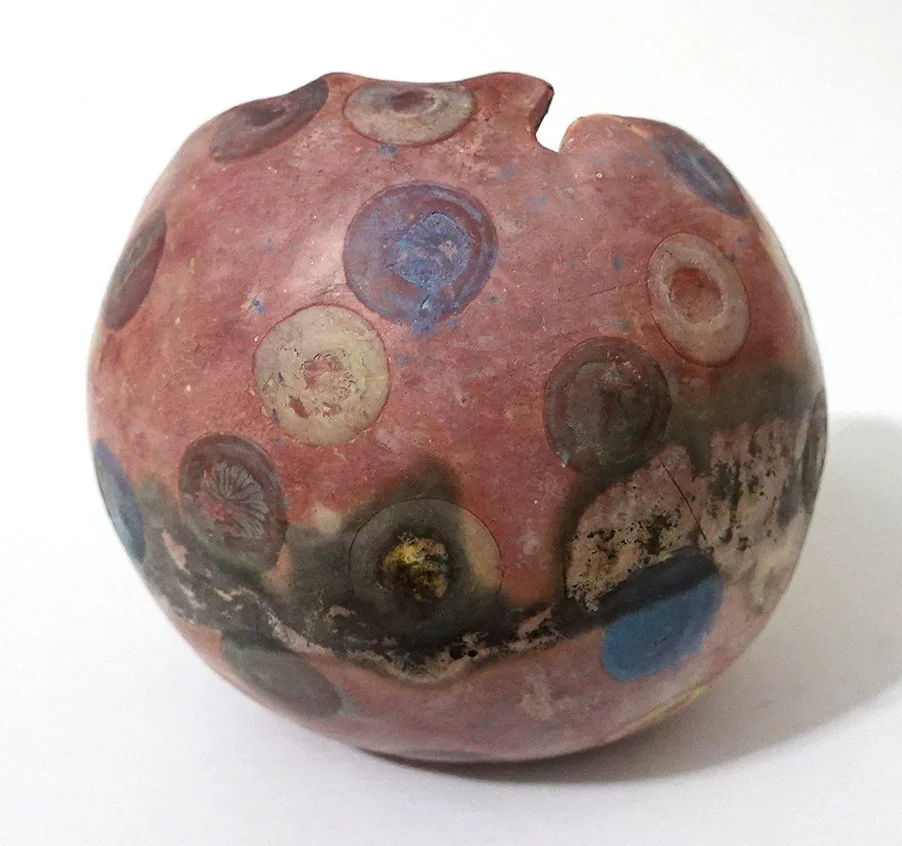
Next, a squat vase:

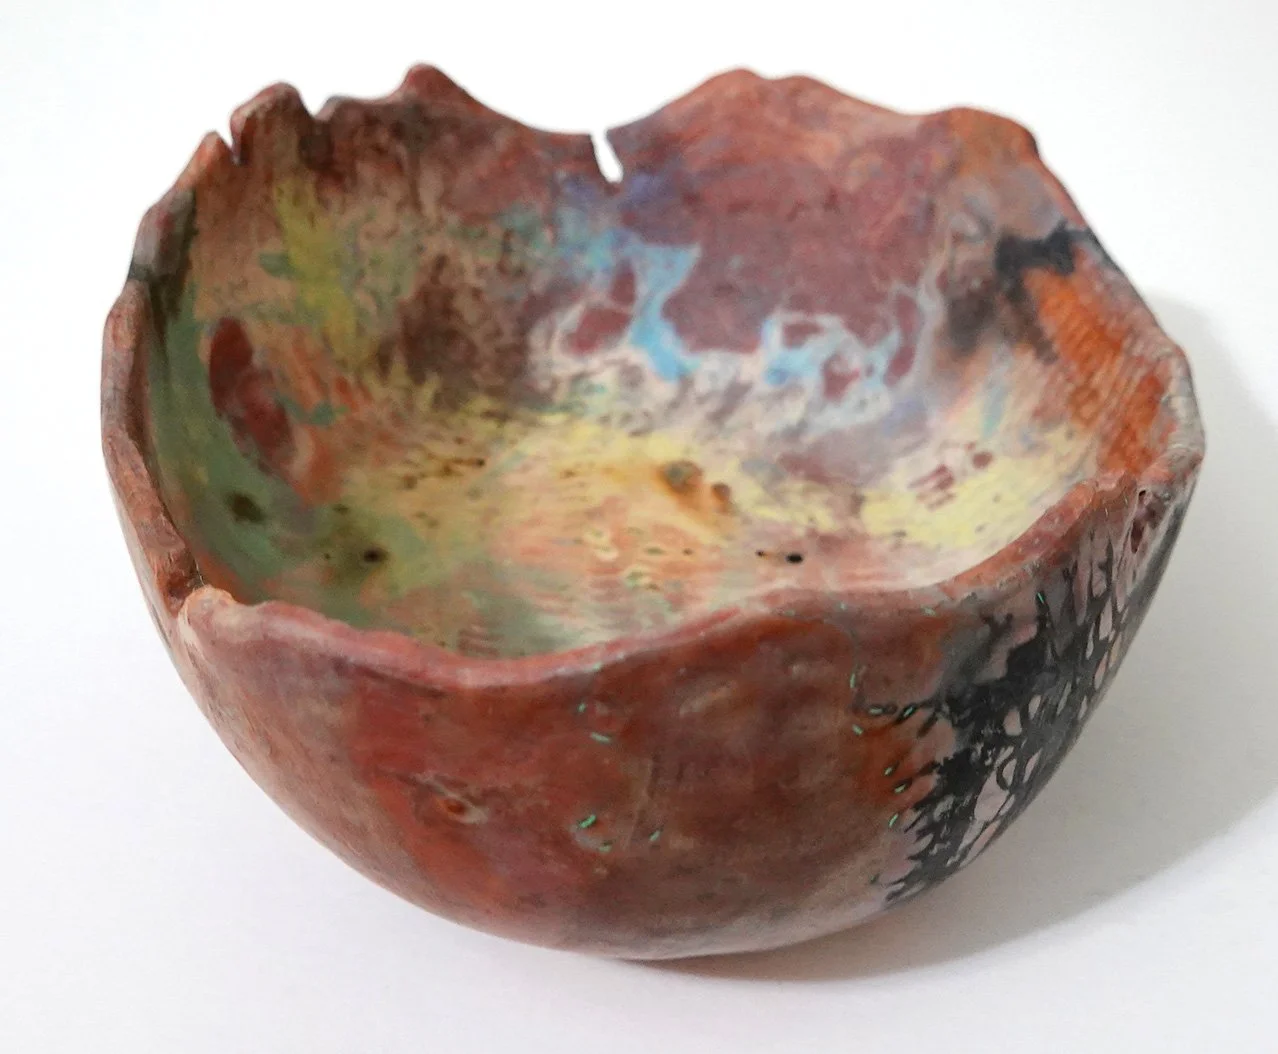
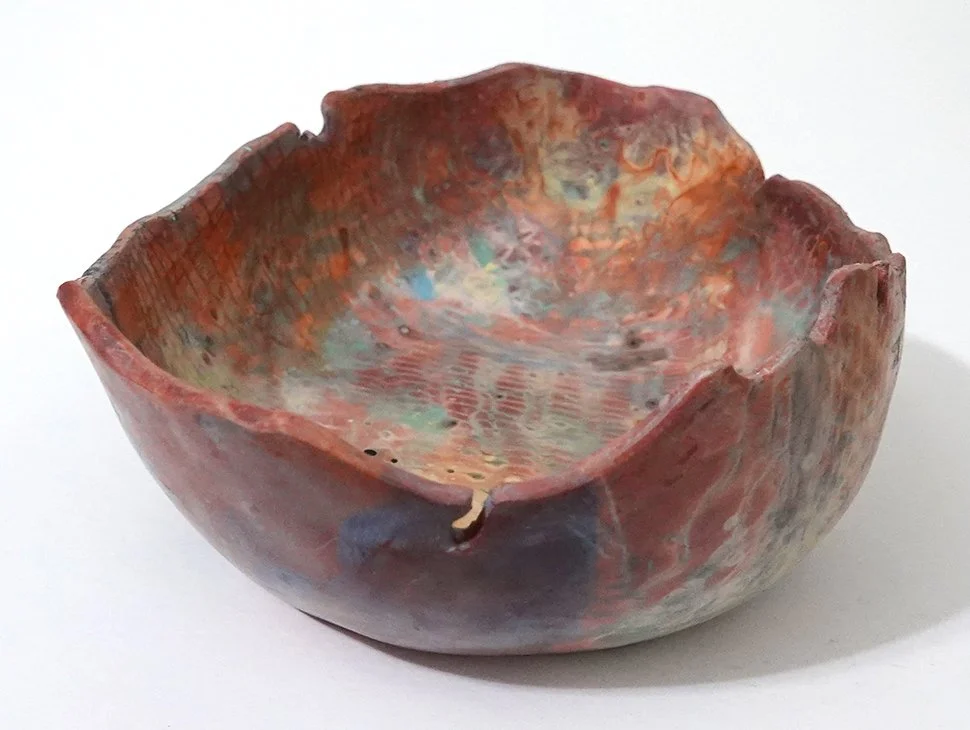
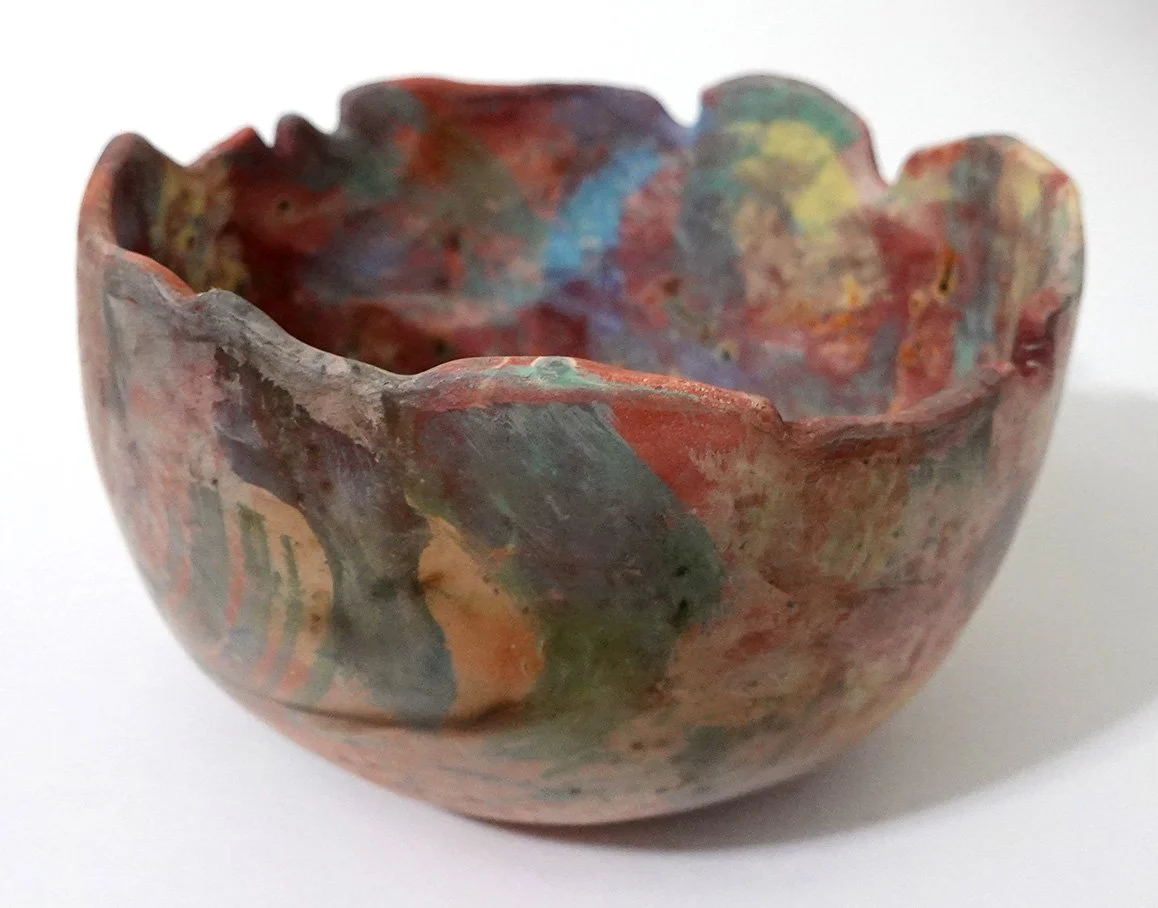
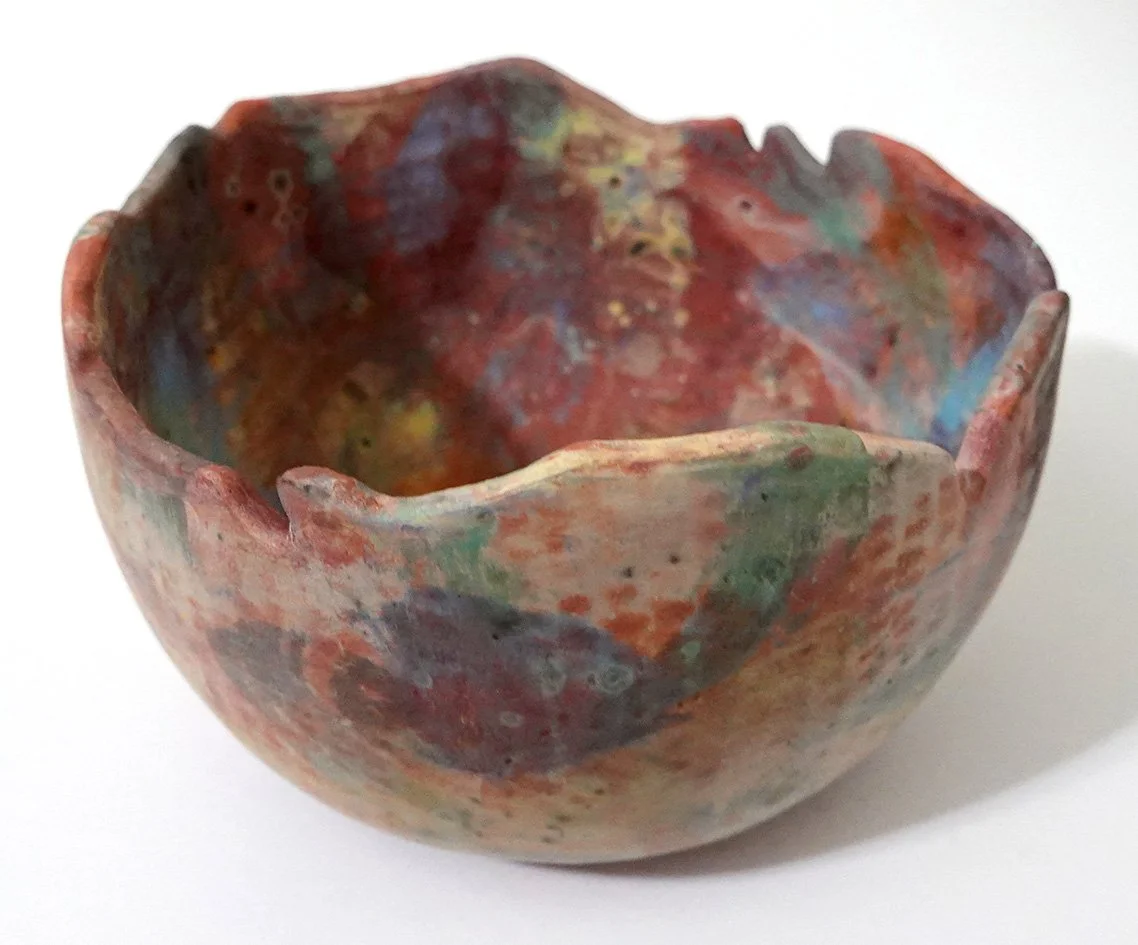
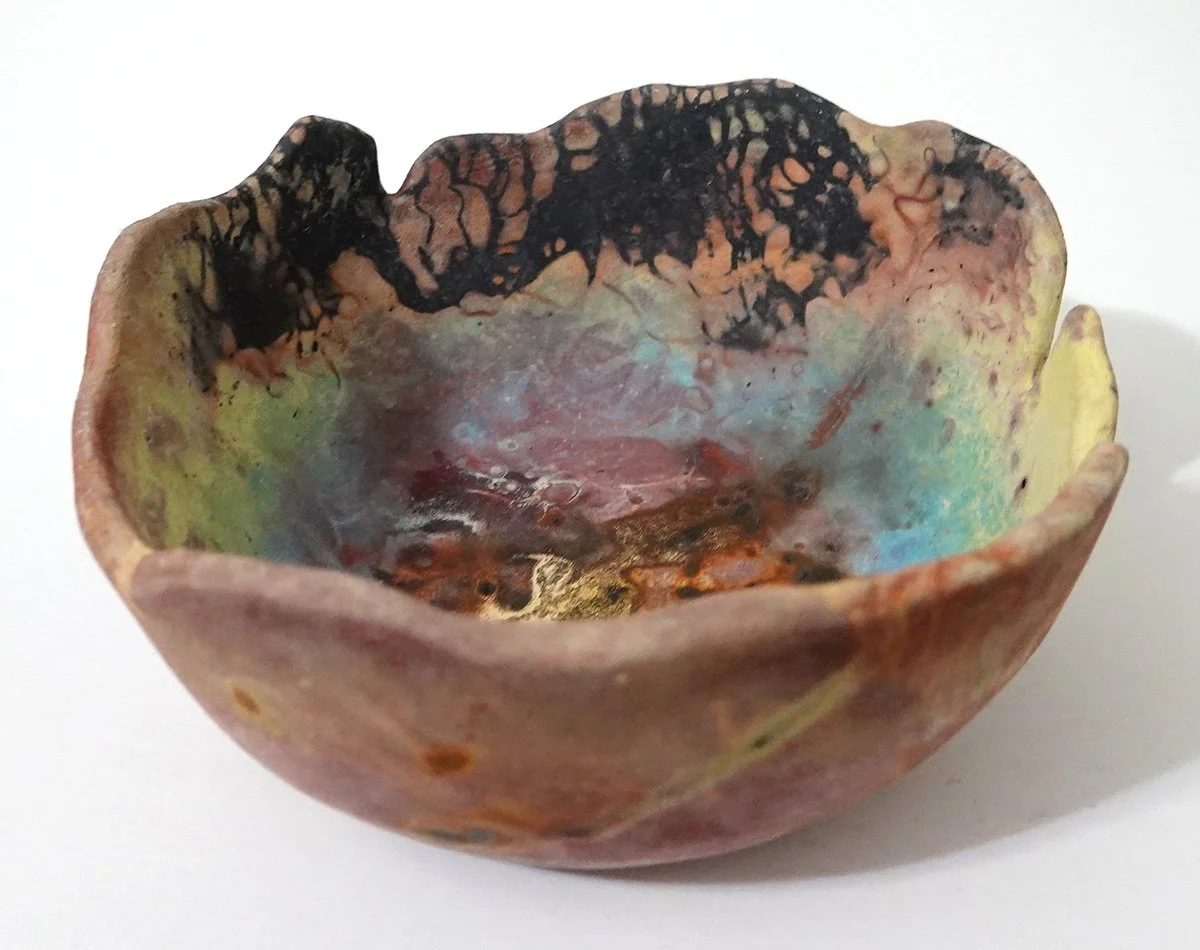
This is a taller, medium-sized bowl:
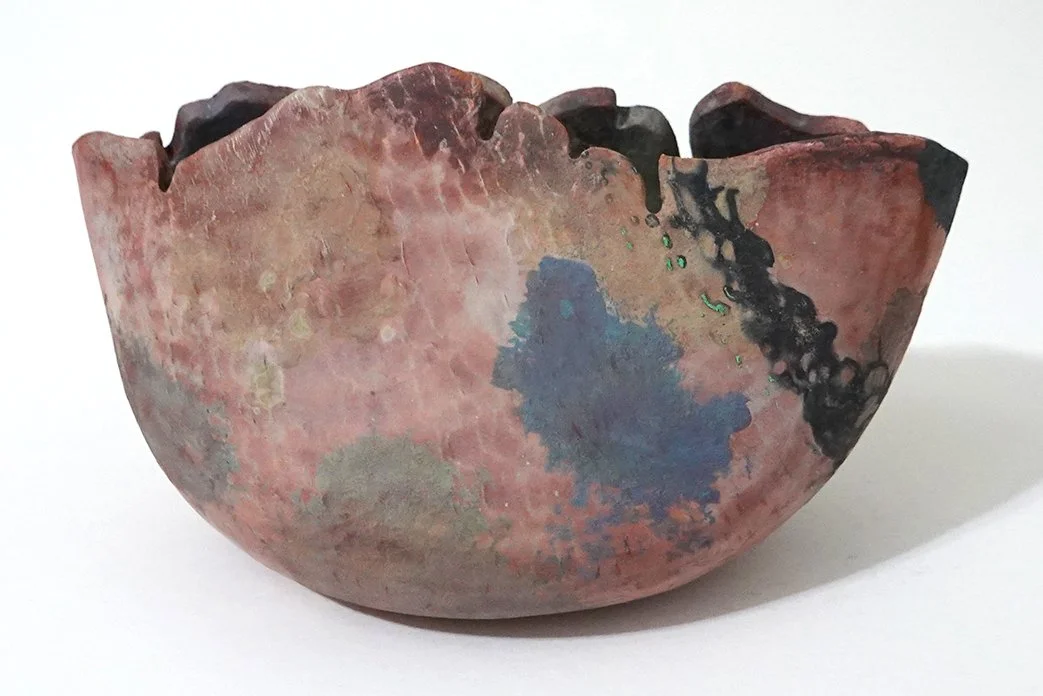
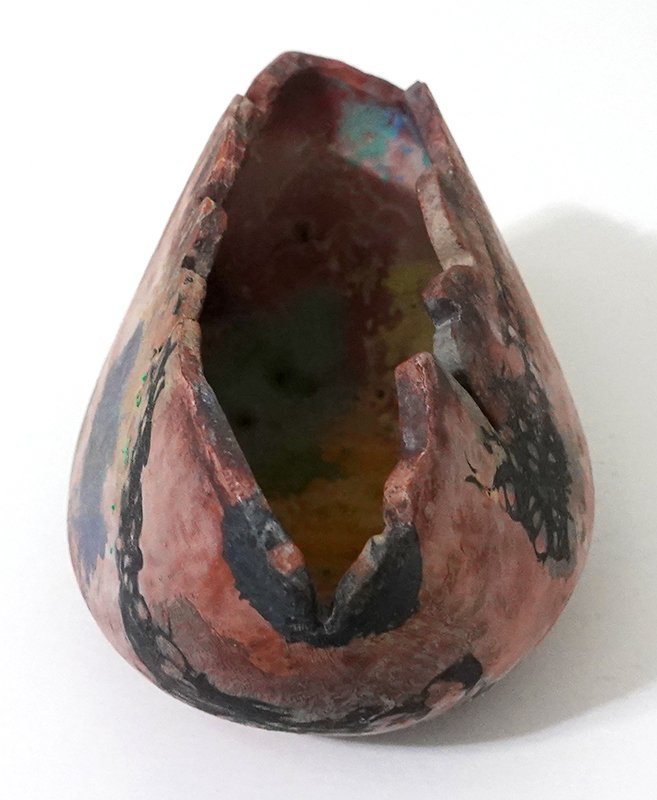
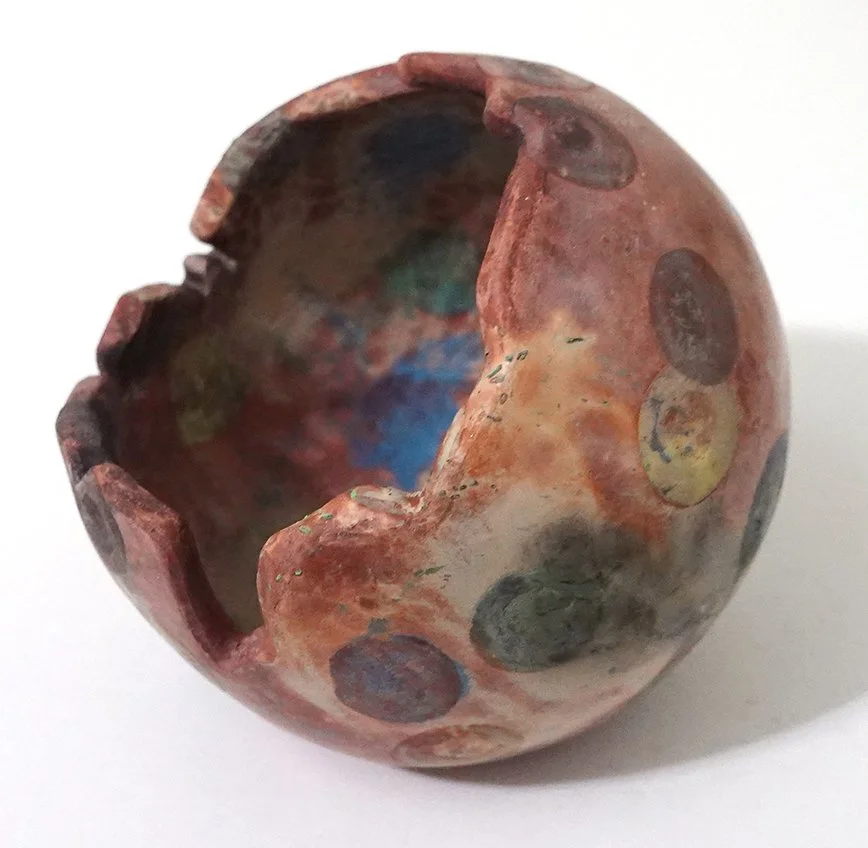
A sideways-opening orb - I think it’s one of those pieces that doesn’t photograph as well, so it’s significantly cooler in person:

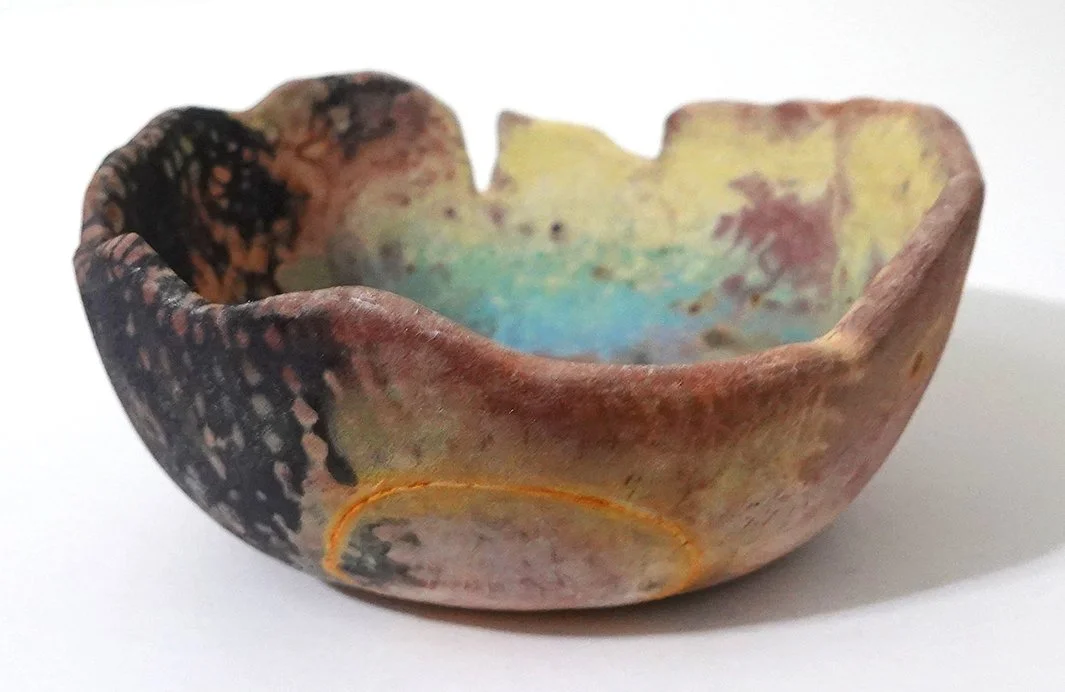
Finally, my favorite piece (mostly due to the finish, but I also like the shape). However, it unfortunately blew off an outer side piece of exterior as well as a piece off the bottom in the stressful firing and cooling process. Since it’s raku anyway (meaning it’s not food-safe or watertight even when undamaged), it’s less important when a piece is damaged. Luckily neither of these blown-off spots went all the way through the ceramic body or caused cracks to the body itself, so they’re just cosmetic and the ceramic itself is still sturdy. I decided to try a kintsugi-inspired repair for the side wall, and just put a foam furniture foot in the bottom cavity for added stability.

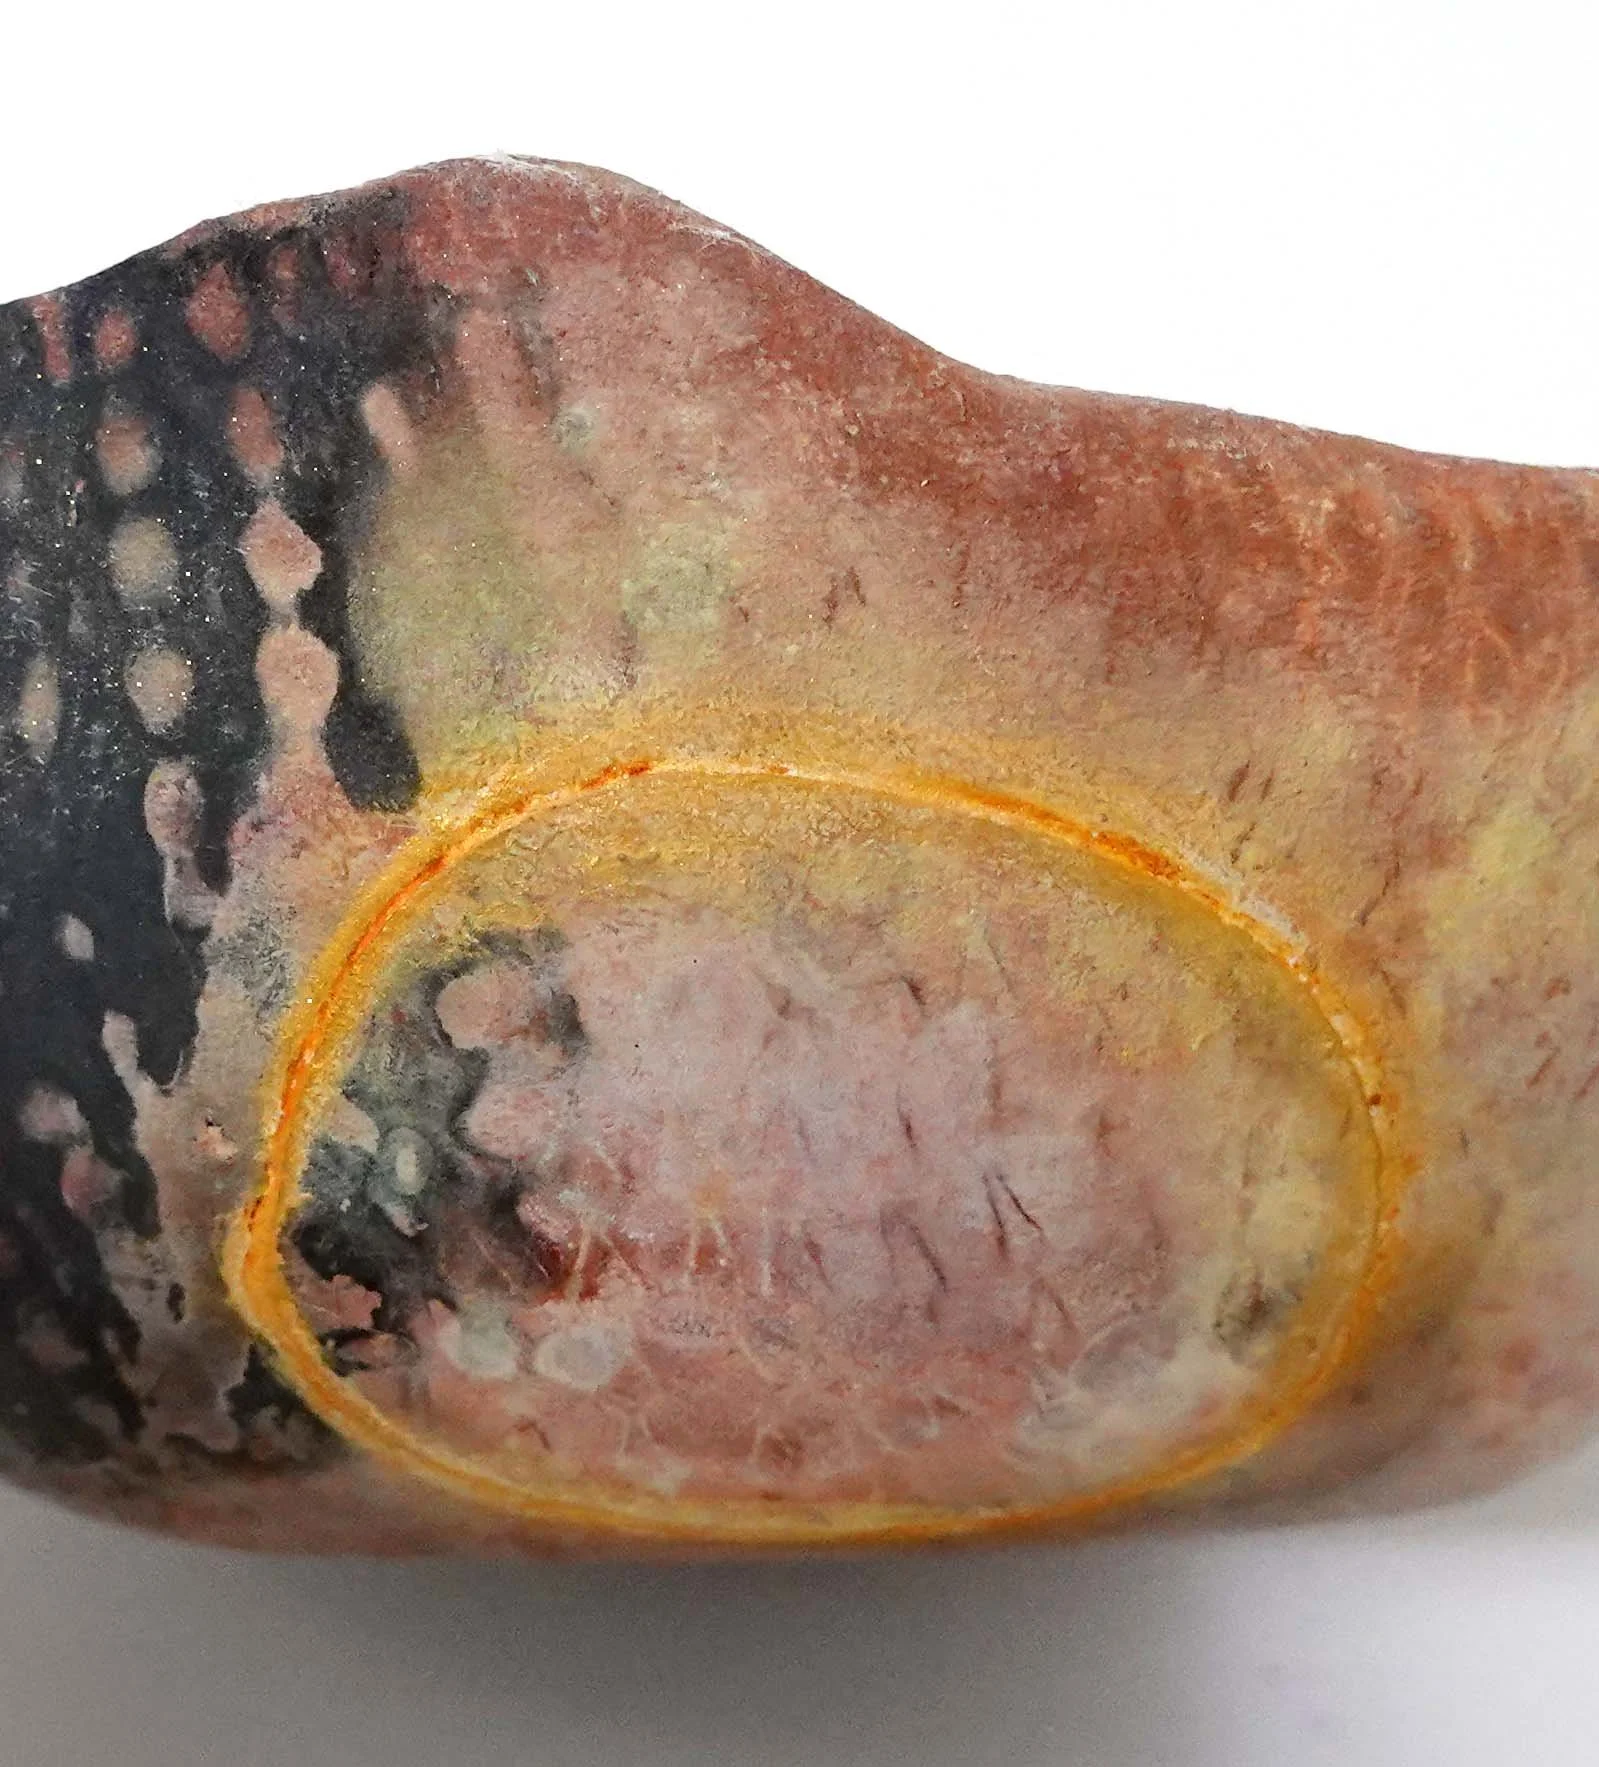
If you want to see a clearer detail shot on the kintsugi-inspired repair, here you go! I used a combination of super glue, gold mica powder, a little spackle, and quinacridone / nickel azo gold paint to achieve this repair. I initially had planned on just using super glue and gold powder, but the gold wasn’t showing up as much as I wanted and there was still a bit of unevenness to the edge so I added the spackle and paint to smooth it out and deepen the color.
Again, since the blown-out section was shallow enough, it did not require repair on the interior side.
As you may know, real kintsugi is a much more laborious, toxic process (I did one of the steps in a workshop in Japan in 2024) that when done correctly ensures food-safe results to originally food-safe ware; to my mind it is overkill for non-food-safe rakuware.