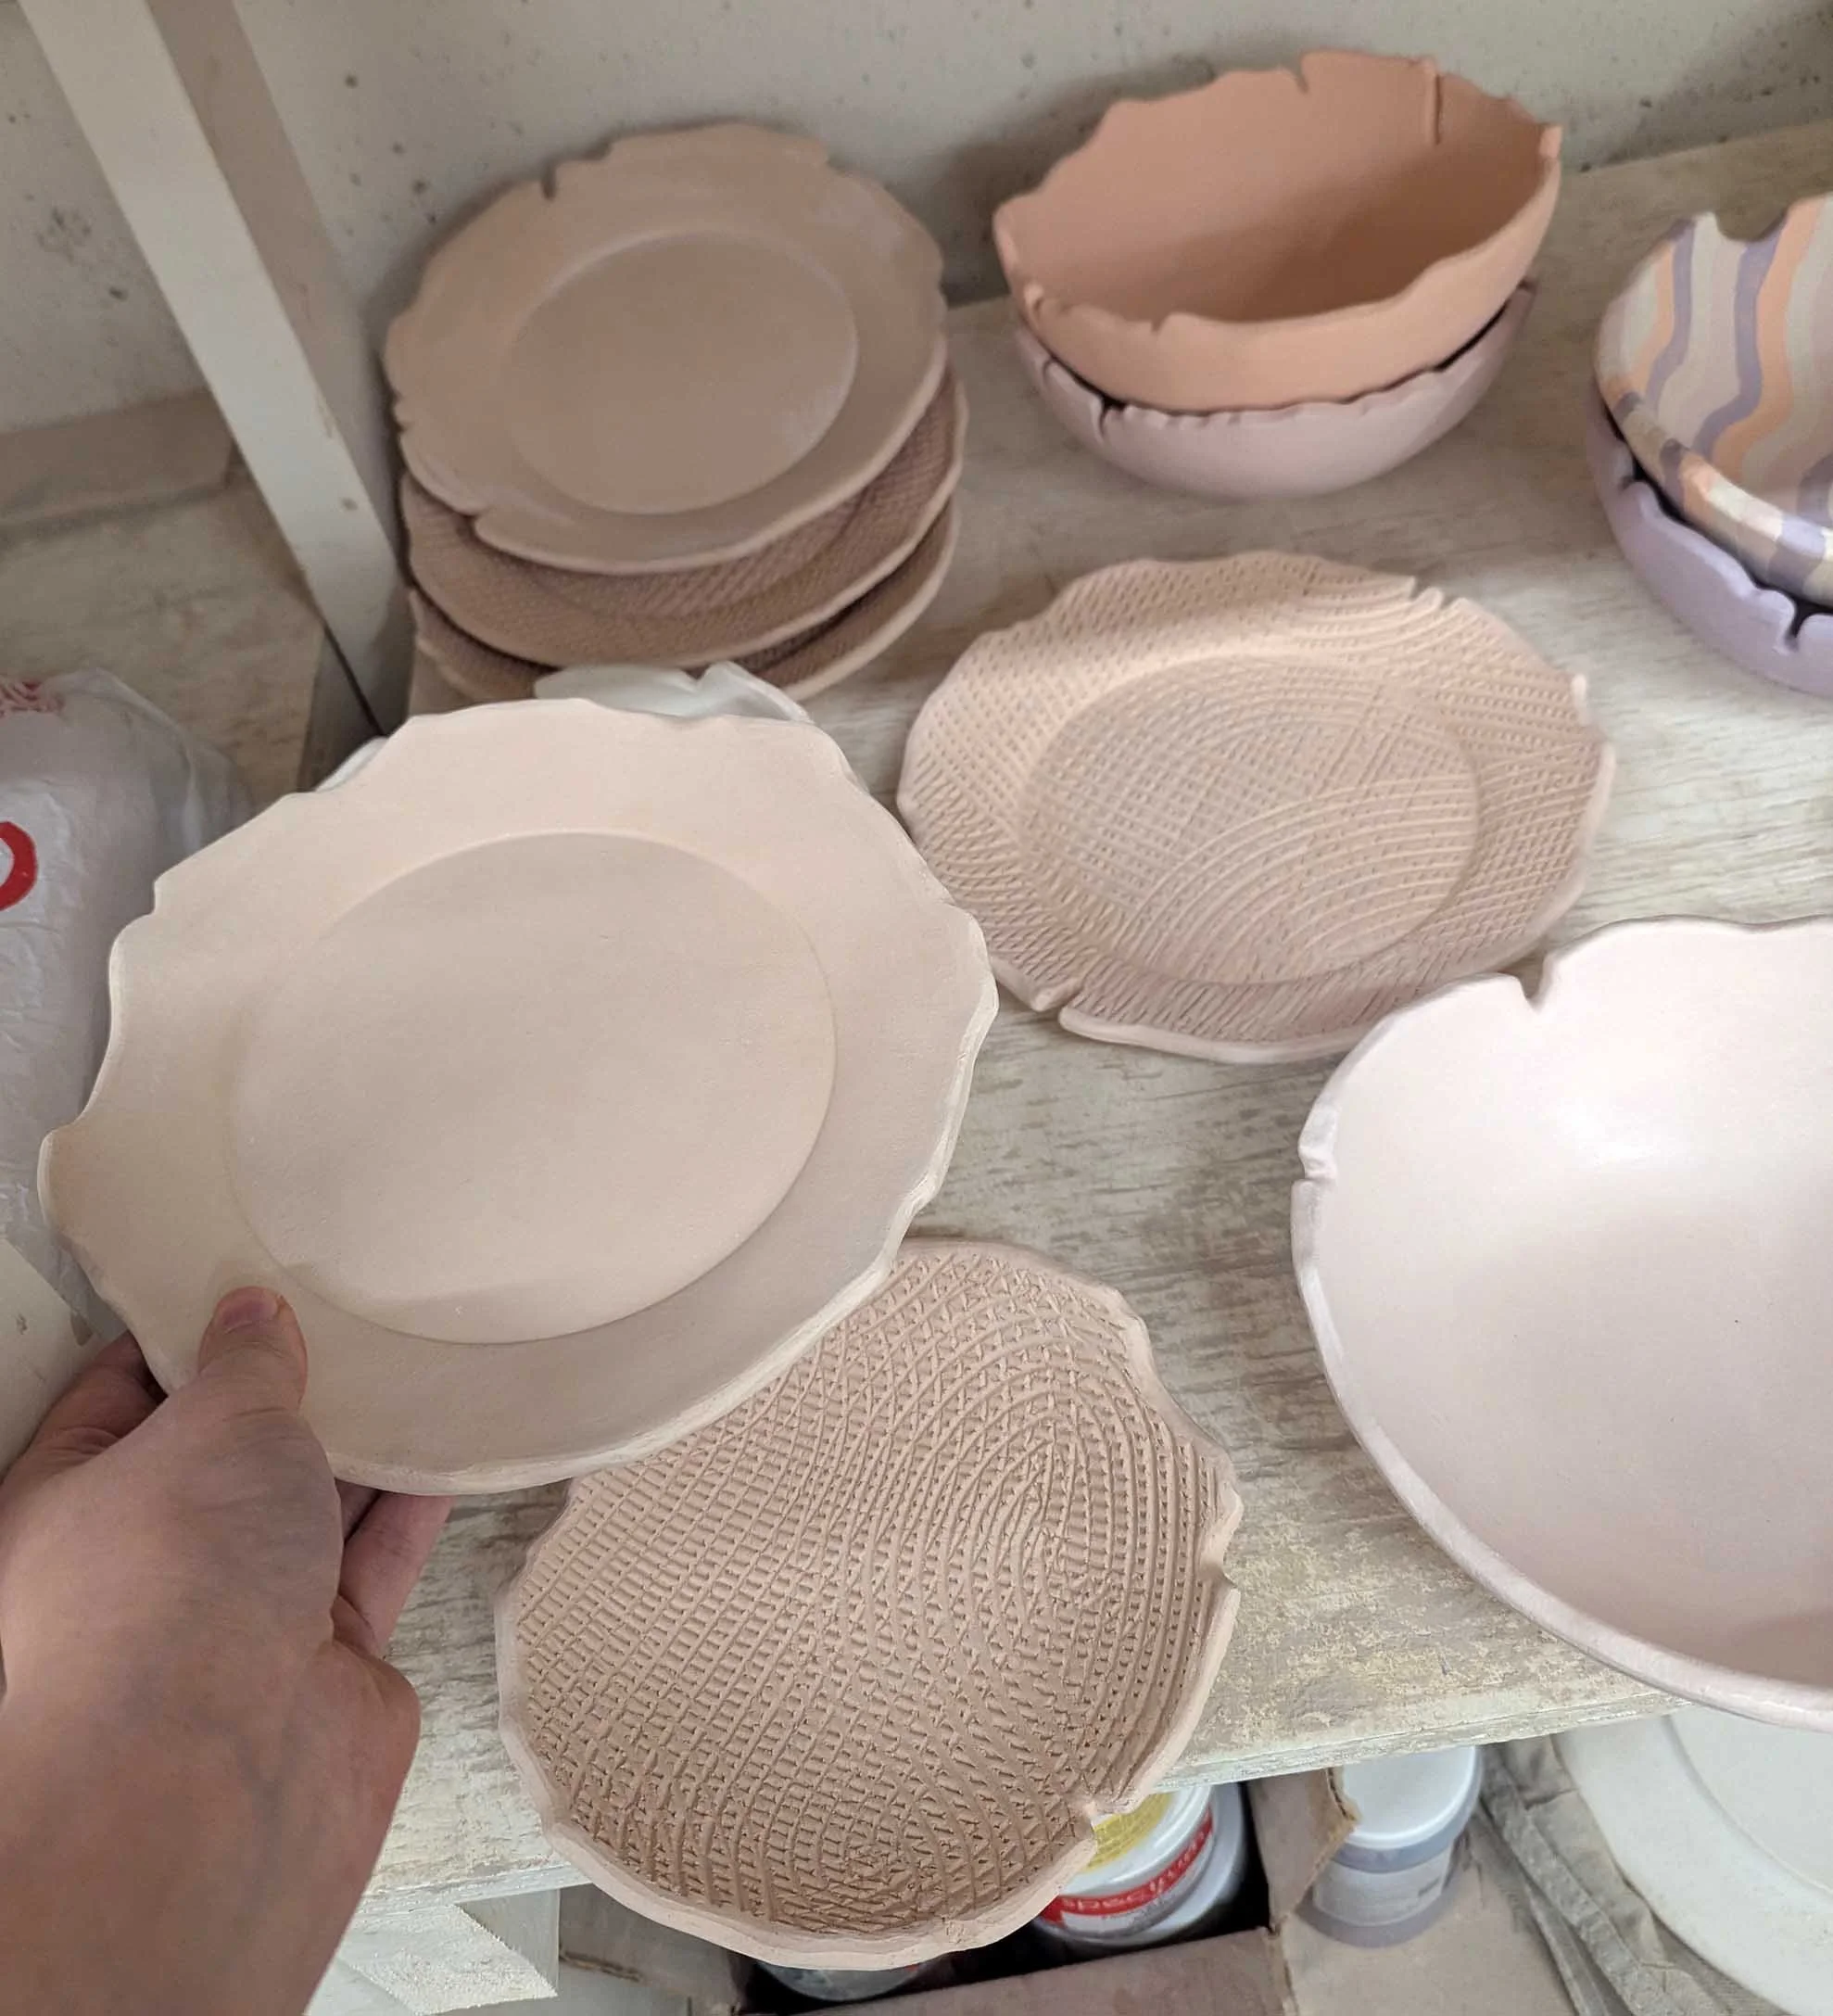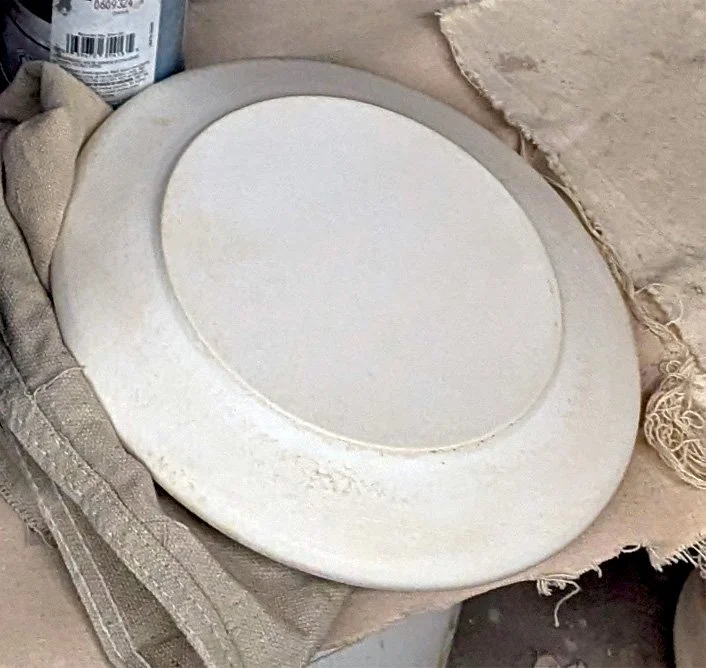
A plaster hump mold for a plate.
I’ll be taking a group of nine (including myself) to another raku ceramics workshop at Dakota Potters Supply this weekend!
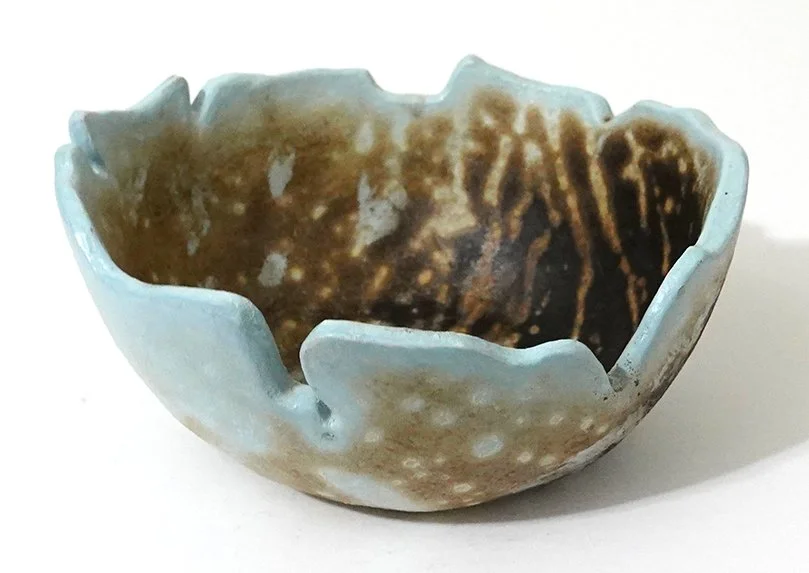
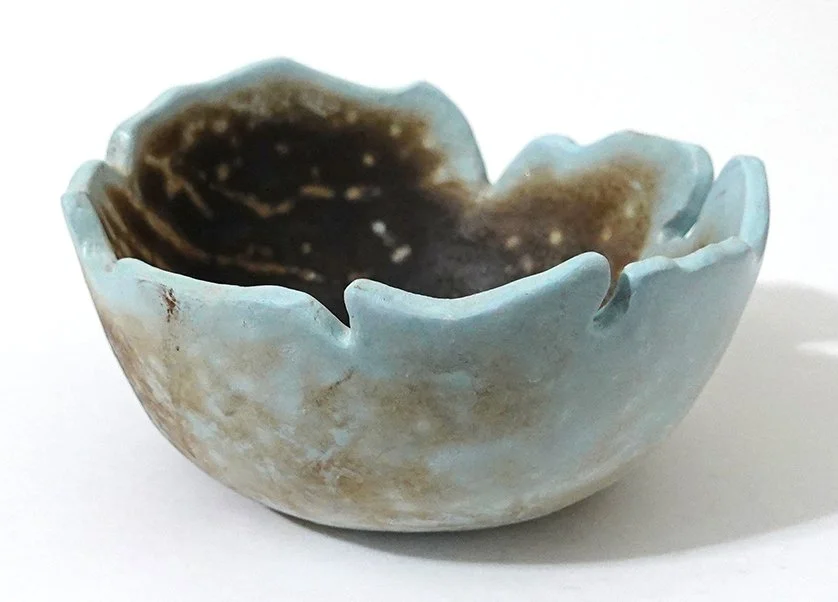
This semester has been very busy, so I’ve chosen to focus entirely on hump-mold pottery for this workshop. Using plaster hump molds (convex forms over which slabs are placed and pressed) significantly reduces the time required to make raw ware compared to pinch-pot, hand-built construction.
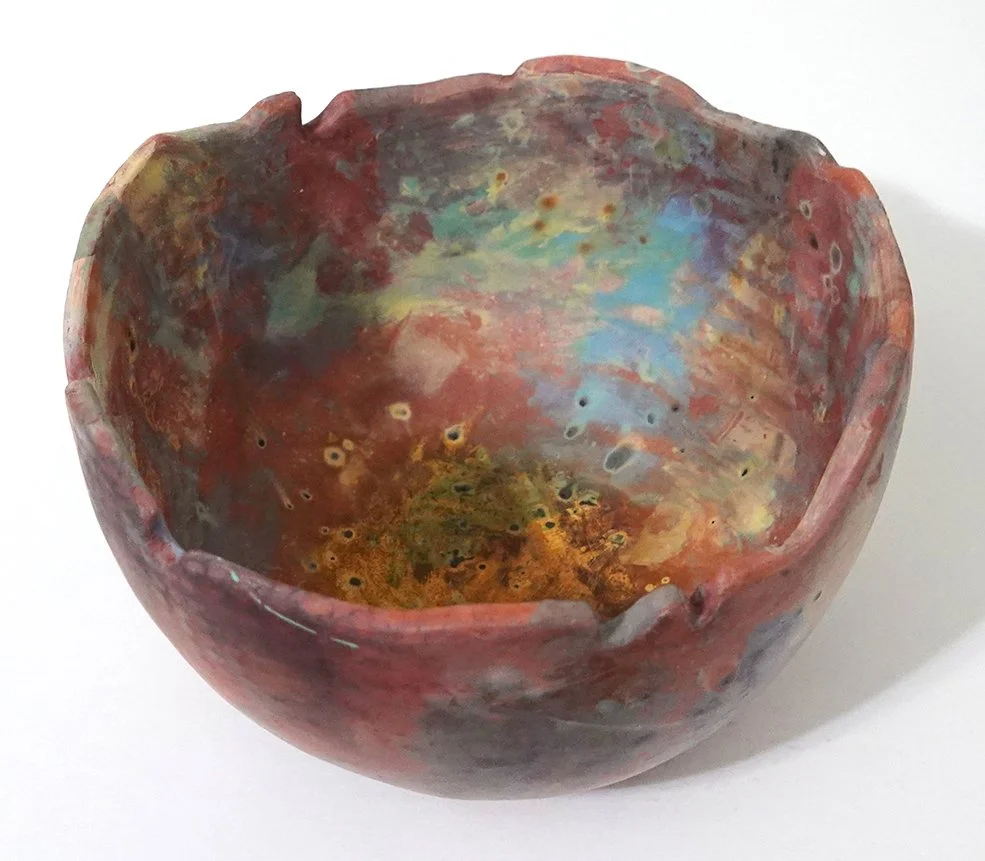
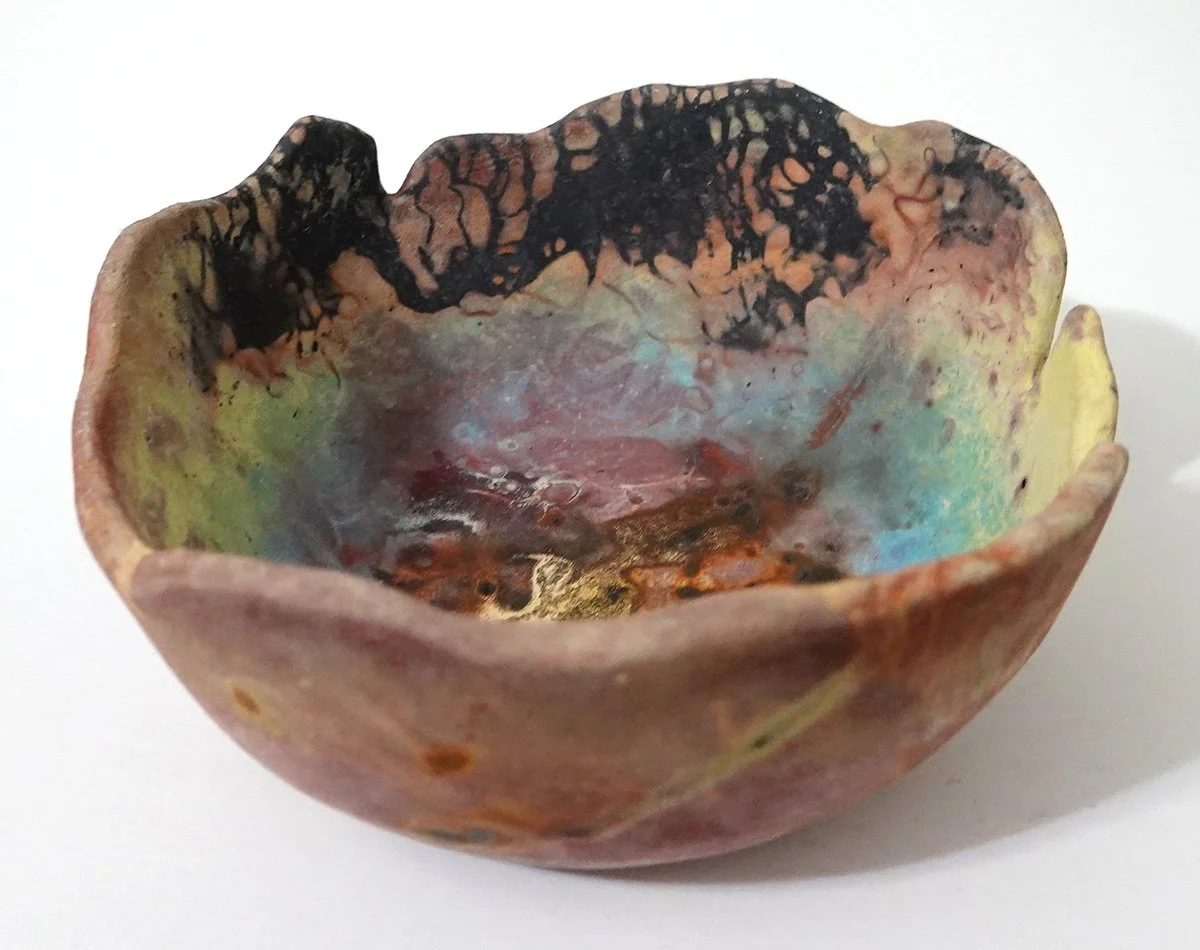
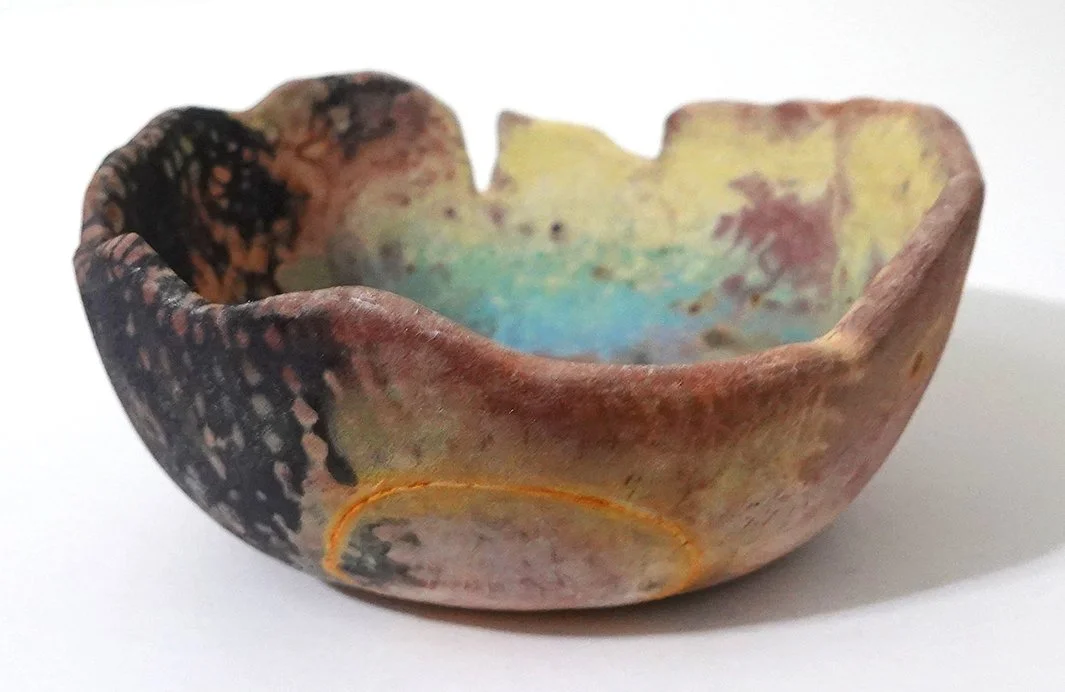
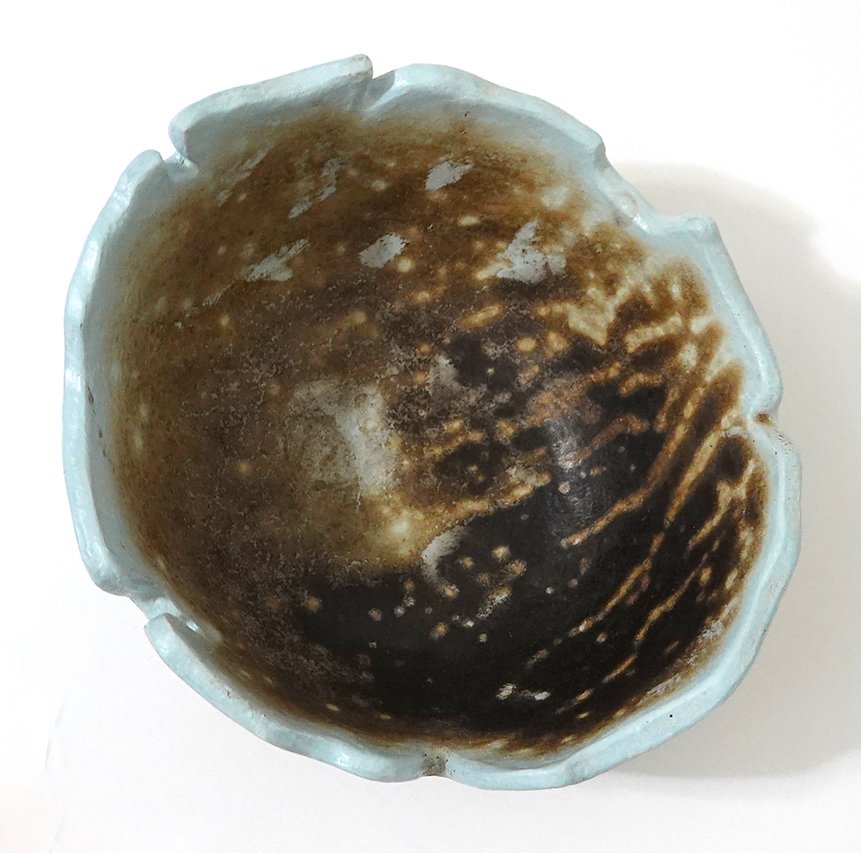
Hump molds also allow me to easily add and retain complex texture particularly to the interior of a piece; when making a pinch pot, the shape comes from pounding, pulling, and tapping the clay with tools that typically leave a fairly consistent surface. I can add texture to the exterior of a pinch-pot bowl or vase after it is built by rolling it over a texture plate or hitting it with a textured paddle, but I can’t do that to the interior. I can always carve texture into both sides or use other techniques if I really want to, but what I’m getting at is that texture is more complicated to add and retain when working in my preferred pinch pot style.
With these plaster hump molds, I can easily add complex surface texture to a flat slab and control whether it appears on the exterior, interior, or both. I then rely on gentle pressure, gravity, and evaporation to shape the clay, rather than the more aggressive pinch-pot methods that diminish or fully remove surface detail.
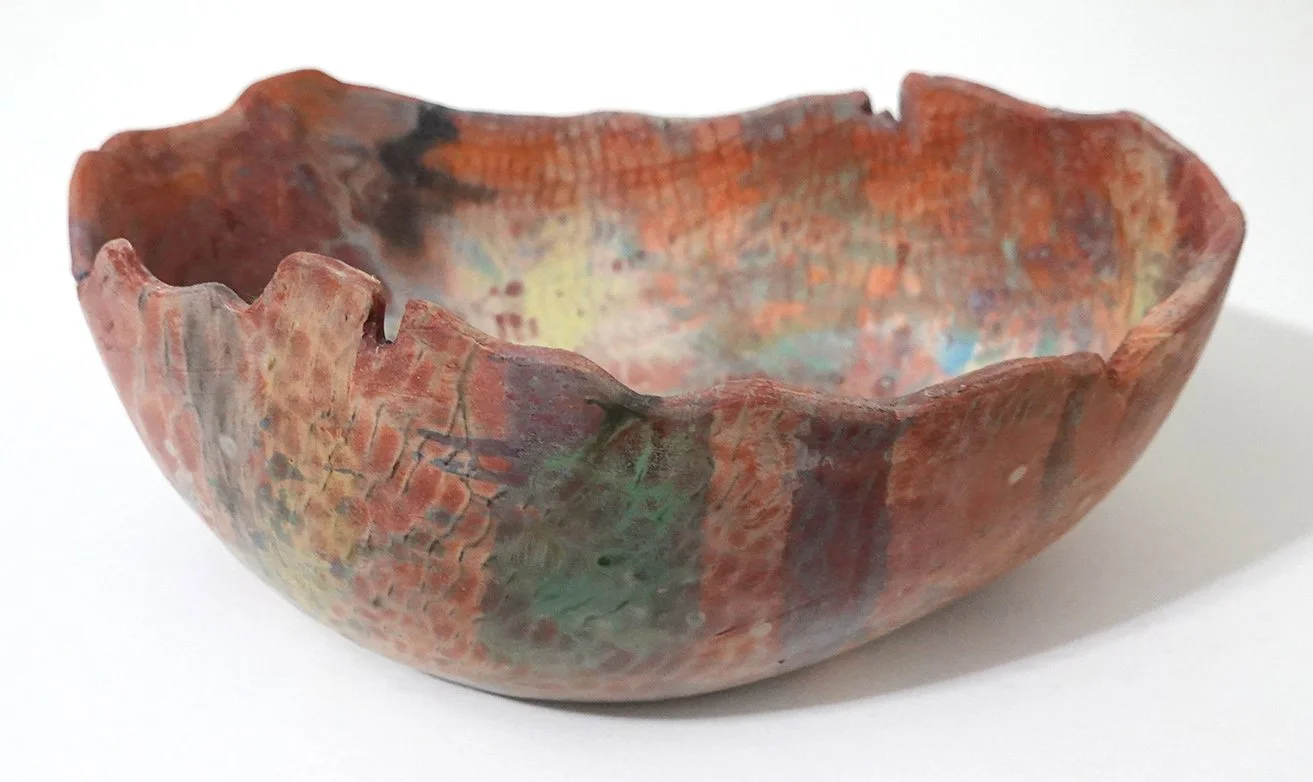
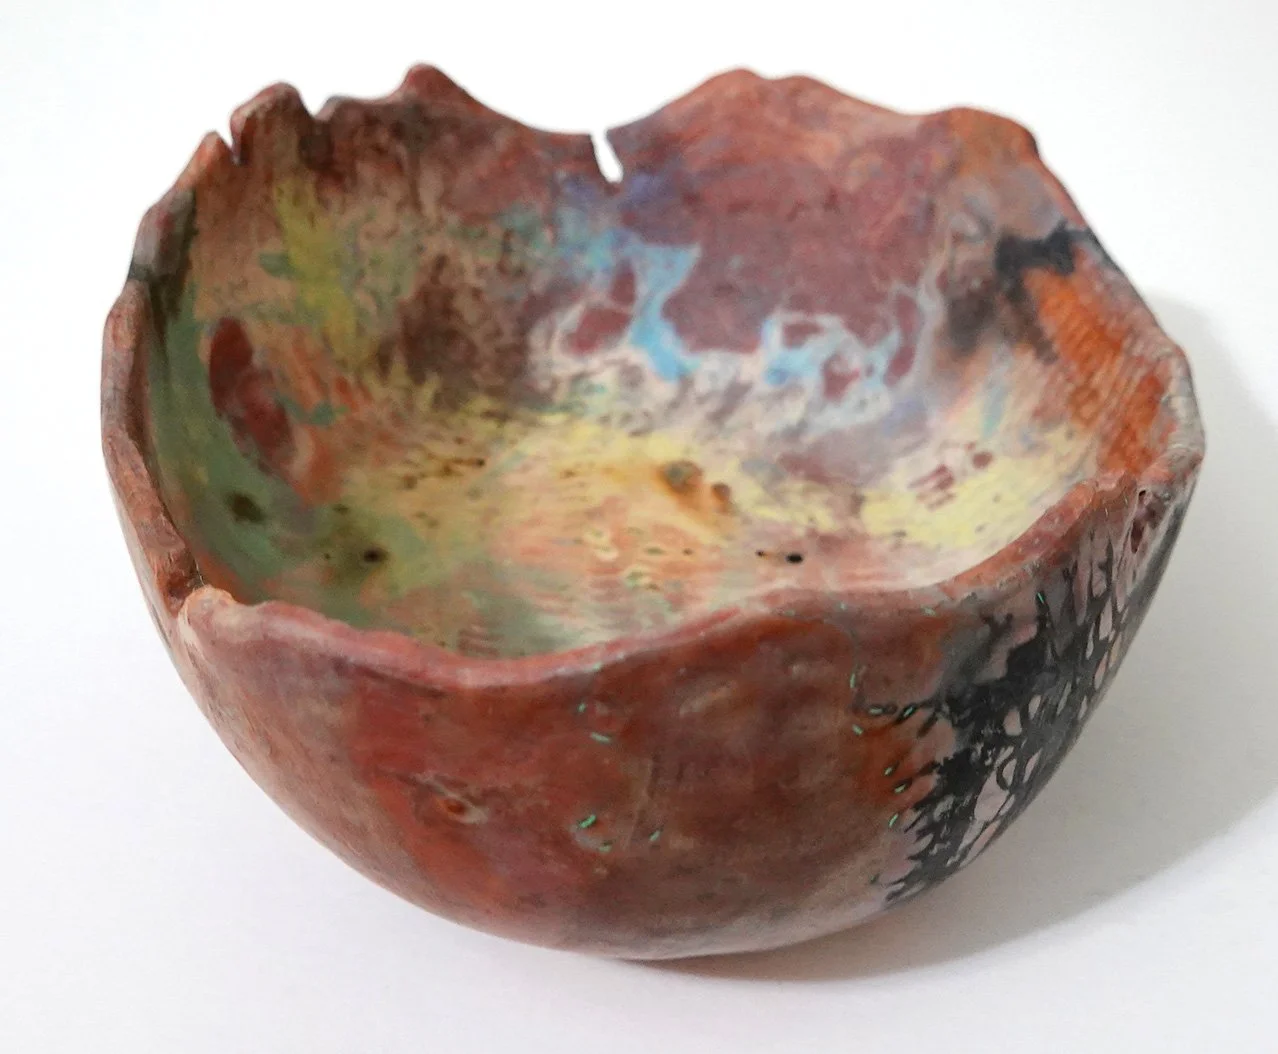
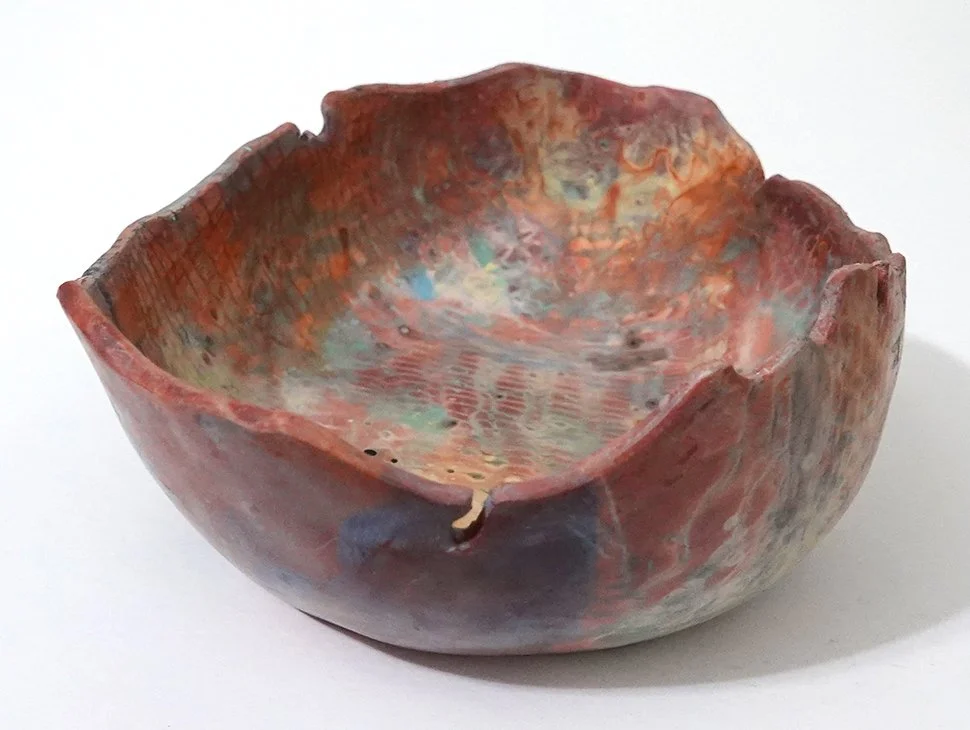
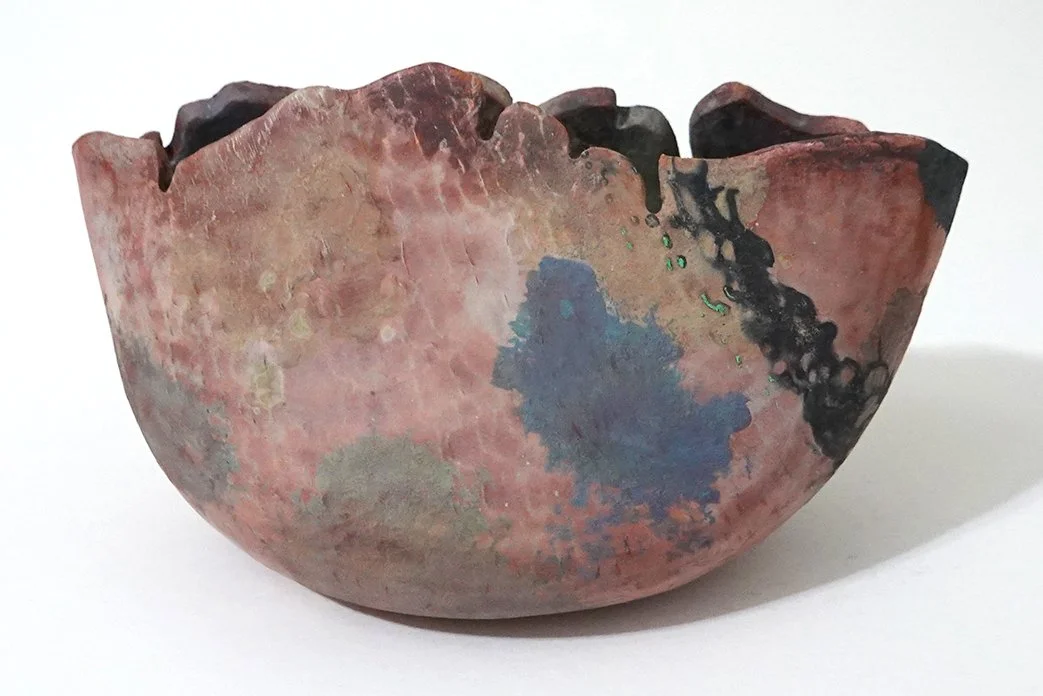
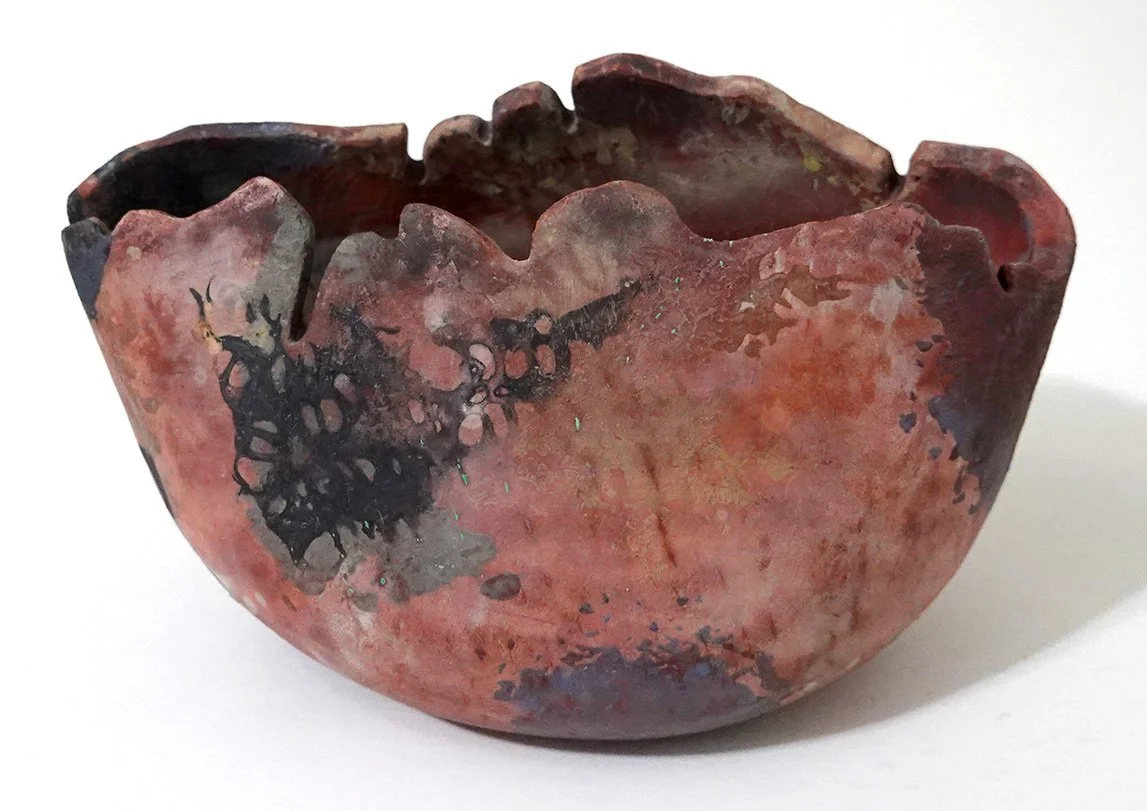
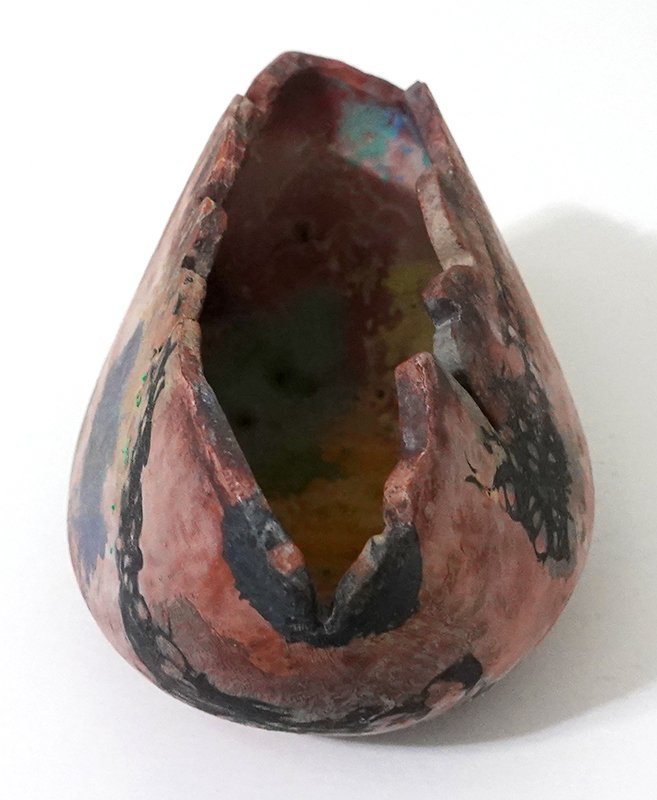
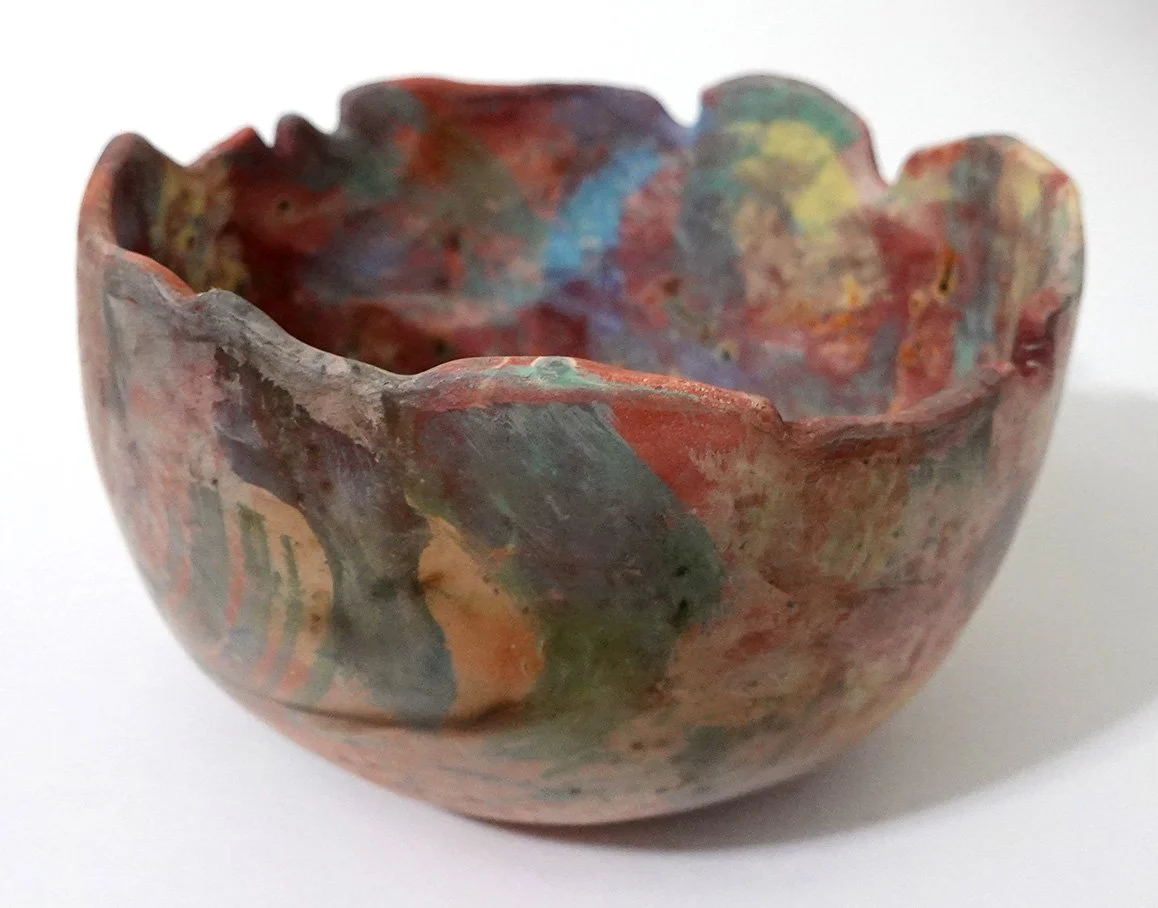
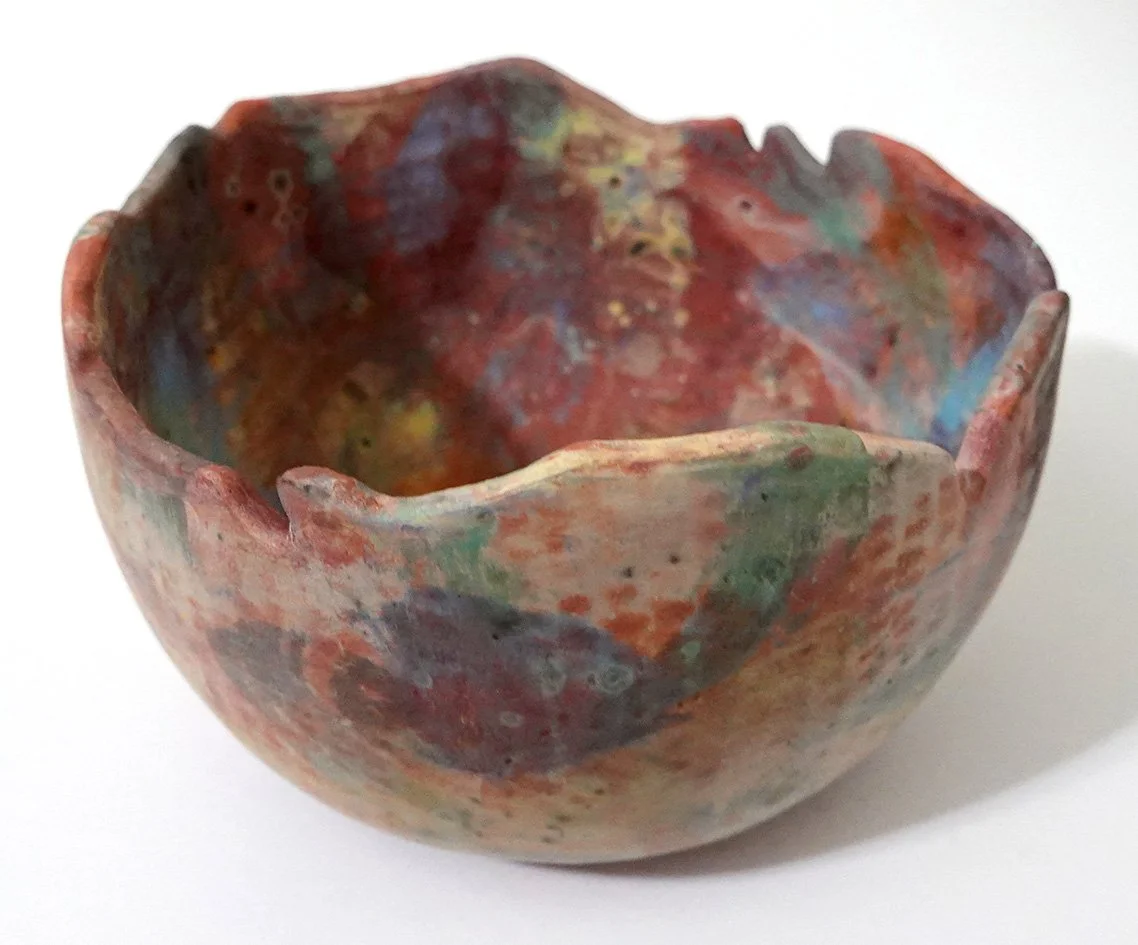
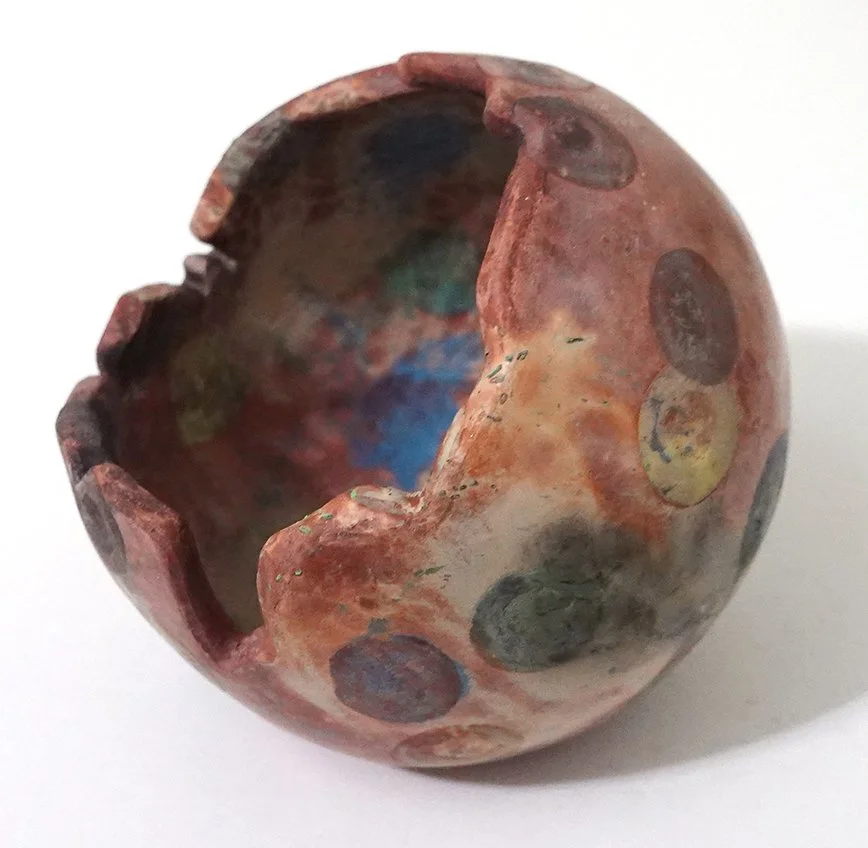
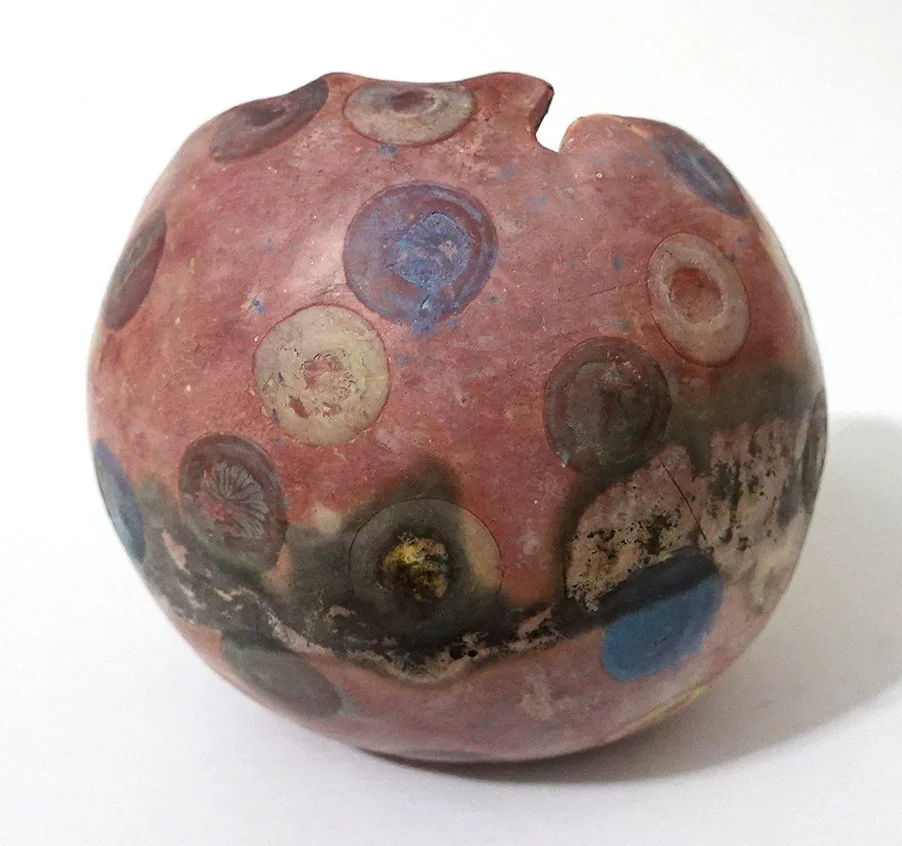
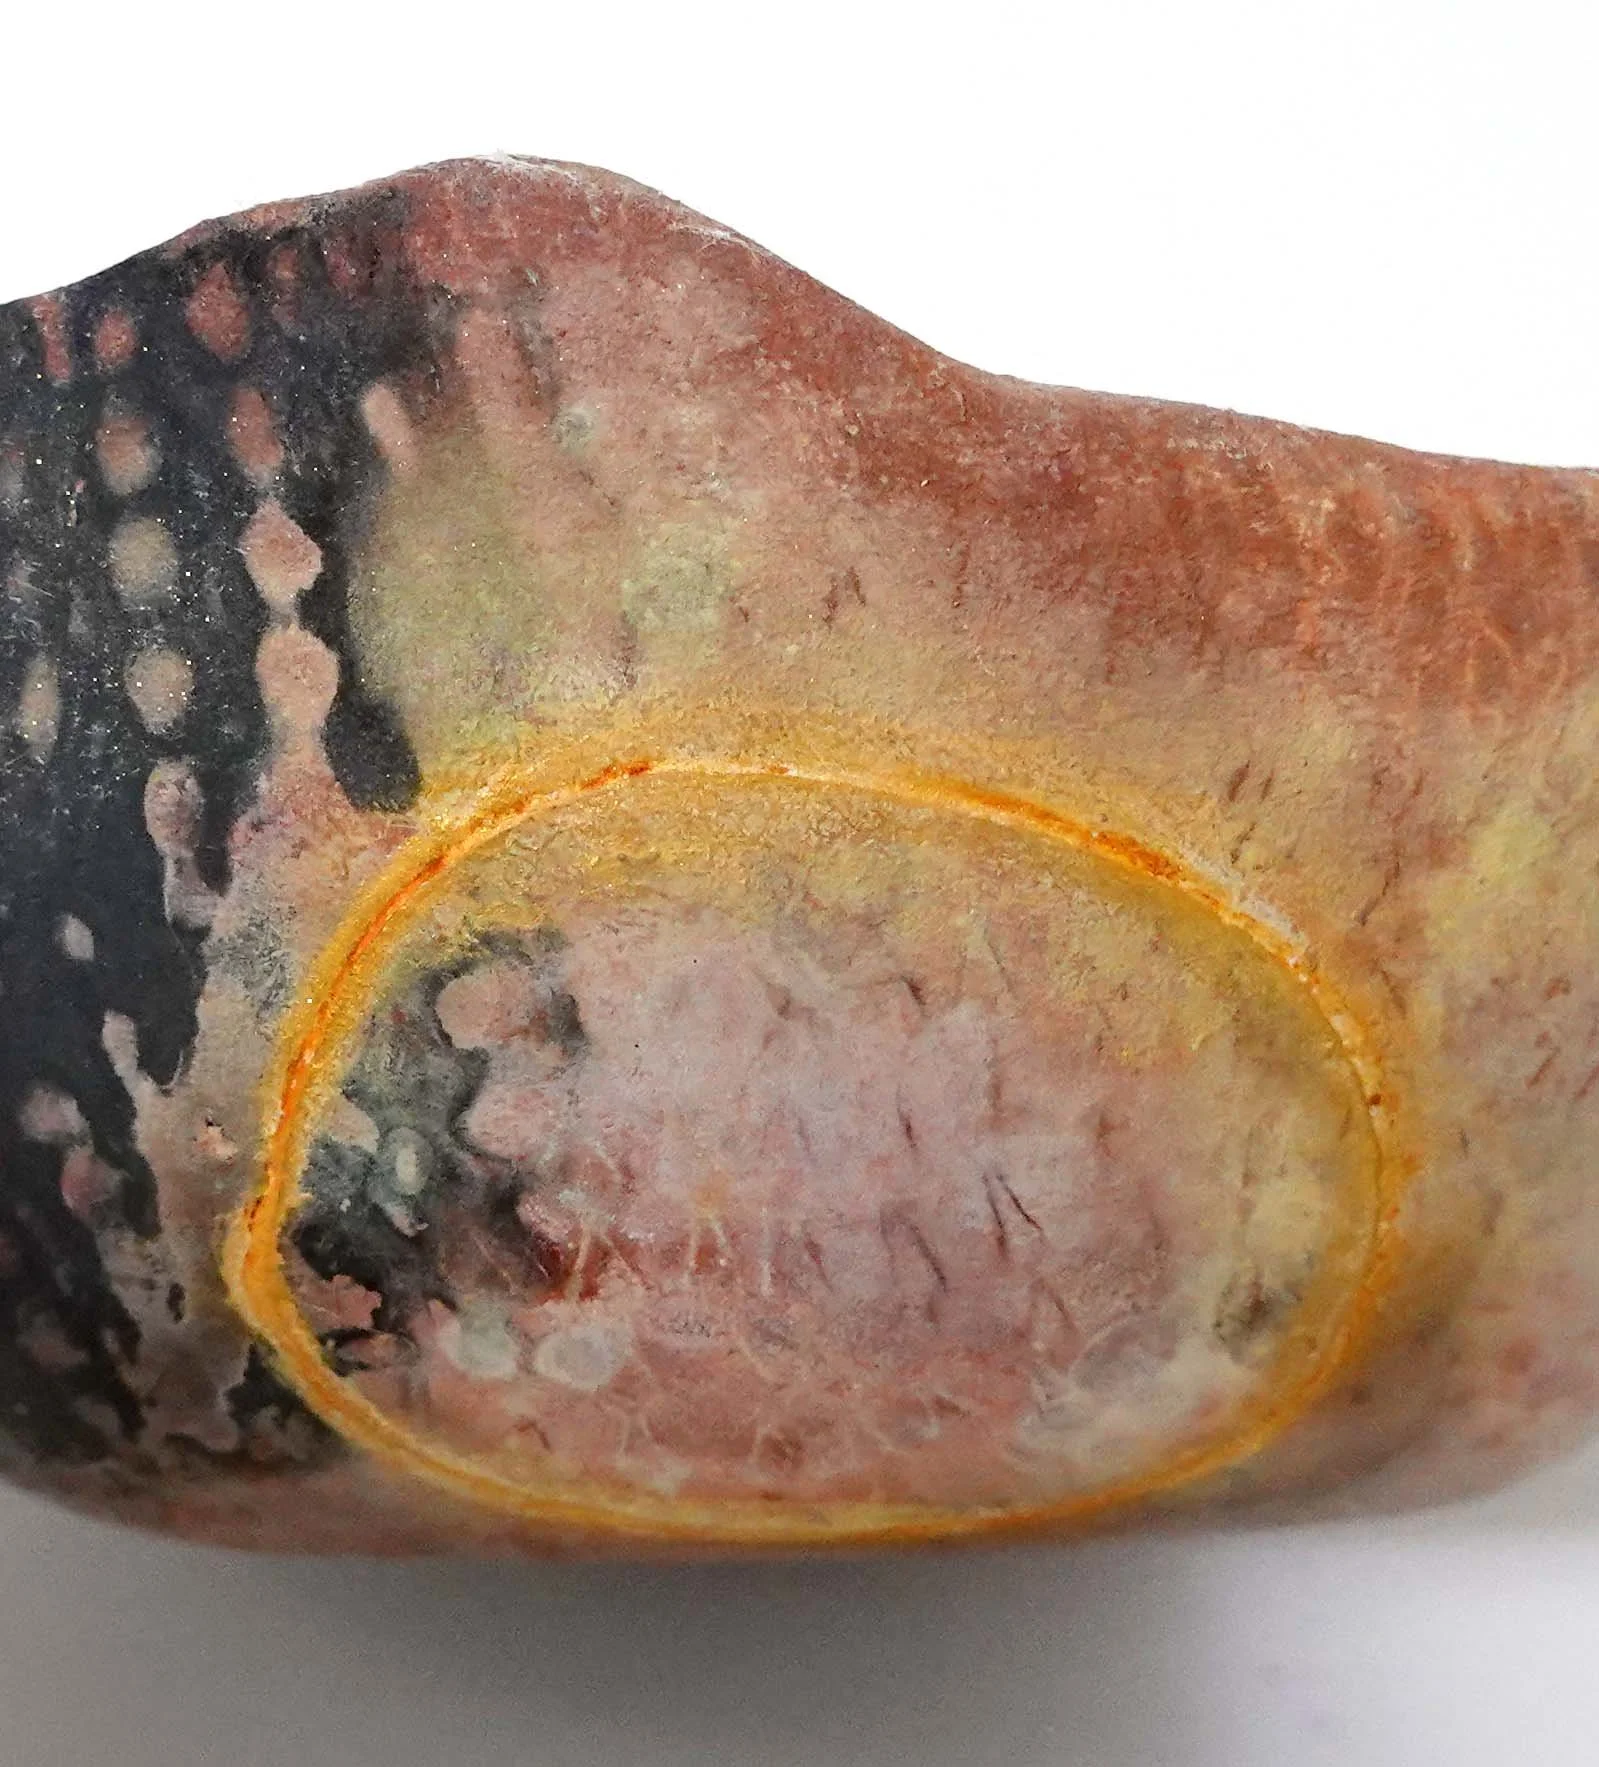
I am also continuing to experiment with Mason stains and burnishing on a few of the ceramics!
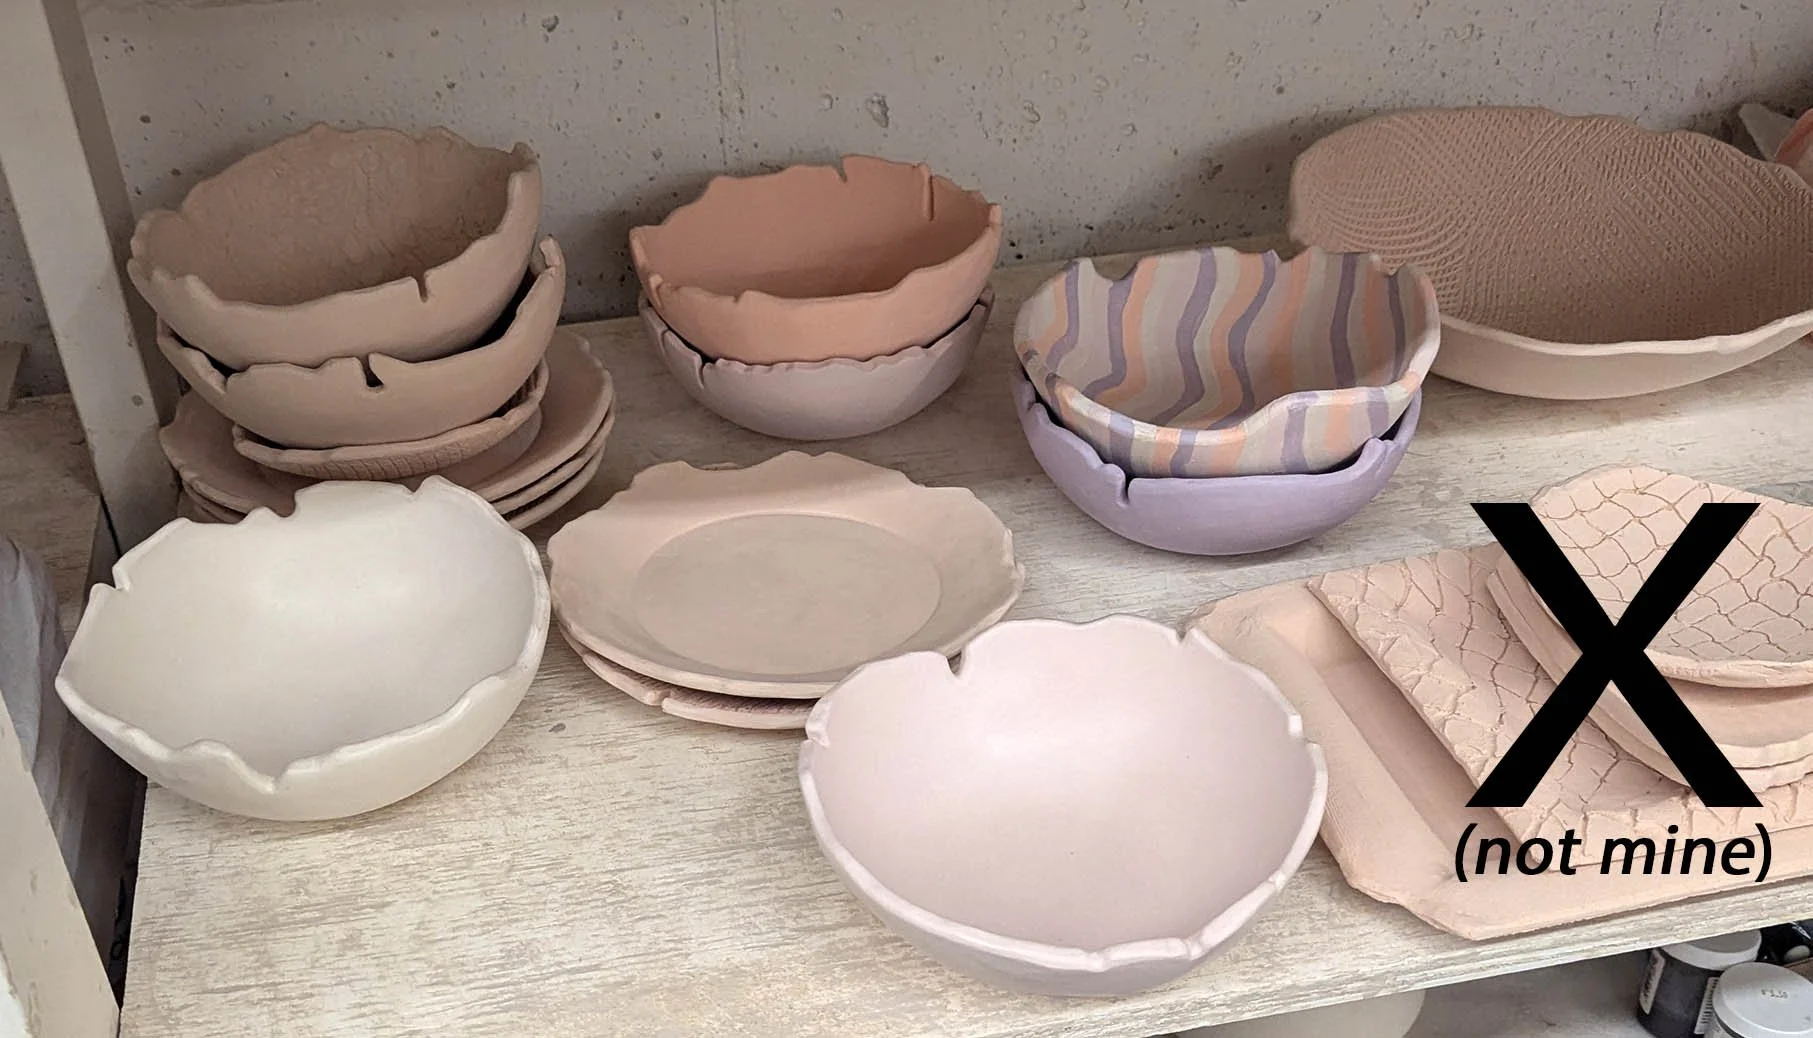
I saved enough time that I actually made more pottery than I think I’ll have time to finish at the workshop, which is a good problem to have. I’ll nevertheless bring it all just in case I’m wrong about that! Below is all the bisque ware I’m bringing with me. I share space with other folks in our ceramics studio, so I’ve crossed out the pieces in the first photo that aren’t mine. In the second photo, you can see the variety of techniques more closely, and the plate I’m holding corresponds to the hump mold pictured above (as do others).