General Interest

Berlin!

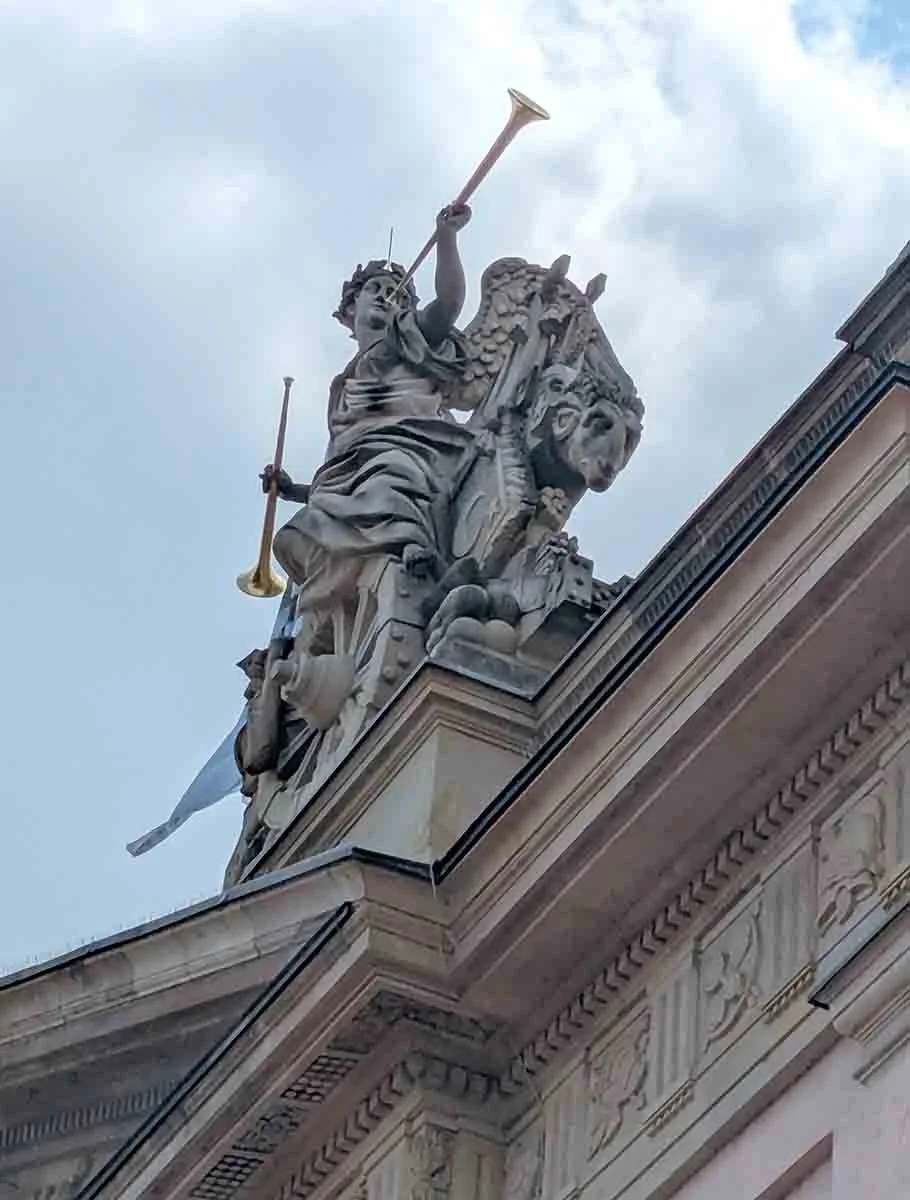
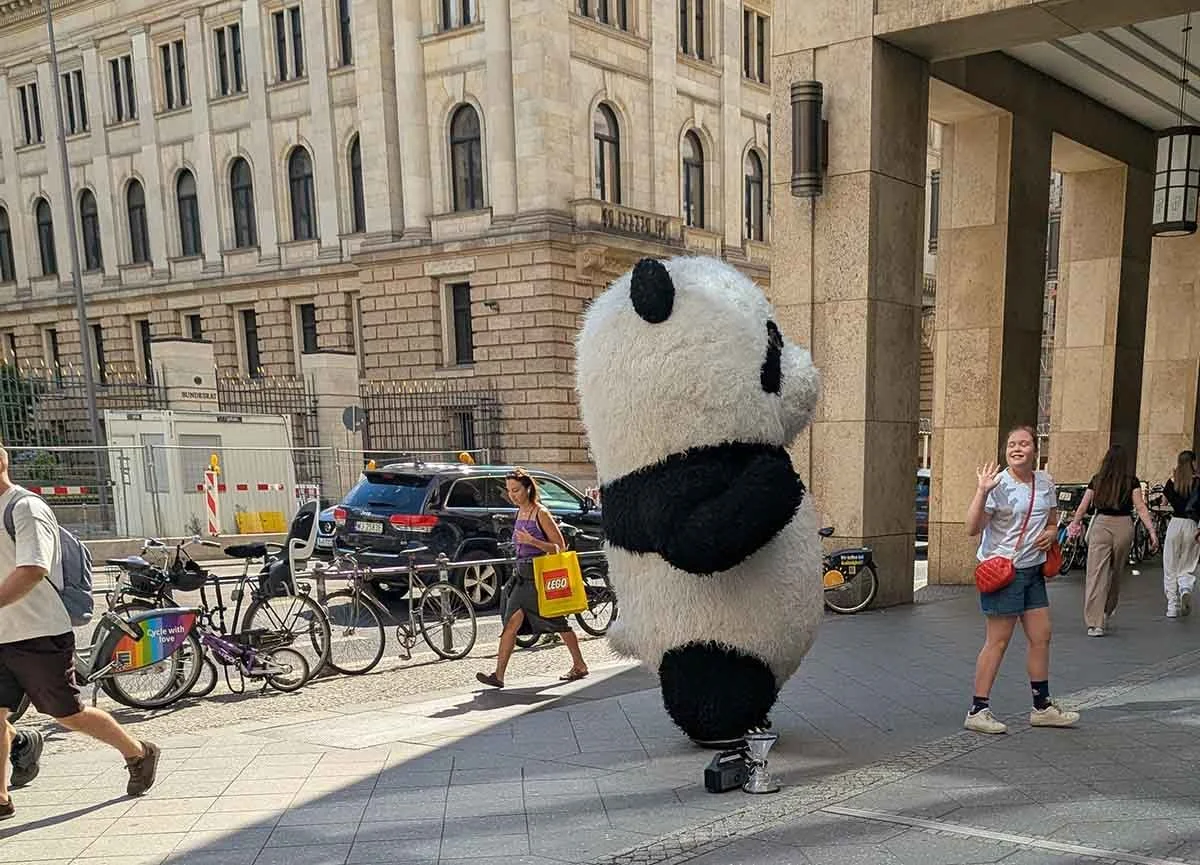
When I was setting this summer up, I anticipated that after a relatively small-town month in Estonia, I’d be excited to spend time in a major city. Berlin is, in fact, the most populous city in the whole of the EU!

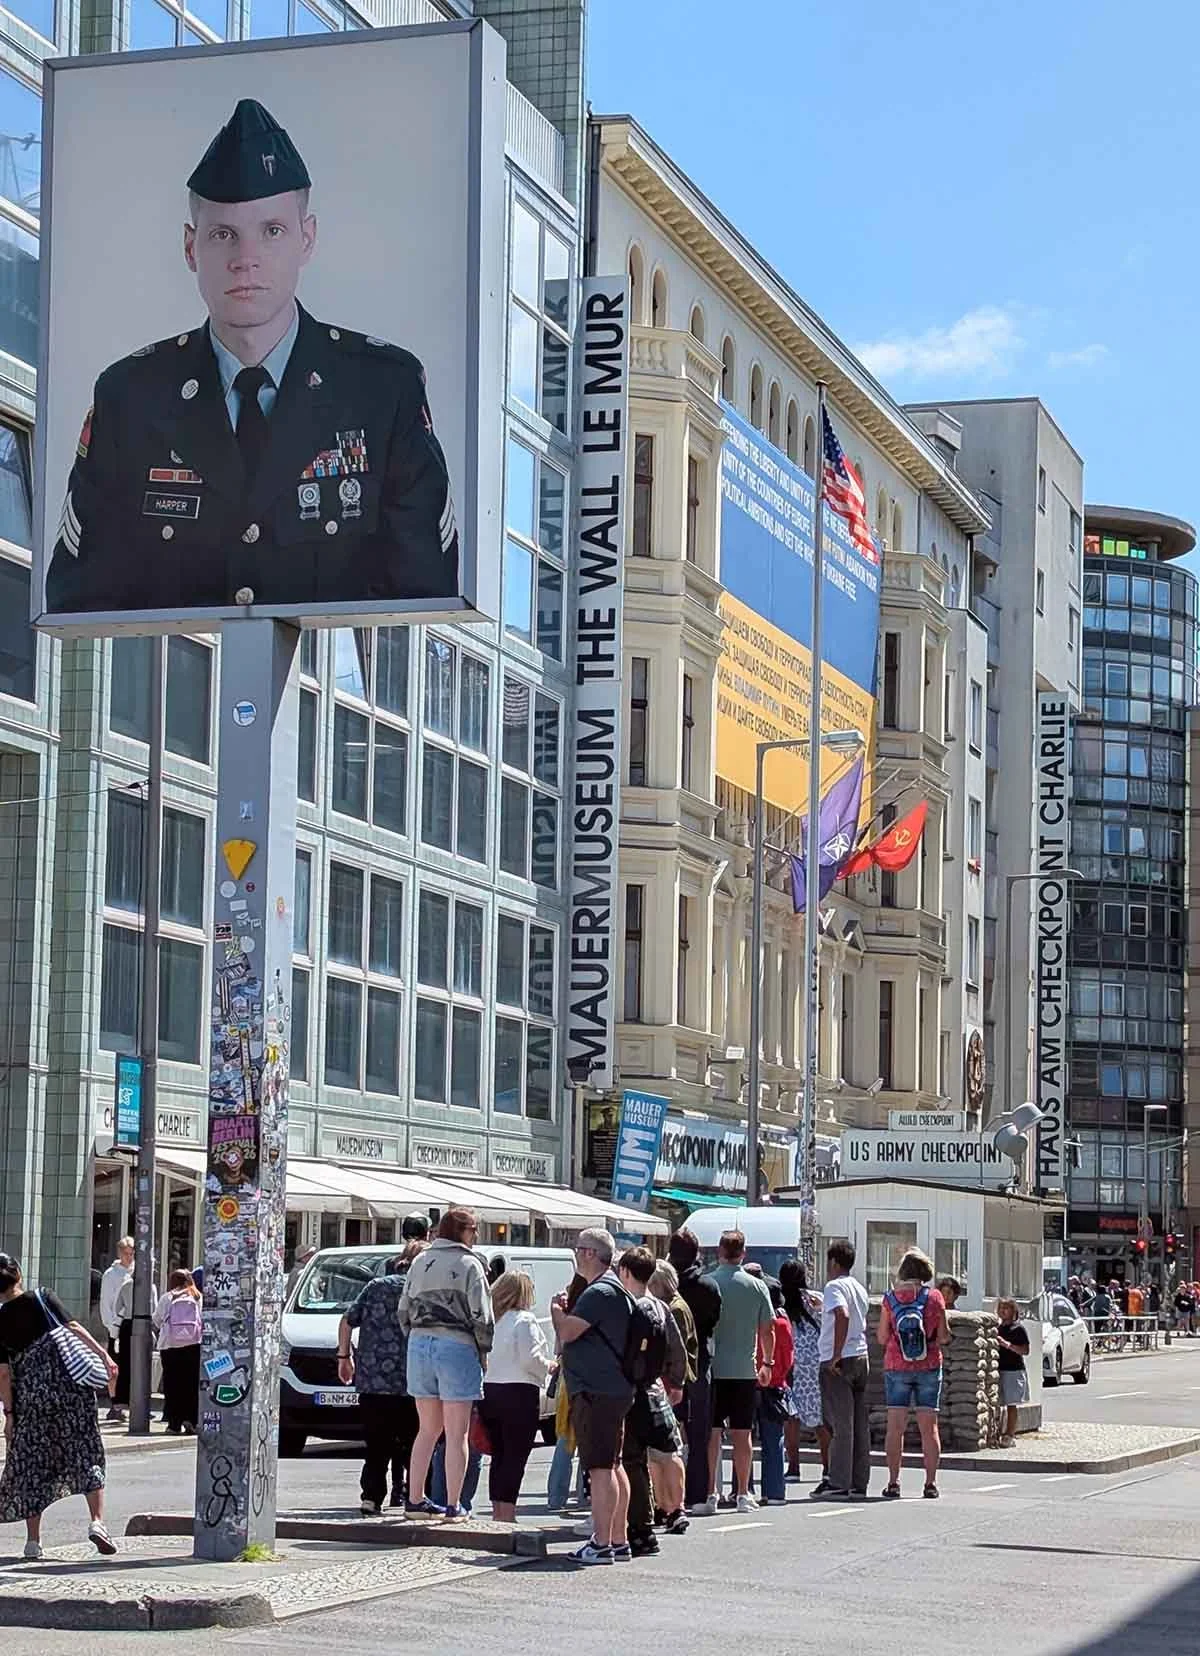
I hit the ground running on my first day. I knew from research that there is a German equivalent to ENSV stationery - that of the DDR (Deutsche Demokratische Republik), called the German Democratic Republic or just East Germany in English. I wanted to work atop at least one of these as well, so I visited a store called VEB Orange. VEB is an abbreviation of Volkseigener Betrieb, which translates to “People's Owned Enterprise." It was the standard legal prefix for state-owned businesses in East Germany.

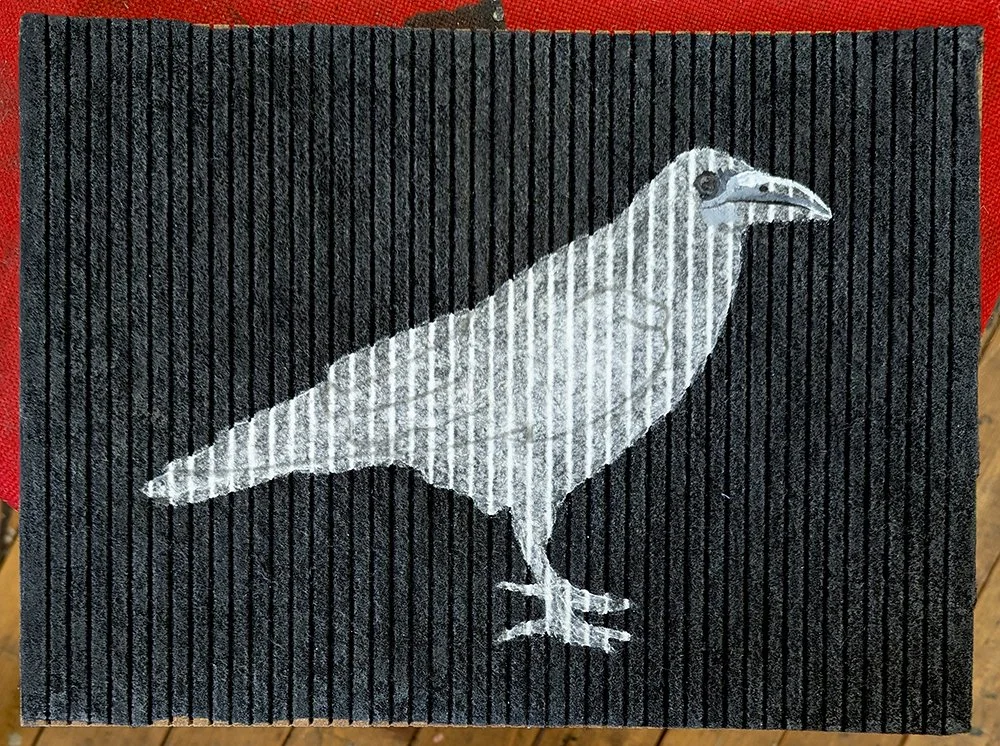
It was an instant jackpot, and I walked away with several pieces of stationery. Unfortunately, the shopkeeper wrapped my purchases in newspaper (which I saw but didn’t think about), and the newspaper ink rubbed off on the face of two. The rest were OK, though, and even the worst one might be able to be salvaged if I find the right composition for it.

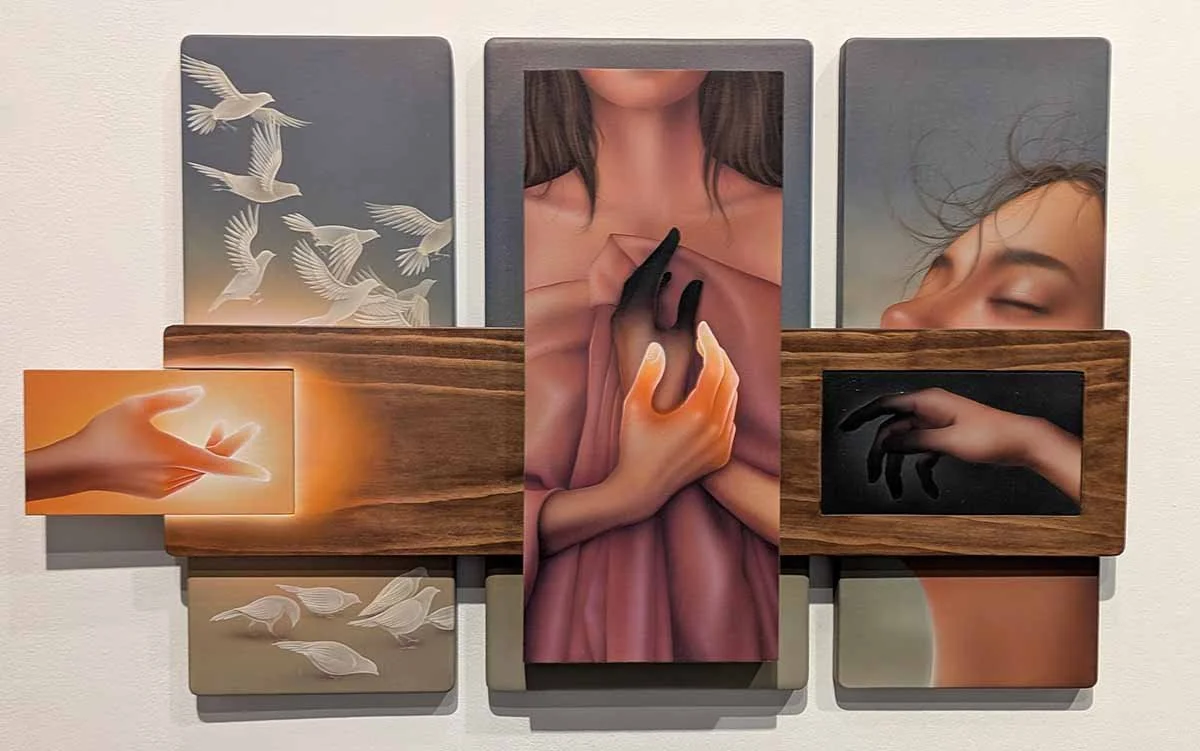
Then that evening, I attended a group exhibition reception at Atelierhof Kreuzberg. Takt’s residency director Antje had forwarded me an email from them with an intriguing opportunity: folks can request to participate in each week’s themed show, and if their work is selected, they bring it by an hour before the reception for placement and installation. I needed to see exactly what was up before I applied, and I wasn’t in town for that long, so off I went - and though it’s still in Berlin, it’s about an hour away by train from where I’m staying. (In general, Berlin is big enough that I spend a couple hours minimum in transit each day.)

The folks running Atelierhof Kreuzberg, exhibiting there, and viewing the art are all collectively great. I felt really comfortable with the setup, and so I asked to participate the following week and submitted images of my artwork - and I was accepted!

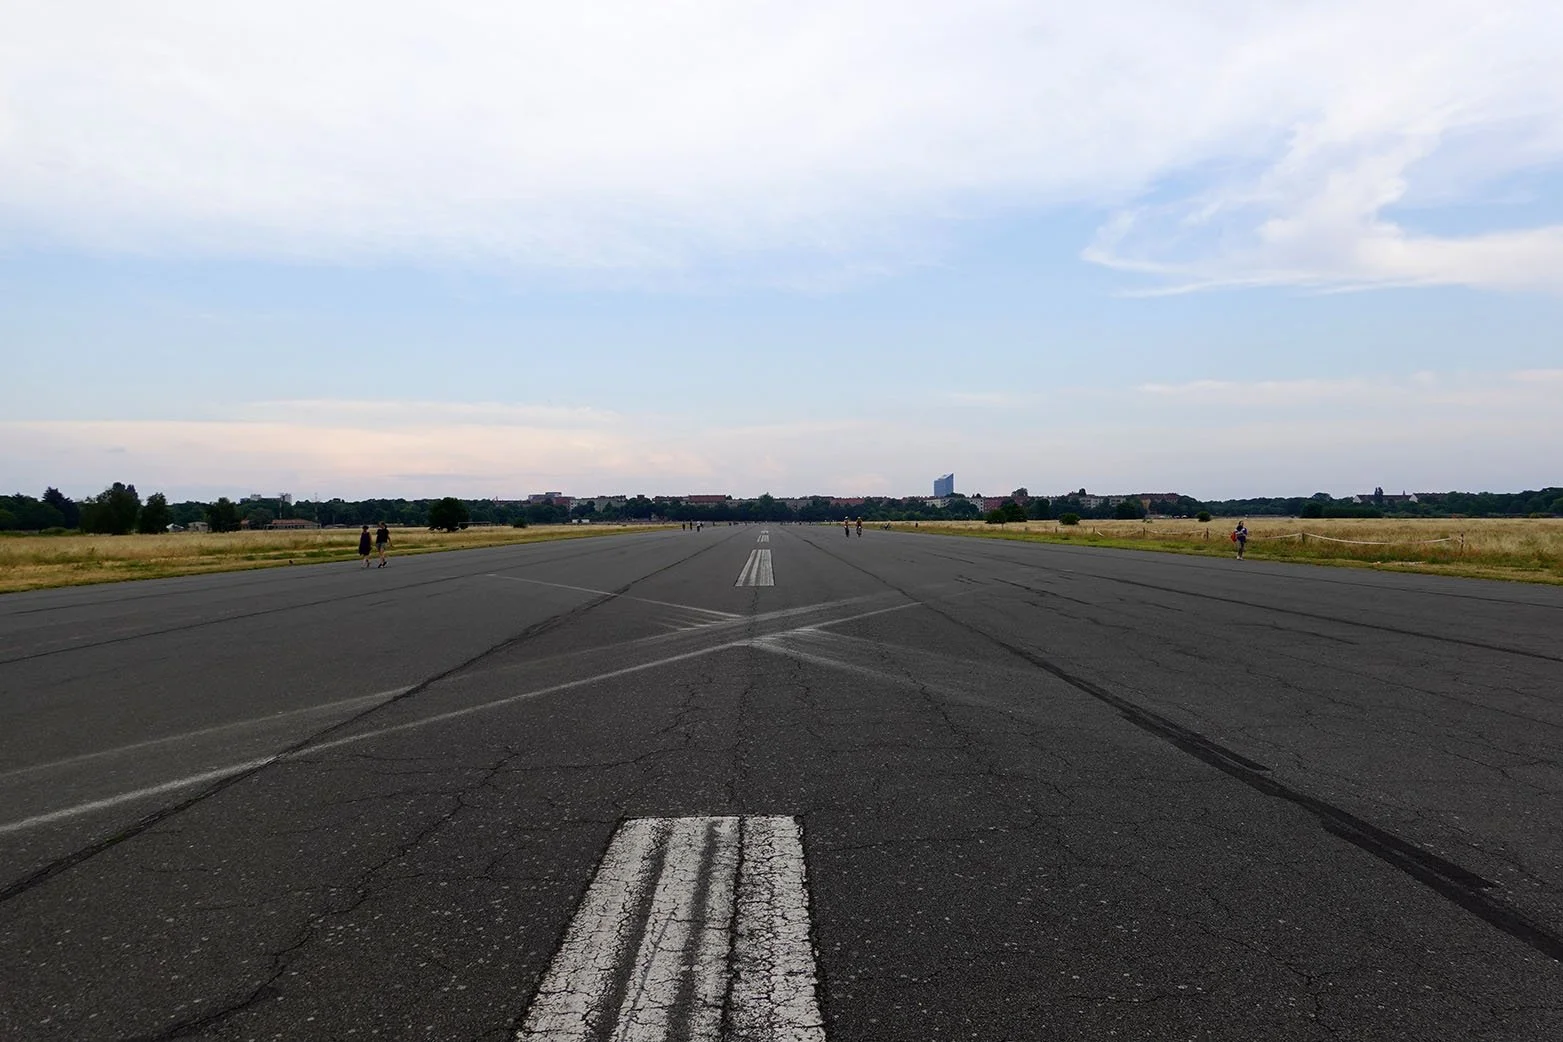
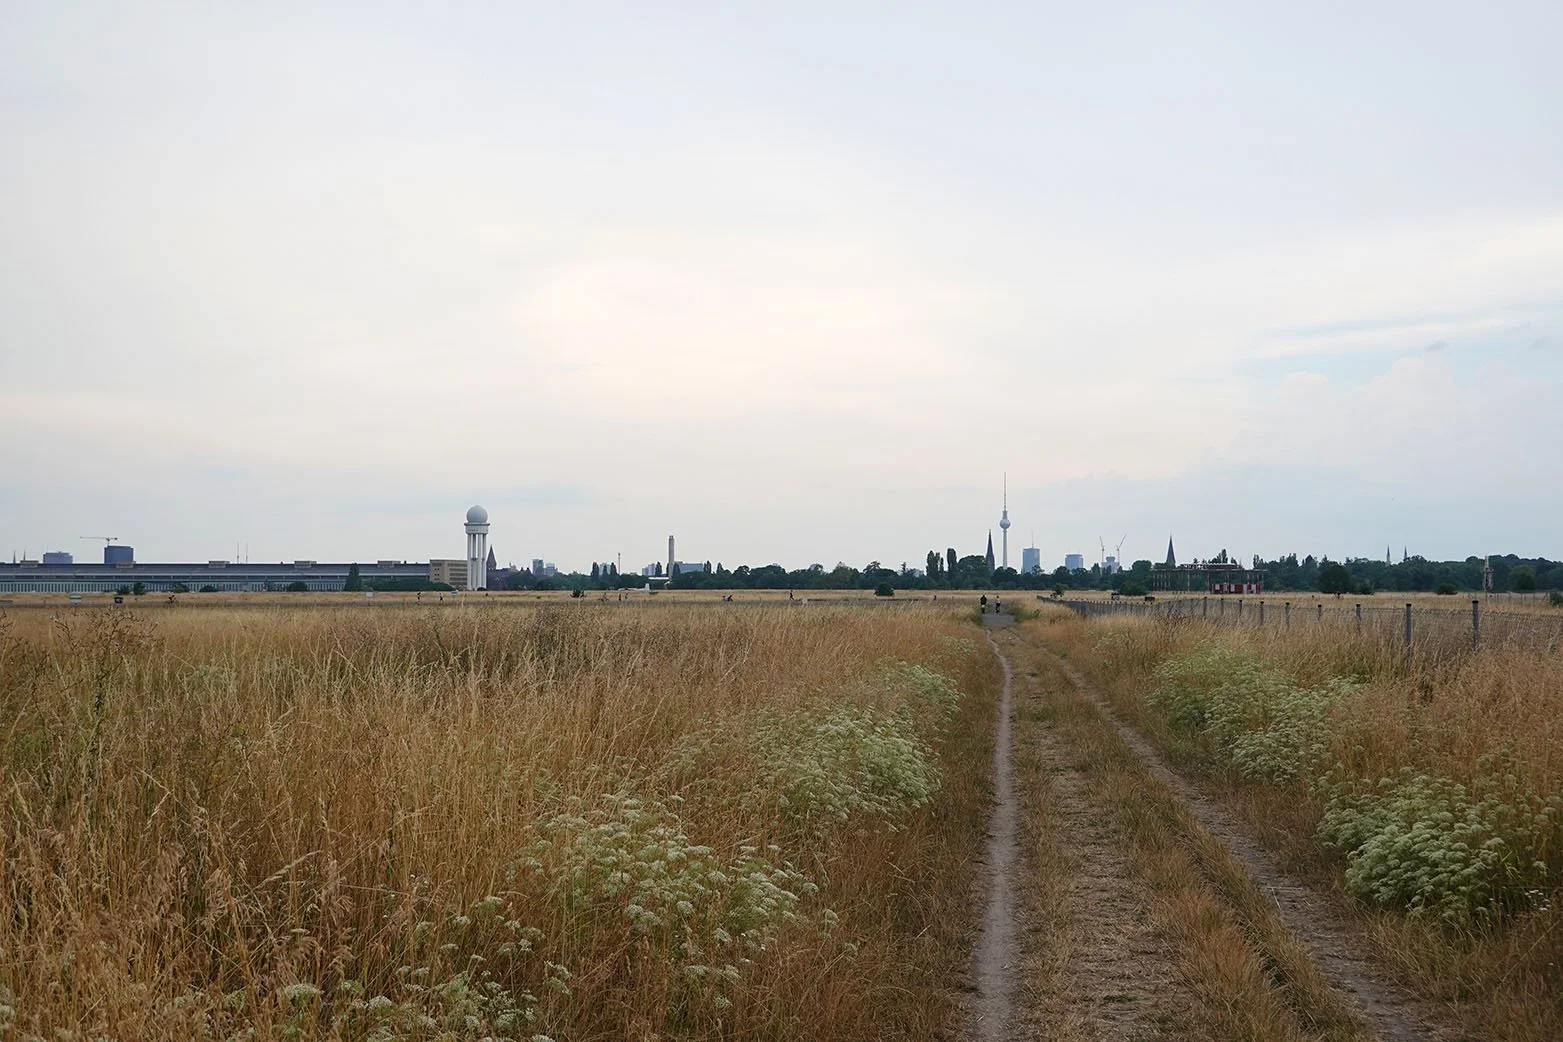
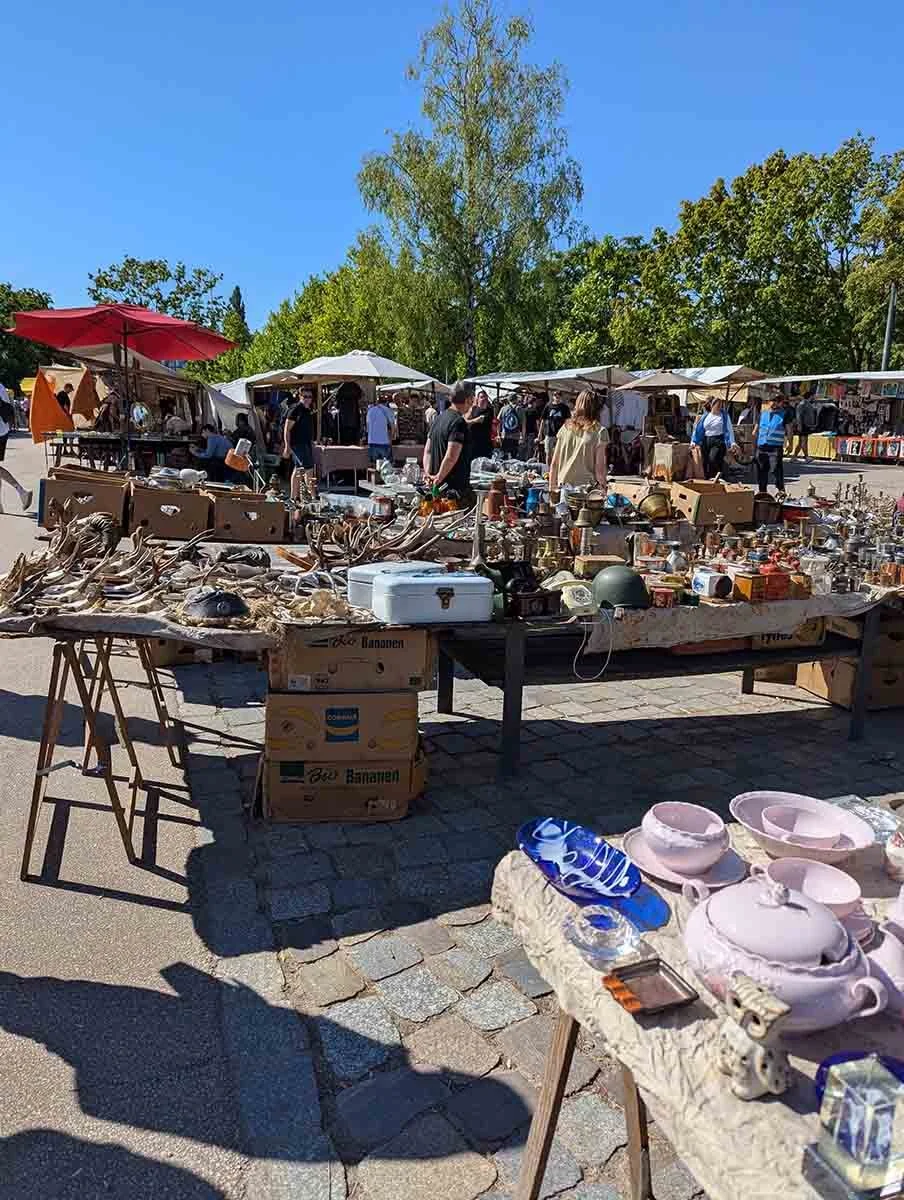
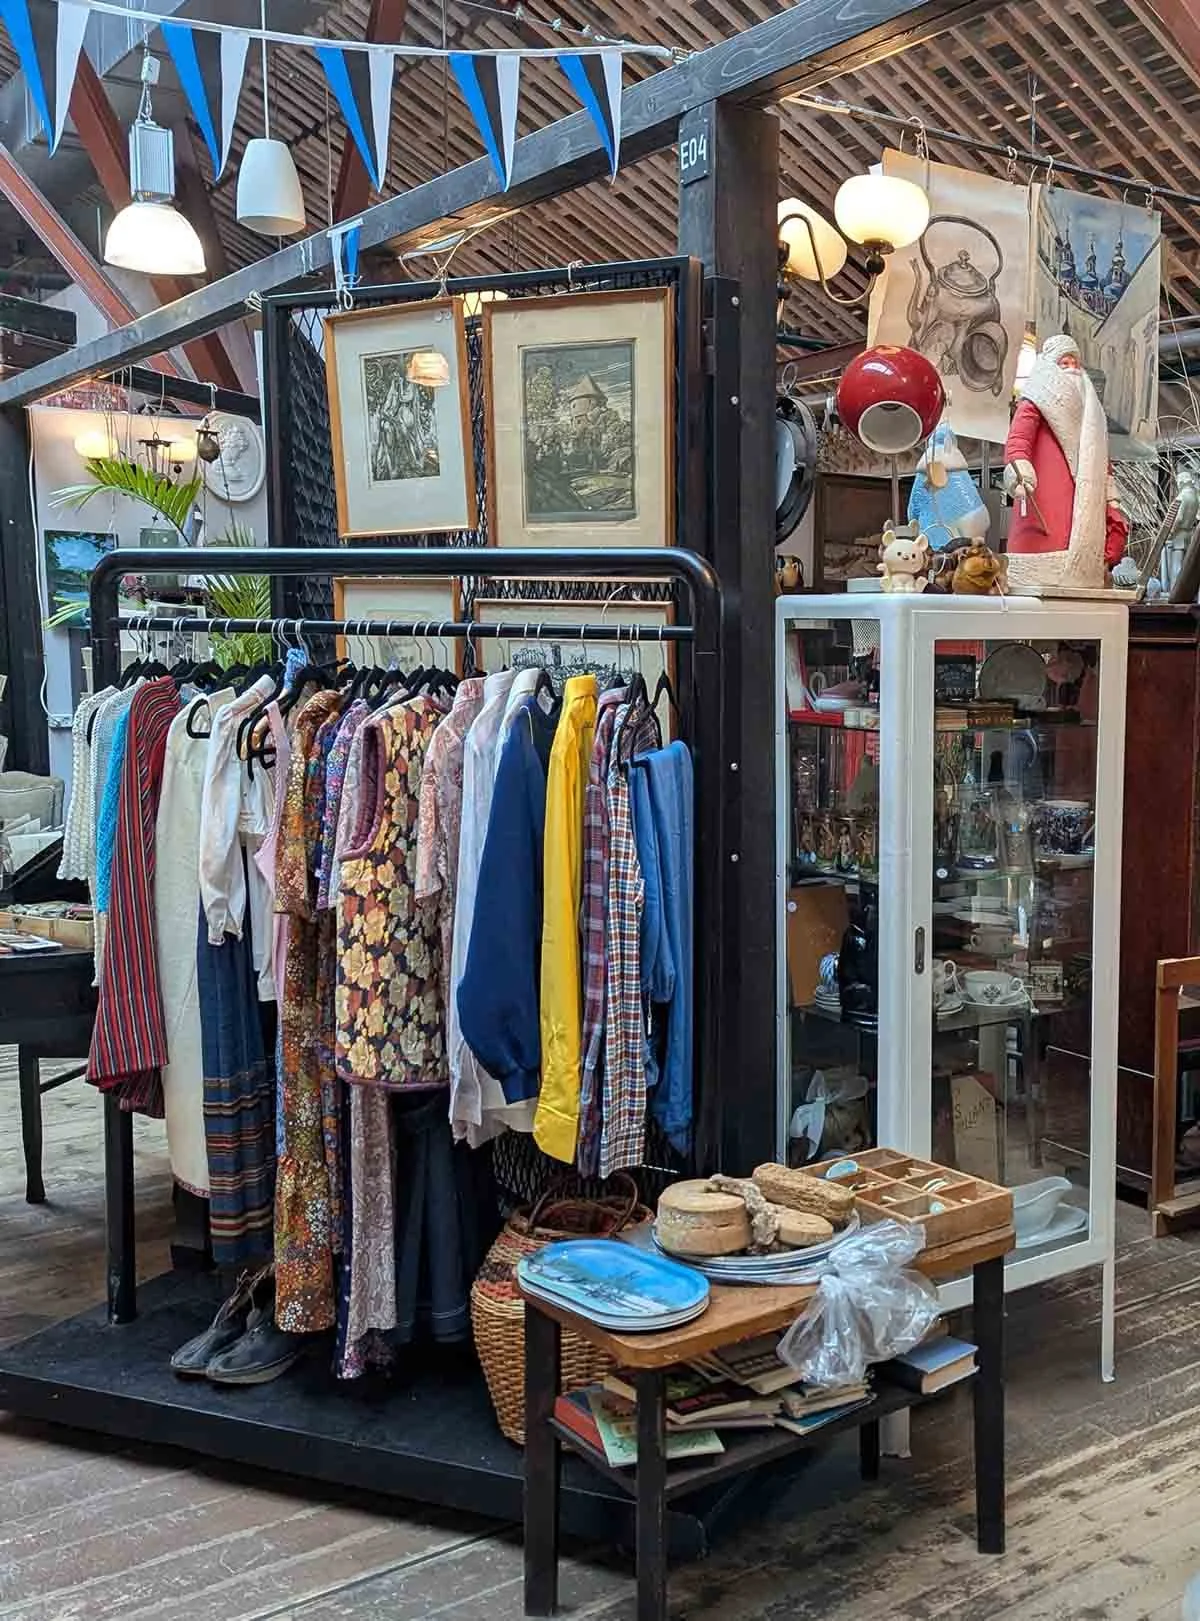
I was saving a lot of my core tourism for when my colleague and friend Elizabeth Coody was coming to visit later in the month. In the subsequent days, I went to the Tiergarten (a large state park) and after much time investment and walking, I managed to photograph what I most wanted to see there: the red squirrel. I had studio time, visited an art supply store, went to several vintage, design, and secondhand stores, did chores (laundry, grocery shopping, etc.), and went to several weekend arts and flea markets. I also visited a private art collection that doesn’t allow photos - the Sammlung Hoffman. I walked around quite a lot of Berlin, hit a handful of other parks including Tempelhofer Feld, and took a number of street photos.

Three minor complaints: first, Berlin has a real dearth of public toilets, particularly when 3/4 of the ones that exist are out of service. The functional ones they do have almost all cost between €.50-1 (and private toilets get in on this as well), which was really noticeable after two summers in Japan; I never had to worry about finding a clean, free public toilet almost anywhere in Japan.

Second, the train and tram seats (and bus seats, but that’s more normal) are carpeted. I have repeatedly sat on one only to find it wet with an unknown substance, which is even worse if you’re anosmic like me as I can’t figure out what it is so I worry that it’s urine. I much prefer the plastic/fiberglass seats in NYC, where you can see if the seat is soiled before sitting in it.

Third, the cobblestones and natural stone pavers are not it. They are irregular and if you’re walking 8-15mi a day (which I do when I’m in exploration mode), they cause a lot of foot pain. I want smooth, flat surfaces. Bikers clearly agree and managed to secure that for their specified paths, and I want pedestrians to be afforded the same privilege.
Transitions Between Residencies

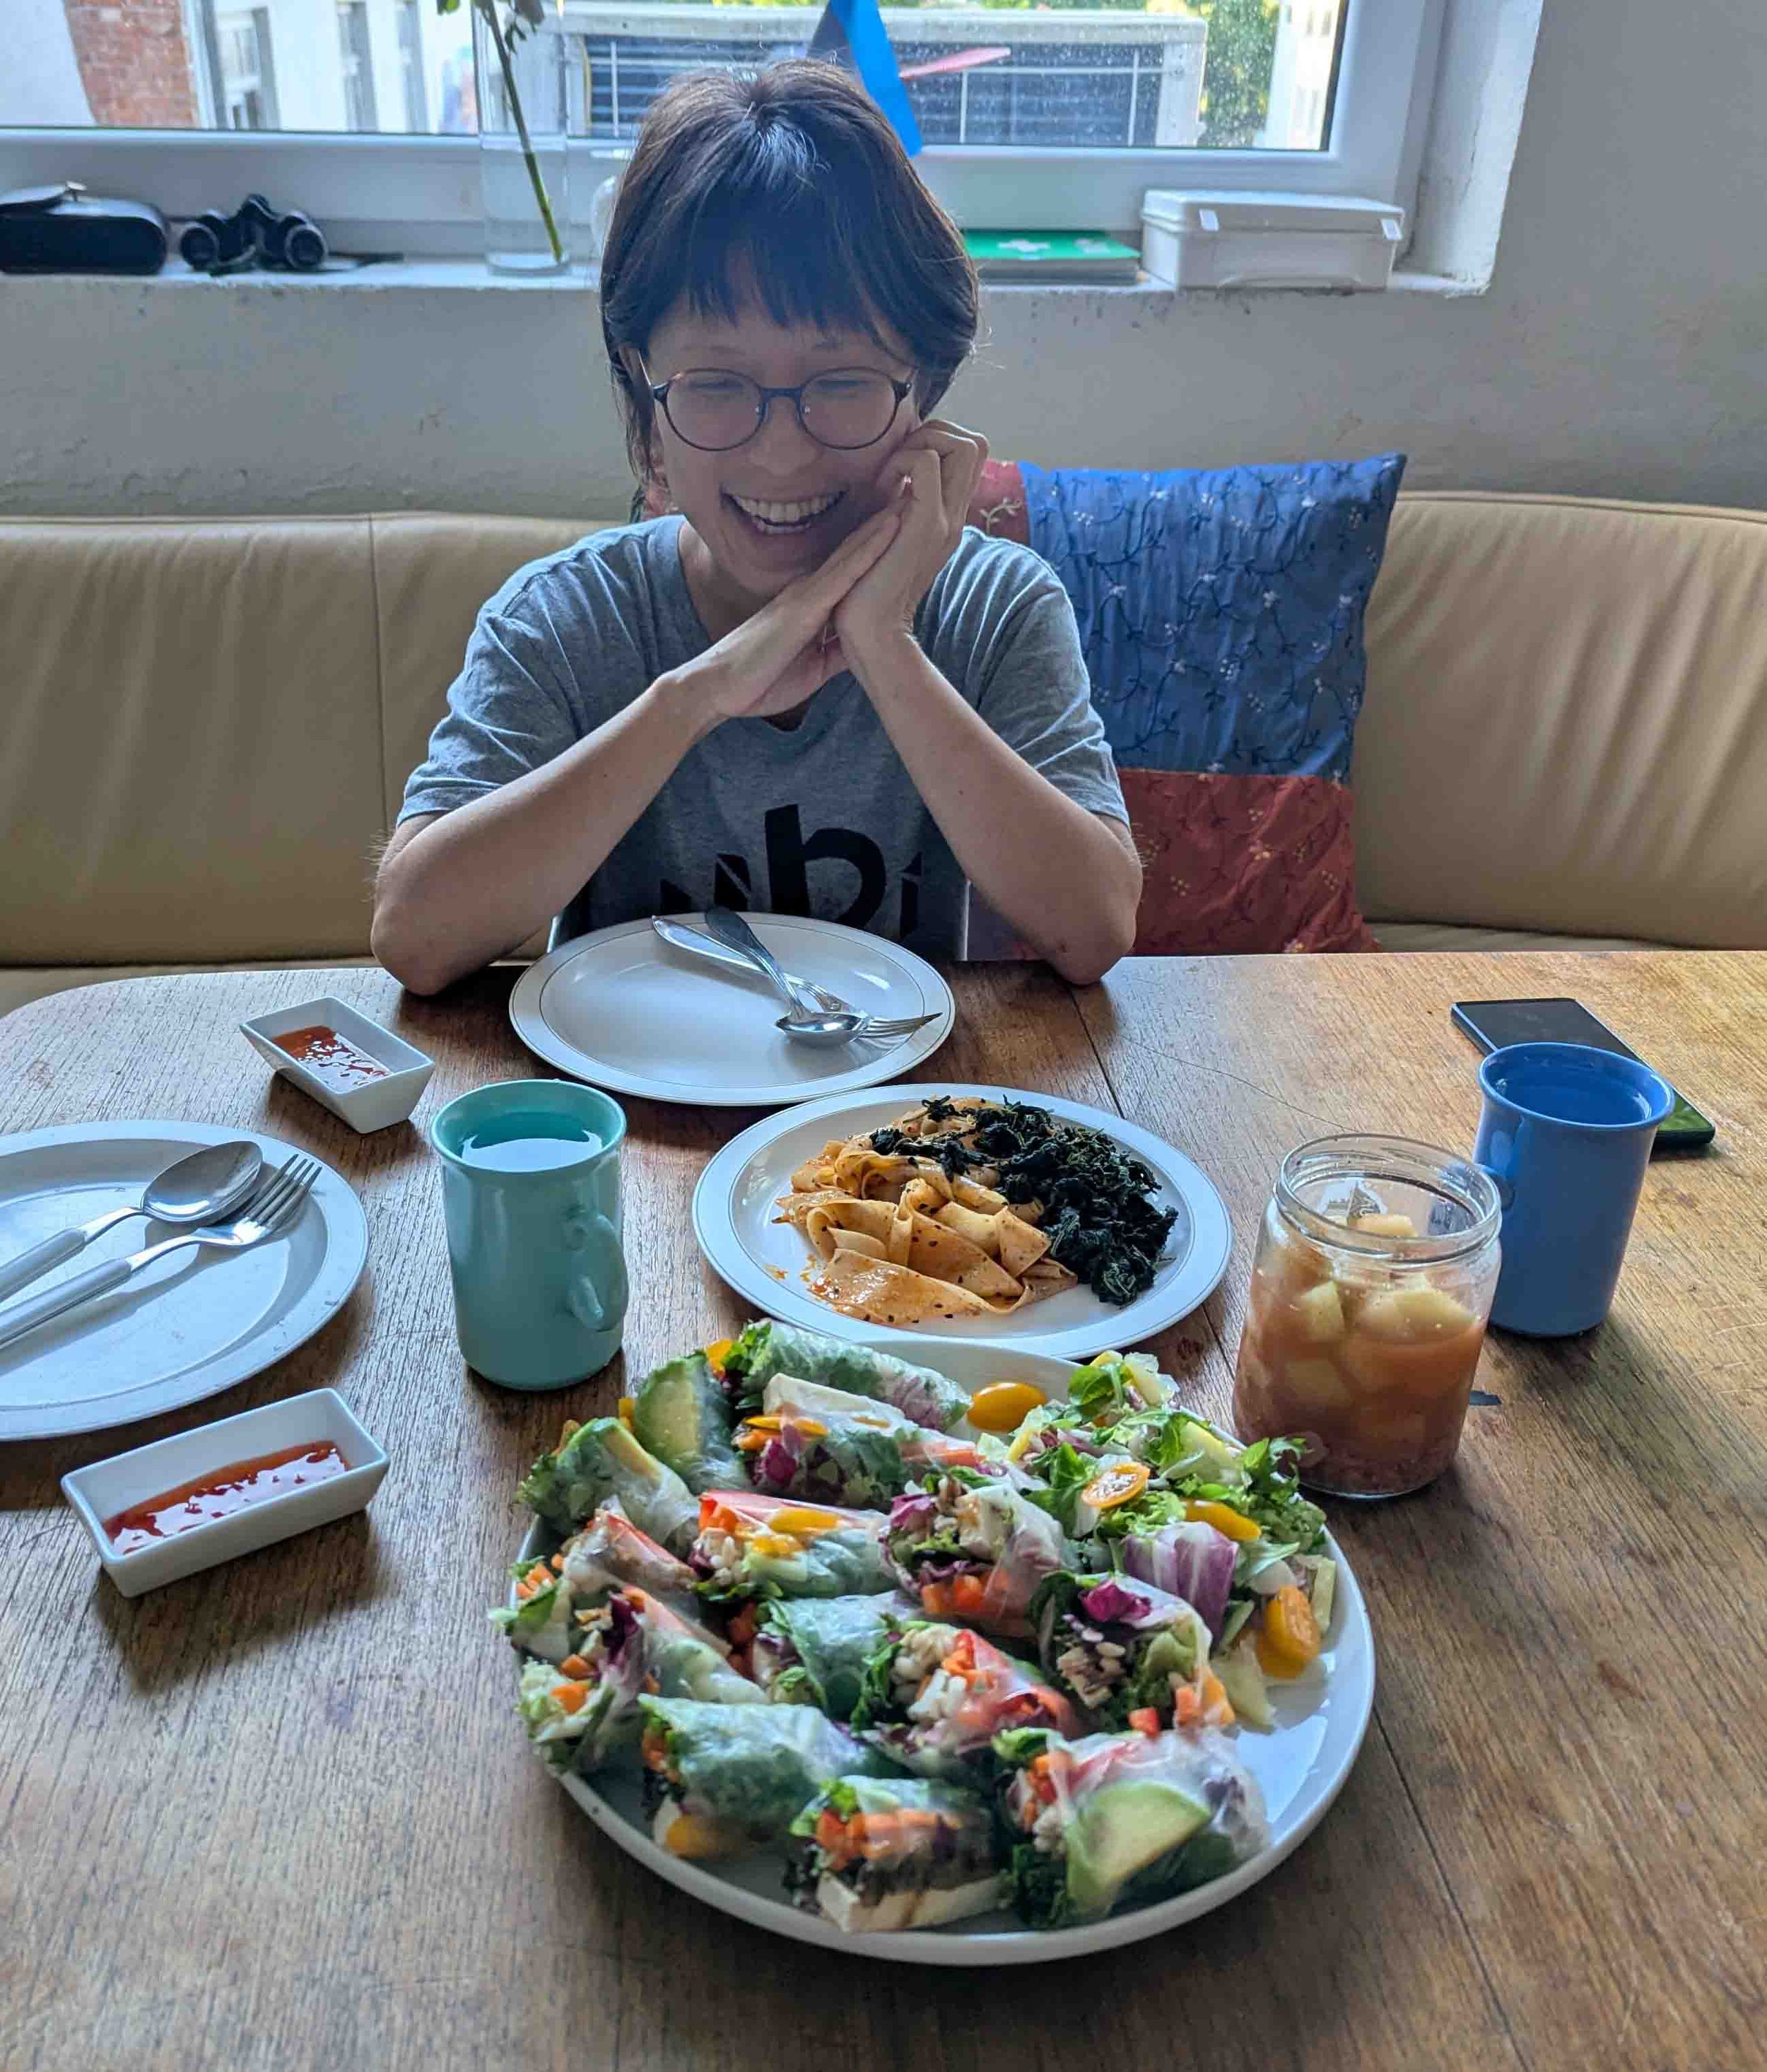
My last days in Pärnu were bittersweet, as I really enjoyed my time there and had two paintings in-progress when I left as well as many more in mind. I was also going to miss my fellow artist-in-residence Akie! Pictured is the feast she made for us to send me off - it was so delicious. (For any of the cropped images below, you can click in and page through the larger, uncropped versions.)

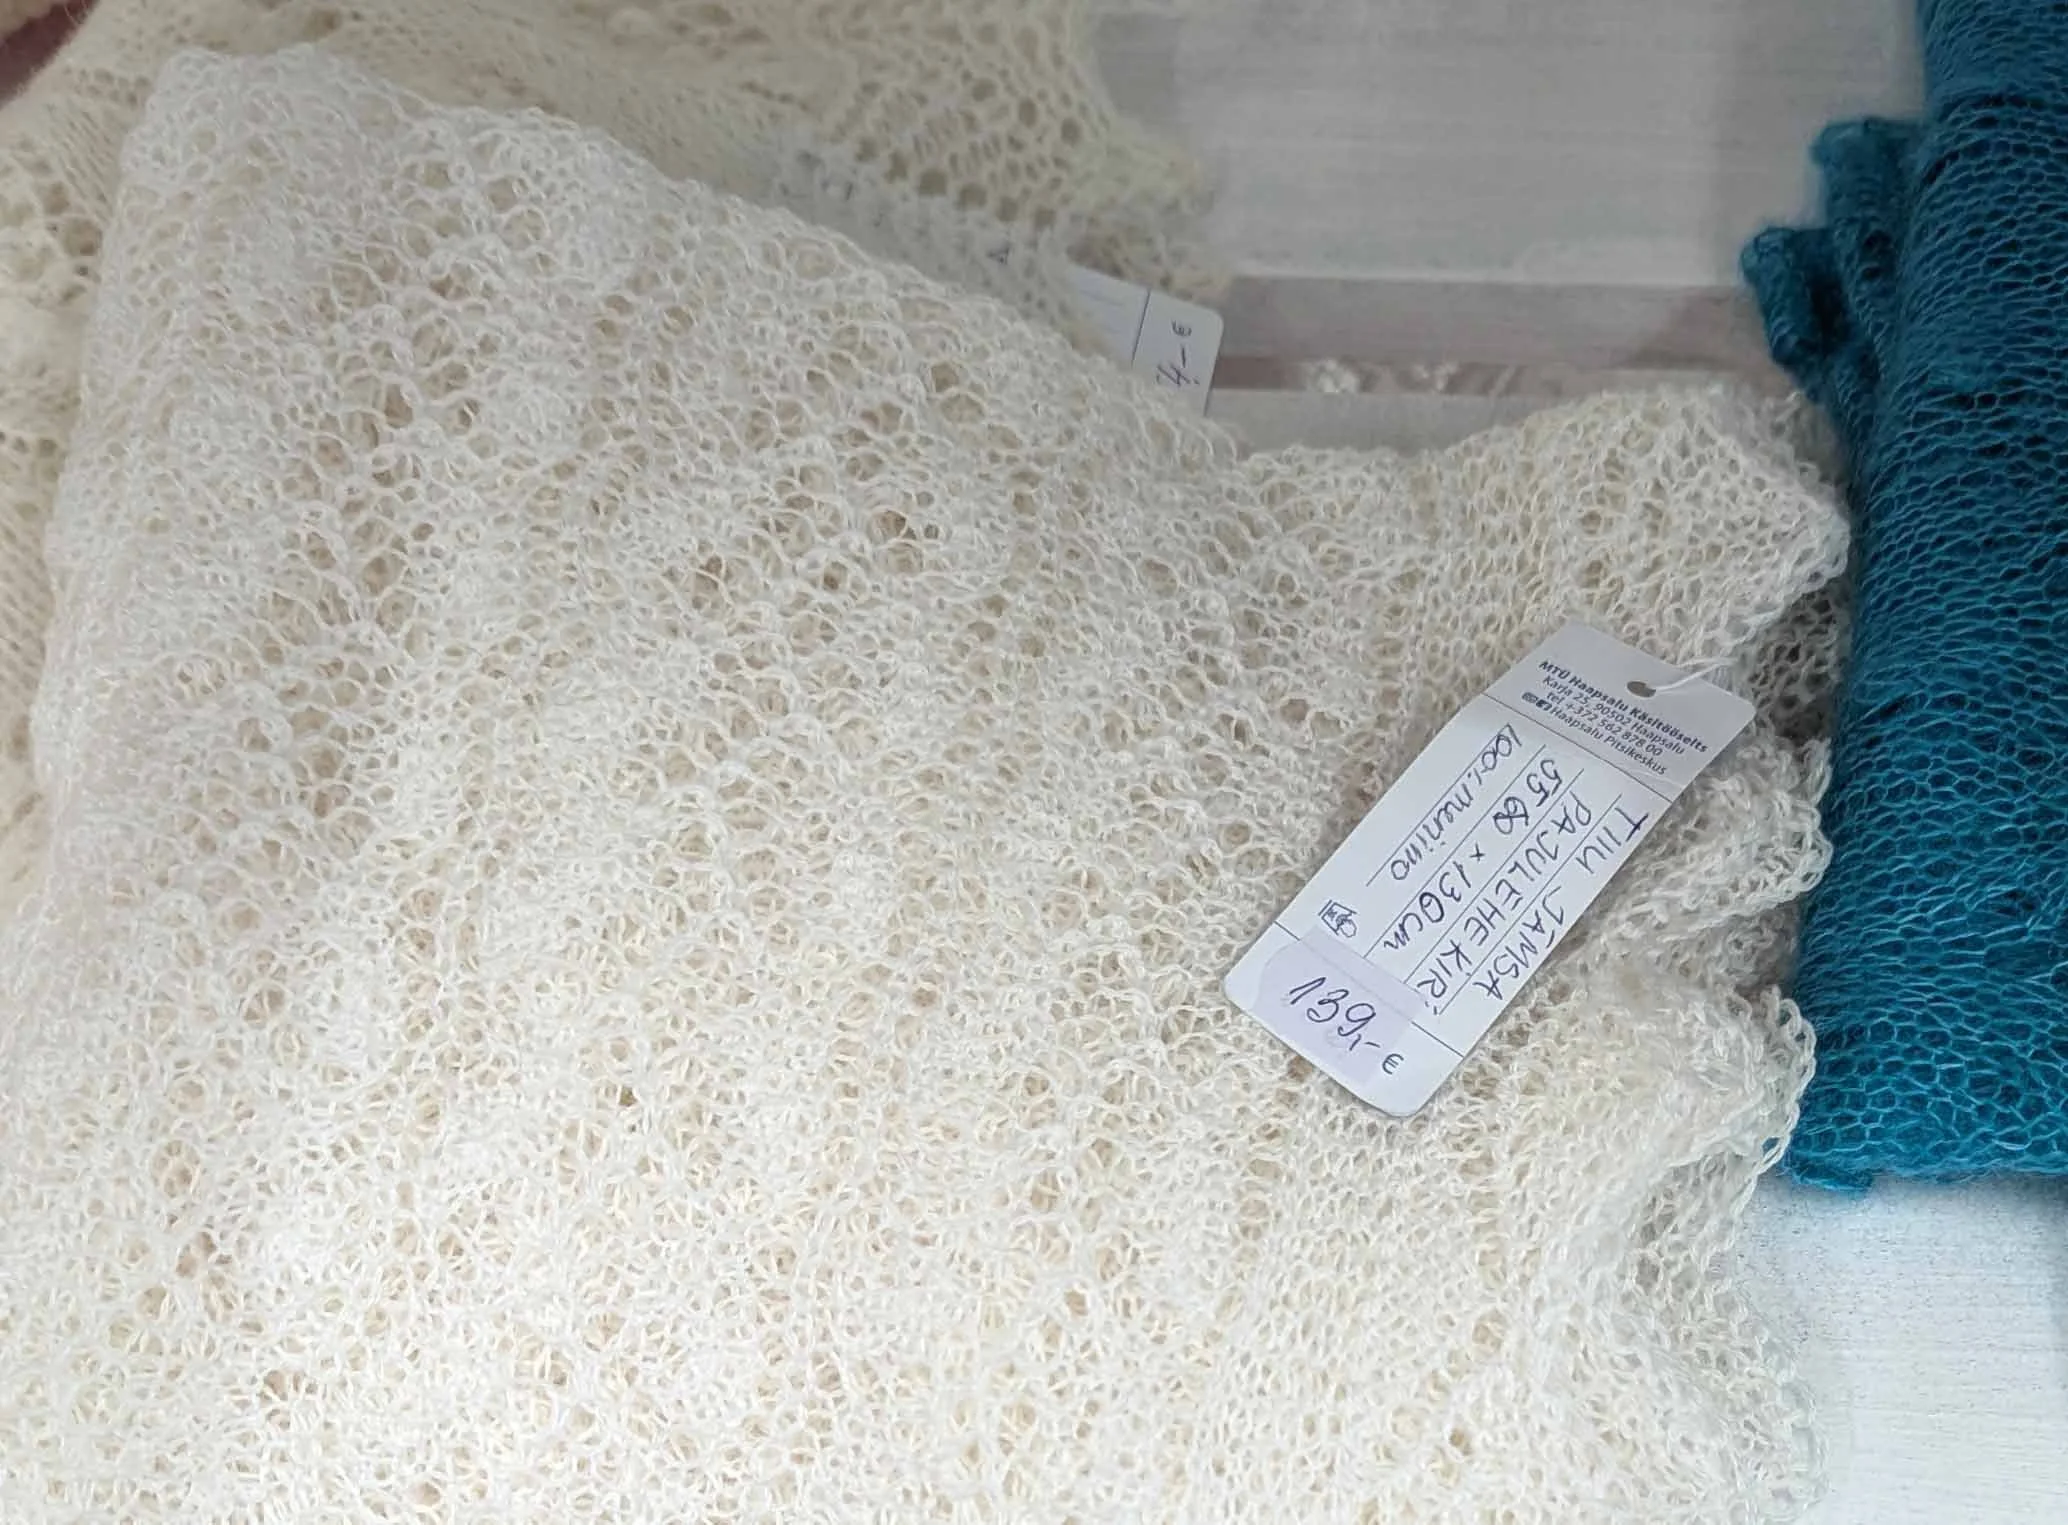
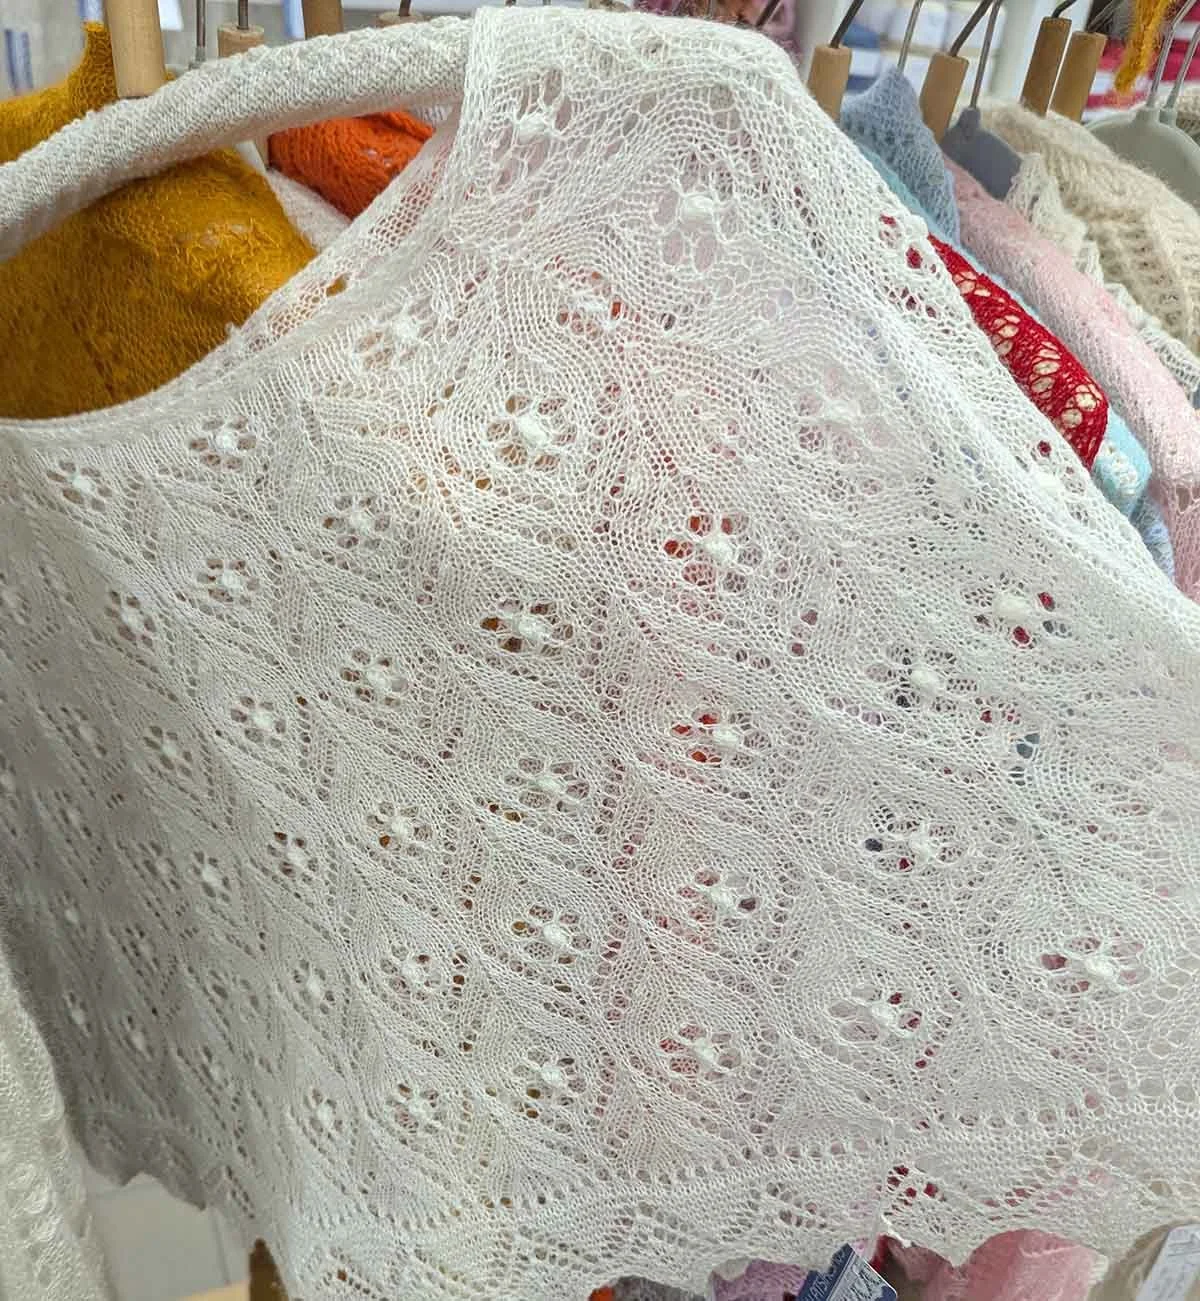
But the days slipped past and soon I was heading to Haapsalu, where I wanted to see the Haapsalu Lace Museum. Unfortunately for me, it turned out that despite what it said online (which I believe was intentionally misleading), the museum was closed for renovations and the address and listing was changed to that of the museum’s mall storefront. I still got to see beautiful examples of the prized bobble lace shawls and other wearables, and though these were all woolen and extremely expensive (due to the ridiculous amount of labor involved in the production), there were some more affordable stiffened lace doilies for sale. I picked a few up as gifts.

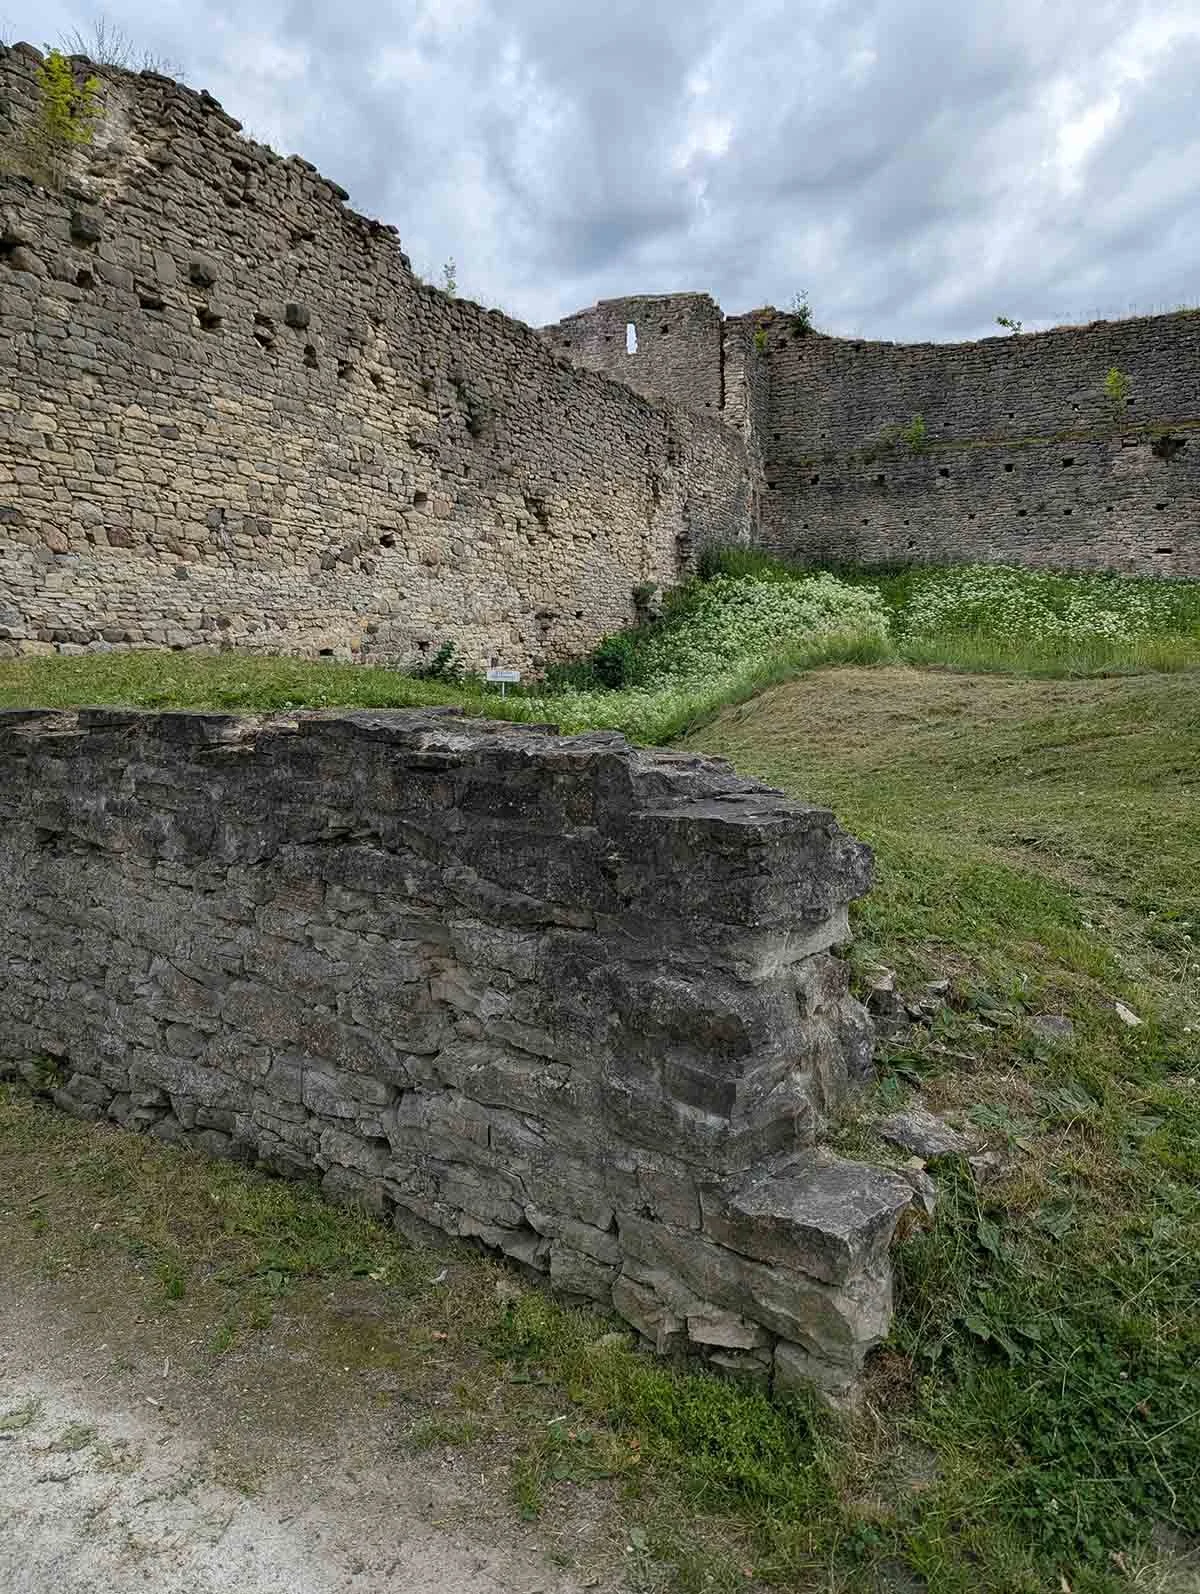
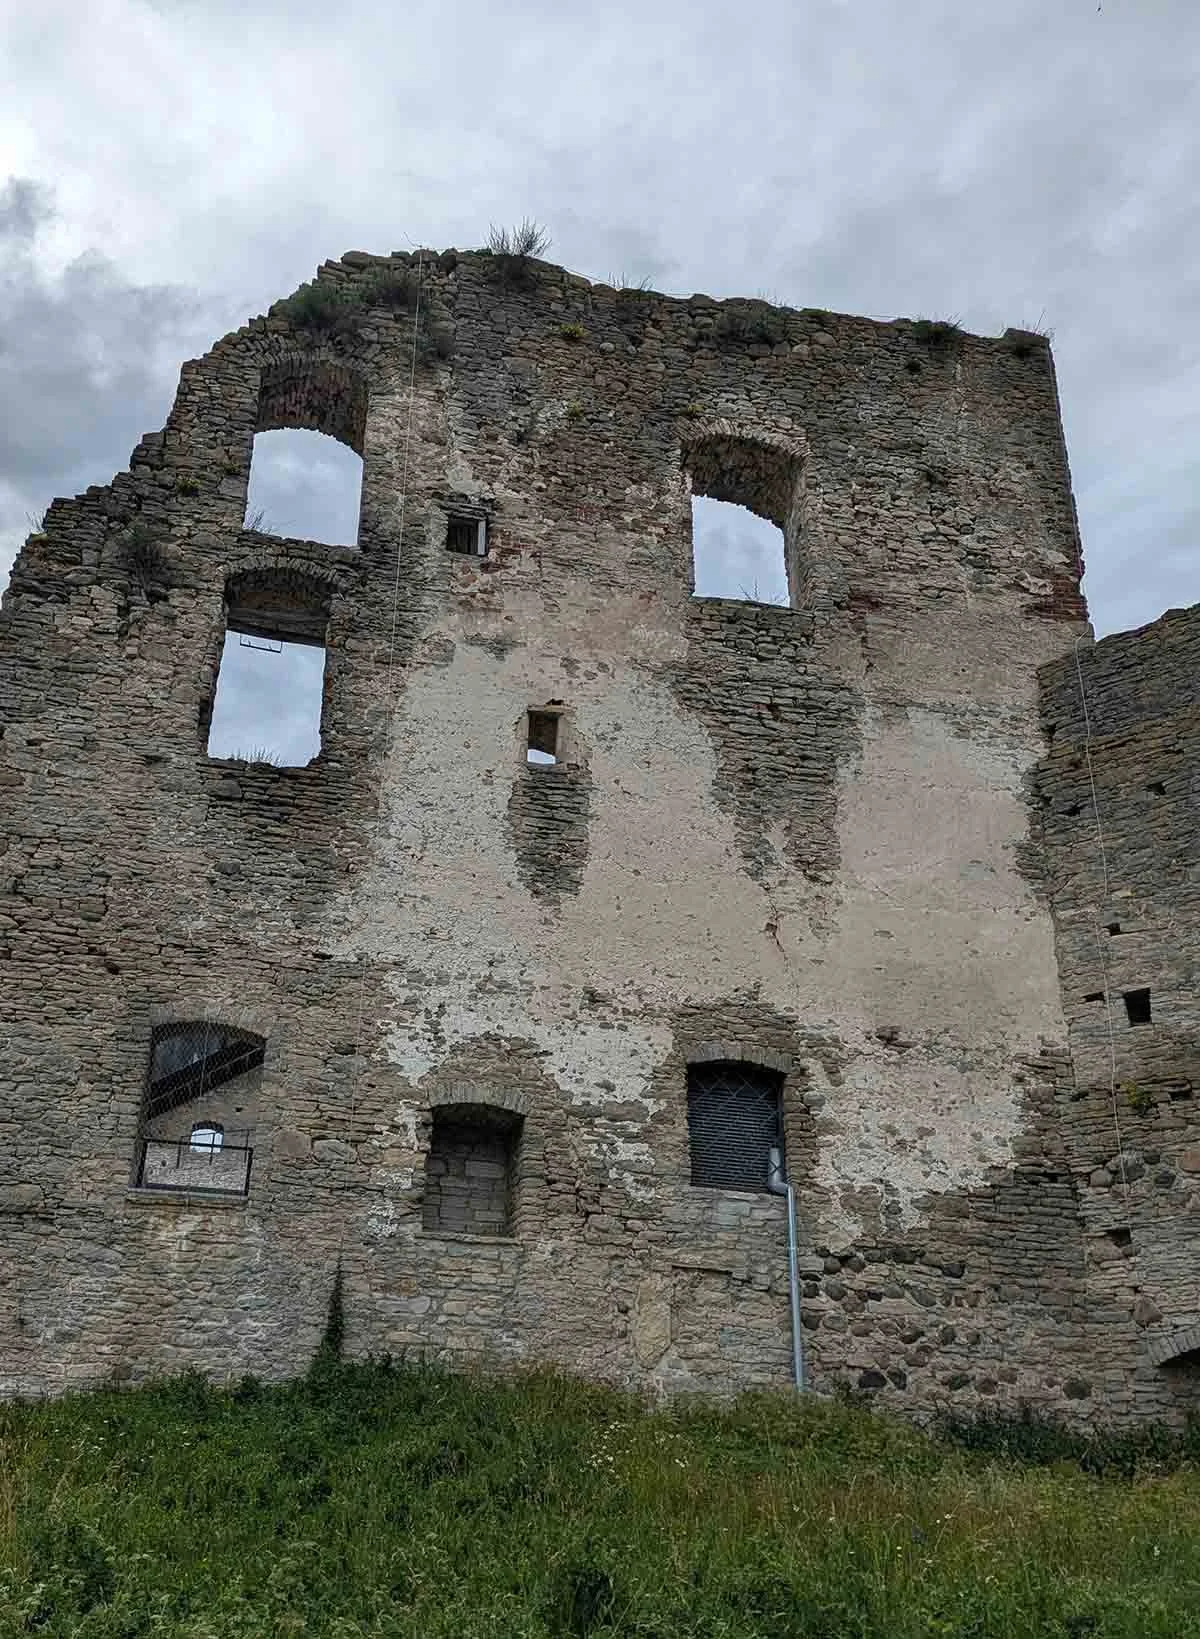
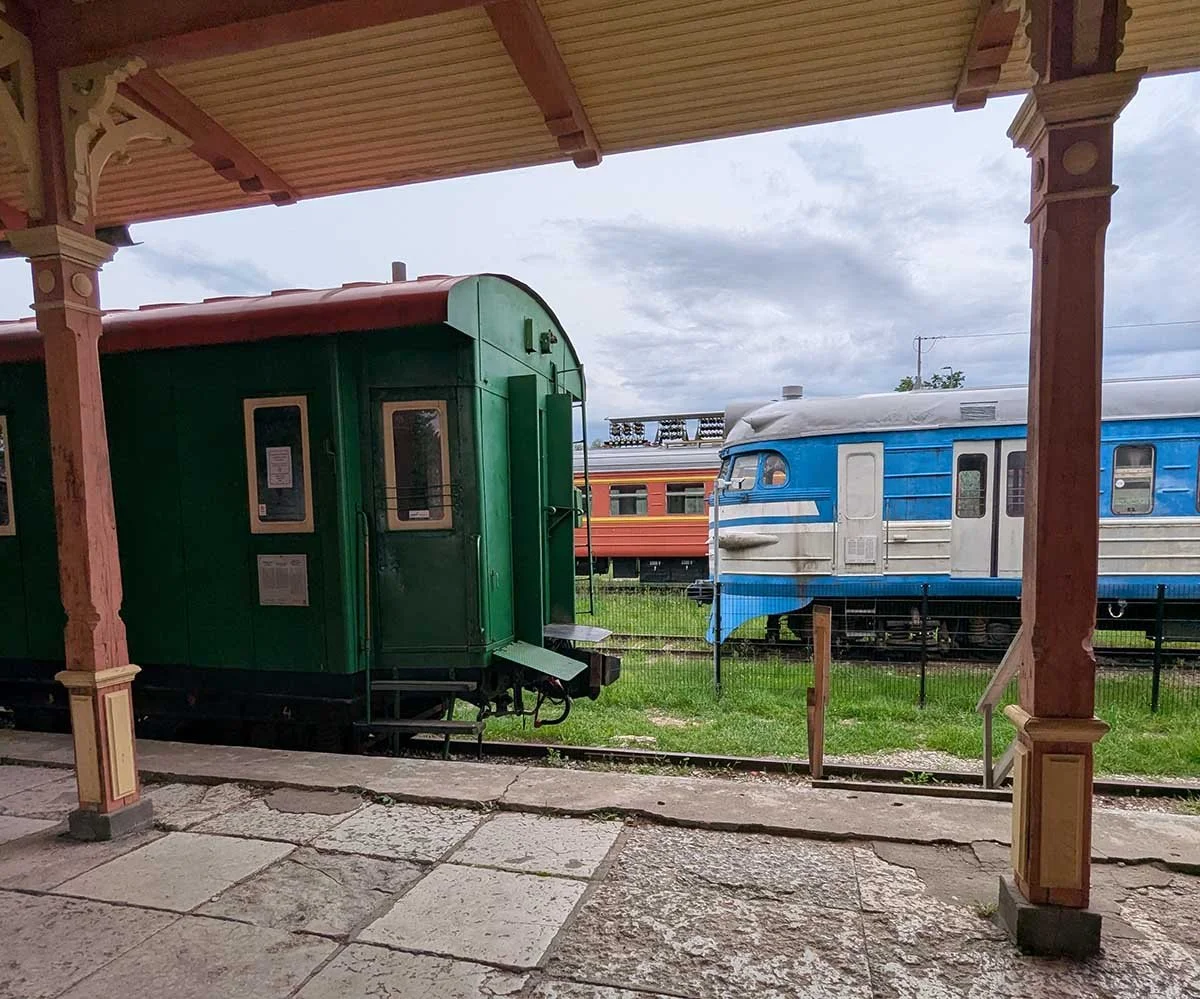
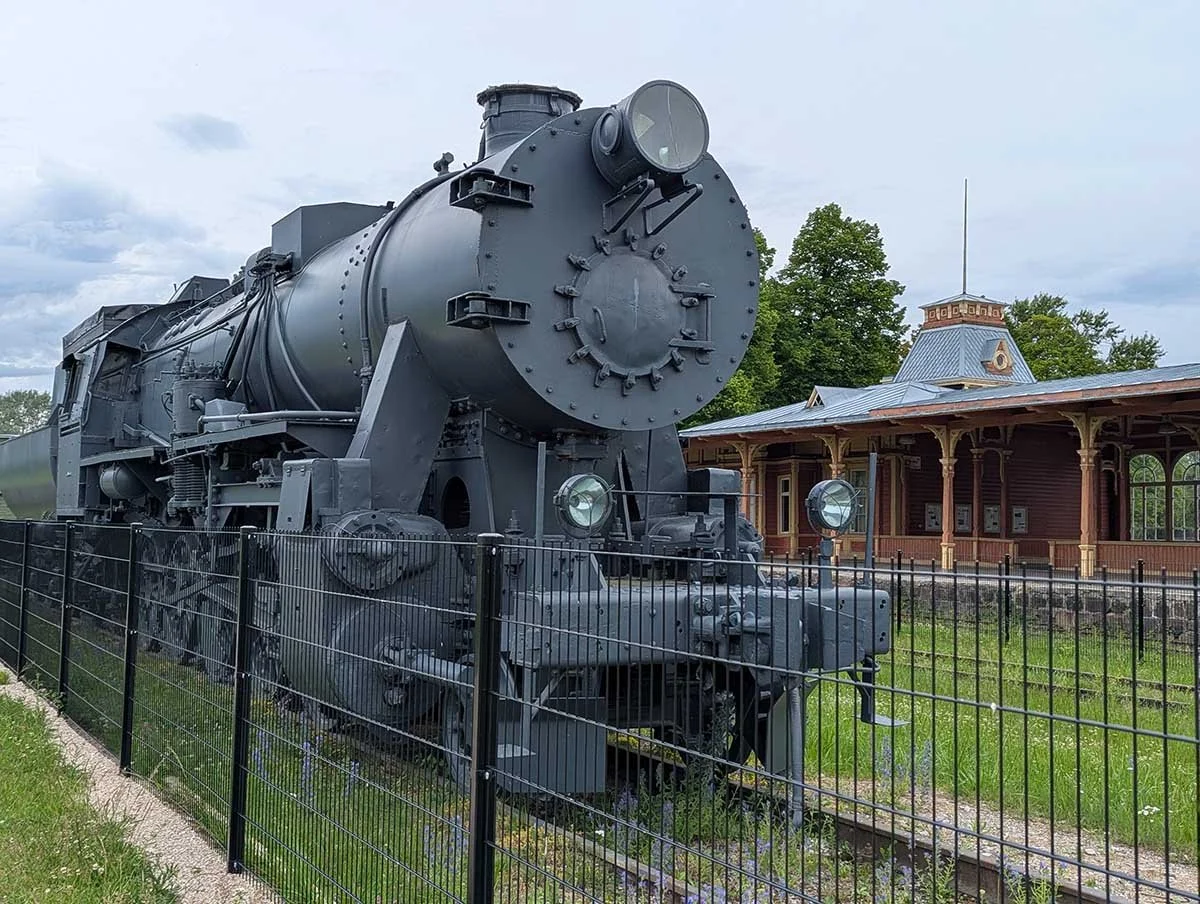
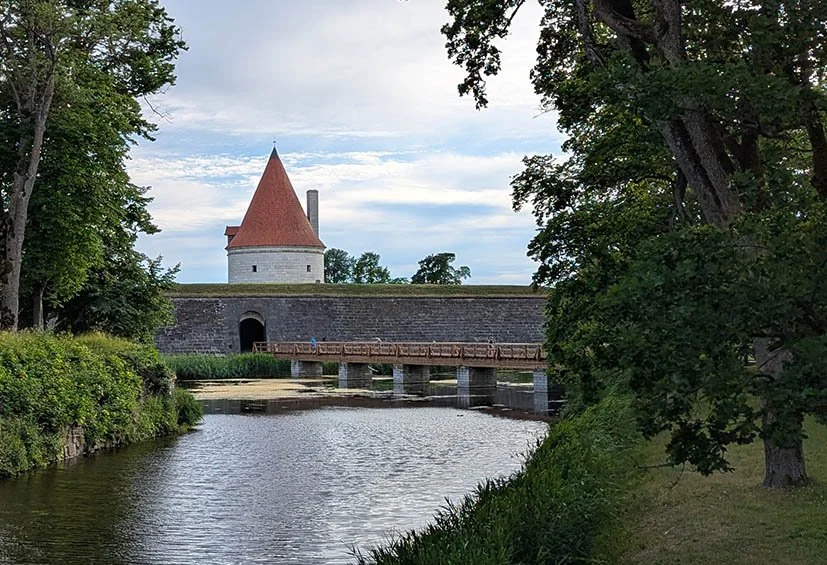
Though that was a bust, I did enjoy touring the Haapsalu castle ruins, old train station, and the bay!

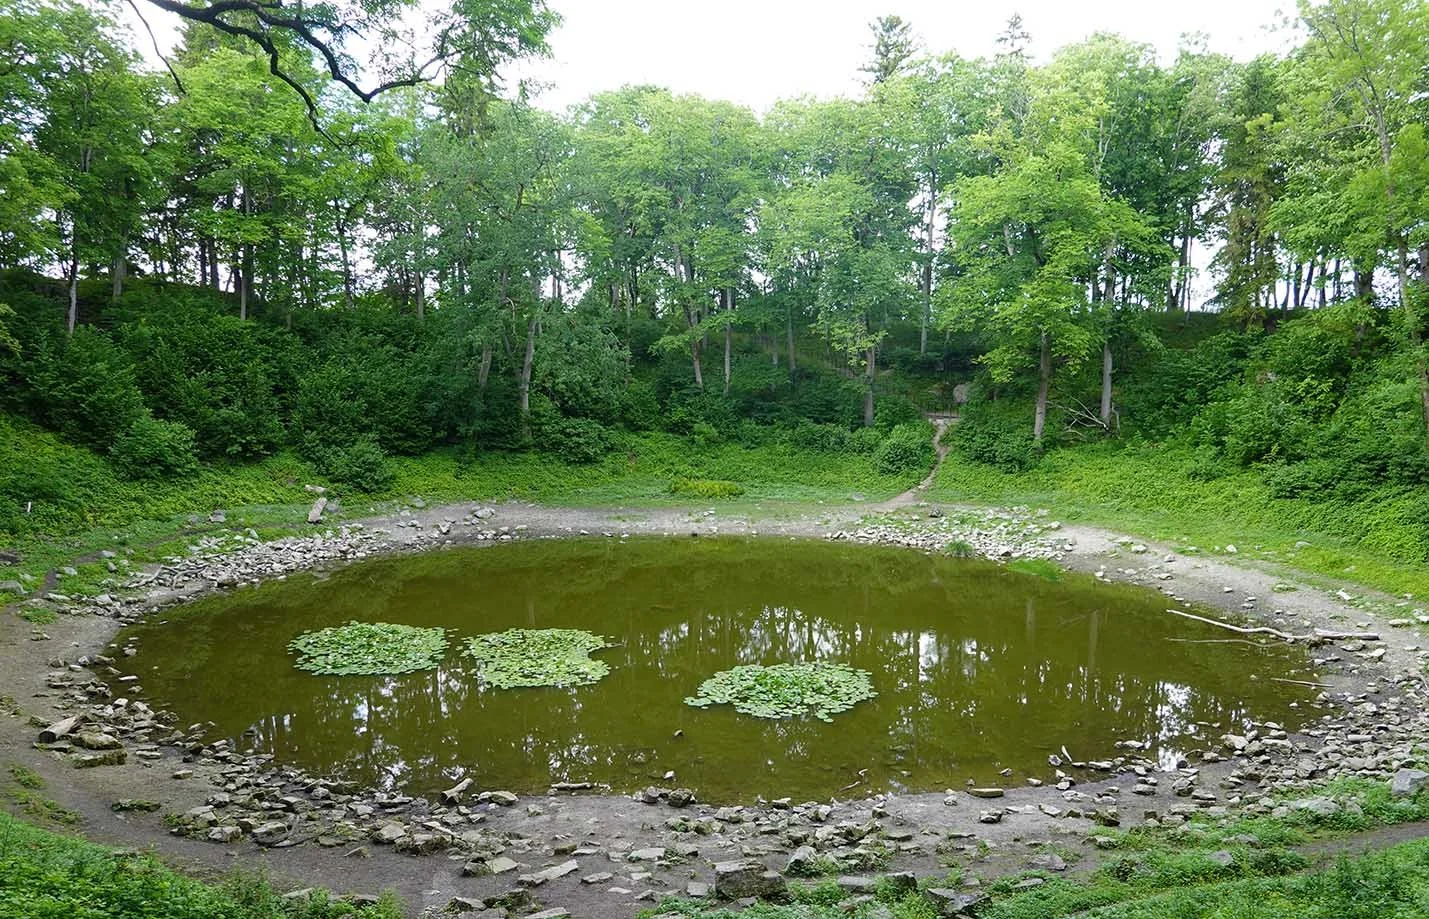
Then I moved on to Kuressaare on the island of Saaremaa, as they were having what they advertised as a three-day festival “Saarte Art Fest” with a large arts market featuring dozens of contemporary artists from all of Estonia. That, too, was extremely misleading; the arts market had four total new vendors, and a couple nearby galleries brought their wares out as well (which I had already seen in their own spaces). My recommendation is not to visit Kuressaare for these types of festivals; but there were two cool points of interest that made the visit worthwhile anyway, in addition to general Kuressaare wanderings. The first was a bus ride out to Kaali Crater. Technically there are nine meteorite craters in the town of Kaali, but most are very small and difficult to discern from normal topography. One, however, is more obvious!

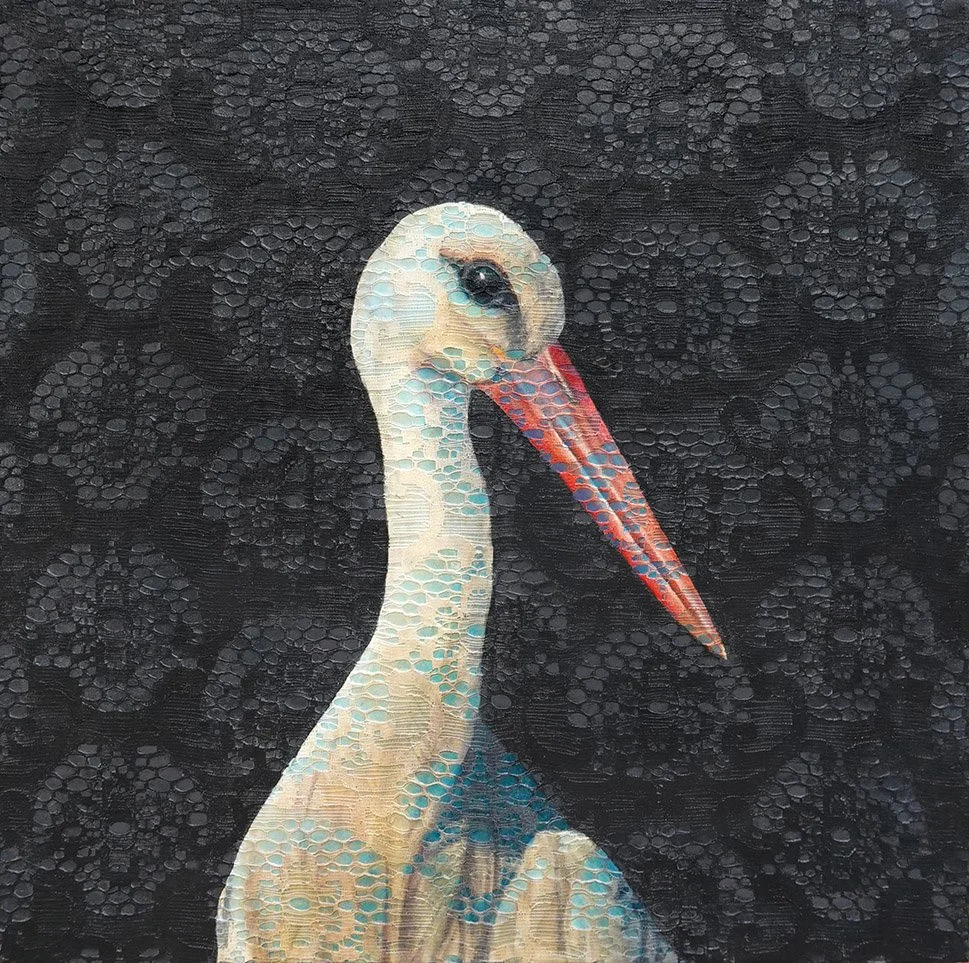
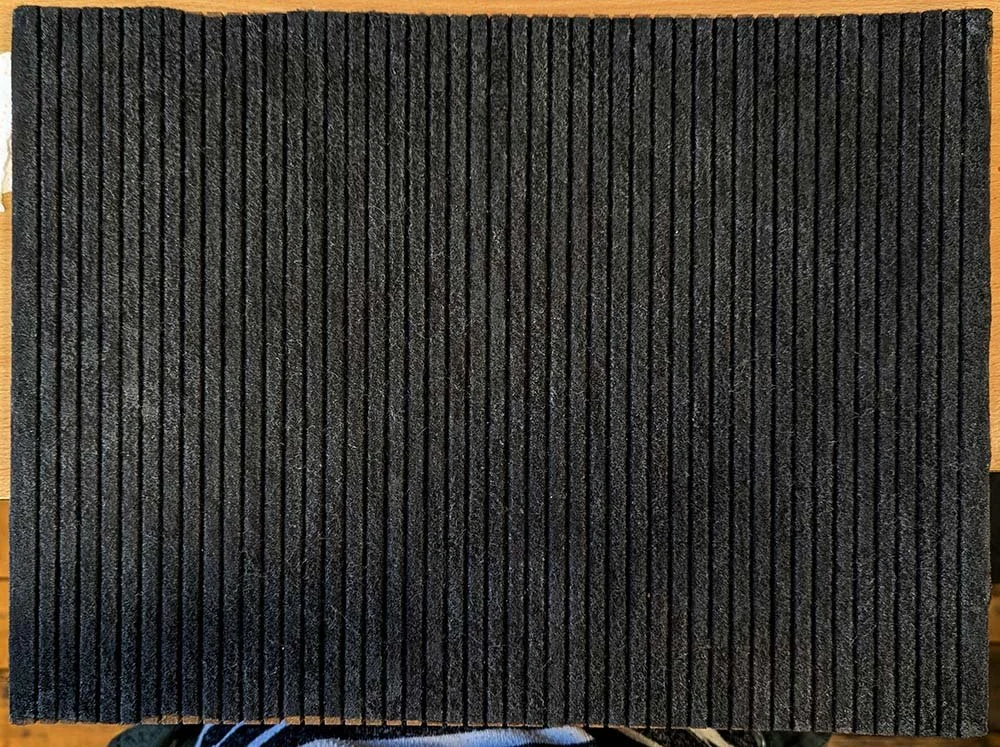
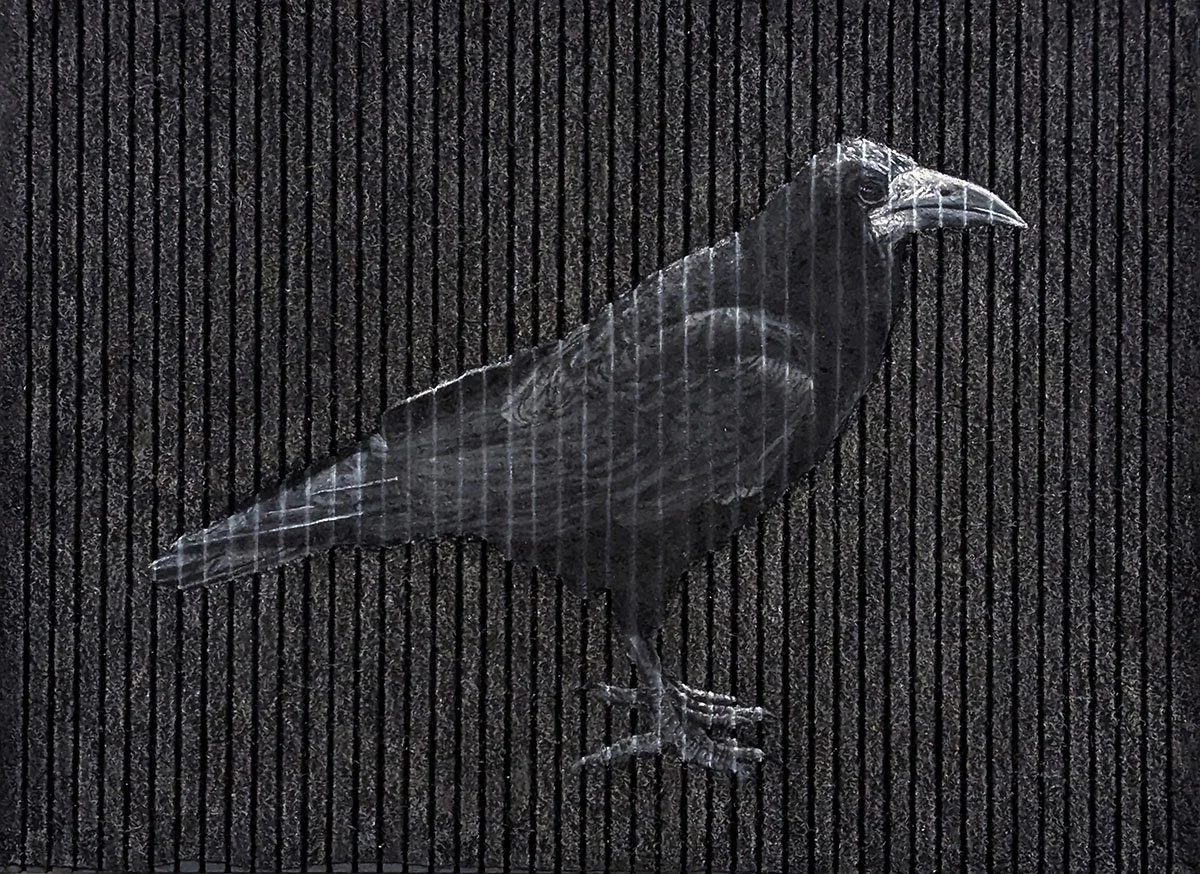
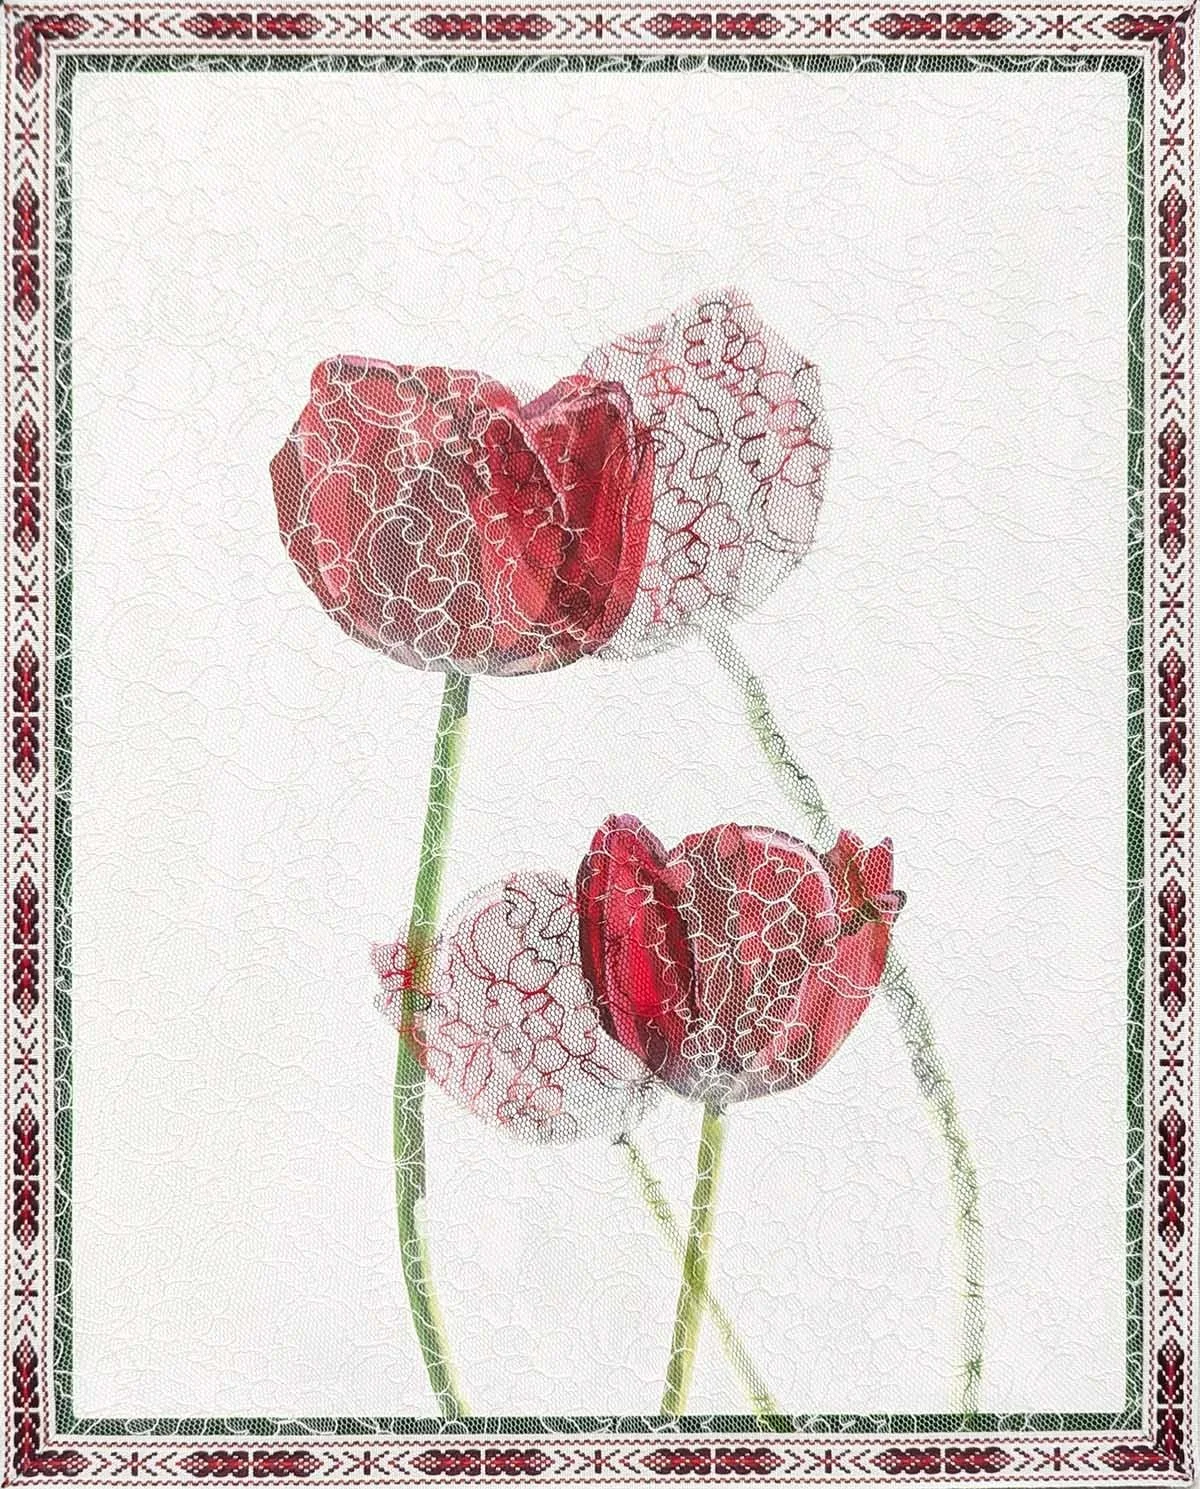
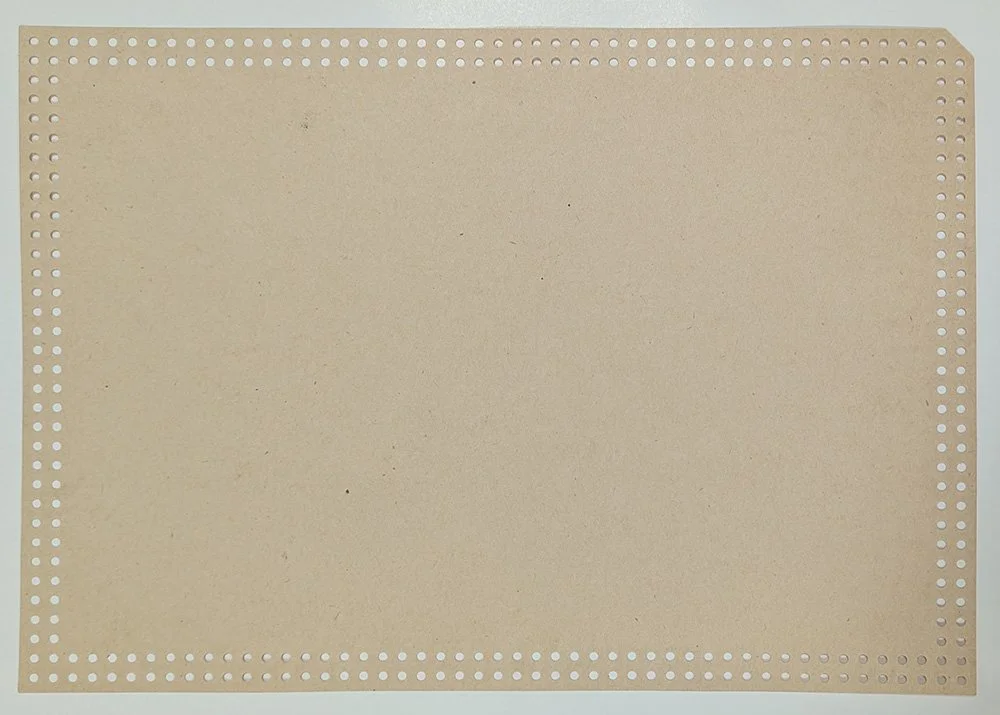
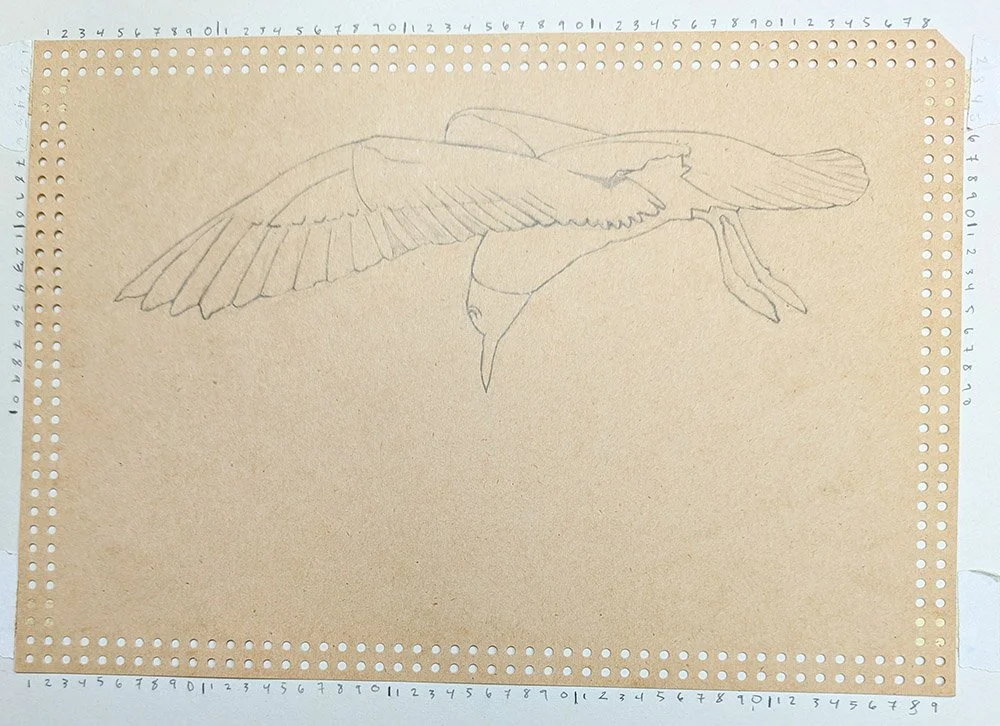
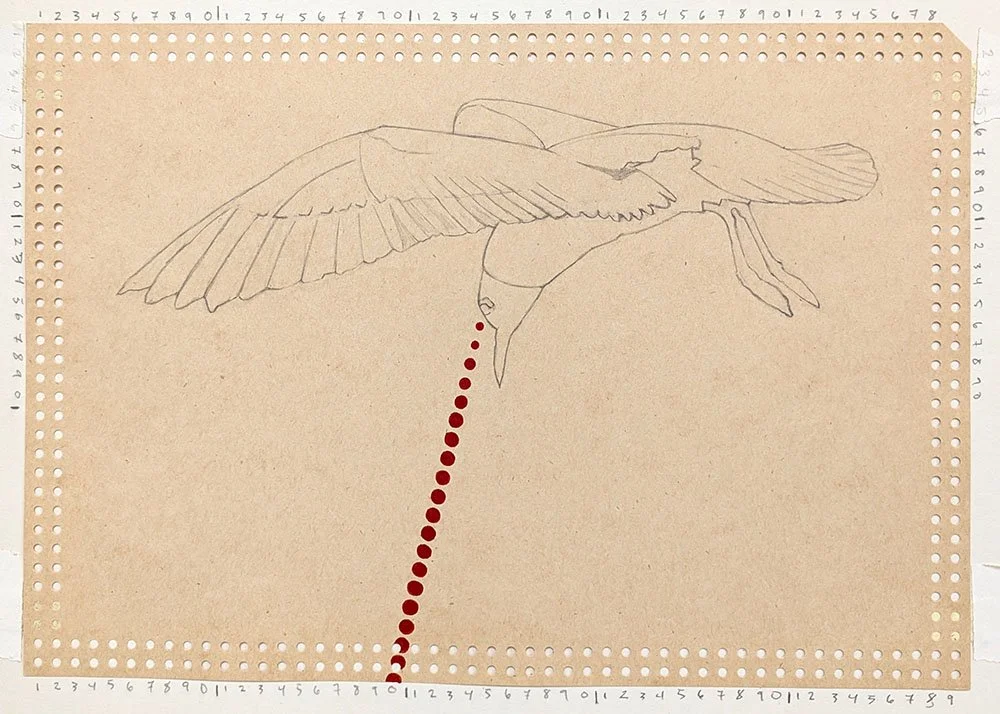
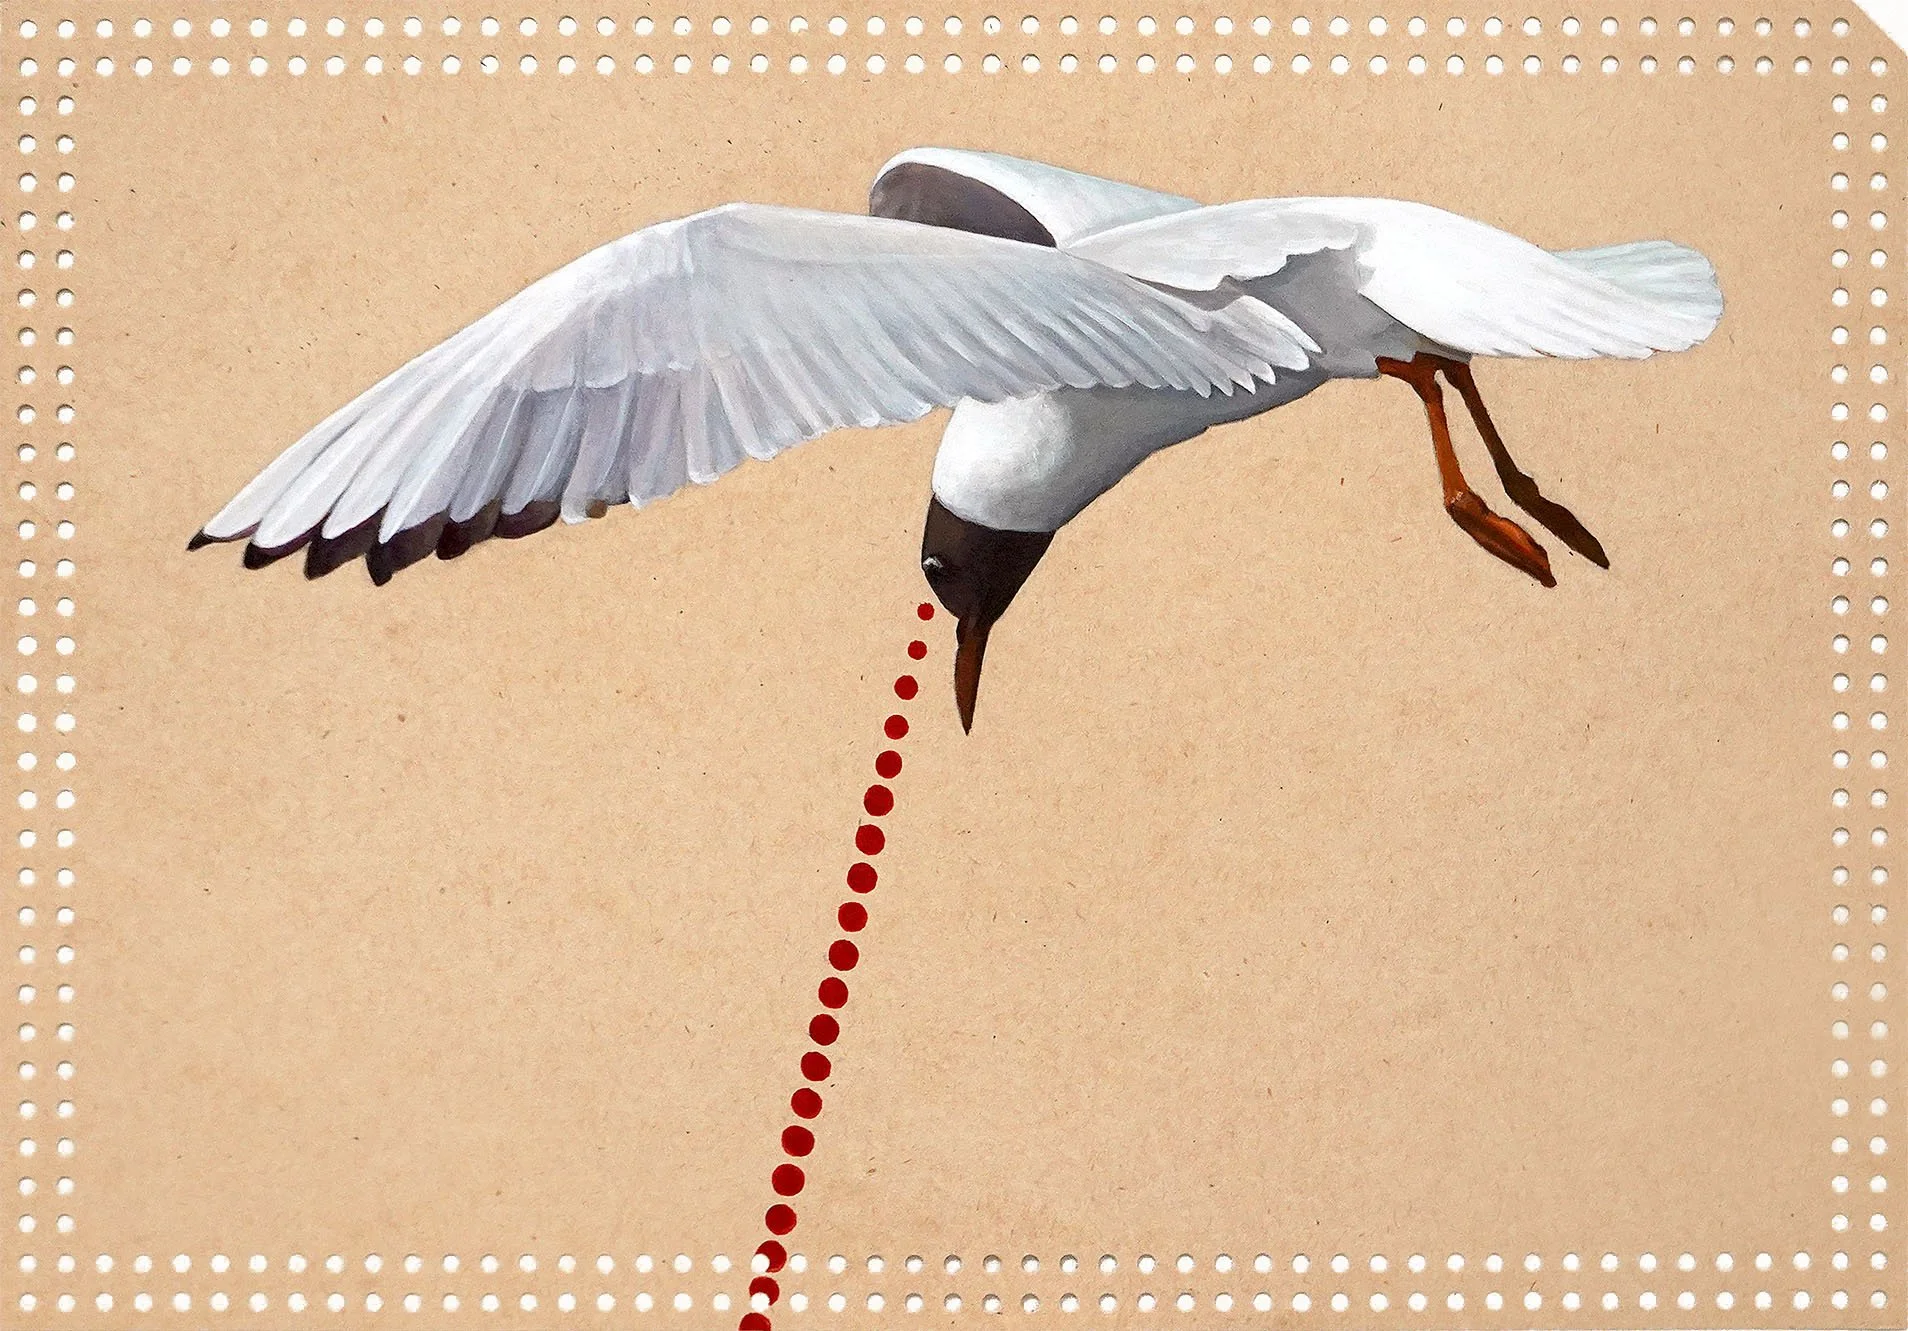
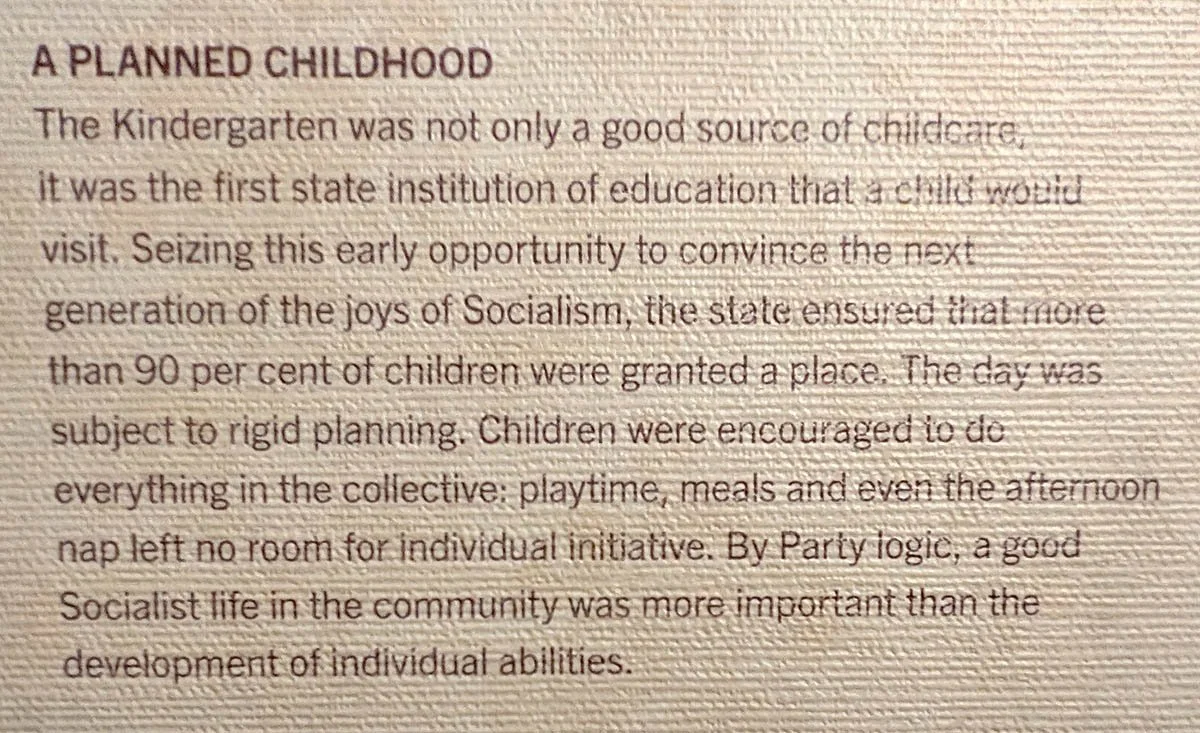
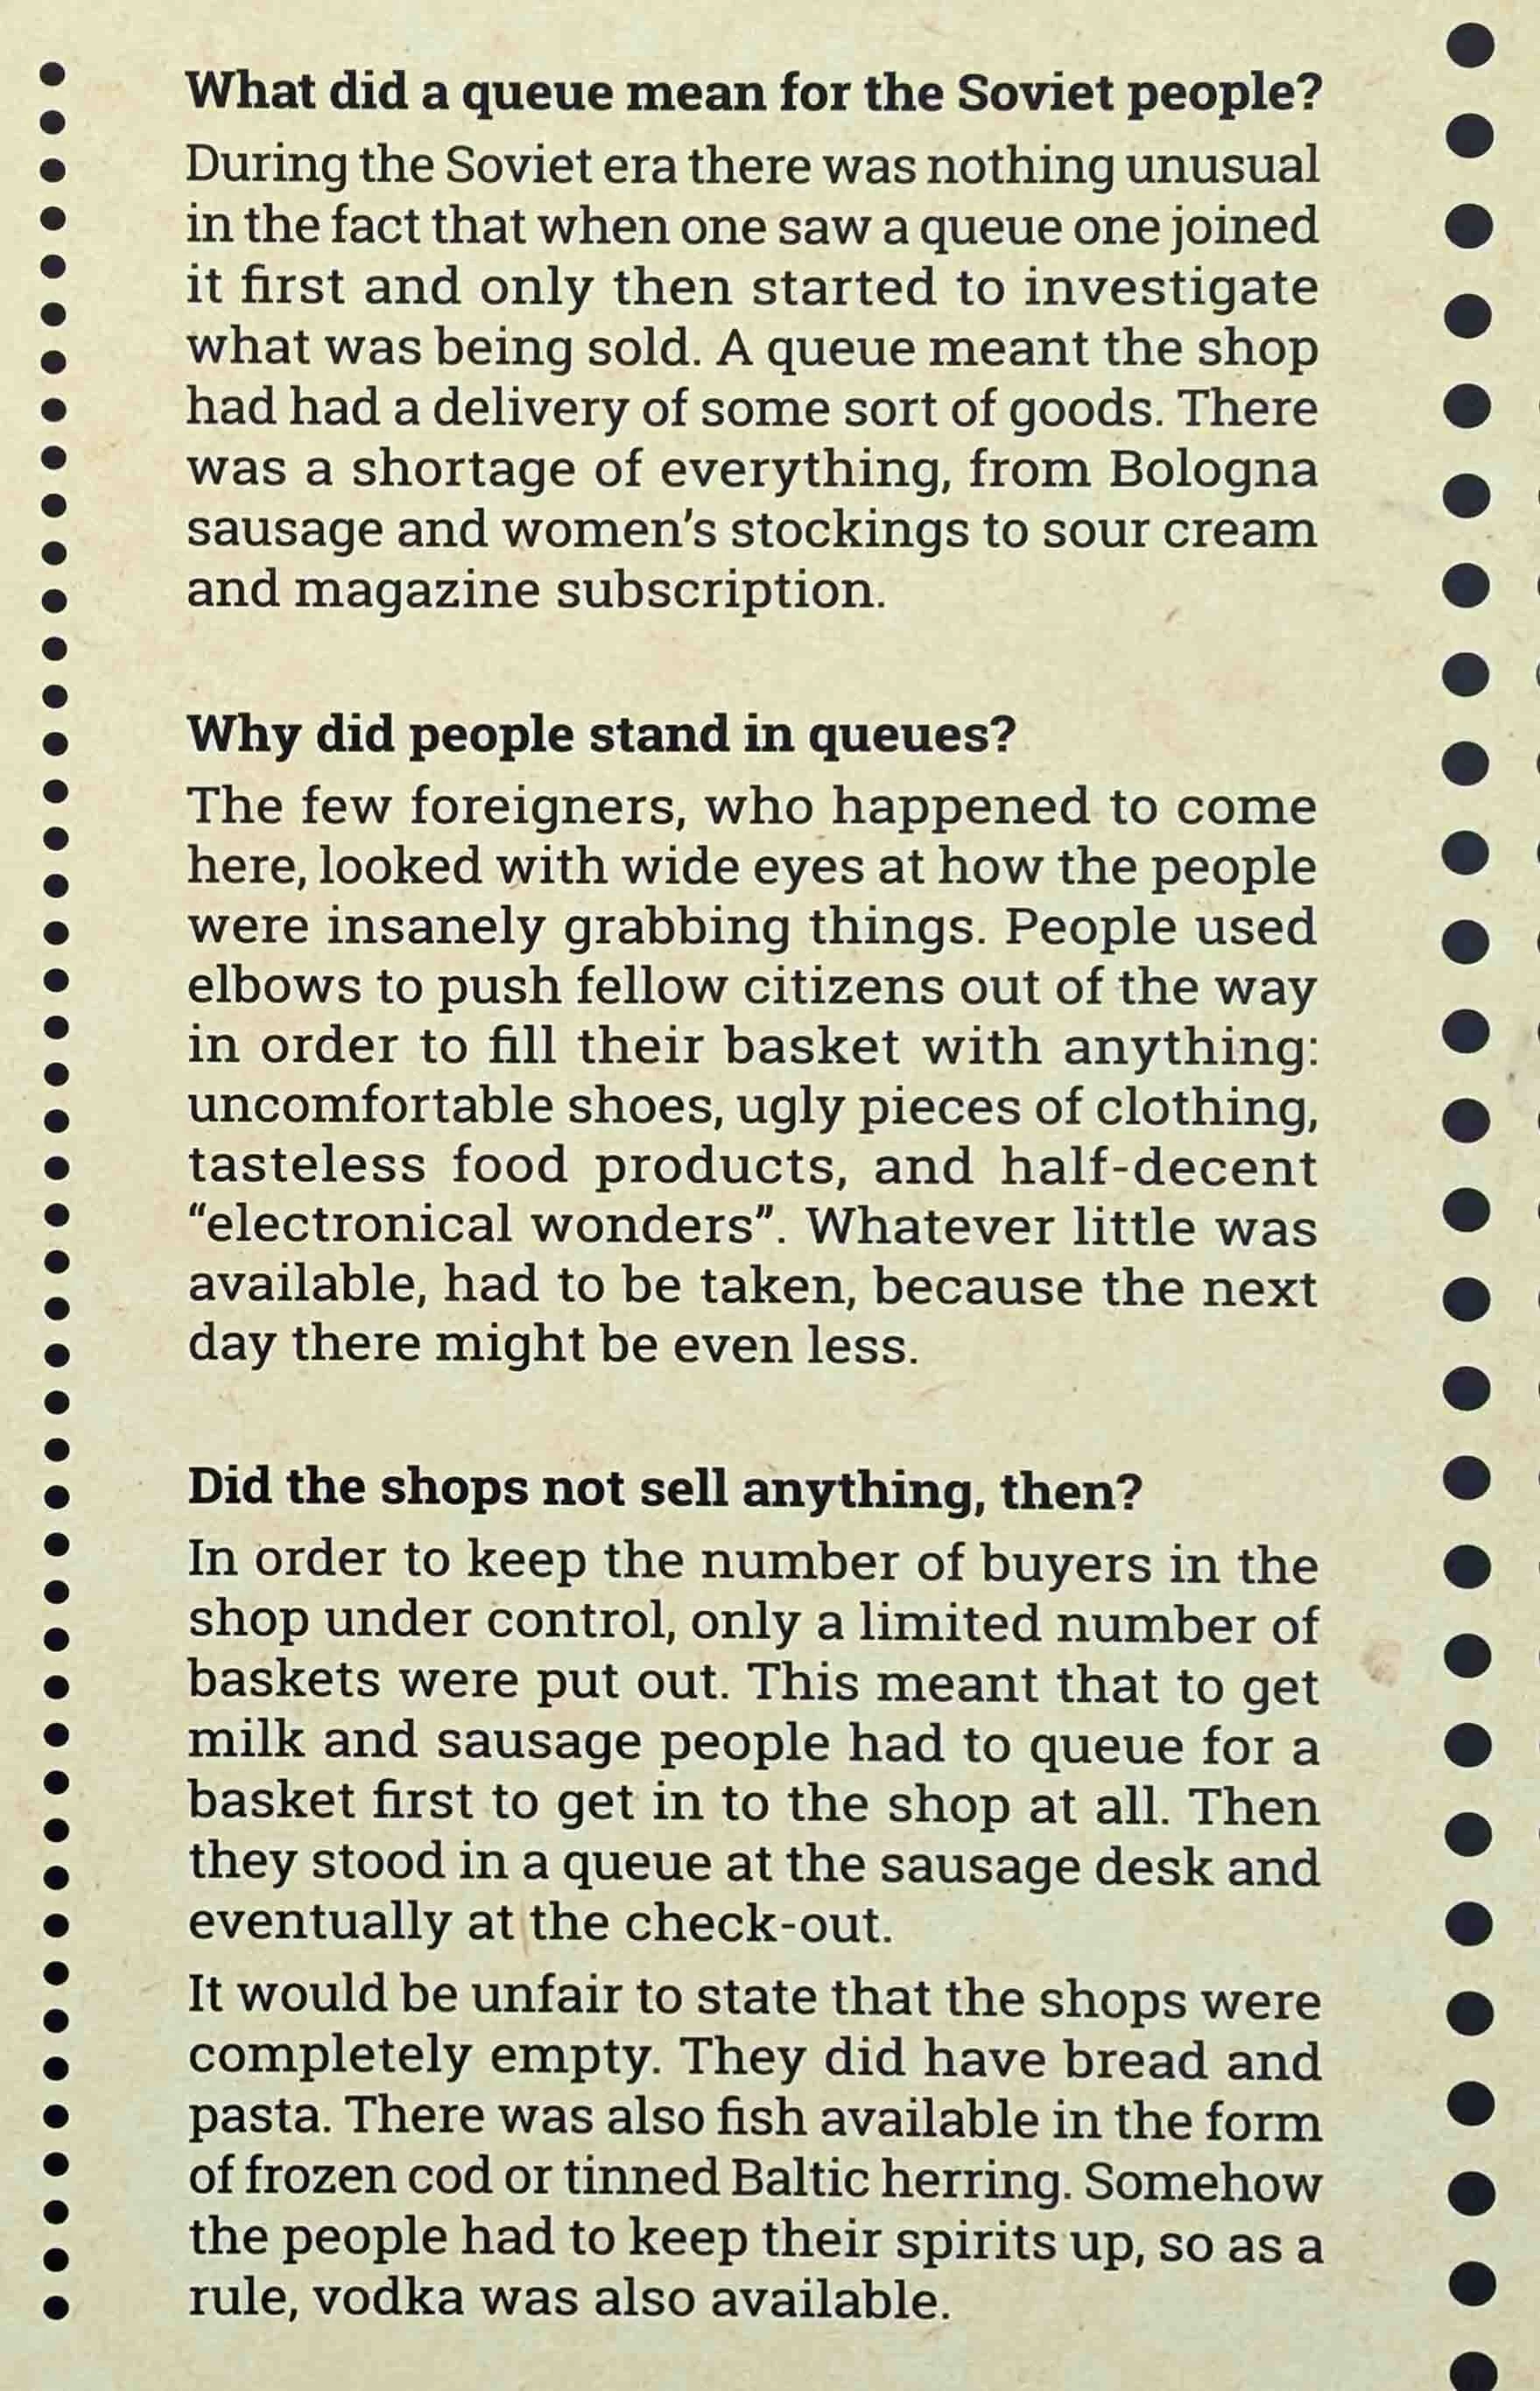
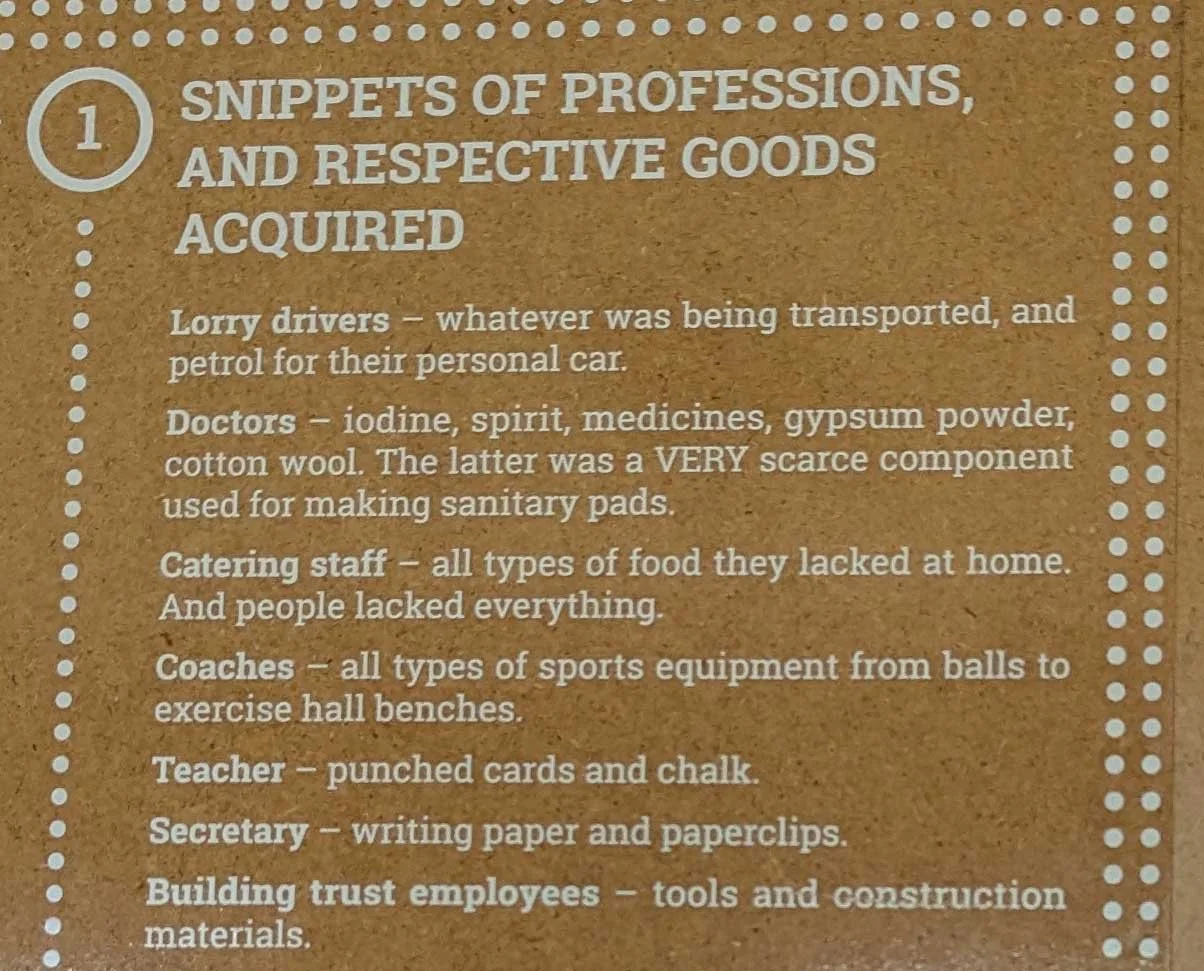
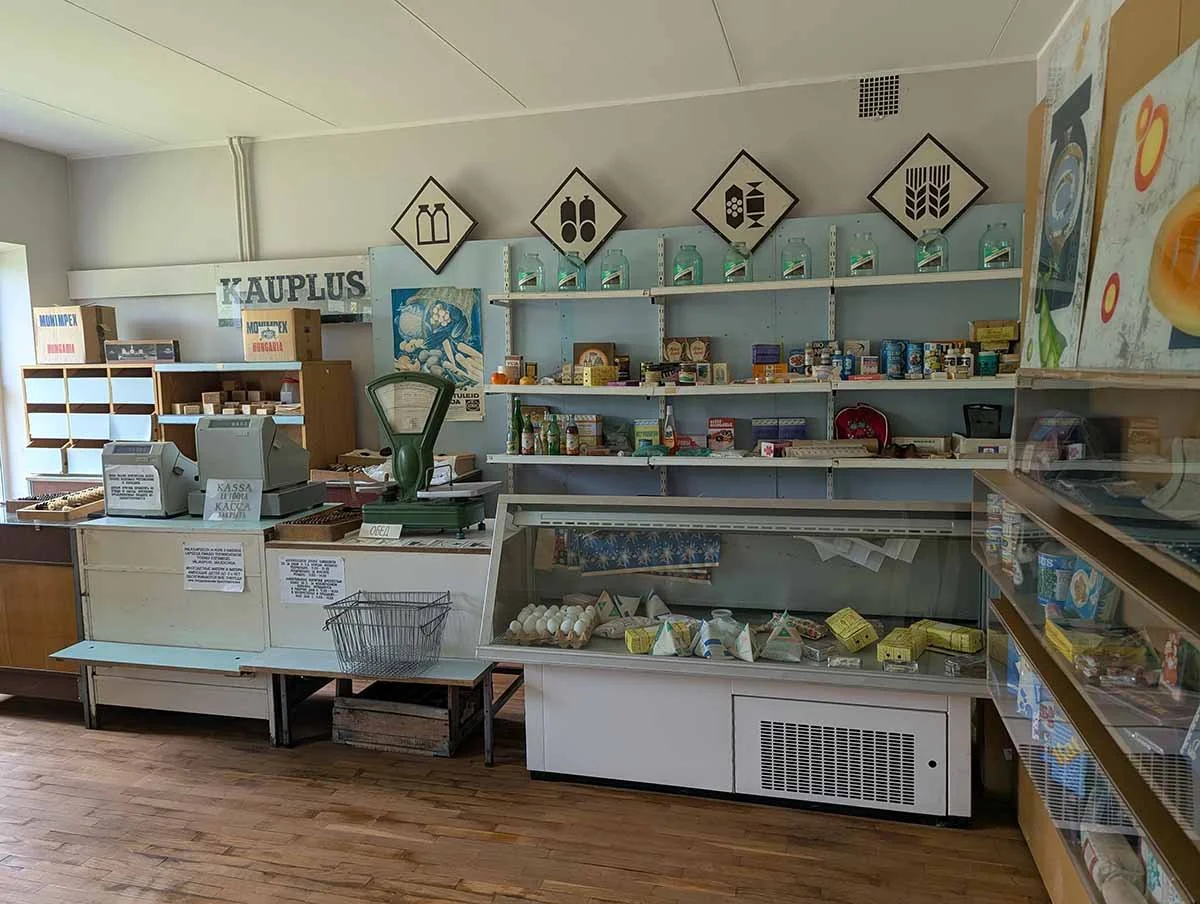
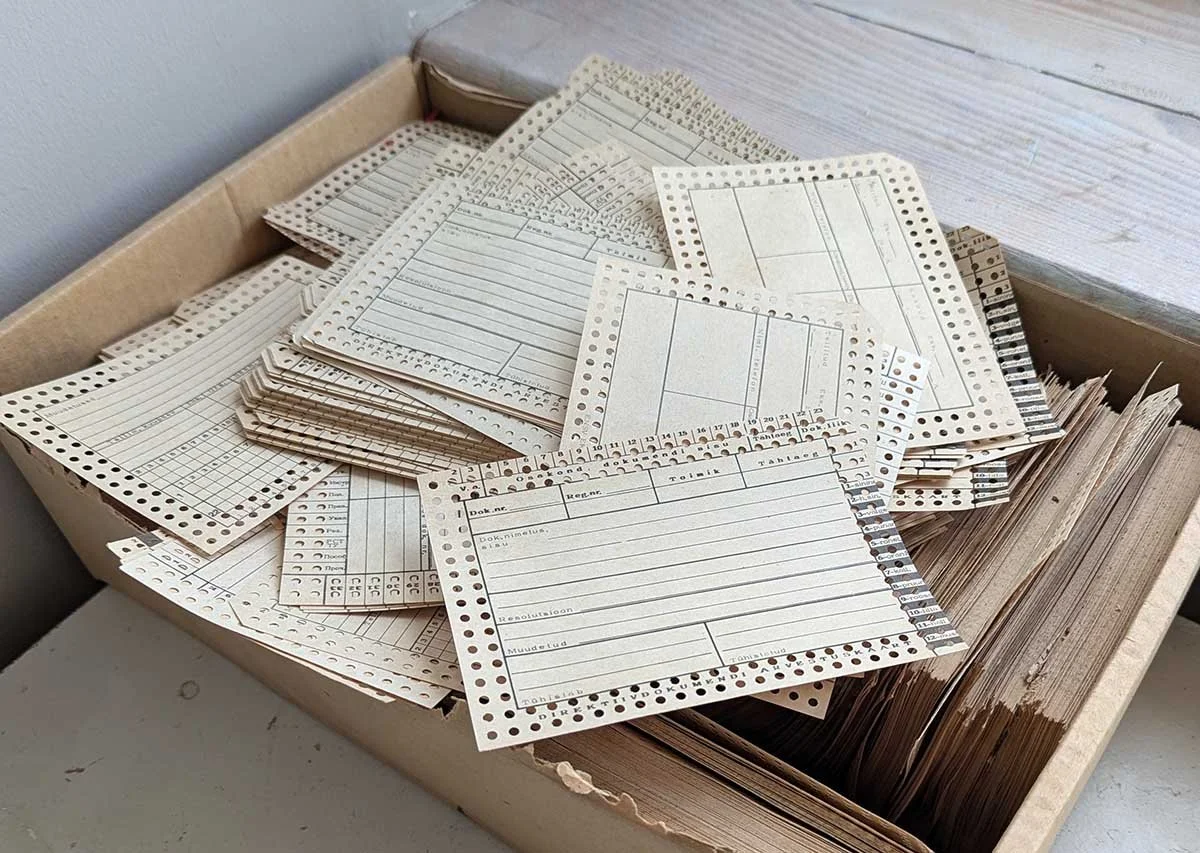
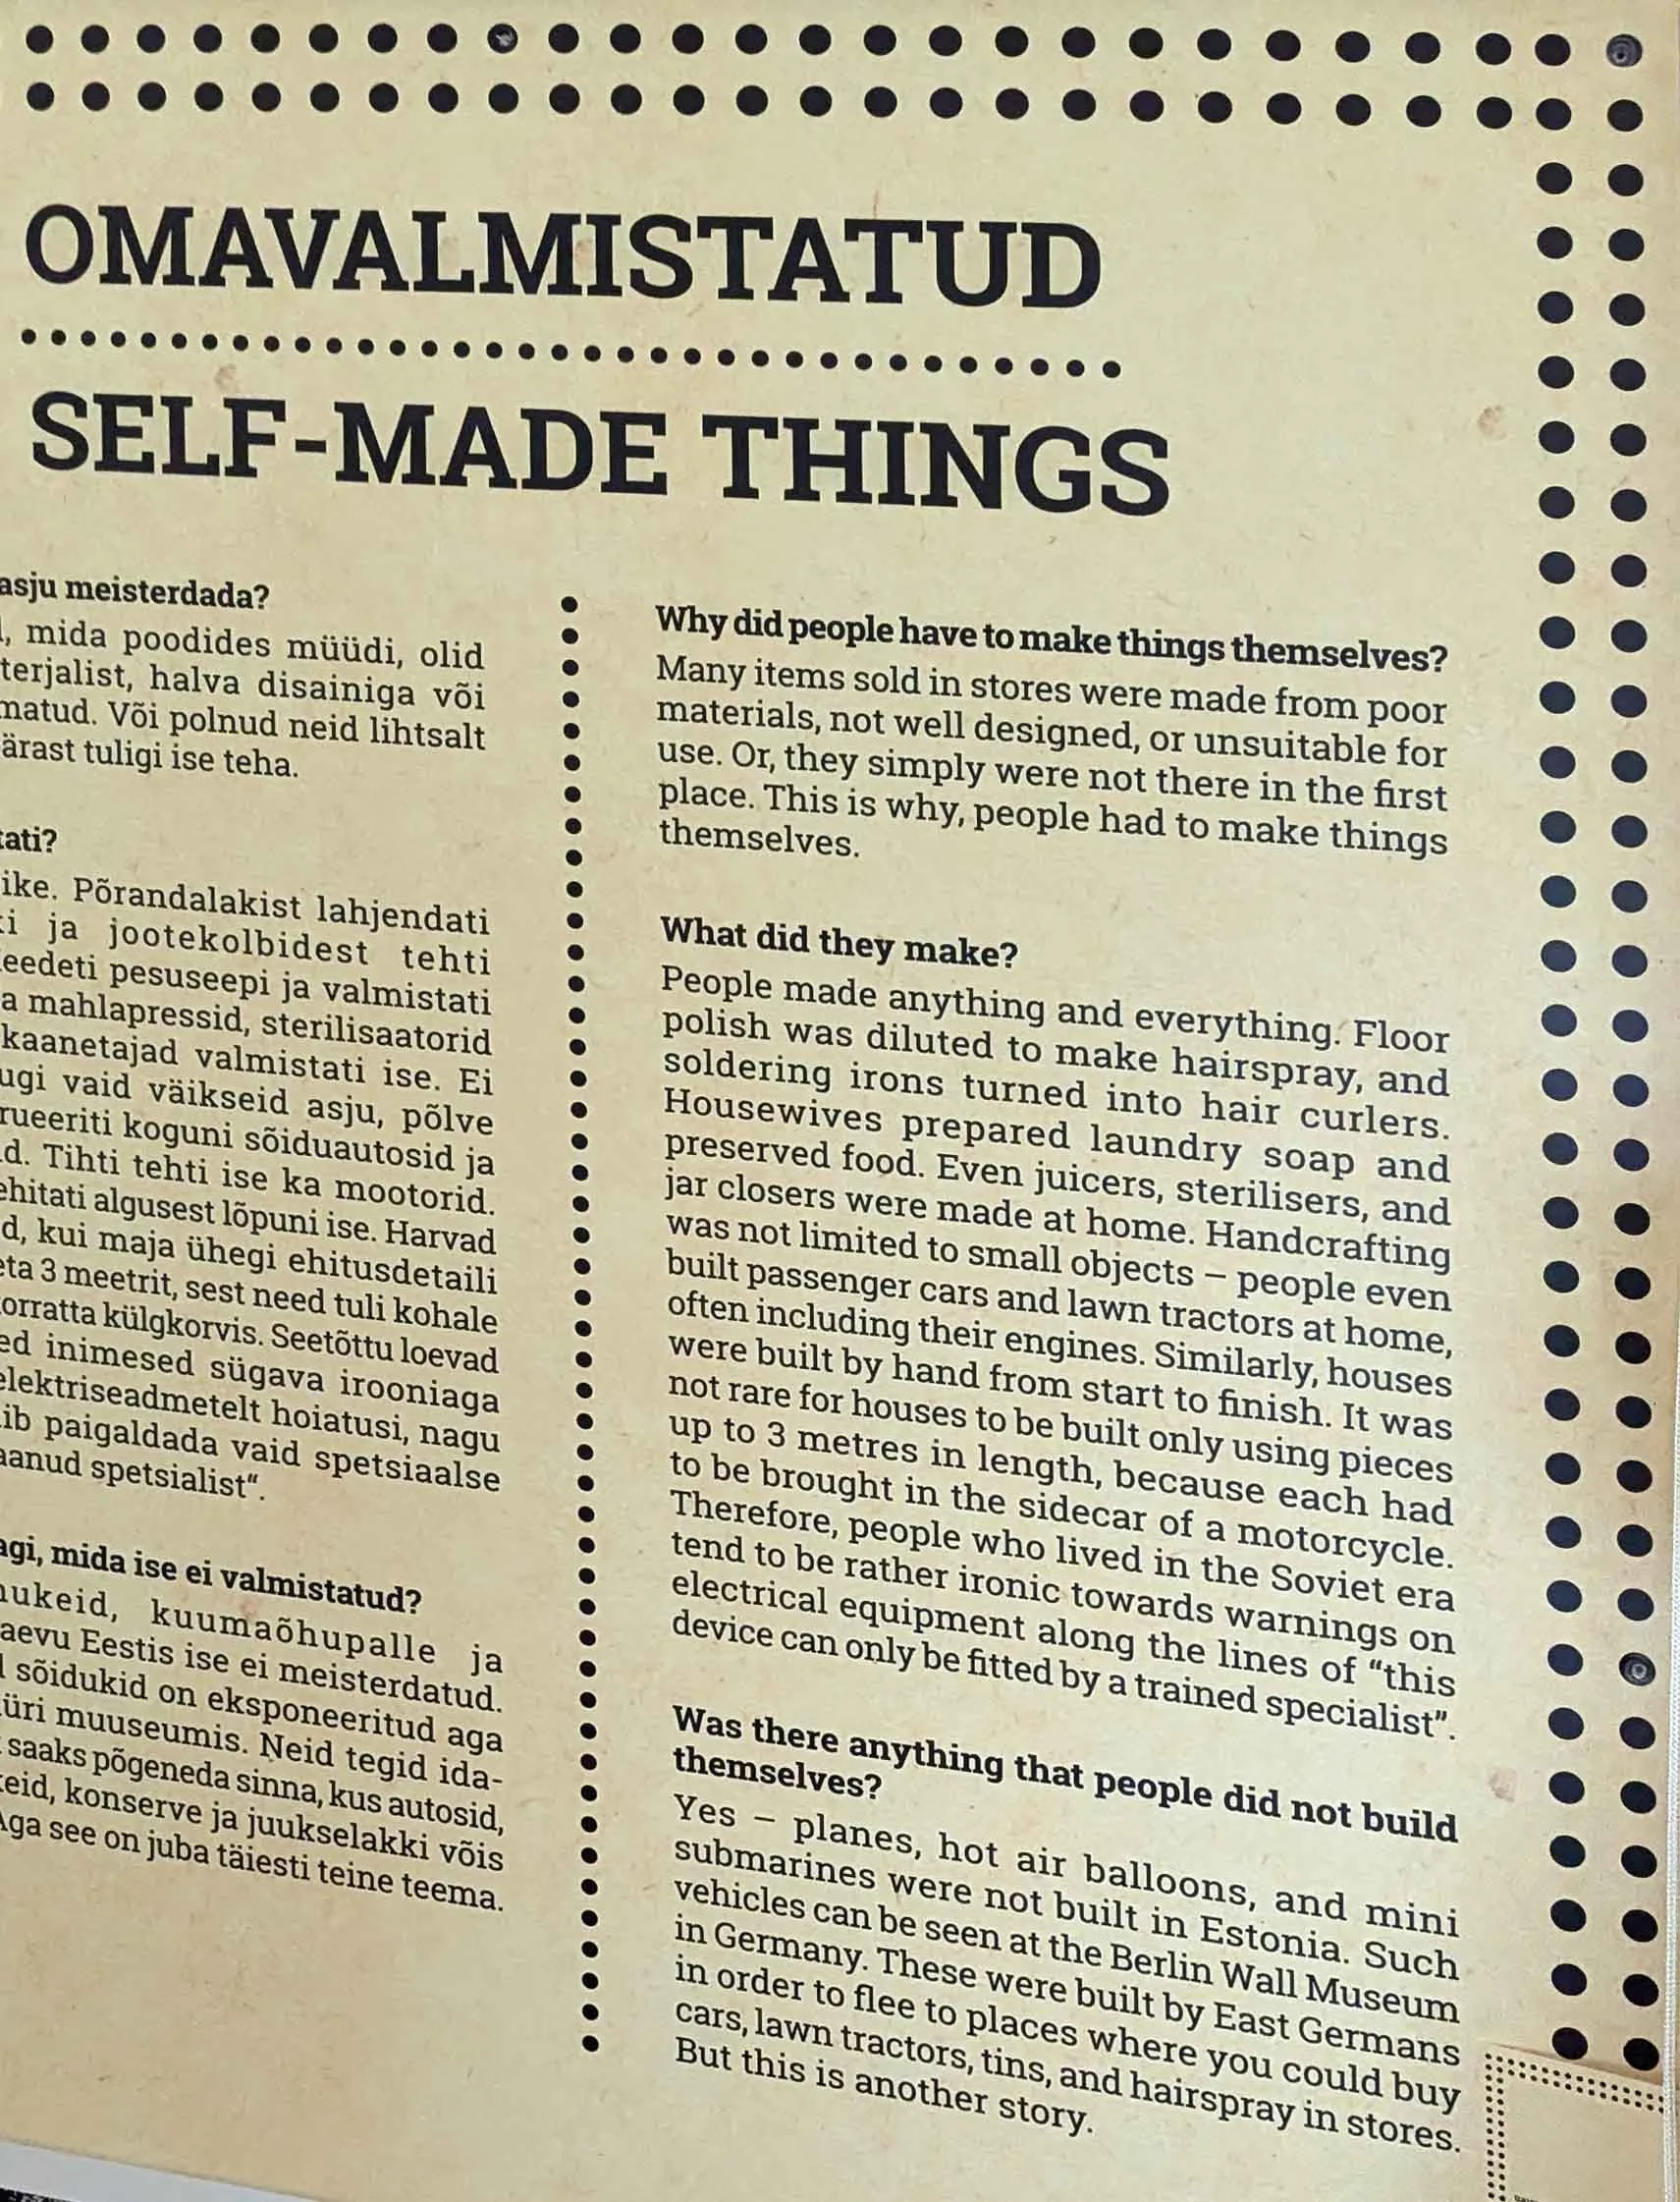
The top tier highlight of Kuressaare was visiting Saare KEK, a museum about life under Soviet occupation. I’m not sure I would have visited if not for my research into Pärnu KEK and the ENSV - but that would have been a huge shame; it was one of my favorite museum visits globally, ever. Its usage of perfokaart borders for all informational signage as clear iconography of the era was really validating of my using it as the substrate for Surveillance. Note that in the snippets of professions, teachers usually “acquired” as in took from their job and used, traded, or sold perfokaart (punch cards) - so it’s especially apropos that I was instantly drawn to it!

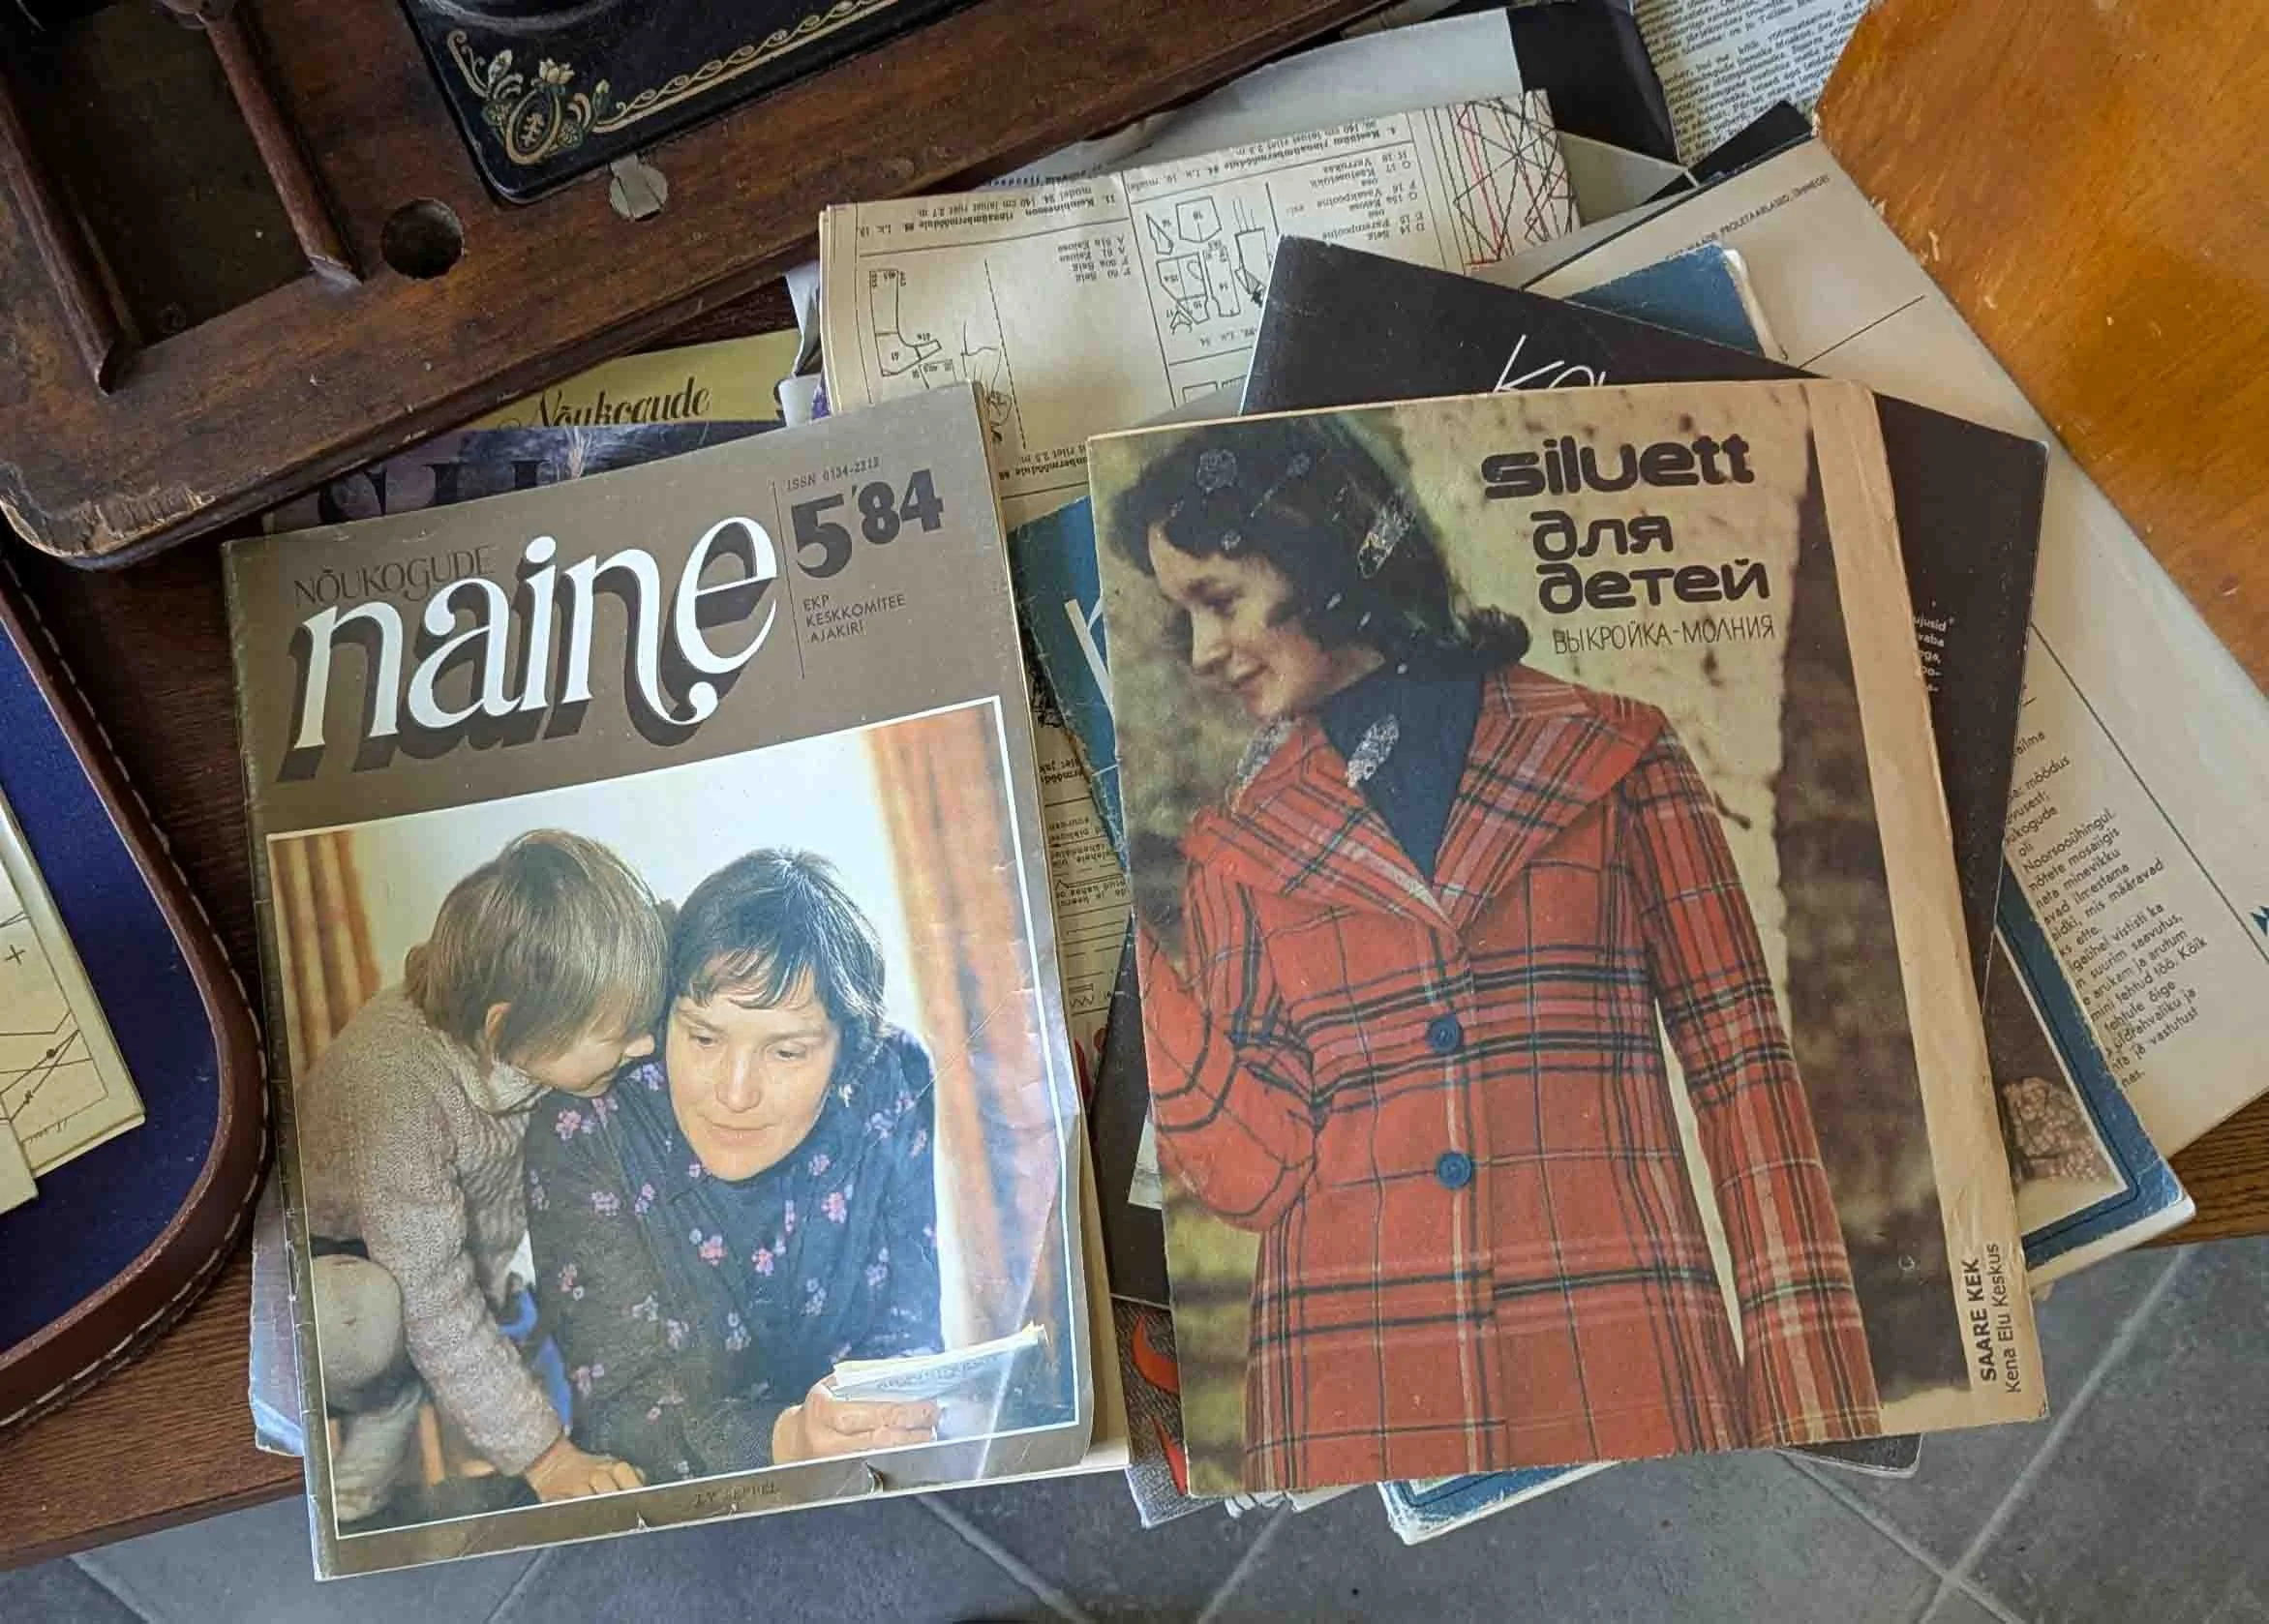
I also learned of new material I might be able to incorporate into my work: women’s fashion and craft magazines like Siluett.

I made my way back to Tallinn and spent a day with my friend and colleague Anni Moore - visiting Balti Jaam market, KUMU, and the Birgitta Convent Ruins - before flying to my next residency in Berlin!

Riga, Latvia

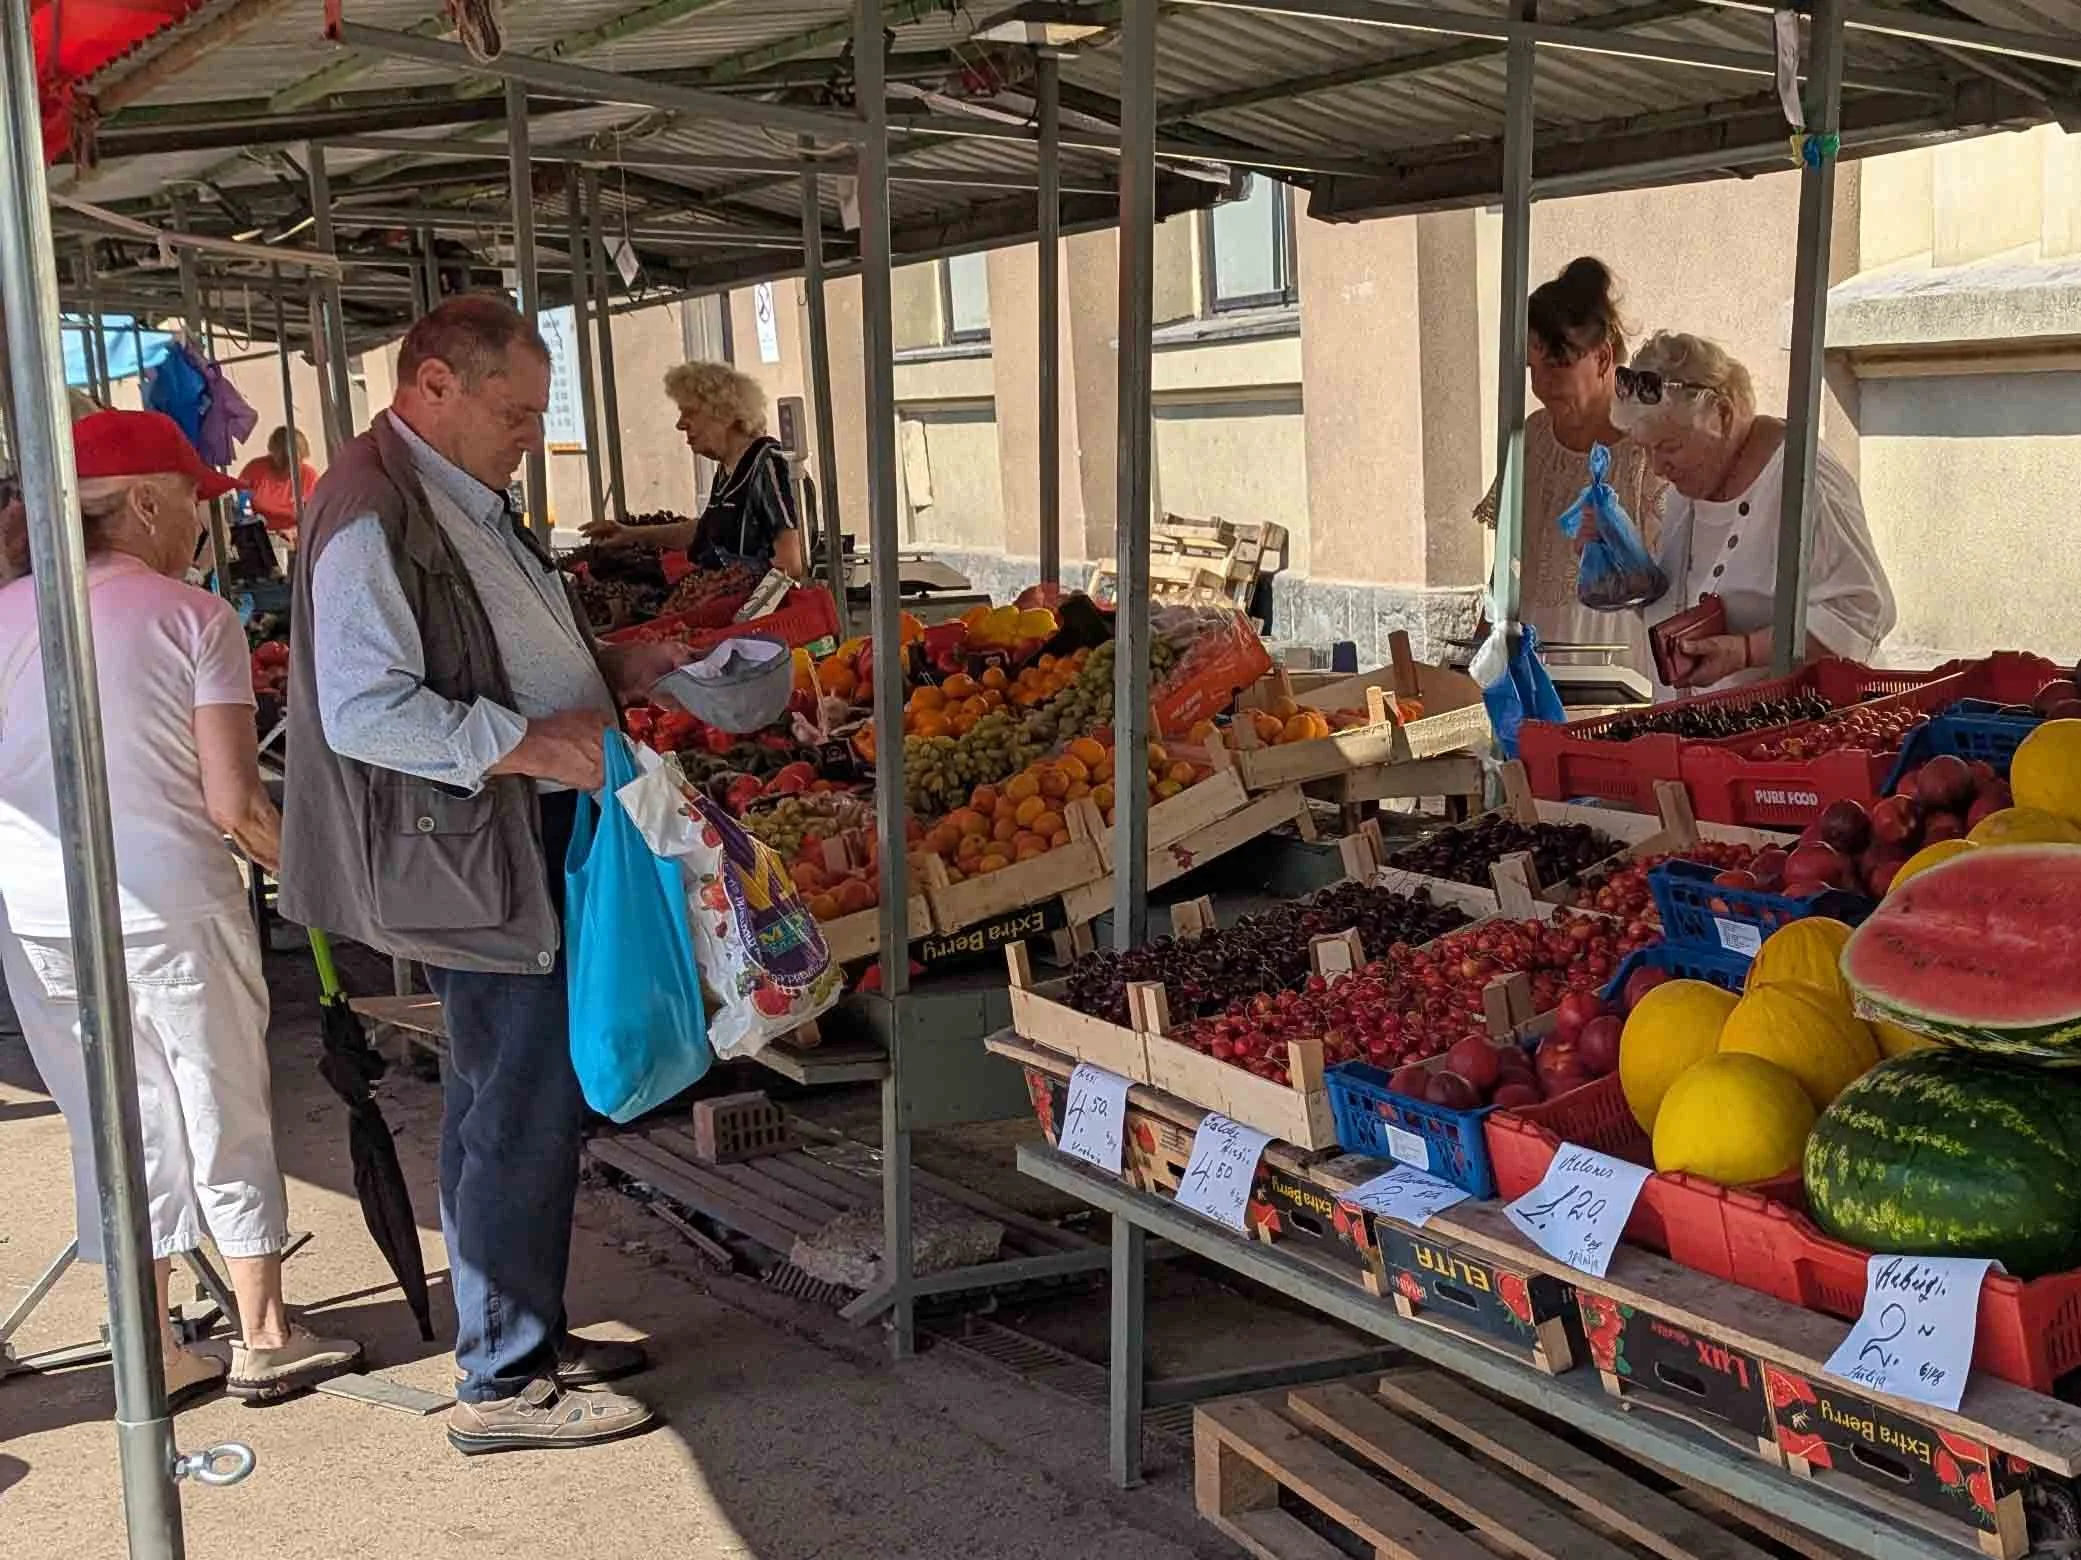
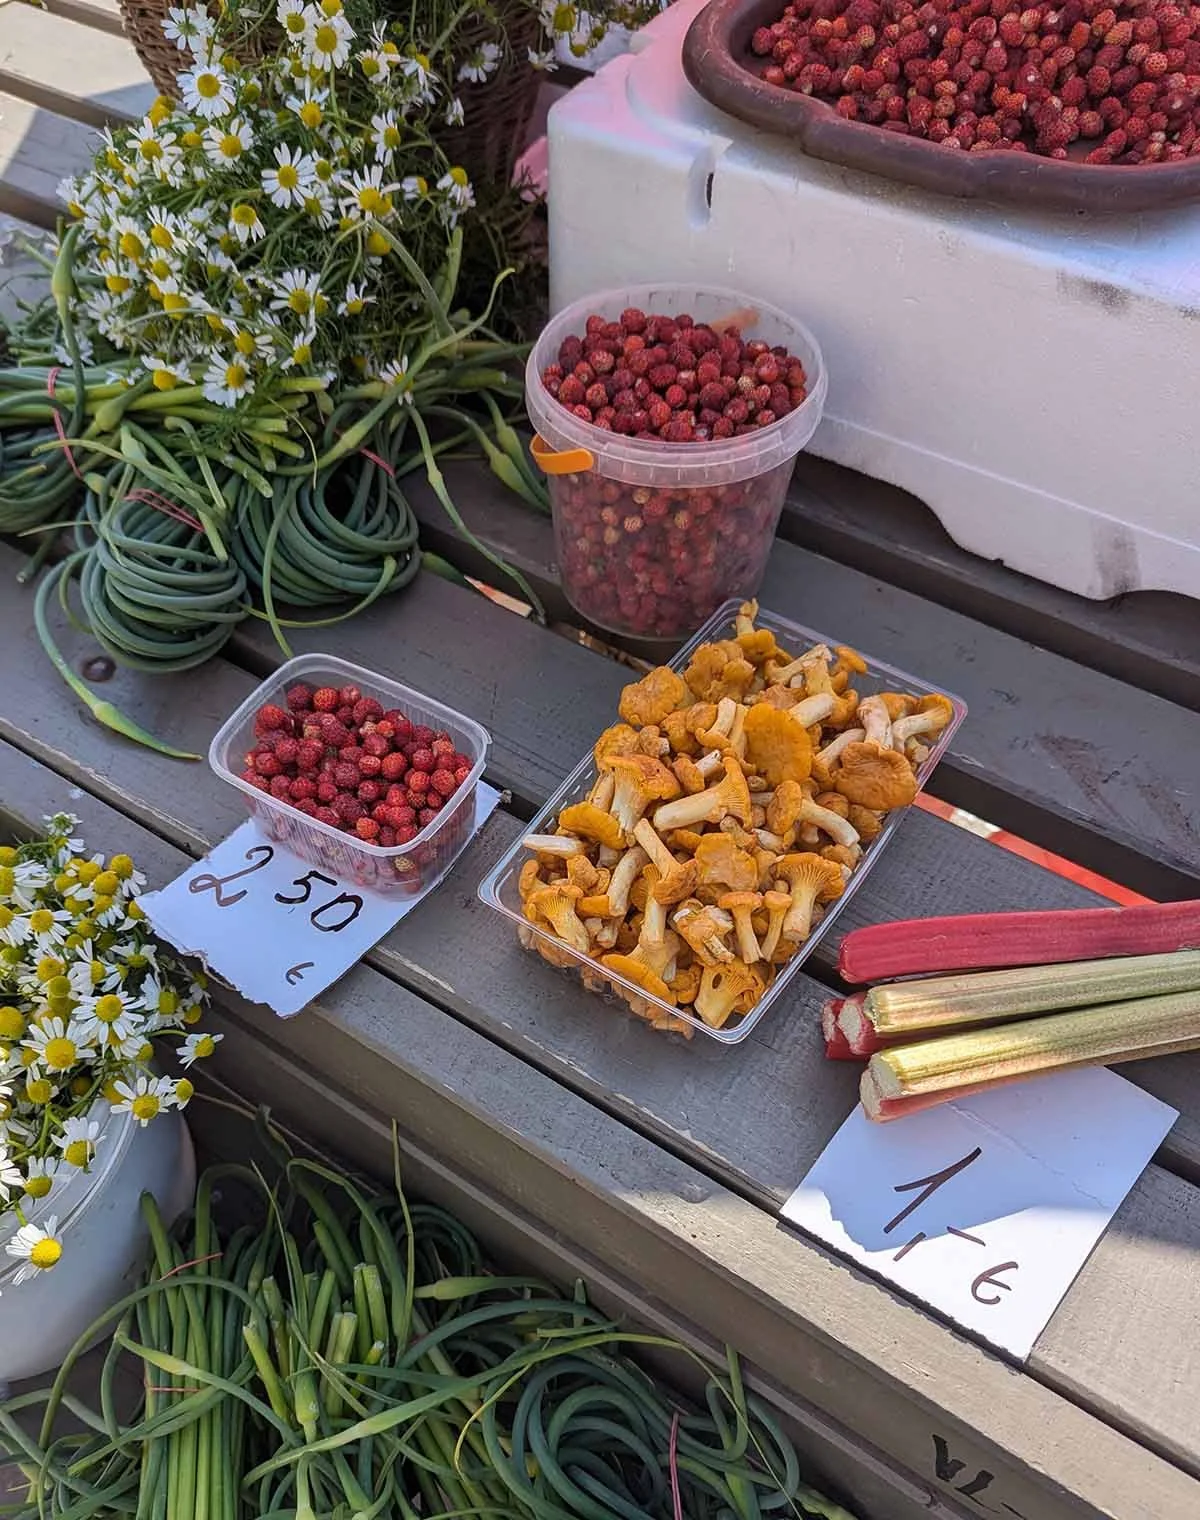
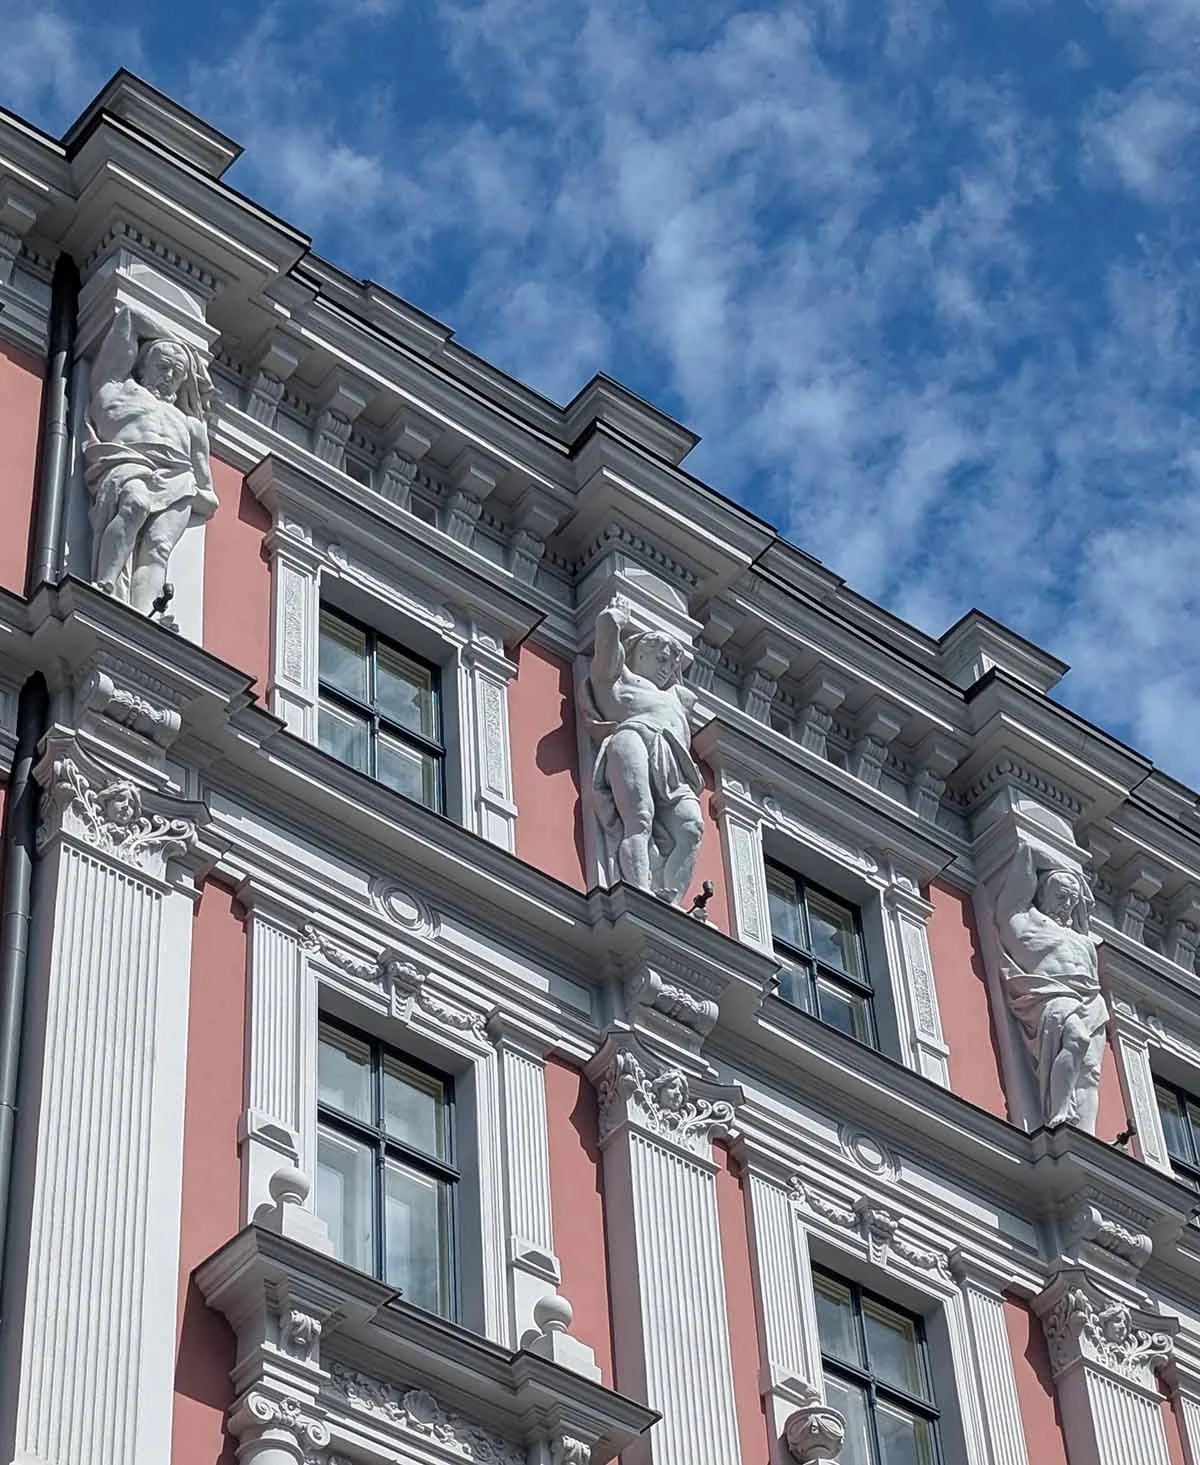
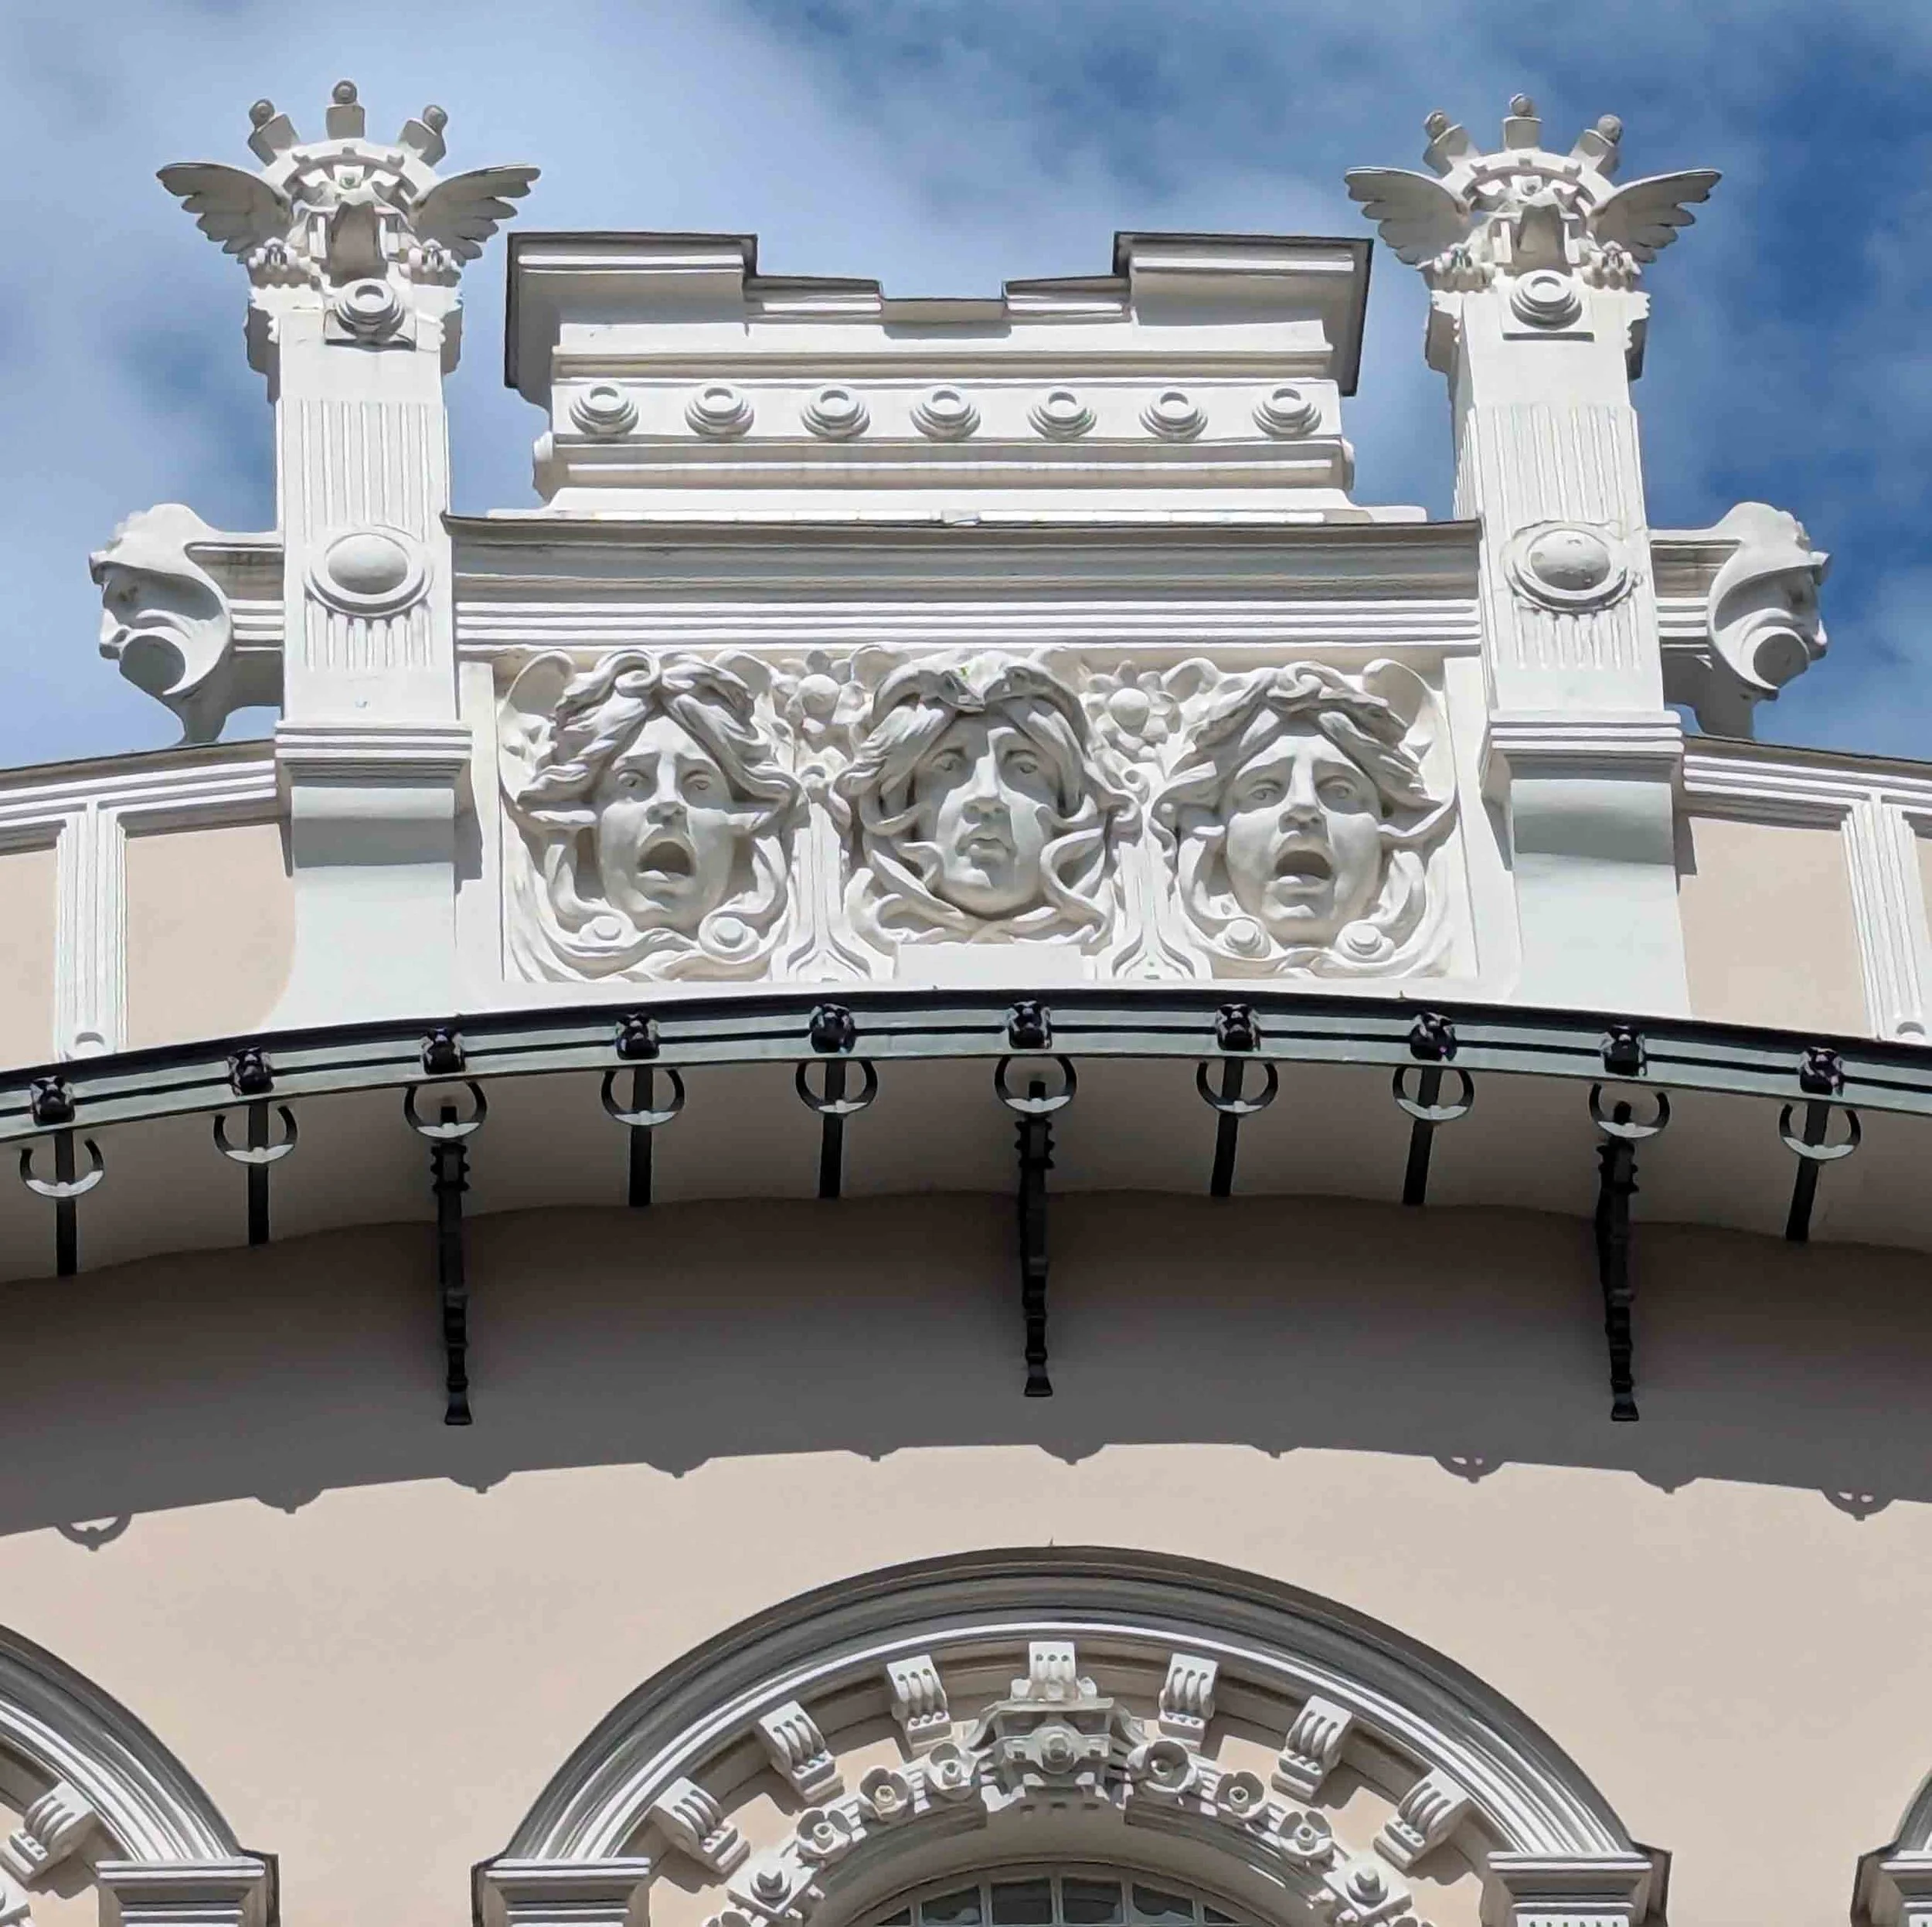
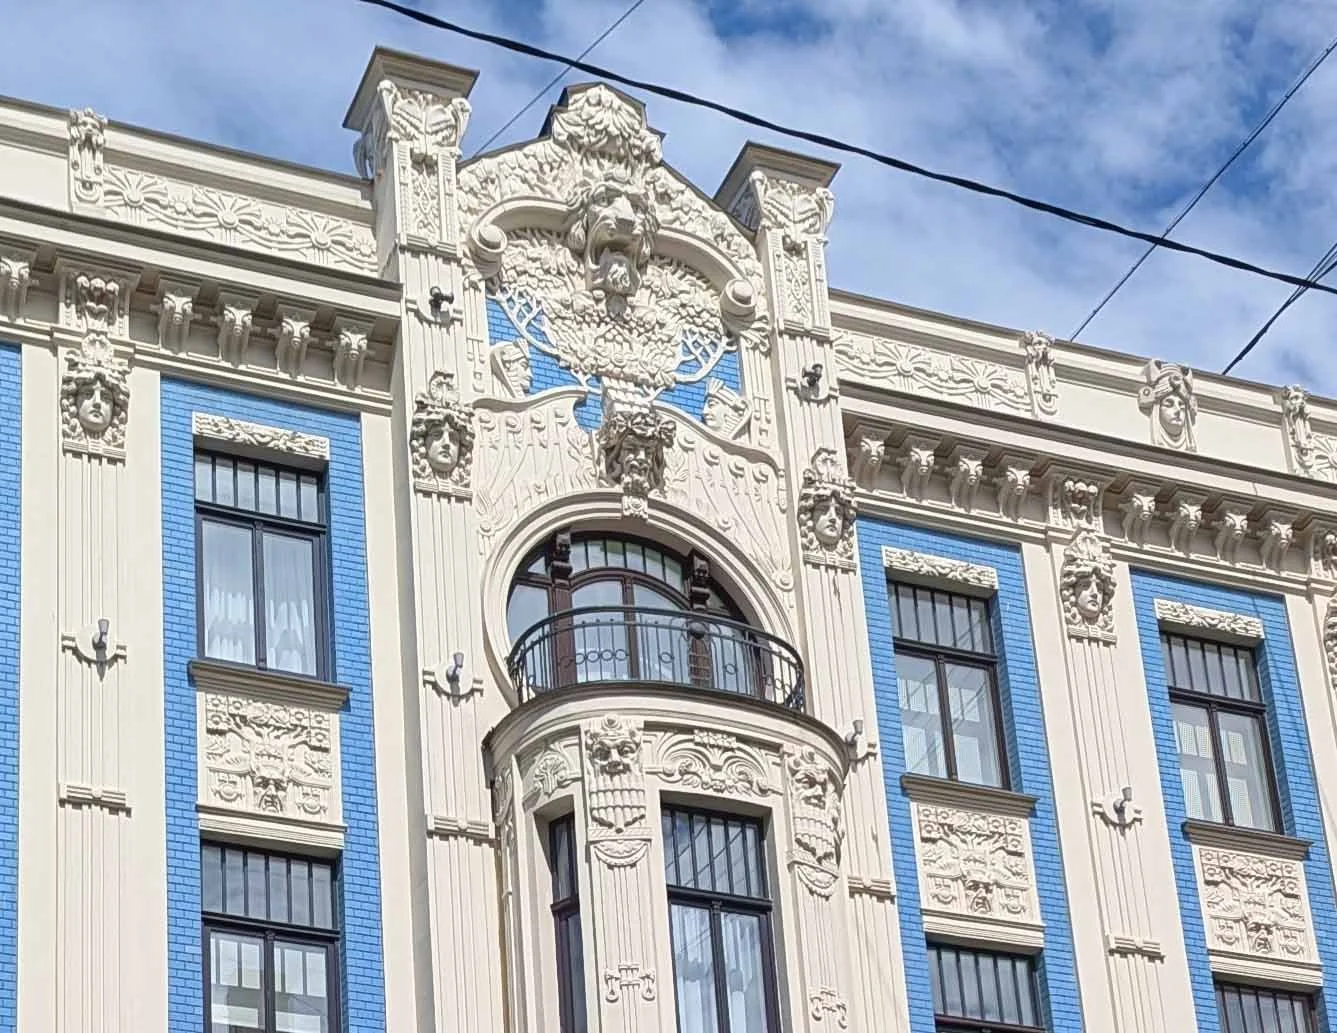
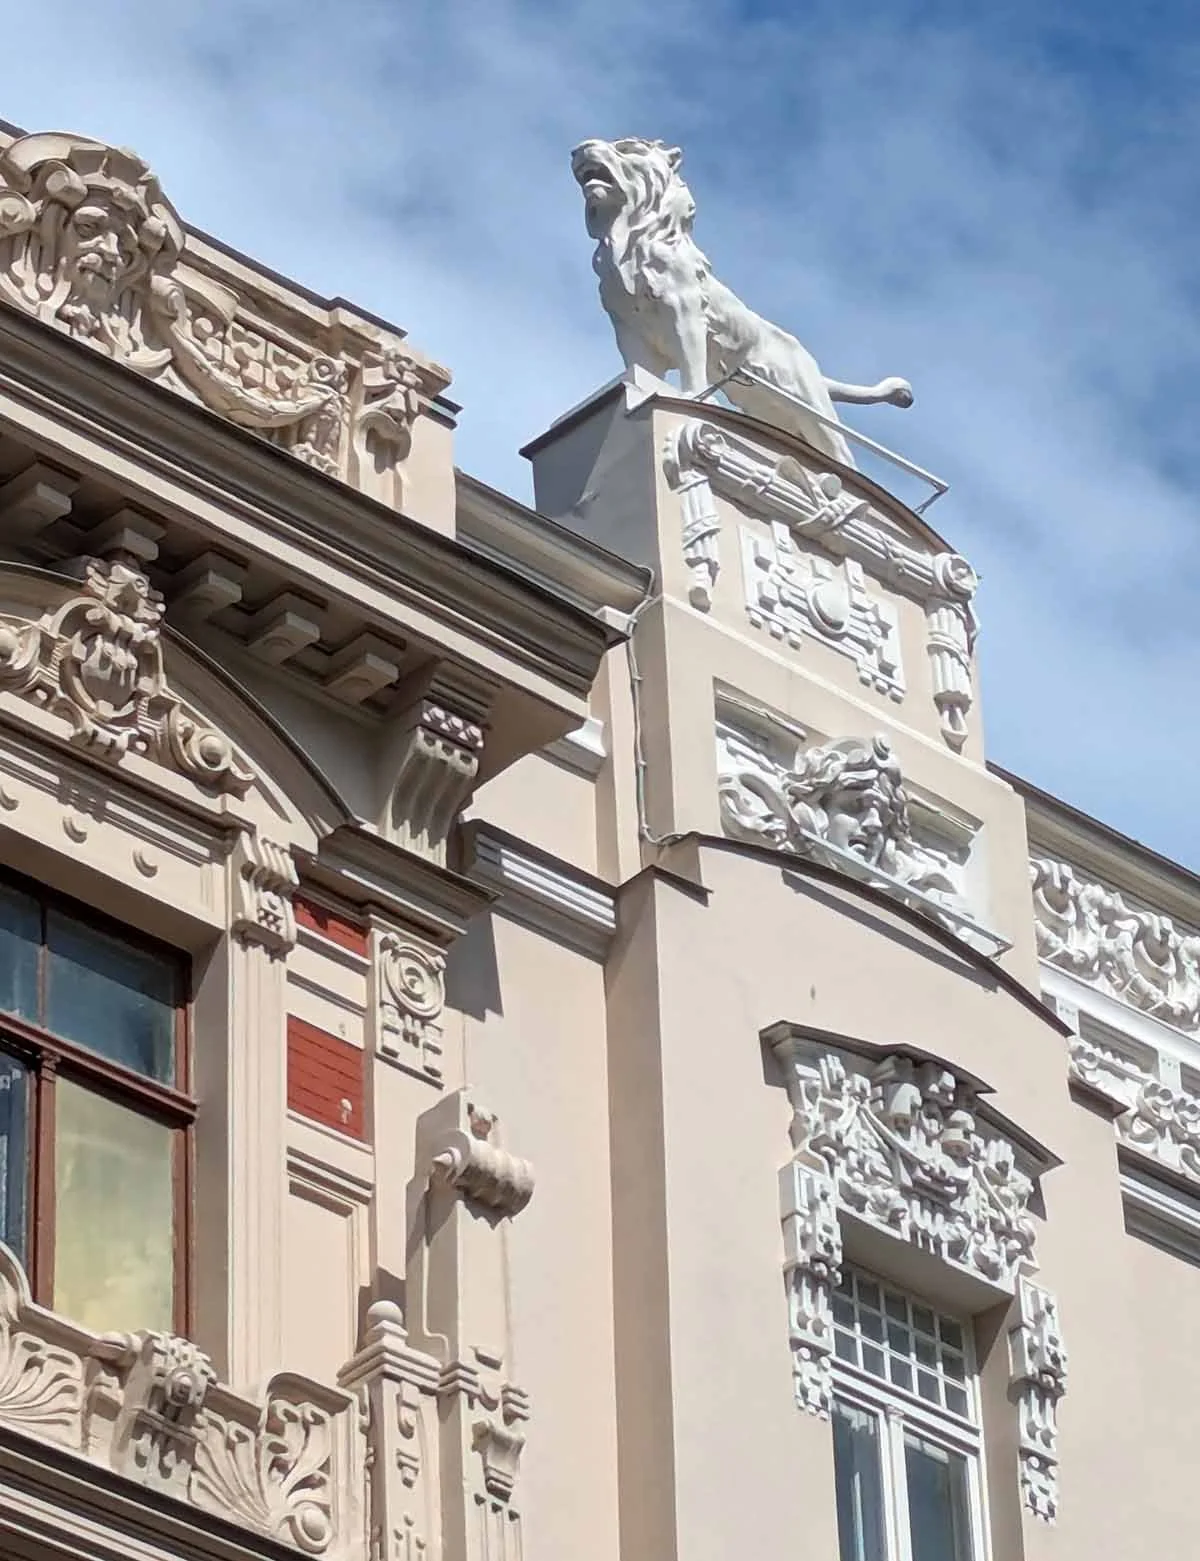
I previously visited Riga to take in the Applied Arts Fair, but this time I wanted to explore more of Riga itself! This included visiting the Latgale Tirgus flea market - initially quite daunting as most of what was visible was huge piles of tools, wood, and electronics, but after wandering it for a while, I found a vendor that had more USSR stationery items! I also hit Central Market and Kalnciema Quarter Market (I tried wild strawberries and honeyberries), walked the Art Nouveau district and Old Town, and visited the Museum of Decorative Arts and Design.

Pärnu KEK

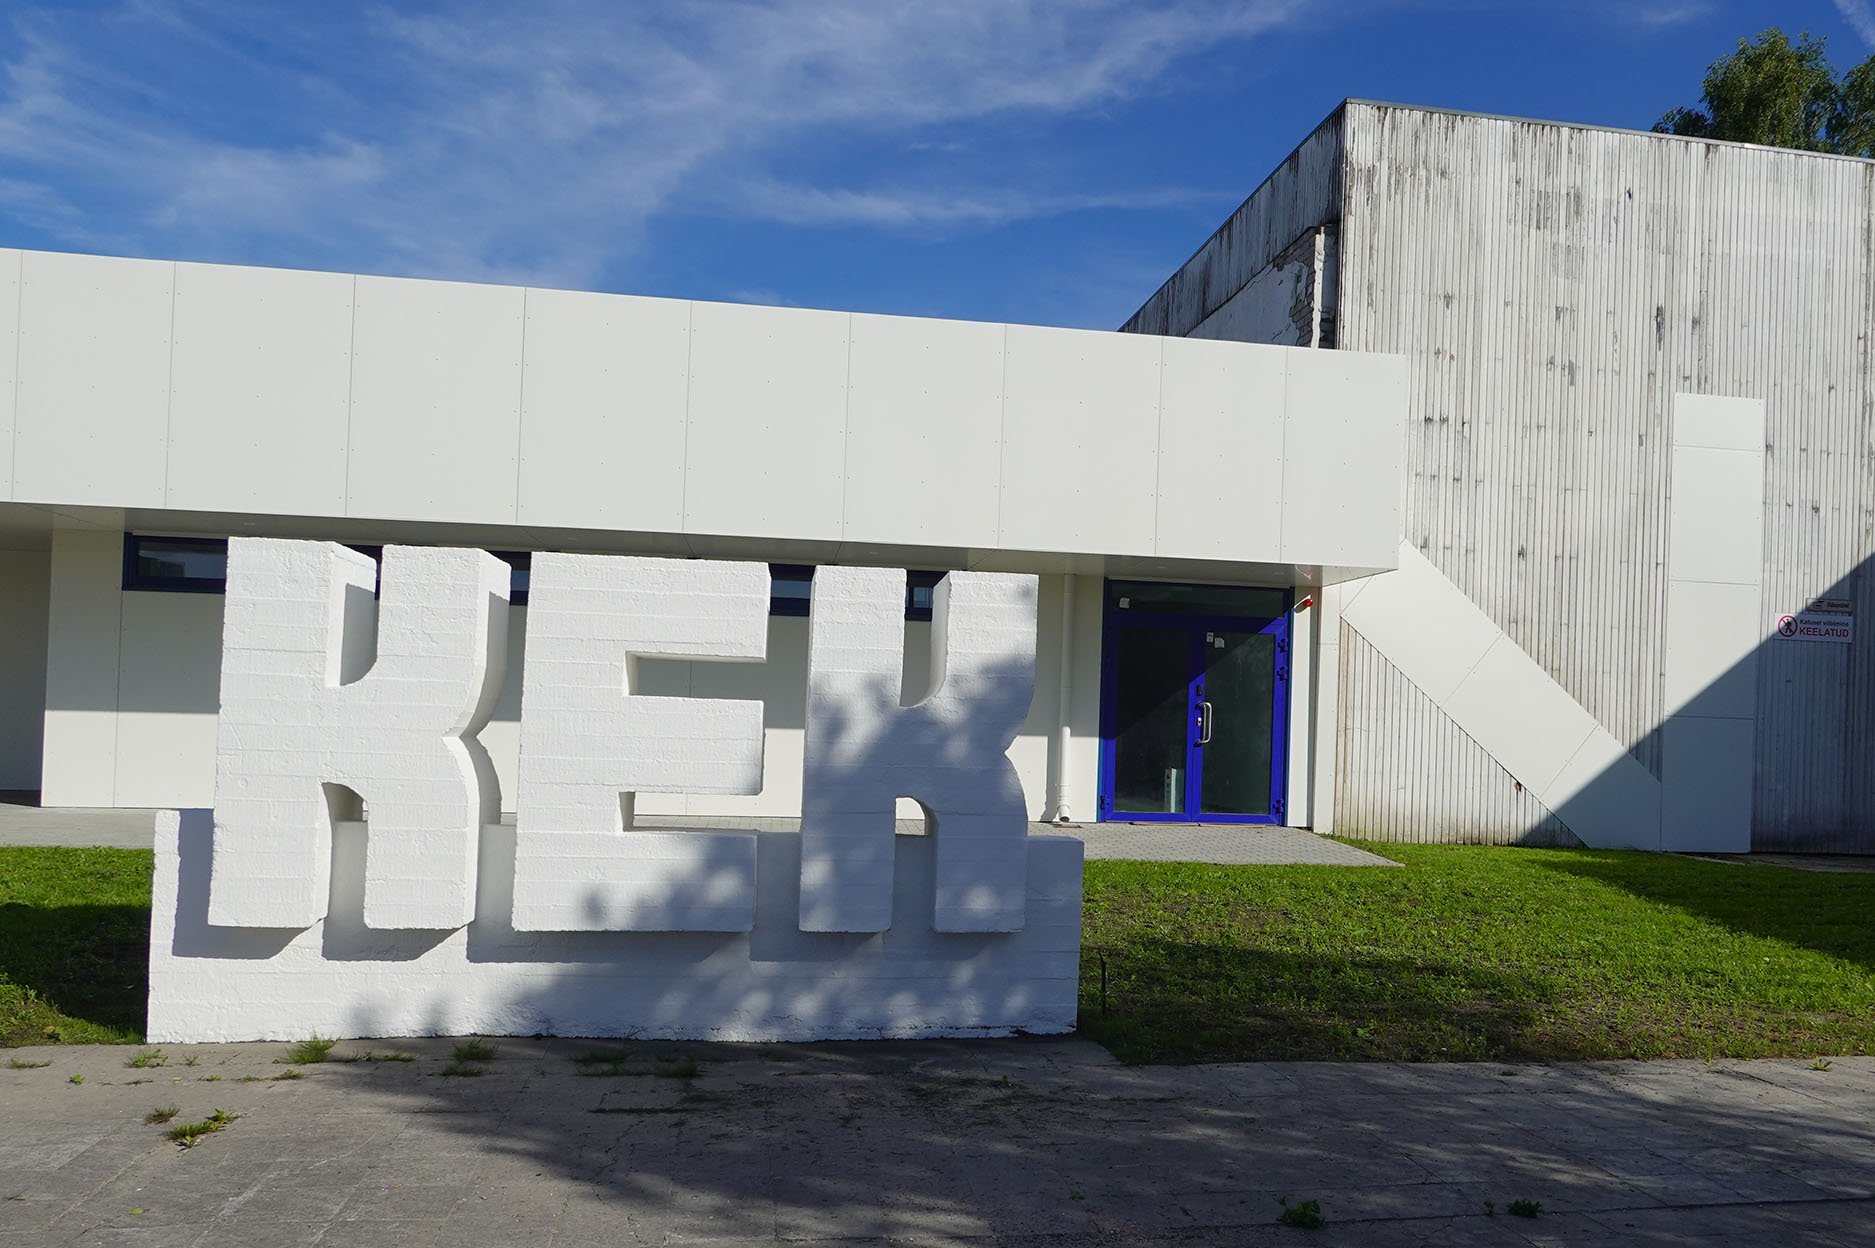
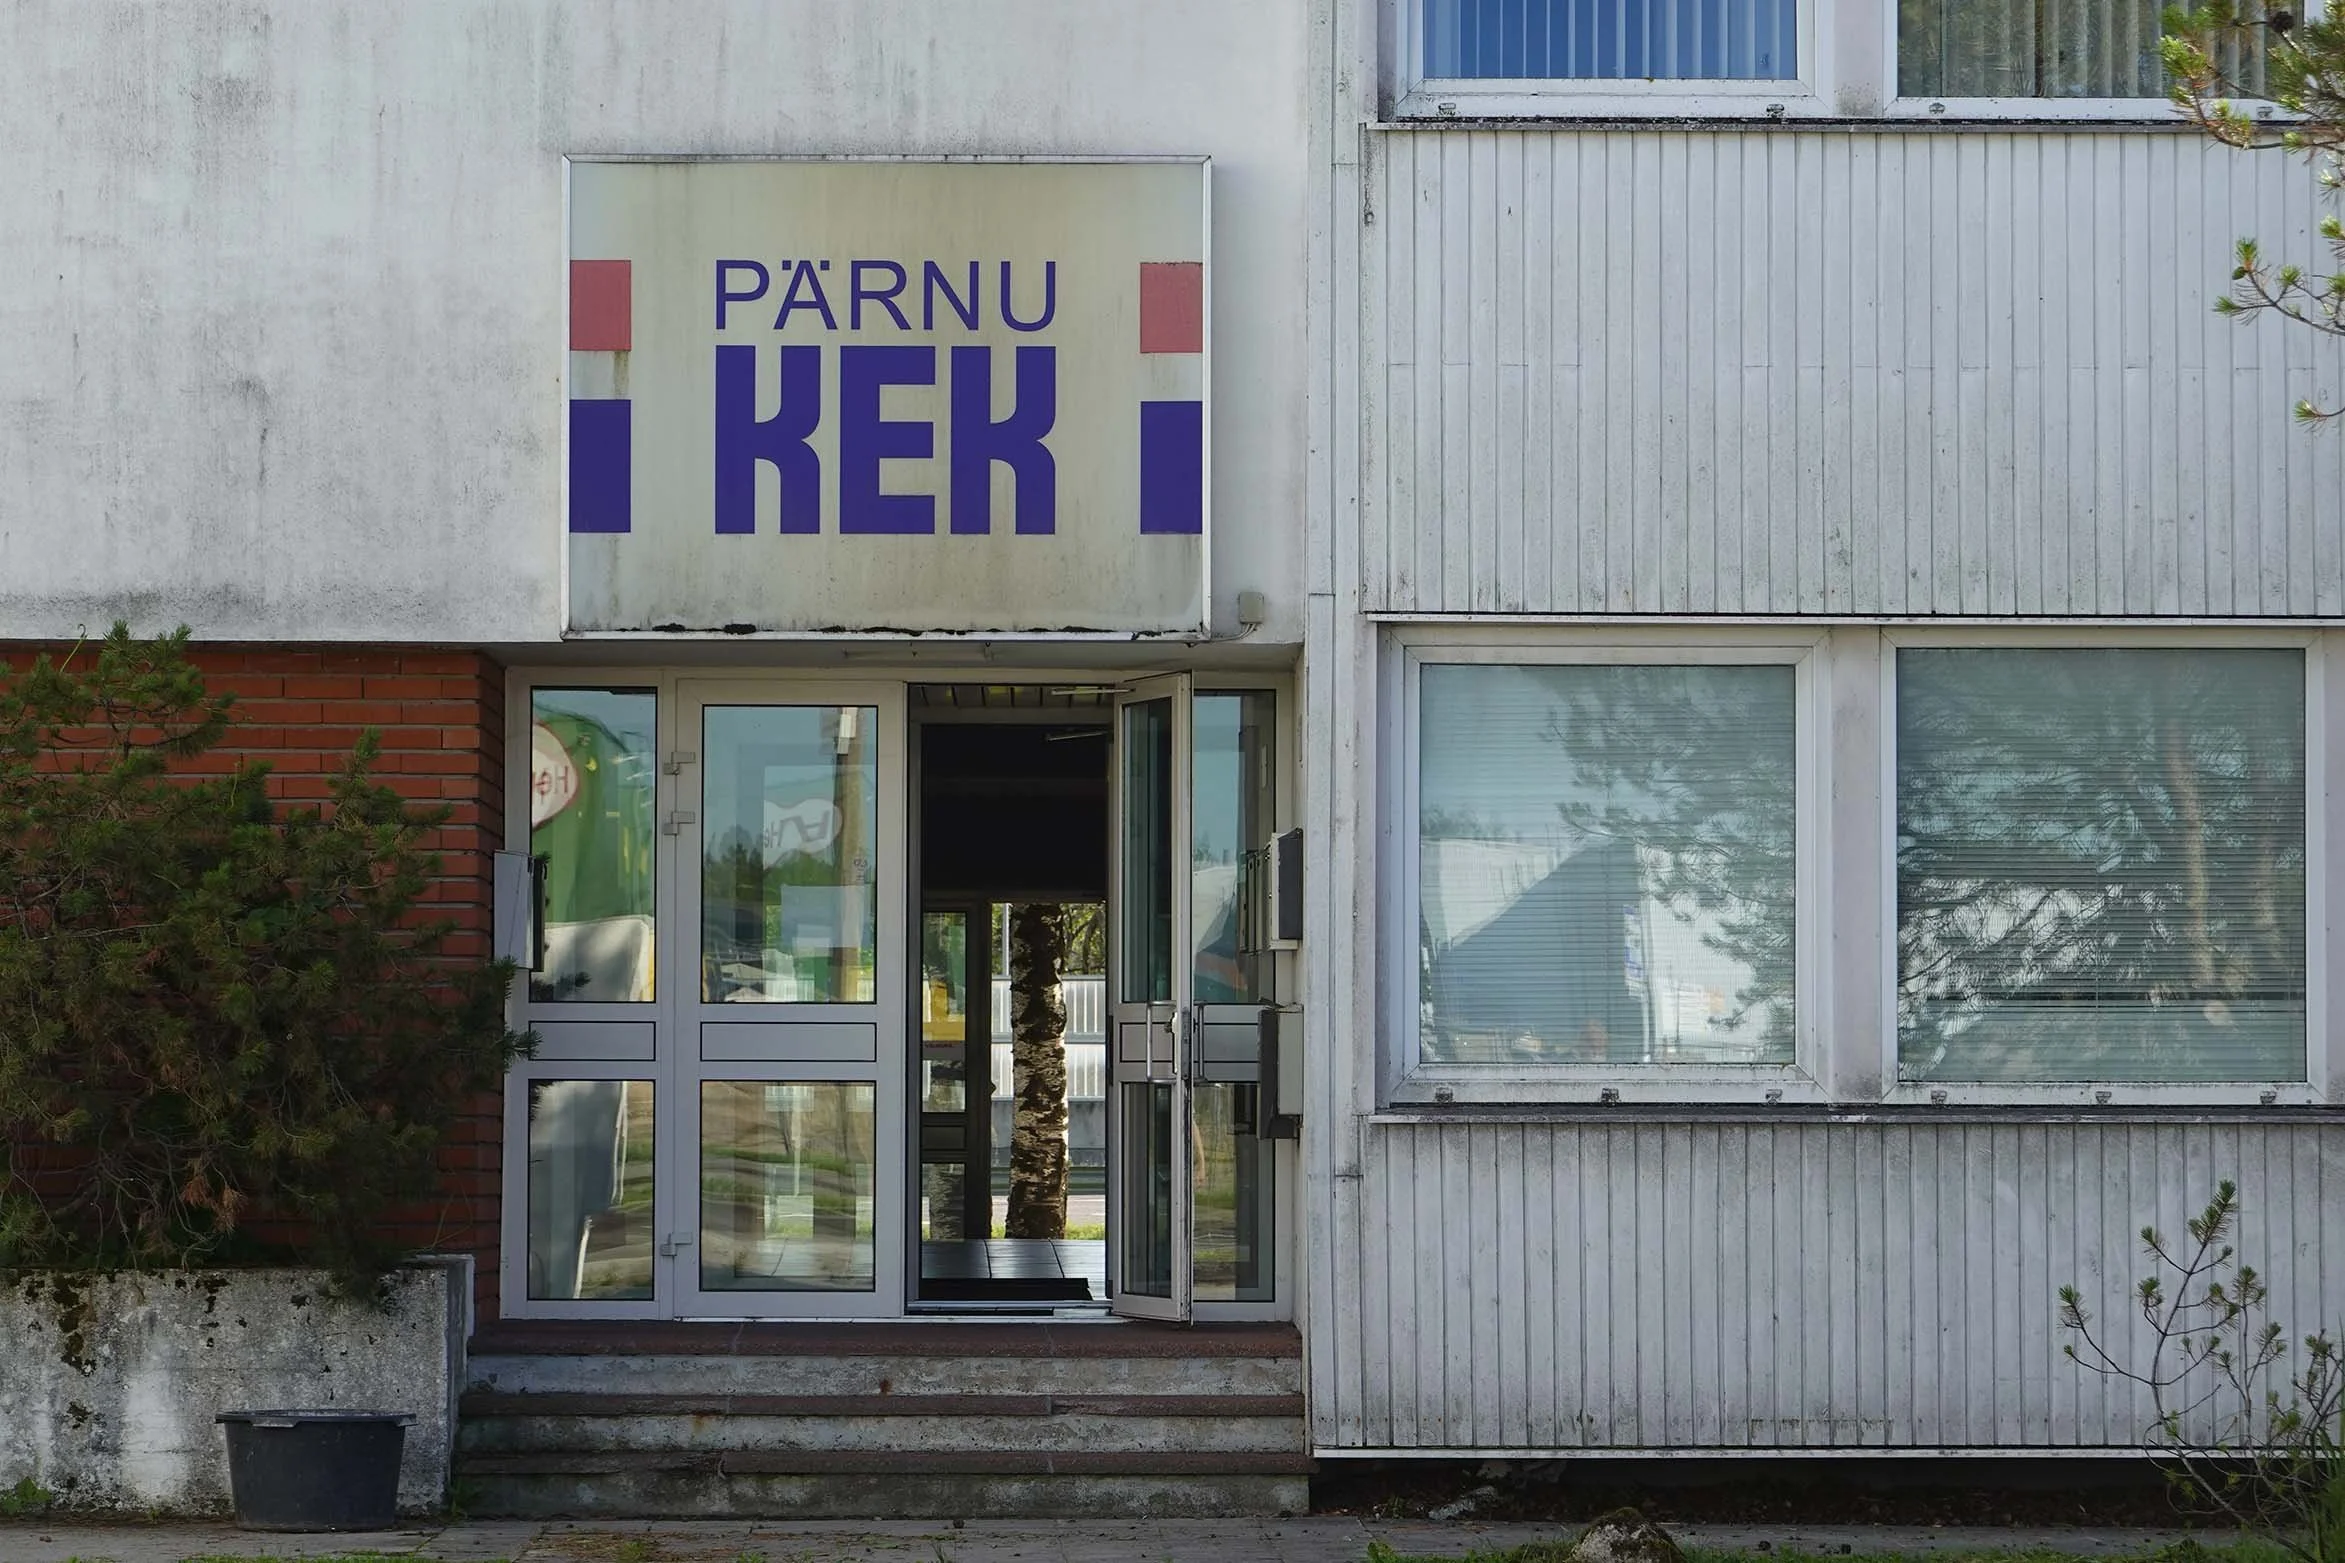
As I noted in my previous post, several of the friends I made came to visit my exhibition after I’d installed my ENSV stationery paintings. One of them saw The New Collective and knew a lot about Pärnu KEK, so he generously offered to spend an evening with me touring some of the buildings KEK built.

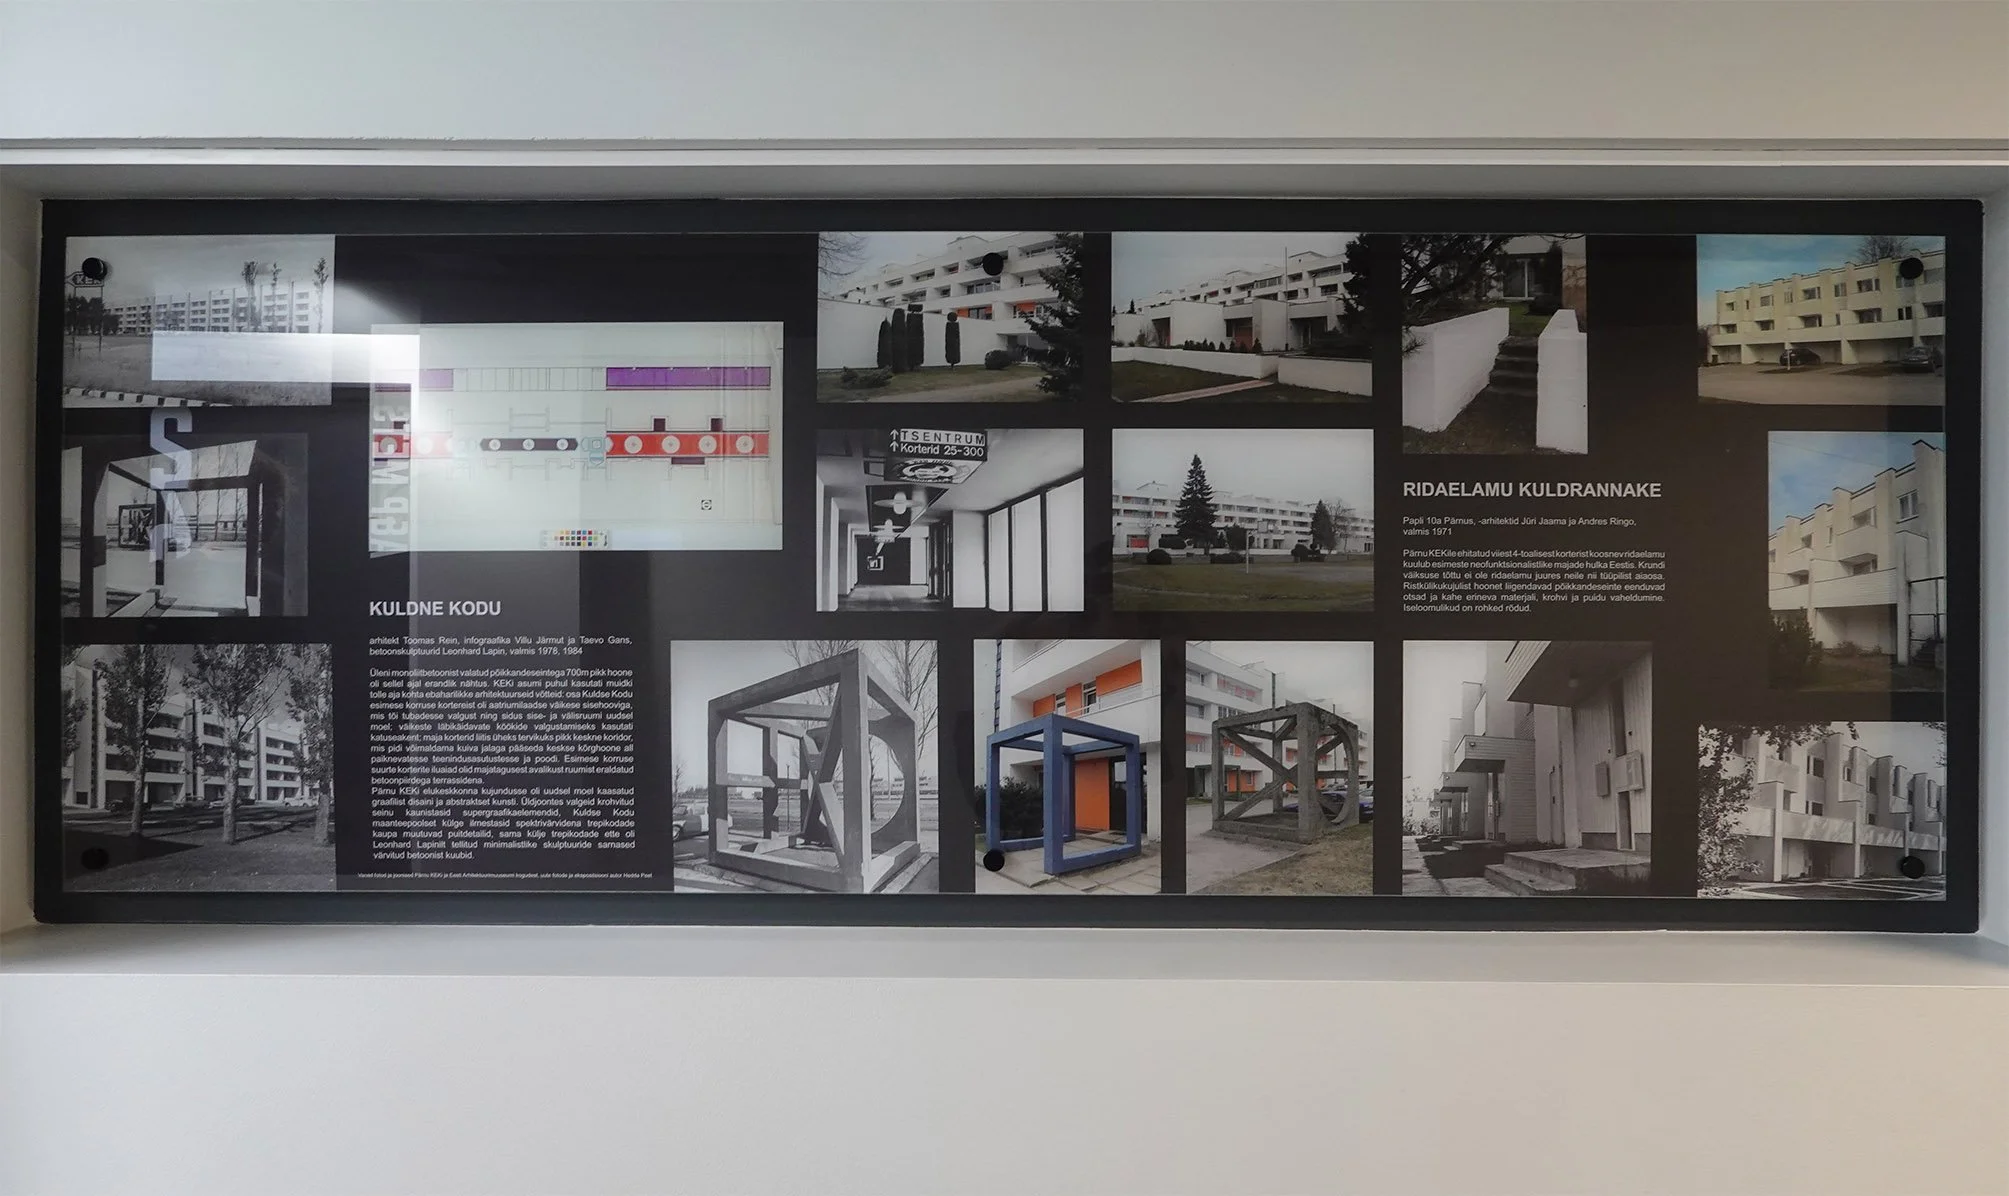
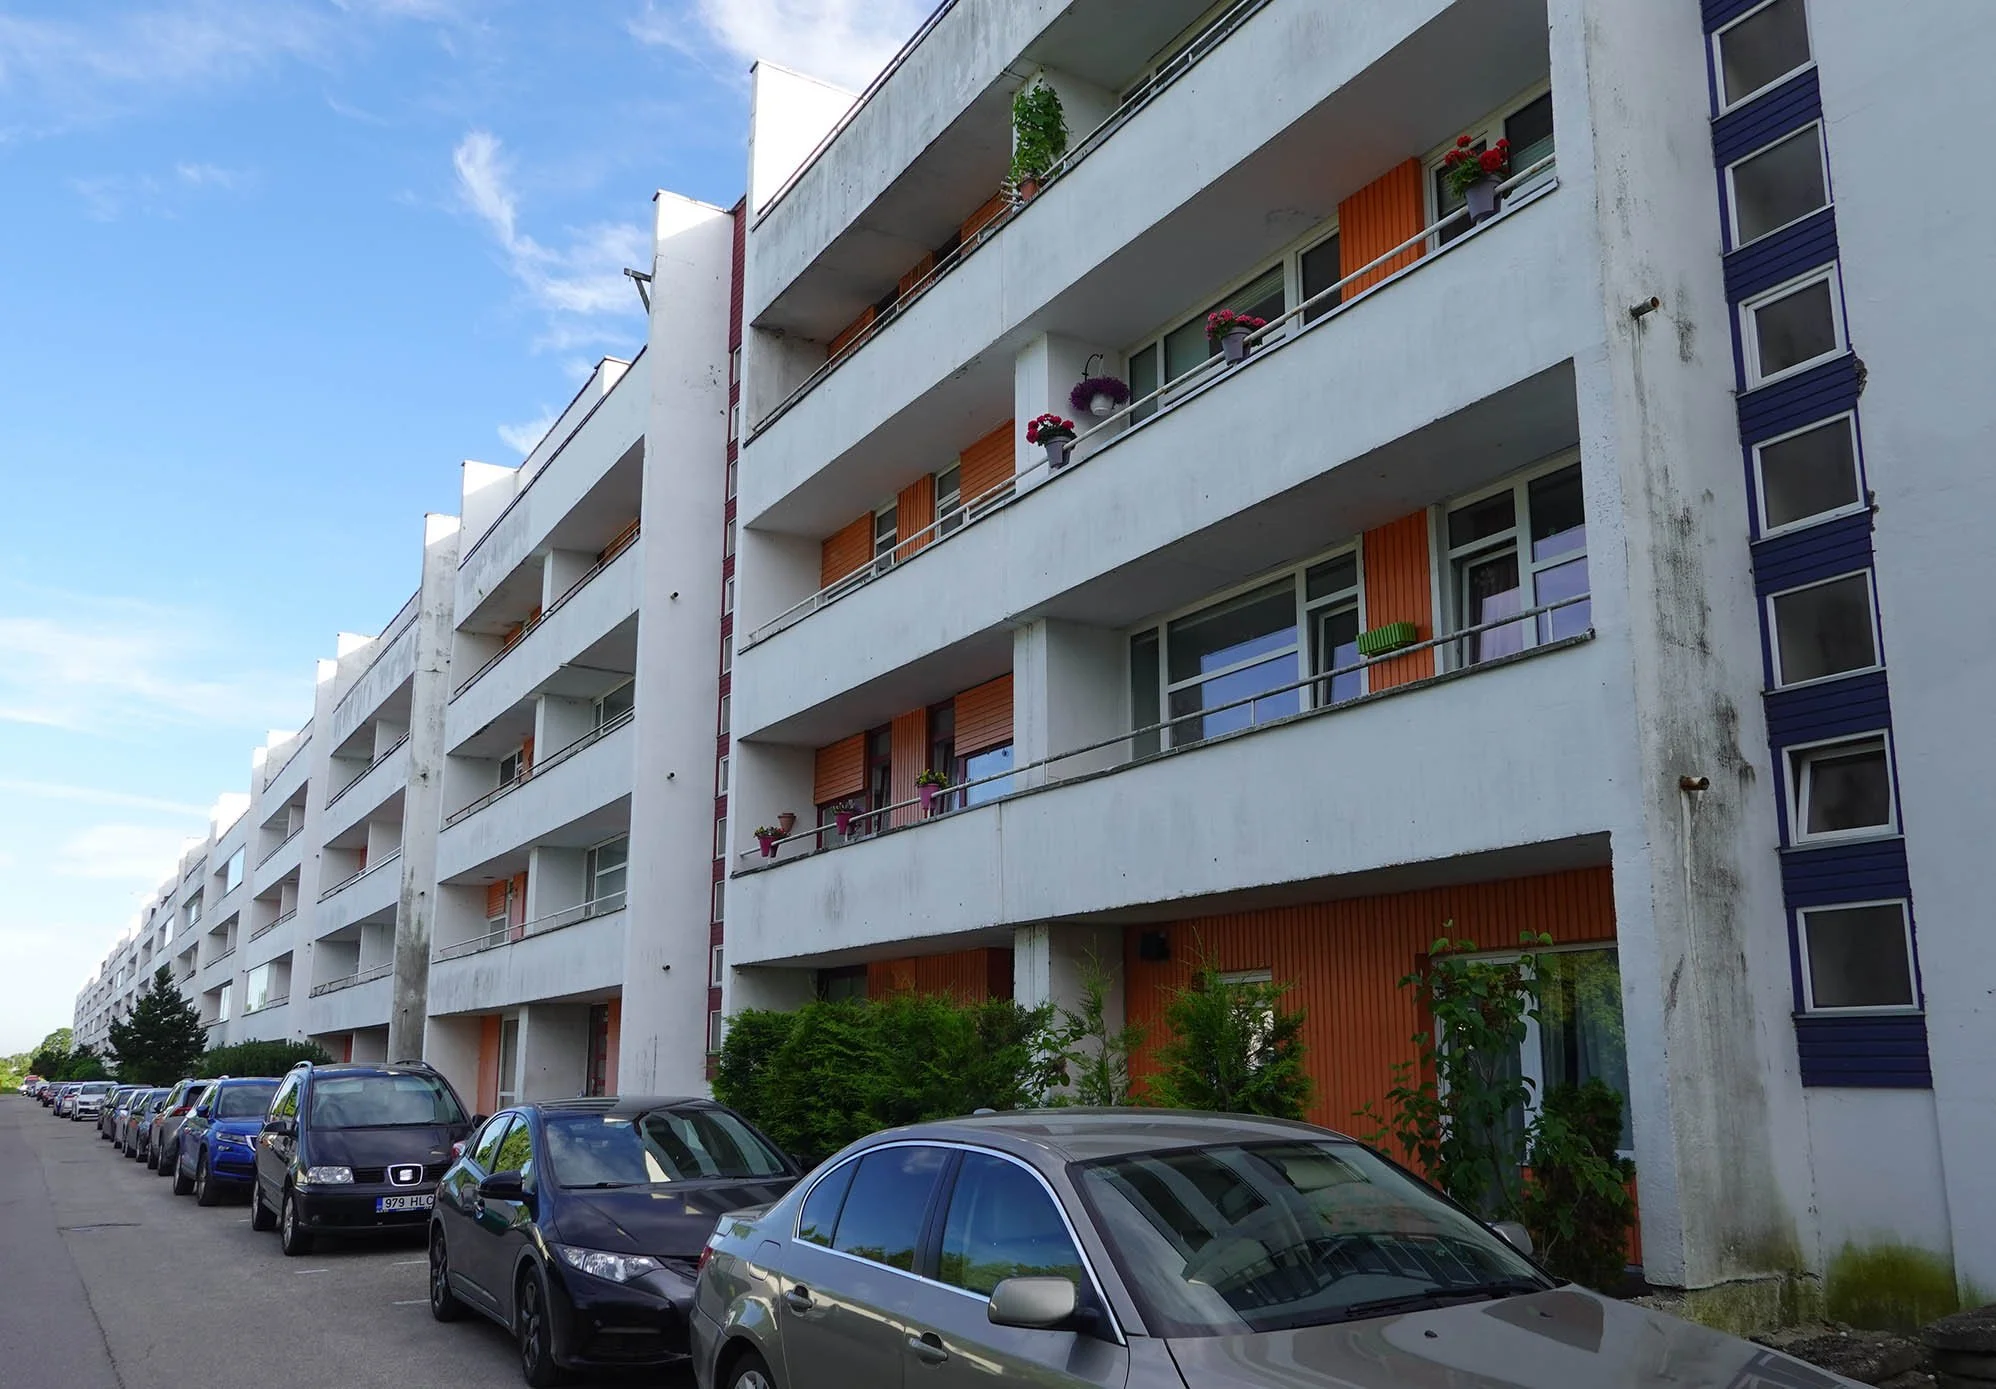
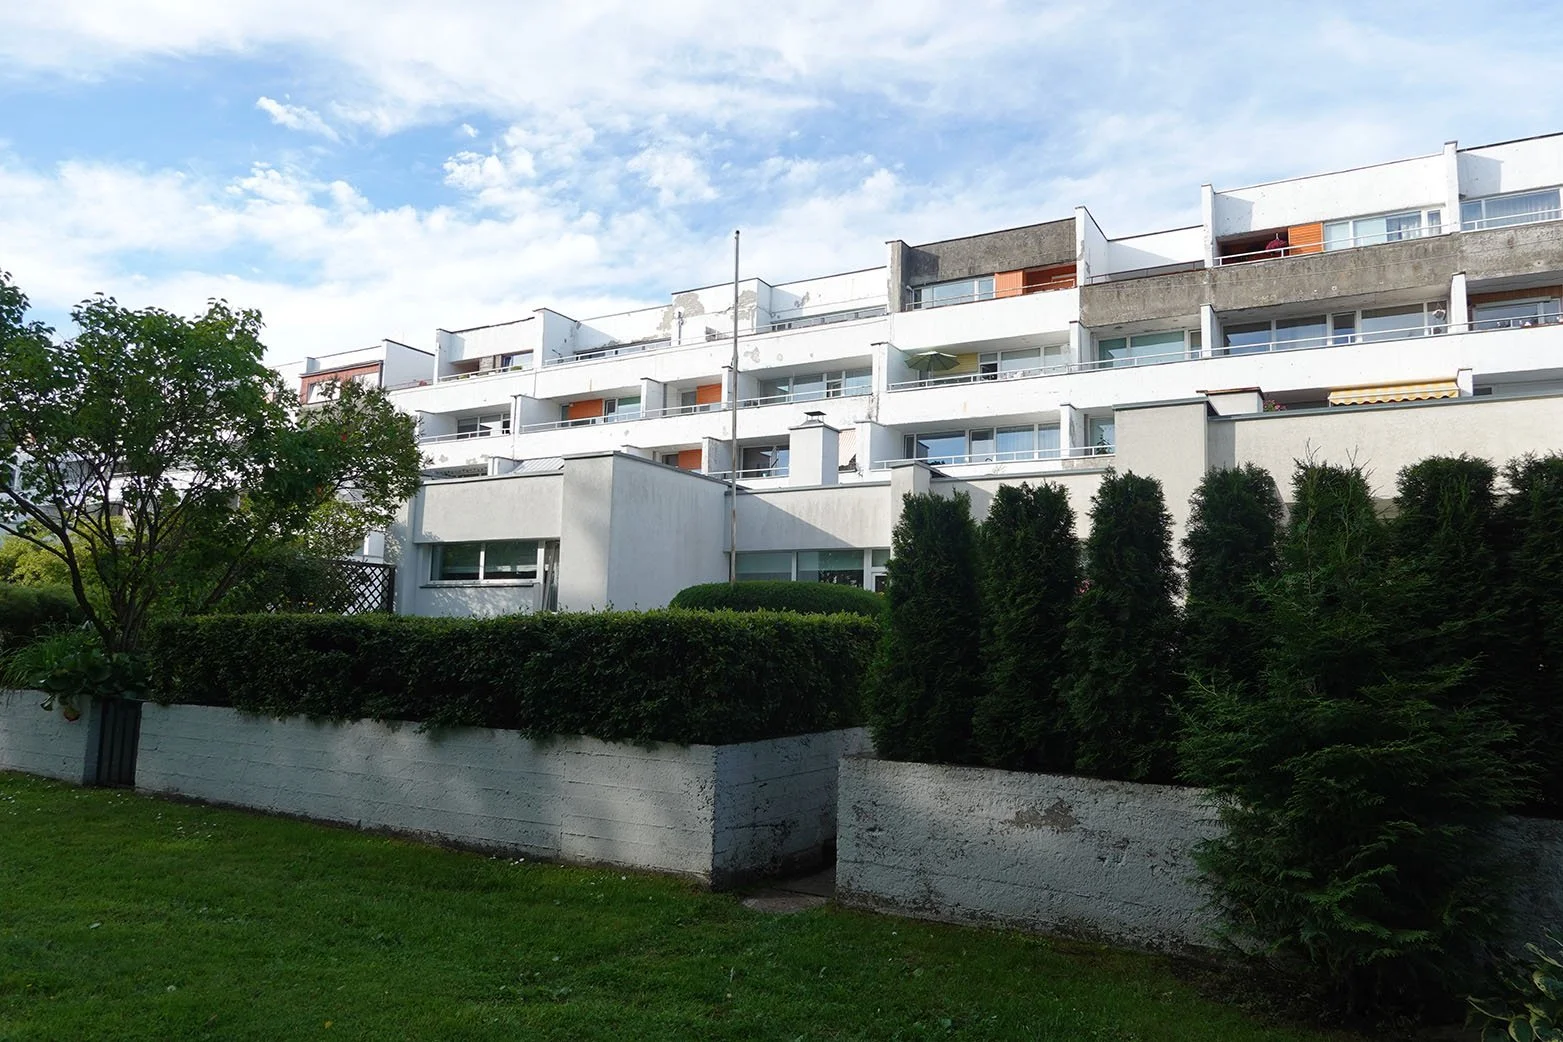
It turns out that my friend Kris’s partner actually grew up in the most famous of their builds, a kilometer-long monolithic concrete terraced housing block on the edge of a Soviet industrial complex called Kuldne Kodu (Golden Home), attended their kindergarten, and now works in one of the business buildings KEK not only built but also continues to manage in their present-day real estate company.

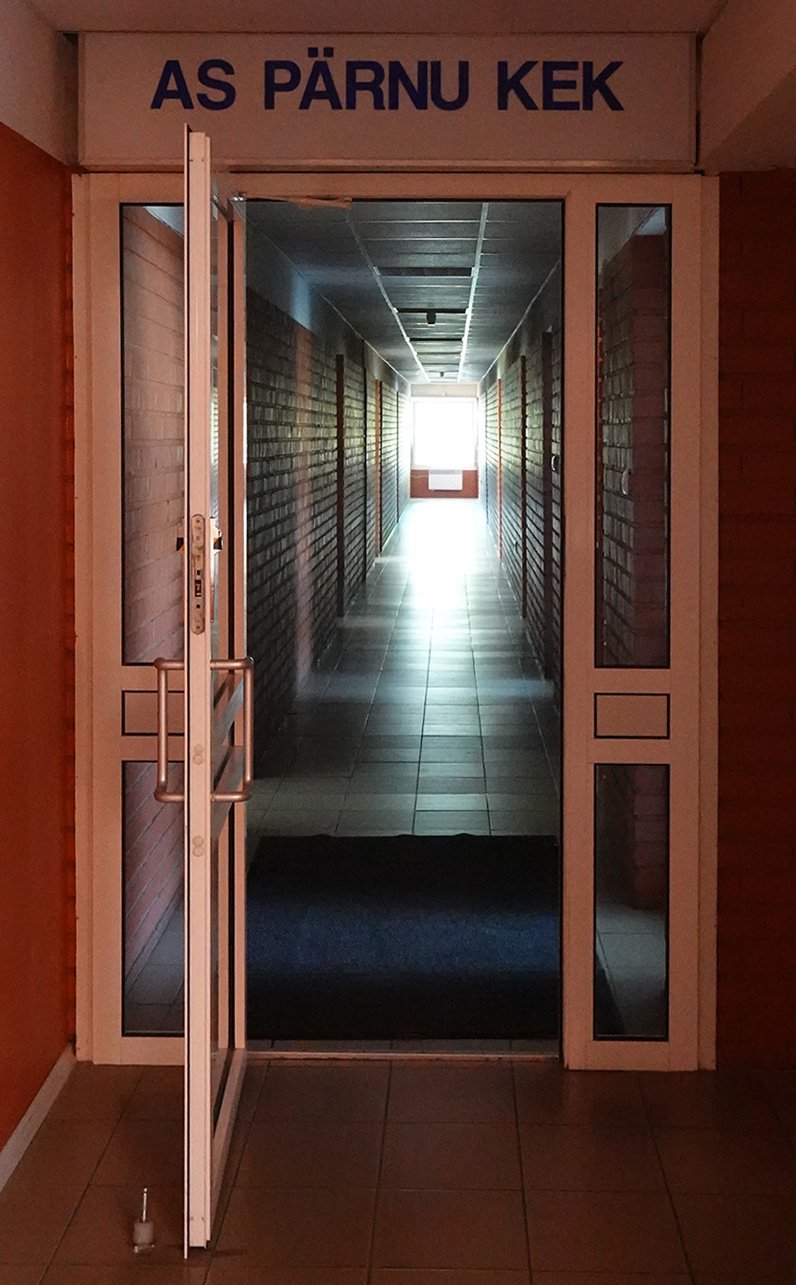
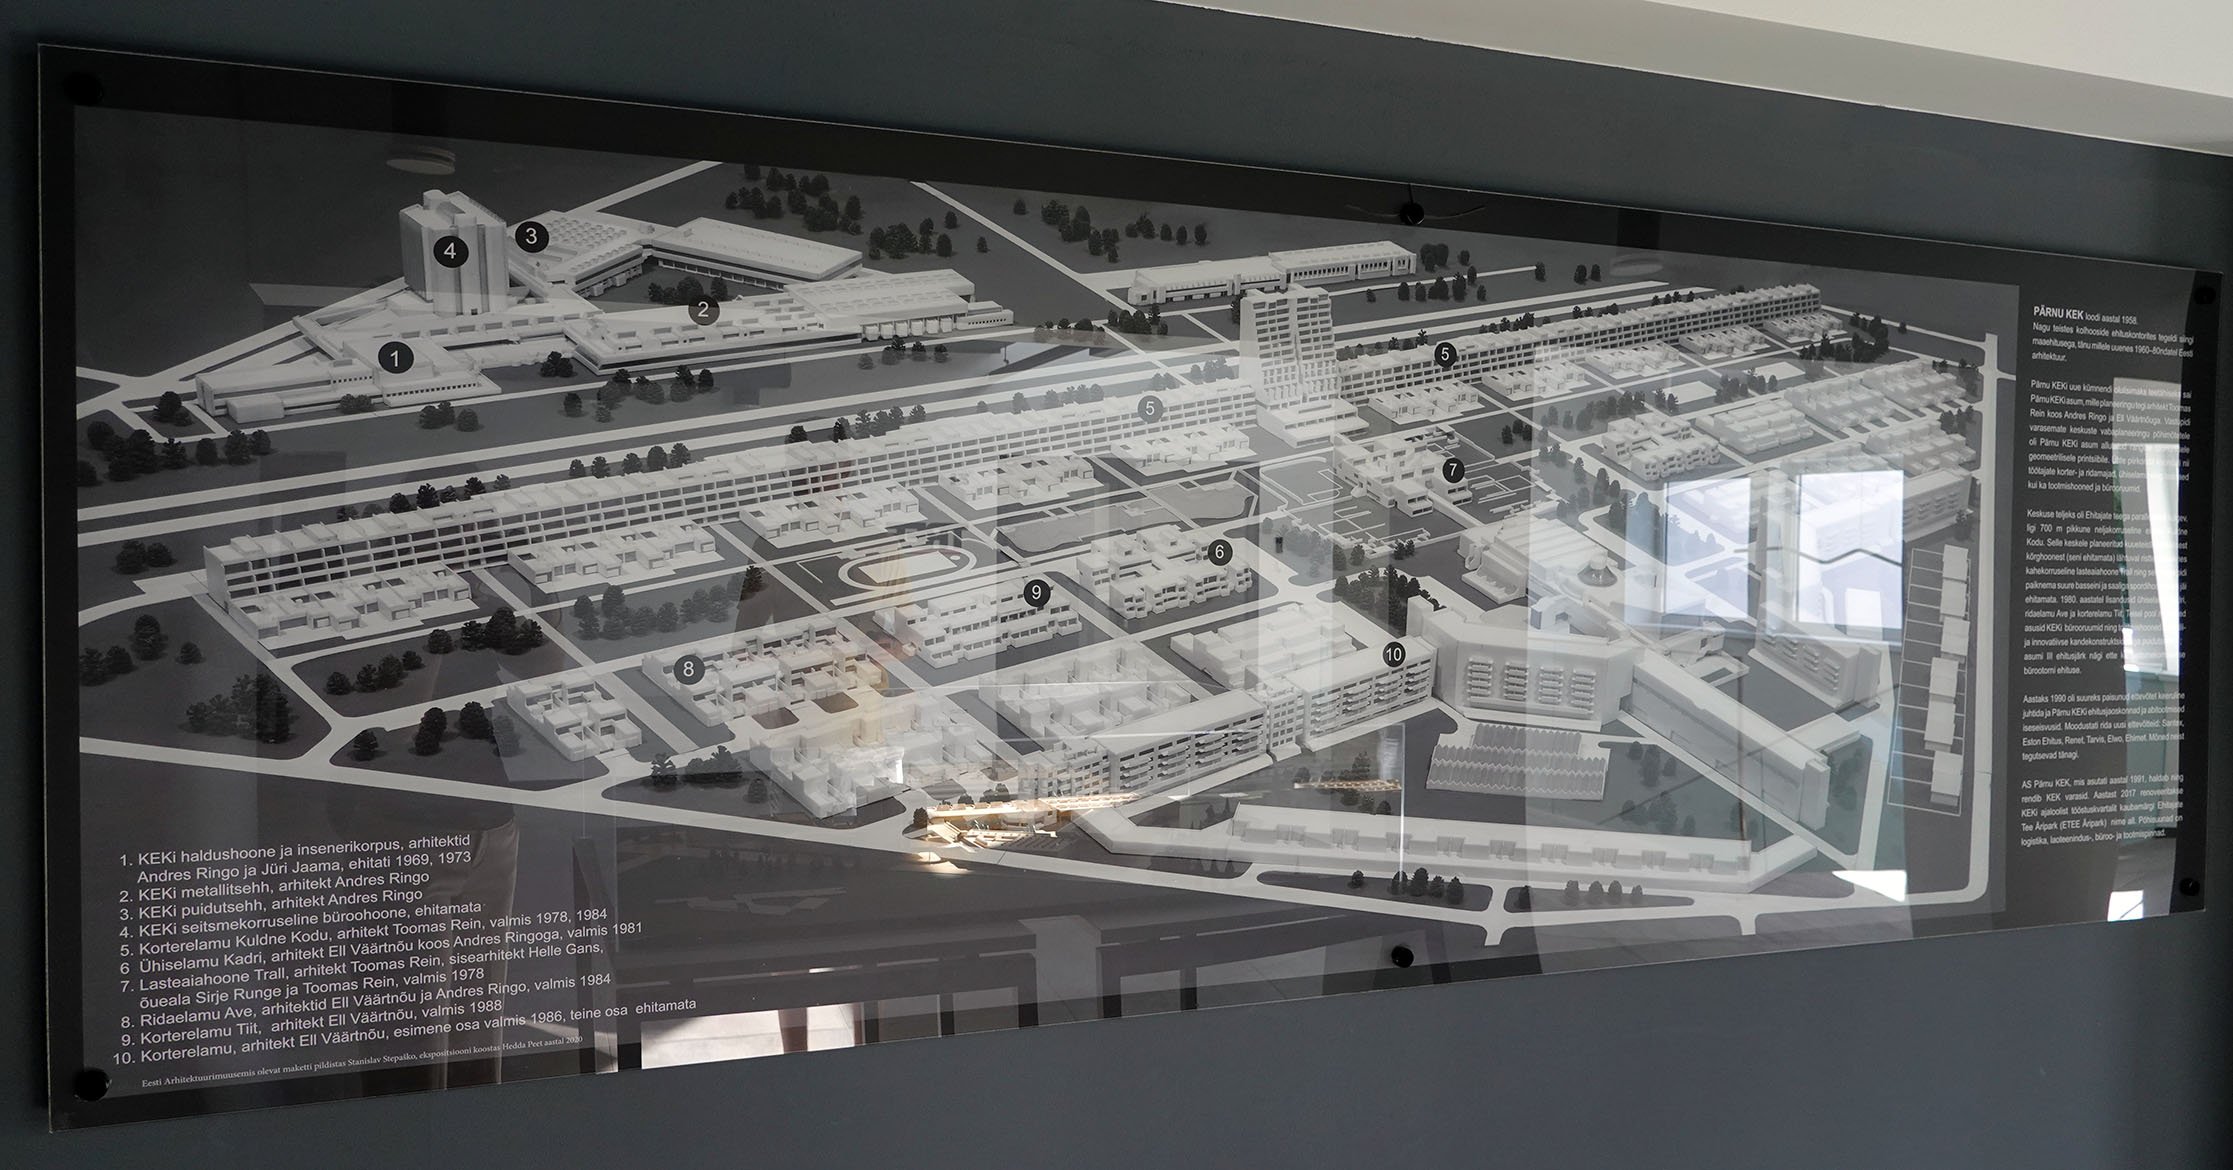
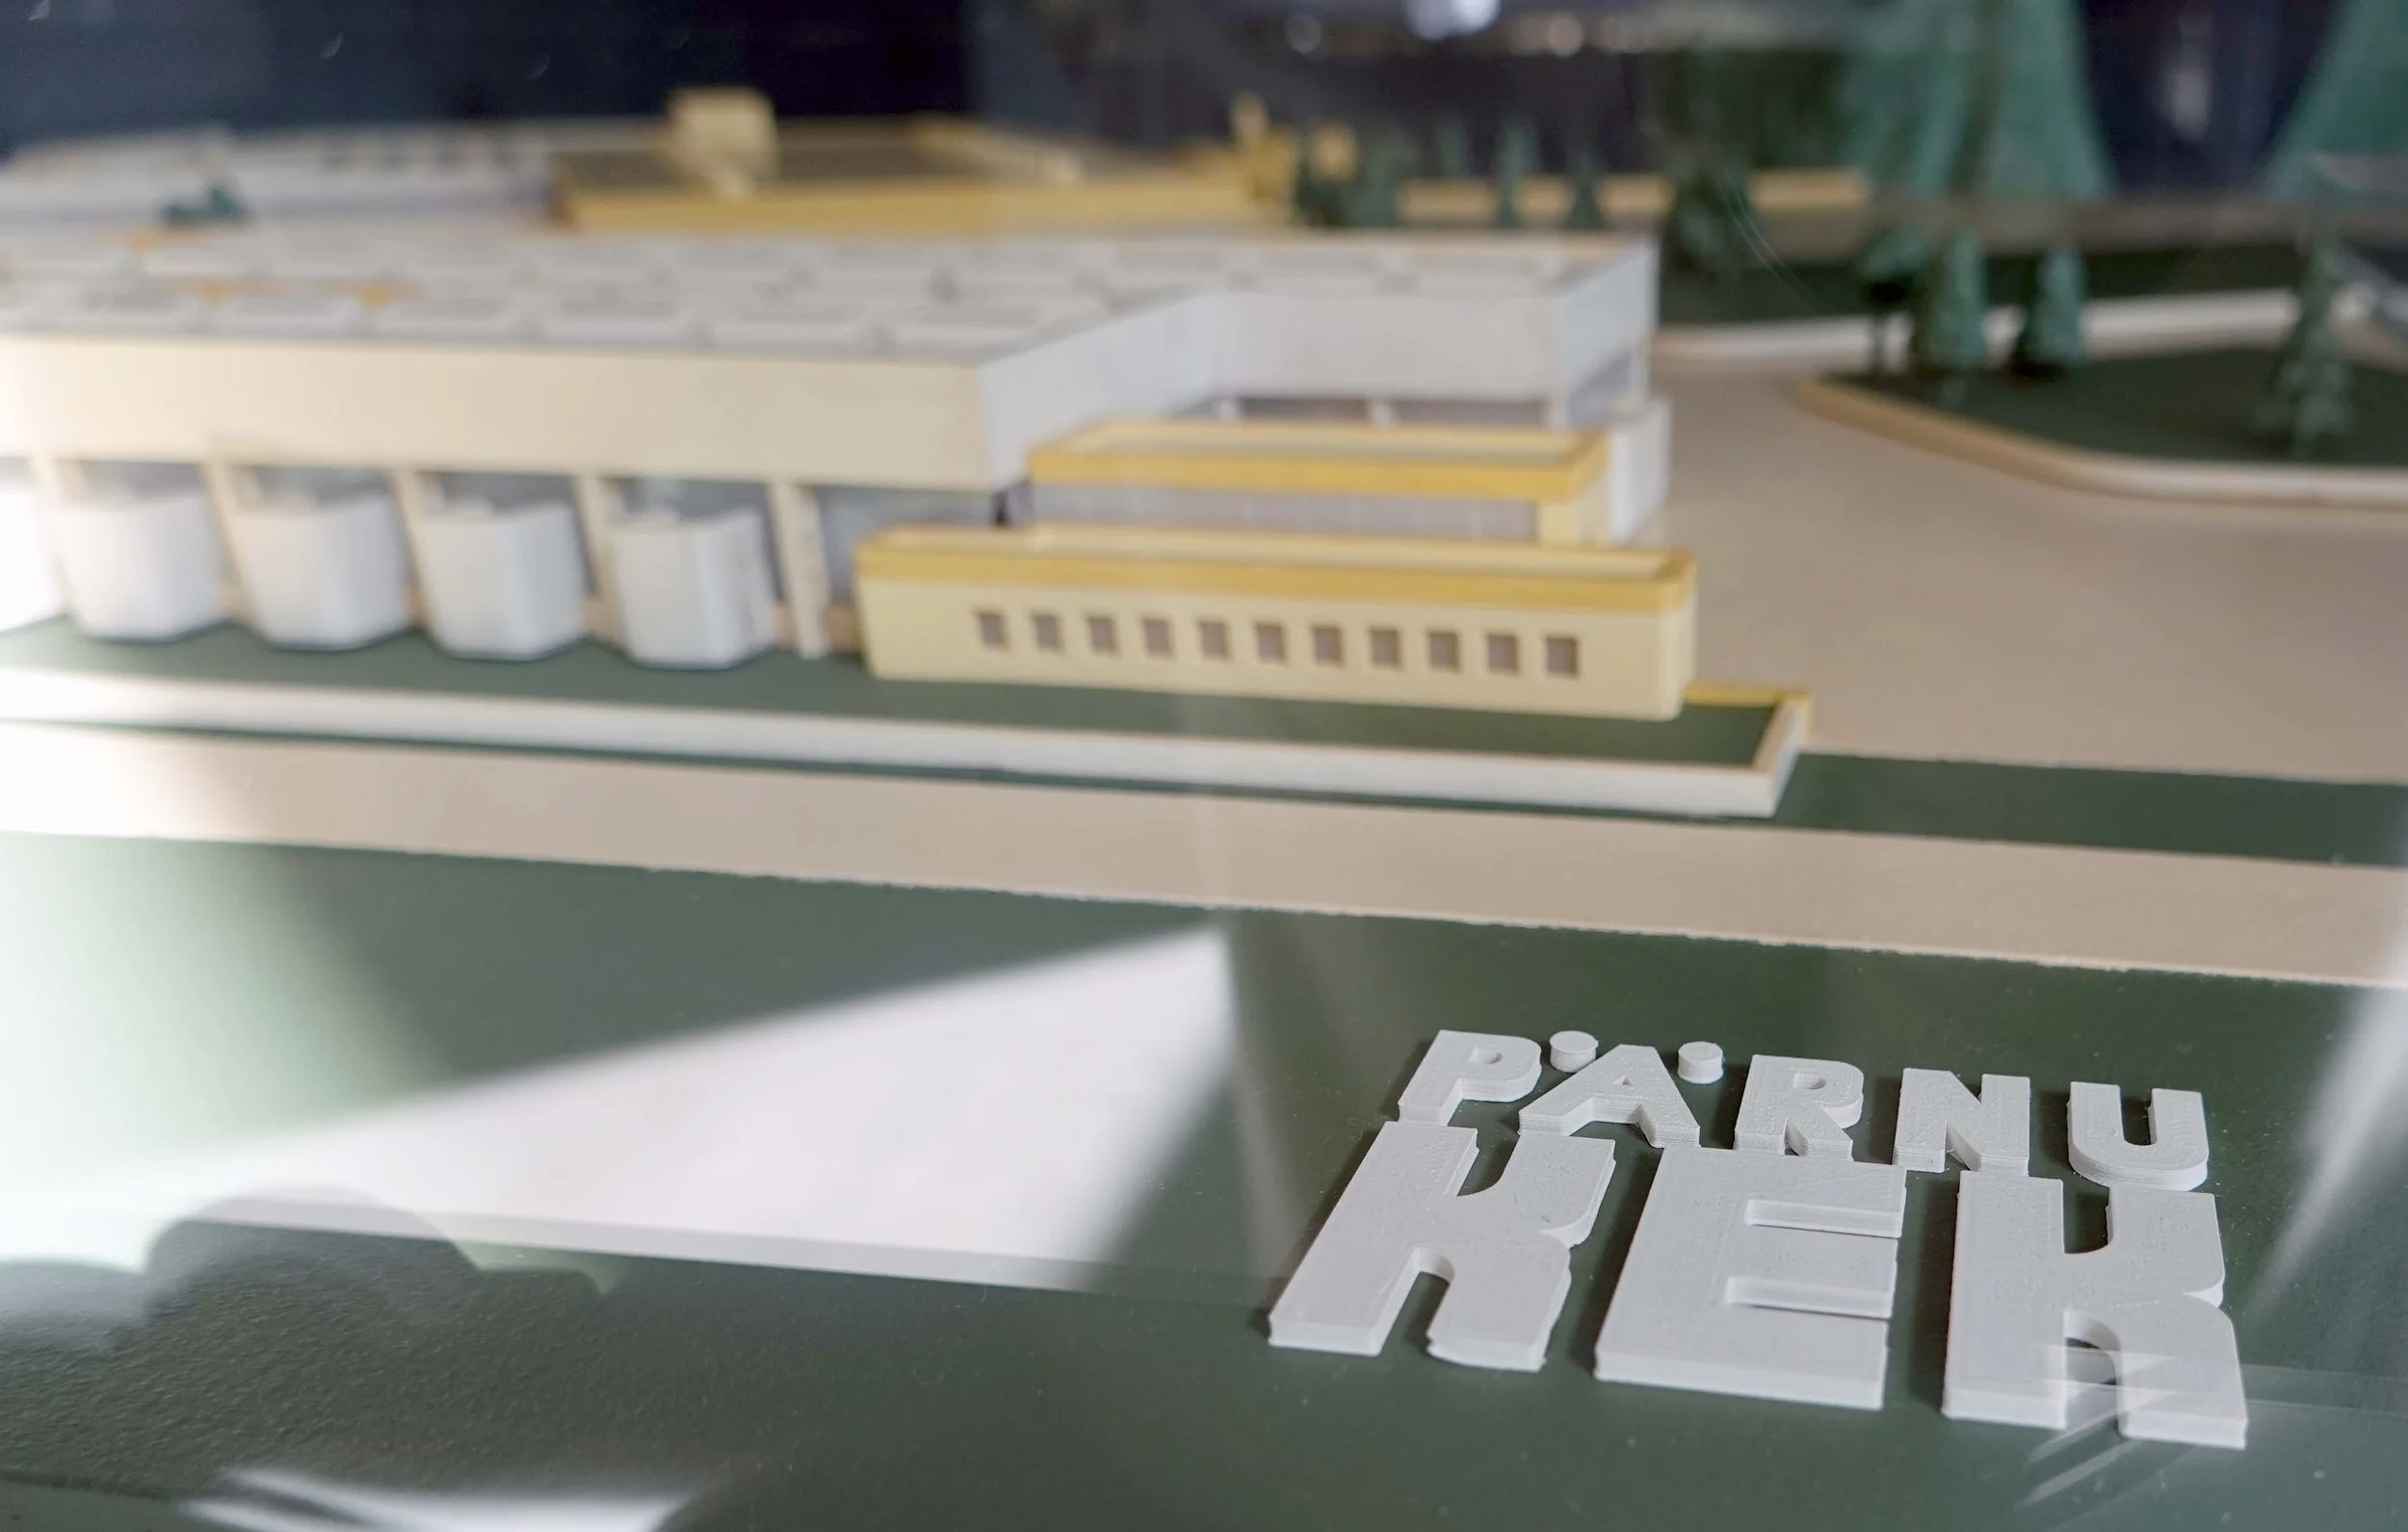
We toured her workplace, which had a model and map of the entire vision for the complex (which was never completed post-independence) as well as a series of informational panels about the history of Pärnu KEK.

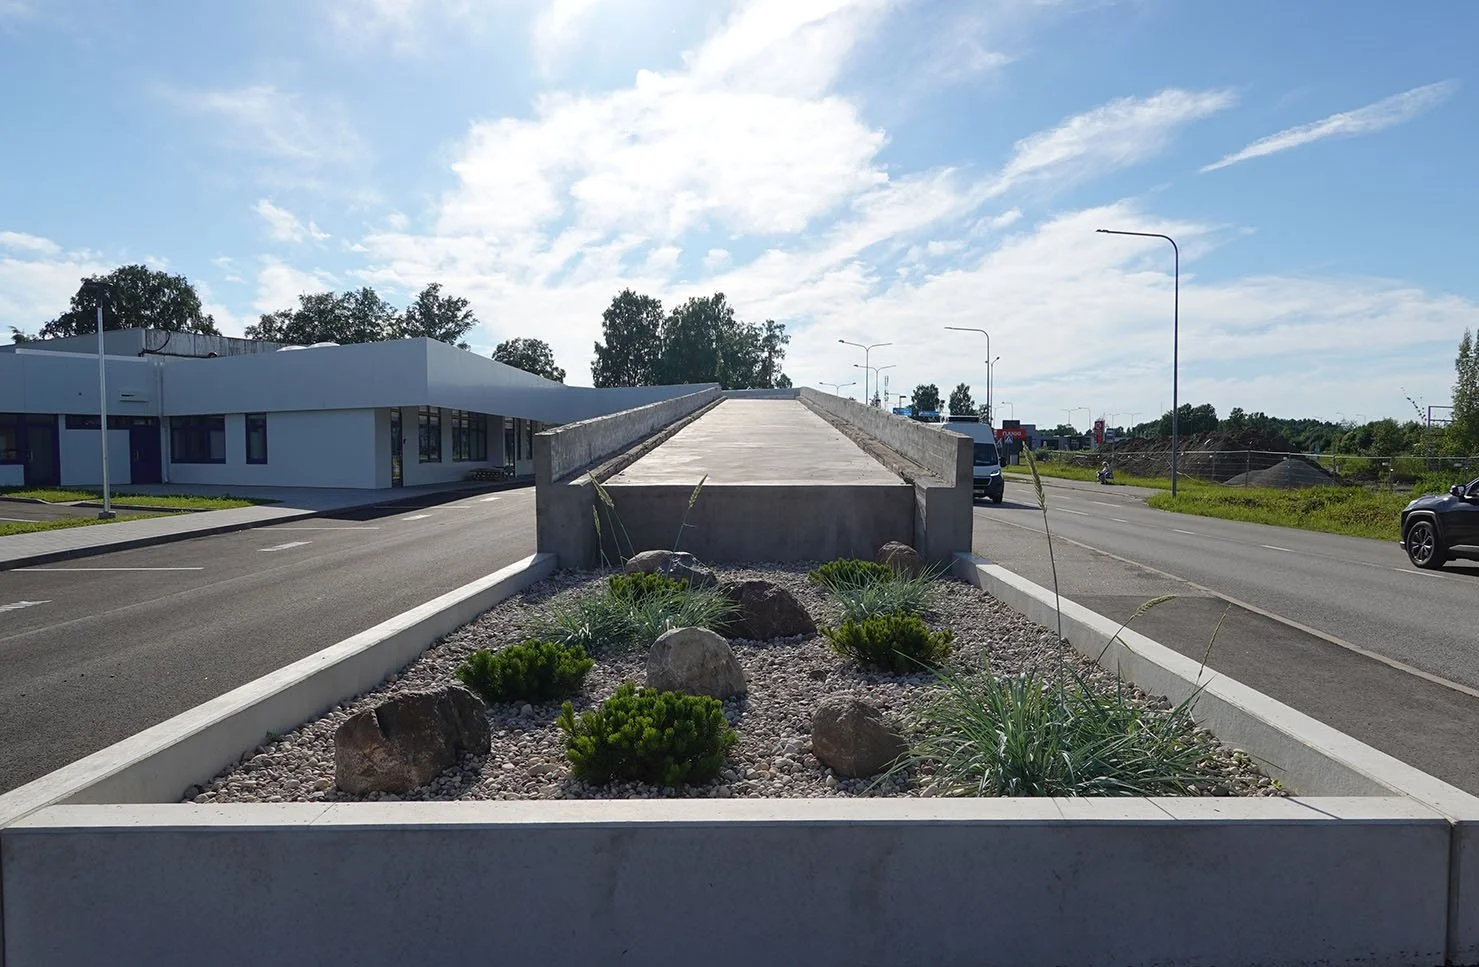
We then walked around the rest of that industrial and business section, seeing both original and renovated areas, and designs that never got completed - like the ramp to nowhere.

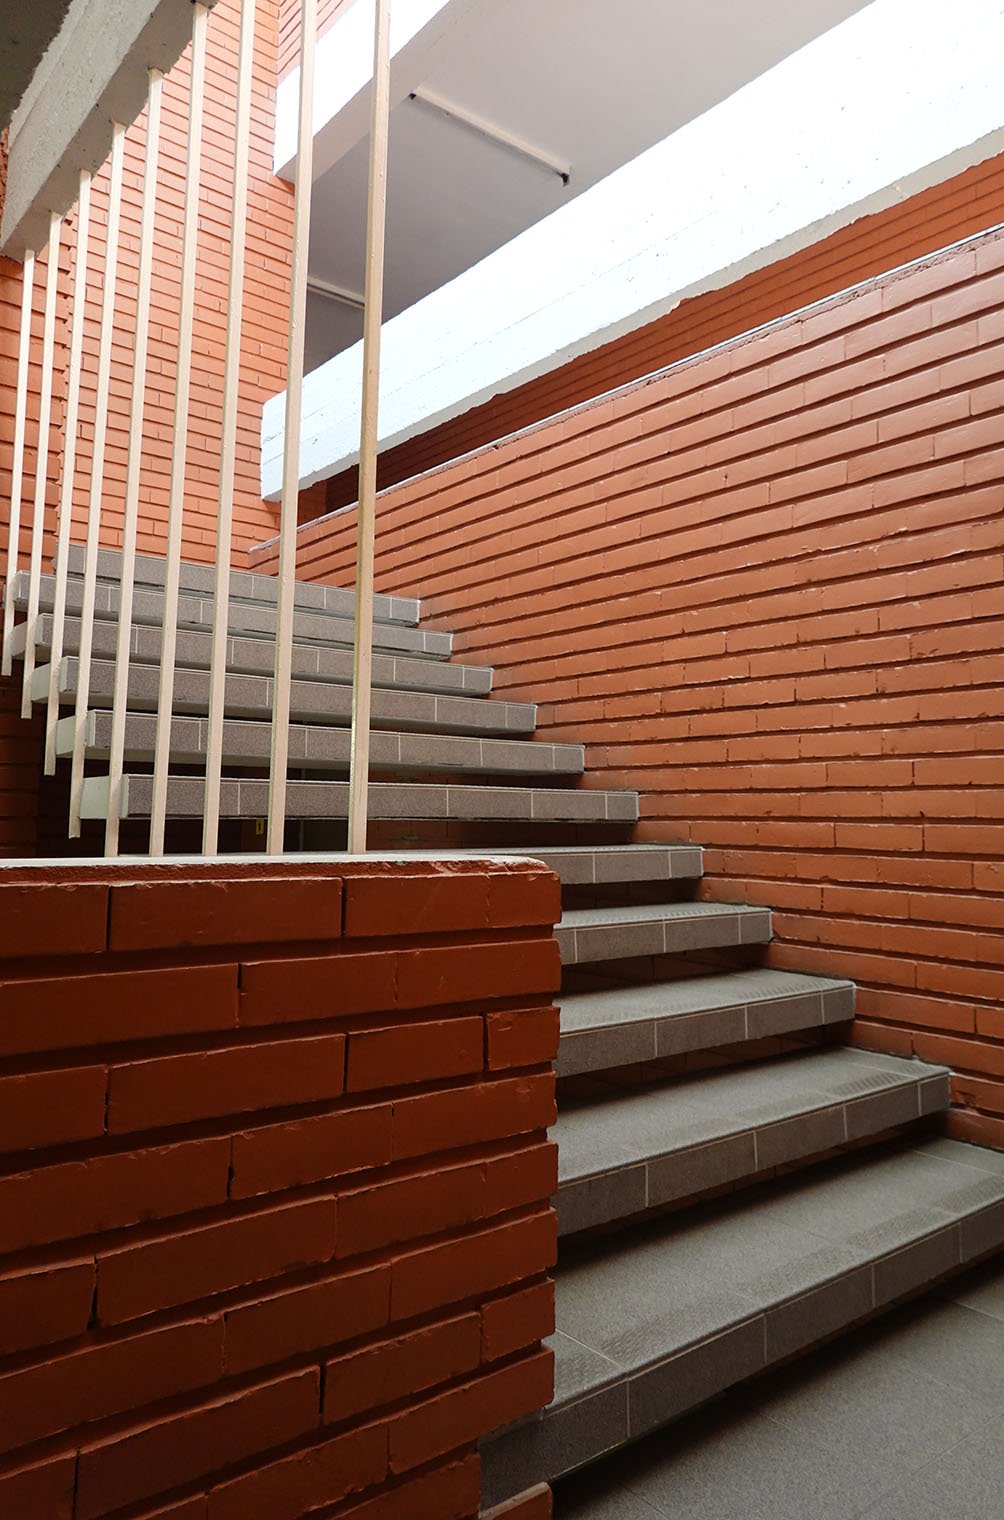
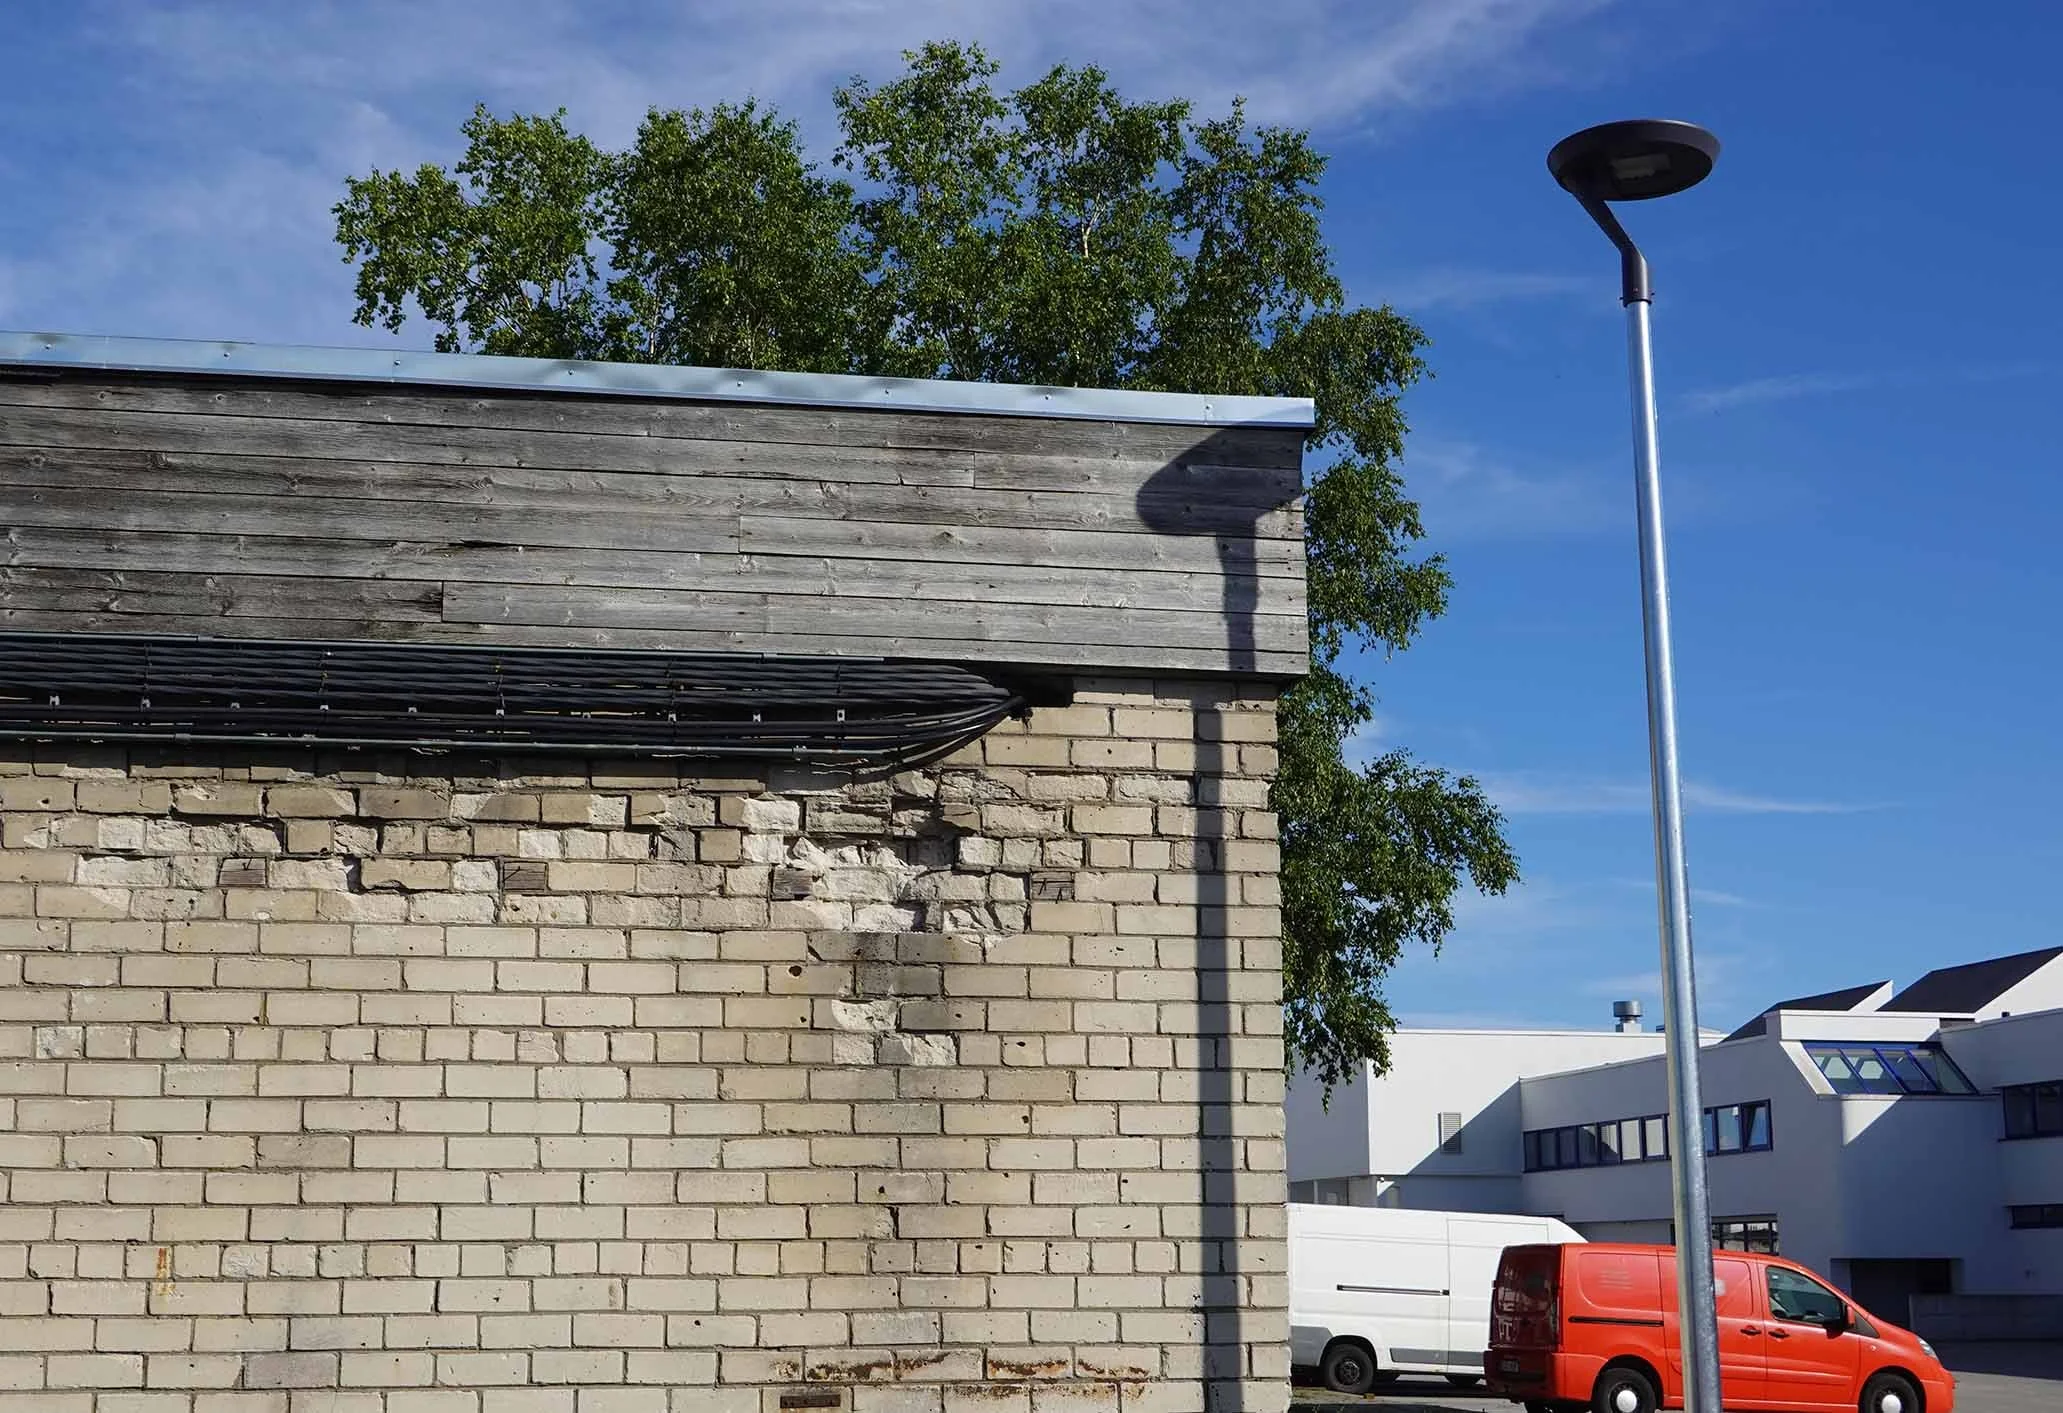
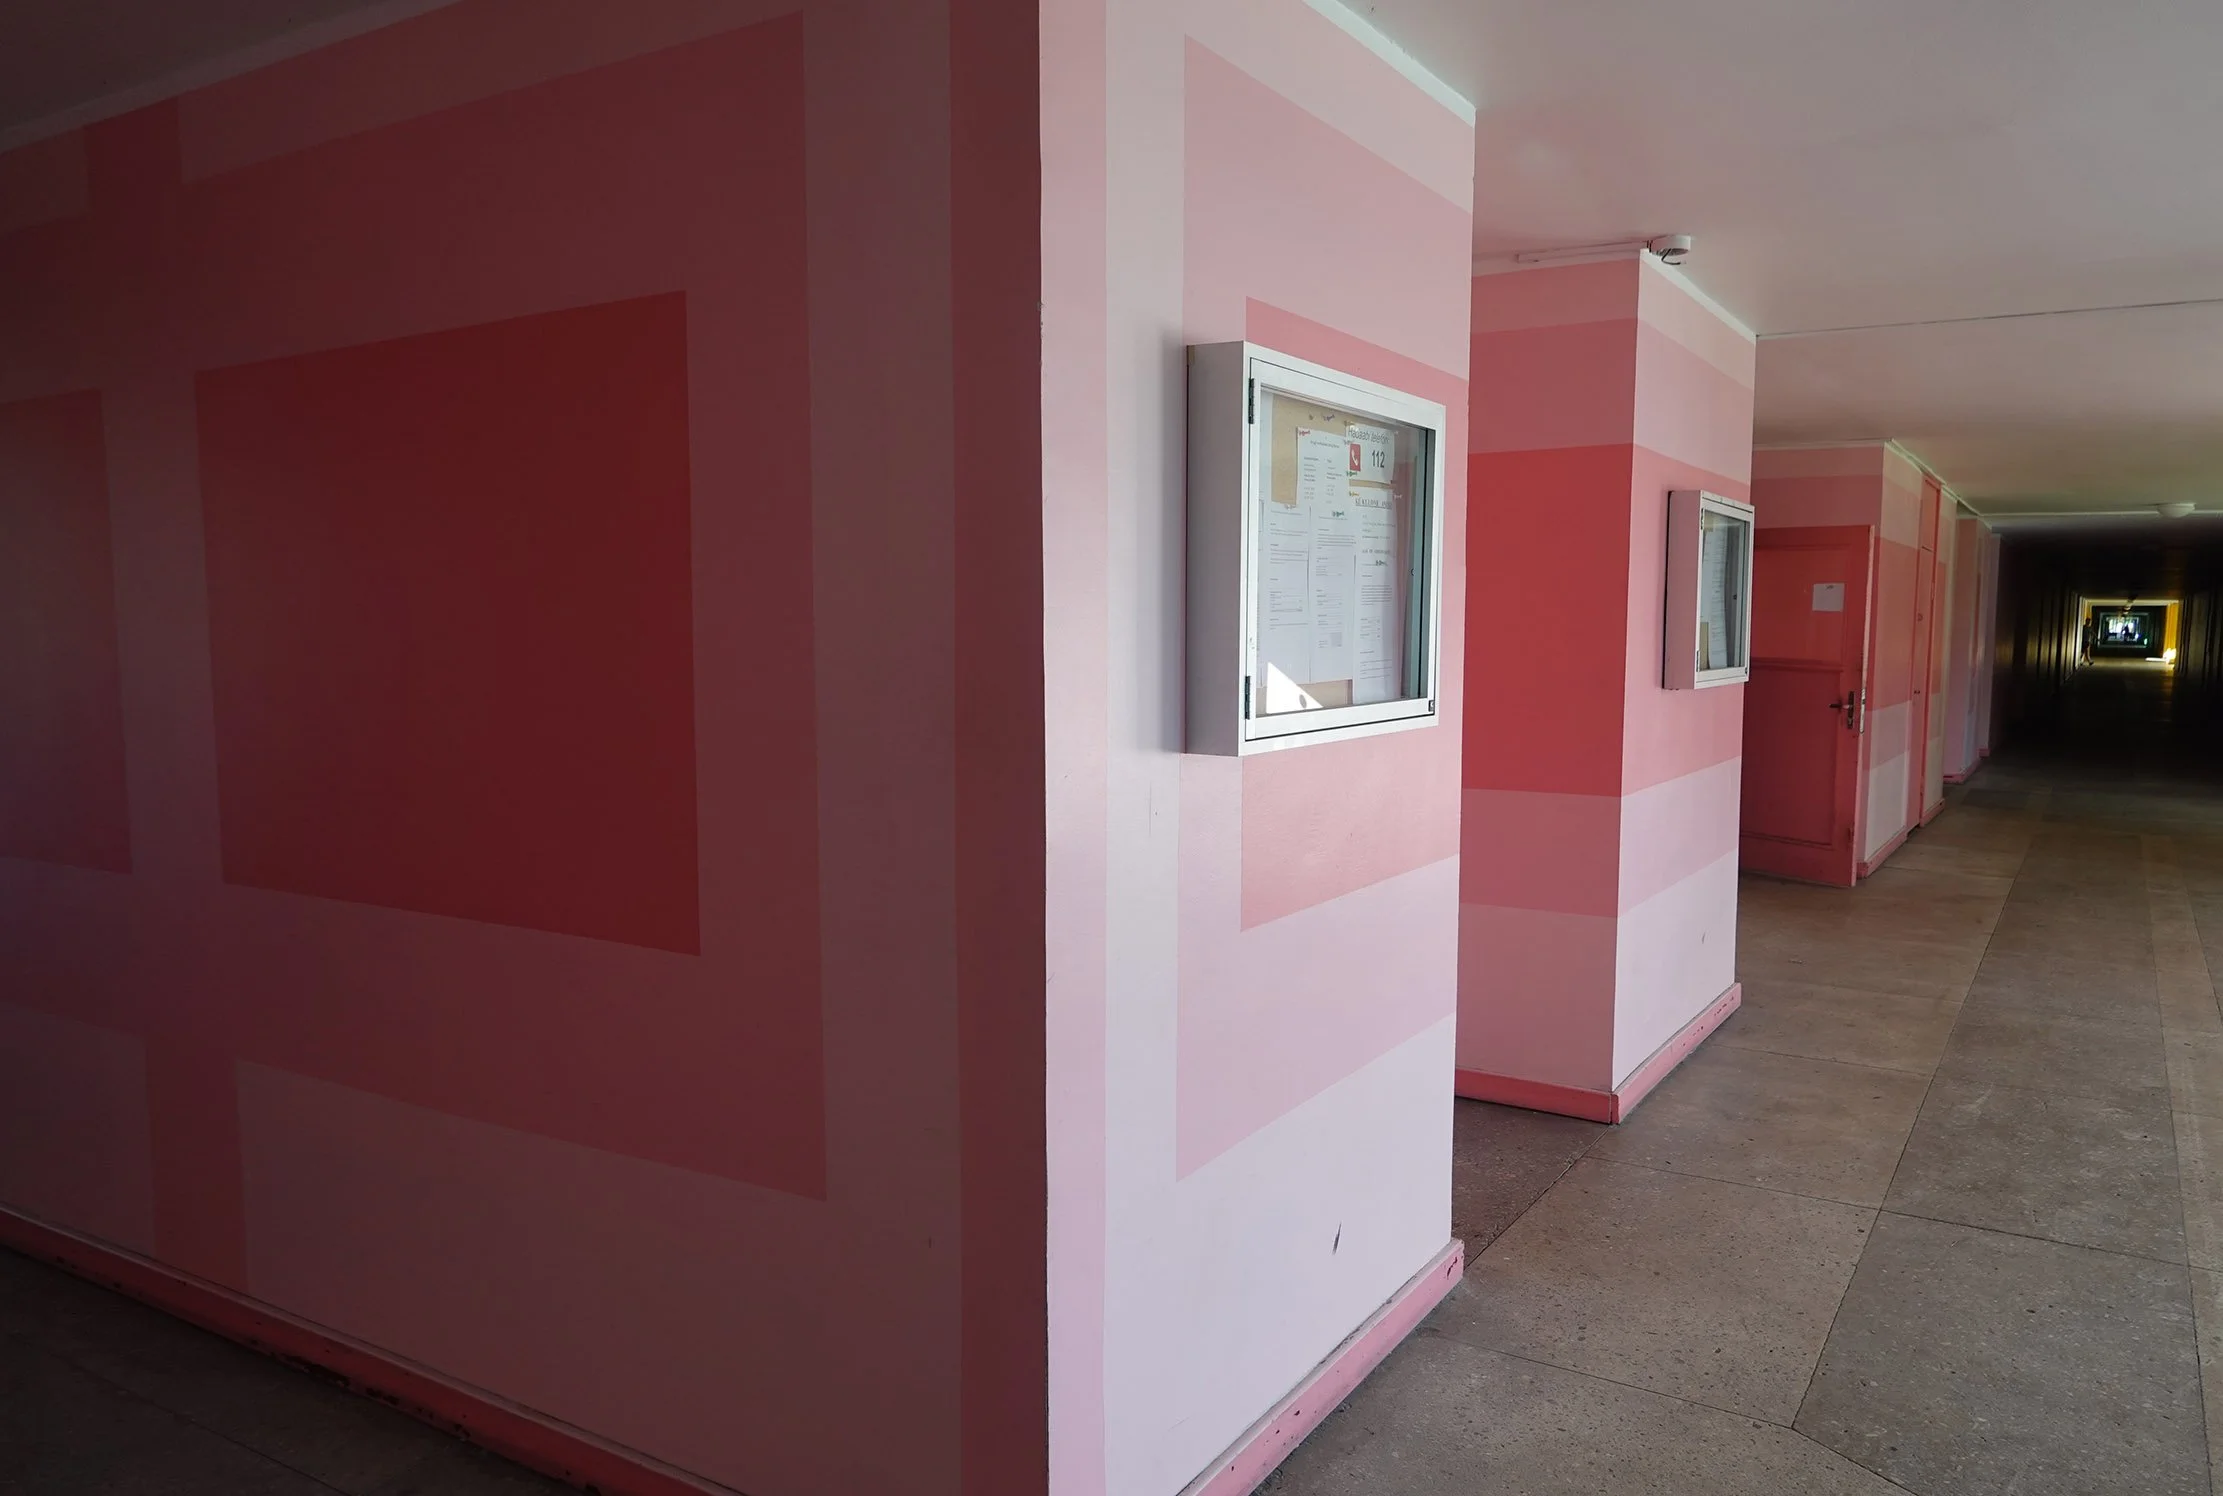
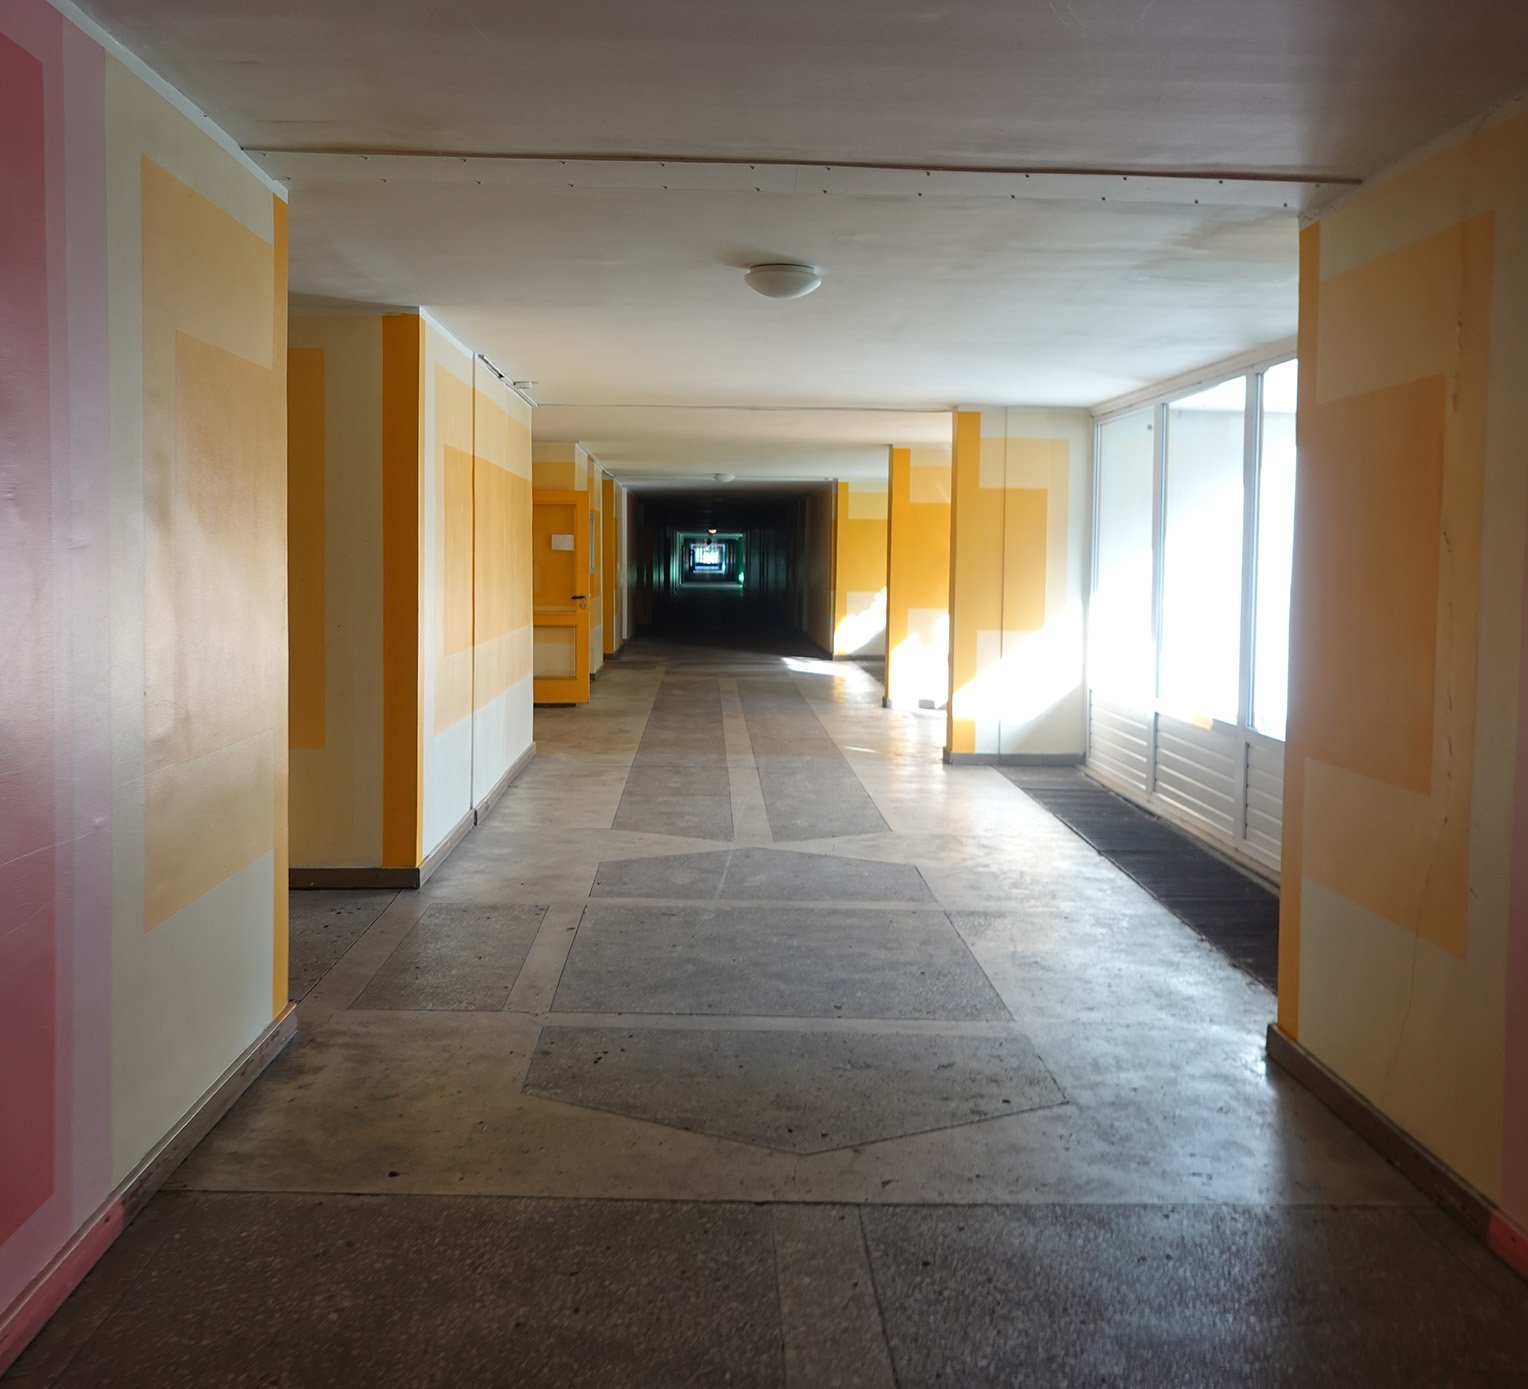
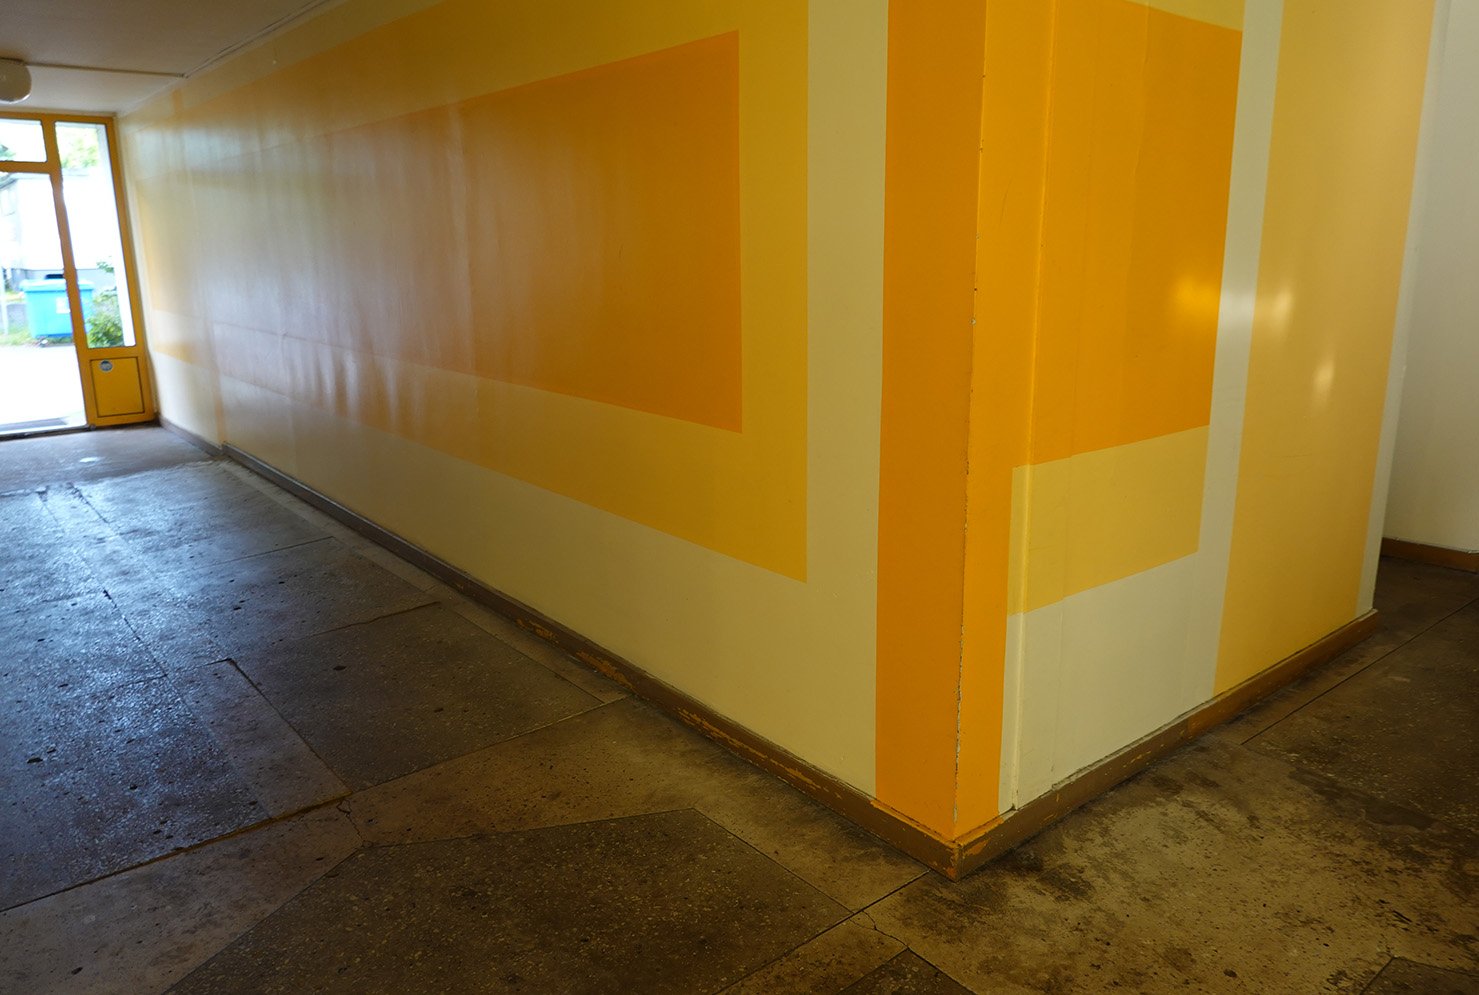
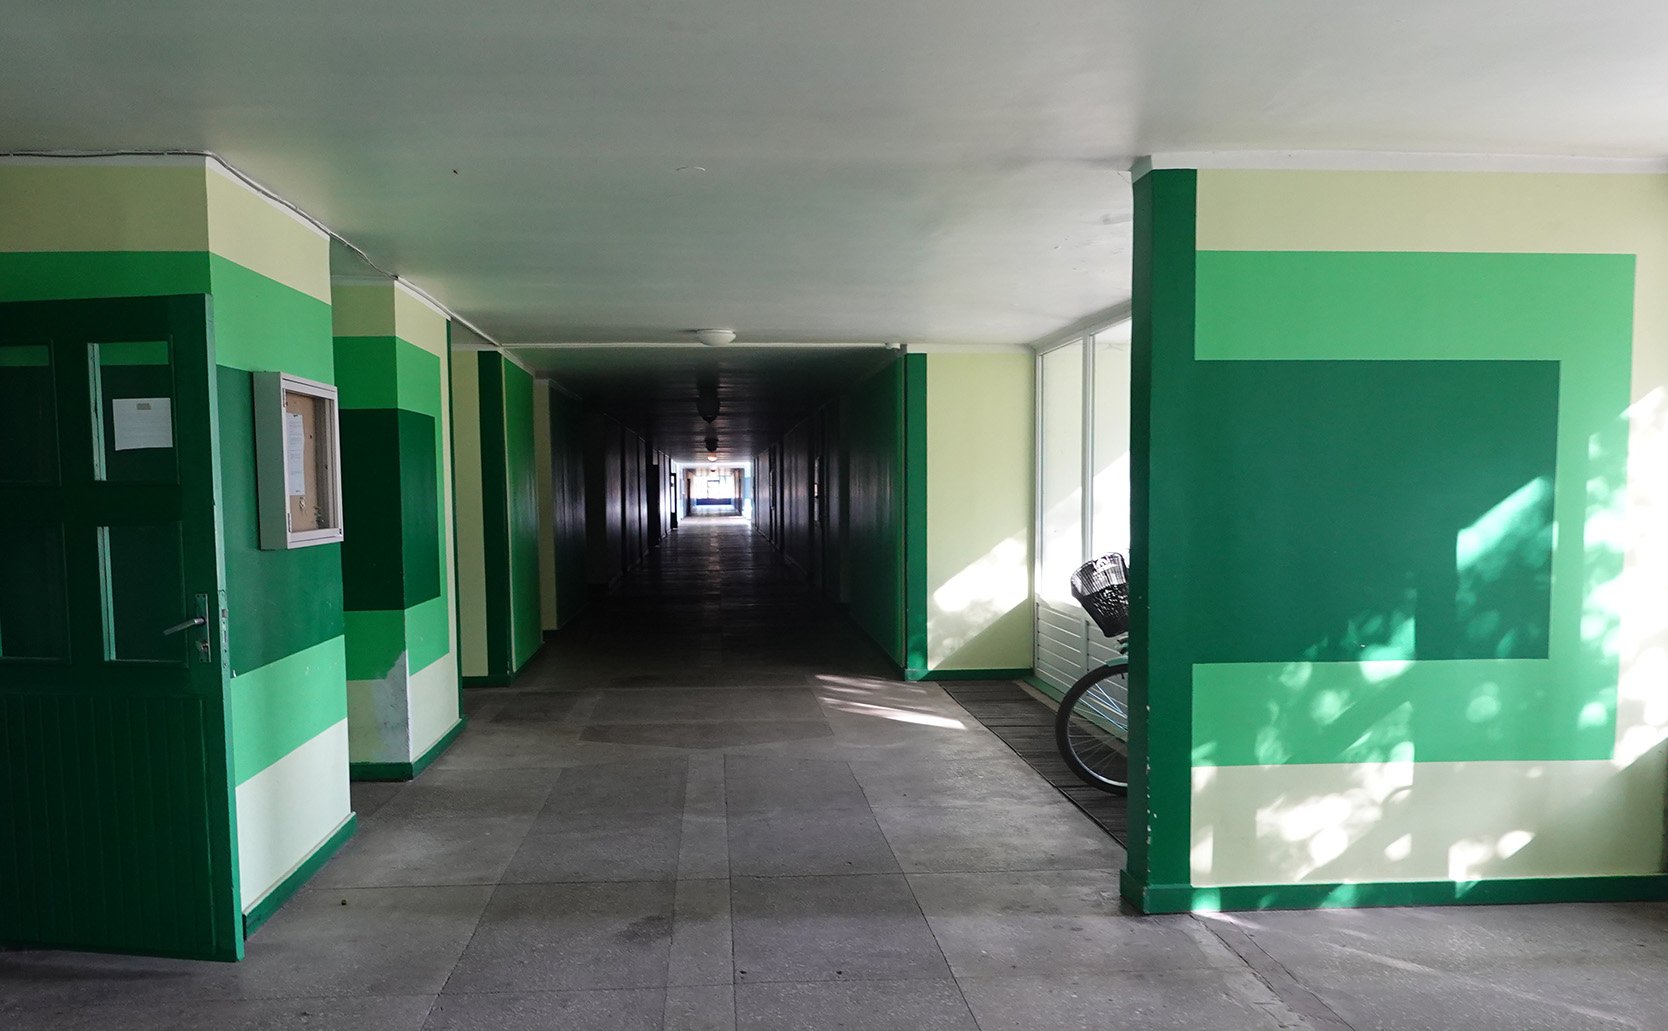
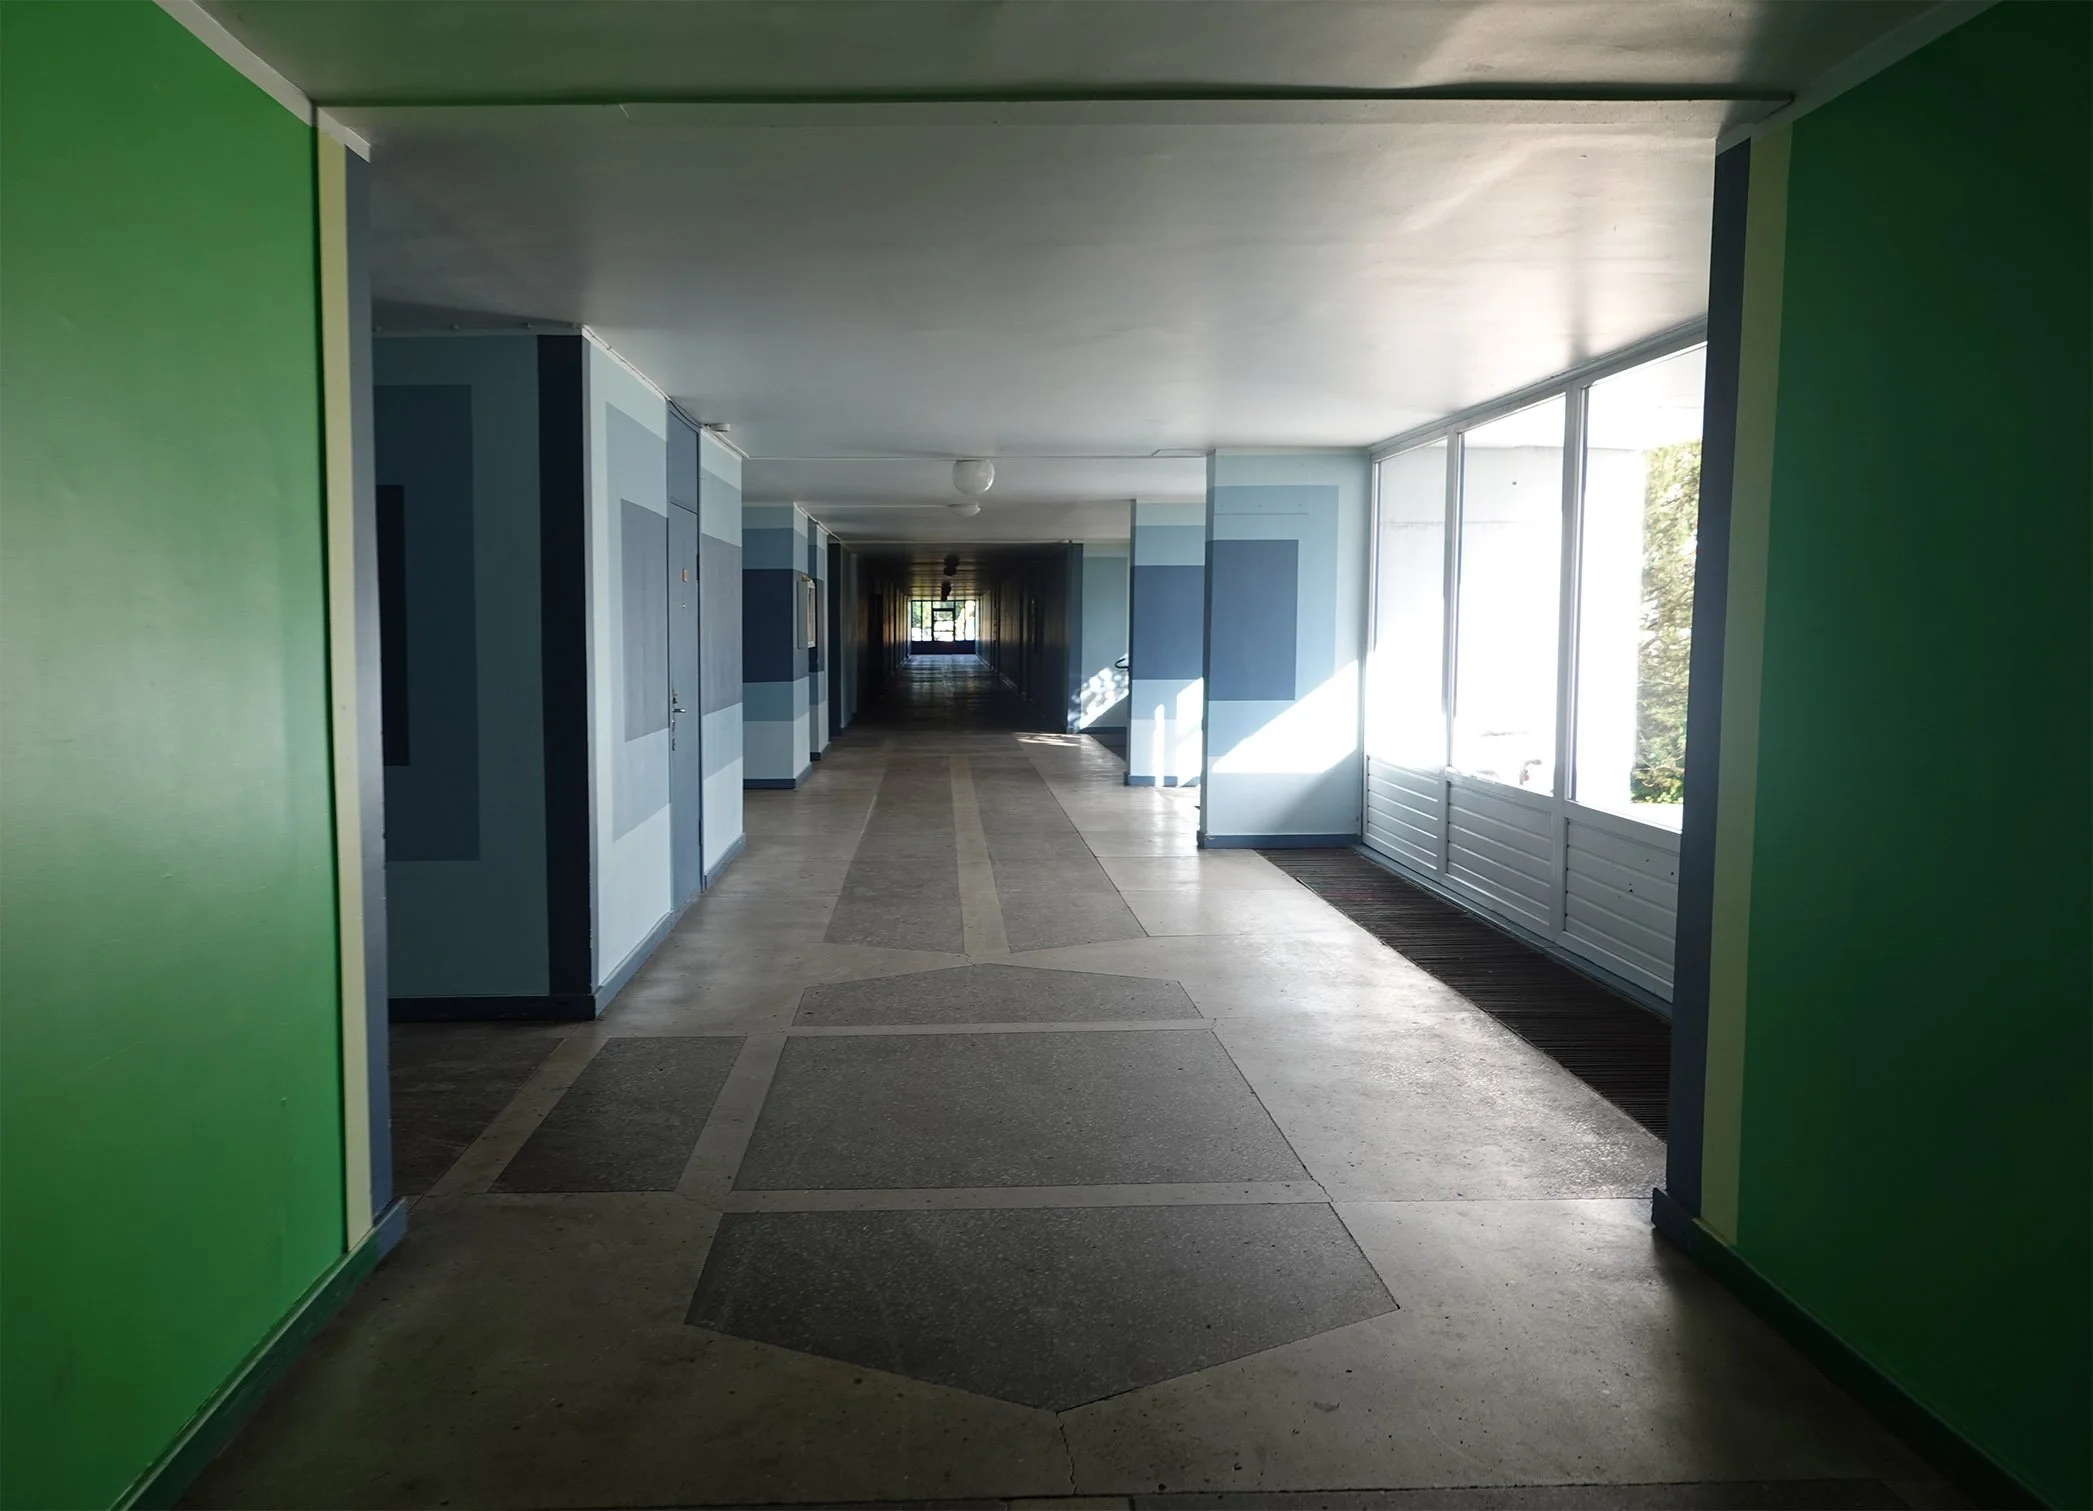
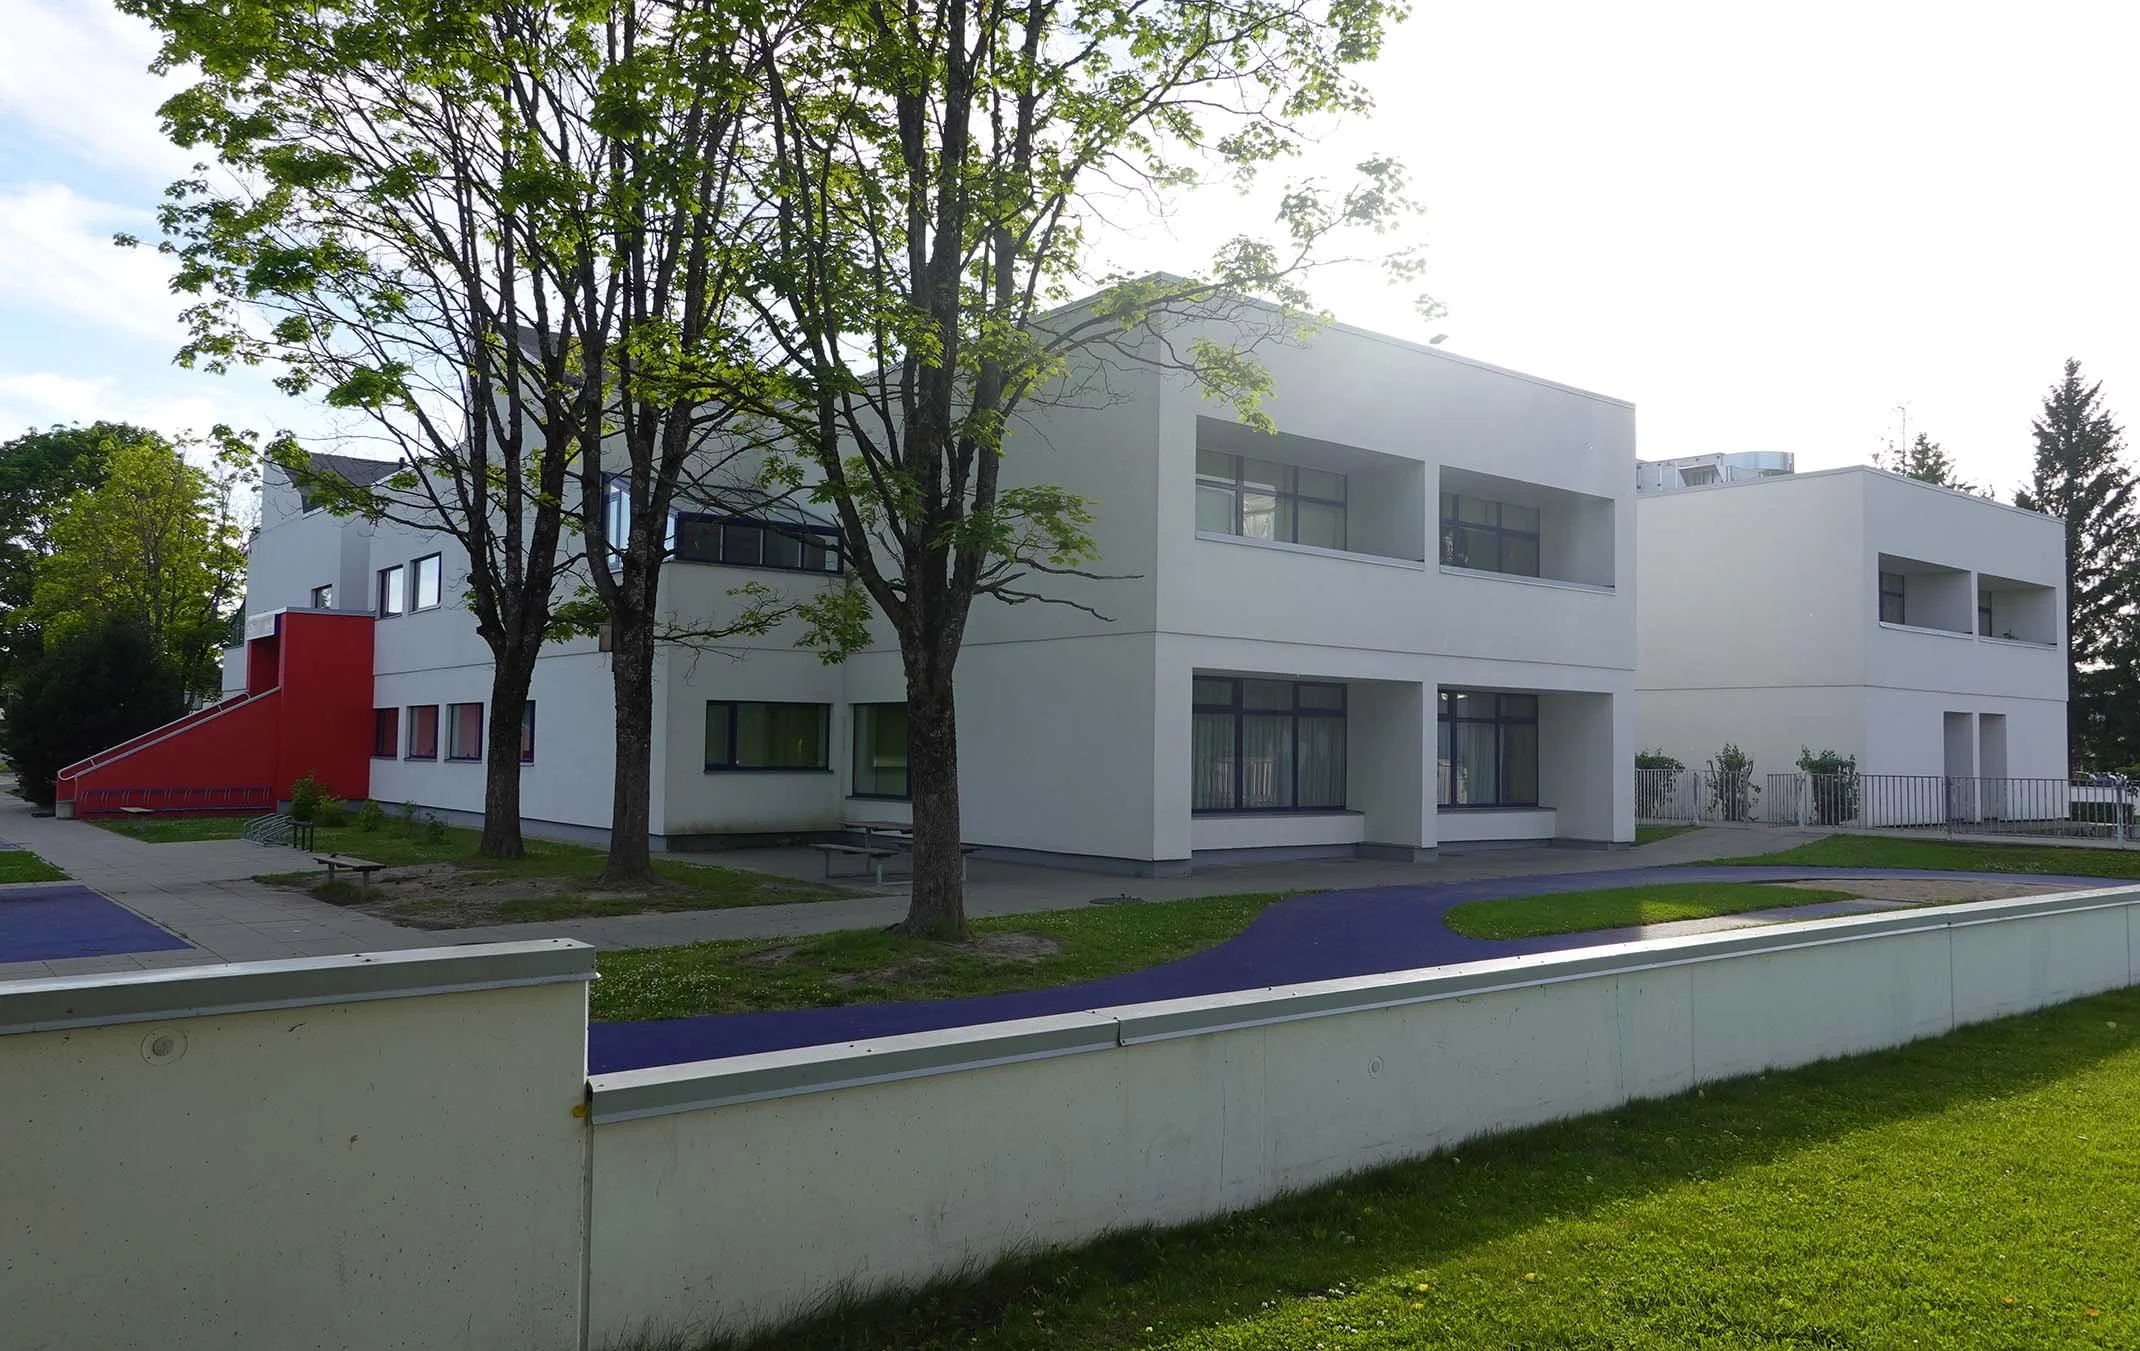
Then we visited Kuldne Kodu (Golden Home). It’s so massive and uniform that they color coded interior sections and floors so inhabitants and visitors didn’t get lost! We also saw the exterior of the kindergarten.

It was a really cool experience to research Pärnu KEK and paint on its ceremonial stationery, and then to get an in-depth tour of its constructions, history, and present from locals.

Soomaa National Park

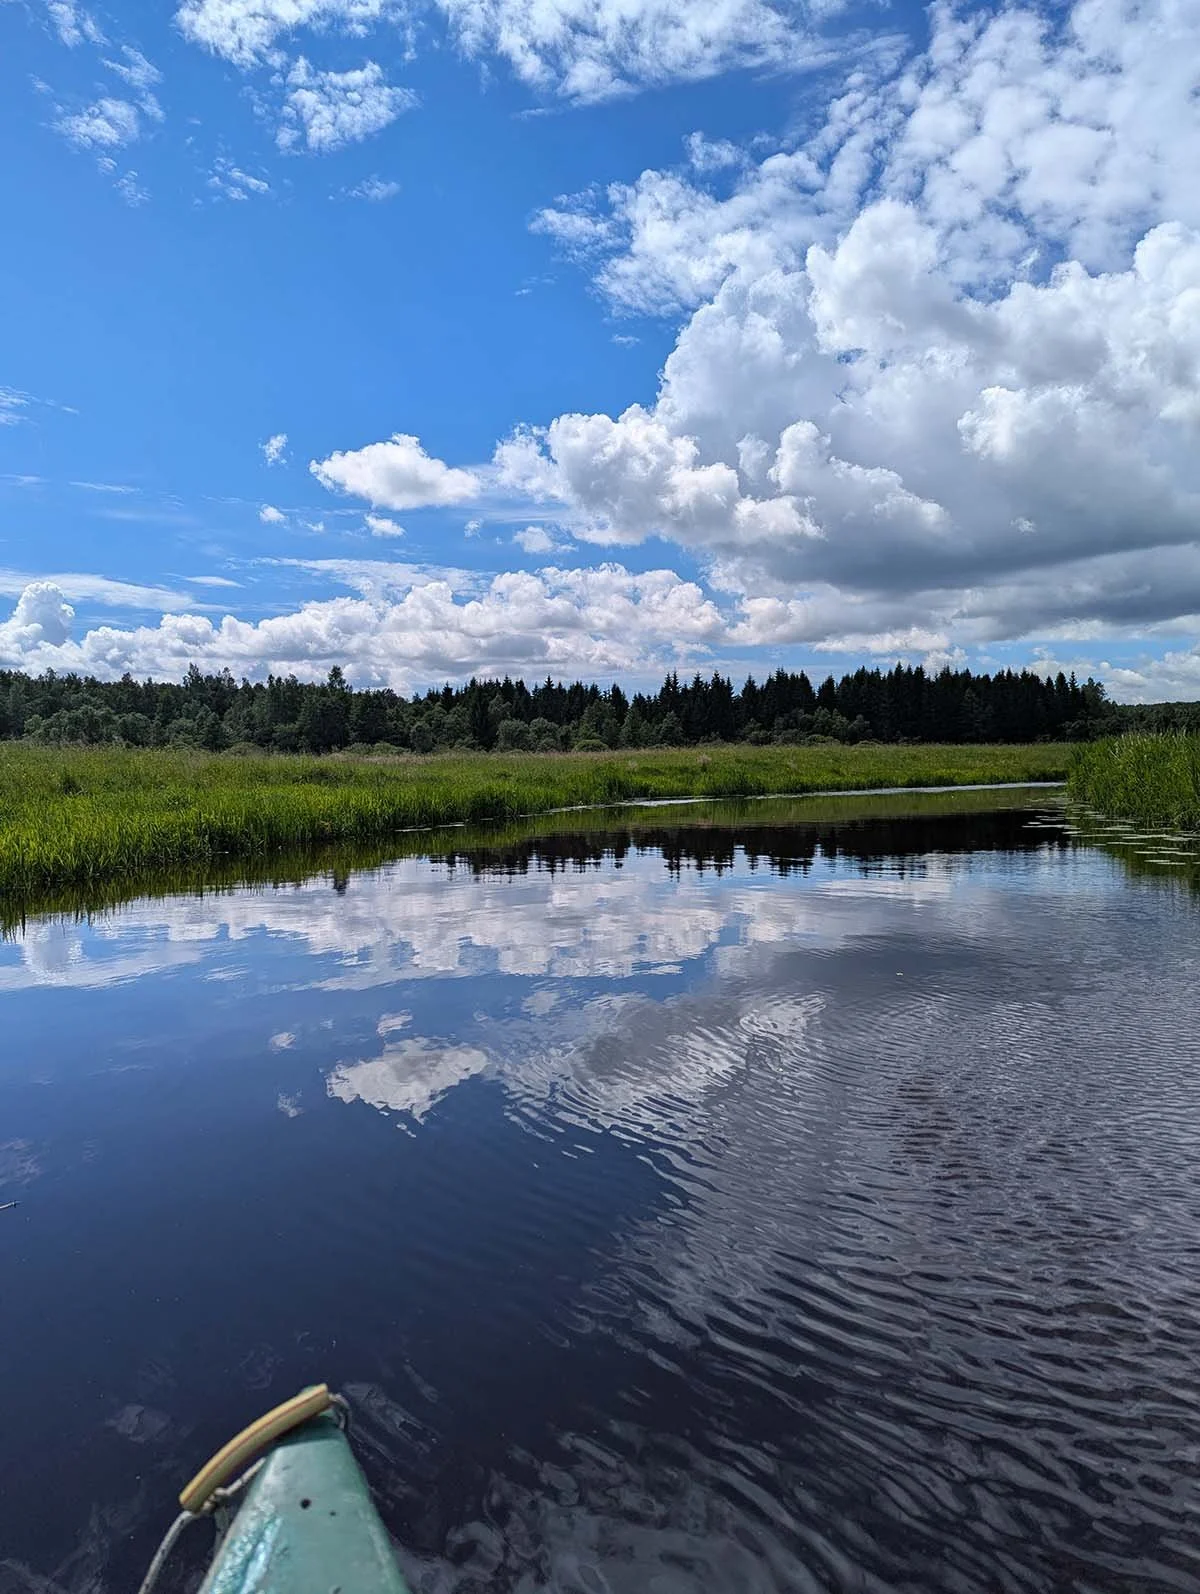
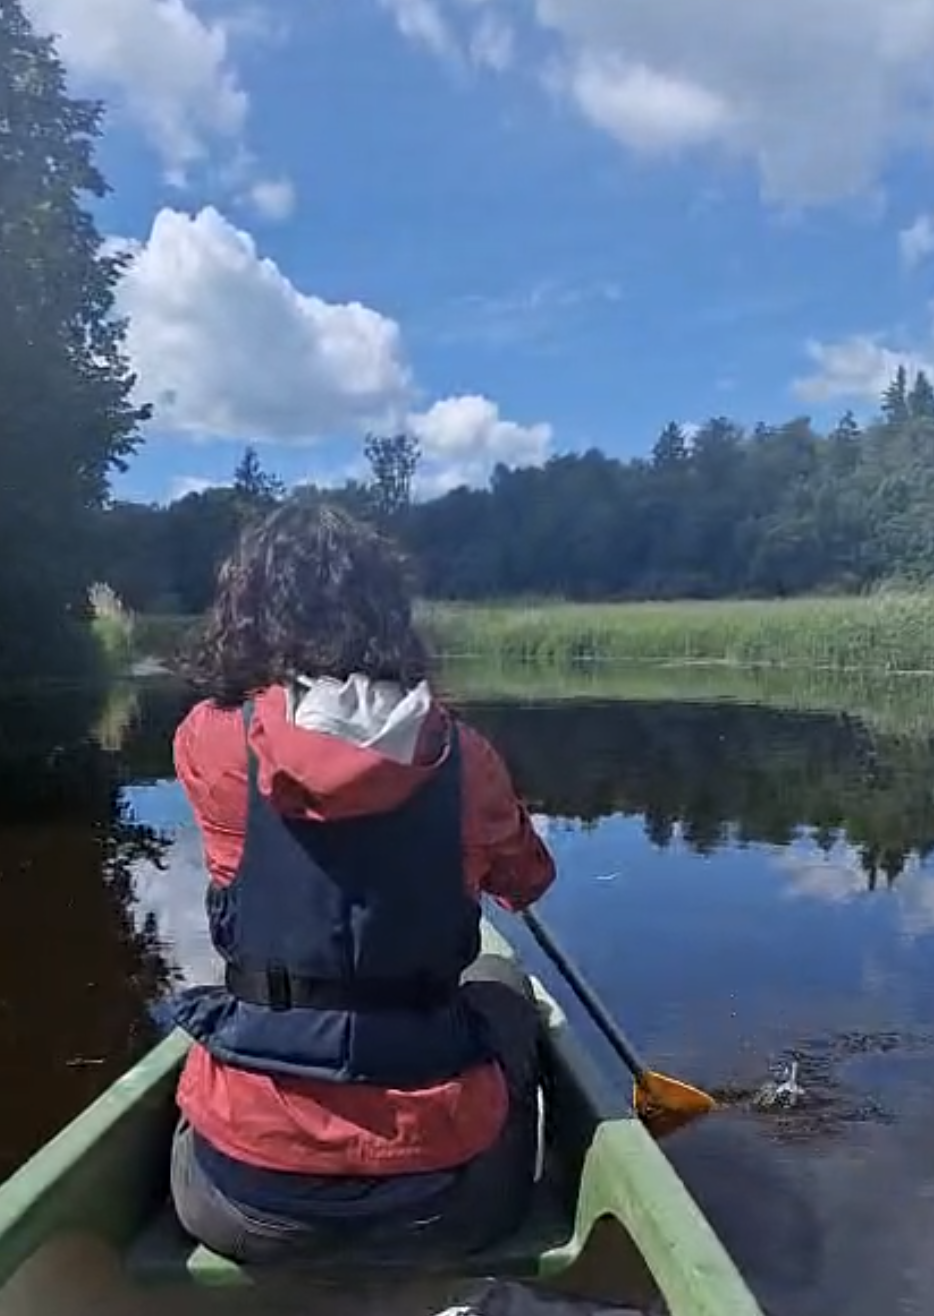
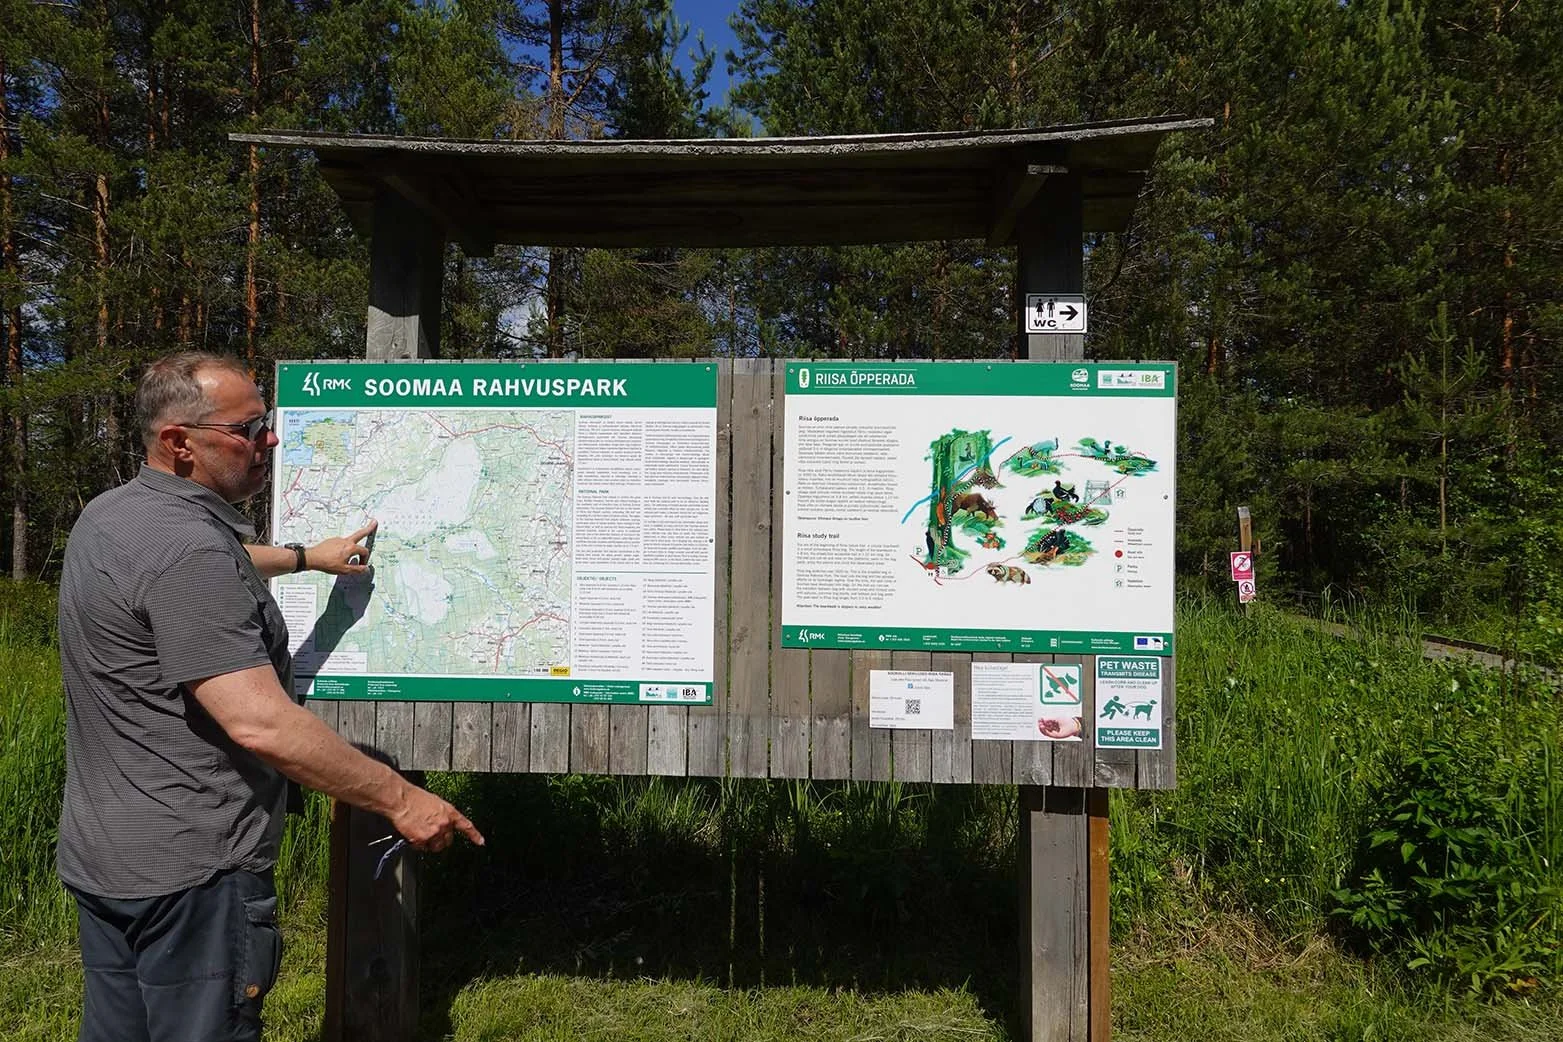
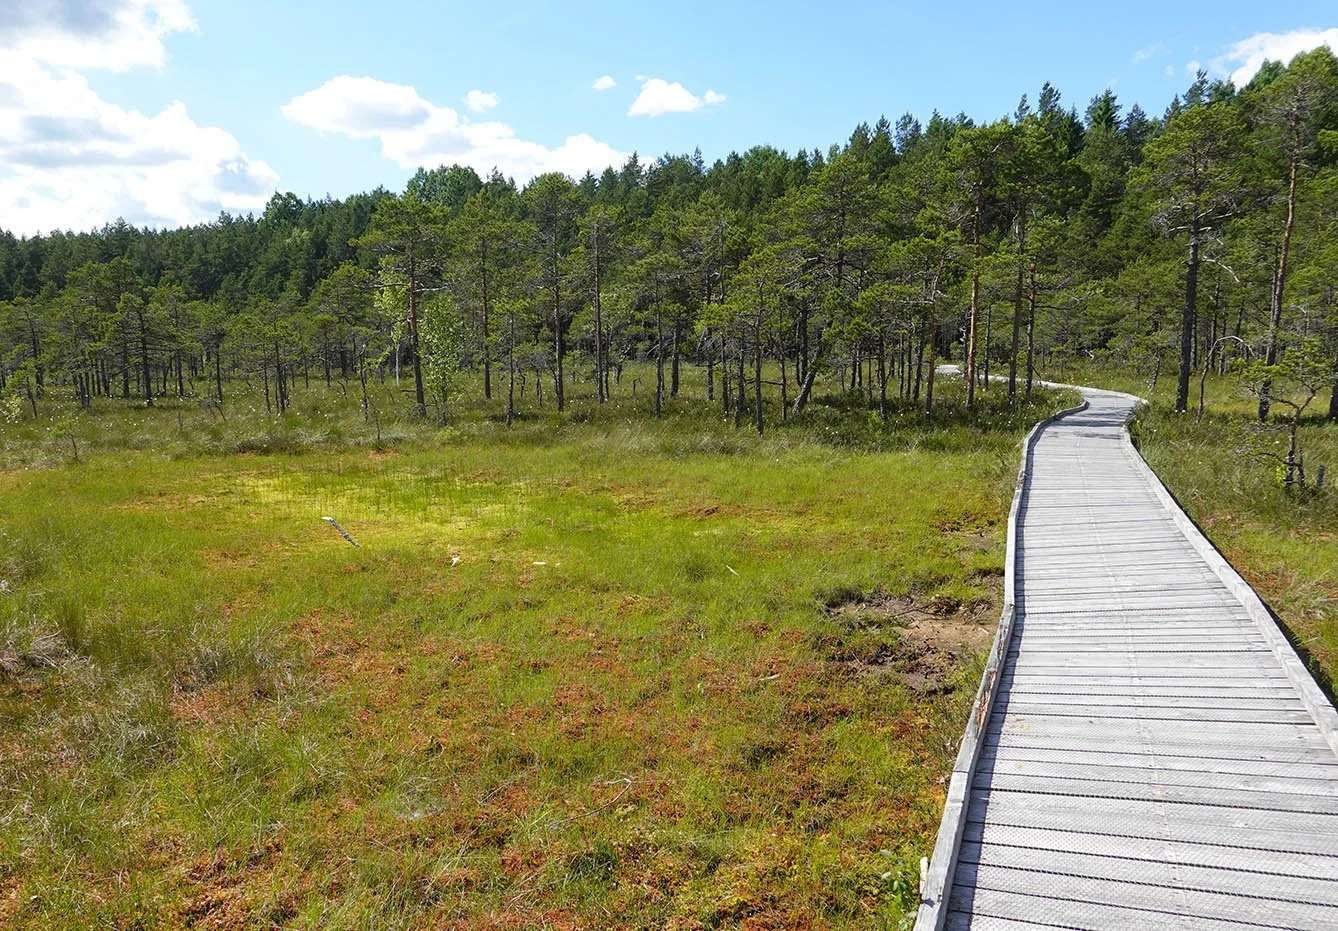
Estonia has one of the top ten bogs in the world at Soomaa National Park. I knew I wanted to see it, but I also figured I’d need a guide. There’s a company that does guided tours there, but they don’t do them for solo travelers. Knowing that, Marko offered to go canoeing with me if I was already going to go! This was very kind of him and a win-win for us both, I think though obviously more of a win for me - he got a free canoe ride (though he paid in gas and time to get us both there!), and I paid less than it would have cost if I had even managed to join an existing tour (and as far as I know, there were no existing tours) and also received a personal guided tour from him.

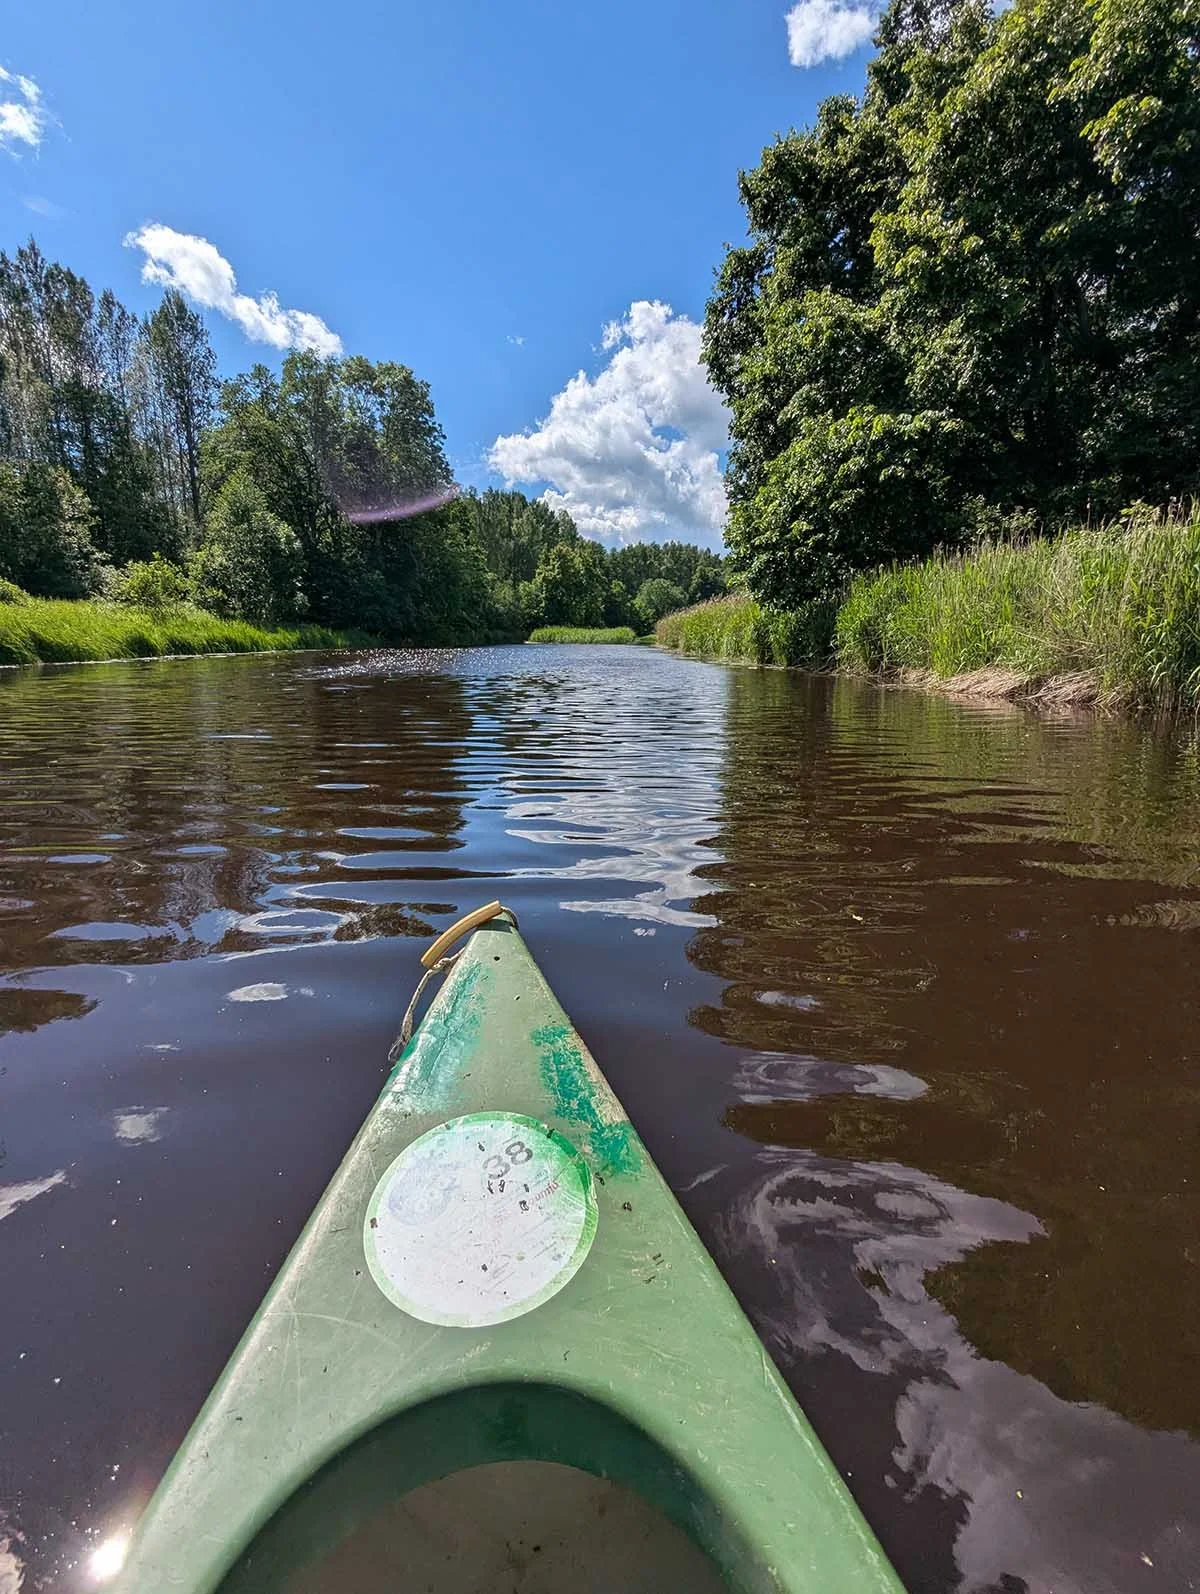
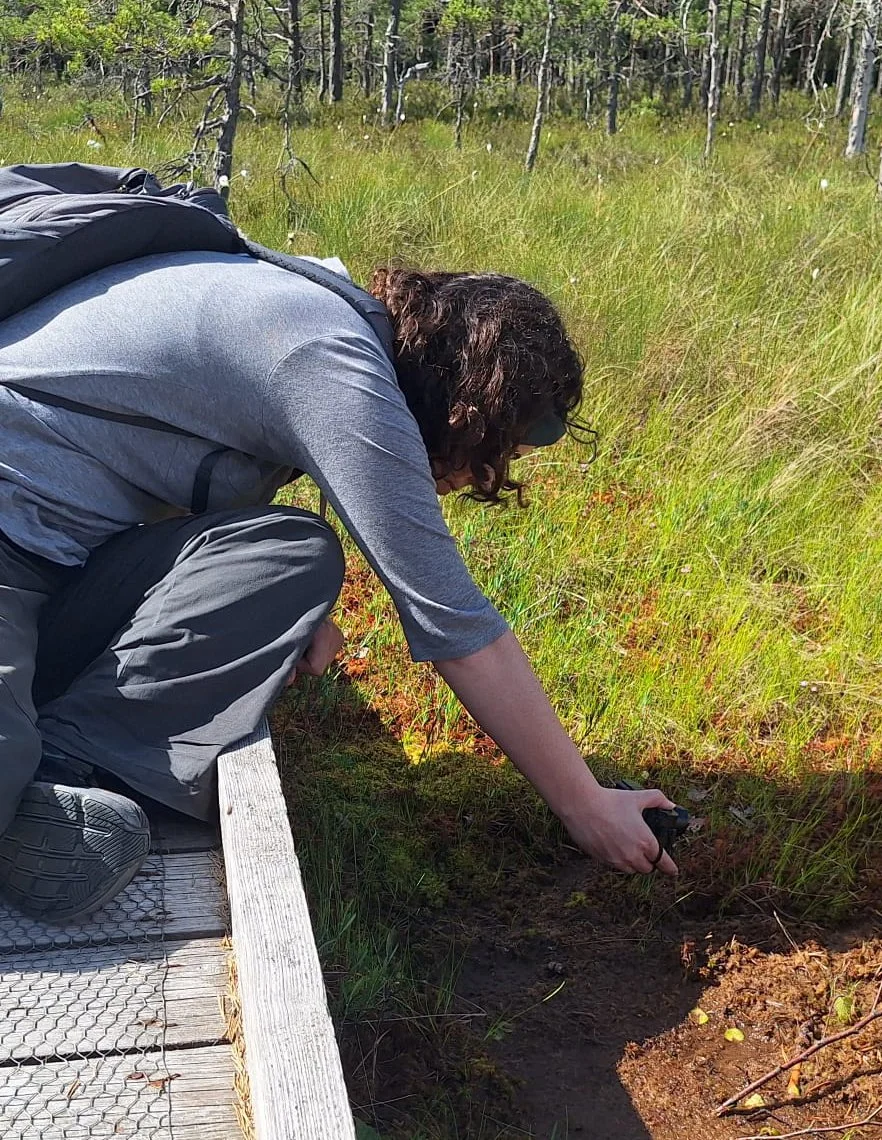
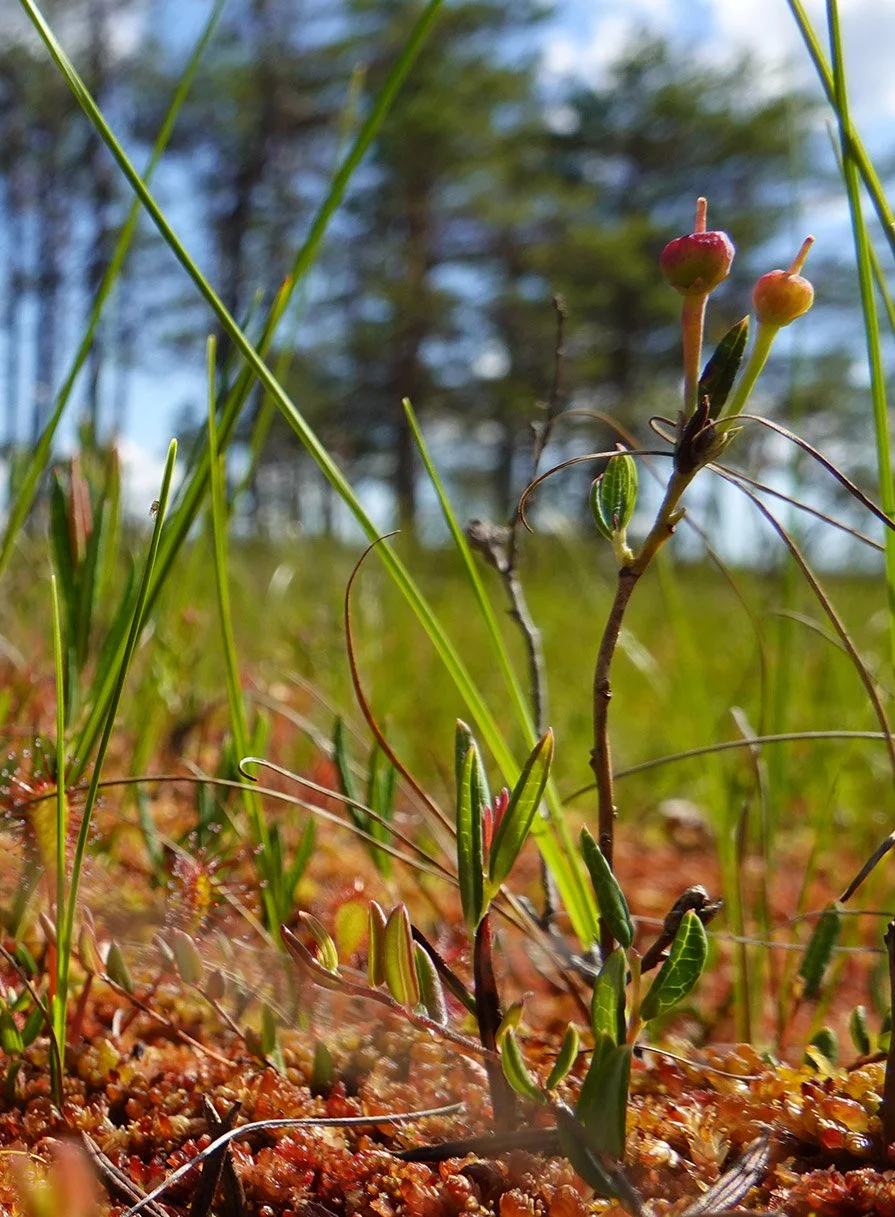
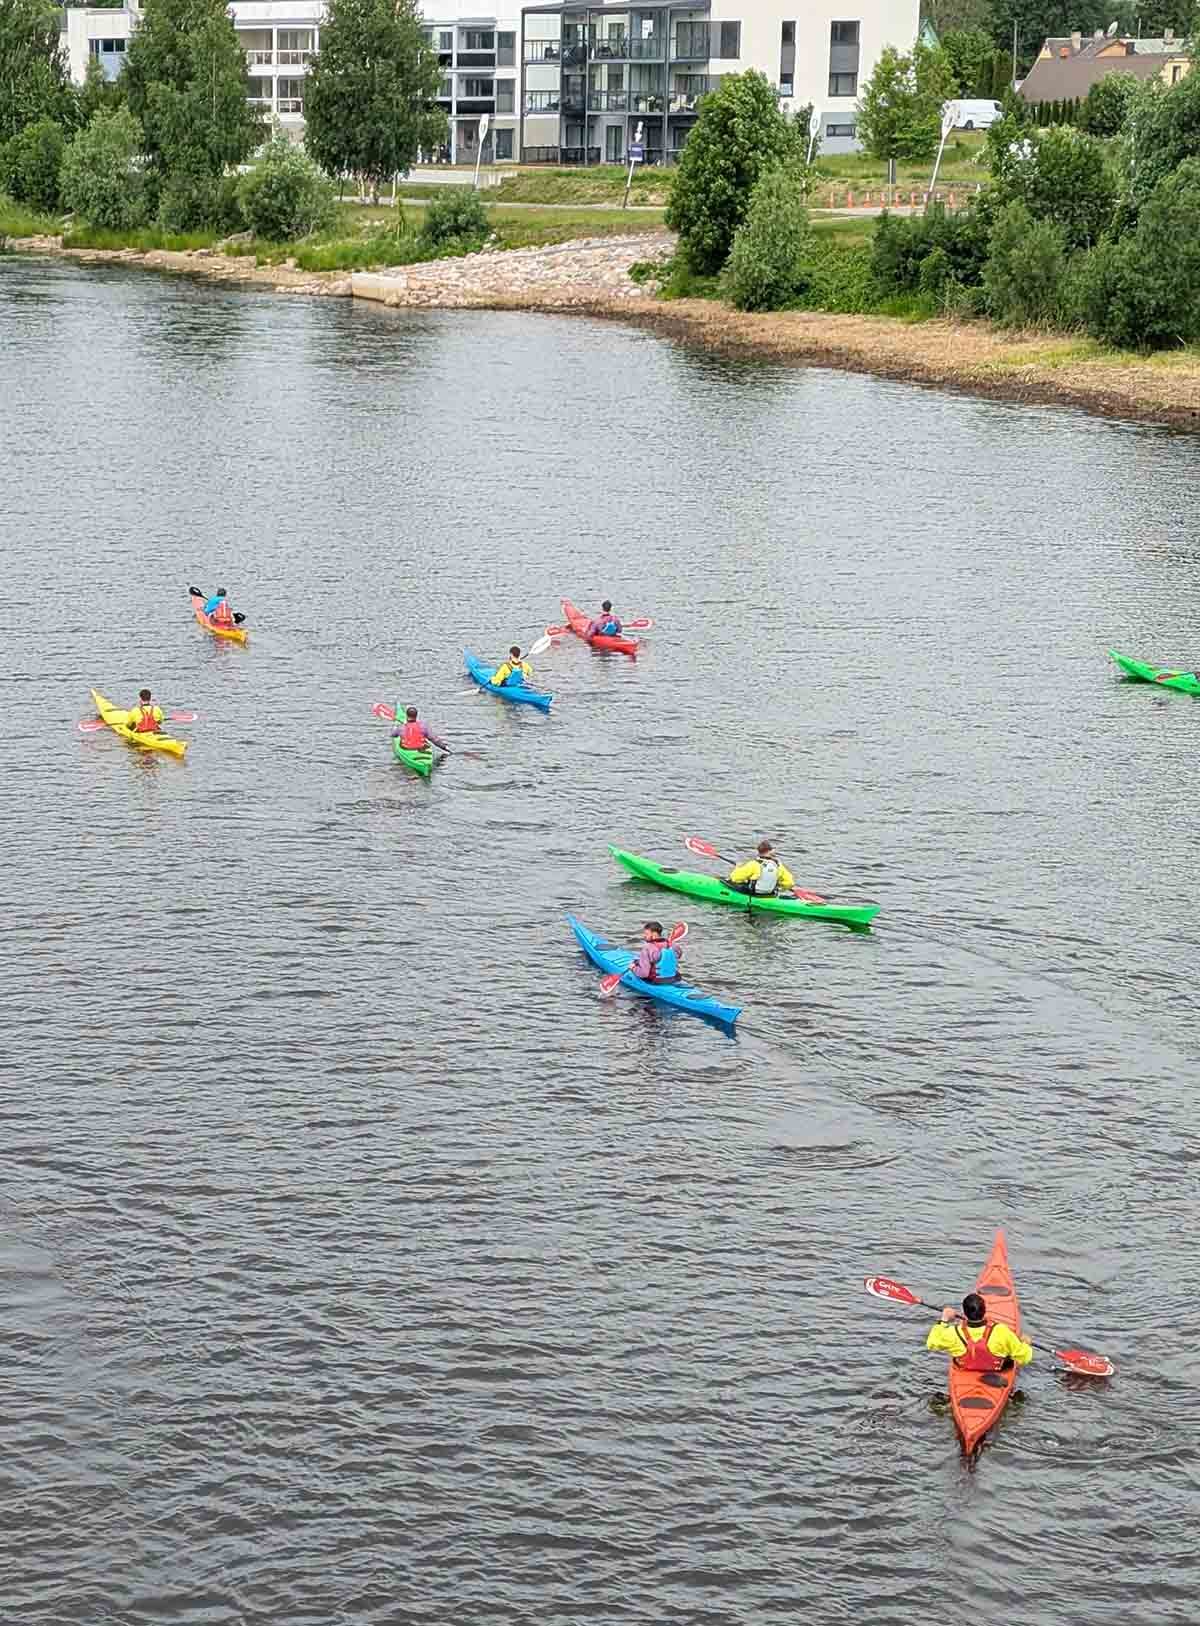
We canoed for two hours down the river, which was really fun! (About six hours later, my arms were really feeling it as I’ve pretty exclusively been walking for workouts here.) After the canoeing, I successfully petitioned to do a short bog hike as I really, really, really wanted to see wild sundews.

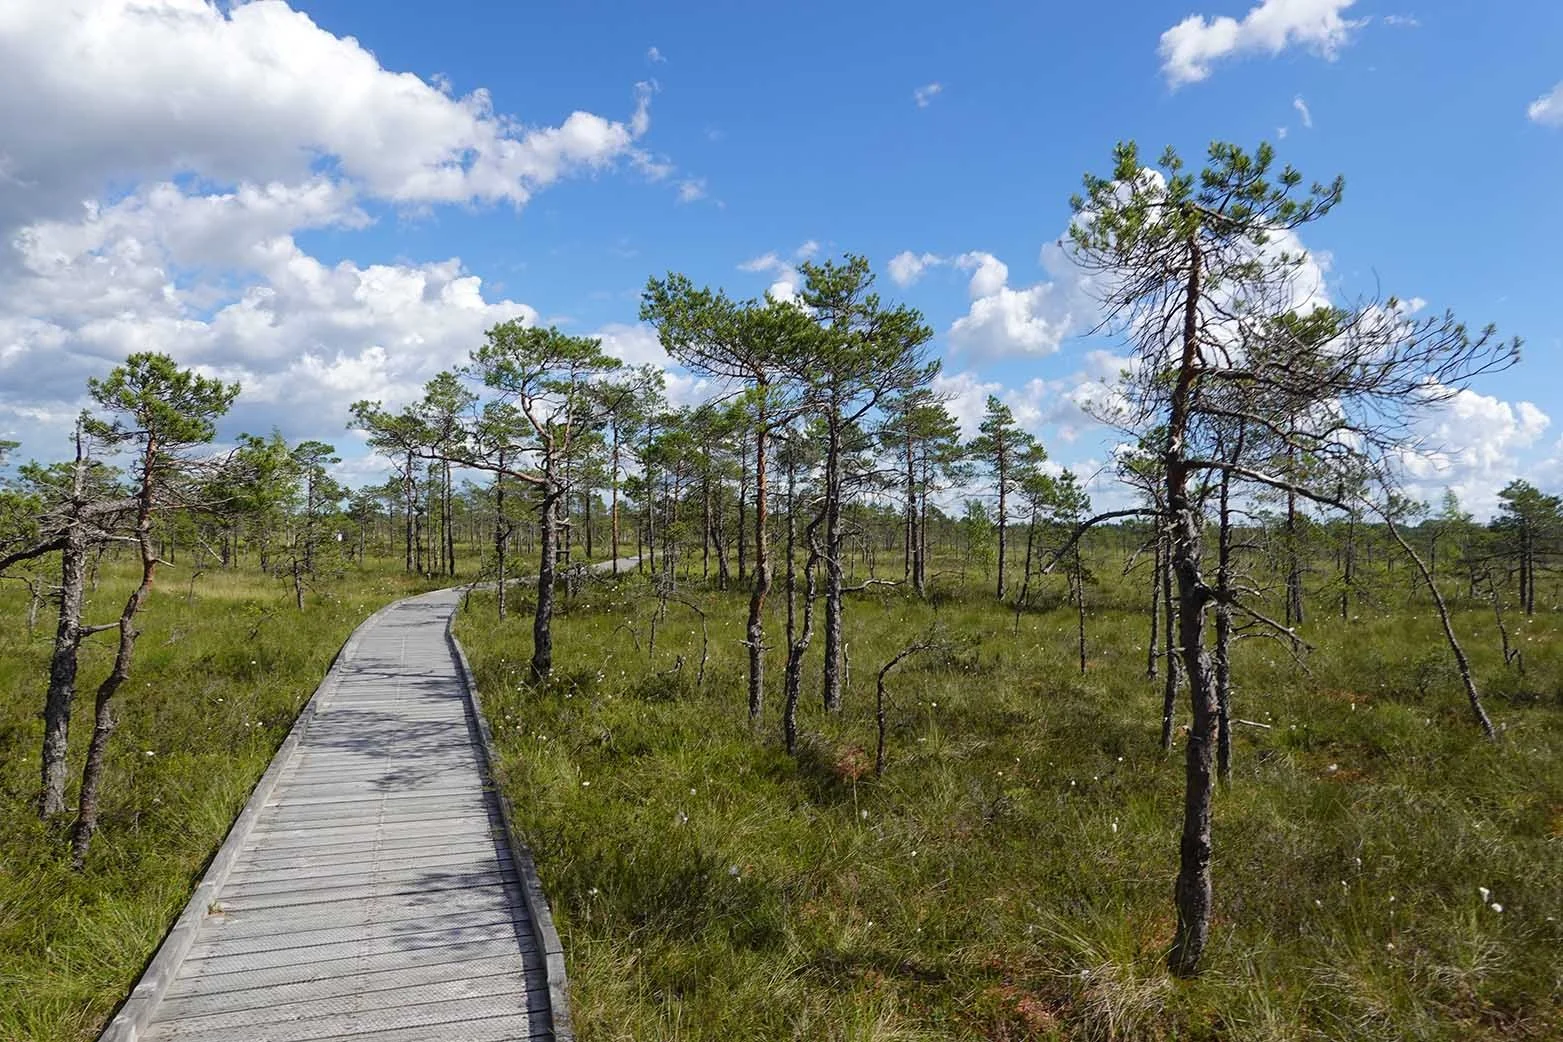
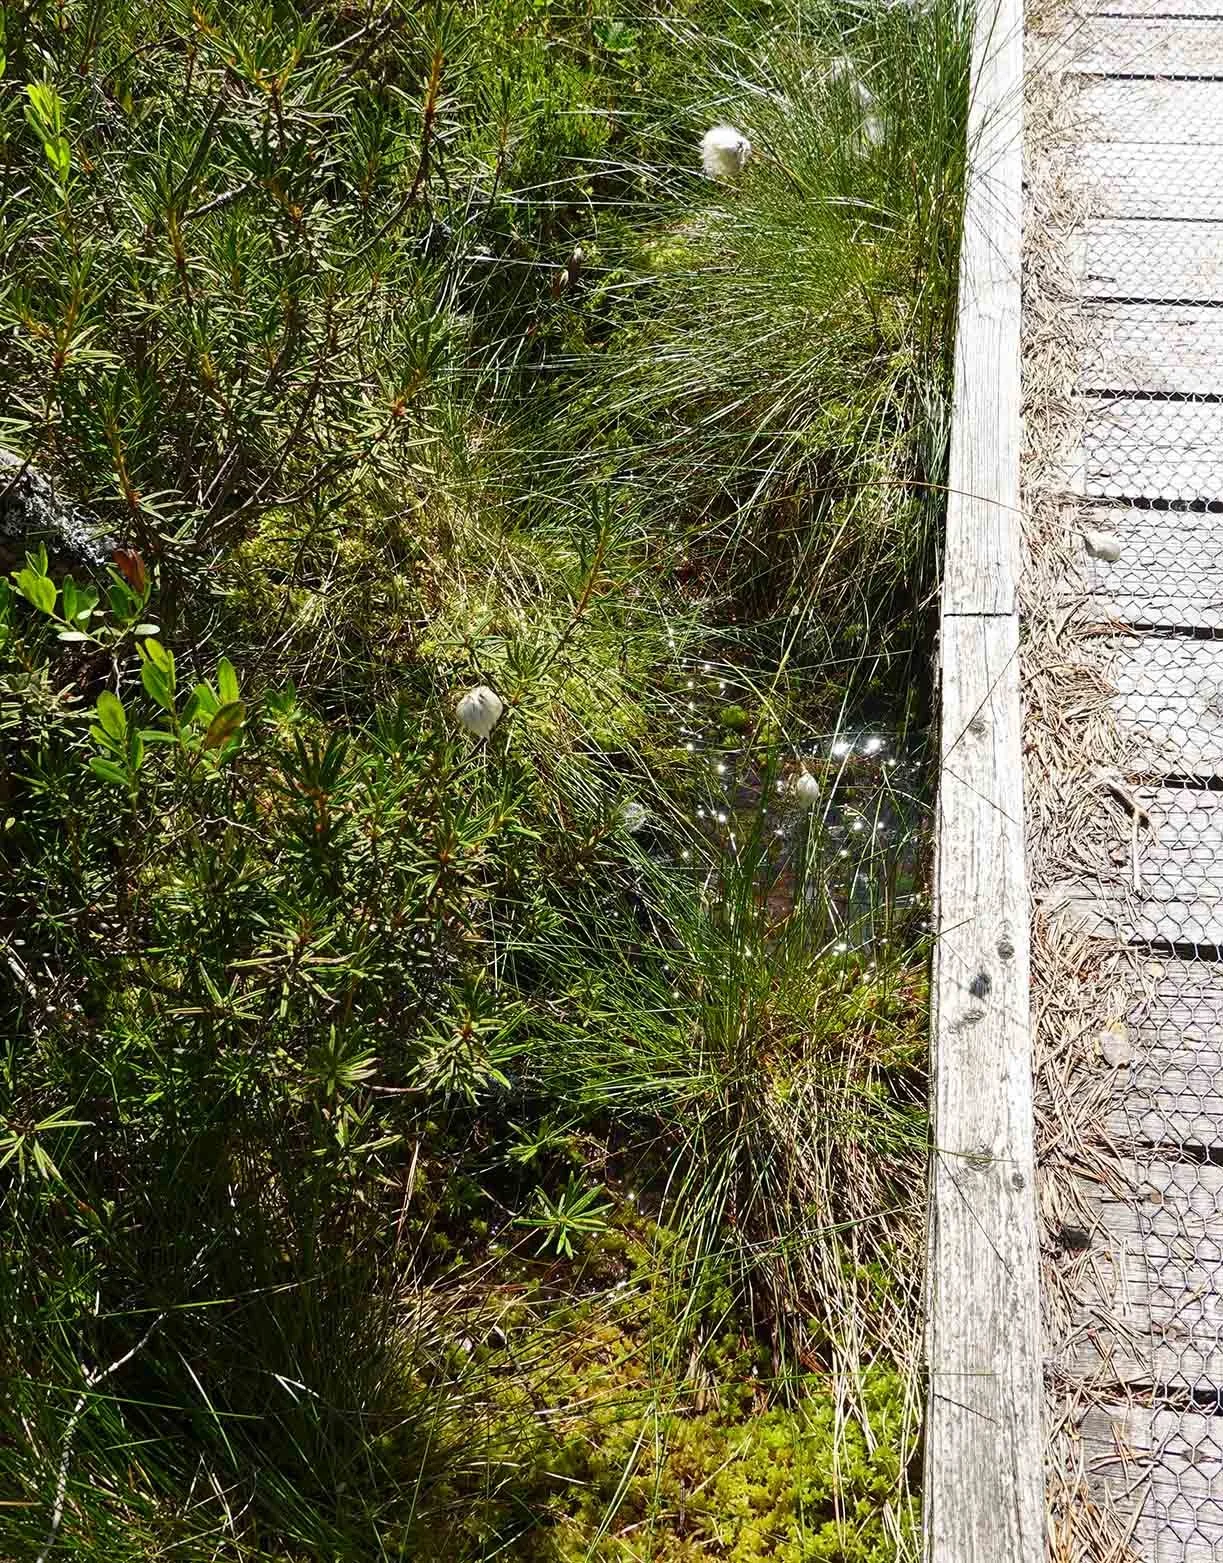
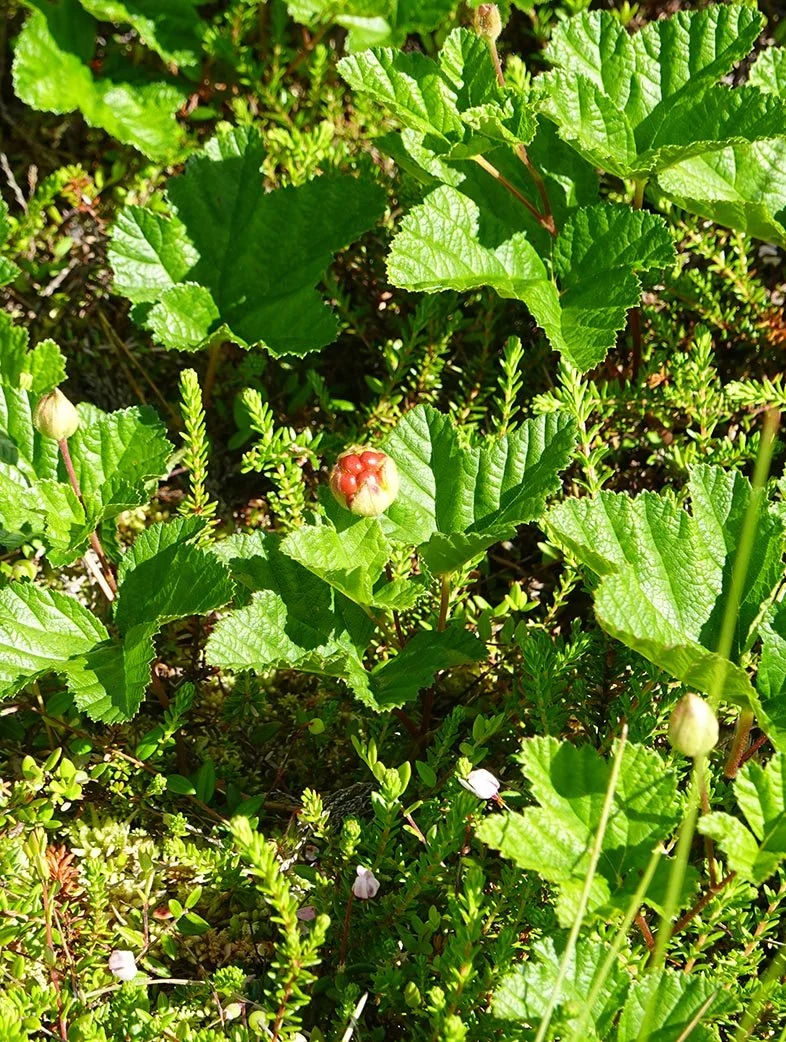
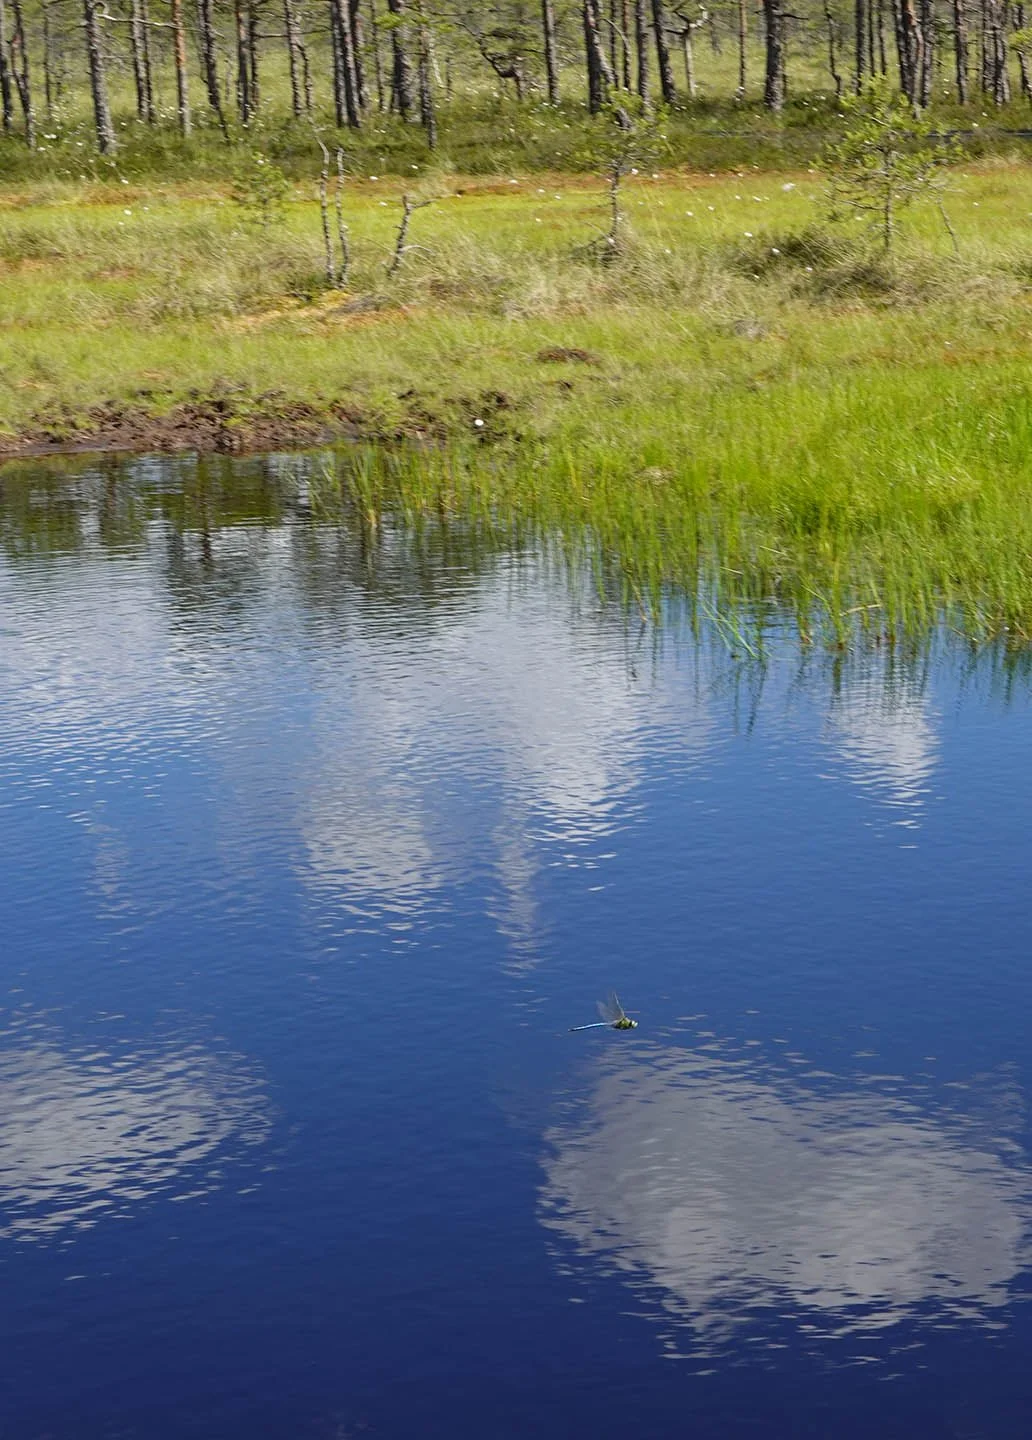
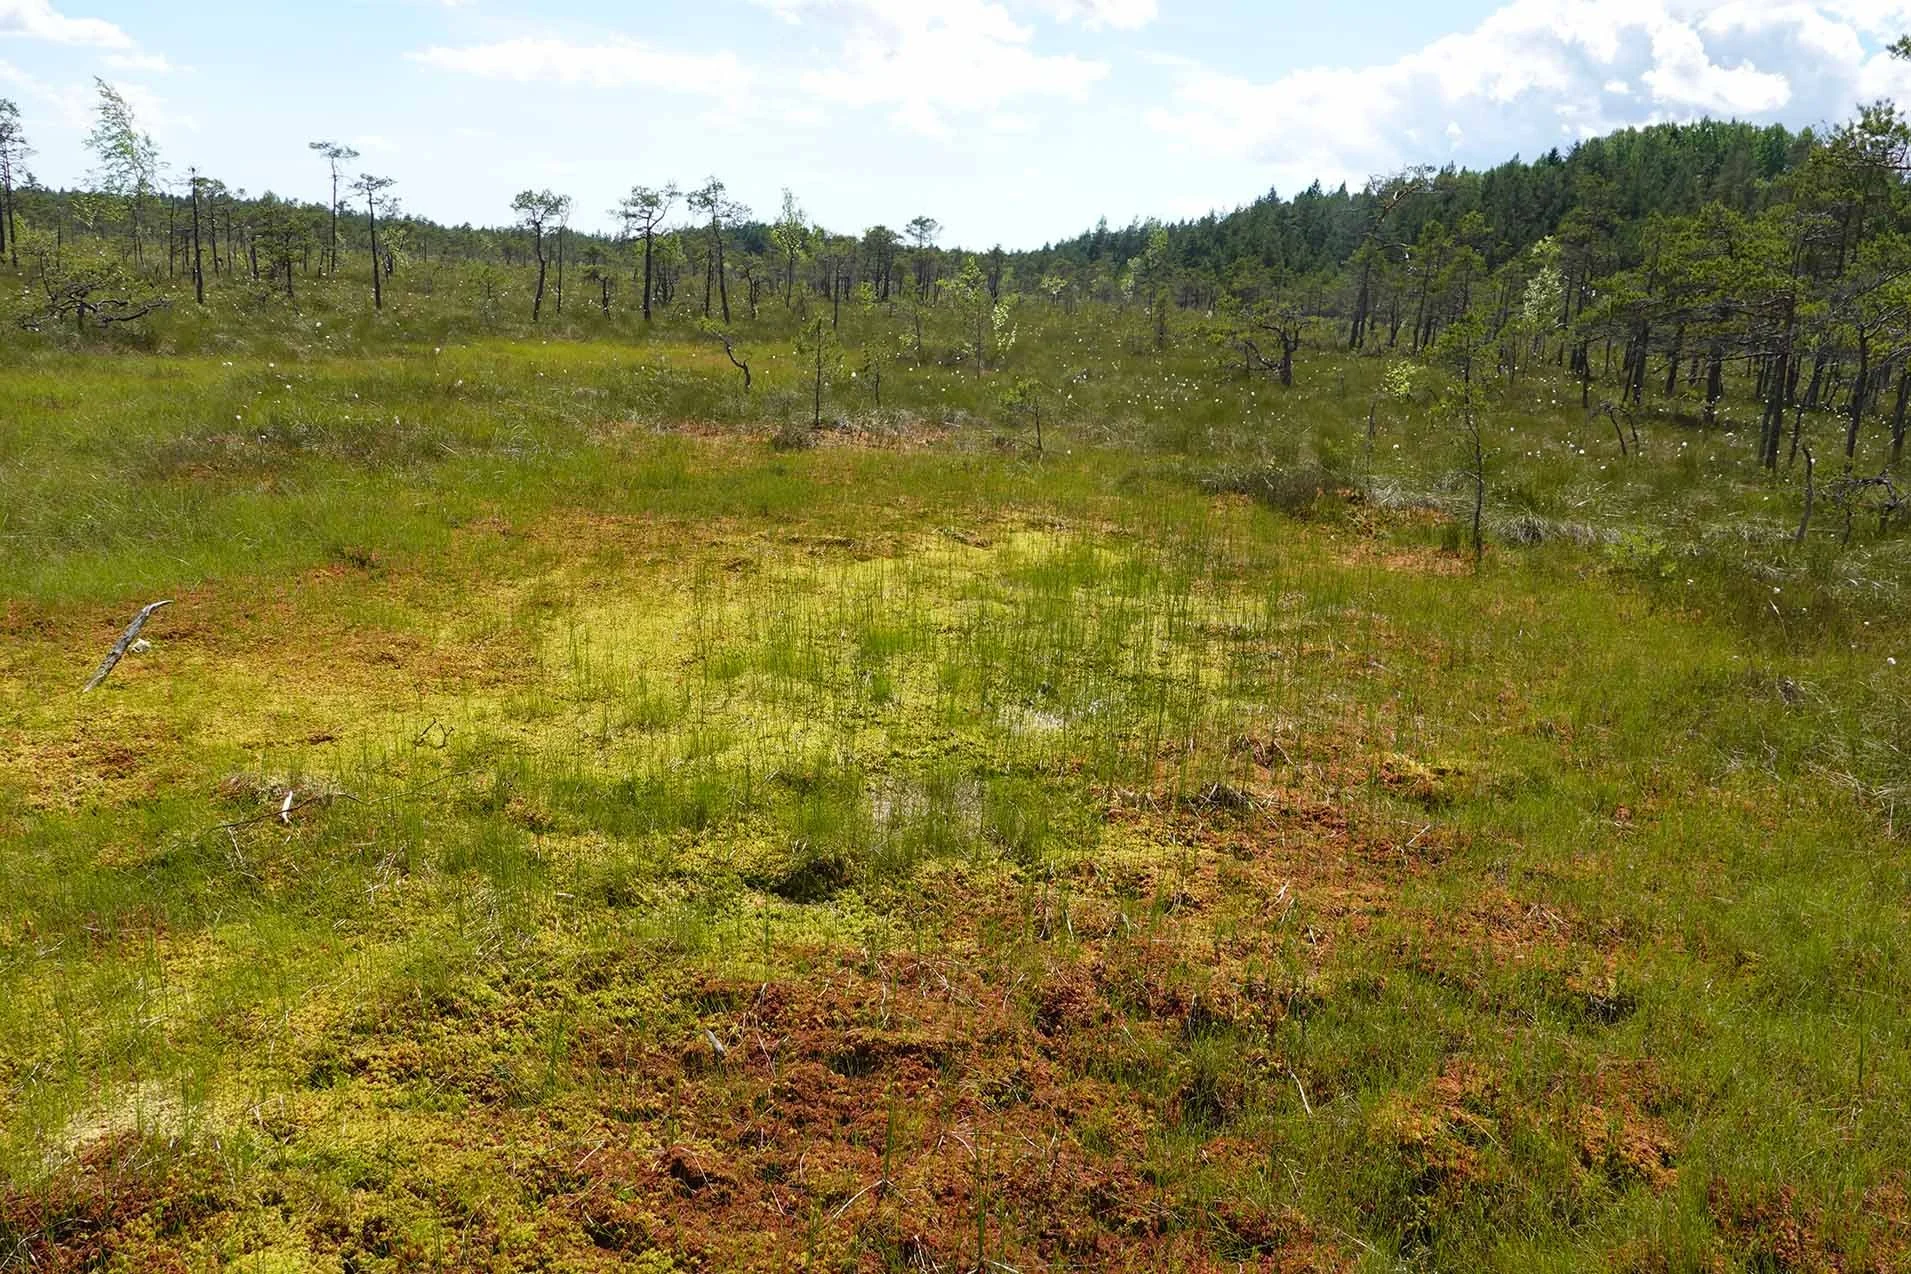
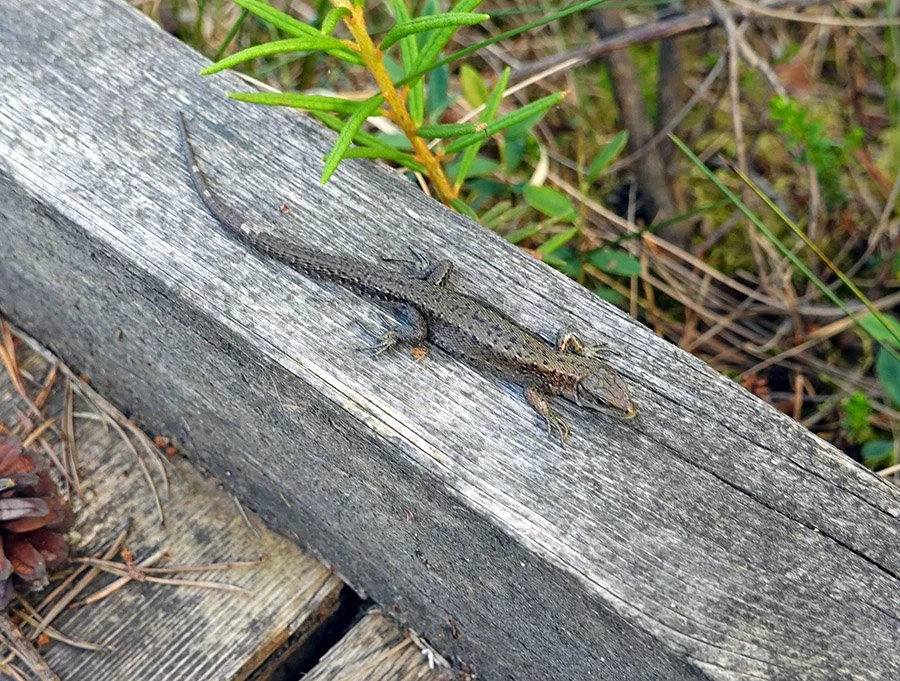
The bog was beautiful. Folks here often call bogs “green deserts,” as they are hostile to quite a lot of life - but I thought Soomaa’s bogs were otherworldly and had a variety of plant species to admire, as well as insects and some small lizards. (Presumably there’s more fauna, but that’s what I saw!)

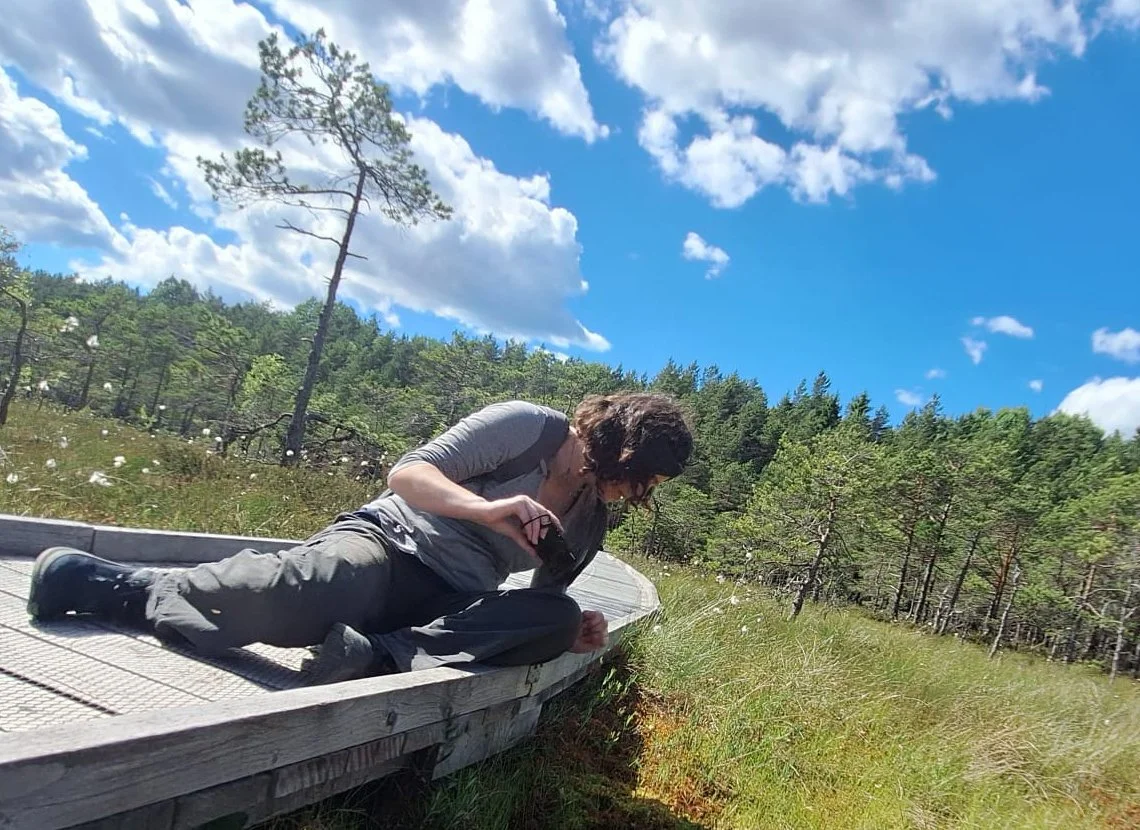
The wild sundews were present, as promised! Sundews are relatively small on the size hierarchy of plants, so to get good photos you want to get close. Marko took some pictures of me again; I usually travel solo, particularly when on research trips, so I really appreciate having some images documenting my work process!

Pärnu

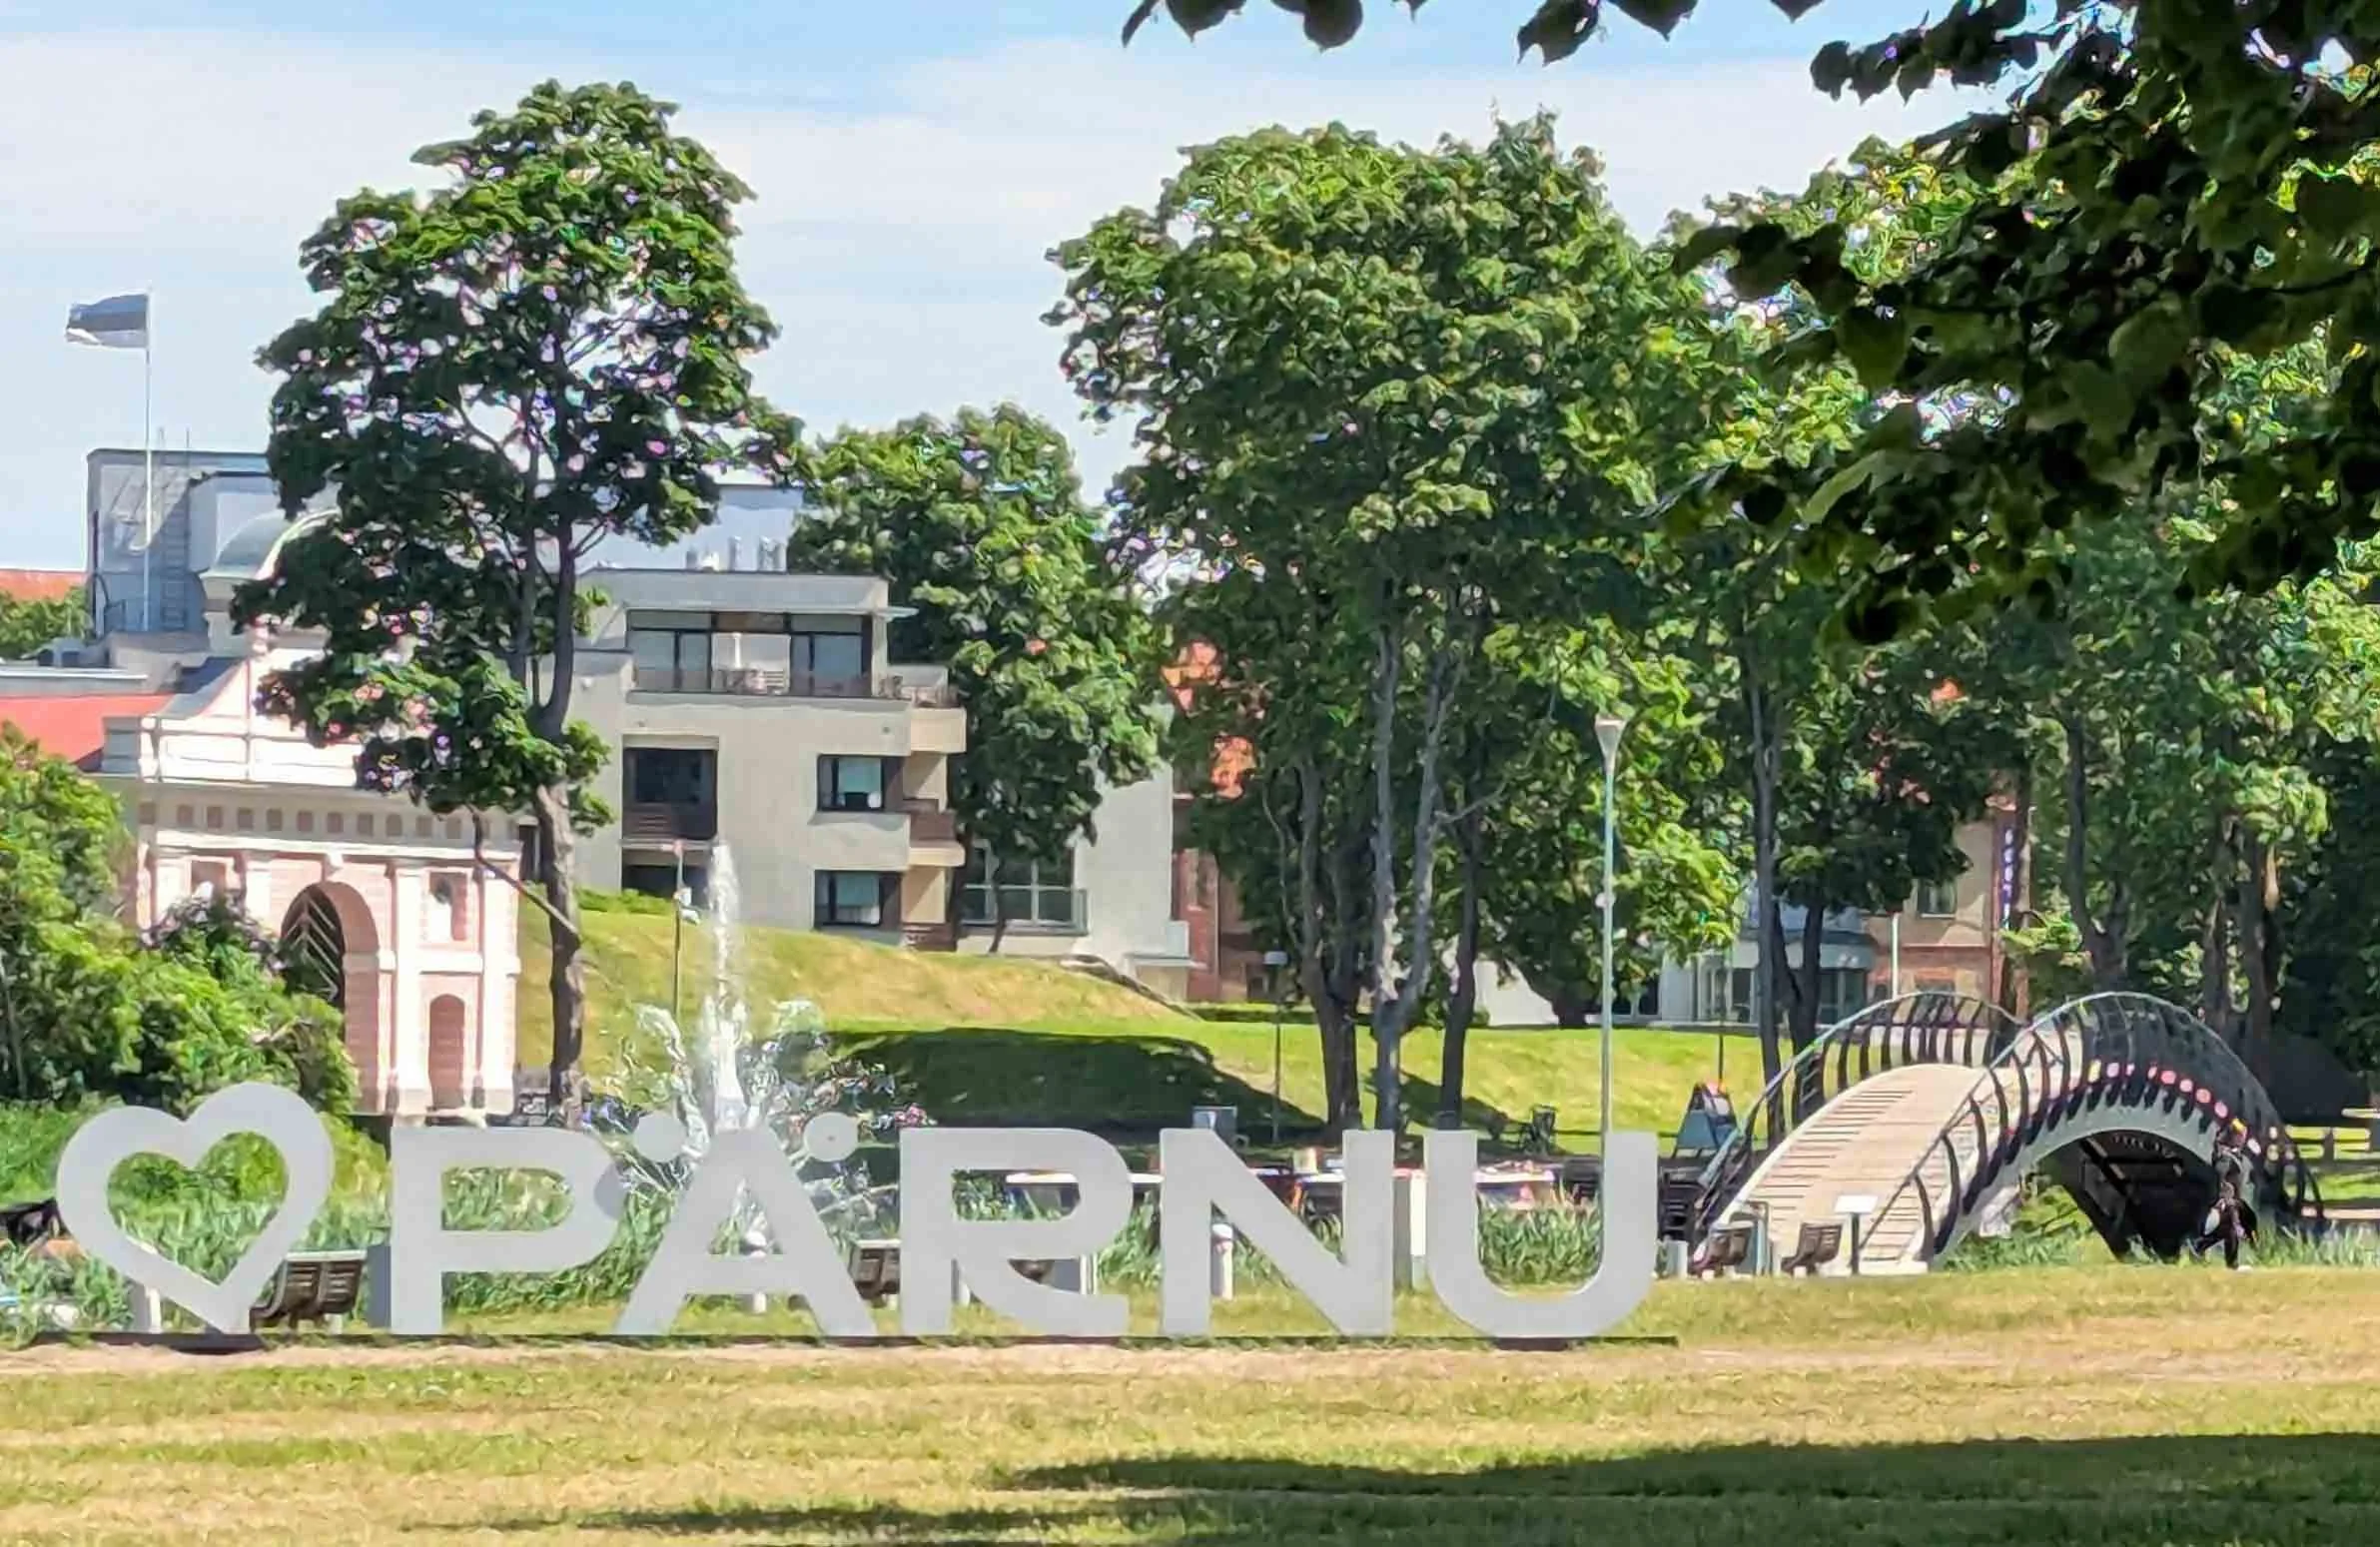
After my excursions on my nature and birding tour with Marko Poolamets and my trip to the Applied Arts Fair in Riga, I stayed in Pärnu for the next couple of weeks. While that meant a lot of studio time, it also meant a lot of long walks exploring everything Pärnu has to offer - which is a lot!

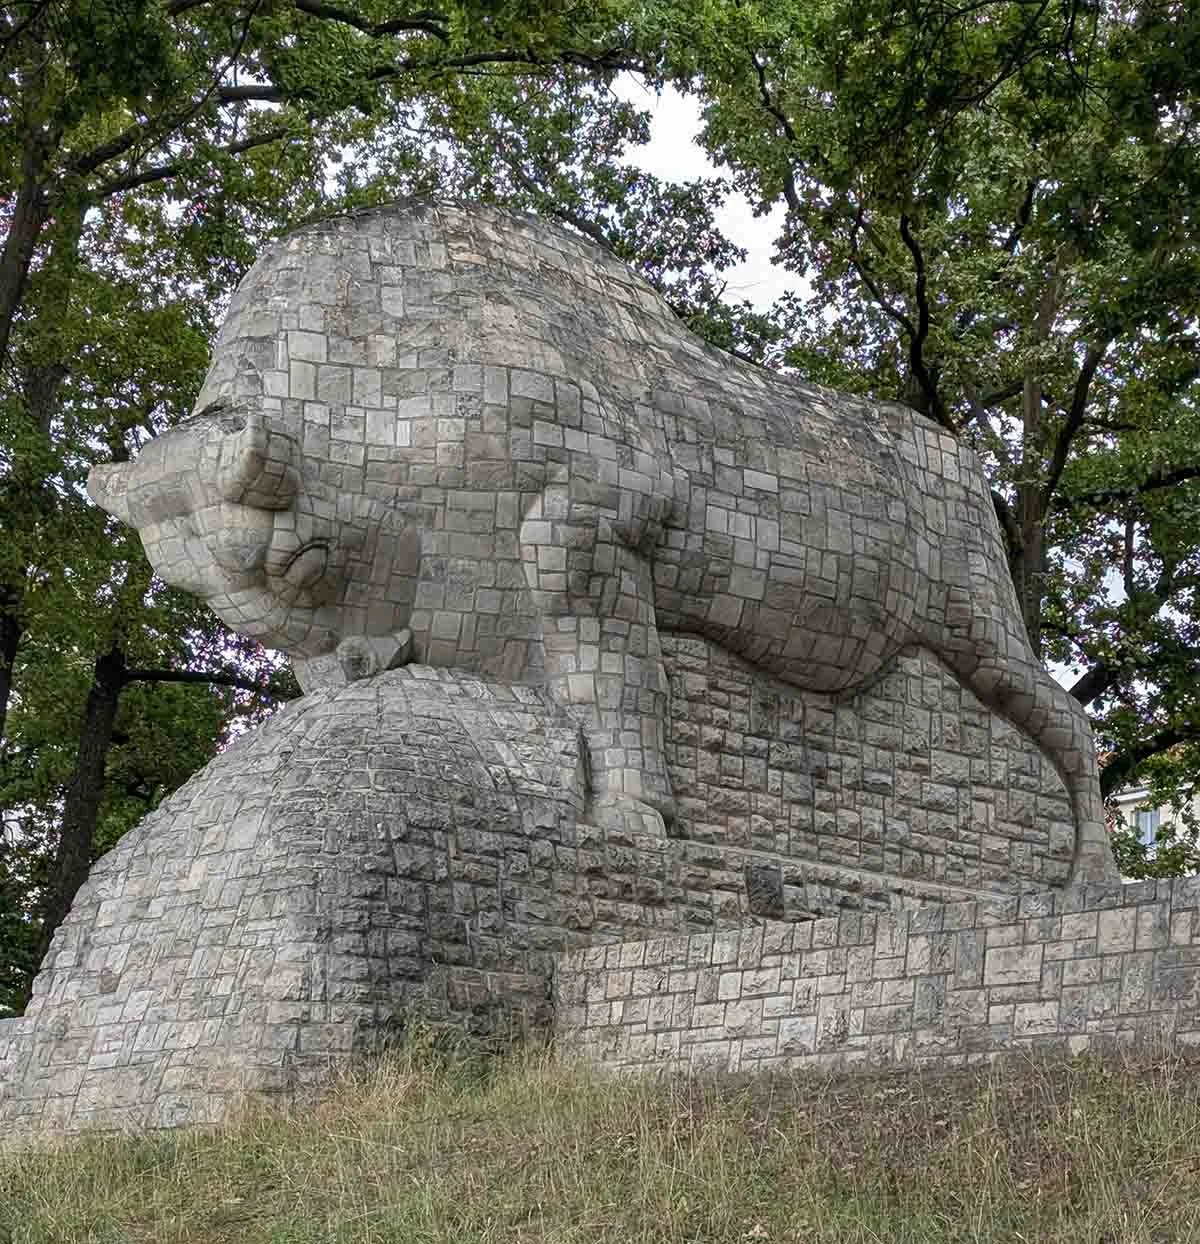
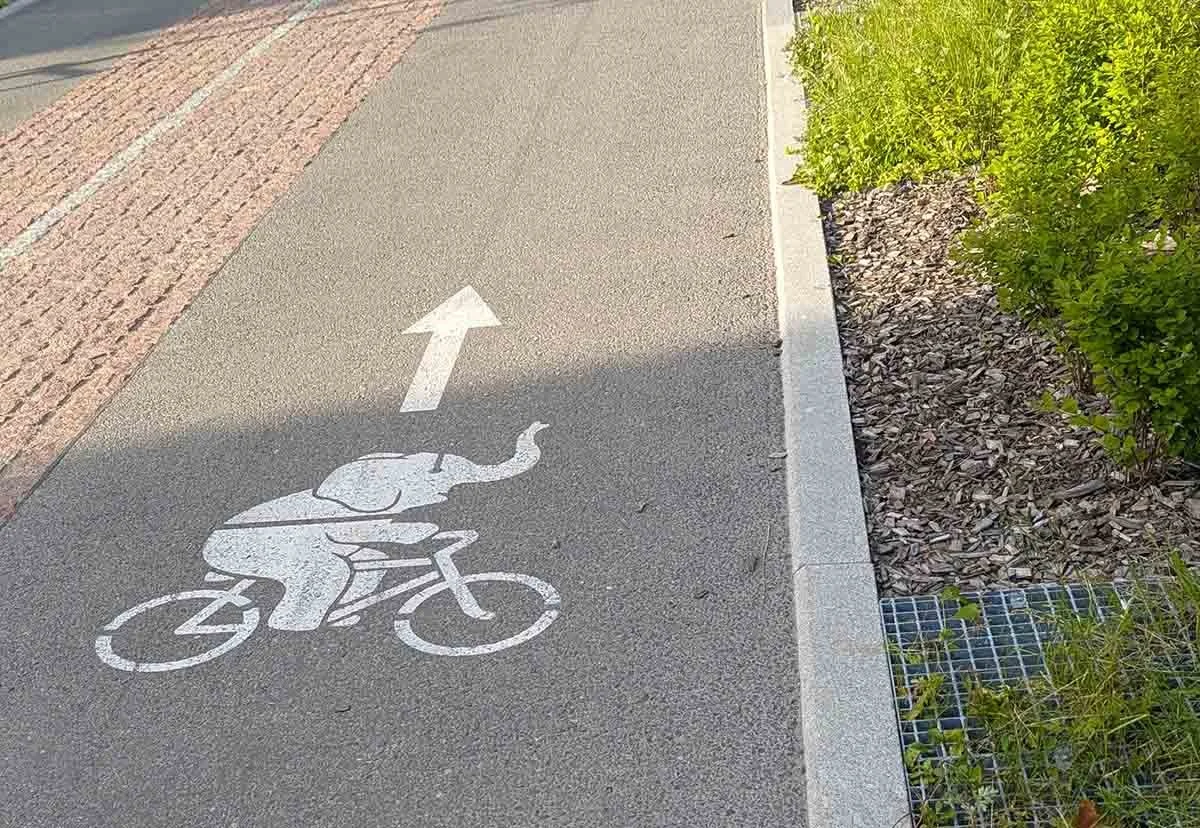
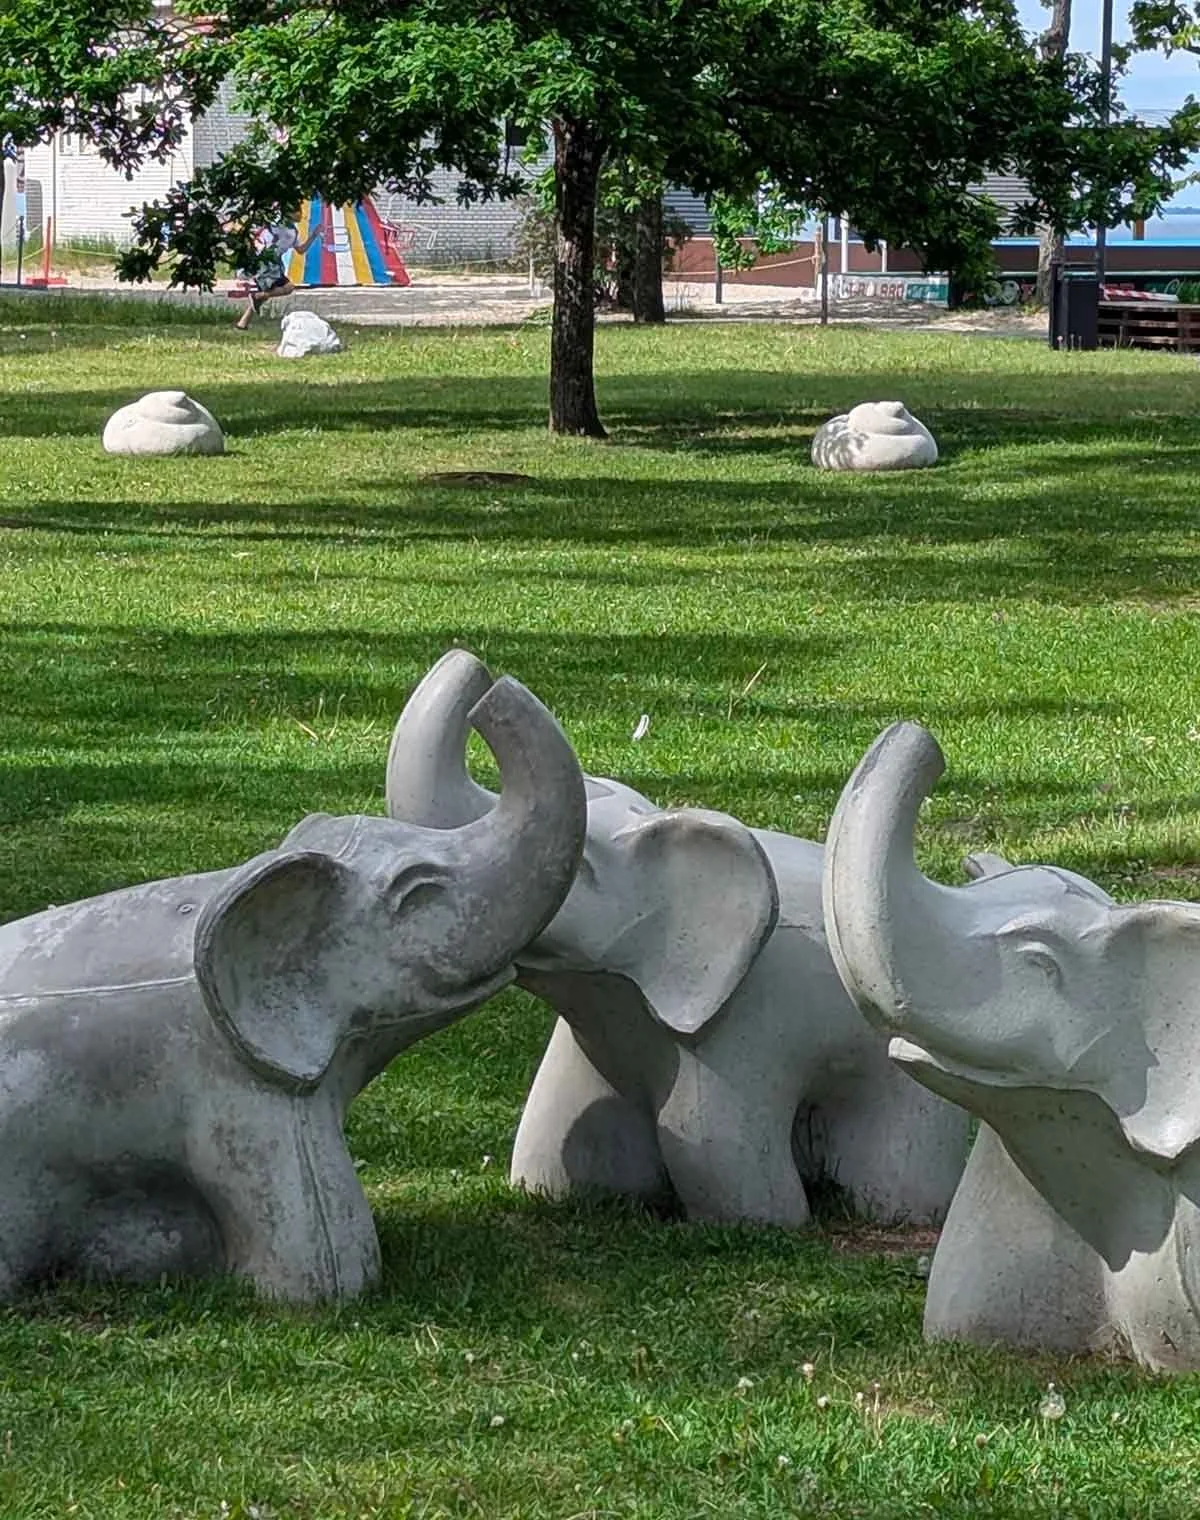
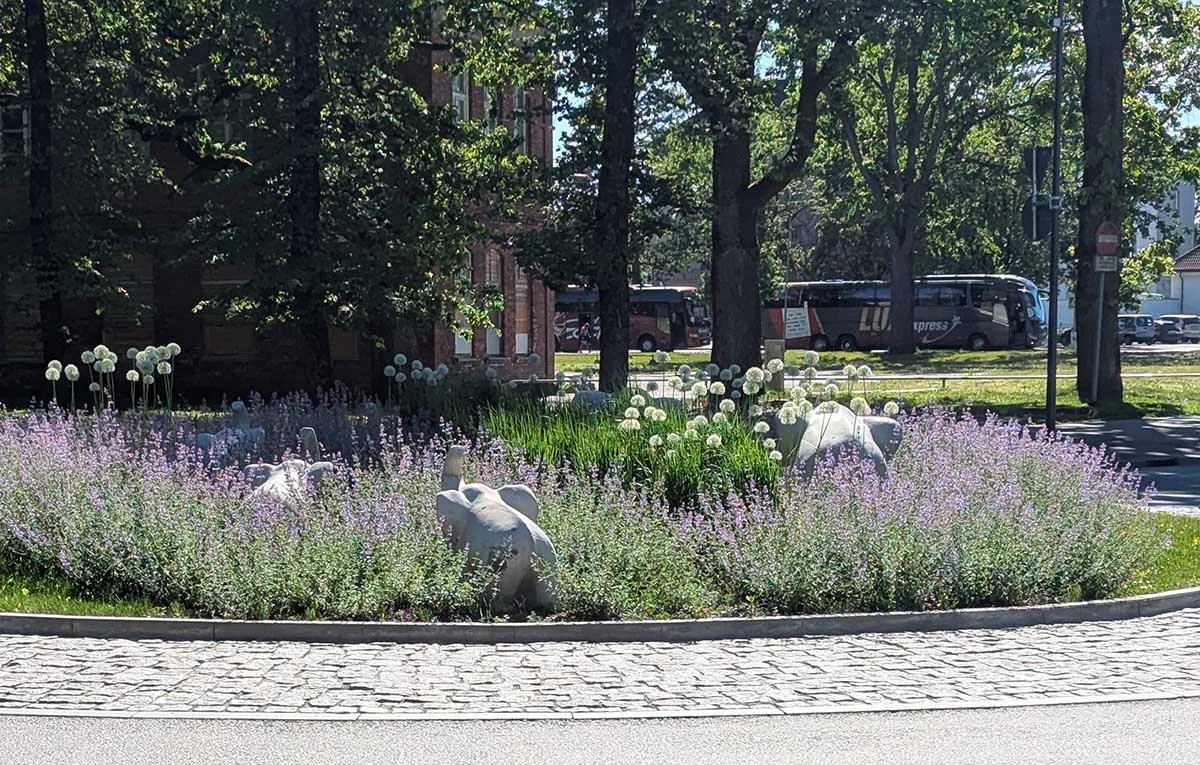
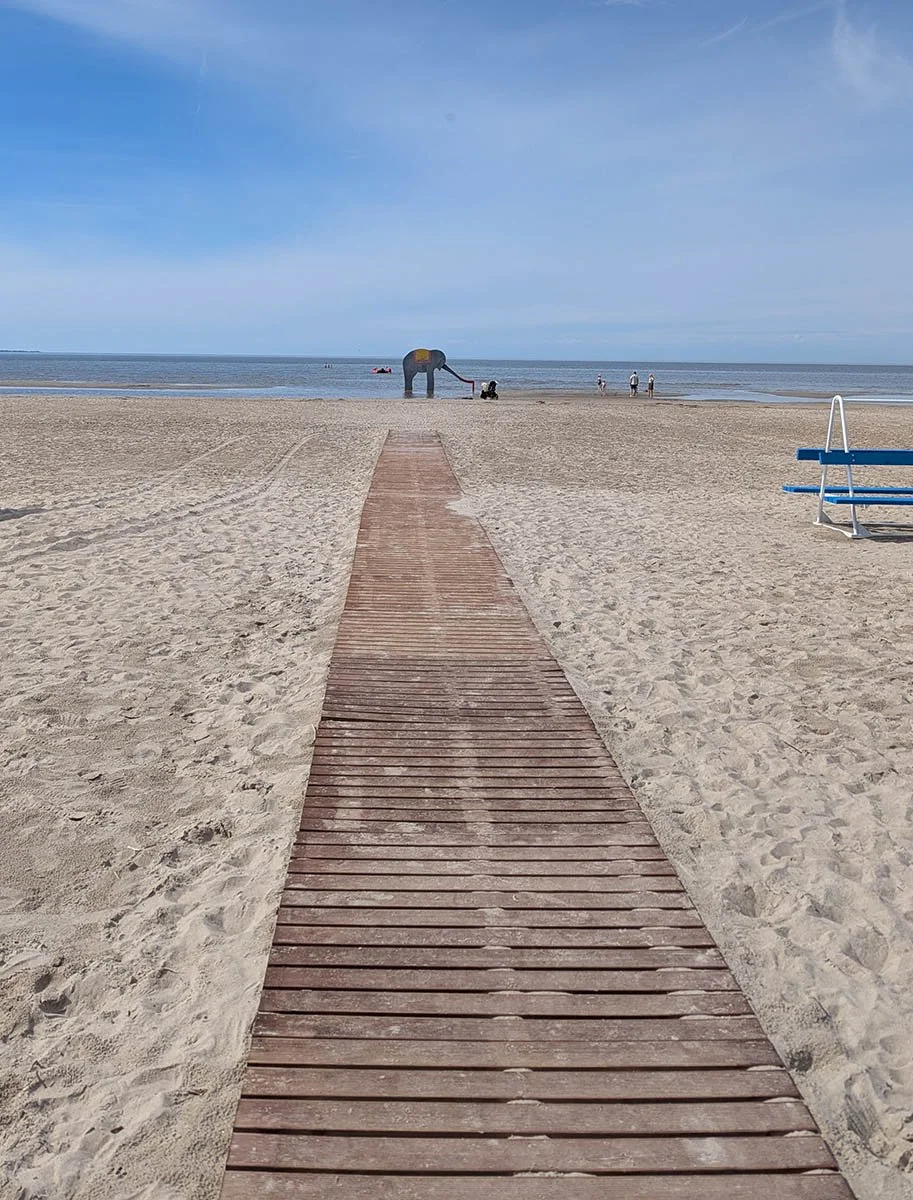
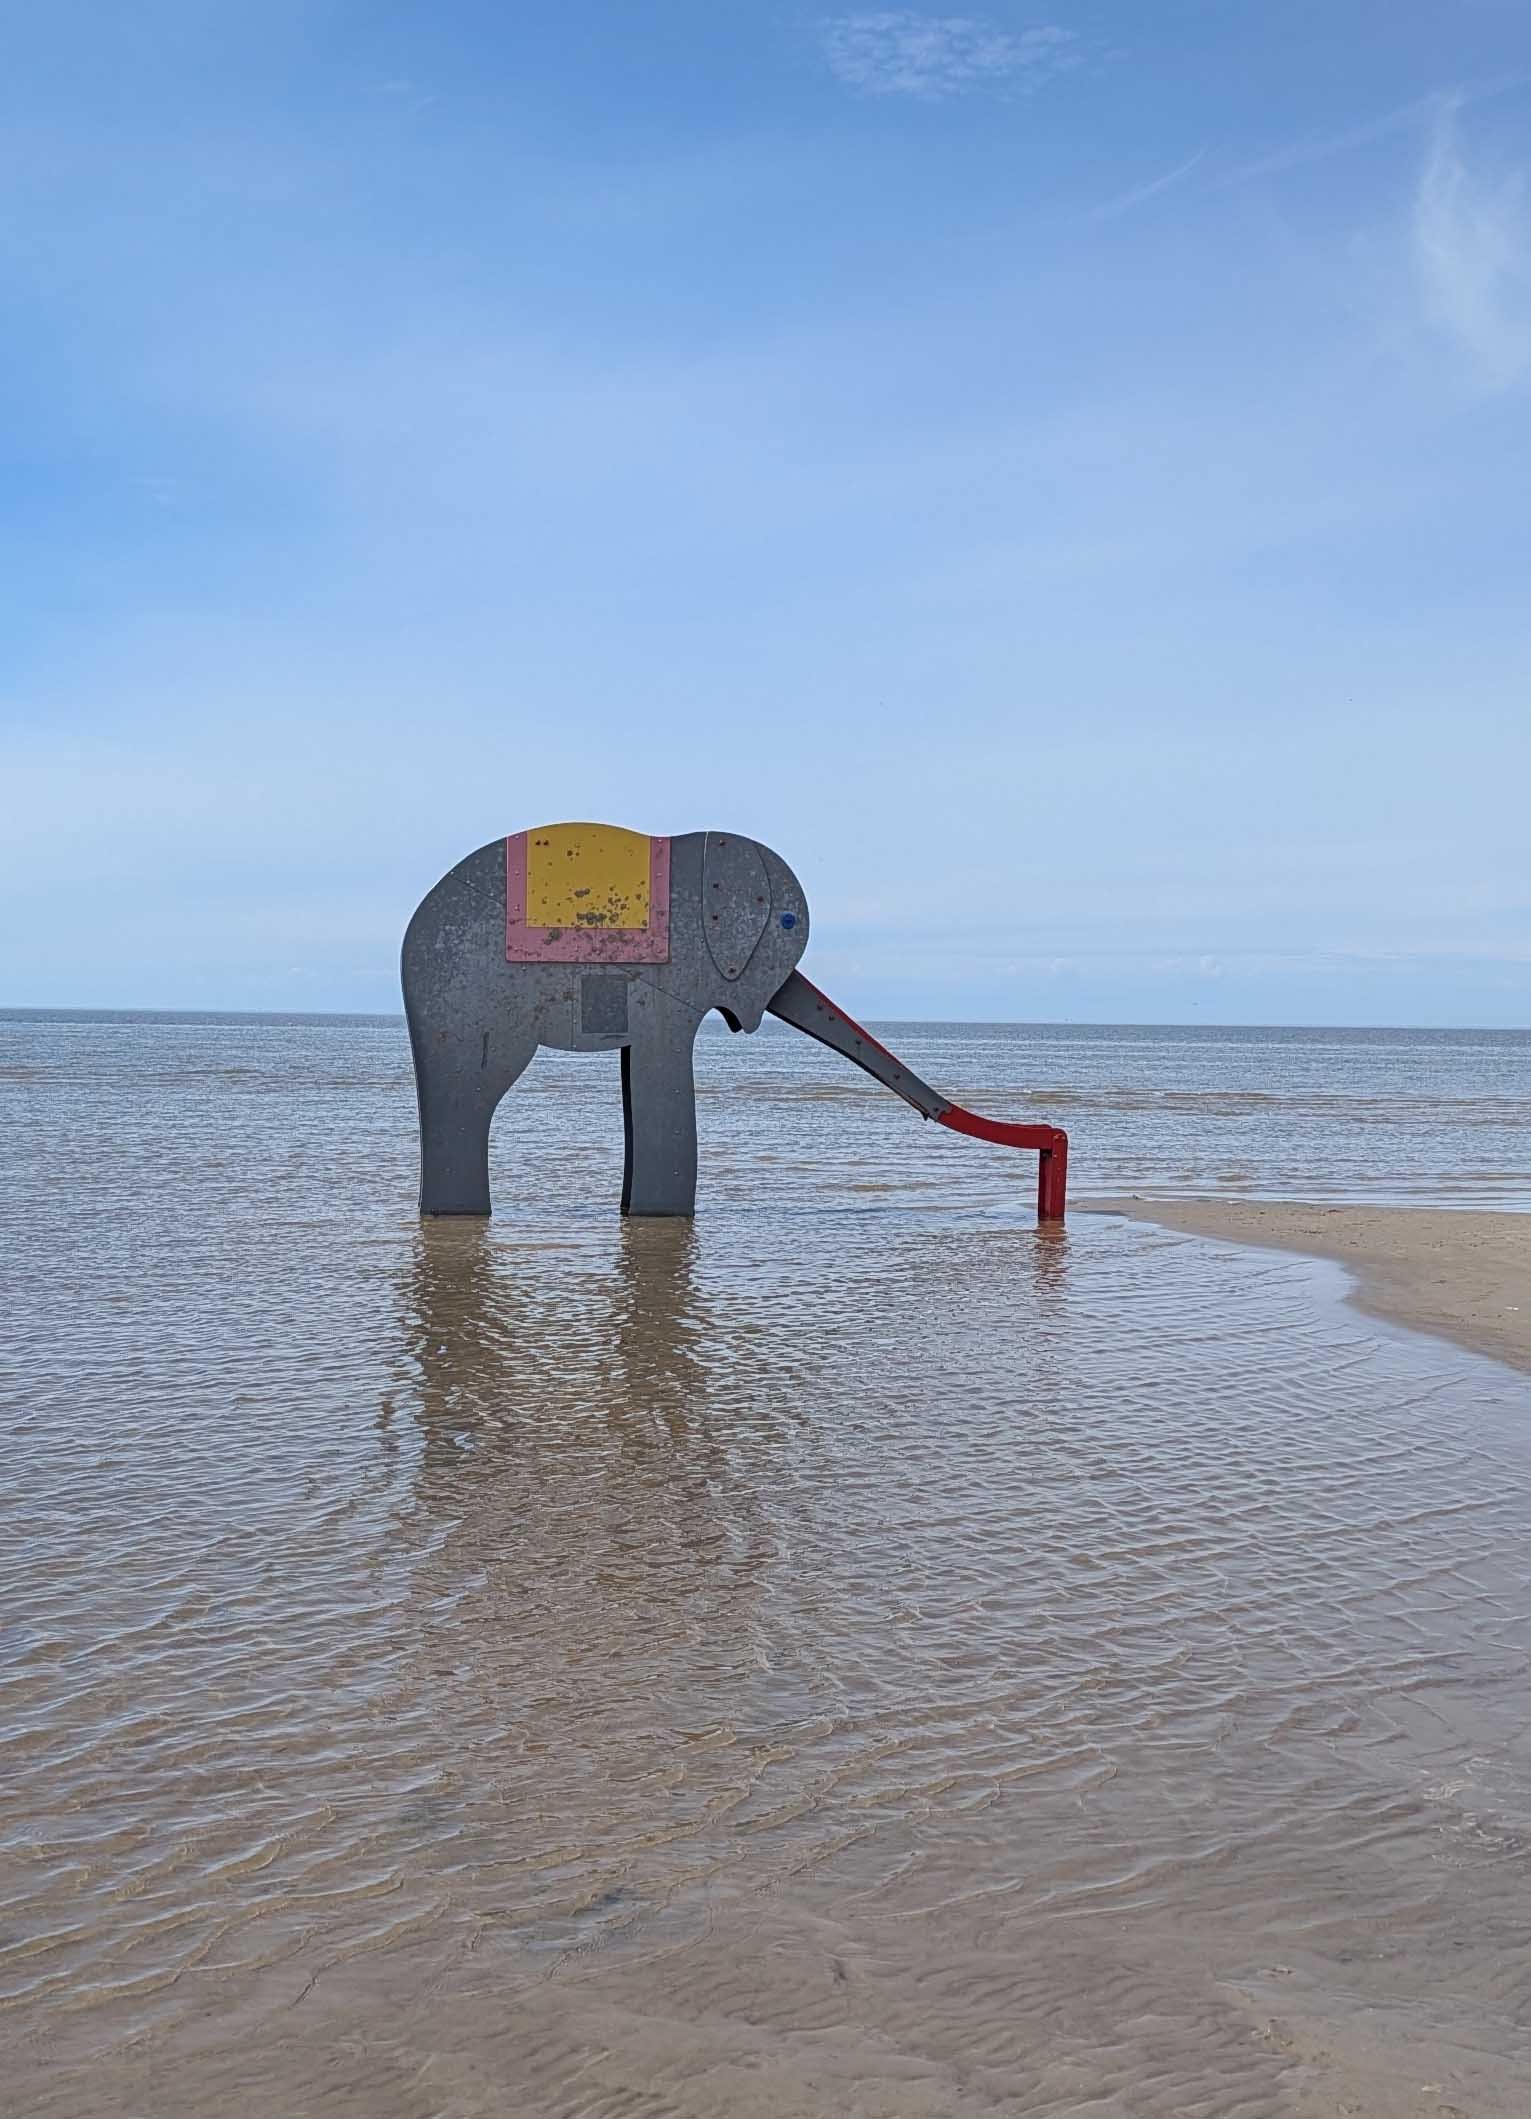
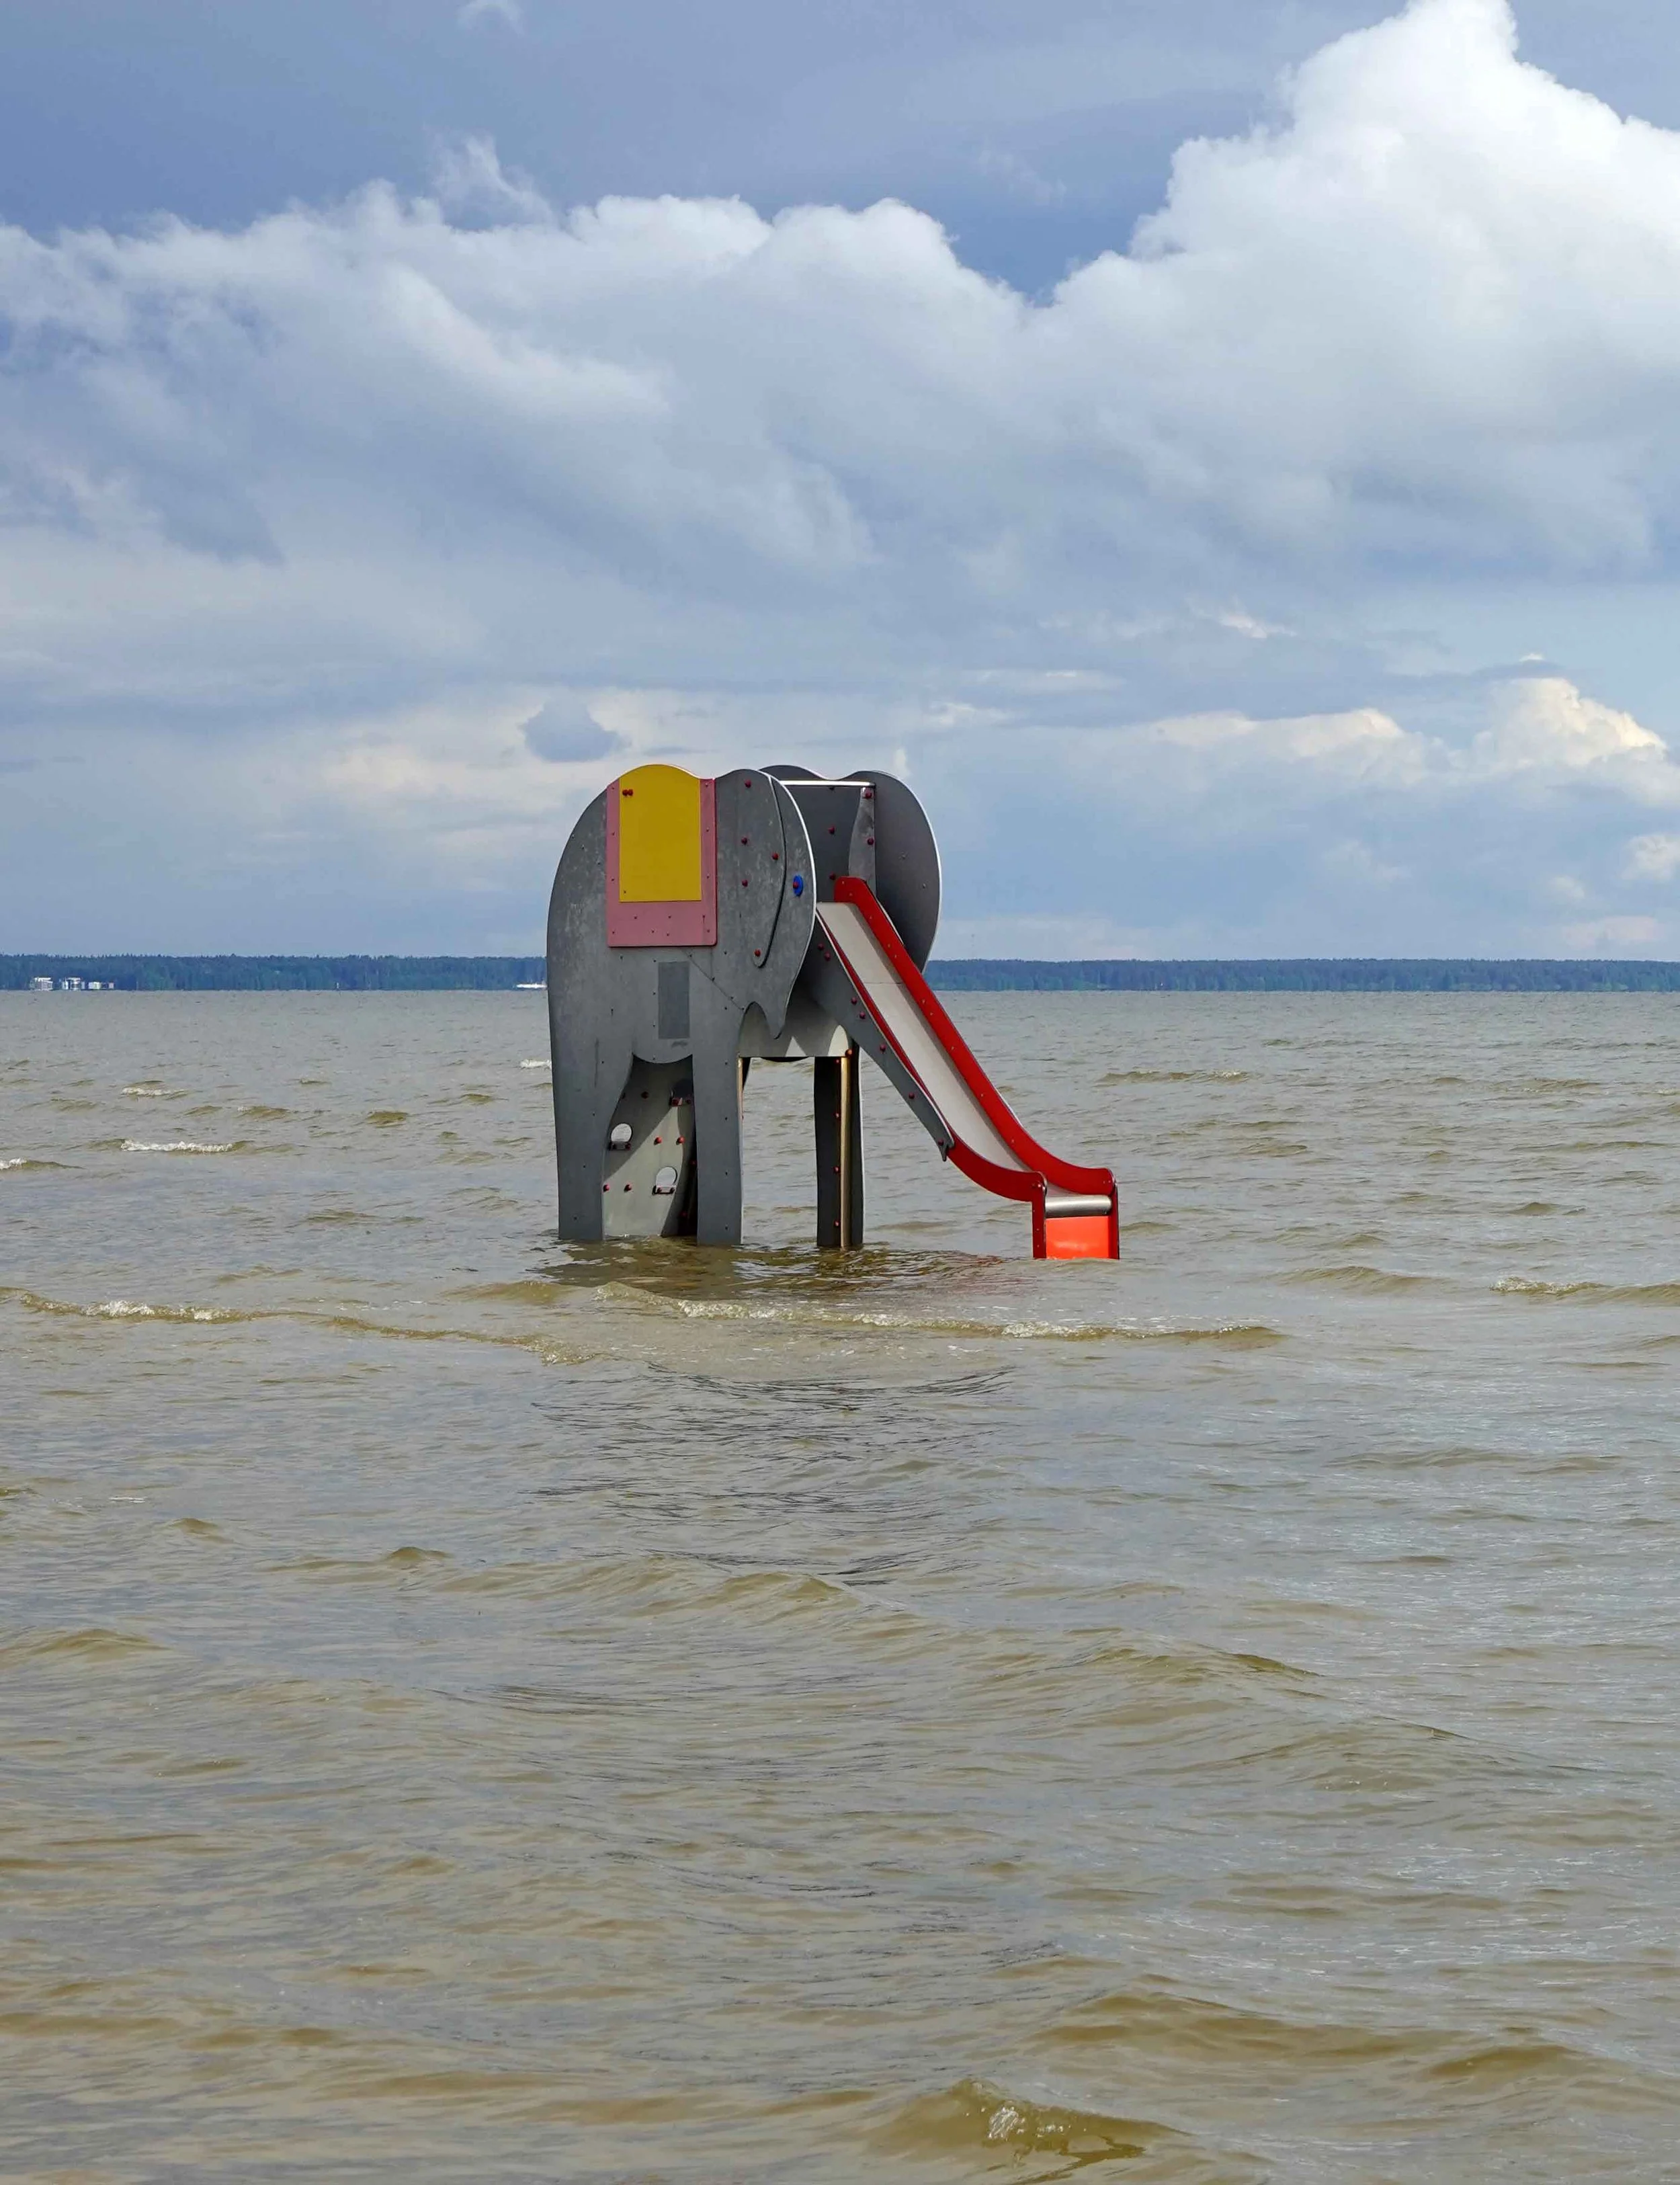
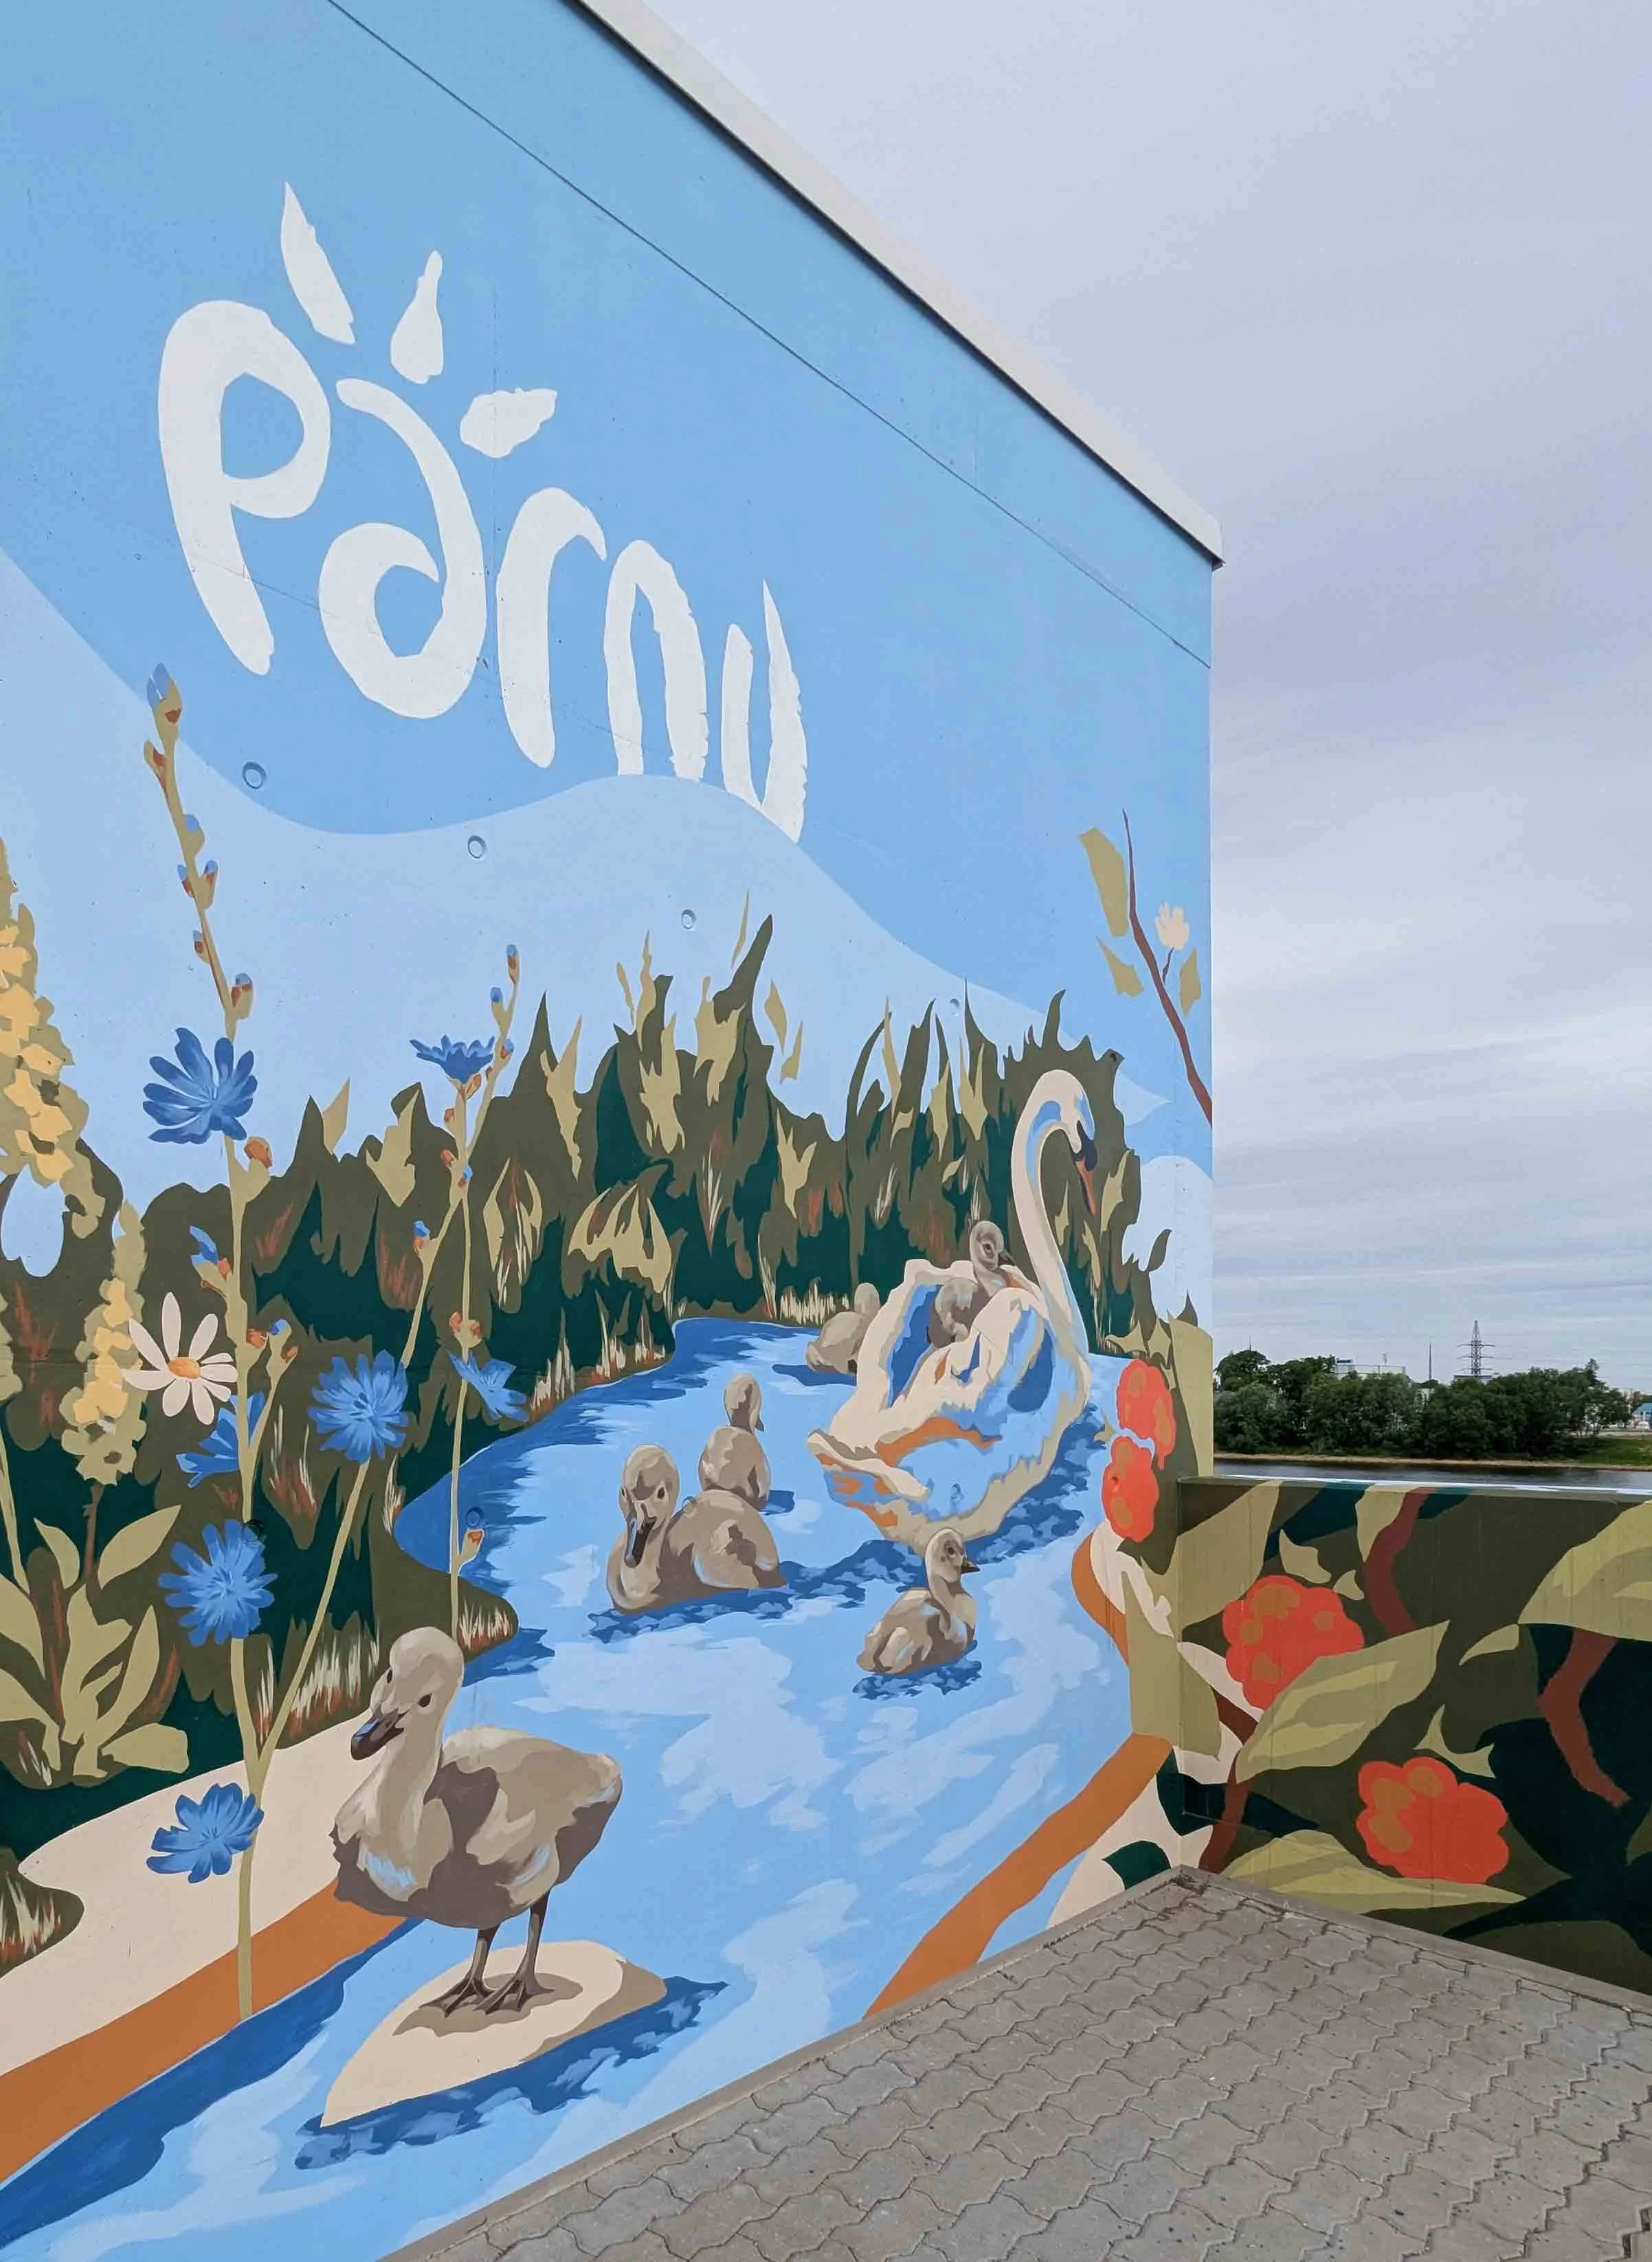
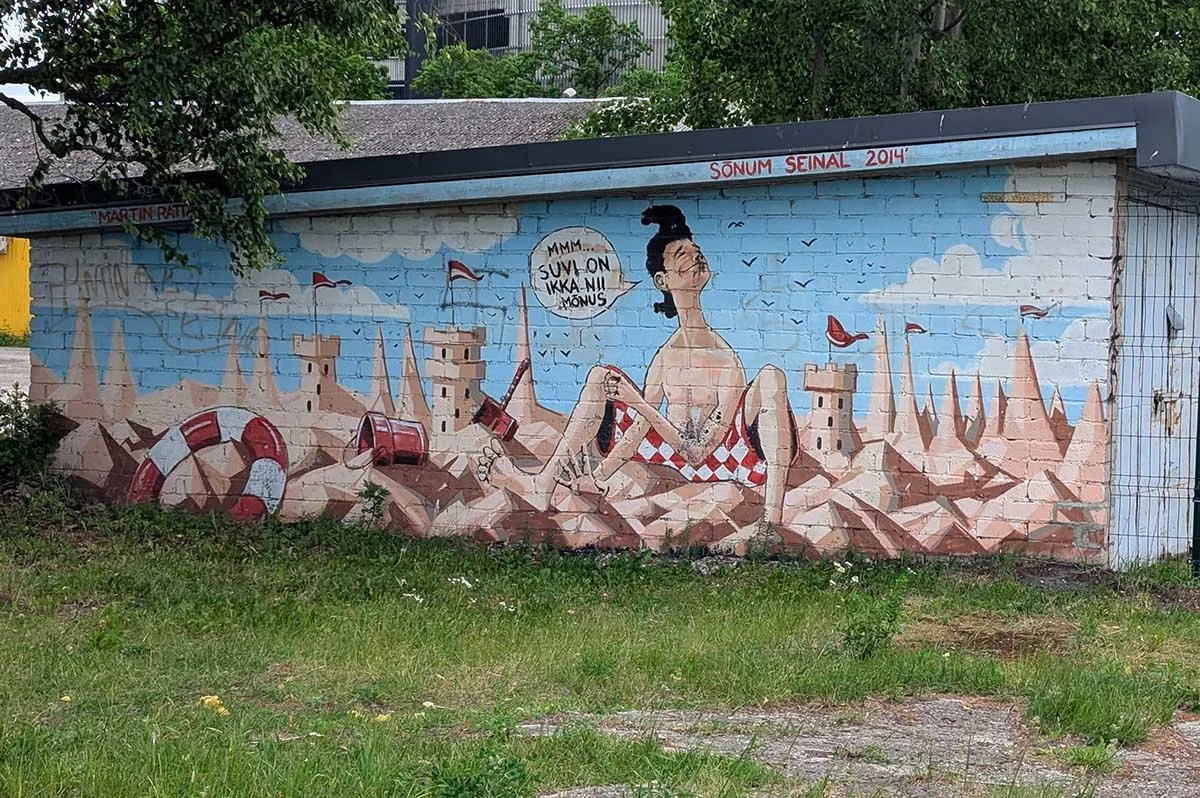
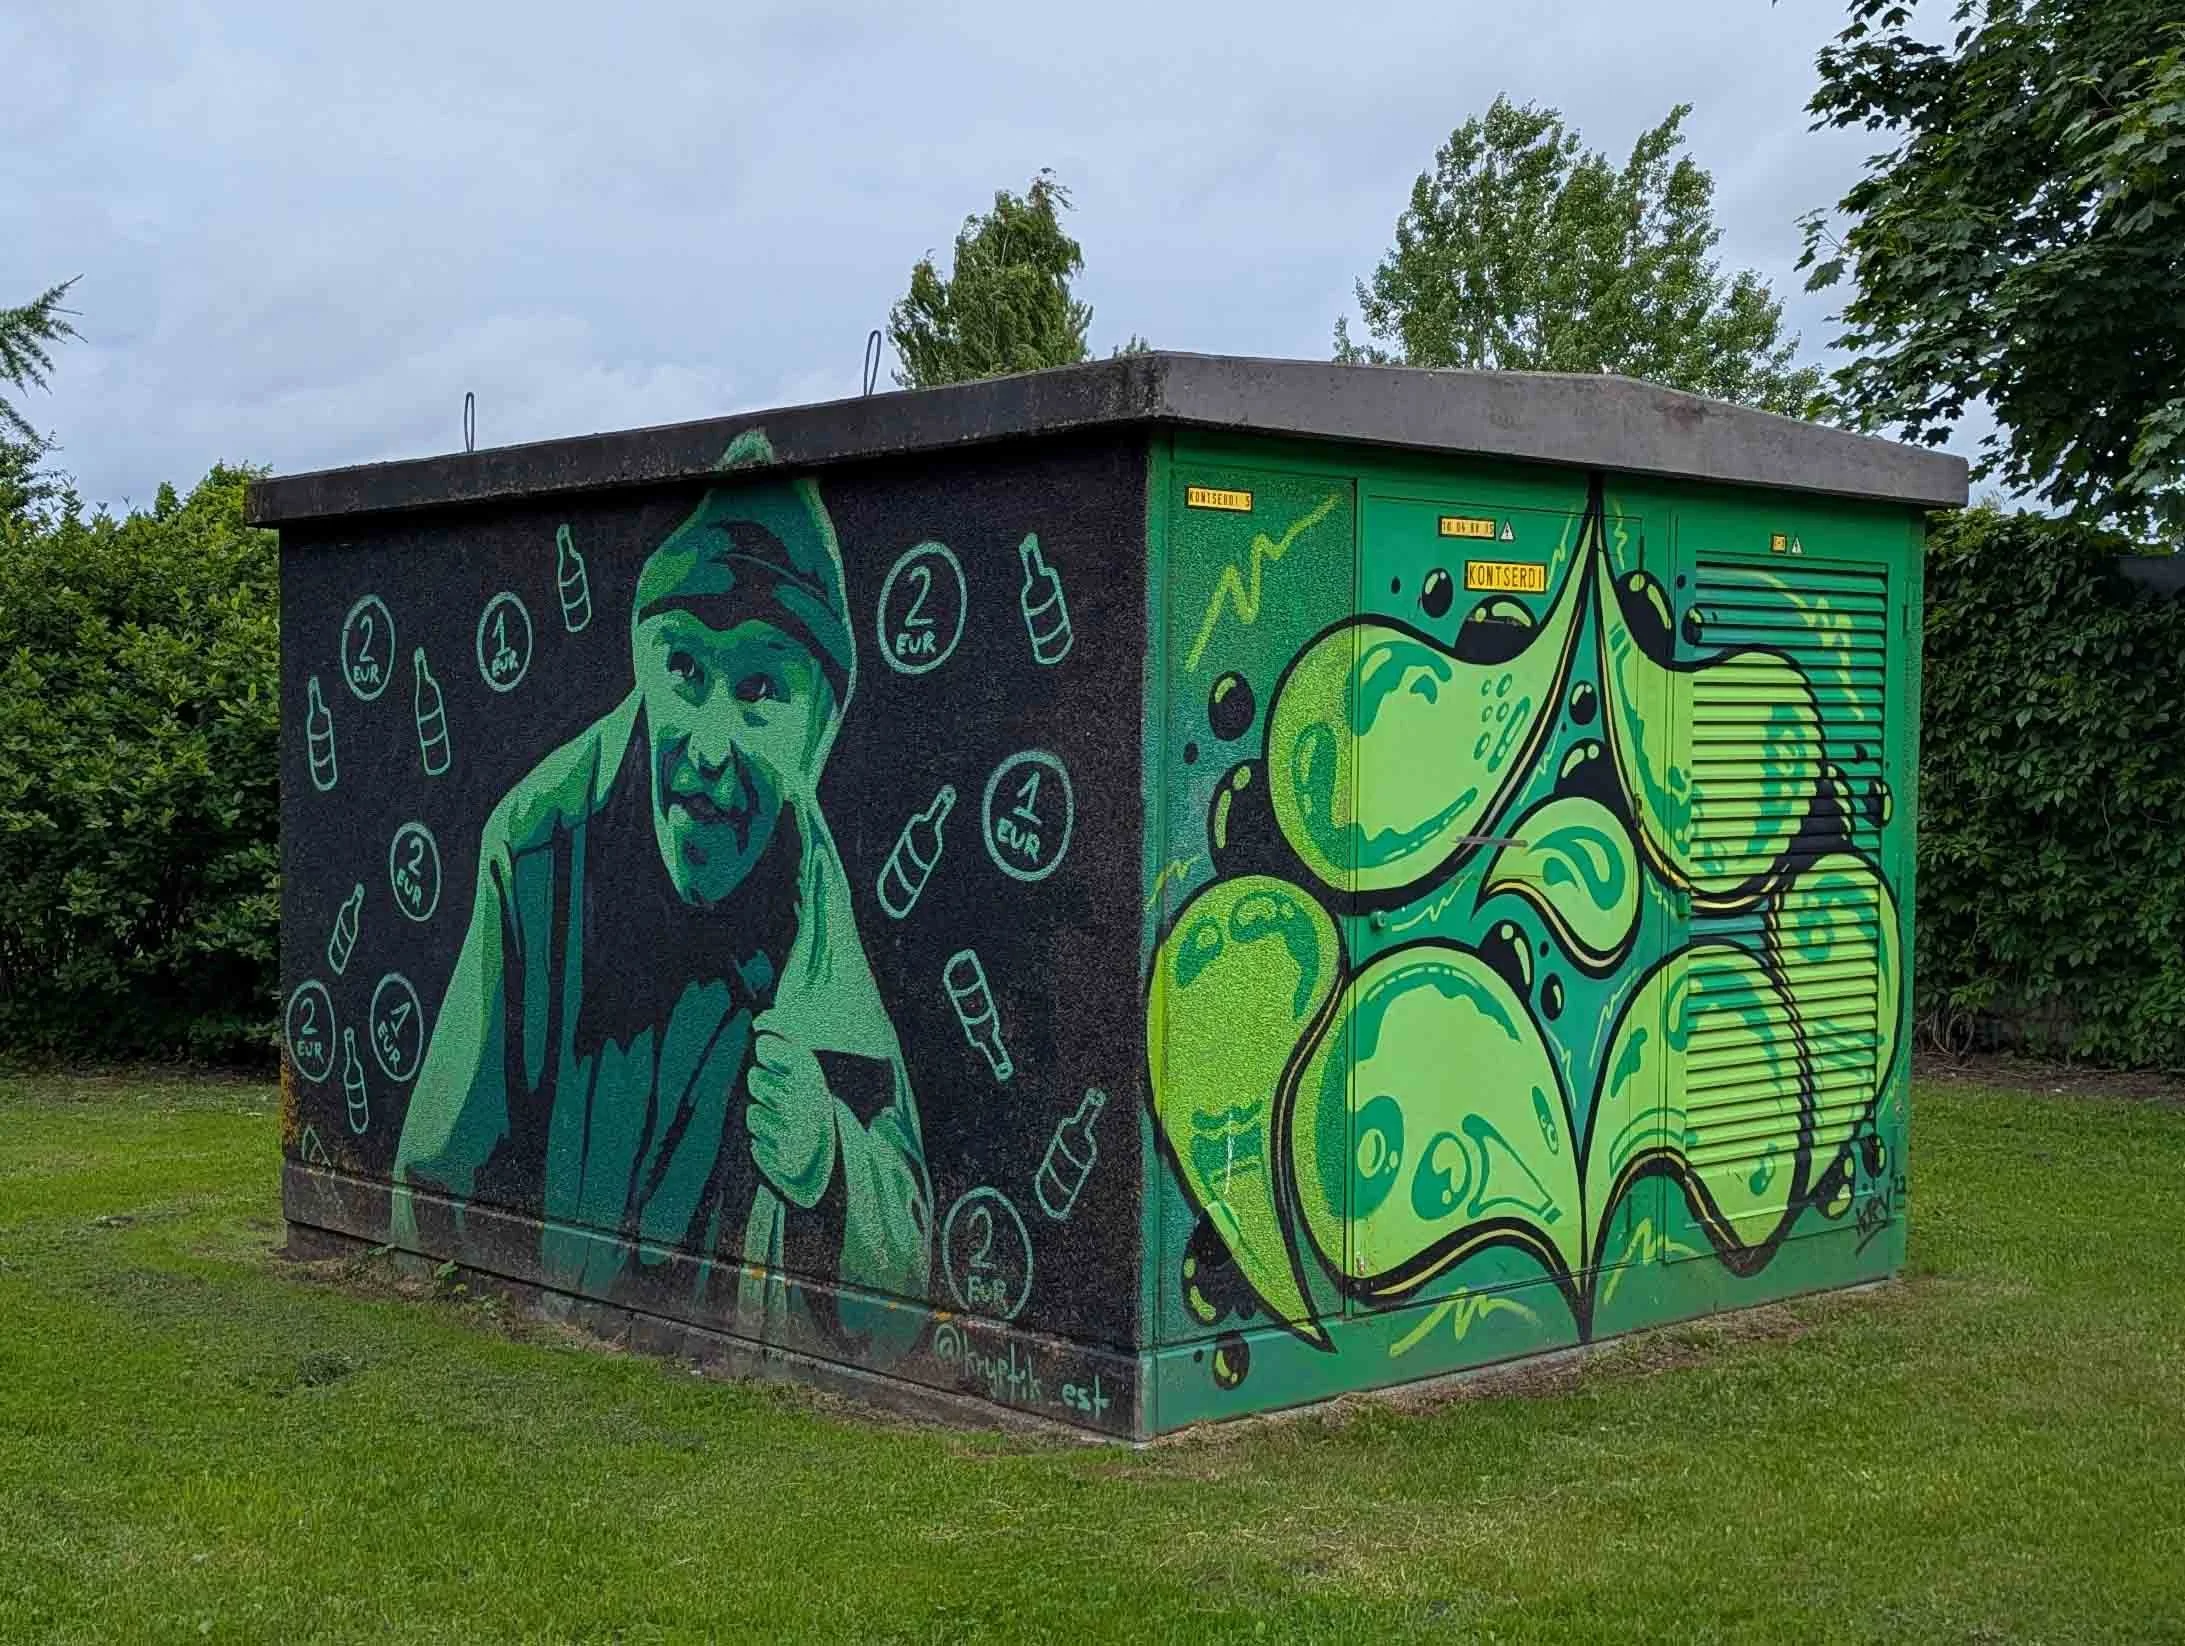
On the touristic side, Pärnu’s city symbol is the elephant, and there are concrete elephants strewn throughout the parks and roundabouts, and a large elephant slide is in the sea. There is a quaint Old Town, filled with souvenir stores, fashion shops, and restaurants. My favorite restaurant is a little vegan cafe called Liana Kohvik, but there are a lot of other nice options! There are also multiple malls, where you can get groceries, high end clothing, restaurant meals, and so forth. There are quite a few retailers outside of Old Town, including fabric stores, outlets, and secondhand and vintage shops.

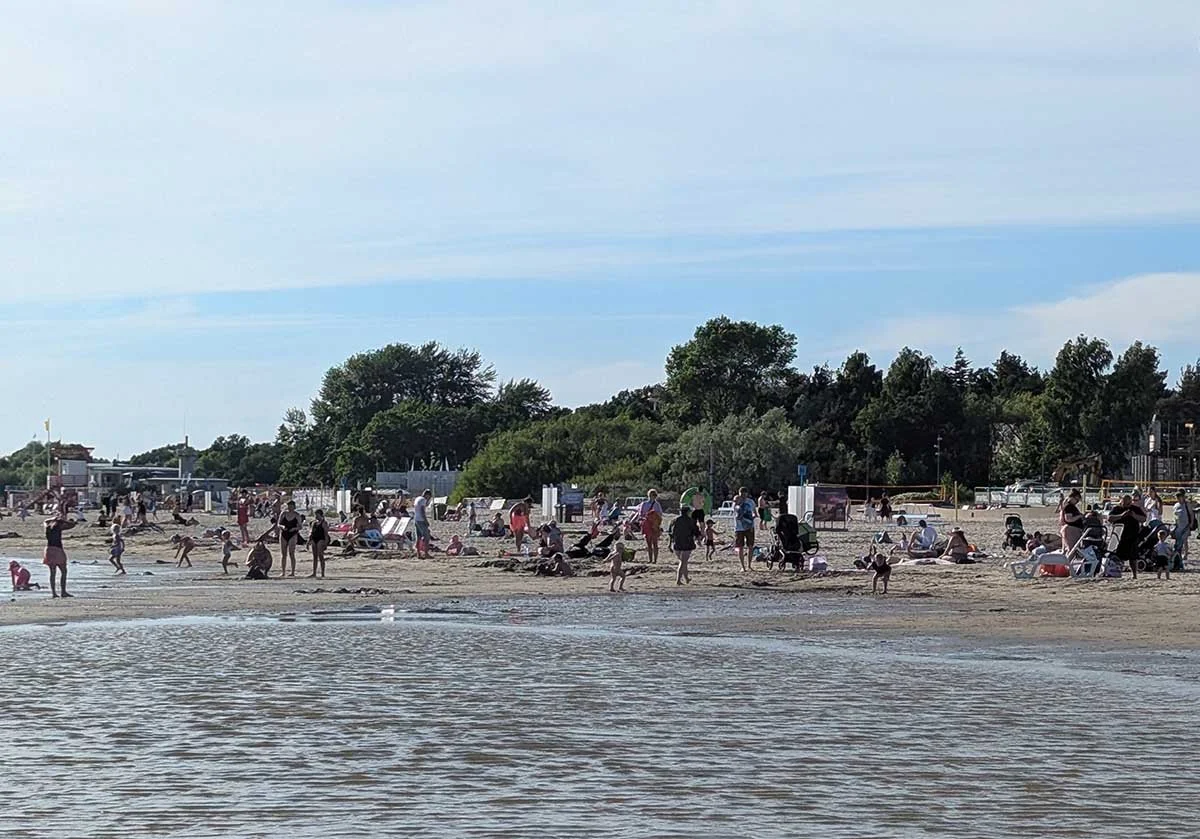
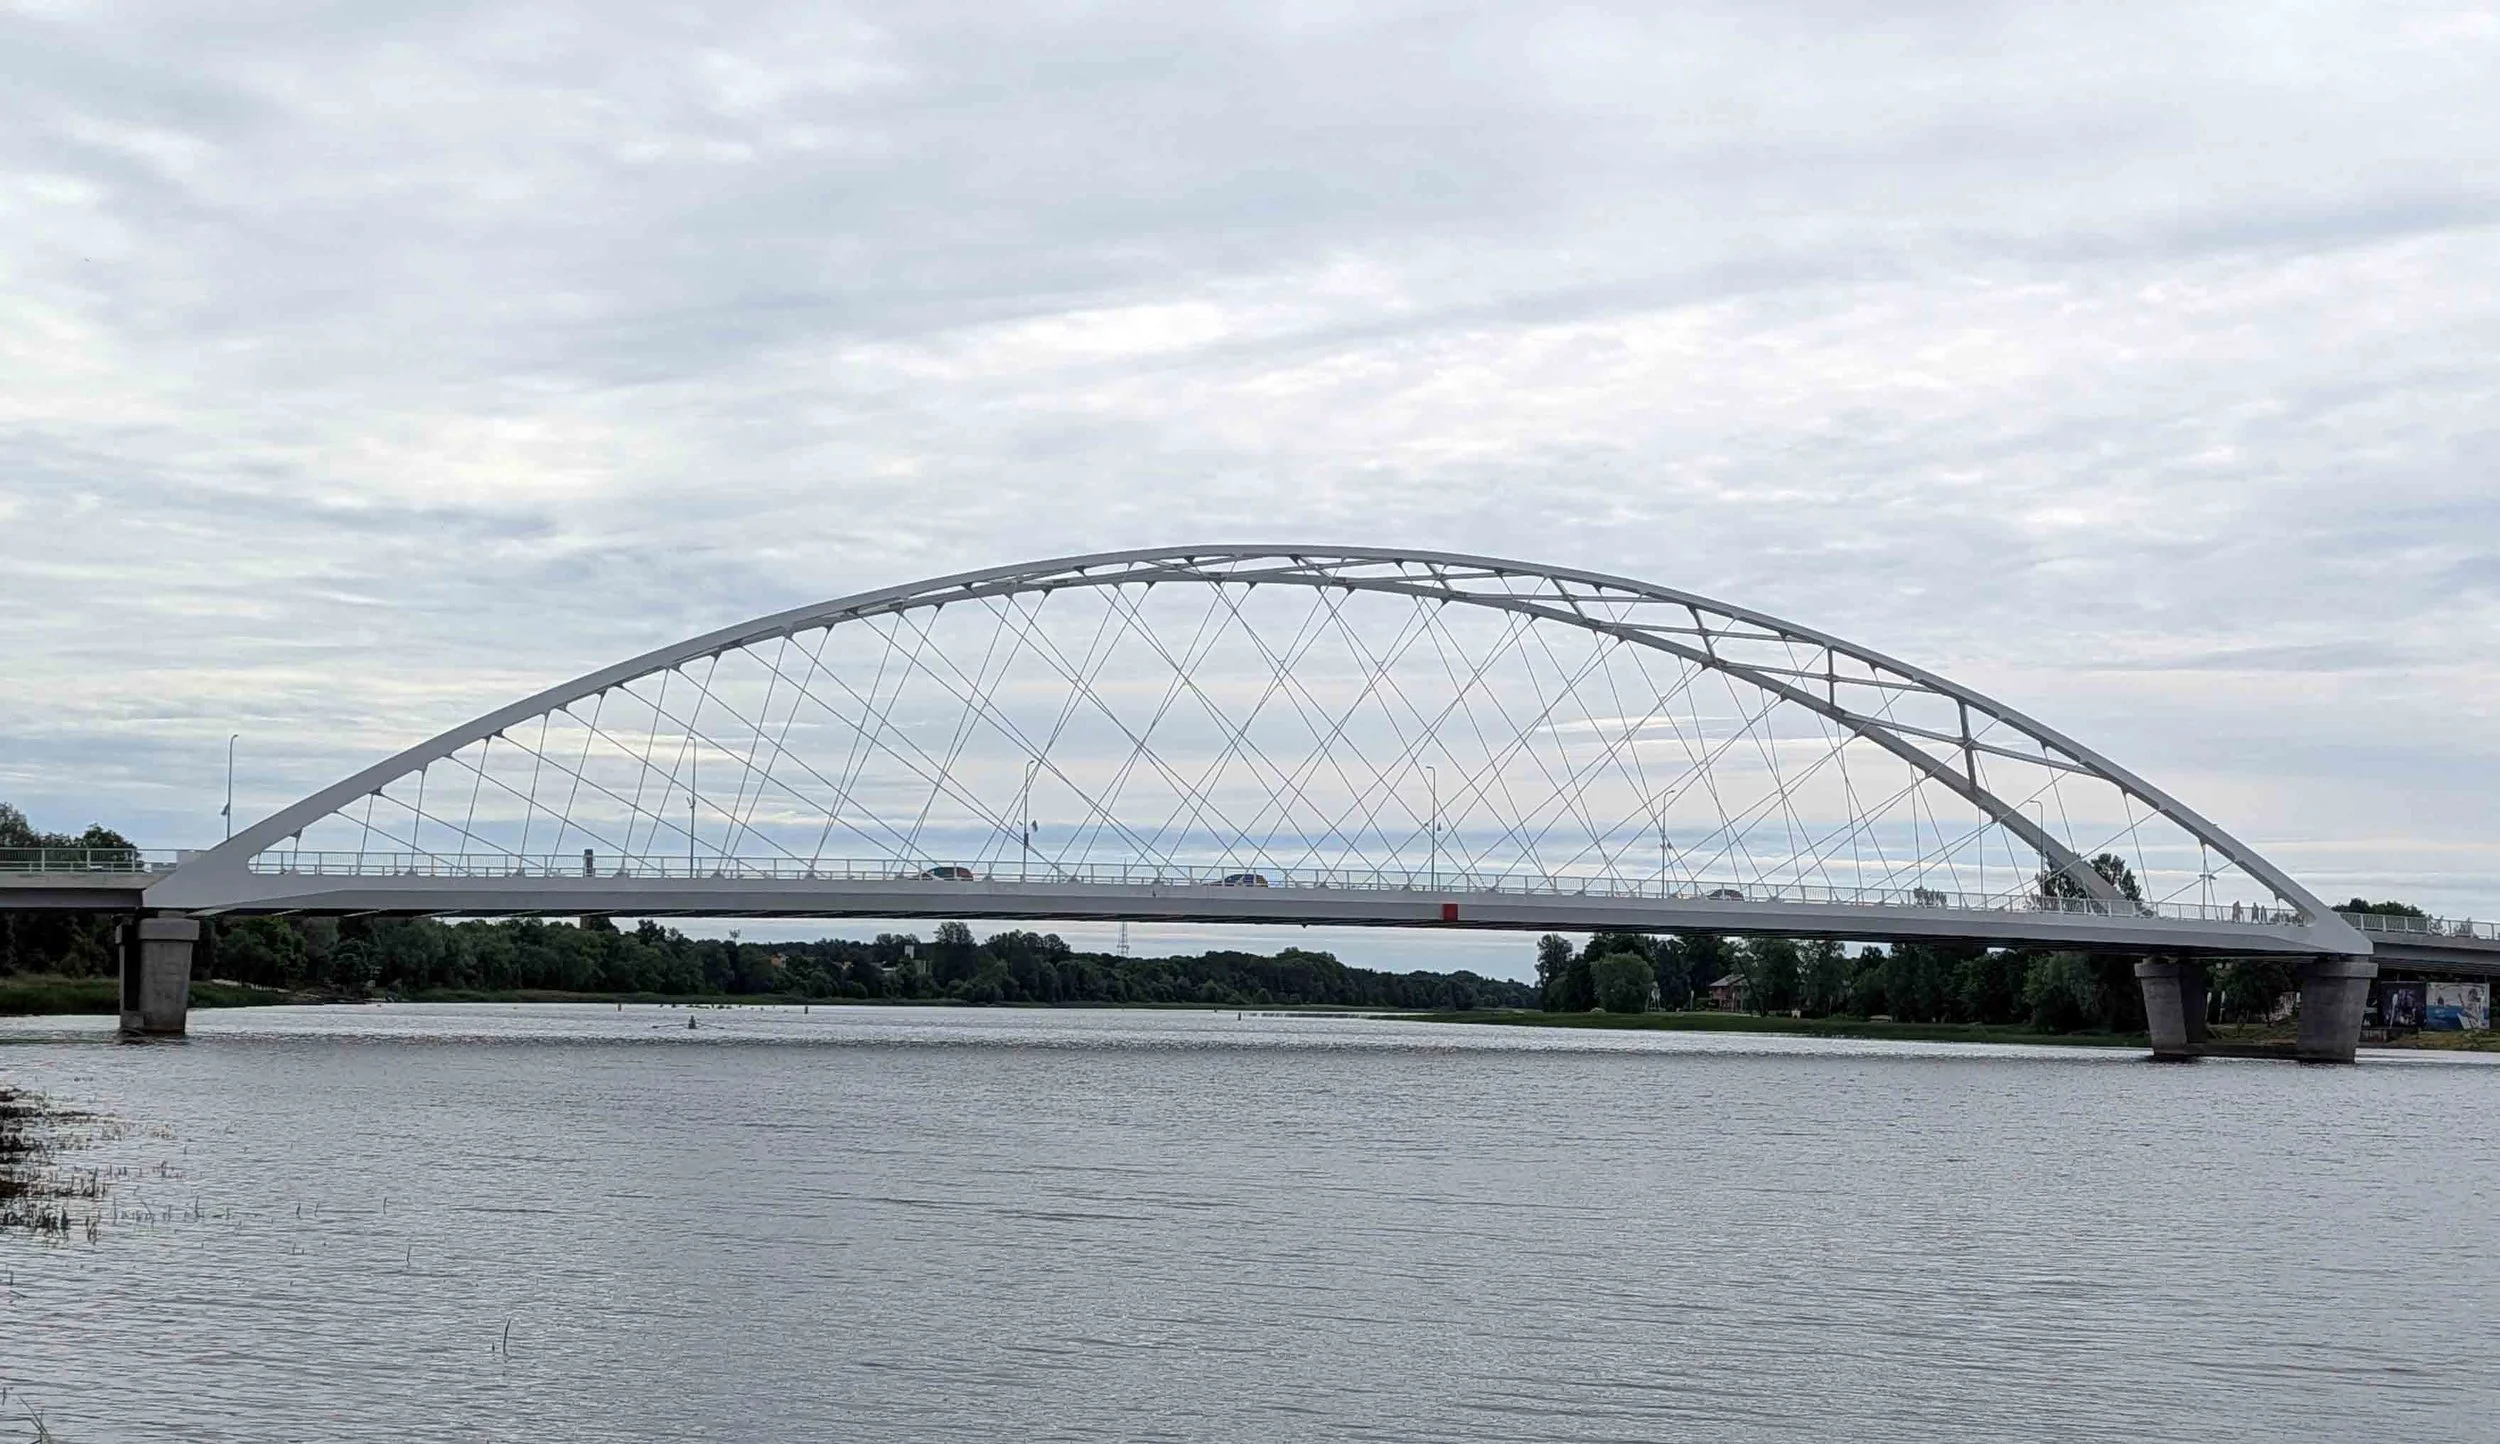
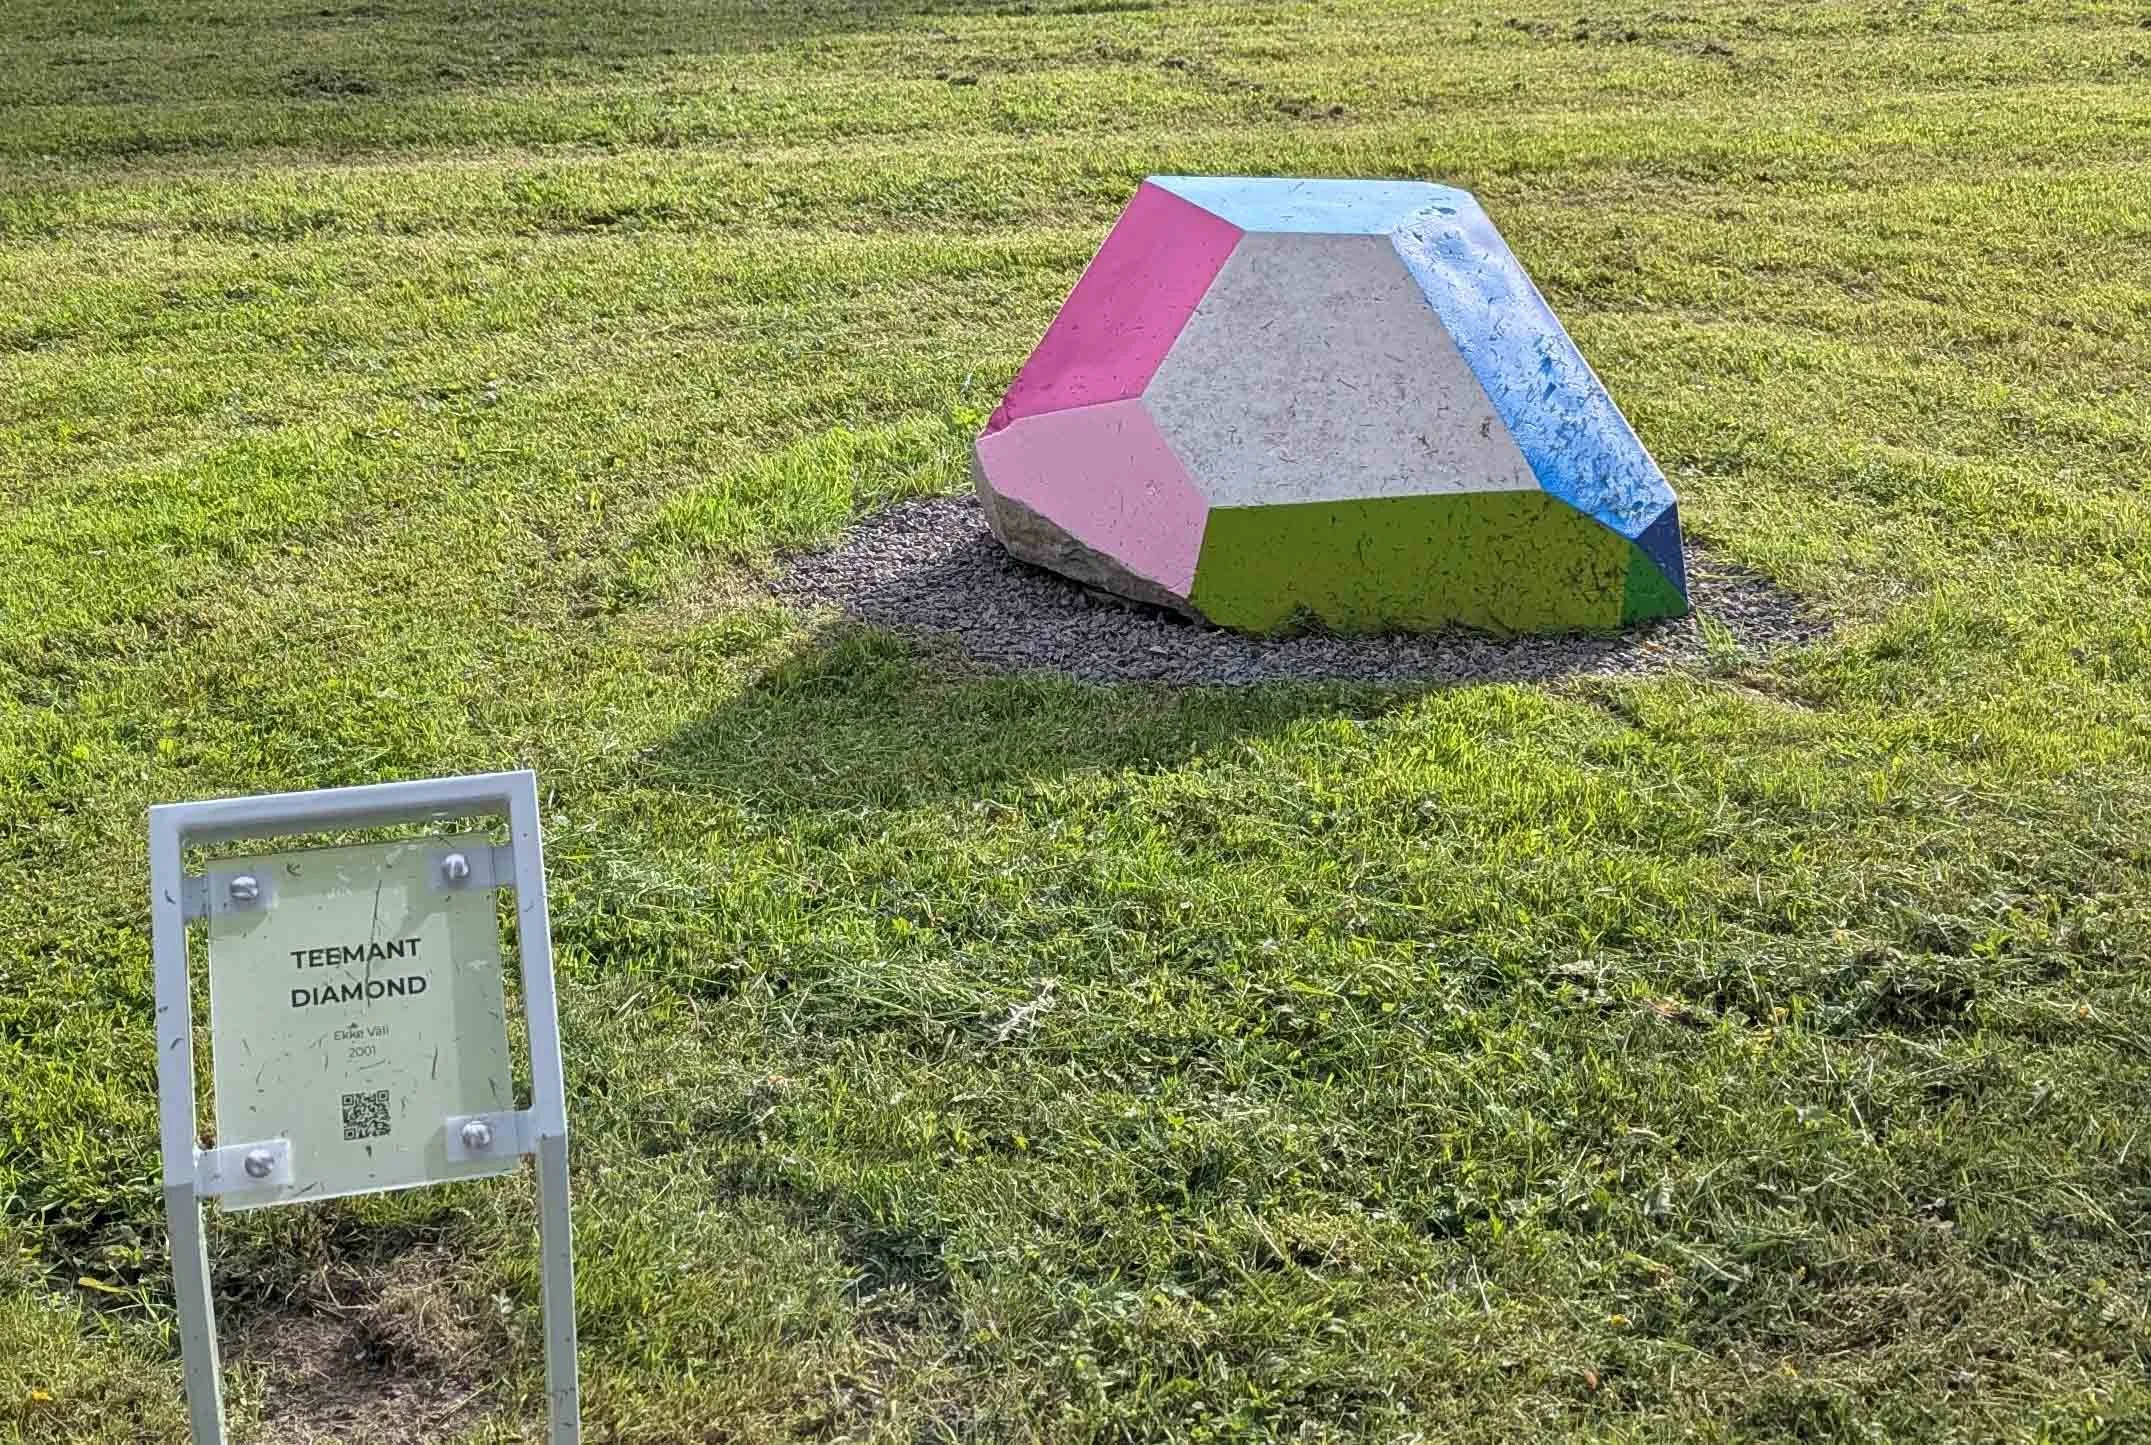
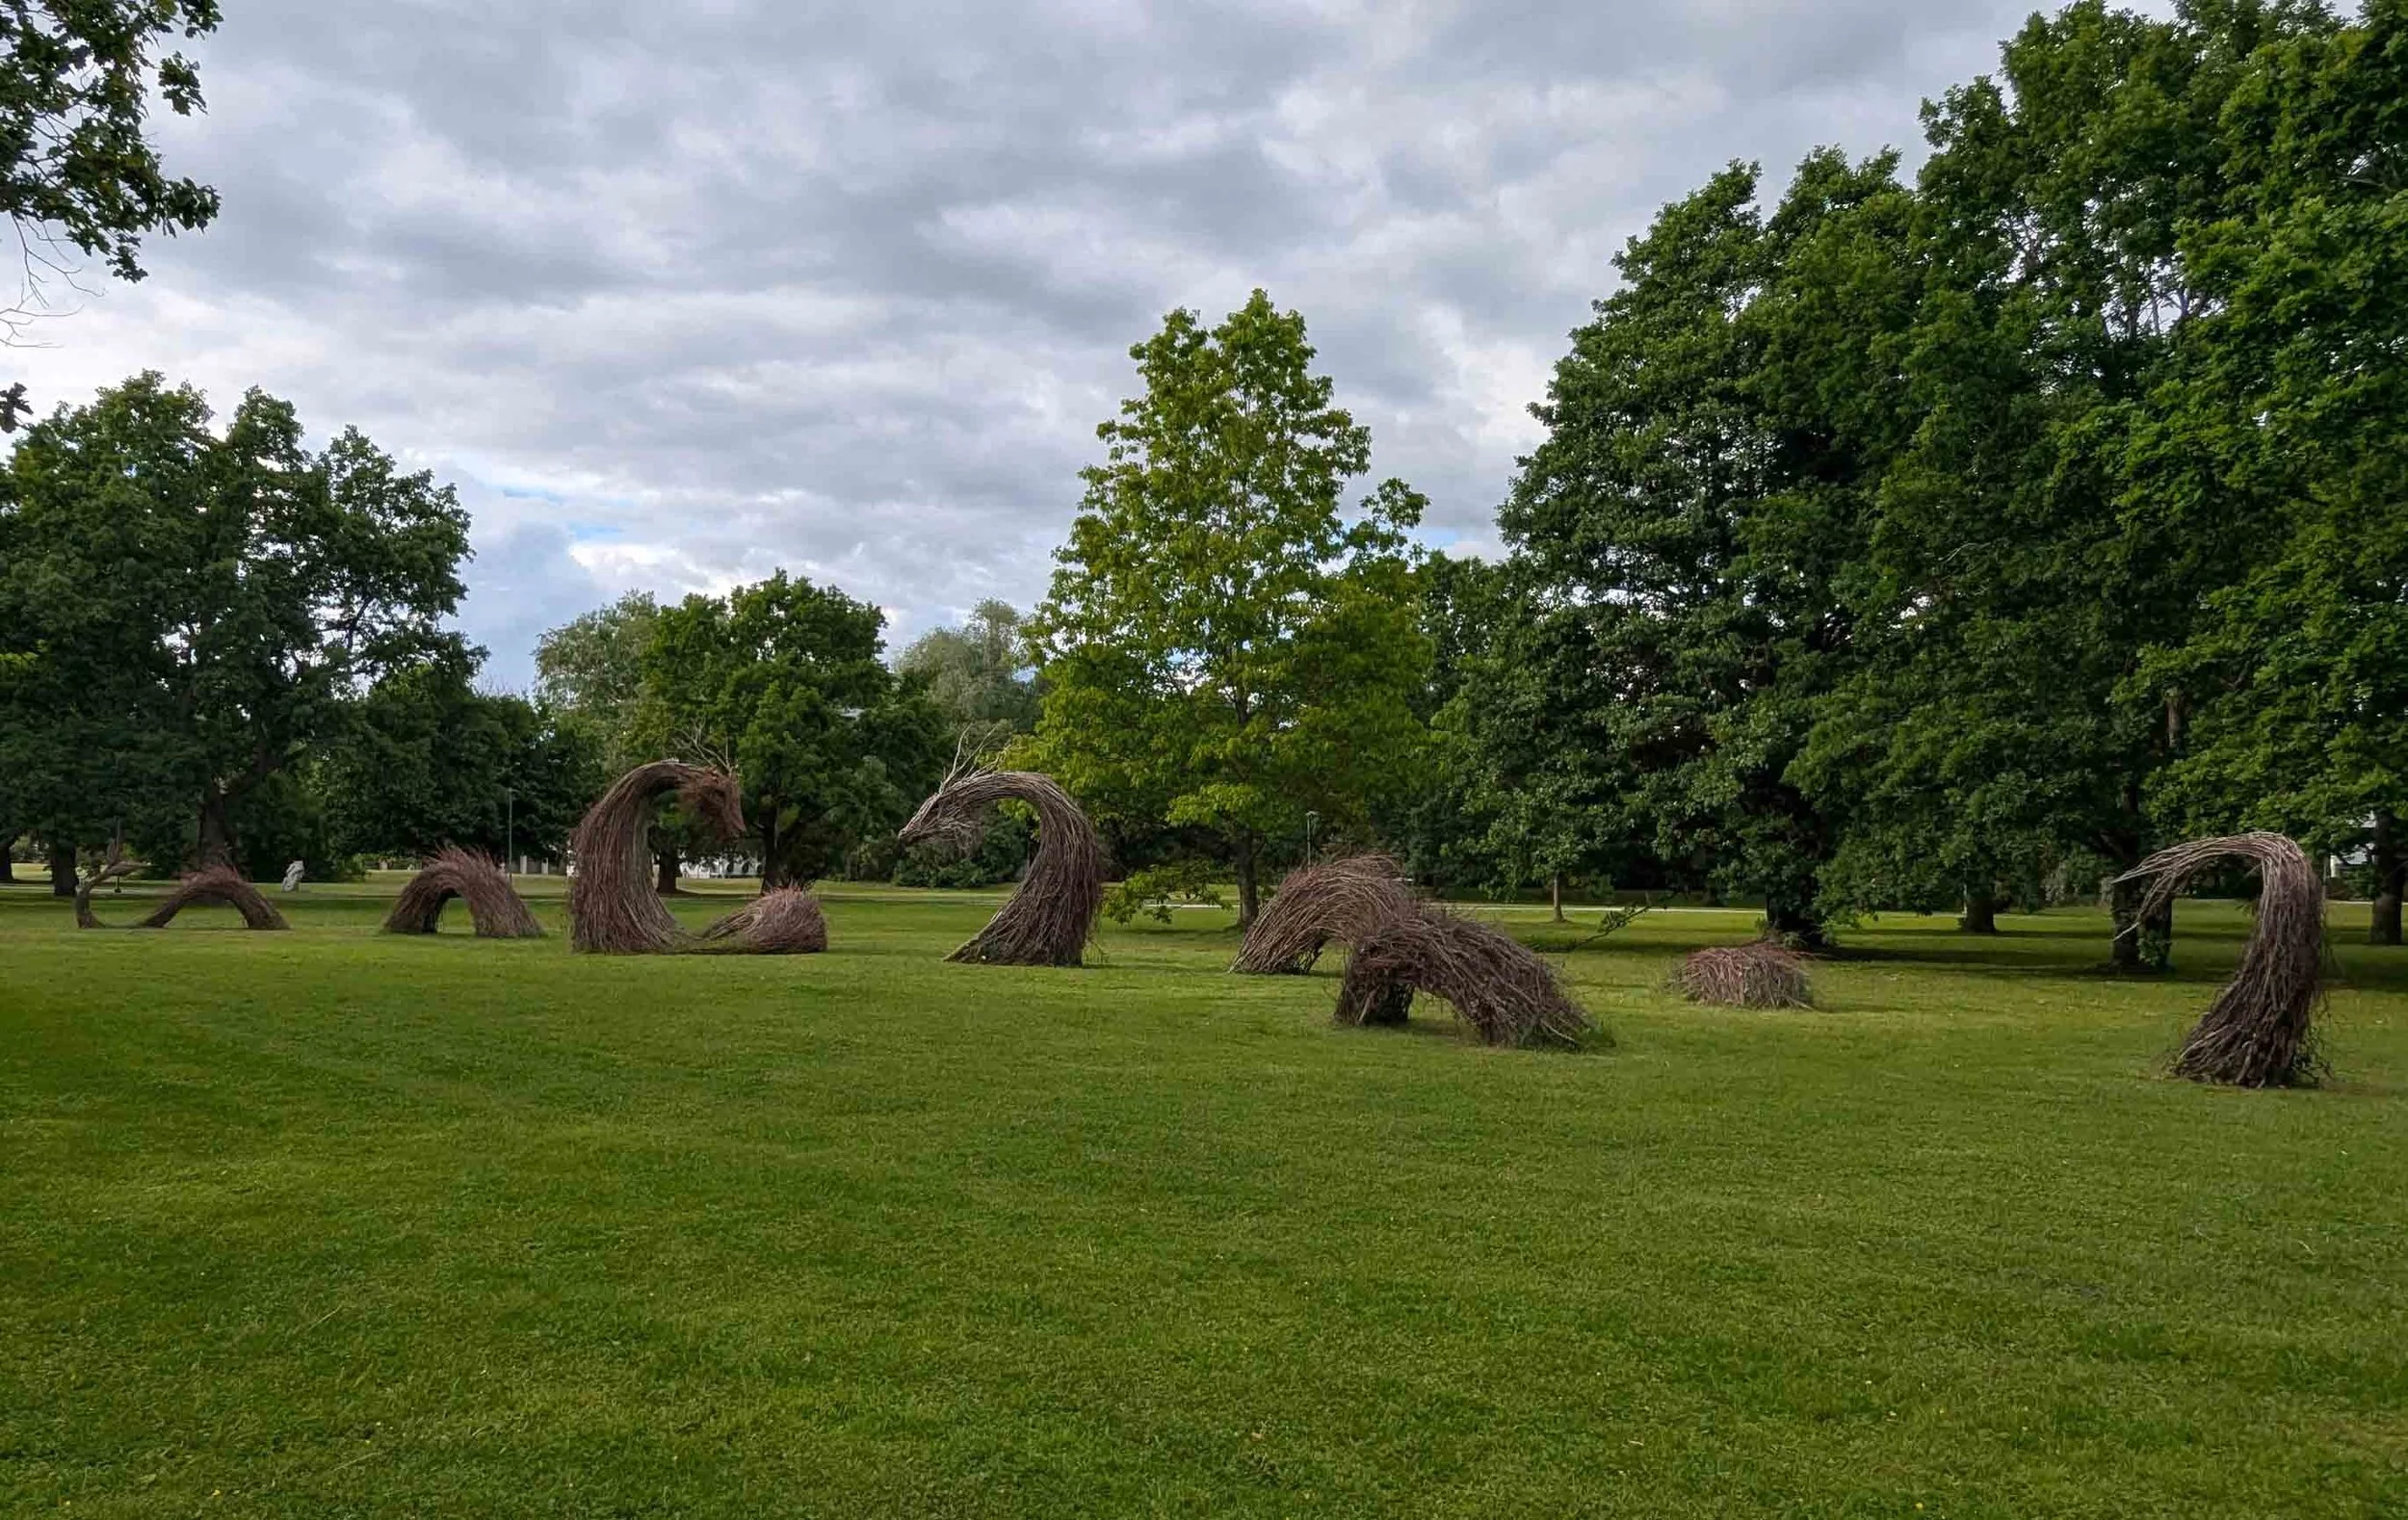
There’s also a lot of beautiful nature! My most scenic walk is is an approximately 5 mile loop through parks and residential neighborhoods down to the protected meadow, out to the beach, along the beach until it ends at the jetty, and then back up and through a park with a sculpture walk. There is always some wildlife to enjoy on that walk, including frogs, birds, and insects. I also really like walking along and across the river.

After almost three weeks and while doing a deep dive online, I discovered an artists’ guild that I hadn’t yet found in Old Town, and I was so confused - but when I went to it, I discovered why: they’ve closed off the whole street for construction for the whole month! With determination, I found an alternate route through back alleys and was pleased I did - it’s got a lot of great artists. There are other arts organizations here as well including the City Gallery and Artists’ House, and the Museum of New Art.

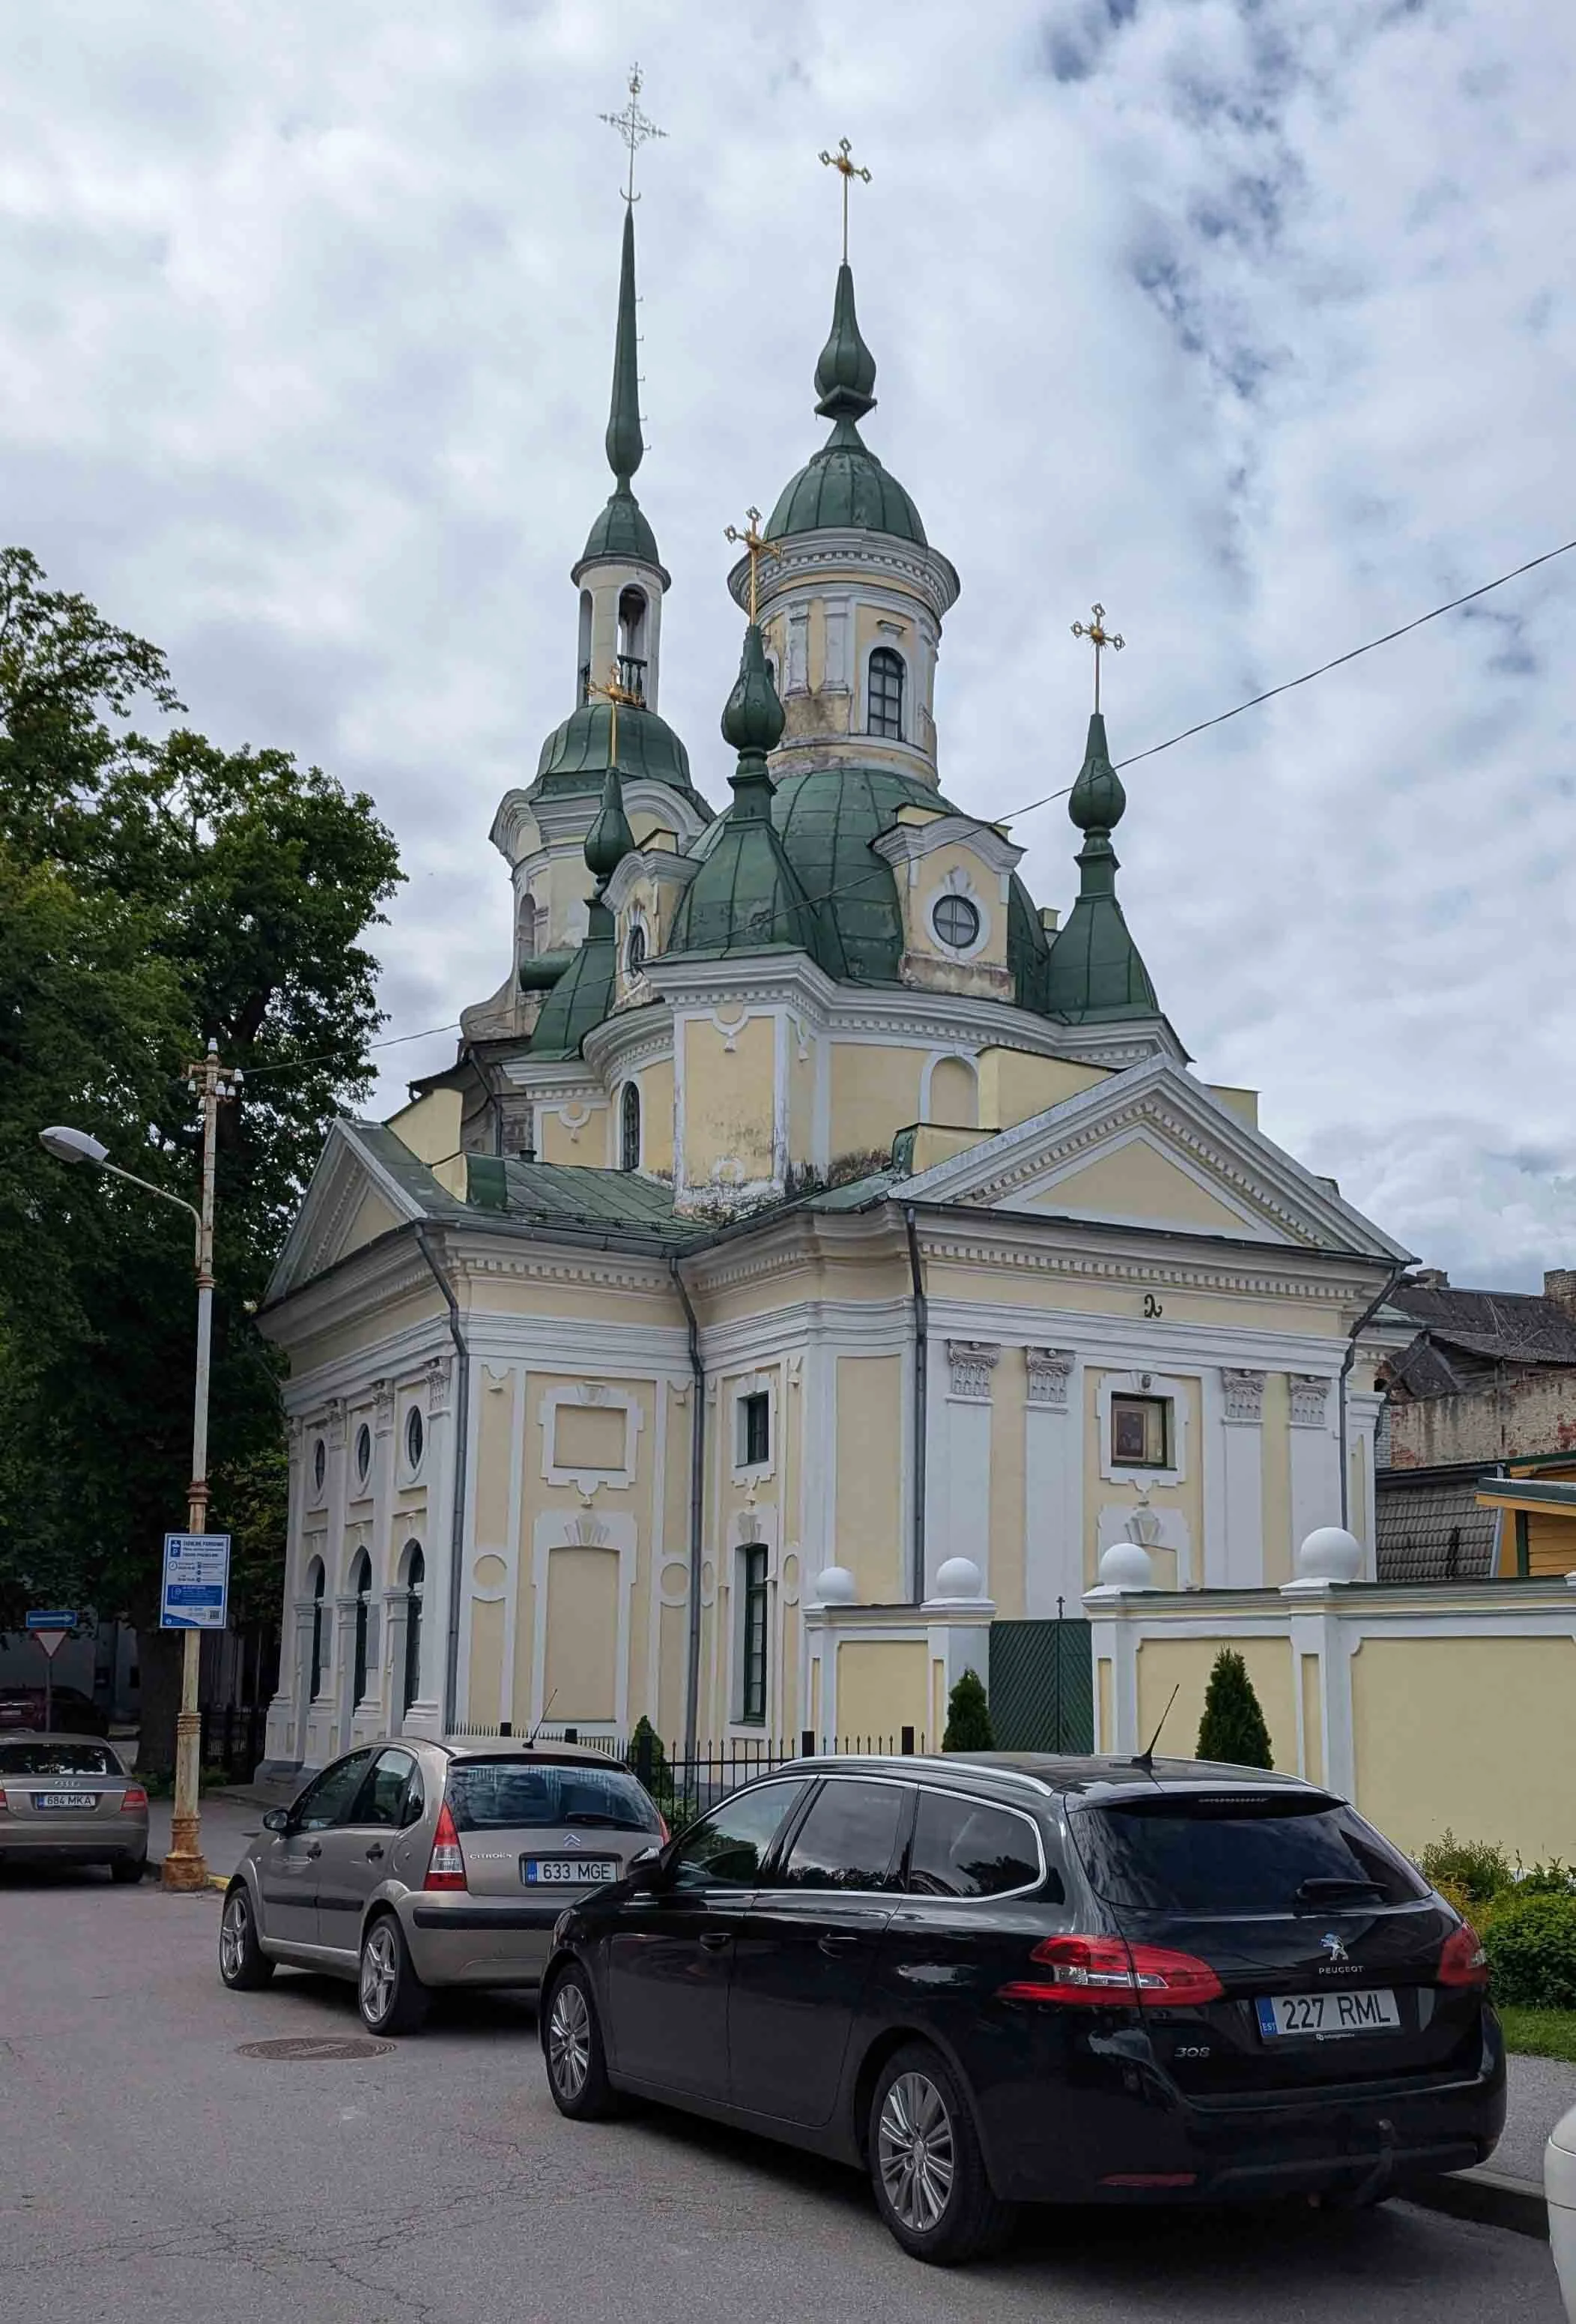
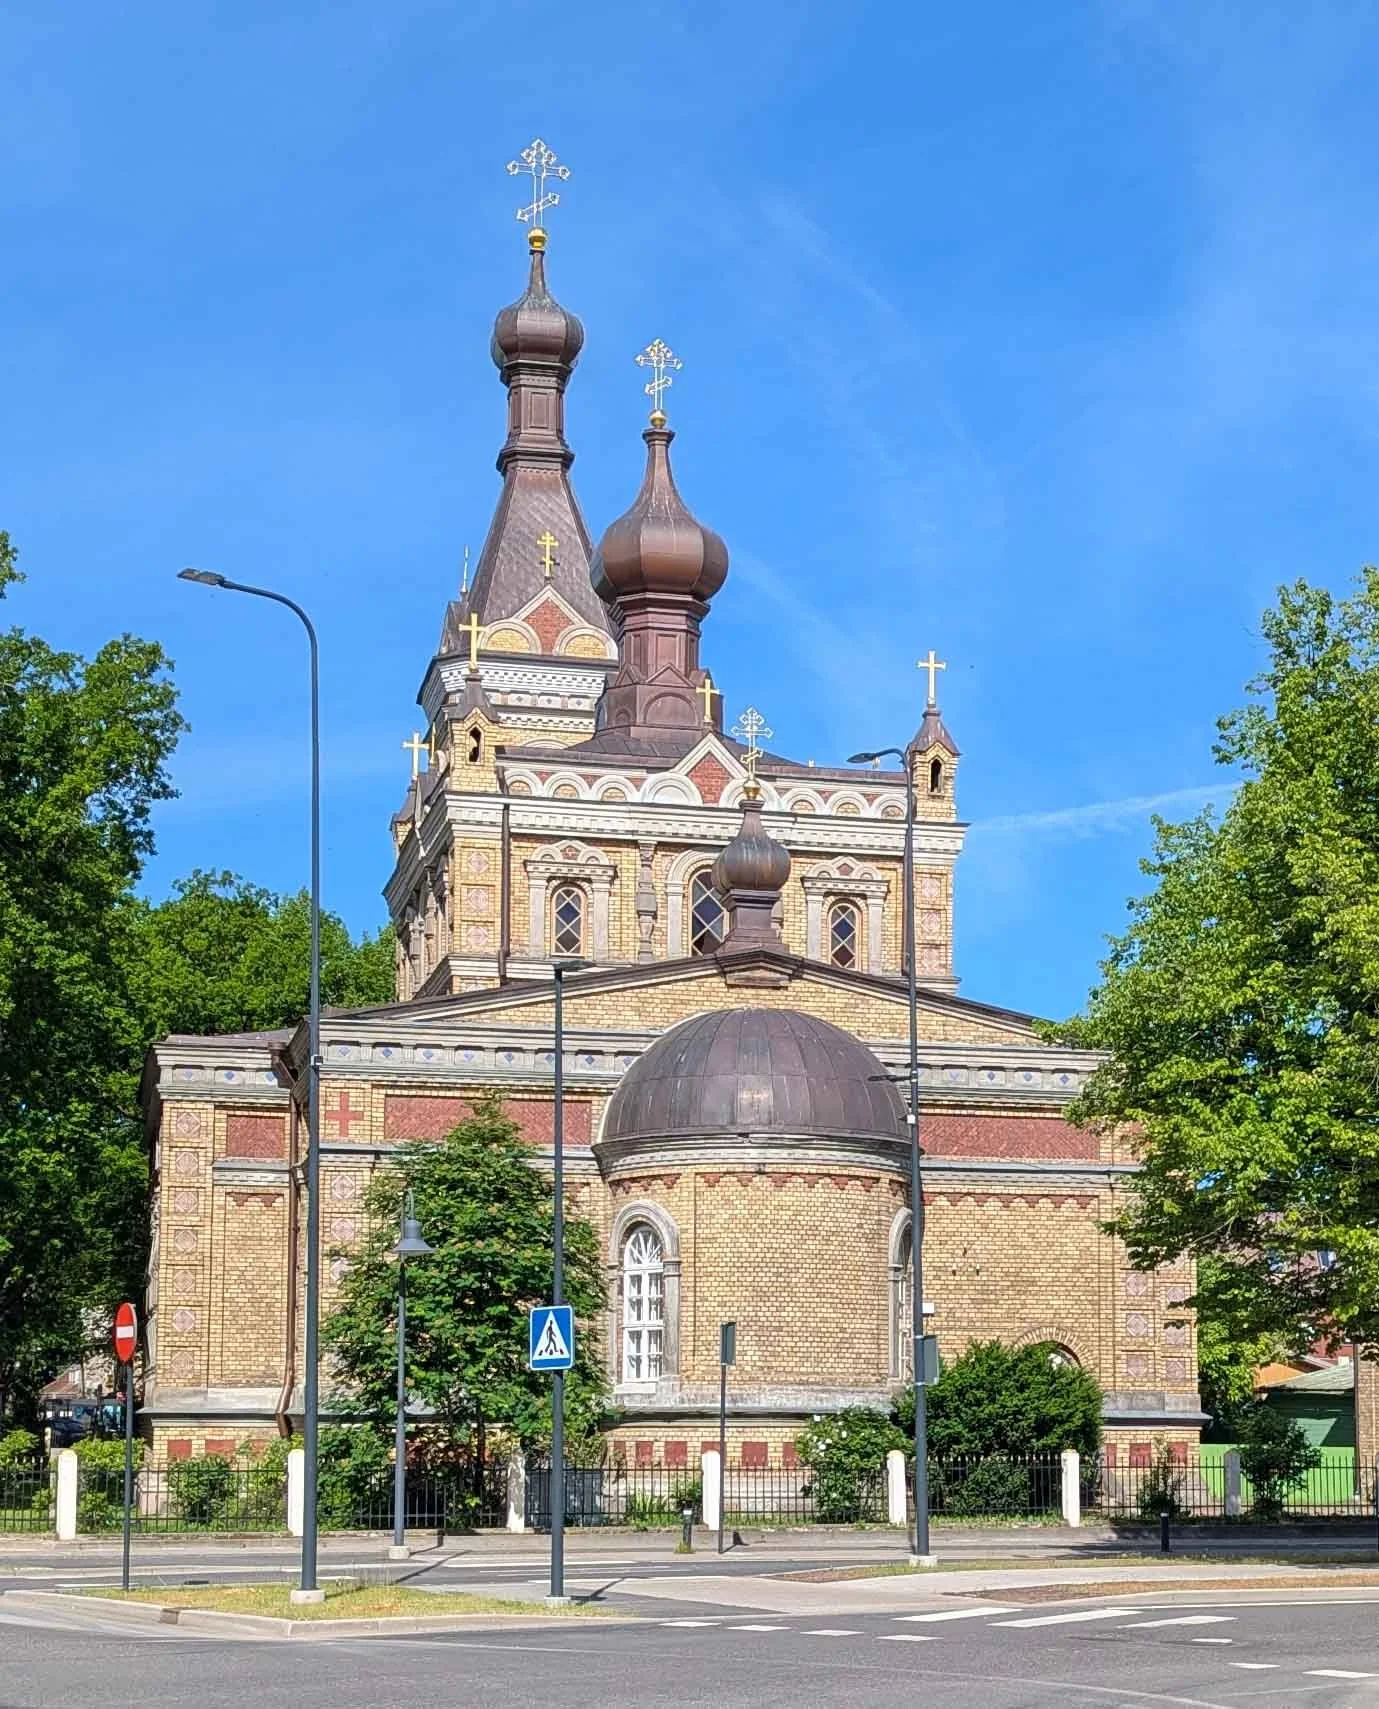
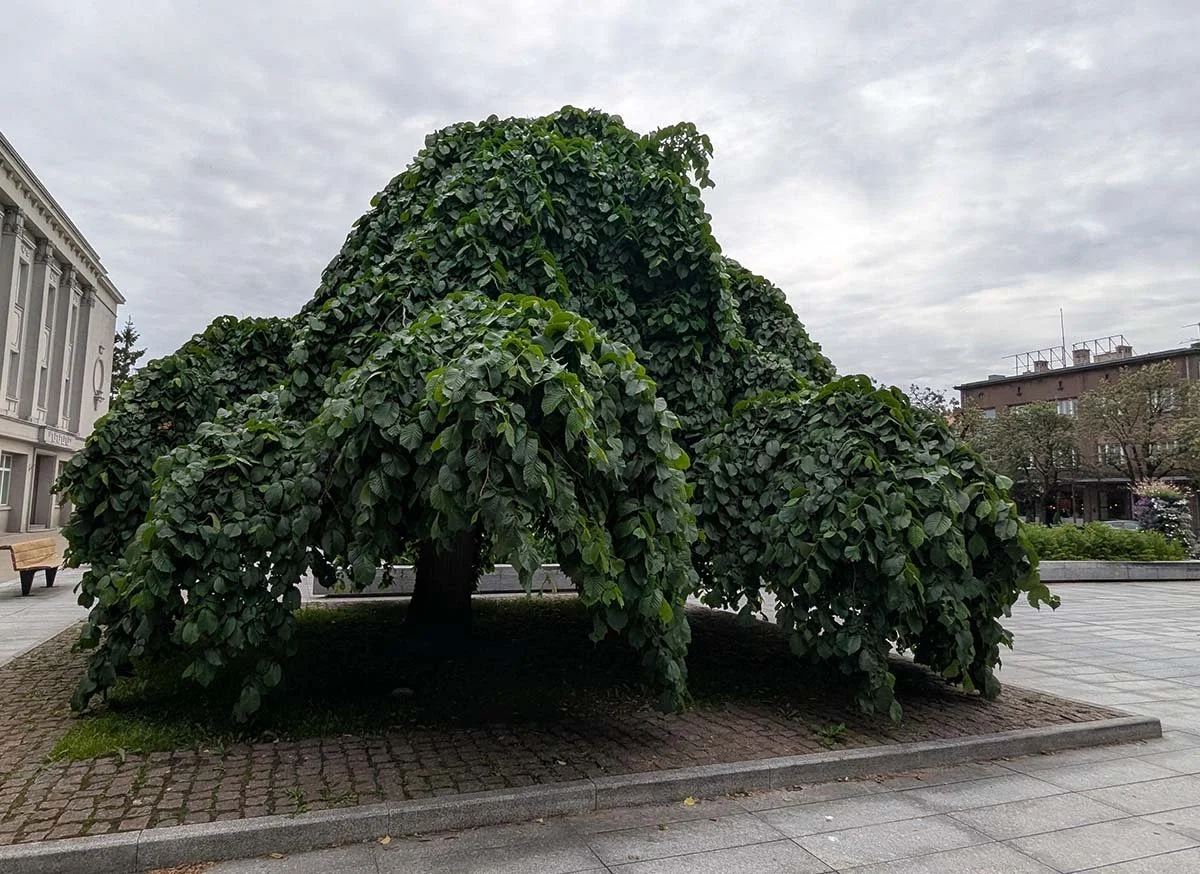
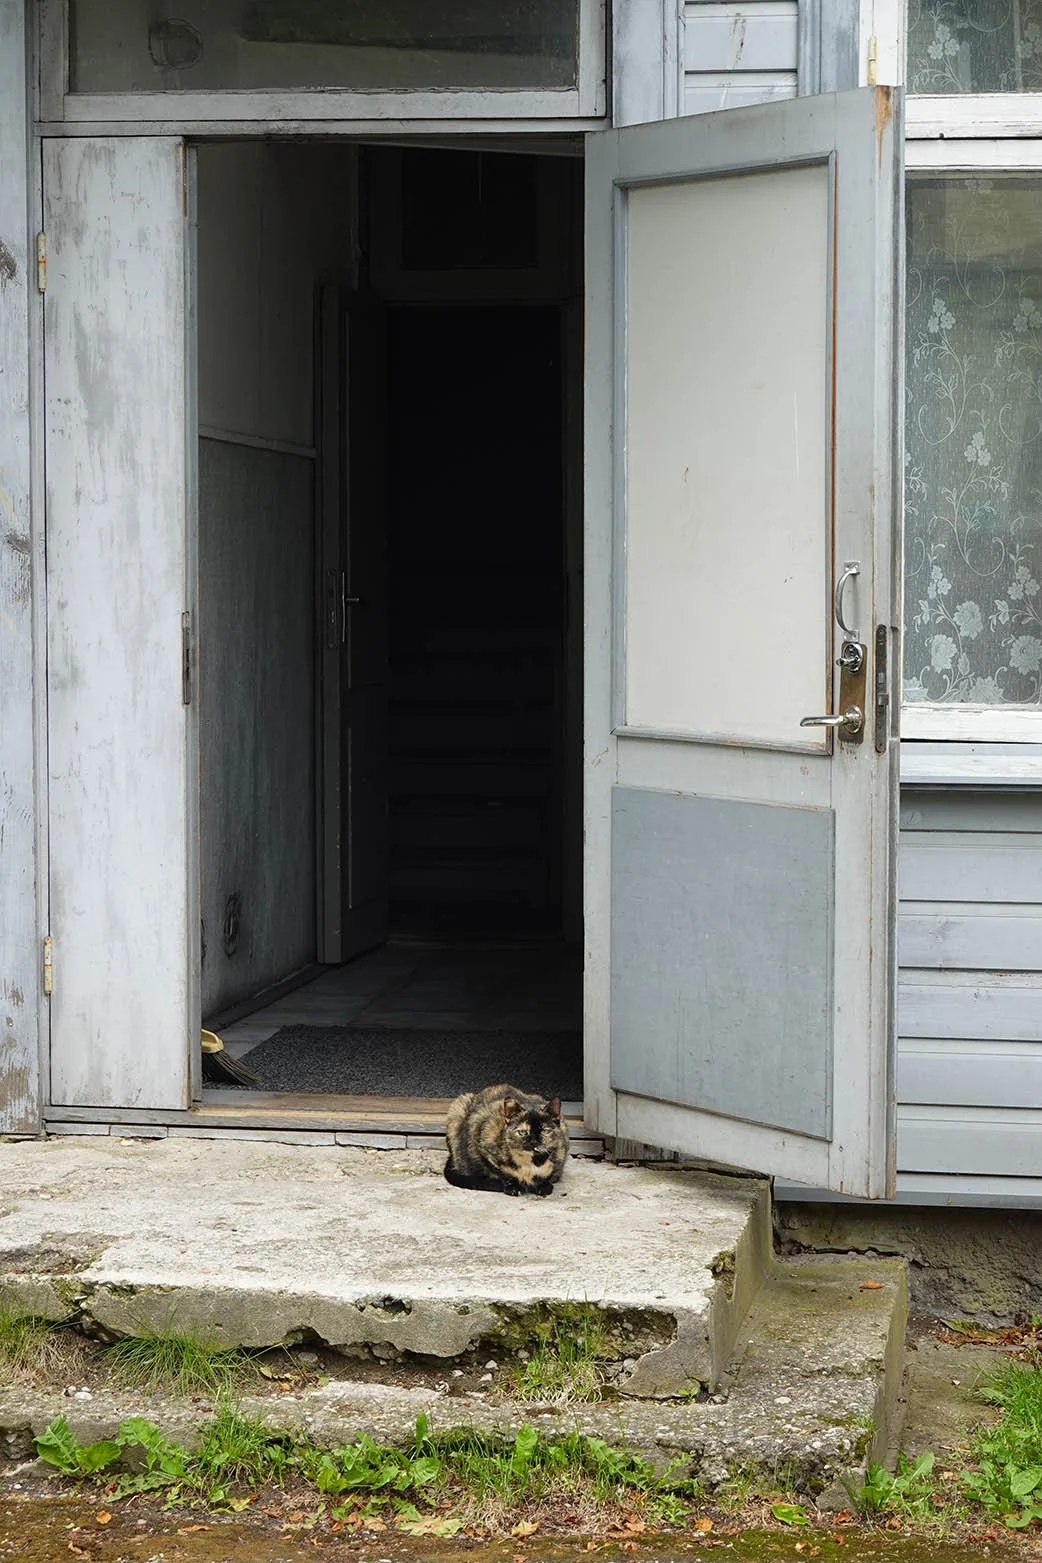
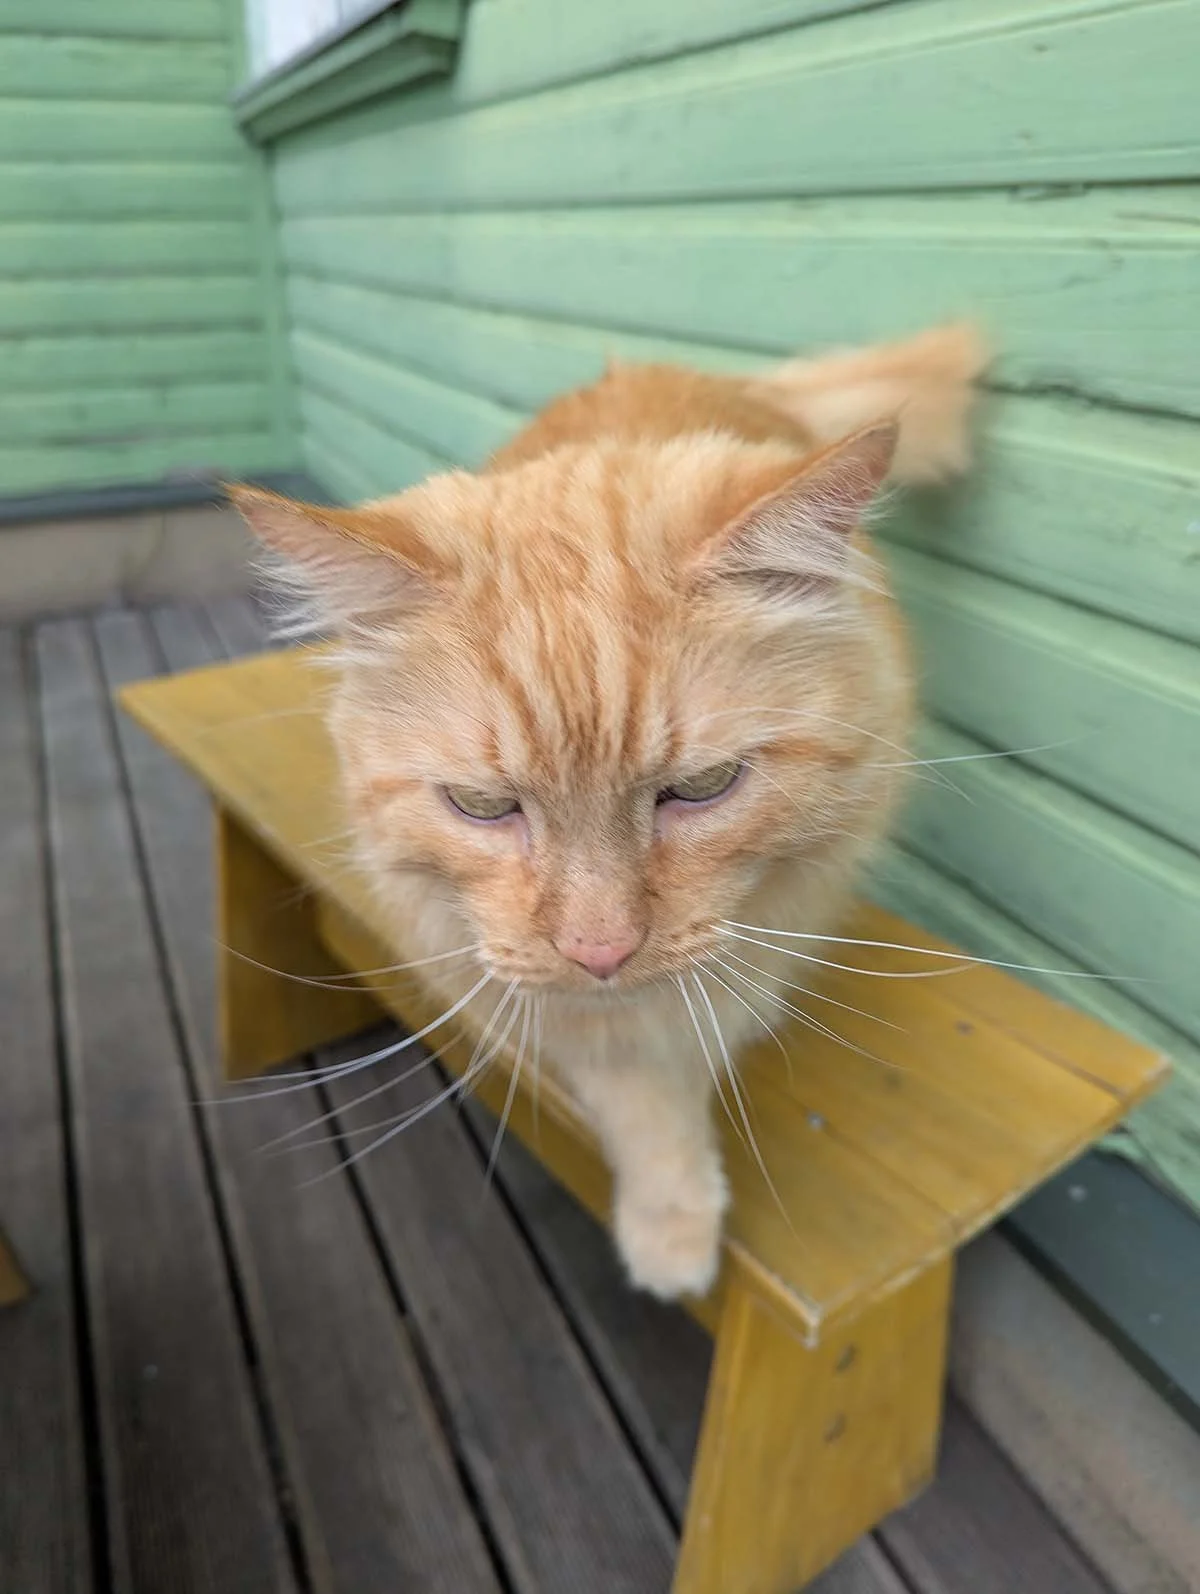
You can click into any of these cropped thumbnails to see the whole, larger images! They’re a mishmash of everything I mentioned above and some extras, like my favorite tree and the cat who demanded a lot of pets while I was eating vegan sushi.

Riga's Applied Arts Fair

I knew I wanted to visit the capital of Latvia while I was in the area, as it’s about 2.5 hours away from Pärnu so it’s a doable day trip. When I learned that there was the best traditional crafts fair of the year happening in Riga at the Ethnographic Open Air Museum of Latvia during my stay, I bought my bus and fair tickets right away!

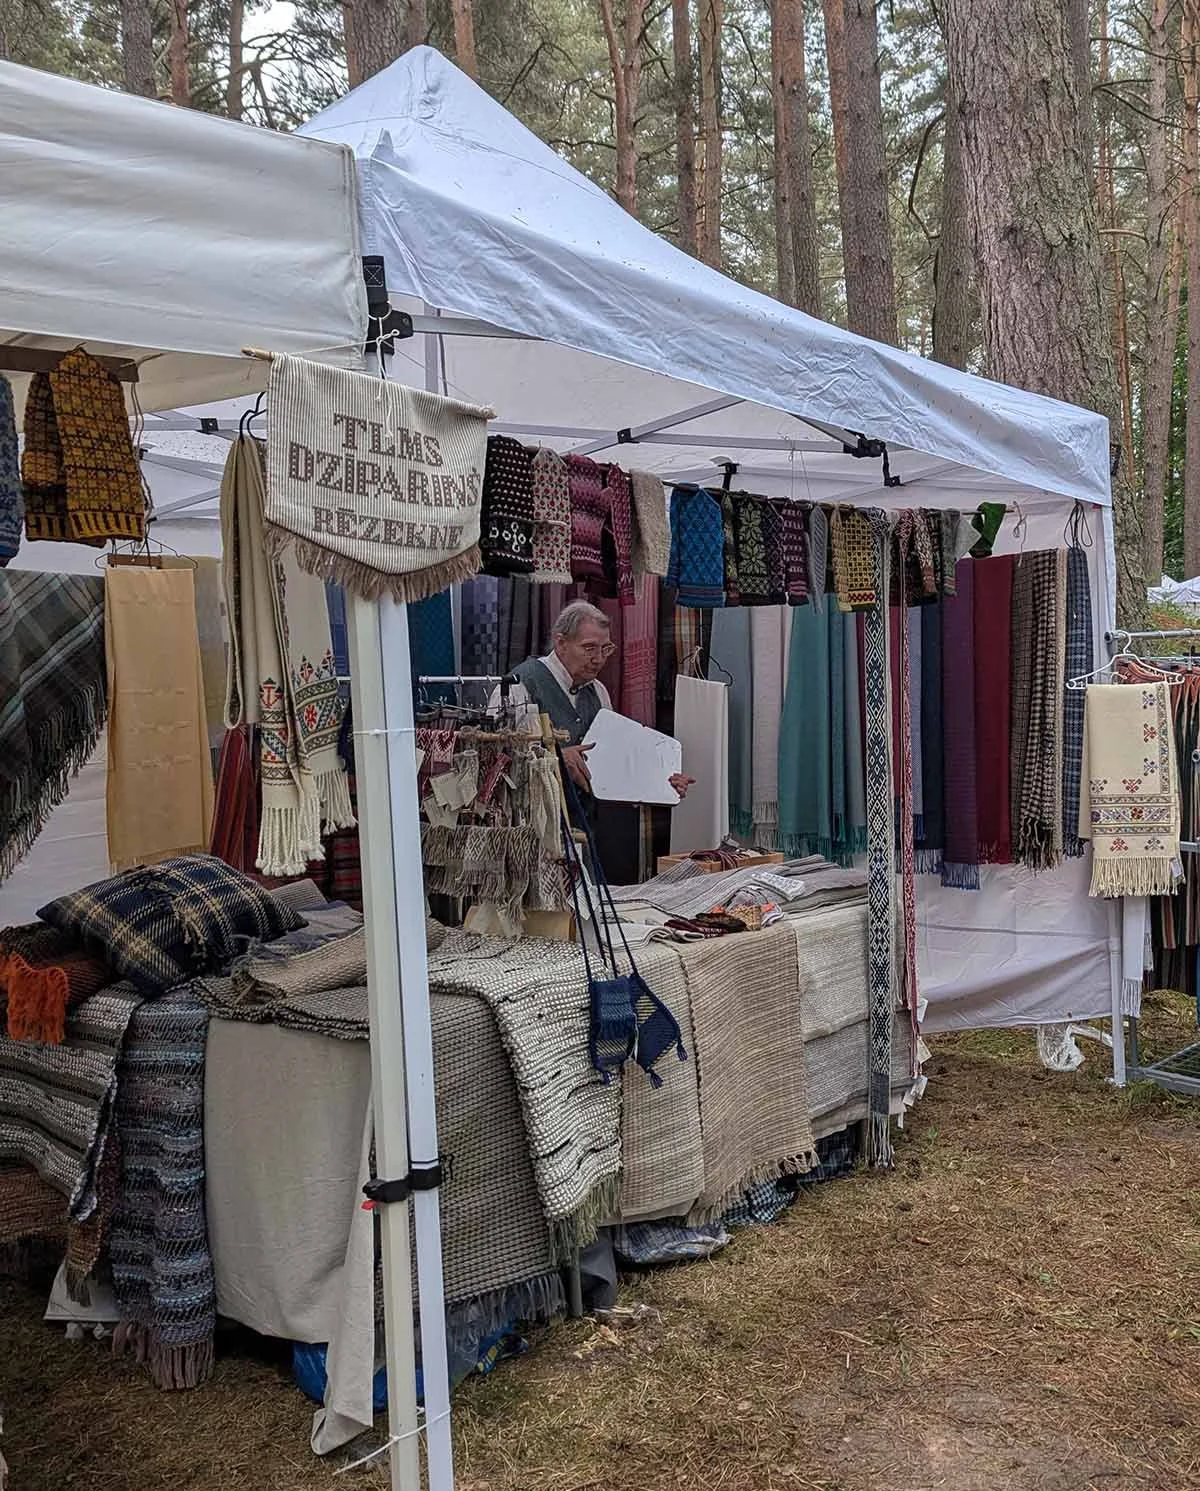
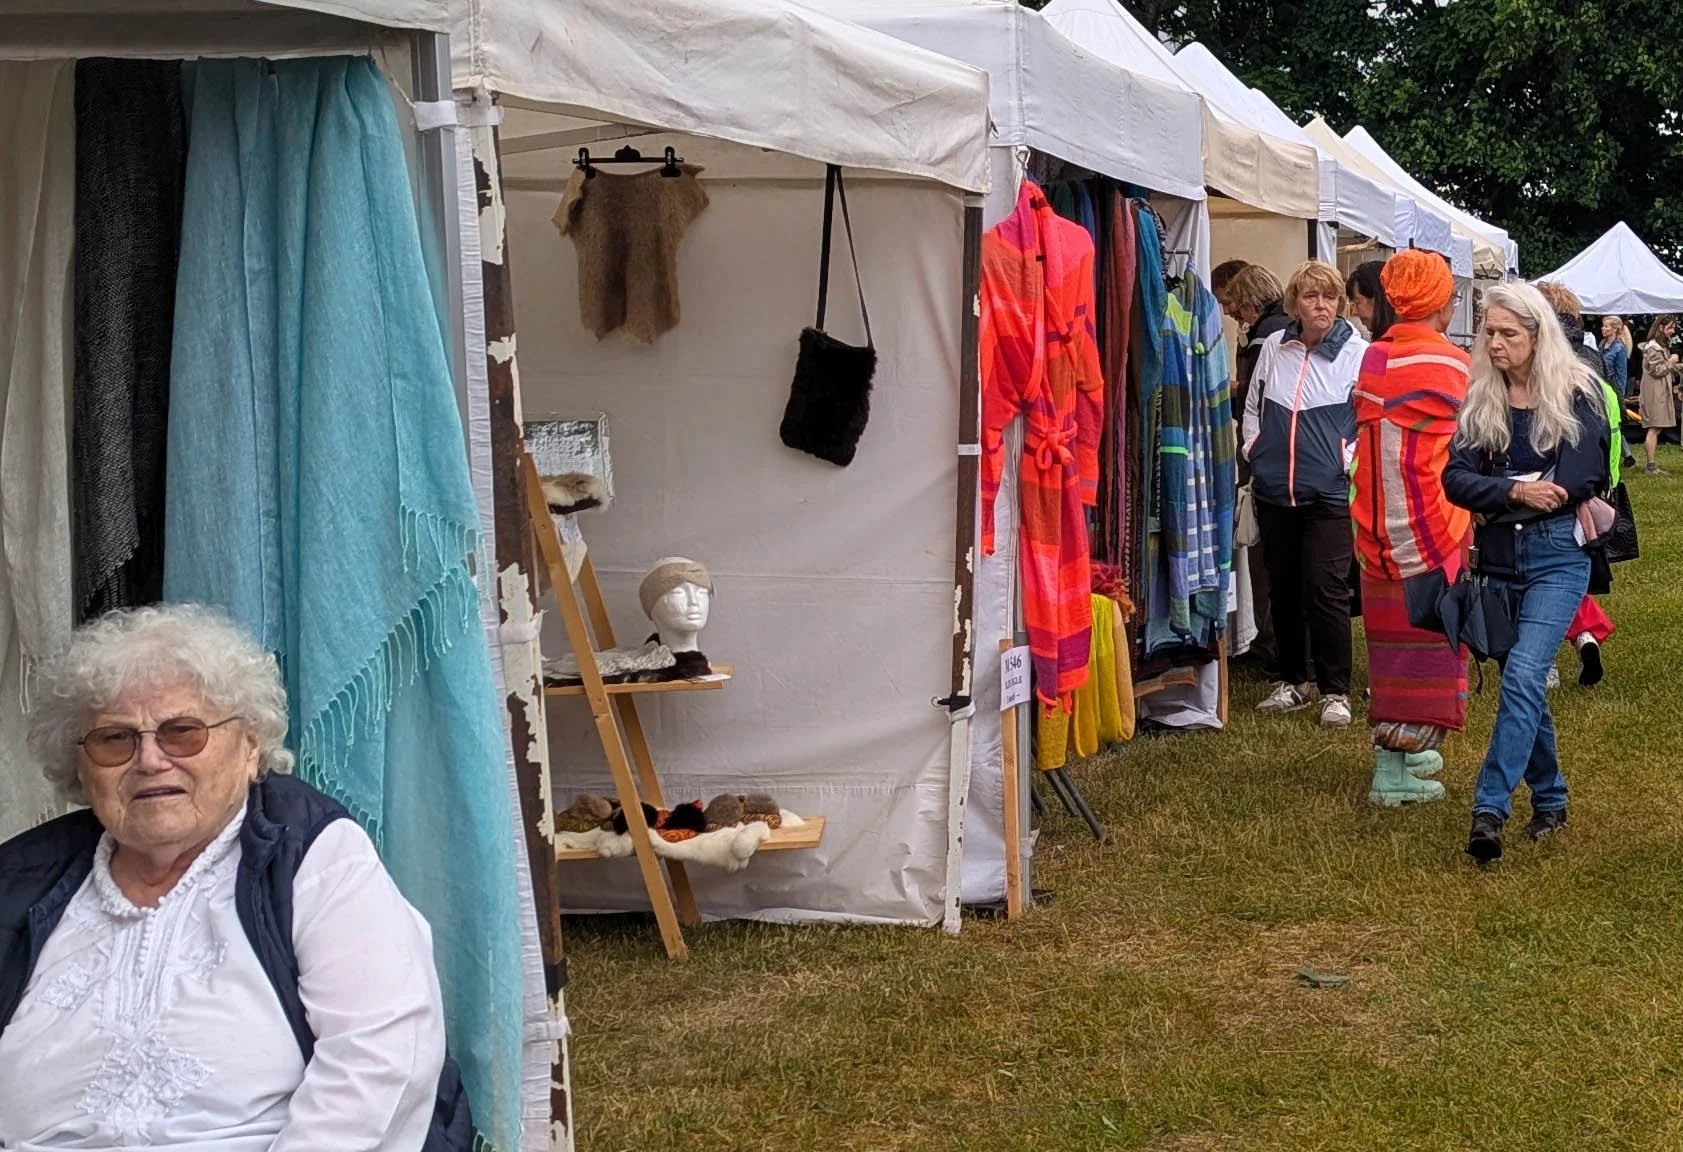
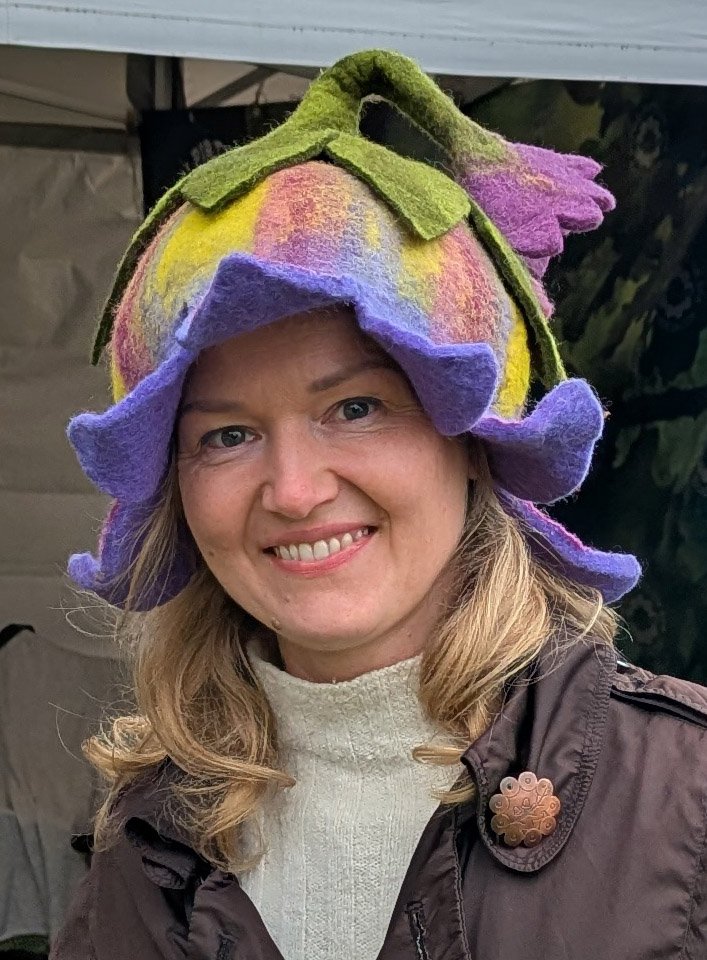
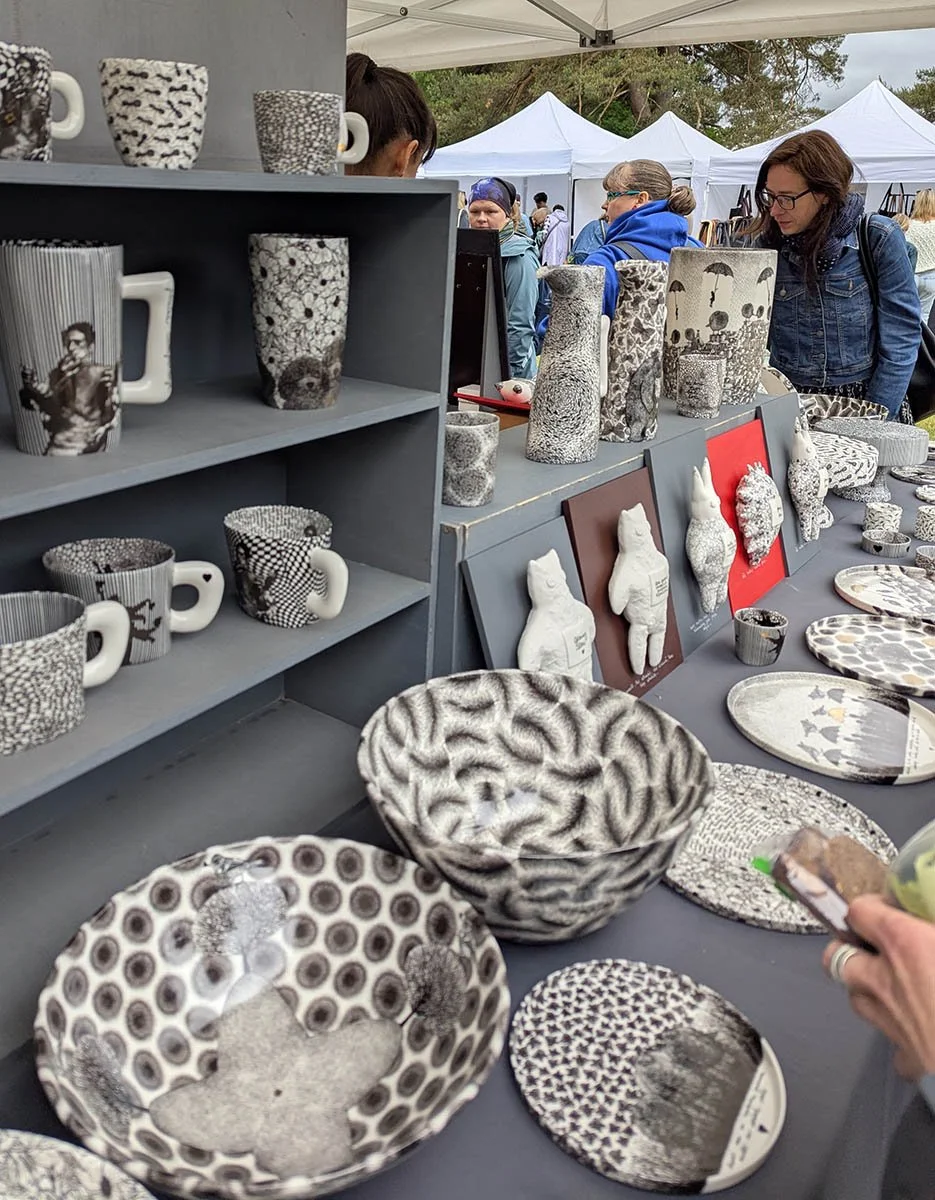
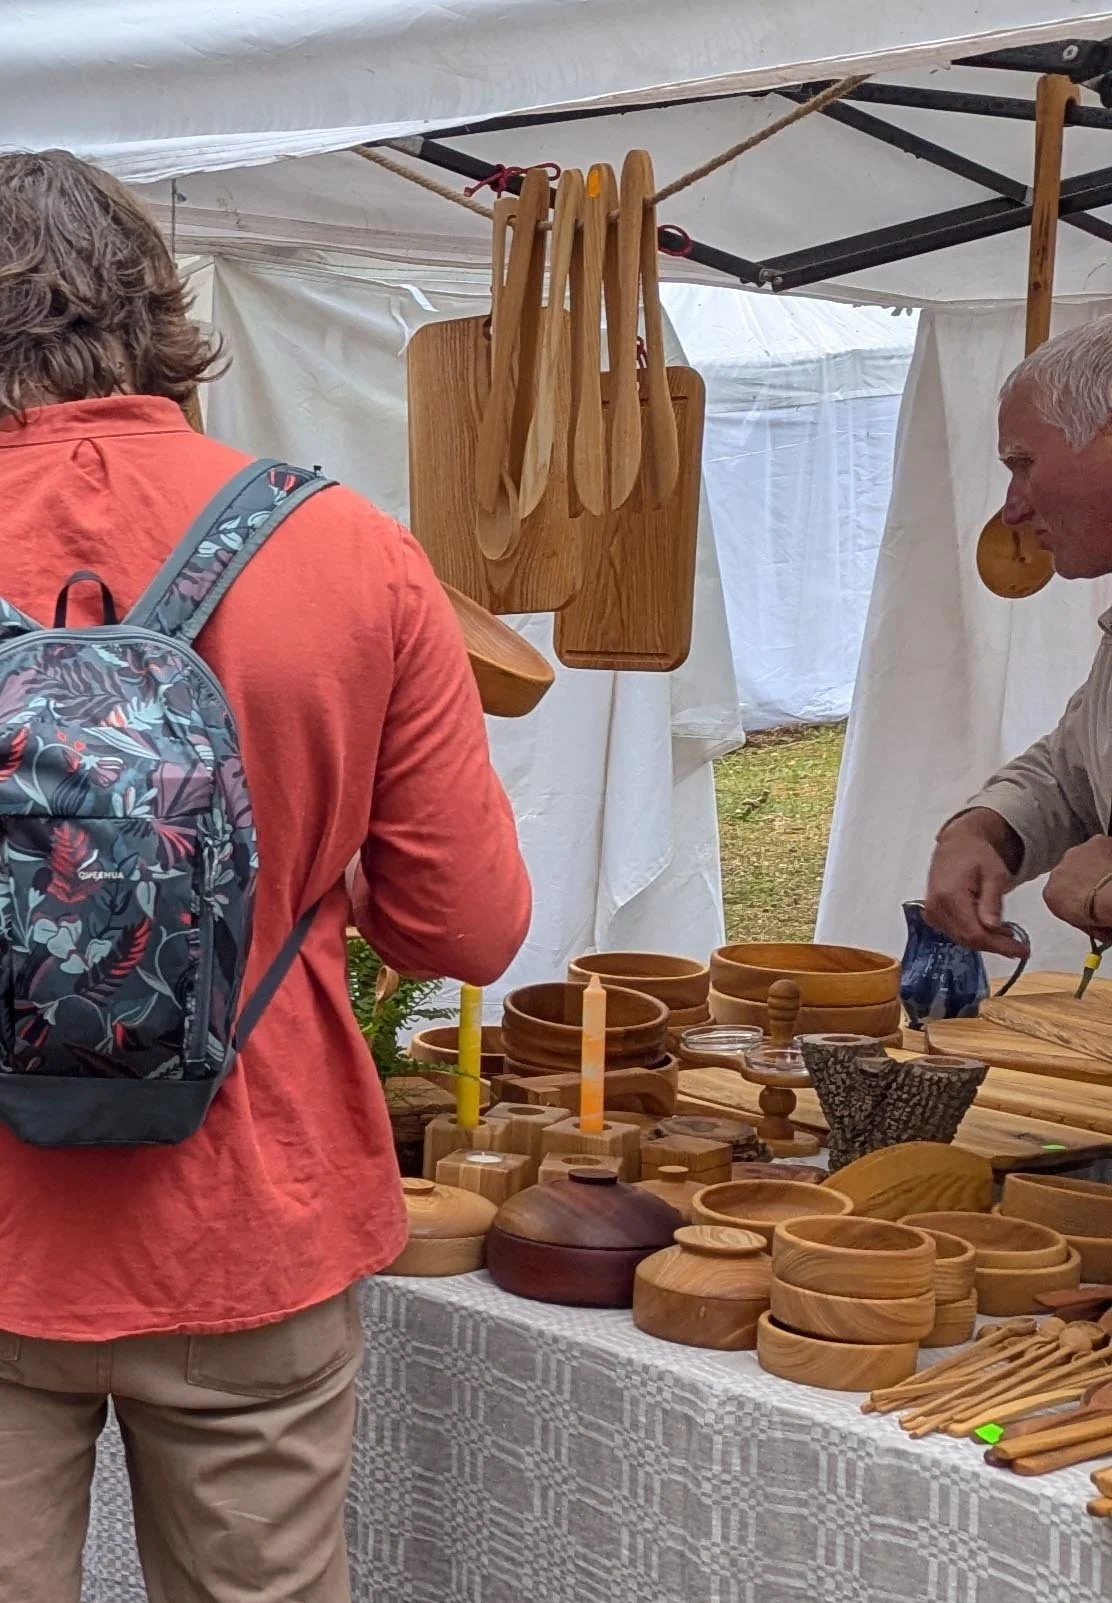
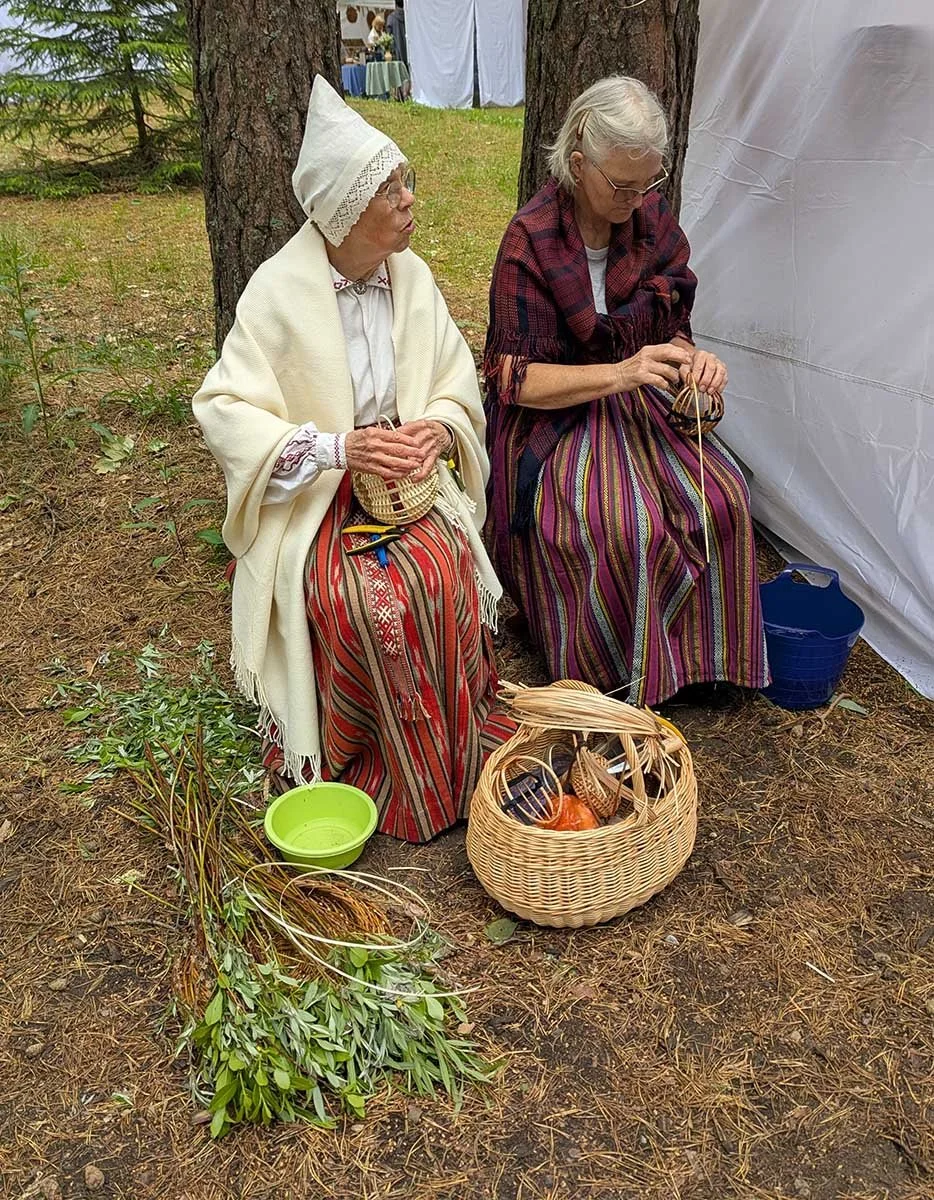
Though Riga is 2.5 hours away, getting to the museum took another 45 minutes or so of waiting and transit, but then I arrived! There were around 150 vendors of various types - basket weavers, woodworkers, ceramists, toy makers, farmer’s market stalls and bakers - and I would estimate maybe 90 of the vendors offered woolen goods including cloth, belts, clothing, mittens, socks, hats, and other accessories. In addition to those stalls, there were three major refreshment areas where attendees could buy food and drinks and port-a-potties were stationed nearby.

The fair was so big that I had to carefully section it as I went through, and it took me about three hours before I was confident I had seen each vendor. A handful of stations also had live demos, and there were also musical performances and a Latvian children’s play happening on a nearby stage.
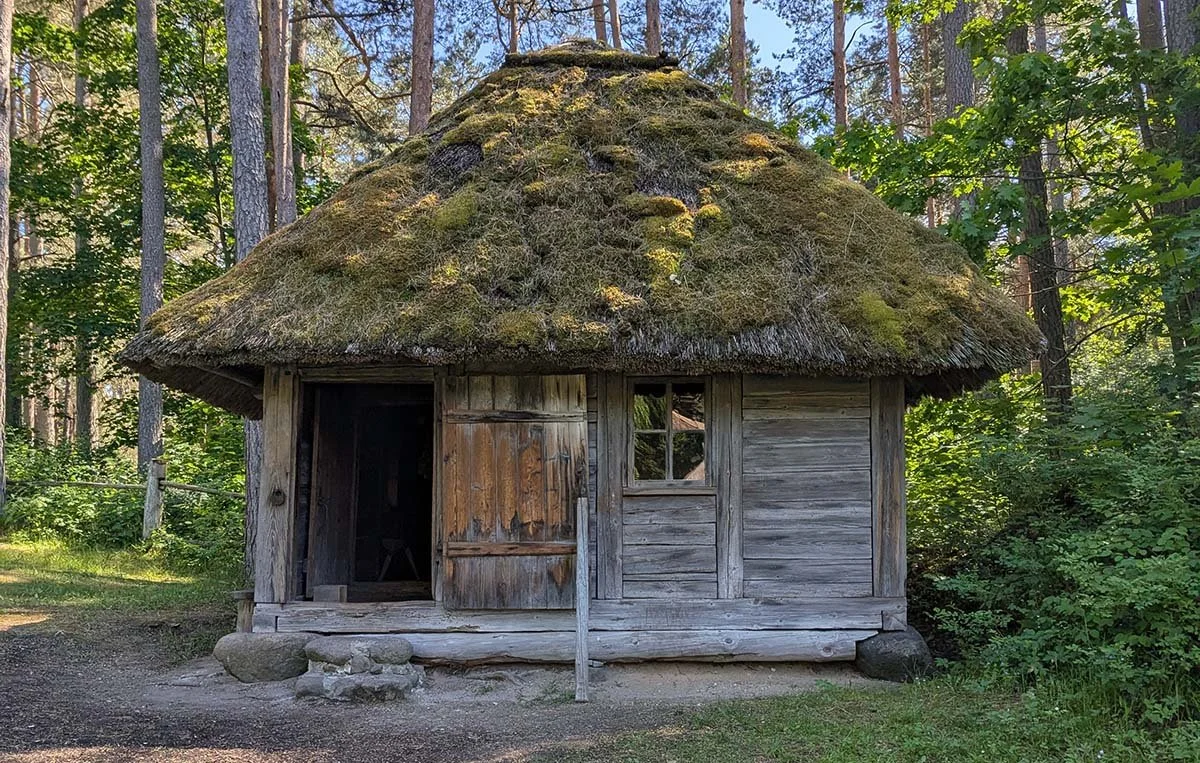
Though I didn’t buy much due to a combination of minimal luggage space, costs and size of offerings, and the fact that I don’t tolerate wearing wool directly on my skin, I really enjoyed browsing all of the wares. Afterward, I wandered through part of the Ethnographic Open Air Museum. Then I headed back to central Riga by bus, and by the time I arrived, it was already after almost all the museums and shops had shut. I got dinner at a nearby mall food court (a surprisingly delicious meal!), and then hopped on my bus back! I do plan to return for another day trip, since I didn’t really see much of Riga overall beyond the Ethnographic Open Air Museum.

My First Days in the Baltics - Helsinki, Tallinn, Western Estonia

I flew into Helsinki, Finland; when I was looking at my flights, I saw they all routed through Helsinki to Tallinn. Since I knew I wanted to visit it during my stay, I figured I’d save on time and ferry costs if I just landed in Helsinki to begin with and then ferried down to Tallinn after a couple of days.

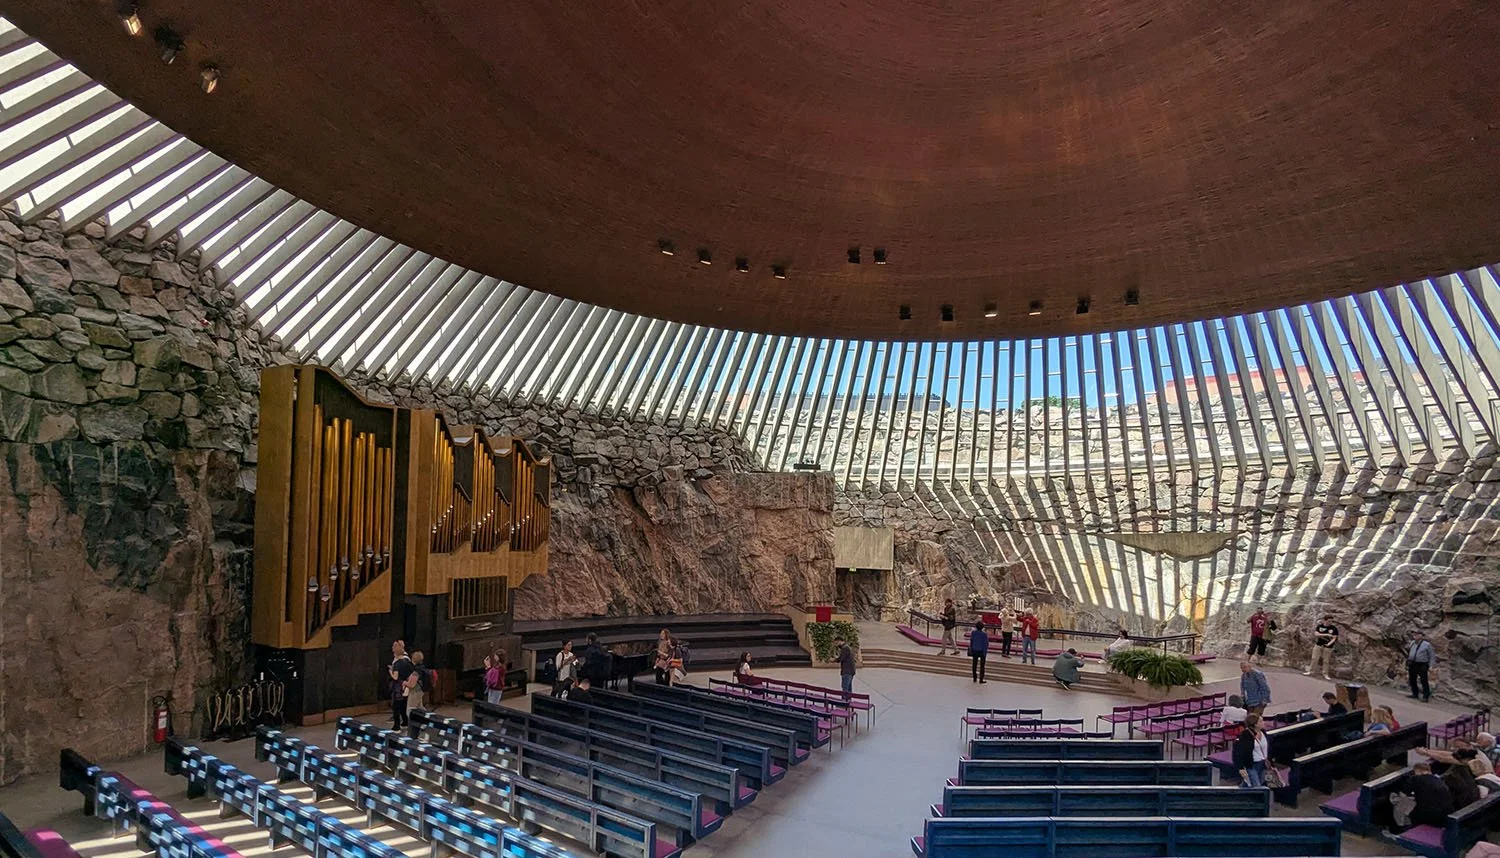
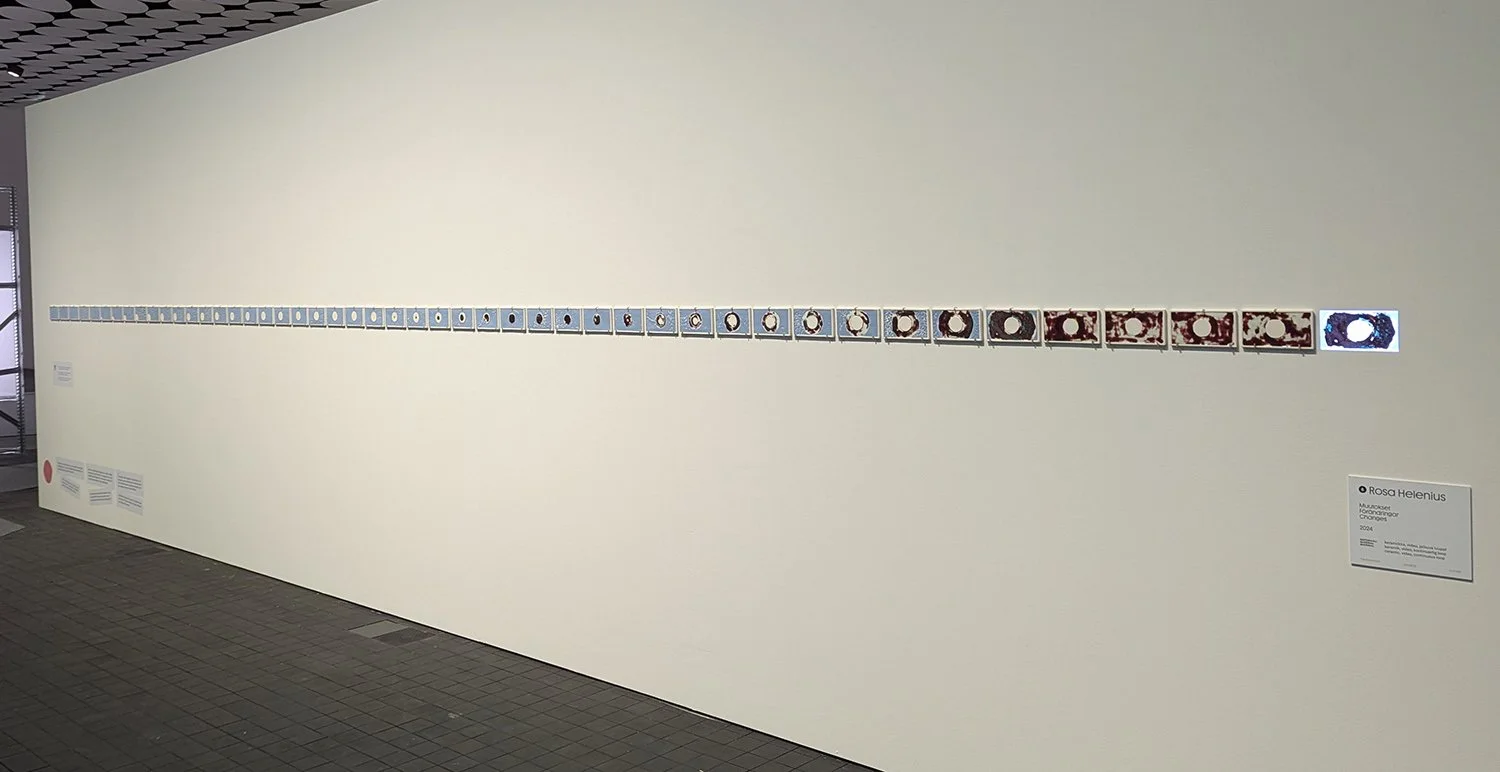
In Helsinki, I visited two different museums (the Architecture and Design Museum and Amos Rex), Temppeliaukio Church, and checked out Hietalahti flea market, Market Square, Old Market Hall), and the Design District. I was lucky enough to get to visit Amos Rex with a former student of mine who was also in Helsinki, so that was quite cool! As I was seeing all the arts and crafts, I noted how much knitting, crocheting, fiber arts, fabrics, and fashion are a part of the design landscape here - particularly that of women. I decided I want to lean into that for my own artwork.

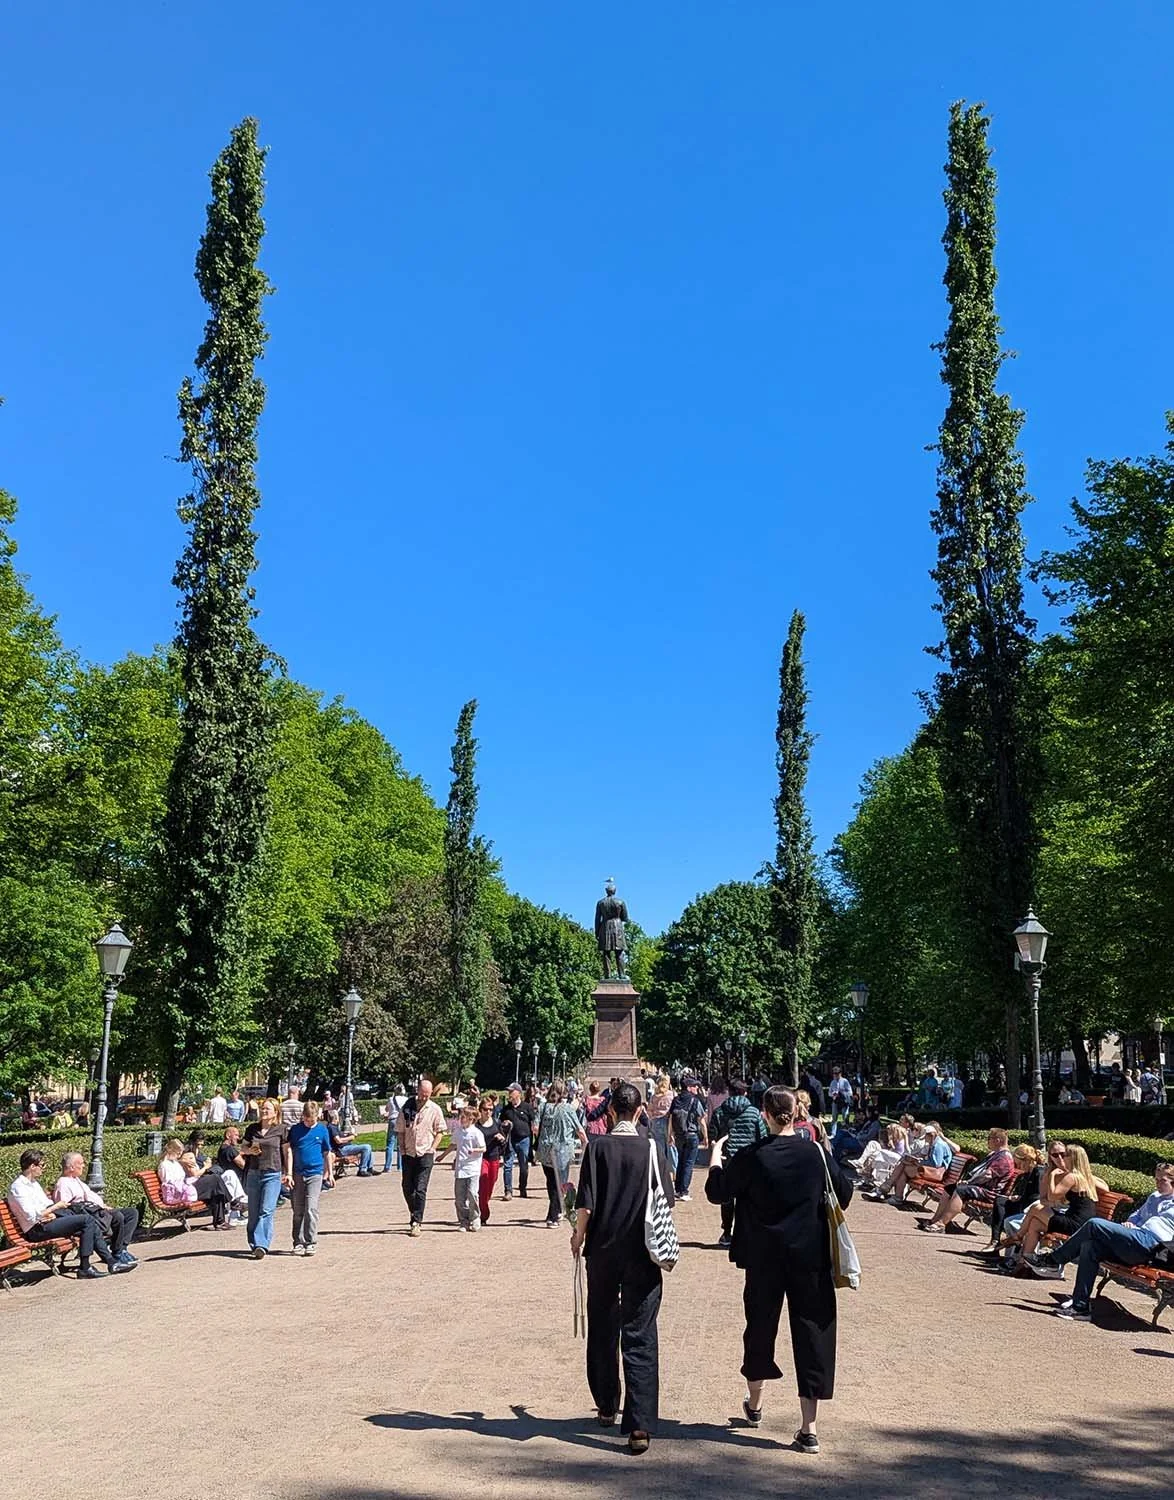
Some general takeaways from Helsinki - the downtown and all associated destinations felt more contained and smaller than I anticipated. There is pretty clearly a decent vegan and vegetarian scene. The tram system is really nice. For whatever reason, Helsinki is like Japan wherein they give you the smallest of cups even for water, so you have to ask for refills constantly. Or you just outright have to pay for water, and even then it’s a tiny bottle. I much prefer the US’s large glass of free tap water approach.
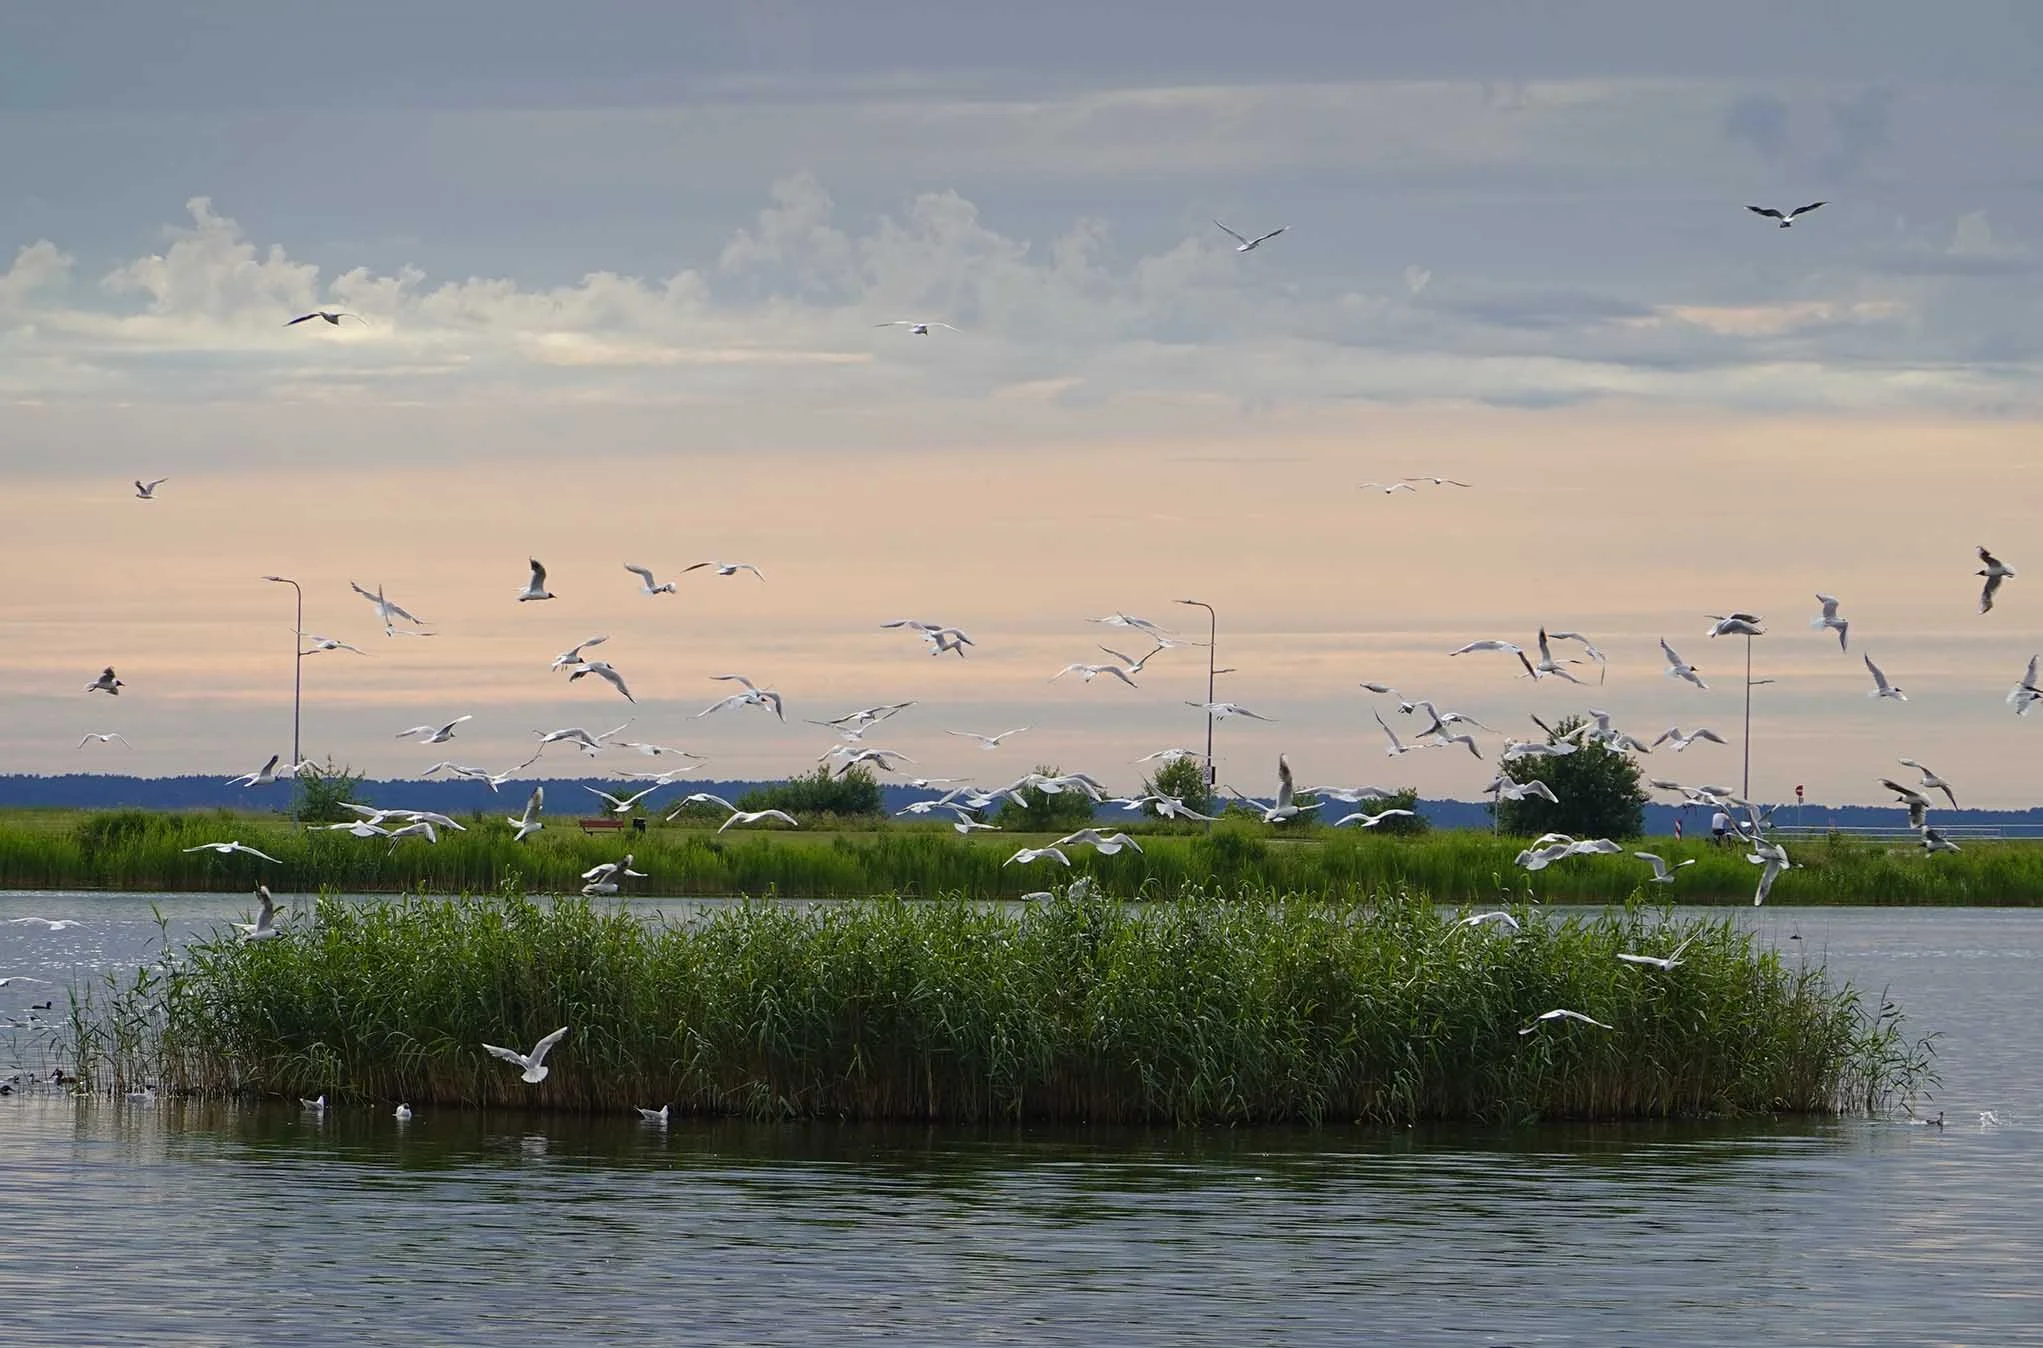
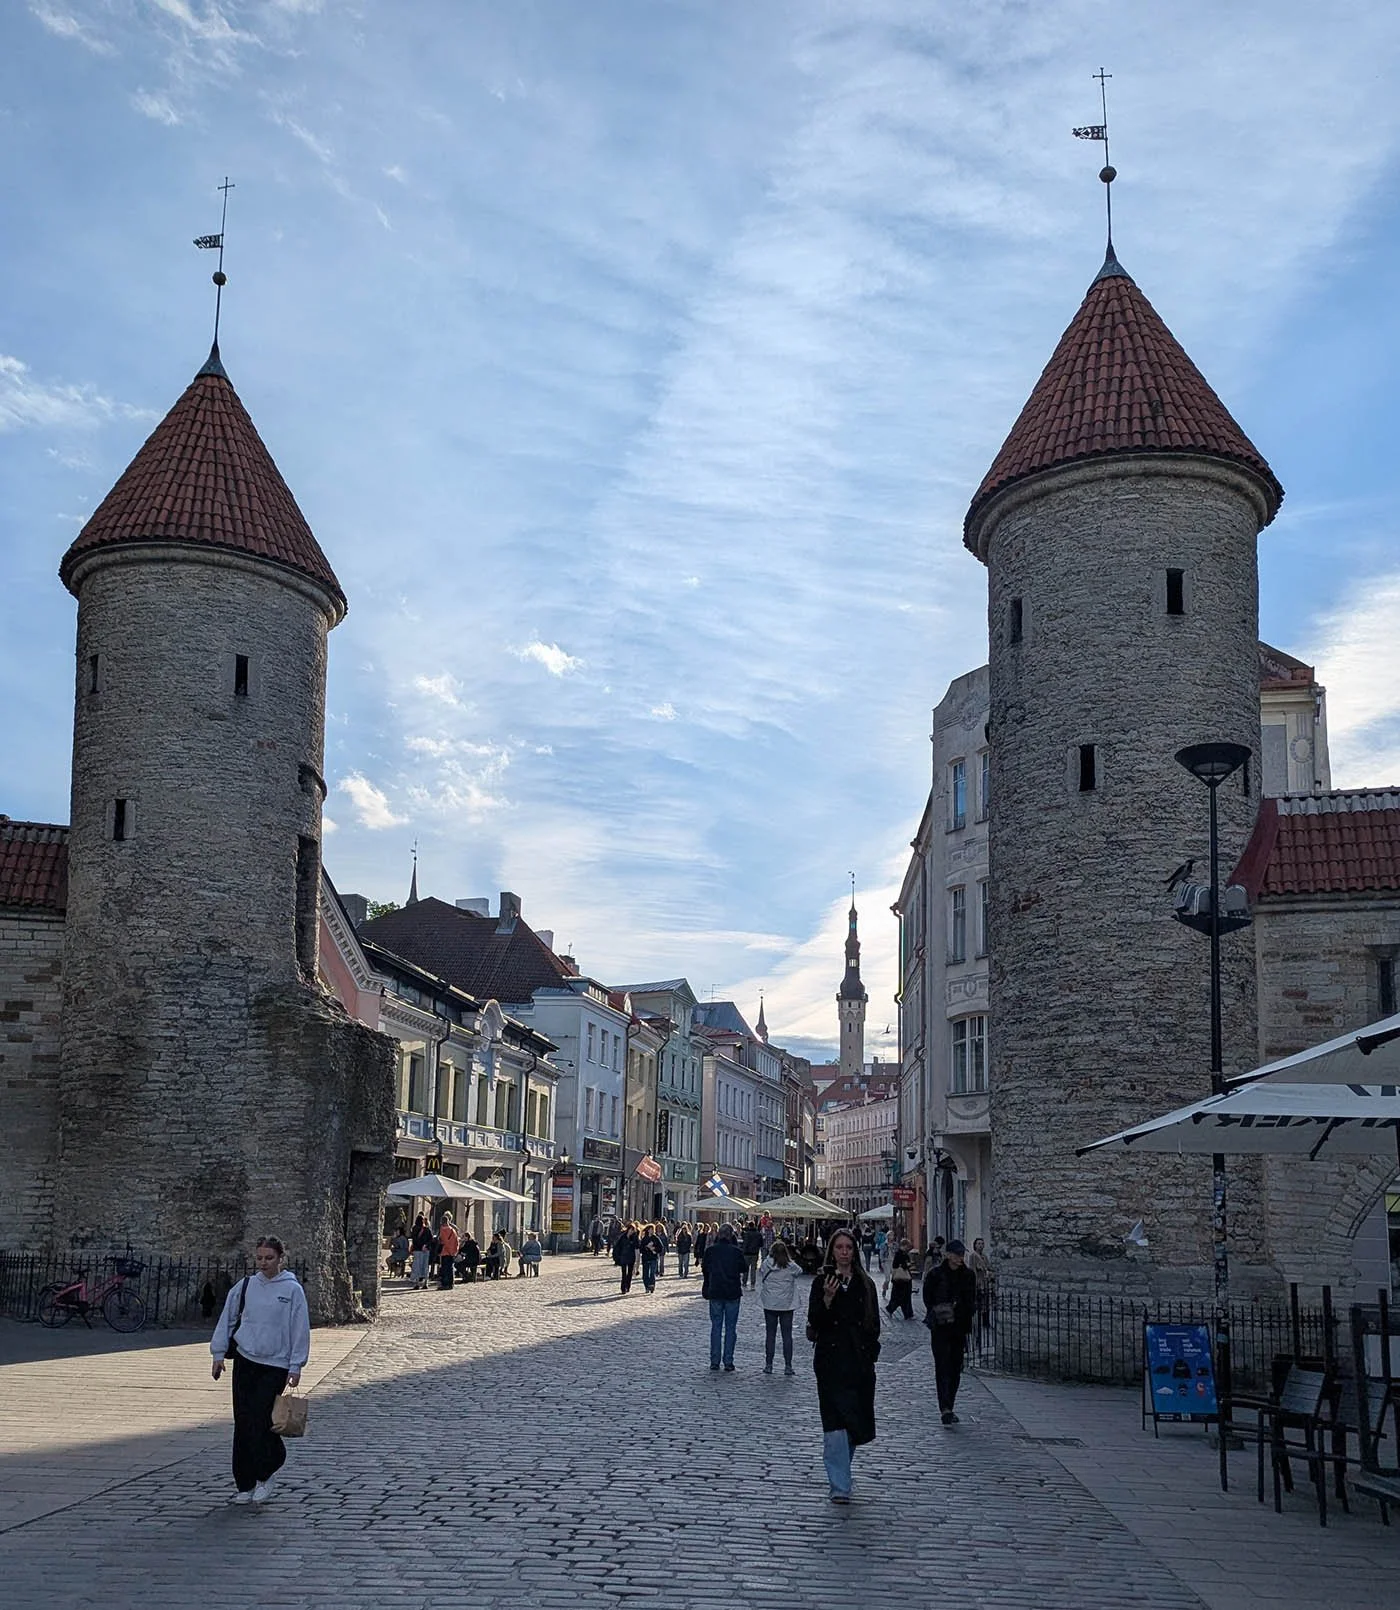
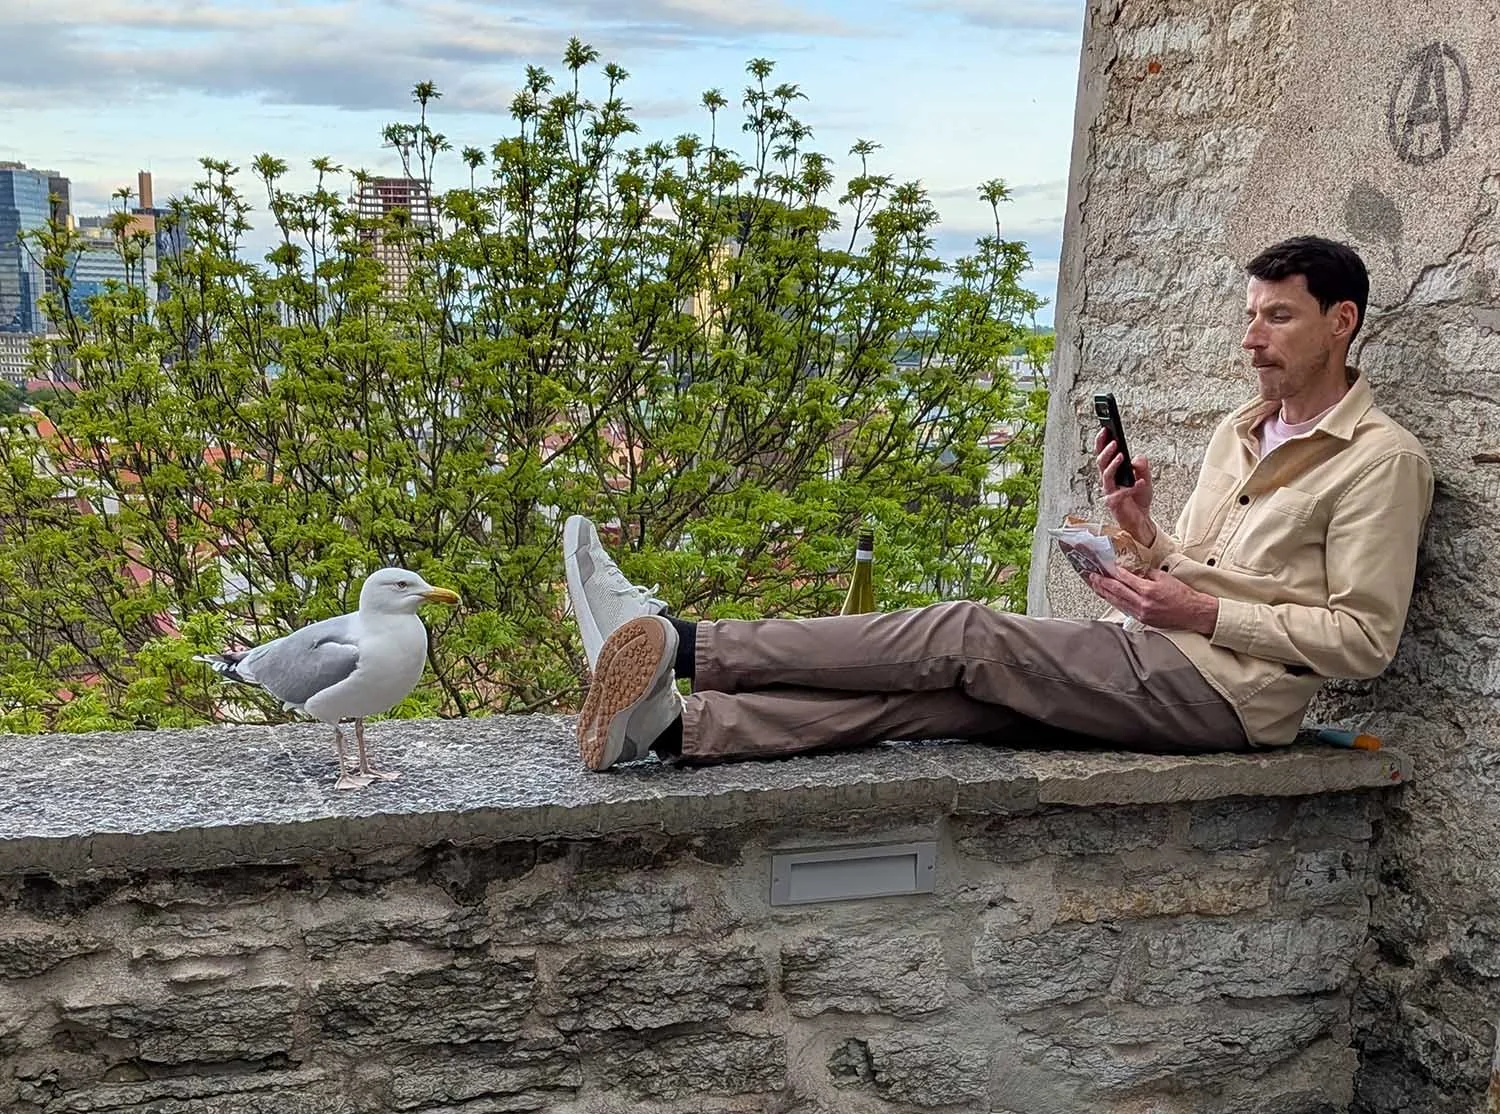
After I was done touring Helsinki, I took the Tallink ferry down from Helsinki to Tallinn, Estonia. The ferry was absolutely enormous, and fortunately it did not set off any significant motion sickness. Once in Tallinn, I hauled my luggage from the port terminal to my hotel and set off on an evening walking loop of the Old Town. Note the seagull-man standoff; they were arguing about whose dinner it was that the man was trying to consume.

The next morning, I headed to Karnaluks OÜ to check out fabric and ribbon options, and had lunch in Tallinn before catching a bus down to Pärnu. After I arrived, I met with the residency directors Taje Tross and Al Paldrok, and they showed me the ins and outs of the residency and nearby neighborhood. I popped out to grab some groceries and then met up for dinner with Marko Poolamets, a Renaissance man. Amongst his many professions, he serves as a nature photographer and tour guide; I had booked the next day with him and his gear. He is also a university professor of marketing, an oral history interviewer, sits on the board of two museums, does environmental science work…

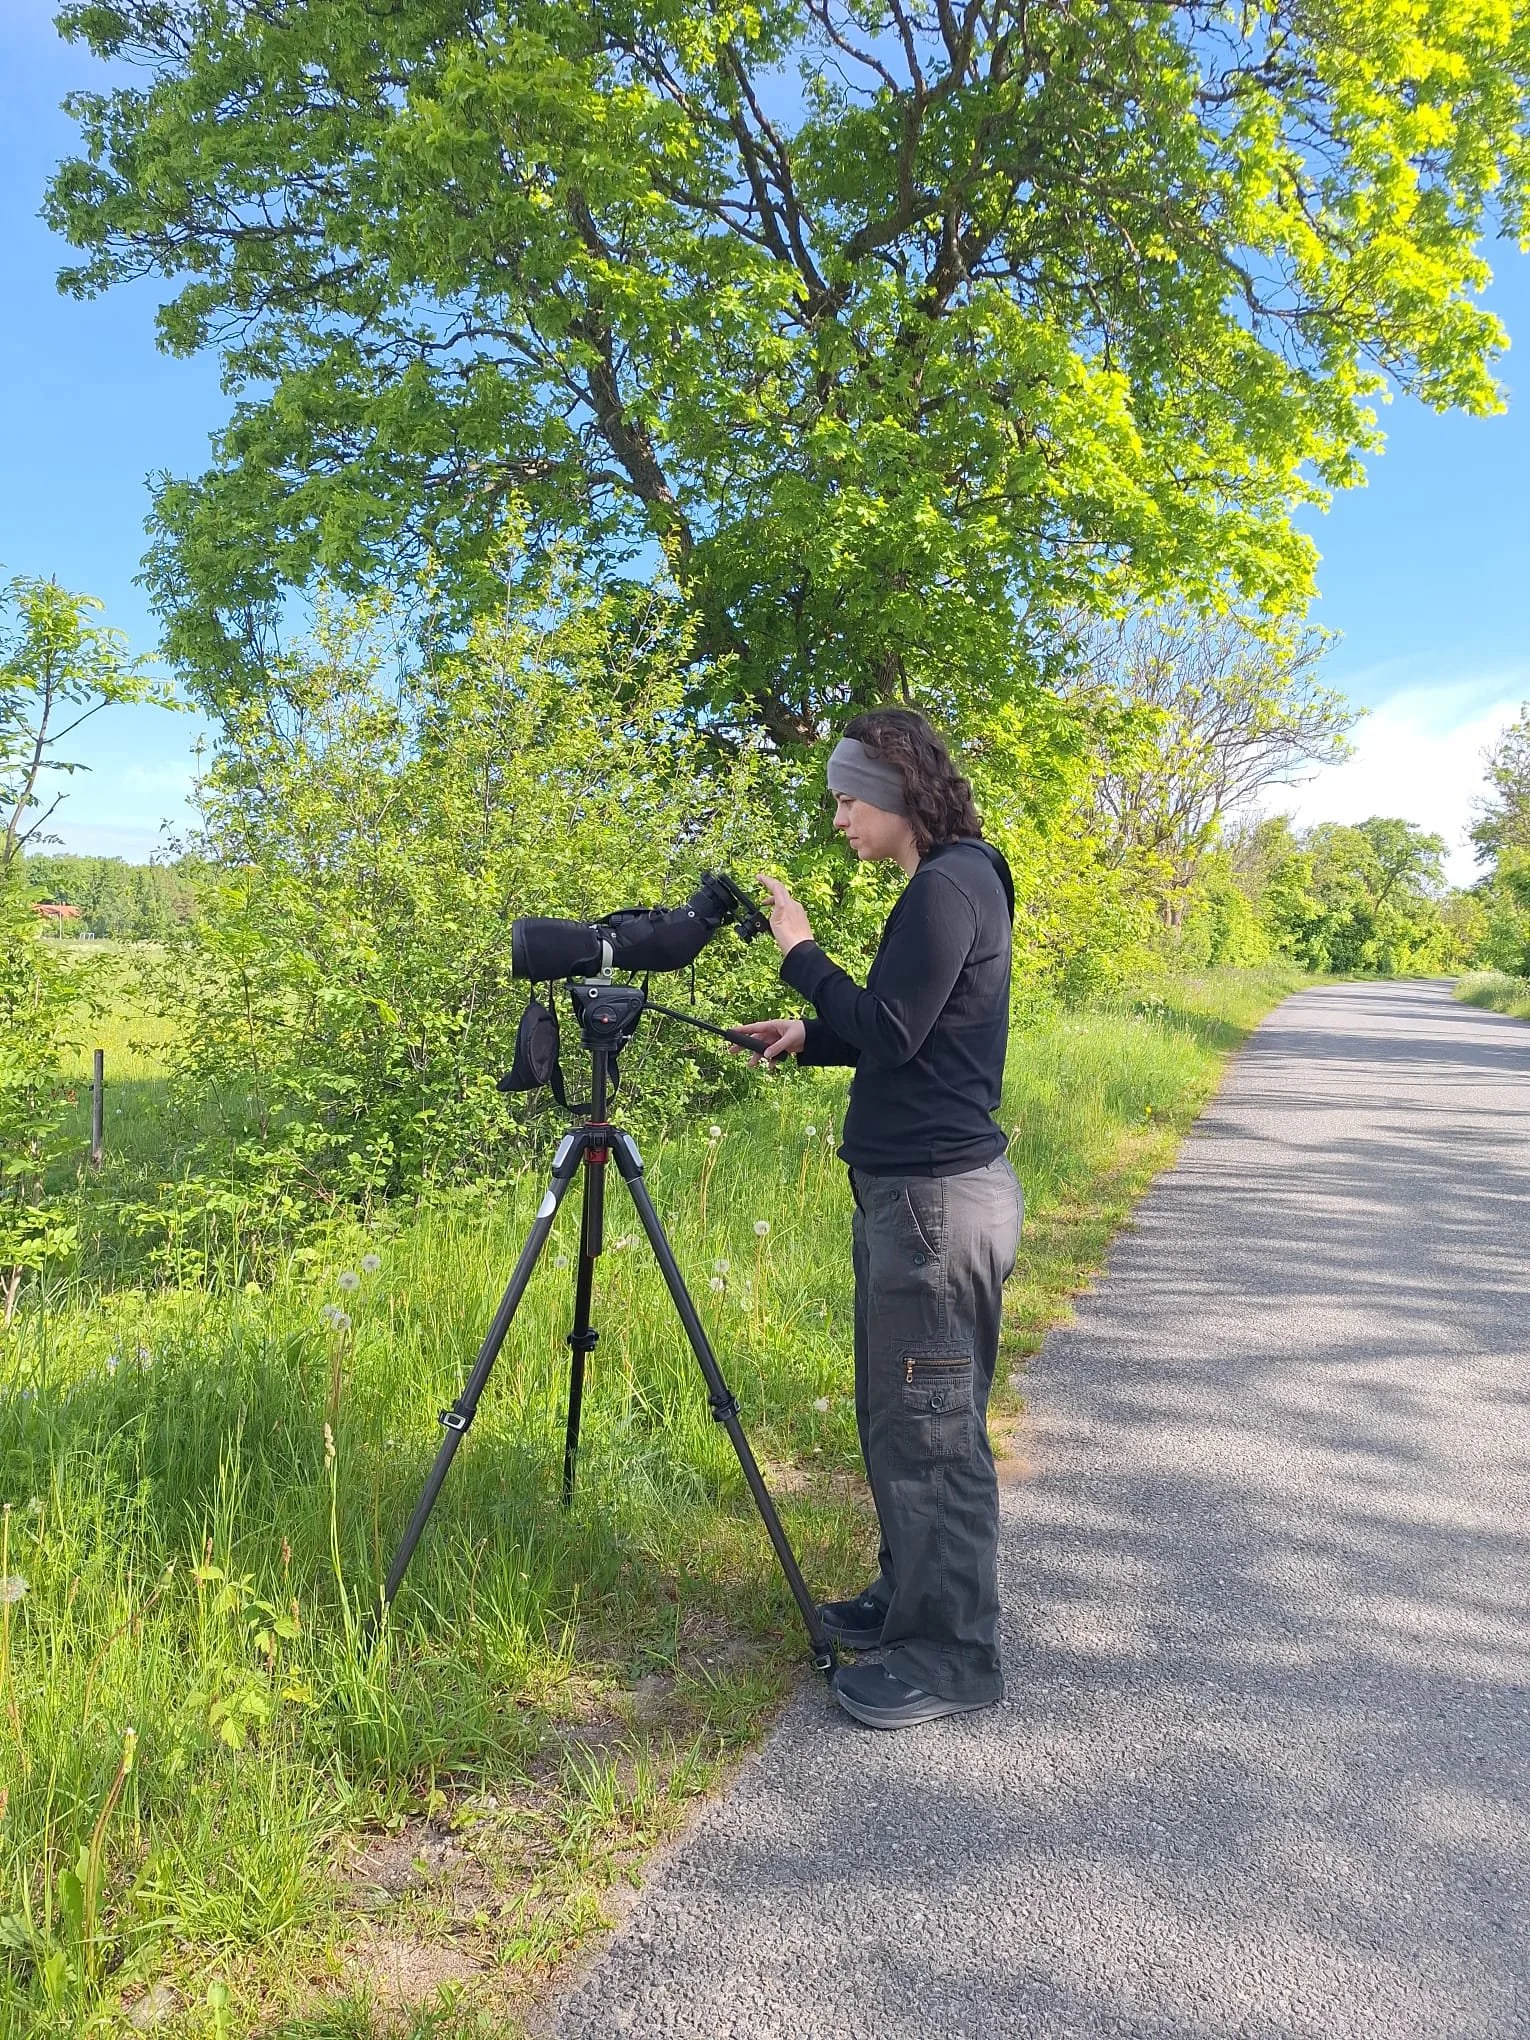
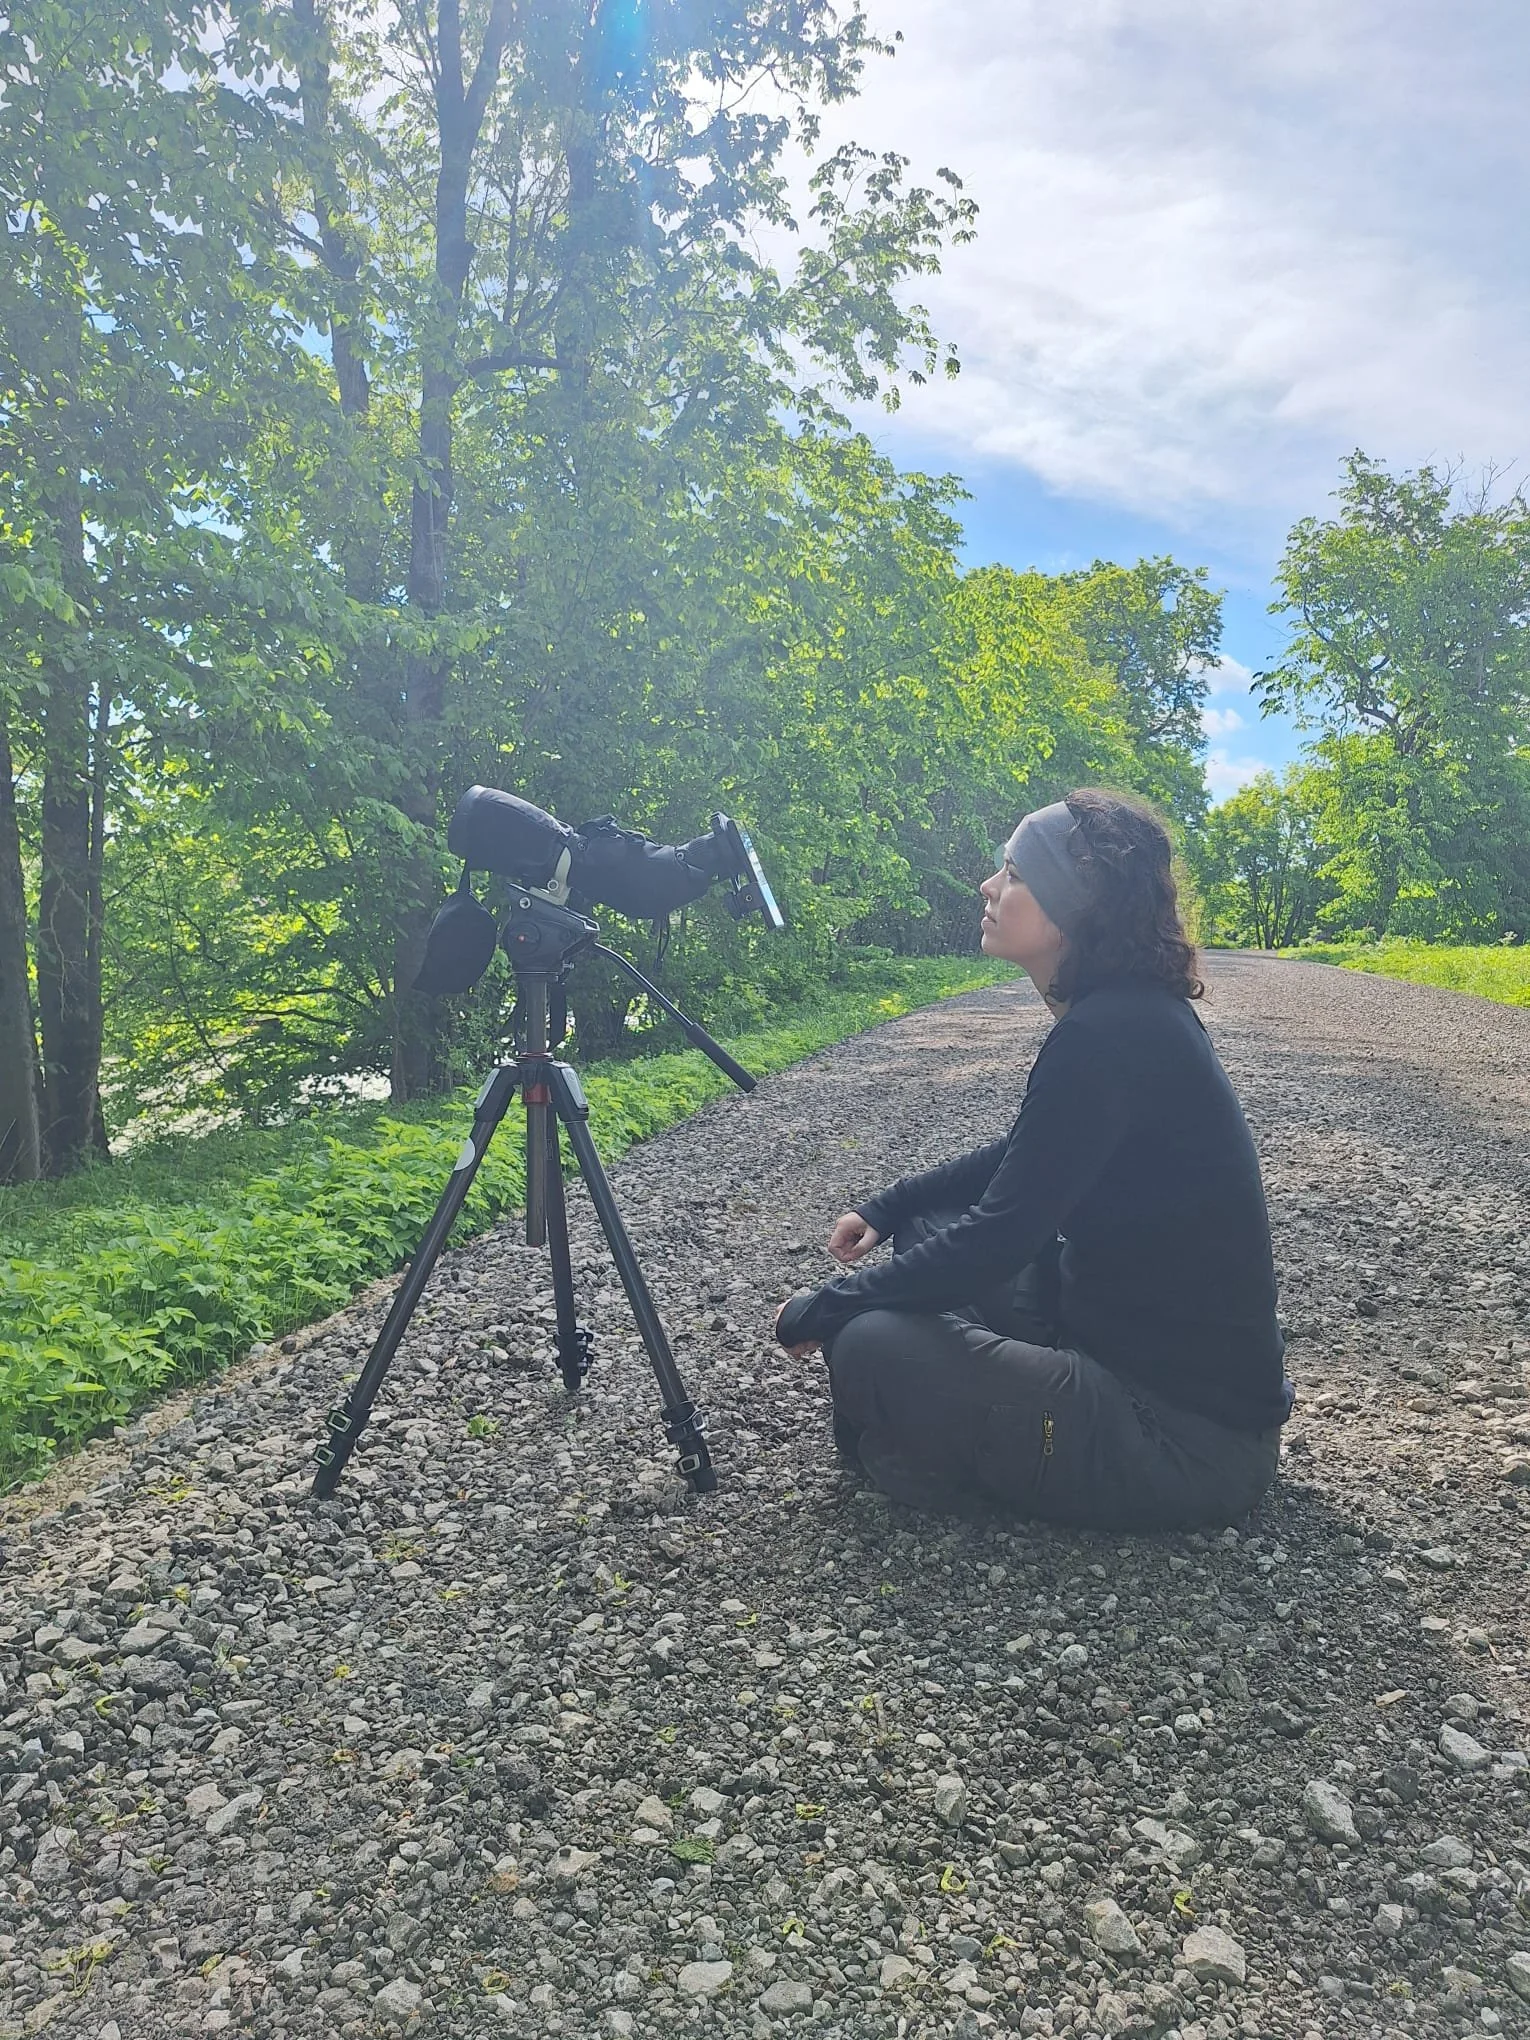
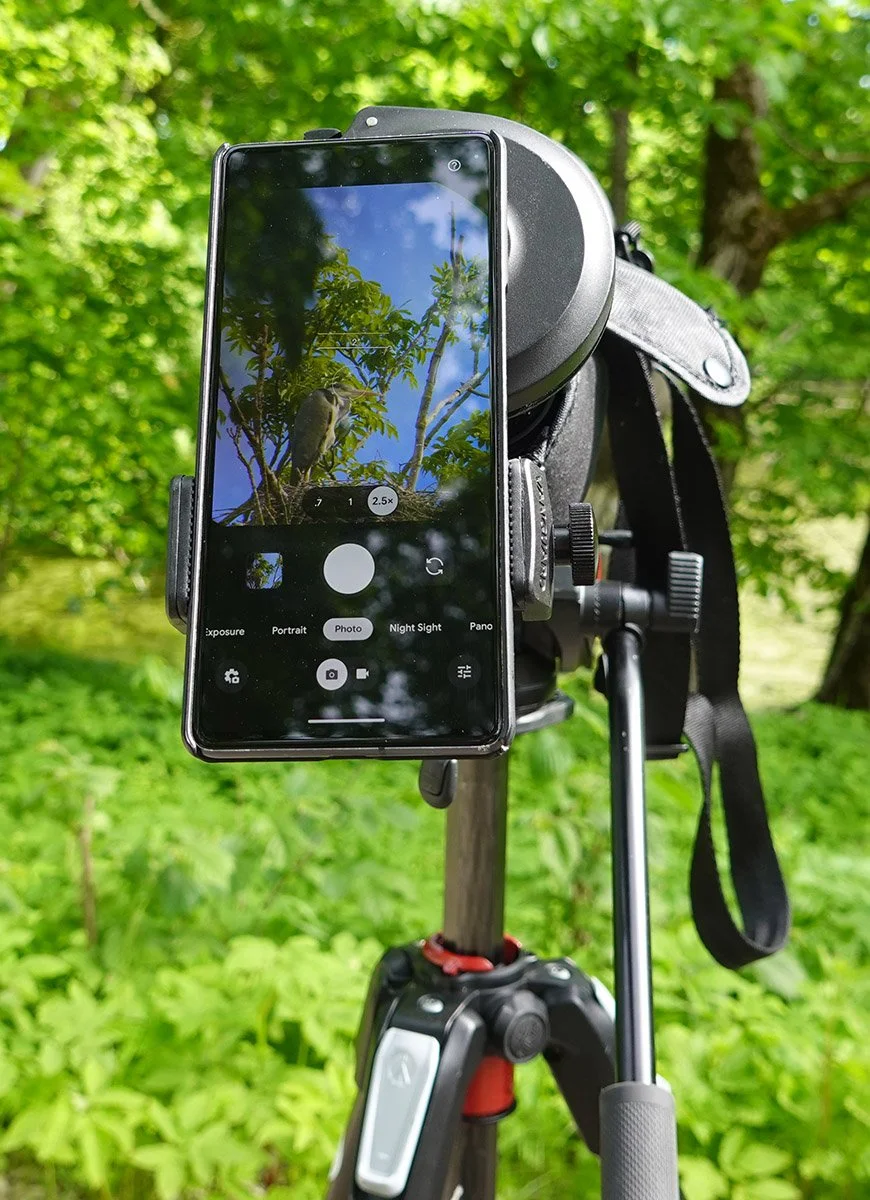
The next morning, Marko and I woke up quite early and went out for a long, delightful day of mostly birding (we were open to other species too, but the birds are plentiful here!). It was lovely to work with him and to get to borrow his gear, including his spotting scope with phone attachment. We spent a full twelve hours touring around a chunk of western Estonia including Matsalu and Haapsalu.

Then the rest of that first week I spent in the studio!

Preparing for the Next Raku Workshop: Hump Molds!

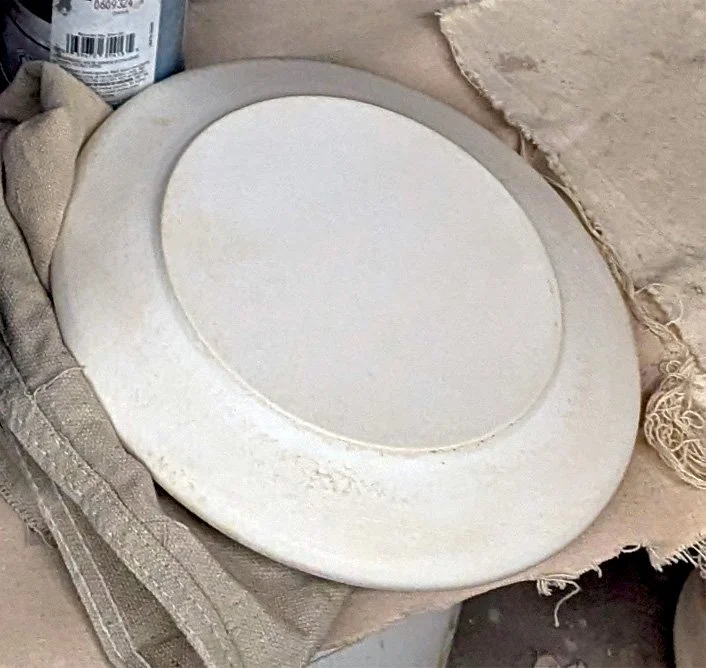
A plaster hump mold for a plate.

I’ll be taking a group of nine (including myself) to another raku ceramics workshop at Dakota Potters Supply this weekend!

This semester has been very busy, so I’ve chosen to focus entirely on hump-mold pottery for this workshop. Using plaster hump molds (convex forms over which slabs are placed and pressed) significantly reduces the time required to make raw ware compared to pinch-pot, hand-built construction.

Hump molds also allow me to easily add and retain complex texture particularly to the interior of a piece; when making a pinch pot, the shape comes from pounding, pulling, and tapping the clay with tools that typically leave a fairly consistent surface. I can add texture to the exterior of a pinch-pot bowl or vase after it is built by rolling it over a texture plate or hitting it with a textured paddle, but I can’t do that to the interior. I can always carve texture into both sides or use other techniques if I really want to, but what I’m getting at is that texture is more complicated to add and retain when working in my preferred pinch pot style.

With these plaster hump molds, I can easily add complex surface texture to a flat slab and control whether it appears on the exterior, interior, or both. I then rely on gentle pressure, gravity, and evaporation to shape the clay, rather than the more aggressive pinch-pot methods that diminish or fully remove surface detail.

I am also continuing to experiment with Mason stains and burnishing on a few of the ceramics!

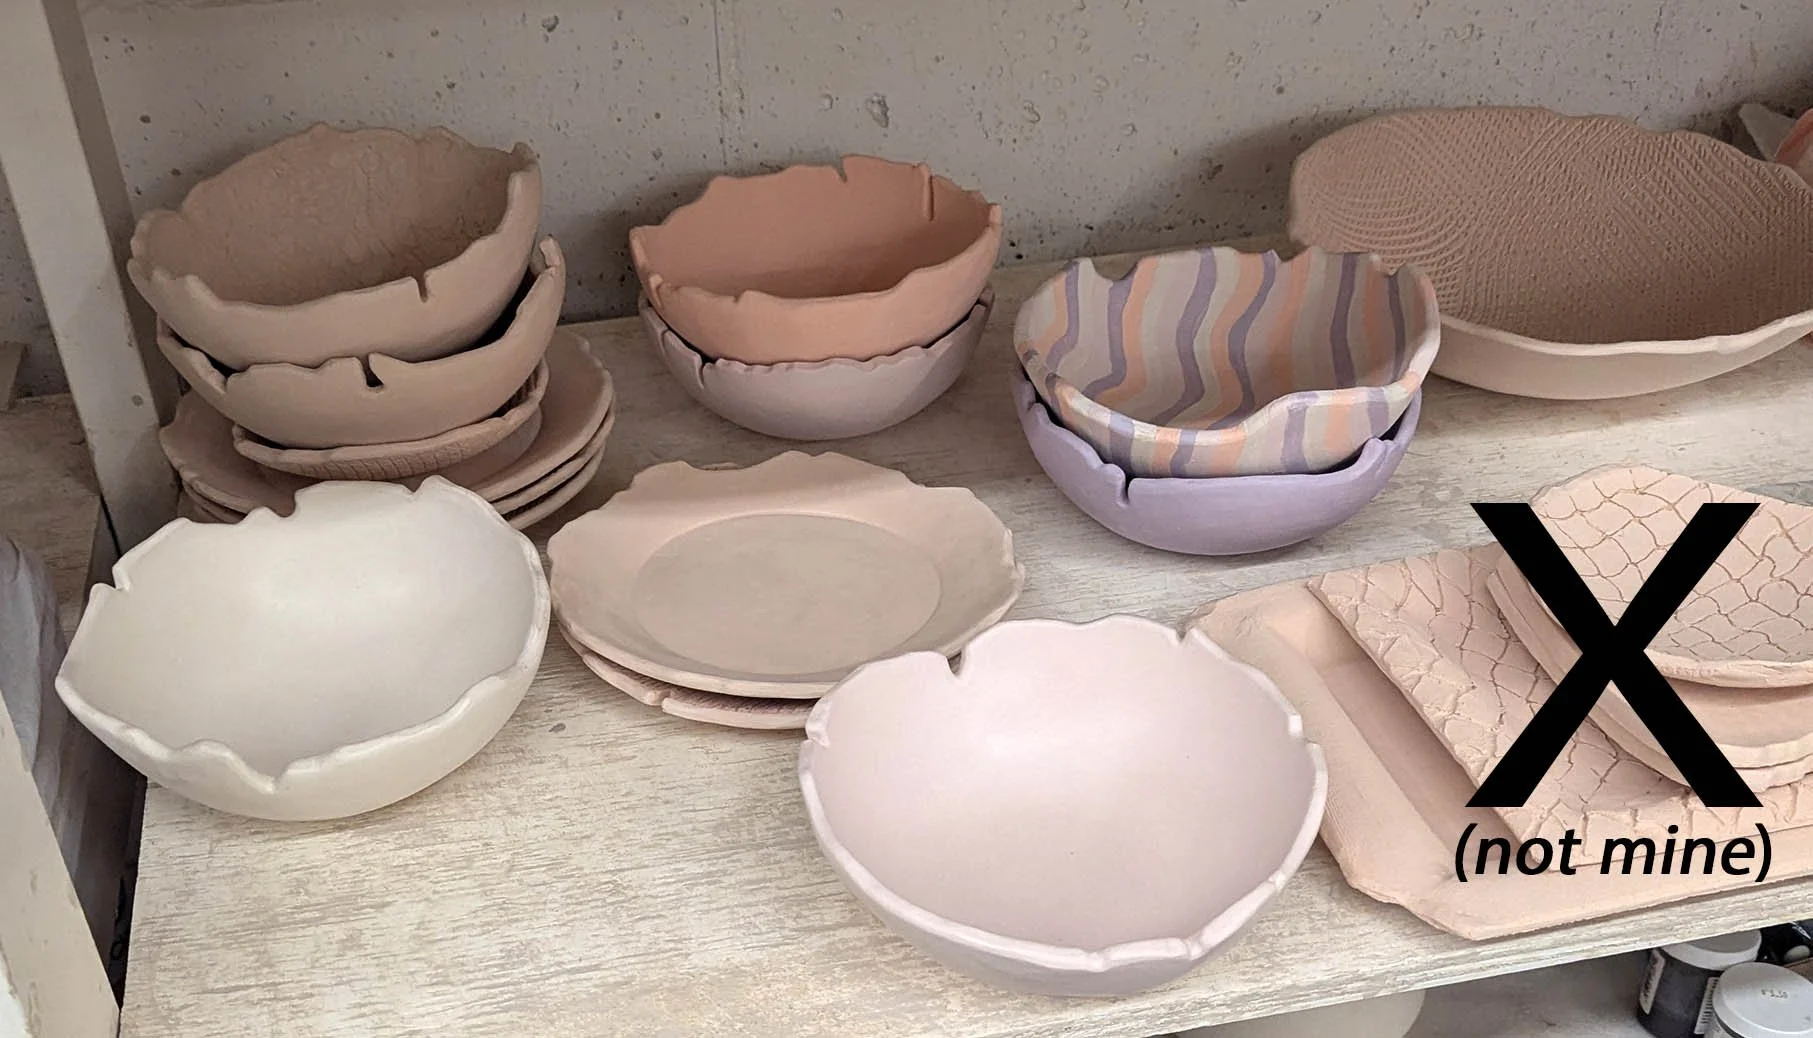
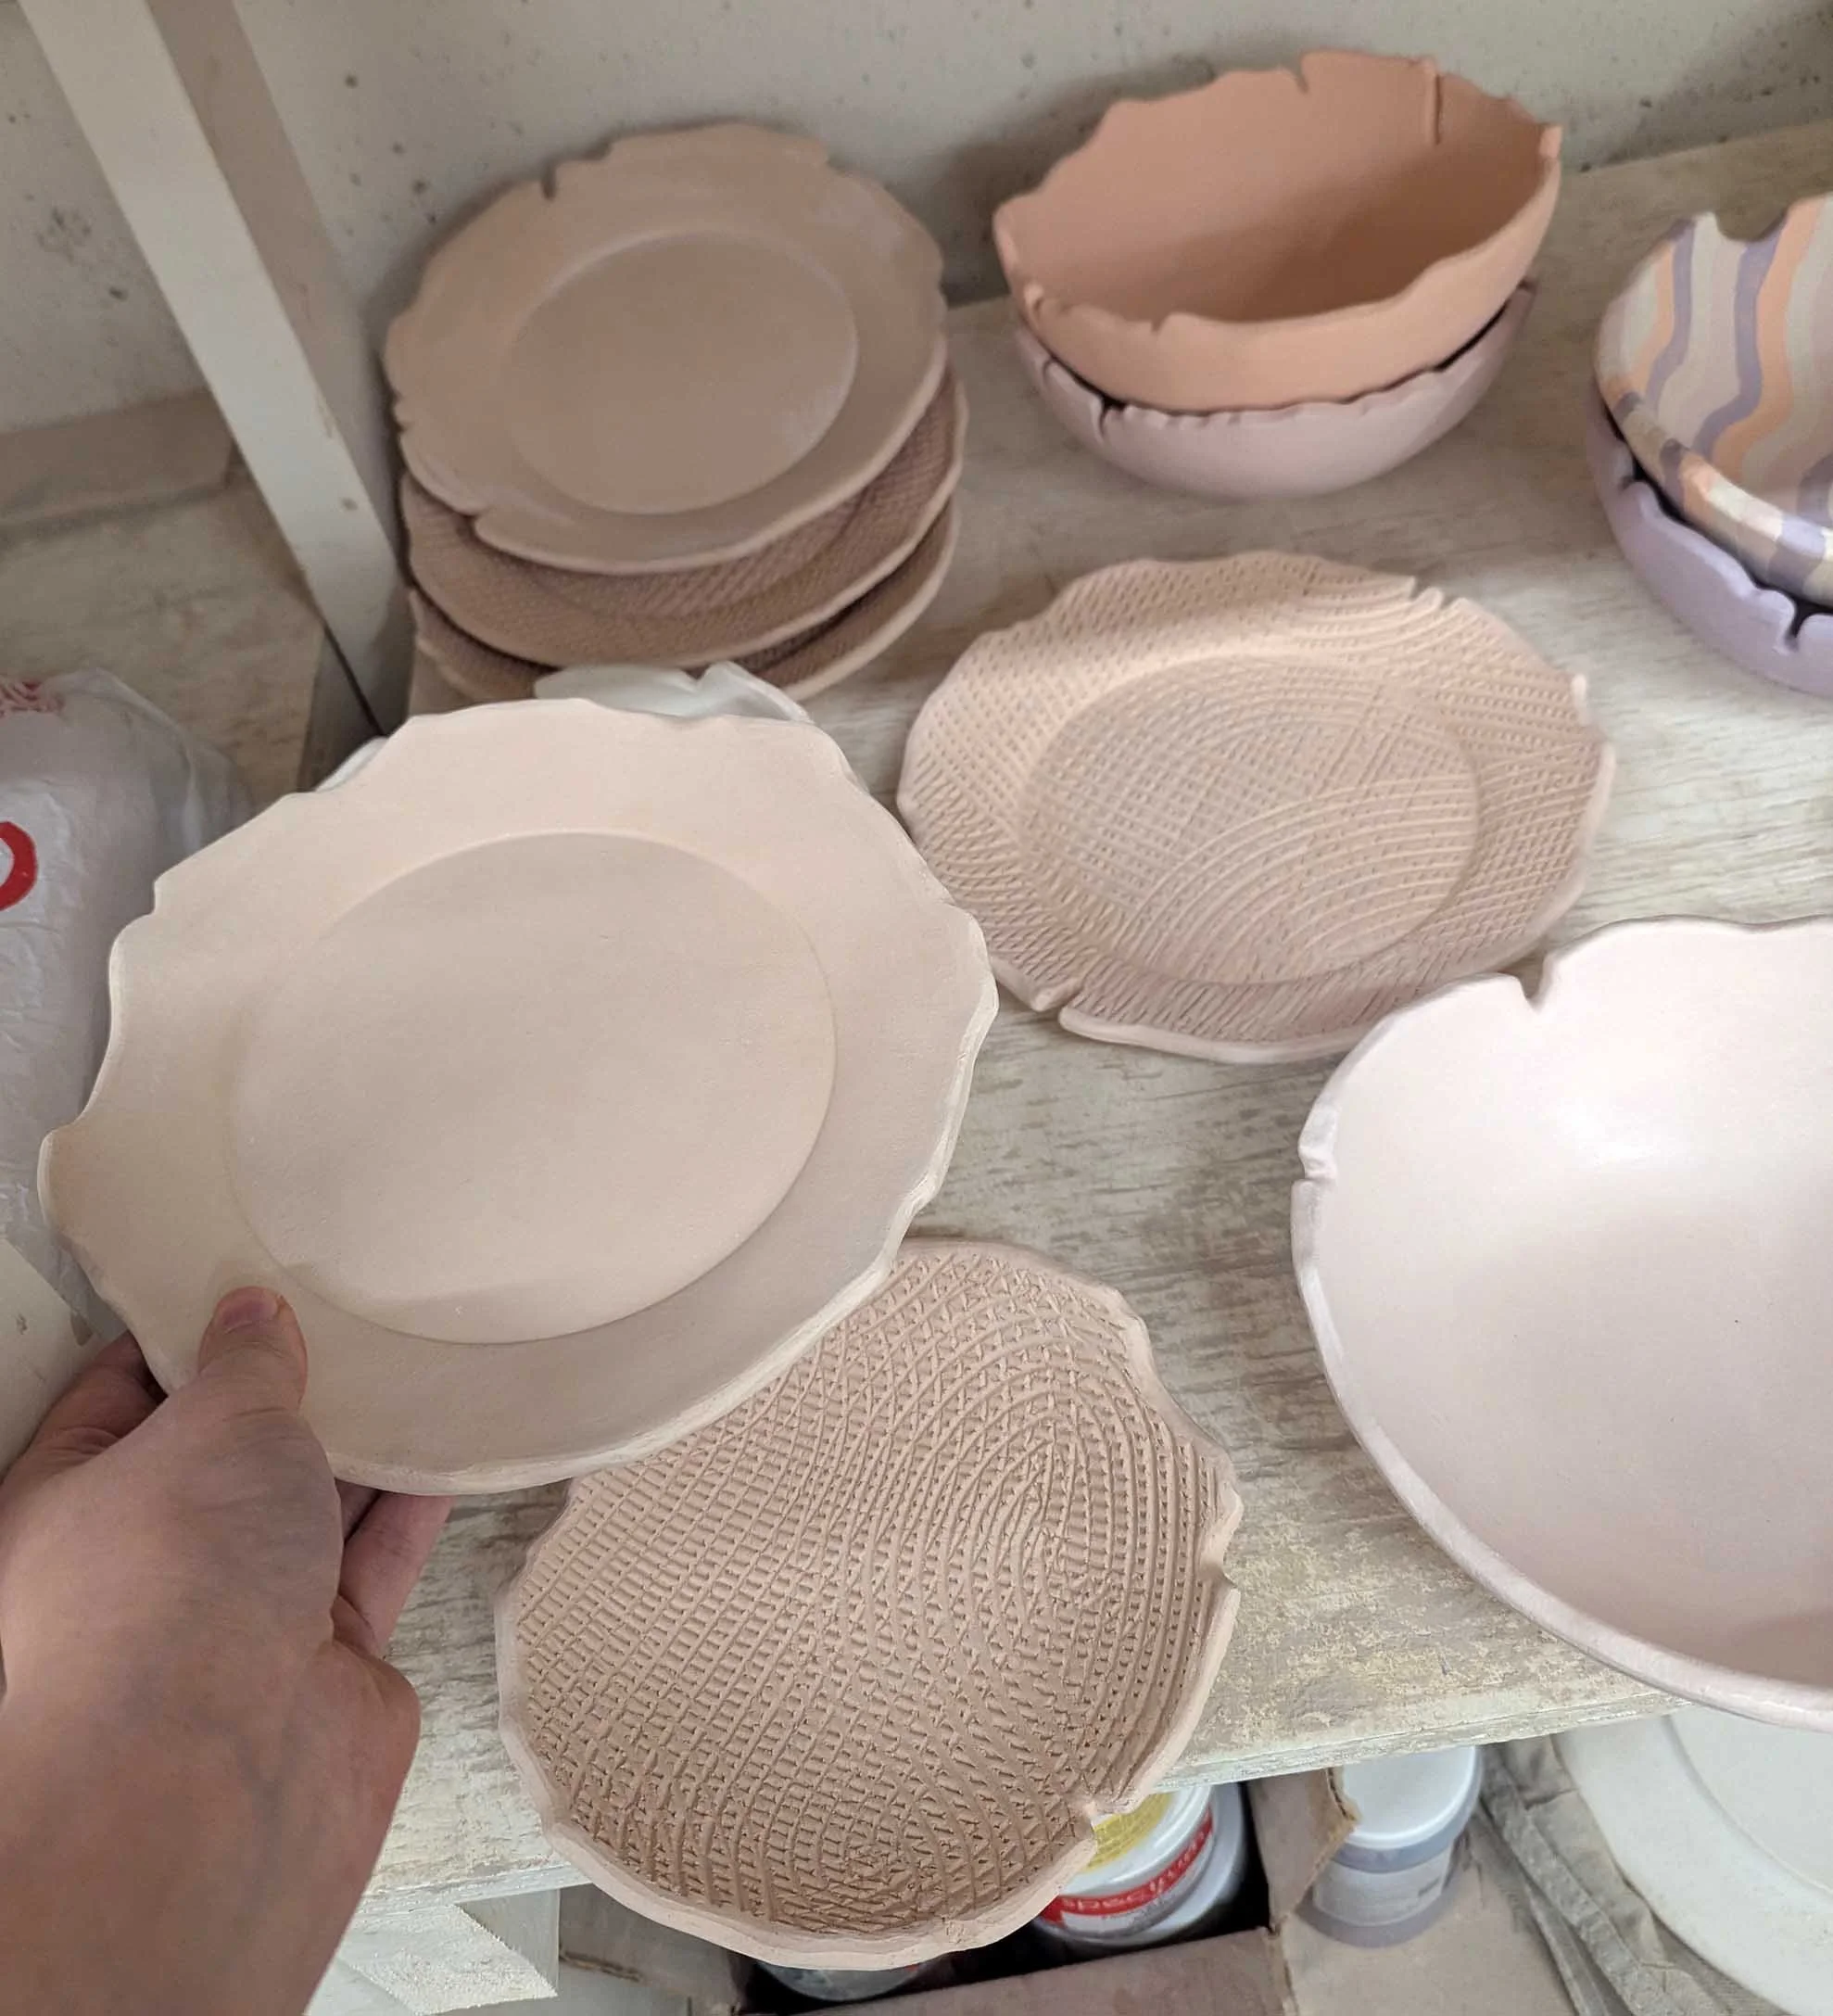
I saved enough time that I actually made more pottery than I think I’ll have time to finish at the workshop, which is a good problem to have. I’ll nevertheless bring it all just in case I’m wrong about that! Below is all the bisque ware I’m bringing with me. I share space with other folks in our ceramics studio, so I’ve crossed out the pieces in the first photo that aren’t mine. In the second photo, you can see the variety of techniques more closely, and the plate I’m holding corresponds to the hump mold pictured above (as do others).

A Better Way to Tape Down Paper

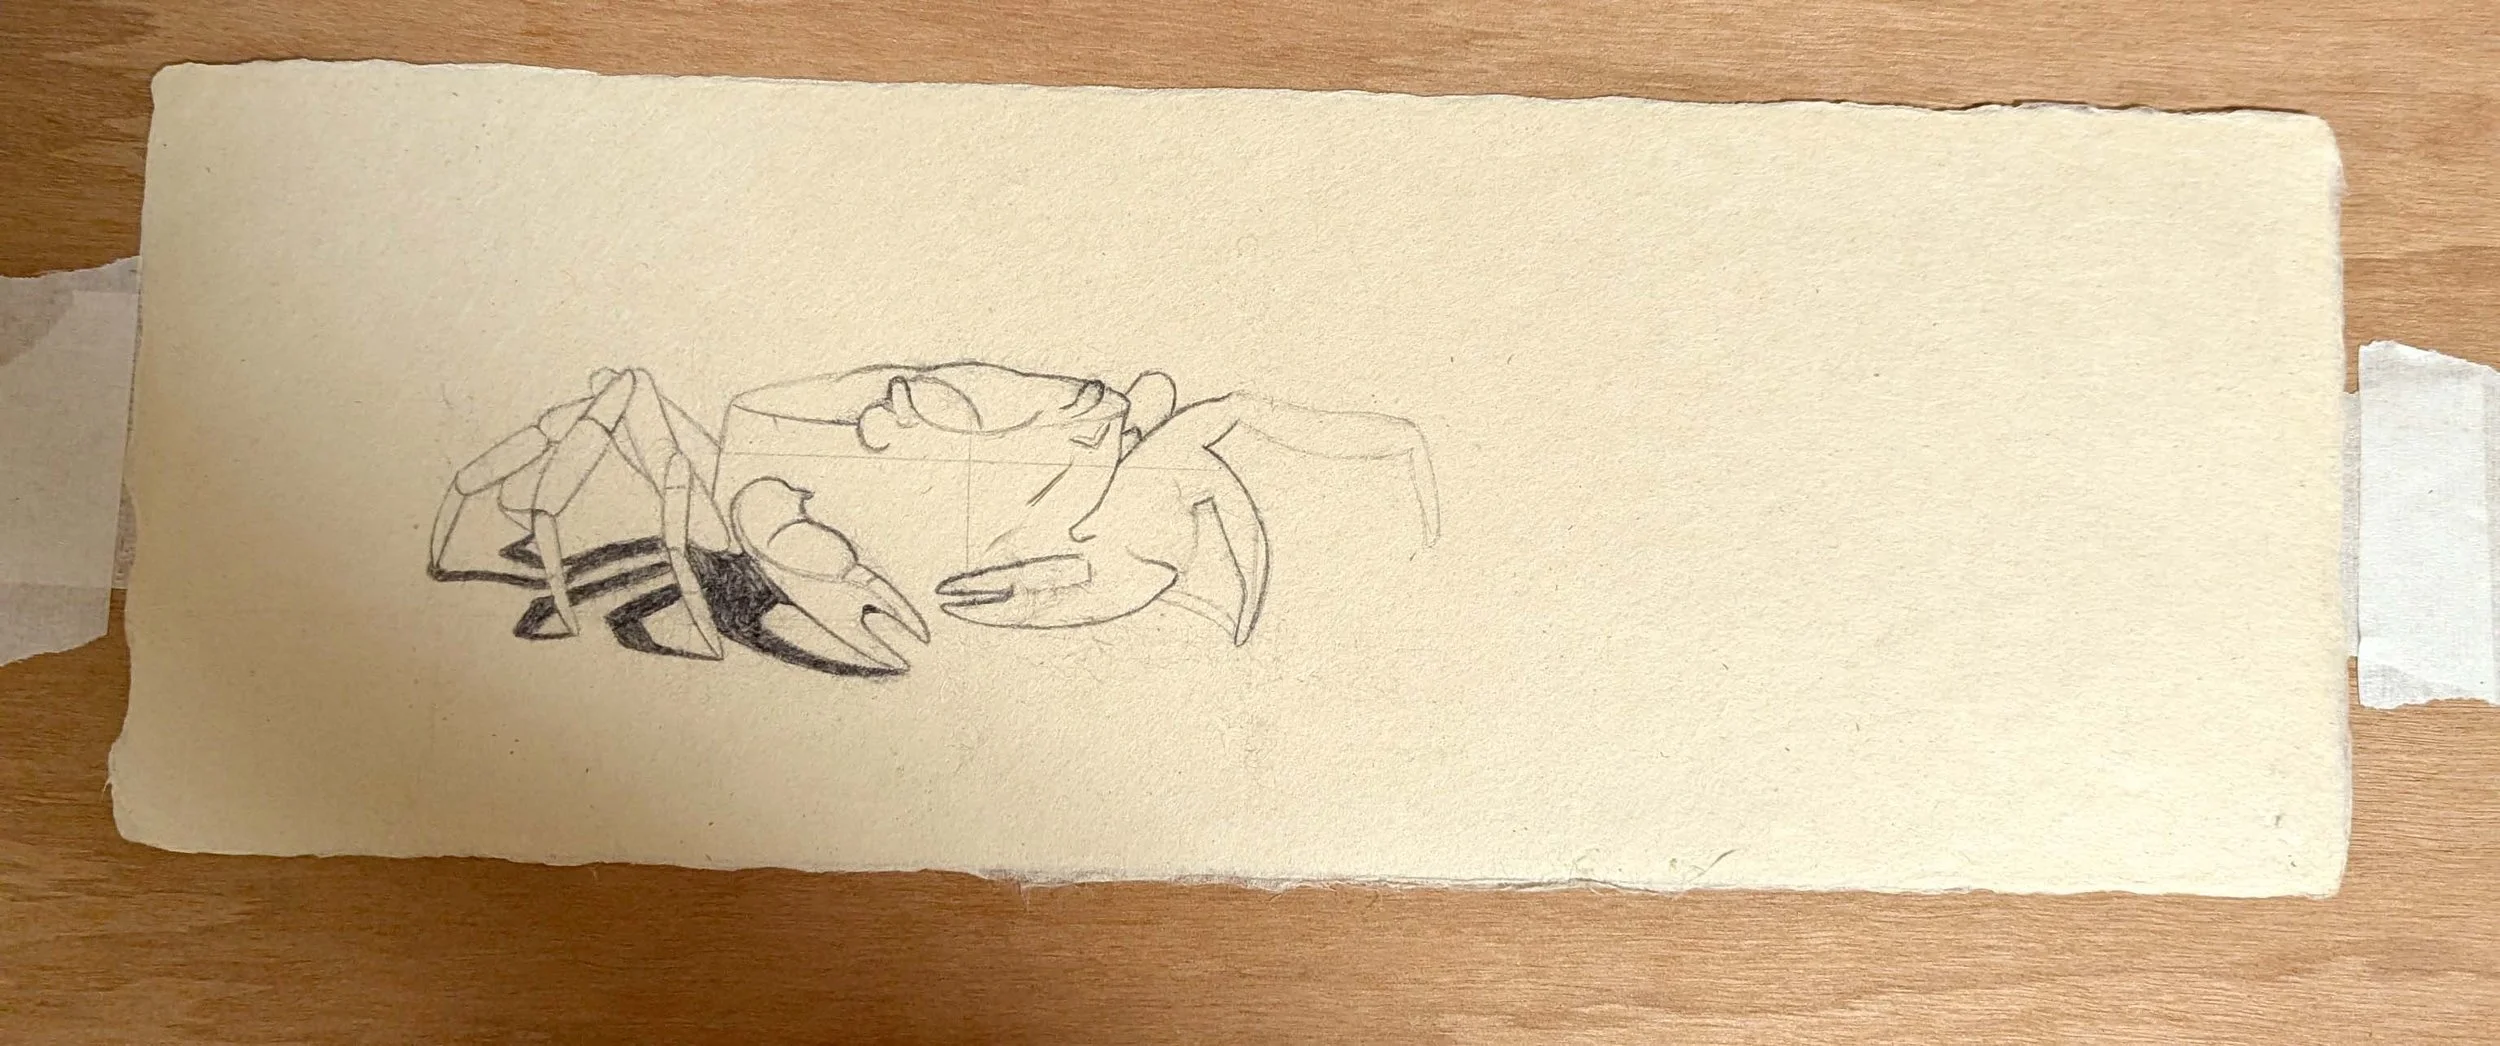
When drawing and painting on paper, artists typically tape more delicate papers down to a board unless that paper comes as part of a pad already. Taping loose papers to boards allows artists to keep the paper flat and unwrinkled while being able to easily move it around and draw on it at more upright angles. (Drawing flat on a table or in an artist's lap can often introduce unintentional perspective distortion, while drawing closer to upright minimizes those issues.)

Note the white tape diagonally placed on top of the corners of the paper. You can click into this to see it more clearly in a larger view!

I don't believe I've ever really been taught how to tape; I think as students we all just convergently evolved similar techniques to tape each corner down at a diagonal. Then at the end of the painting, you peel it back and extend the artwork into those blank corners if necessary.

As a teacher, I did start to tell my students to aim for a small but not tiny amount of corner coverage: too much and you have more to fix at the end, while too little and the paper pulls free from the tape and falls at inopportune moments. I also tell them that if you want the tape to be sticky-but-not-too-sticky, you can press it to your pants or shirt first for easier removal.

While I was doing my first artist residency at Arts Itoya in Japan in June 2024, I used this same taping technique and it damaged several of the delicate washi papers.

To the right, you can see an image of my in-progress Paper Snow in January 2025 with taped corners.

I innovated a new technique during my second artist residency at Arts Itoya in June 2025! The new method is to place a piece of acid-free archival tape onto the back of the paper. That tape can remain indefinitely if the paper is prone to tearing, or can be gently removed if desired, and even if it does cause slight surface damage upon removal, that's happening on the side of paper no one's seeing. Then I place another piece of tape onto the first and extend it out past the edge of the painting so the sticky side is face up. Then I place a piece of tape sticky side down onto that. Here is an image of this taping technique:

Note that the tape is now not touching the face of the artwork at all!

I strongly recommend this new technique for:

  • paintings and drawings on delicate papers

  • paintings and drawings where the media will extend to the corners, so that you don't have to carefully match the markmaking, color palette, etc. afterwards but can just actively address the whole picture plane at once

I'm teaching Painting I this semester, and so I showed my students both options at the beginning of the semester. Most students have chosen to adopt this new method even when dealing with sturdy substrates like canvas paper, due to the second point above.

Sandhill Cranes

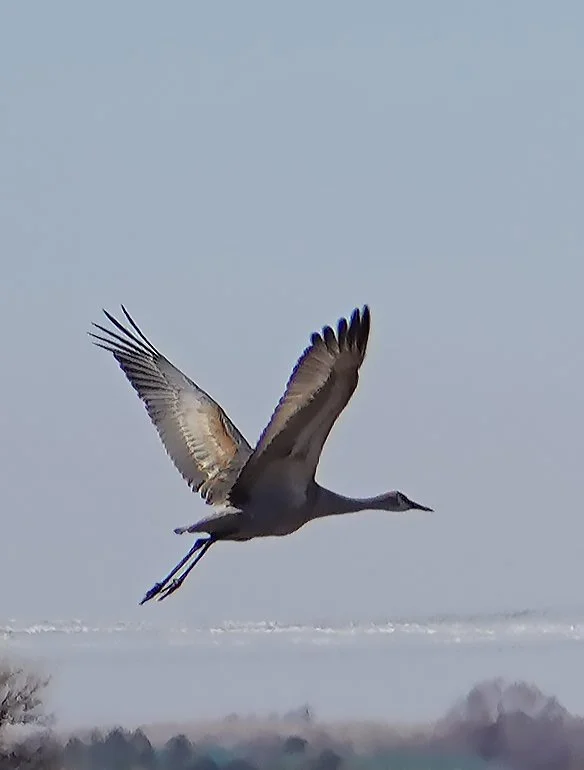
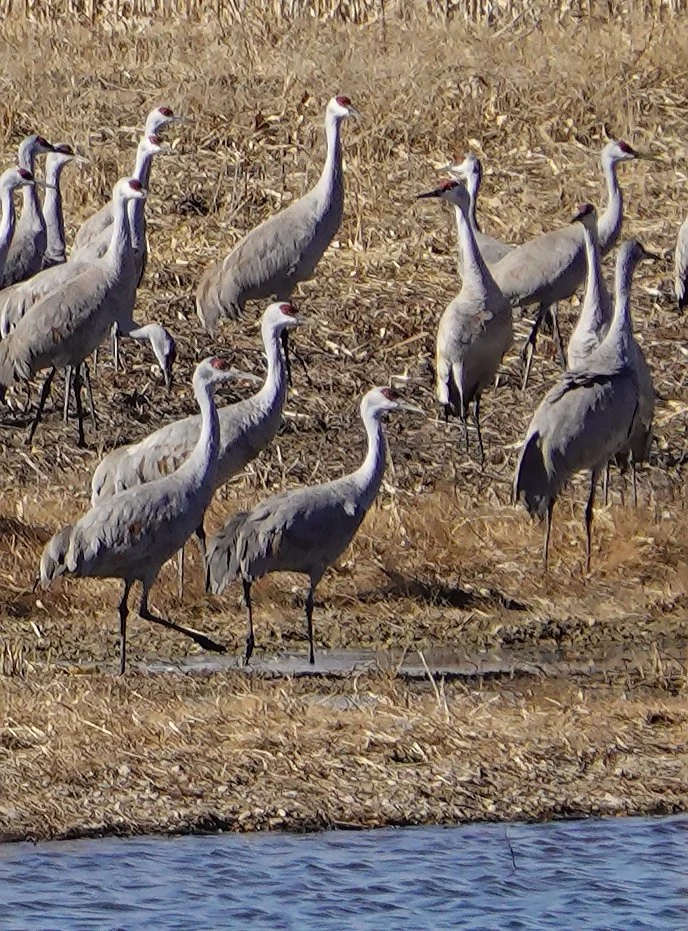
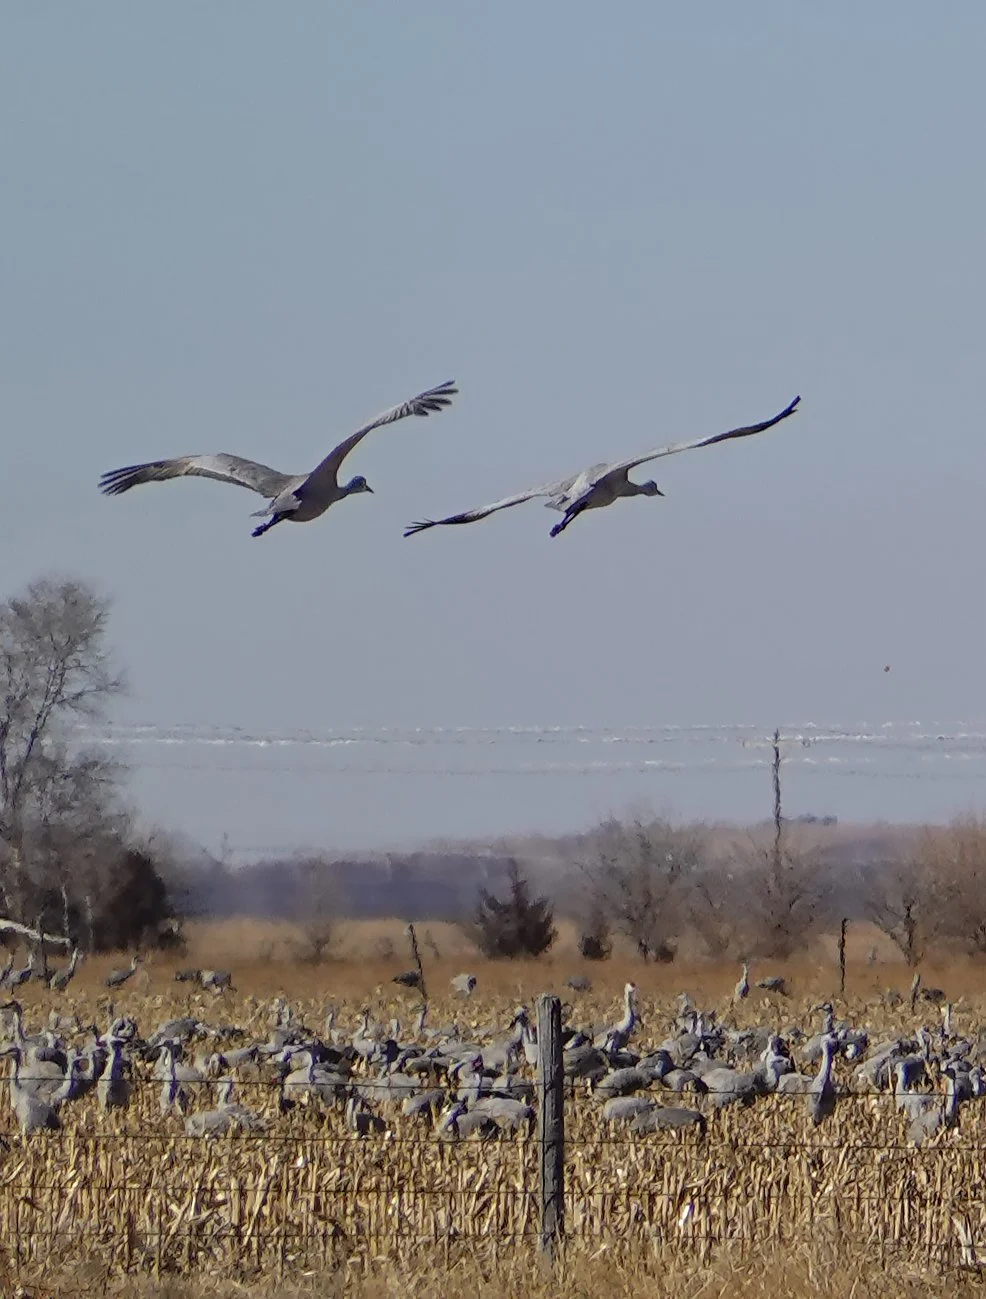
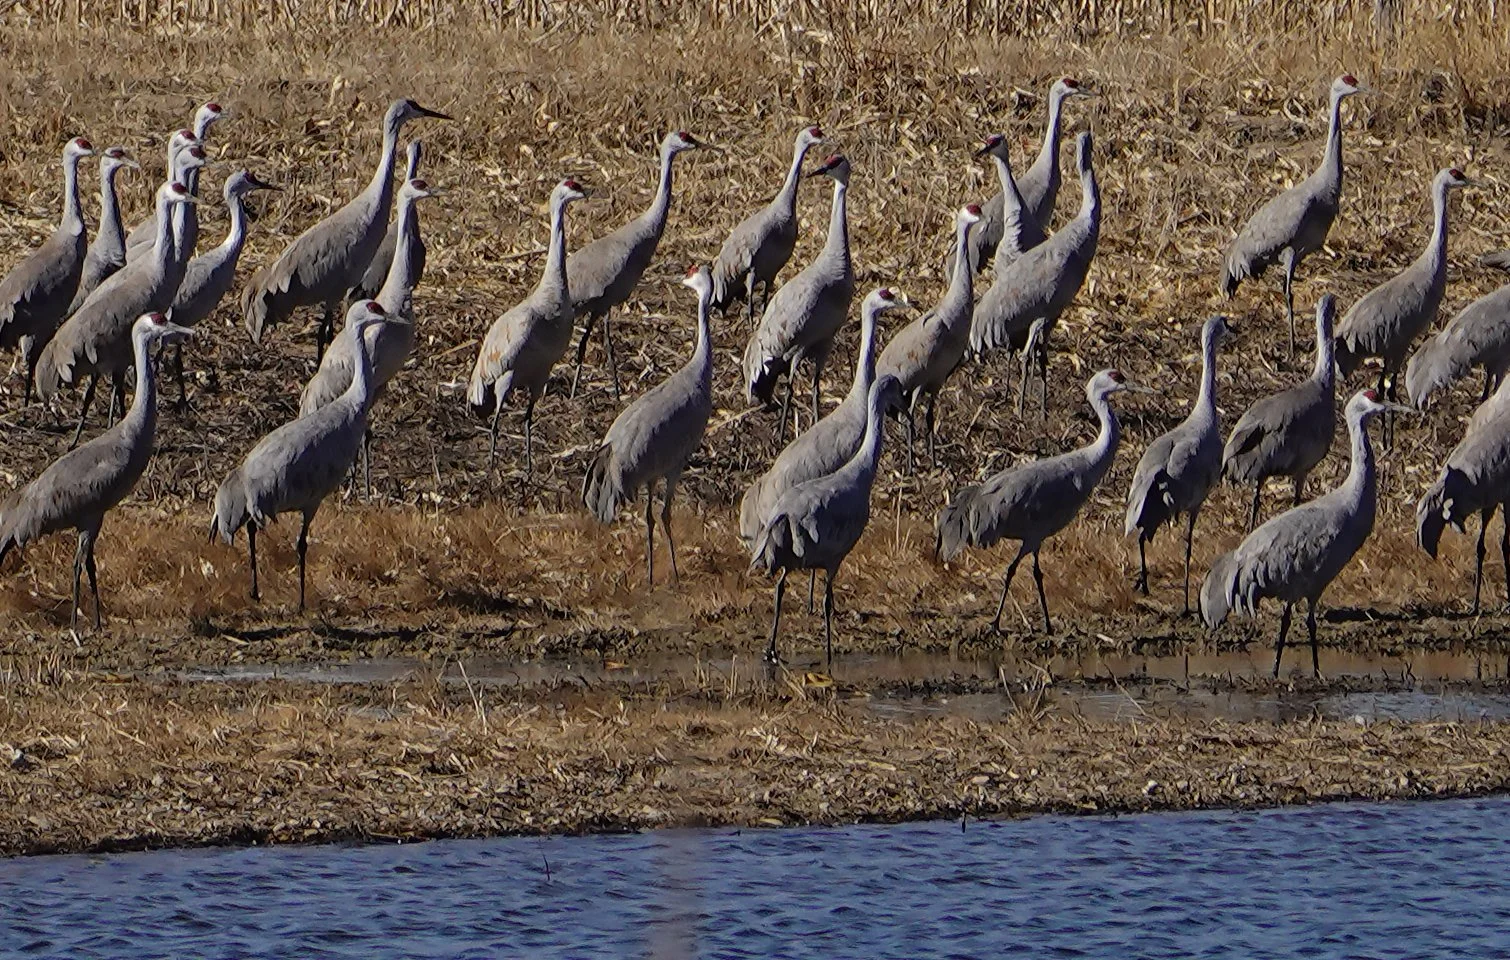
I took a short trip to Kearney, Nebraska with some friends over Morningside’s spring break to try to spot the migratory sandhill cranes! Though our sunrise and sunset river-based sighting attempts weren’t successful, we did manage to see several flocks grazing in fields during the day.

They’re wild animals and are fairly skittish, meaning I couldn’t get as close as I wanted. Furthermore, my camera is a great point-and-shoot but doesn’t have the power of a DSLR with a massive zoom lens… With those qualifications aside, here are some photos I did manage to capture:

Do You Know About Leafless Orchids?

Sometimes the alien is already among us!

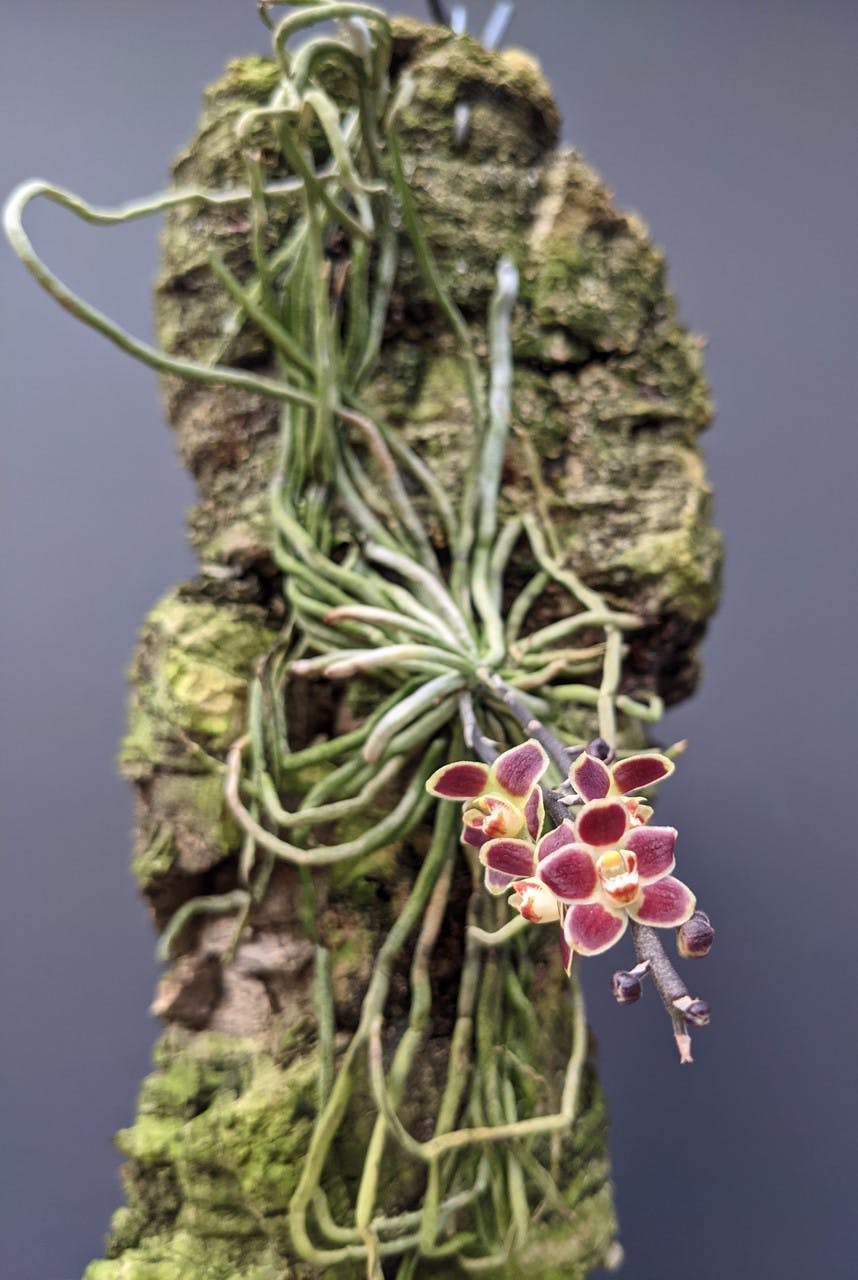
Campylocentrum, Chiloschista, Dendrophylax, Microcoelia, Praecoxanthus, Taeniophyllum, and Taeniorrhiza are all primarily leafless genera of orchids: epiphytic (growing on trees or other plants) or lithophytic (growing on rocks) plants that often have either no or minimal leaves, instead relying on photosynthetic roots and flower spikes to get all the necessary business done. Dendrophylax native geographic ranges even include south Florida, so there are native leafless orchids in the US (extending into Central America and the Caribbean)! The rest are spread across Africa, Asia, and Australia. A couple other genera I’ve not included in the above list also include occasional leafless lineages.

Here’s one of many images of what one of these orchids looks like while in bloom!

Some folks keep one or multiple of these species in their orchid and/or houseplant collections. I can’t remember if I’ve ever come across one for sale at a society event; if I have, it didn’t speak to me at that time. I’ll keep my mind open if I cross paths with one of these rare sale specimens in the future!

Progress Pictures from Summer 2025 Paintings!

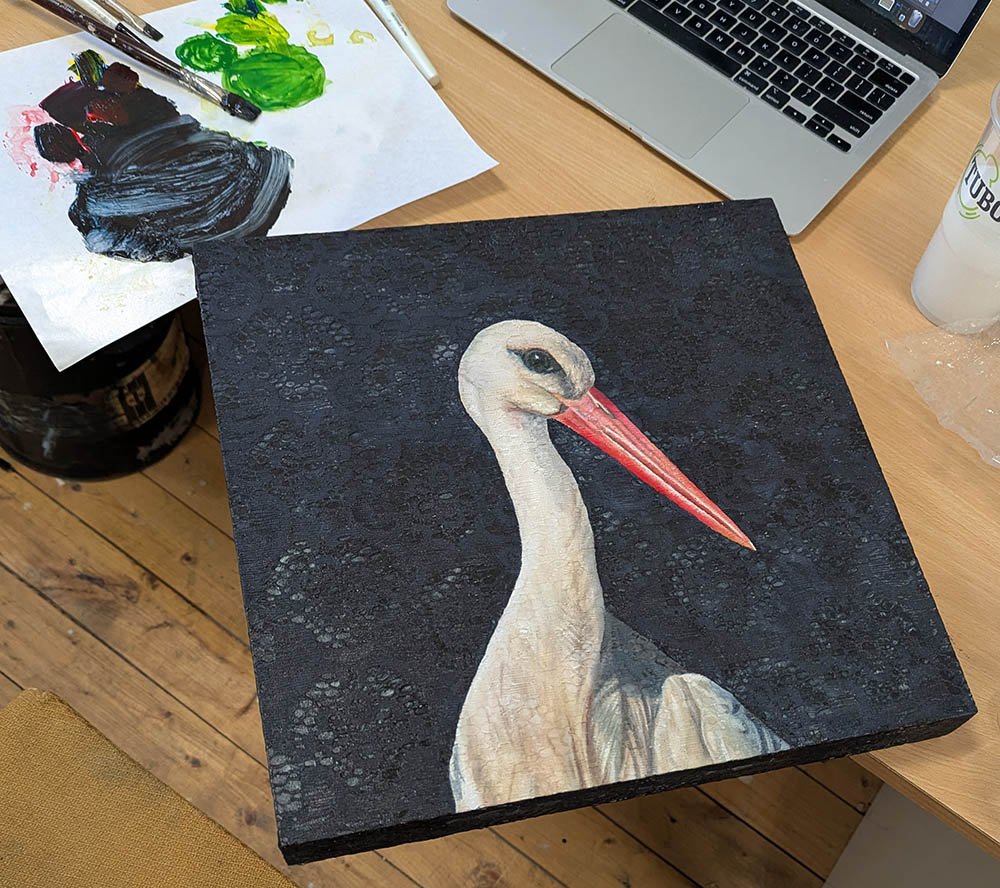
A number of people have shared with me that they really enjoy when I post progress images of my artwork, so they can see the process! Here are the behind-the-scenes pictures from this past summer.

As always, I remembered to document more with some paintings than others; I appear to have been so focused on the making of it that I never paused to photograph the process of creating Red Spider Lily - sorry!

Please also keep in mind that I take progress photos somewhat haphazardly compared to the care I put into the finished artwork images in terms of lighting, perspective, backgrounds, and color accuracy.

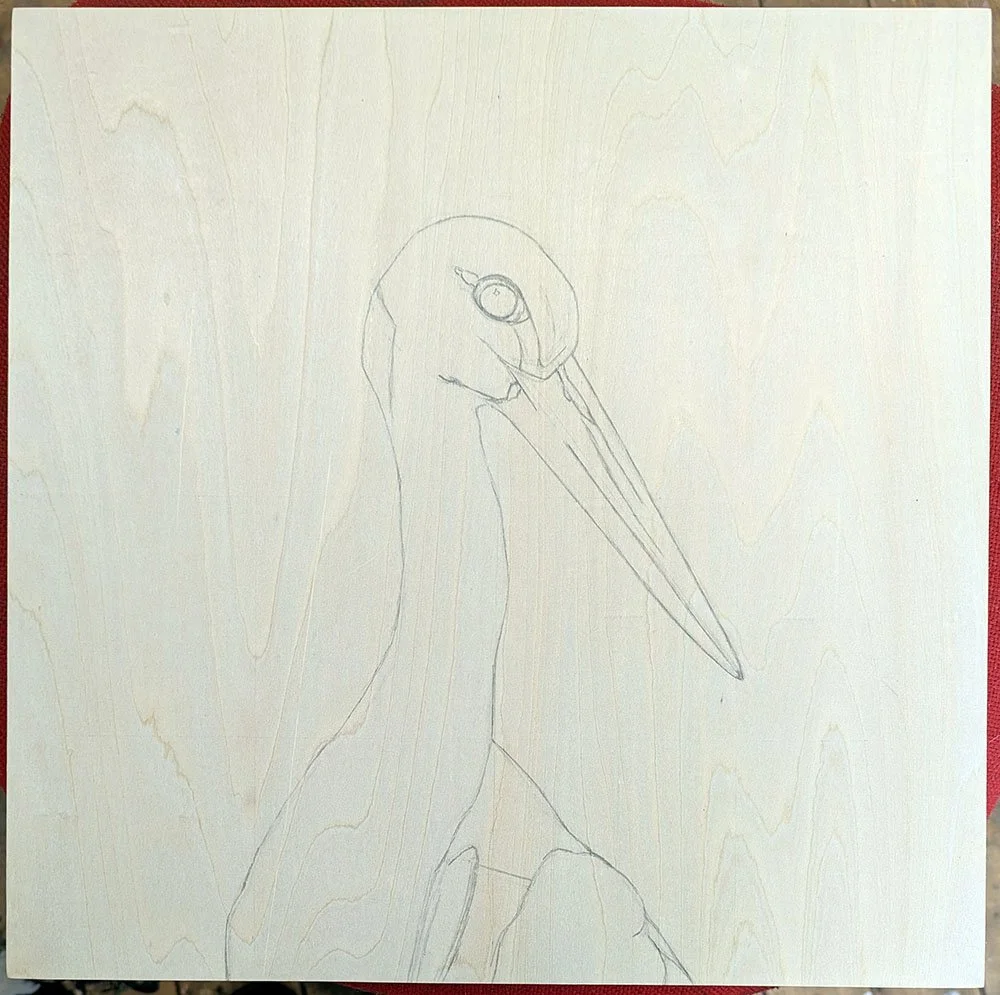
First we have Even the Shadows Are Fresh:

Next, we have Blue Hour:

Here is After the Rain:

And finally, Edge of Motion:

Imari and Arita

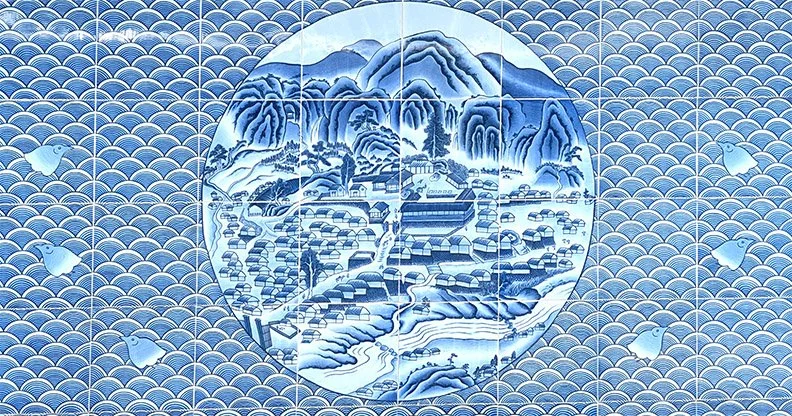
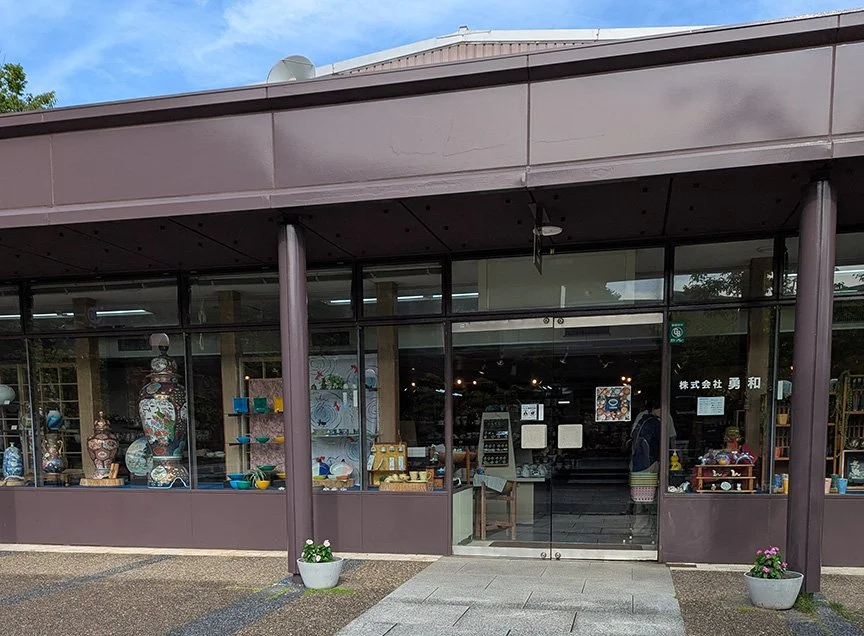
Back to Japan: I also took research day trips to the famous porcelain and ceramic production towns of Imari and Arita! You may recall that I visited Arita on a day trip last year as well, but it was overwhelming and I knew I wanted to return - more prepared this go-round.

I went to Imari first, as the logistics of visiting it were more fraught; it involves taking two trains and a bus, and the bus is the biggest hurdle; it only runs four times each day so you have to make sure you catch two of them!

Two days later, I visited Arita. Then upon the recommendation of two of the other Arts Itoya artists, I went back two days later and got off at Kami-Arita station, walking back to Arita station and visited a museum, a shrine with a porcelain torii gate, a set of kiln-brick wall alleys, and a lot of shops. It was good advice; I really enjoyed that too!

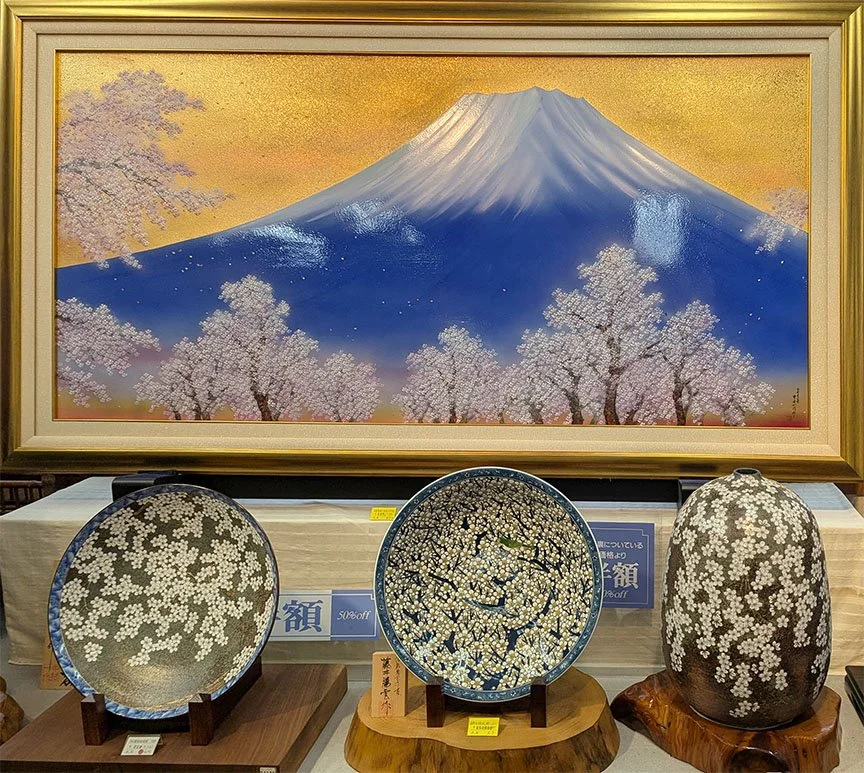
I learned more about the ceramics from these areas (production and fine art, traditional and contemporary, hand-painted and stencil) and purchased some pieces that will hopefully make it back intact in my luggage!

Kumamoto, Mt. Aso, and Takachiho Gorge

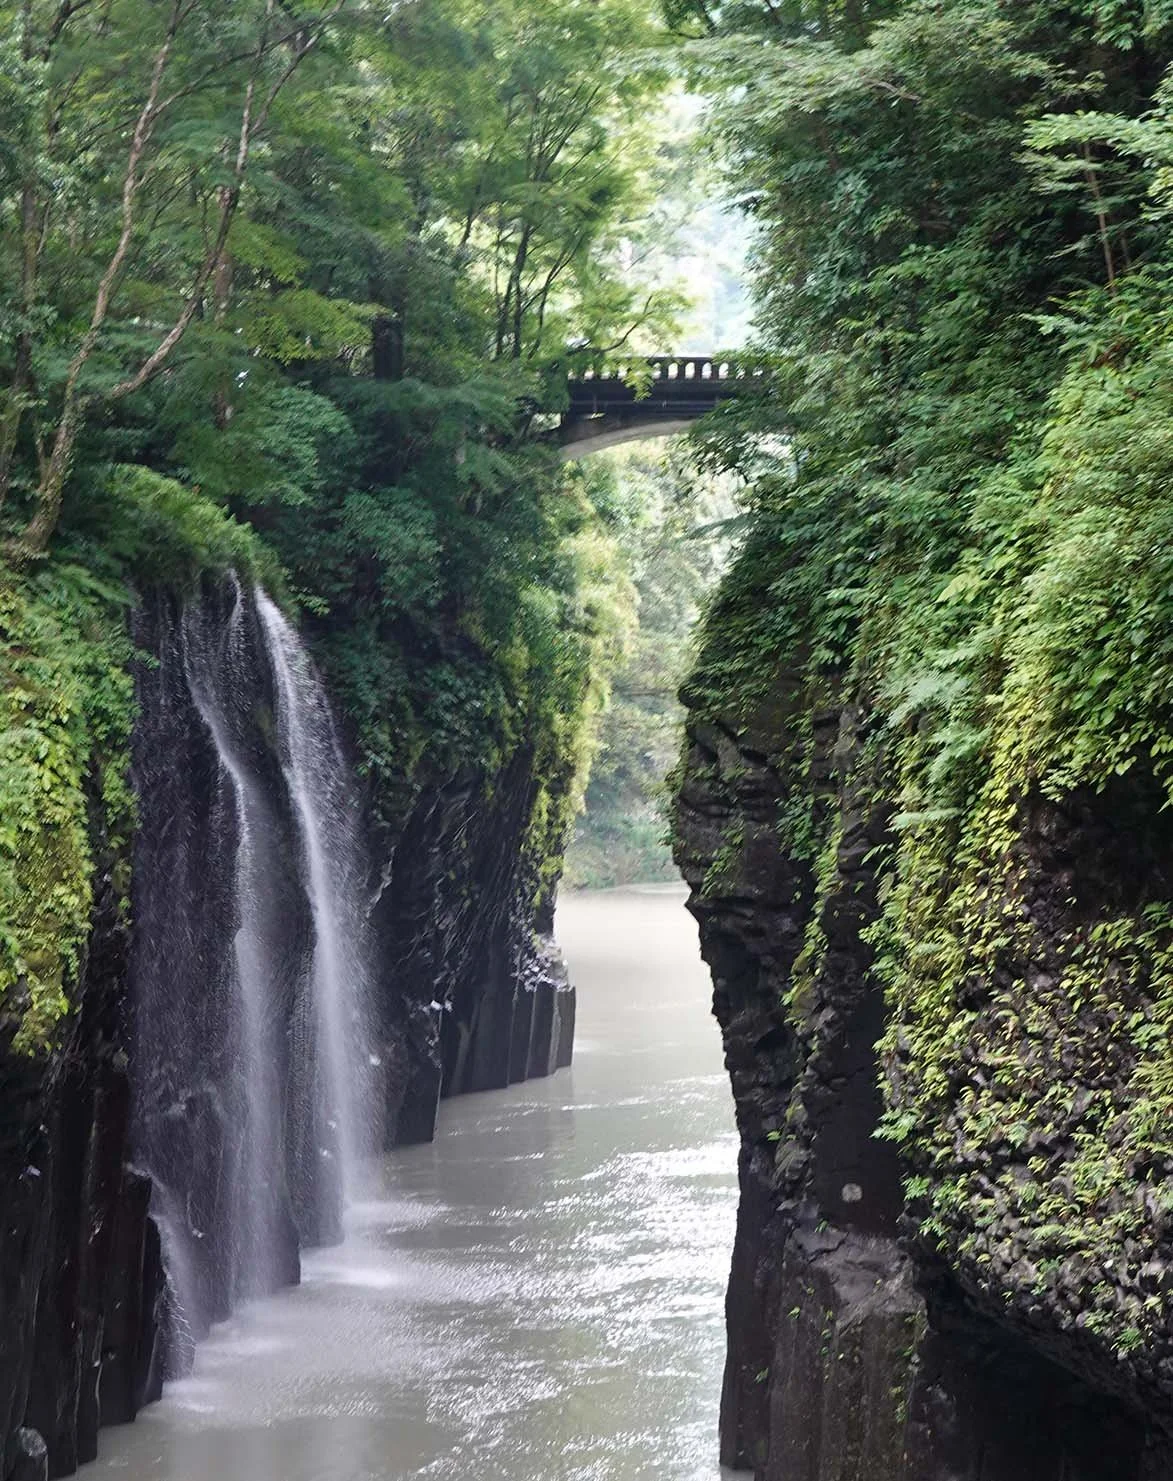
While I’m at an artist residency, there’s often not as much to post about in terms of my adventures because a lot of it is studio time. However, I do like to balance it out every now and then with a research trip! This summer in Kyushu, I booked a tour of Mount Aso and Takachiho Gorge with Explore Kumamoto, run by Helen McNamara.

Kumamon merchandise for sale in a mall.

The tour departed at 9am from Kumamoto’s Higo Ozu Station, and the amount of time it’d take to try to get there by 9am same-day and return to Takeo-onsen that evening was not realistic, so I went down the day beforehand. I hadn’t been to Kumamoto before, and it’s known for its relatively new mascot, Kumamon, who was created in 2010 and became an iconic and beloved character. That first afternoon in Kumamoto, I visited the Kumamoto Prefectual Traditional Crafts Center’s Craft Shop Takumi.

My academic schedule only permits me to do residencies during the summers, and June in Japan is rainy season. It had rained quite a bit prior to my departure on this trip, and it lightly rained off and on for both days. Honestly, it wasn’t bad while I was there, but the previous rain accumulation meant that Takachiho Gorge had much higher, faster water levels and needed to cancel the canoes we had booked; the light rain also caused a lot of fog around Mount Aso which obscured some of the sights. However, what we could still see was beautiful!

The blue lake photographed below in the Aso-san crater is sulphuric, and happens to be featured in the anime I’m currently watching called Dr. Stone. Sometimes the gases produced reach toxic levels and the volcano access is closed to the public until it abates. We were fortunate that it was open when we were set to visit! The greenish body of water I photographed nearby is collected rainfall with minerals leaching into and coloring the temporary pool. The Kumamon’s pictured below were made of compressed volcanic ash (presumably bound together with resin).

Overall despite the weather hiccups I really enjoyed this visit, and I gathered reference imagery as well as some volcanic ash to use as a glaze later on!

My Kansai Gaidai University Solo Show!

Mia and I set out for Kansai Gaidai quite early, and arrived around 10am. We immediately greeted the Center for International Education’s staff and headed over to the International Communication Center to install the show. We strategized about the movable wall placement and then began to place and hang all of the artwork. Here are some images of the results, as well as the advertisements and KGU show panel:

While at Kansai Gaidai, I stayed in guest housing. I led a toast at the Asian Studies Program Completion Ceremony for the graduating class of students, and also attended a staff dinner. My hosts were very kind and welcoming! I had some free time on my hands as well, so I went into Kyoto to see Iwatayama Monkey Park in Arashiyama, checked out the Kyoto Handicraft Center and the Kyoto Museum of Crafts and Design, visited Zohiko Lacquer Shop, and attended the non-verbal play Gear. I also did a pretty far-away day trip to the town of Shigaraki, which is famous as one of the six ancient kilns of Japan and also the birthplace of the infamous tanuki statues you can find everywhere in Japan.

Once the exhibition ended, KGU staff once again kindly helped me and together we repackaged it into the shipping crate! After I said farewell, I headed down to Takeo-onsen for my second artist residency at Arts Itoya!

Fujisawa, Kamakura, and Enoshima

In between exhibitions, Morningside board member Mia Sudo generously invited me to stay with her in a townhouse she owns in Fujisawa. This was because my artwork crate shipment from Nezu Memorial Museum to Kansai Gaidai University takes a few days in transit!

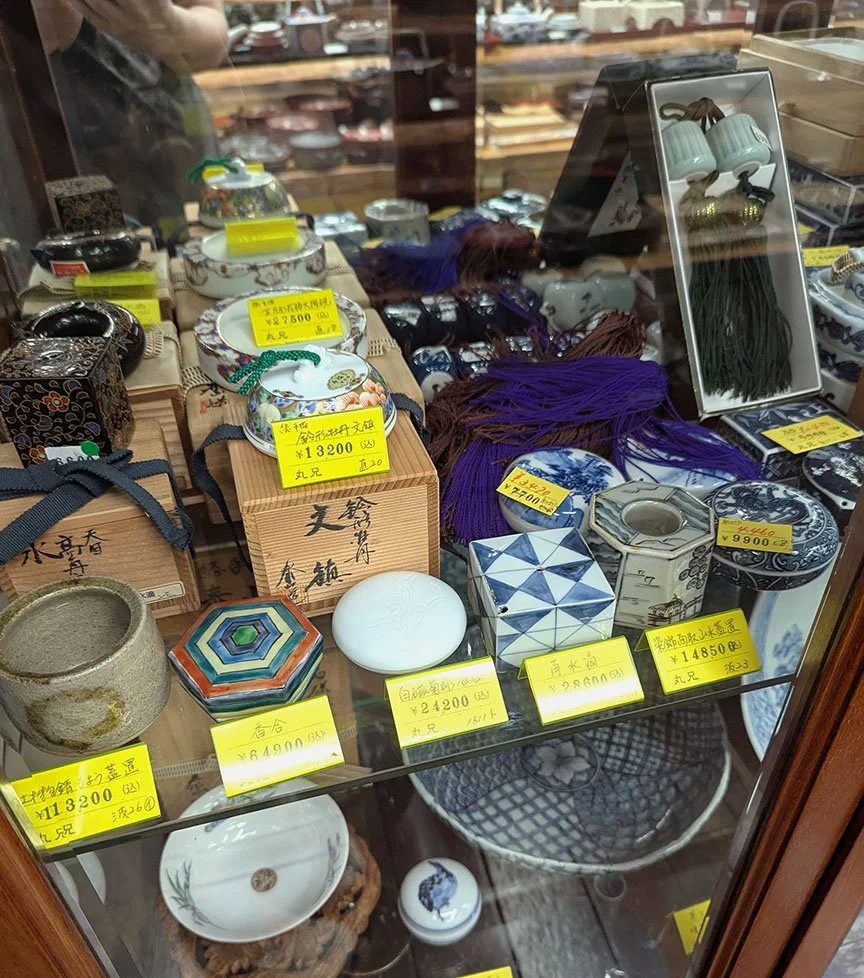
While in Fujisawa, Mia accompanied me to Kamakura and we scoped out Enoshima Island and the Enoshima Aquarium for my visit the following day too. In Kamakura, we visited a shrine - and along the path, I learned of a type of craft called Kamakura-bori (鎌倉彫) so we popped into a number of galleries and stores displaying this form of lacquerware.

Traditionally, wood from the katsura tree (Cercidiphyllum japonicum) is carved and then coated in urushi sap in stages. In the beginning, this art form was influenced by imported Chinese lacquerware and other woods were used, but katsura proved to be the best available substrate. The price point of these pieces was high, which makes sense; urushi lacquer is difficult to use for a variety of reasons. The most notable feature of these pieces of lacquerware, aside from their iconic appearance and process, is how lightweight they are!

I really enjoyed visiting Enoshima Aquarium - some of my favorite exhibits were the cuttlefish and squid, the clione “sea angel,” and the jellies. I decided to buy a small stuffed souvenir, but this shop had a carnival-game twist - you have to prepay a set amount and then draw a ticket out of a “lottery” tumbler machine, which provides a number that corresponds to four different sizes. I won a size up from the smallest size, and I genuinely had to think if I wanted to swap back down despite my luck as I’d intended to buy the smallest one, but then I realized that I was going to be acquiring some fragile ceramics and other artwork in the next few weeks and having more lightweight padding should be a feature, so I accepted my scaled-up souvenir.

I then visited Enoshima Island (and my Japanese studies have taught me that “shima” is the word for “island,” meaning all English names for islands in Japan that end in -shima are redundant in the “ATM machine” sense). I’d read online that Enoshima was a cool place to visit and had natural caves to explore so it seemed worth checking out. In hindsight, though, I found the experience underwhelming. The main path through Enoshima has a commercialized and overly-developed feel, and much of the natural environment, including the caves, has been altered. If I hadn’t gone, I’d have felt like I was missing out given the reviews I’d read - but having been, I wouldn’t recommend it over other possible destinations.

Mia hosted me for dinner one night and we went out to eat several other times. One afternoon, she showed me part of a televised sumo tournament, which I found far more interesting than I expected! I didn’t previously know how fast each bout is; they’re over in seconds.

After three nights in Fujisawa, Mia and I set off for Kansai Gaidai University!

Yamanashi City’s the Best!

Morningside University board member Mia Sudo came to pick me up at my hotel in Tokyo on the morning of May 19th, and we traveled together to Yamanashi City where we met with Mayor Takagi and a number of other officials. I gifted the city with an 14x11” print of Paper Snow (紙吹雪) in a 16x20” mat, and also gave Mayor Takagi and other attendees a variety of gifts including my handmade small dishes and chopstick rests.

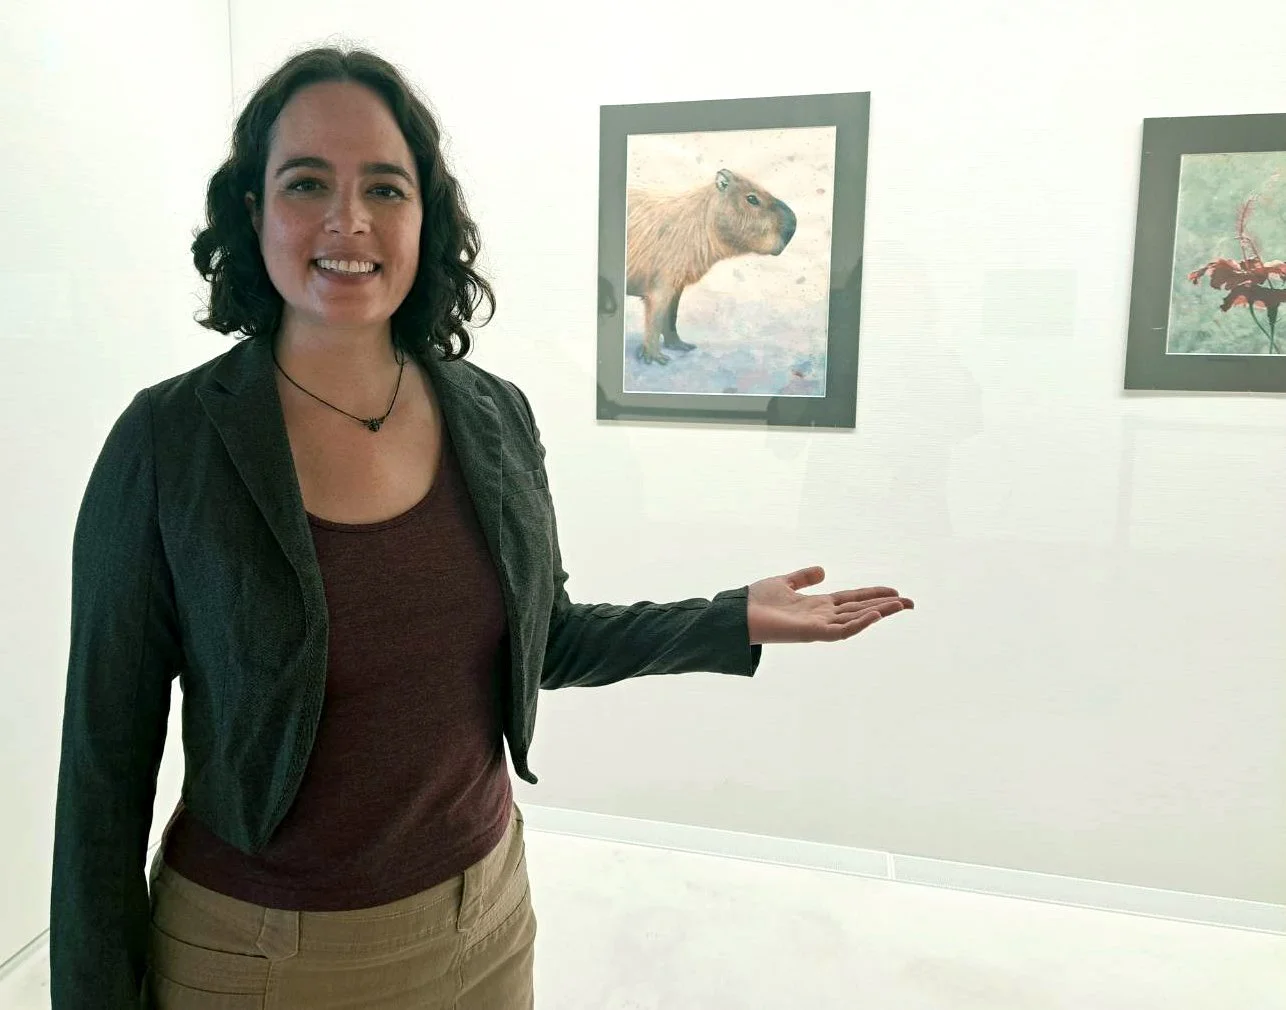
The mayor and city gifted me with a 20th anniversary of incorporation celebratory chopstick rest, postcards, a tenegui which has a capybara cartoon on it amongst other illustrations, and a beautiful tapestry made out of a portion of a kimono decorated with flying plovers (an iconographically significant bird in Japan).

They also took me along with some other honored guests who spoke English well and could serve as additional company for me out to lunch, and then in the afternoon I got to visit a second-grade classroom’s art lesson and a fifth-grade’s English lesson.

The next day, Toizumi-san, our driver, and honored guest Mizuochi-san picked me up and took me on a wonderful tour observing Mt. Fuji and Oshino Hakkai, stopping for a wonderful soba lunch - it was my favorite soba I’ve eaten in Japan, and I’ve eaten it a fair amount! We even drove up to the fifth station, where hikers commence their climb of Mt. Fuji! However, the path is closed until July, as it is too cold at the top of the volcano until late summer.

We also stopped by Fuefukigawa Fruit Park, visited the Yamanashi Prefectural Museum of Art, and also popped into an ice cream shop and visited an art supply and framing store.

The sheer amount of time that a number of Yamanashi City staff including Toshimi Toizumi-san, Chiemi Yokoyama-san, volunteer Maki Mizuochi-san, and many others put into showing me their home and surrounding areas was incredible. I even visited an onsen with Toizumi-san one evening!

On Saturday, May 24th, the closing reception, artist talk, and ceremony was held at Nezu Memorial Museum. Many people showed up, and one lovely woman told me about how she read quite a bit of my blog and was inspired by my research into Japanese culture, arts, and ikigai. She said she even read a short book on ikigai, thanks to me!

I am so thankful and honored by the generous hospitality that Yamanashi City showed me, and we all chose to say “see you again” rather than “goodbye” when the show closed!

Attending a Chopstick-Making Workshop in Kawagoe

Last year in advance of my residency, I attended washi paper-making and kintsugi workshops in Tokyo before heading down to Yakushima, an island known for its natural wonders. There are always more things one could do than time to do them in, so I prioritized immersion in nature to gather reference imagery and experiences, but one of the opportunities I was sad to miss out on in Yakushima was the chance to make my own set of wooden chopsticks.

Since I was lucky enough to get to come back to Japan this summer, I looked into whether there were any chopstick workshops in or around Tokyo. The most frequent recommendation was to visit a town called Kawagoe, which by a combination of train, bus, and walking was about an hour and a half away from where I was staying. There, Wood Works Kawagoe (Karaki Woodworking) offers a workshop in making chopsticks.

When you arrive at the shop, you either can begin right away if there are available seats or you get a digital ticket reservation. When I showed up, all the seats were full but I was the first in line. One of the workers told me it would likely be around 45min wait, so I walked around the touristic “old town” streets of Kawagoe for a little bit, but 15 minutes later my seat was already open!

You first choose from a suite of wood blanks, selecting for either appearance, hardness, or both. I was instantly most attracted to the high contrast bocote of the selection options, which also happened to be one of the harder woods (and one of the most expensive). The shop presented the hardness of the wood as a potential upside and downside simultaneously, in that hardwood is good long-term for durability but is more difficult to shape, as it requires more strength to plane and sand. Bocote is a decorative wood not native to Japan (imported from Central America), but there are a lot of traditional woods for chopsticks that are imported including ebony, rosewood, and purpleheart.

I particularly liked one of the bocote wood blanks that had eyes in it, so I asked if they had any more pieces than what were on display so I could find a matching pair, and the staff kindly opened a deep drawer full of more blanks. I found two pieces that had a lot of contrast and some eyes.

A photo of me shaving down the first of my wood blanks.

Then I began the process of making my chopsticks. The blanks are printed with numbers on them, and you place one into a former in a specific sequence and shave down the wood with a plane until it becomes flush with the mold. You then rotate and put into the correct space in the sequence and do it again and again until you’ve done all four sides. Then you repeat the process with the second chopstick. I have to say that the hardness of the bocote was no problem at all at any stage, so I wouldn’t let the shop’s talk of needing sufficient strength impact your wood selection choice.

Sanding the chopsticks with coarse sandpaper.

Once you have finished planing, you refine the shape with a coarse sandpaper. Once you are happy with the shape of your chopsticks, you then polish them with a fine sandpaper. On this step, I polished until I thought they were likely good, and then asked a staff member to check. They said they could use more polishing, so I went back at it. I then asked again and received the same answer (which I was happy about - I wasn’t sure what I was supposed to be aiming for or what was possible to achieve with the provided sandpaper, so I appreciated the feedback!). After polishing a third time, I got the OK to move onto the final step: oiling. I dipped each chopstick into linseed oil and rubbed it into the wood. This helps seal the surface while also highlighting the woodgrain.

When completed, you package the chopsticks and you’re done! I liked mine so much I thought maybe I should buy some sets of bocote chopsticks as souvenirs for others (the workshop also sells their own finished chopsticks), but when I went to look at their three bocote sets available for purchase, they were not nearly as beautiful as mine (and they were more expensive than mine as well, to cover the labor!). I ended up leaving with just my set. The workshop in total, including the type of wood blanks I selected, cost me about $35.

My finished, handmade set of bocote chopsticks!

I'm in Tokyo!

I flew into Tokyo a few days earlier than my exhibition-related trip down to Yamanashi City, as I really feel jet lag so I wanted some time to try to burn a bit of it off first. I arrived on May 14th in the early evening. The next day, I stopped by my favorite paper store Ozu Washi to pick up a few items that I might want for my main event that afternoon: a traditional indigo-dyeing workshop at Hanten’s Mizuno Dye Factory at OKUROJI.

The workshop is of course intended for dyeing clothing, so I brought a few white cotton pieces along; however, I also wanted to dye some washi paper! Some of the washi I brought ended up not being suitable, but two pieces in particular were viable. I ended up dyeing those two along with a lightweight long-sleeved shirt and a blazer. The cost in total of the workshop was up there, but I thought it was worthwhile. I paid approximately $275 (and separately bought the items to dye as well) and spent over two hours preparing and dyeing my pieces.

I learned a bunch of tie-dye techniques in the process!