I knew I wanted to visit the capital of Latvia while I was in the area, as it’s about 2.5 hours away from Pärnu so it’s a doable day trip. When I learned that there was the best traditional crafts fair of the year happening in Riga at the Ethnographic Open Air Museum of Latvia during my stay, I bought my bus and fair tickets right away!
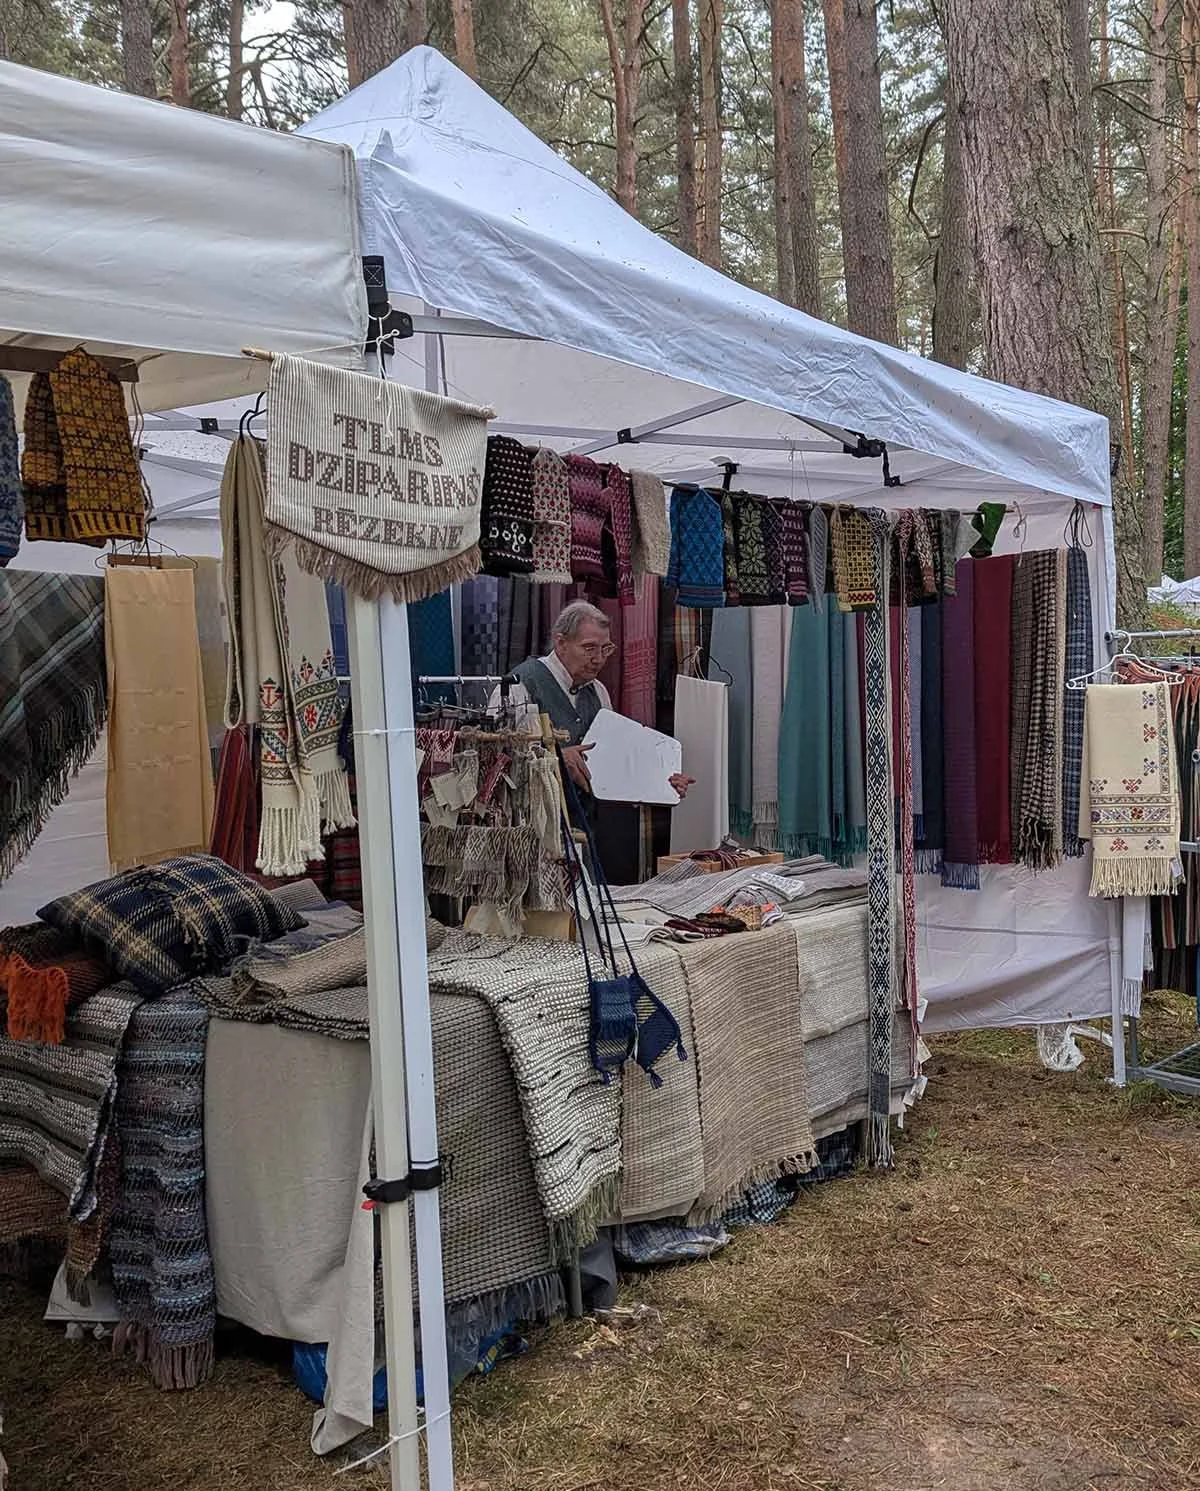
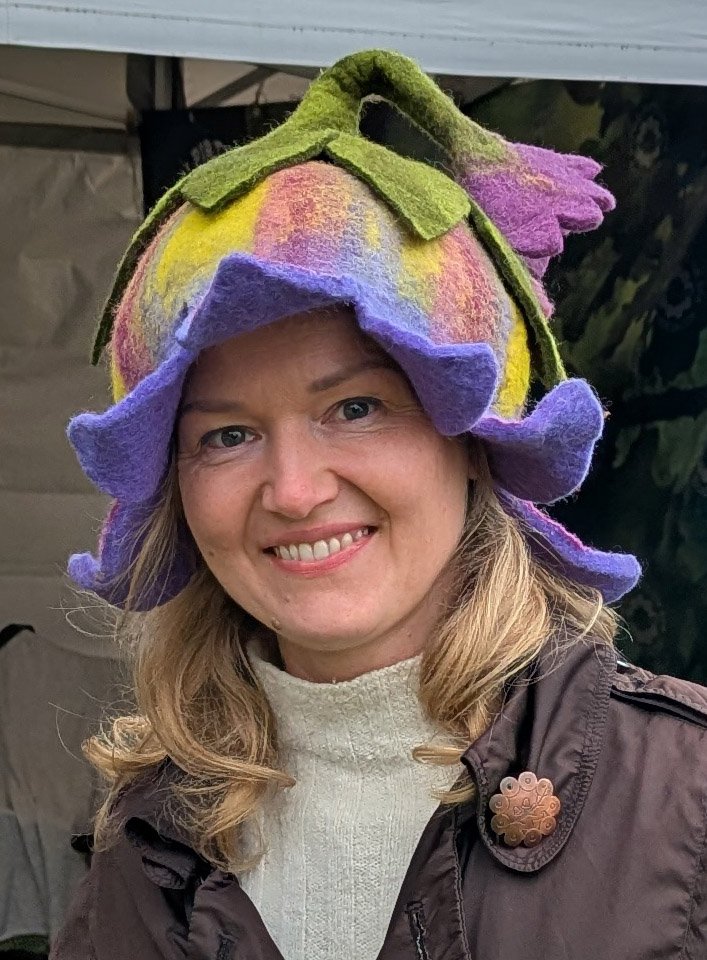
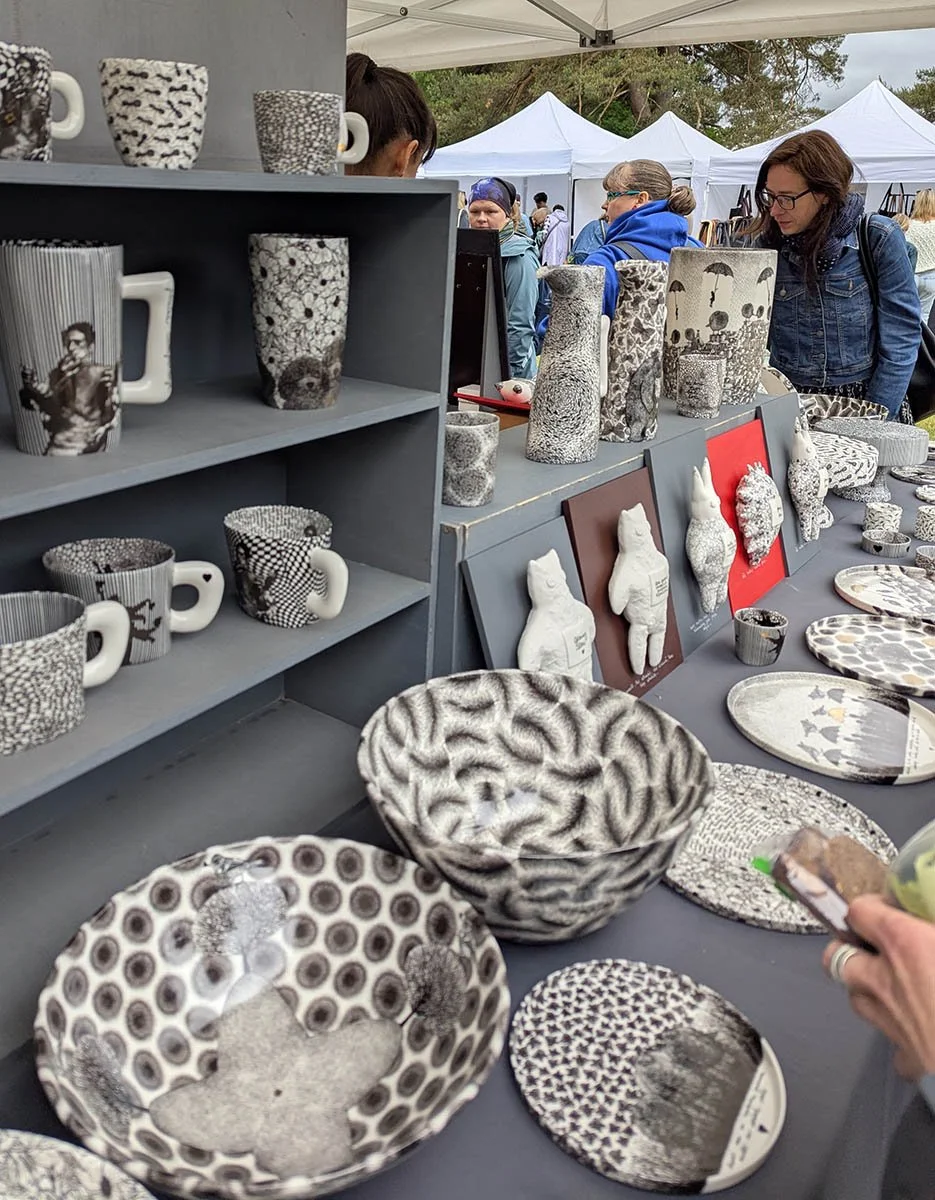
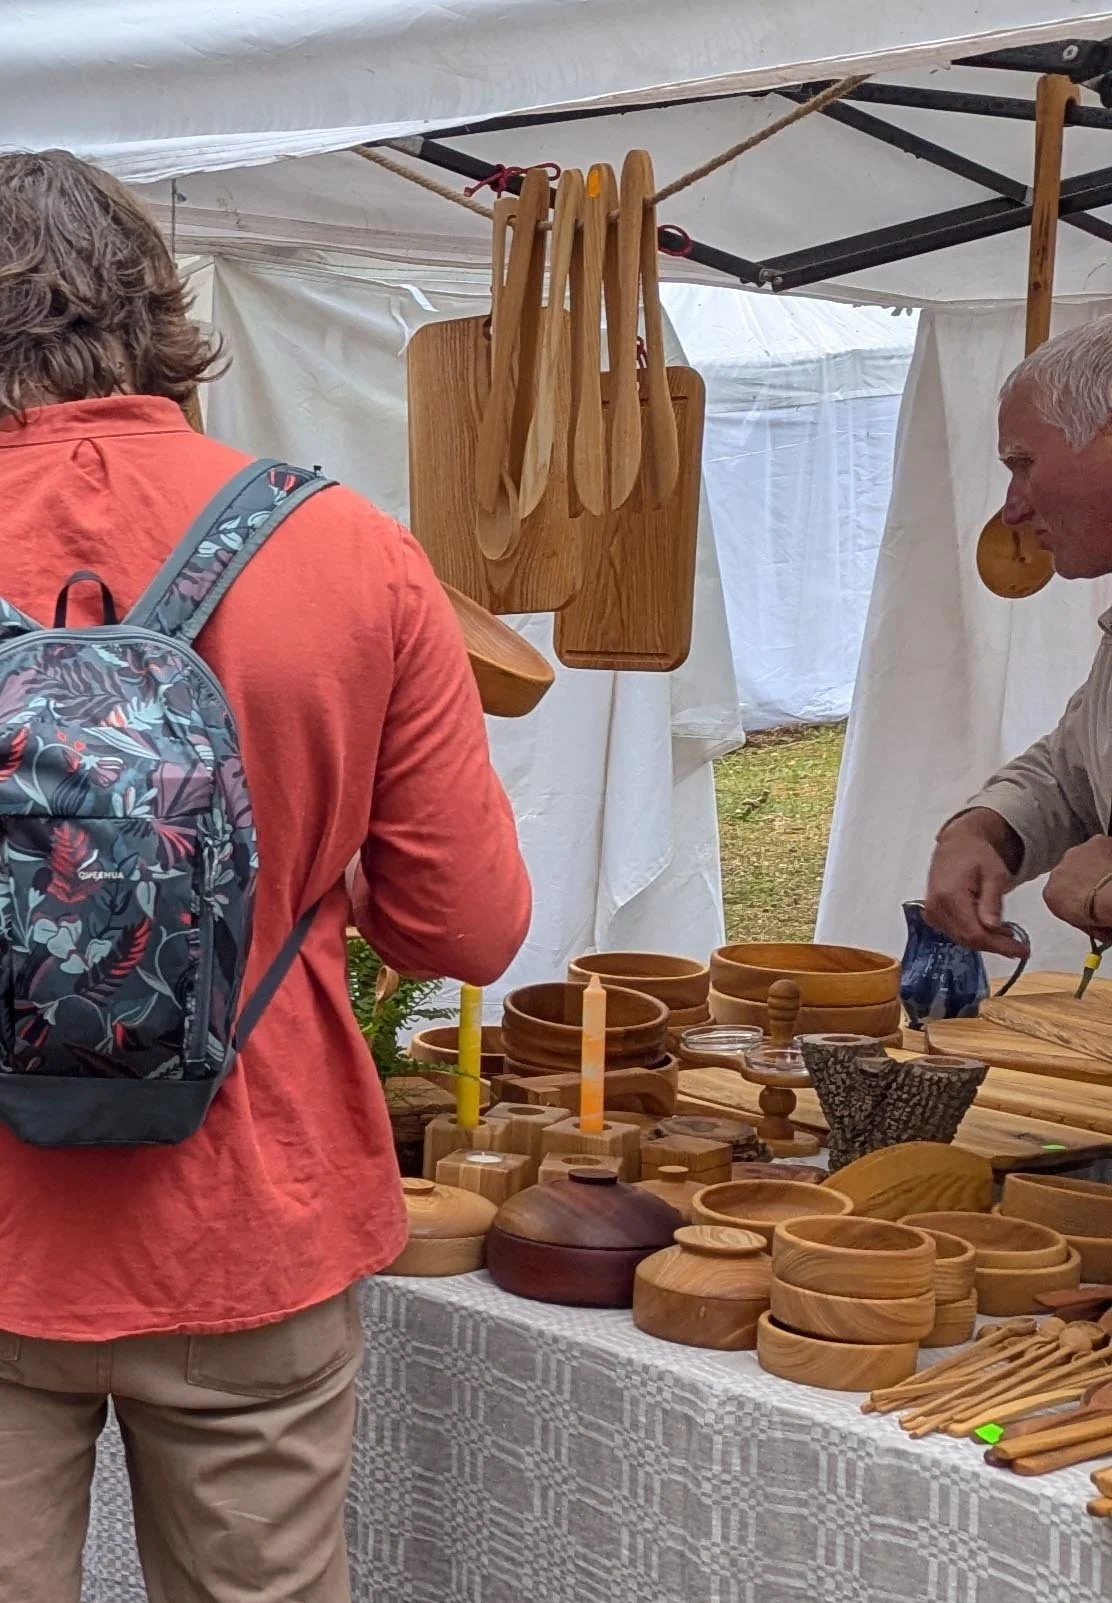
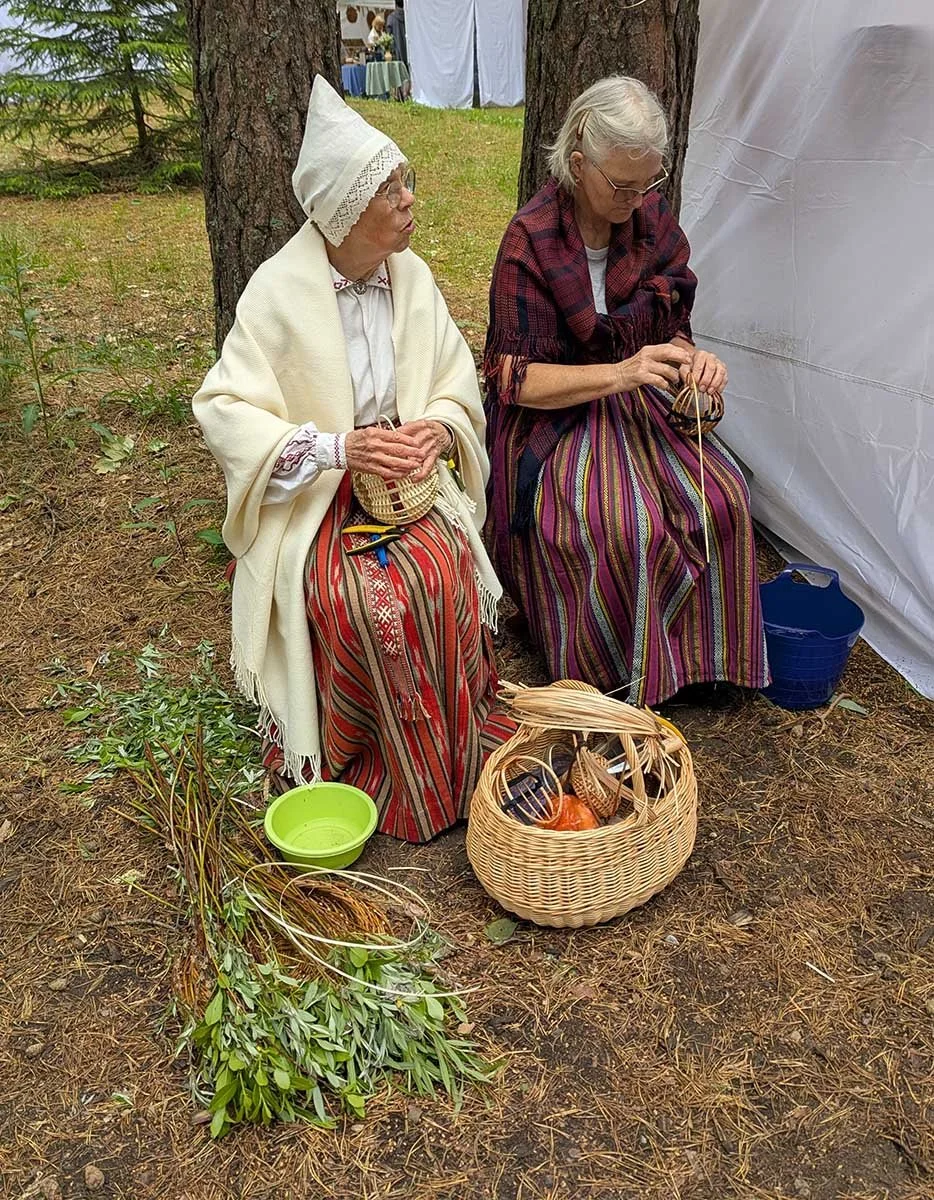
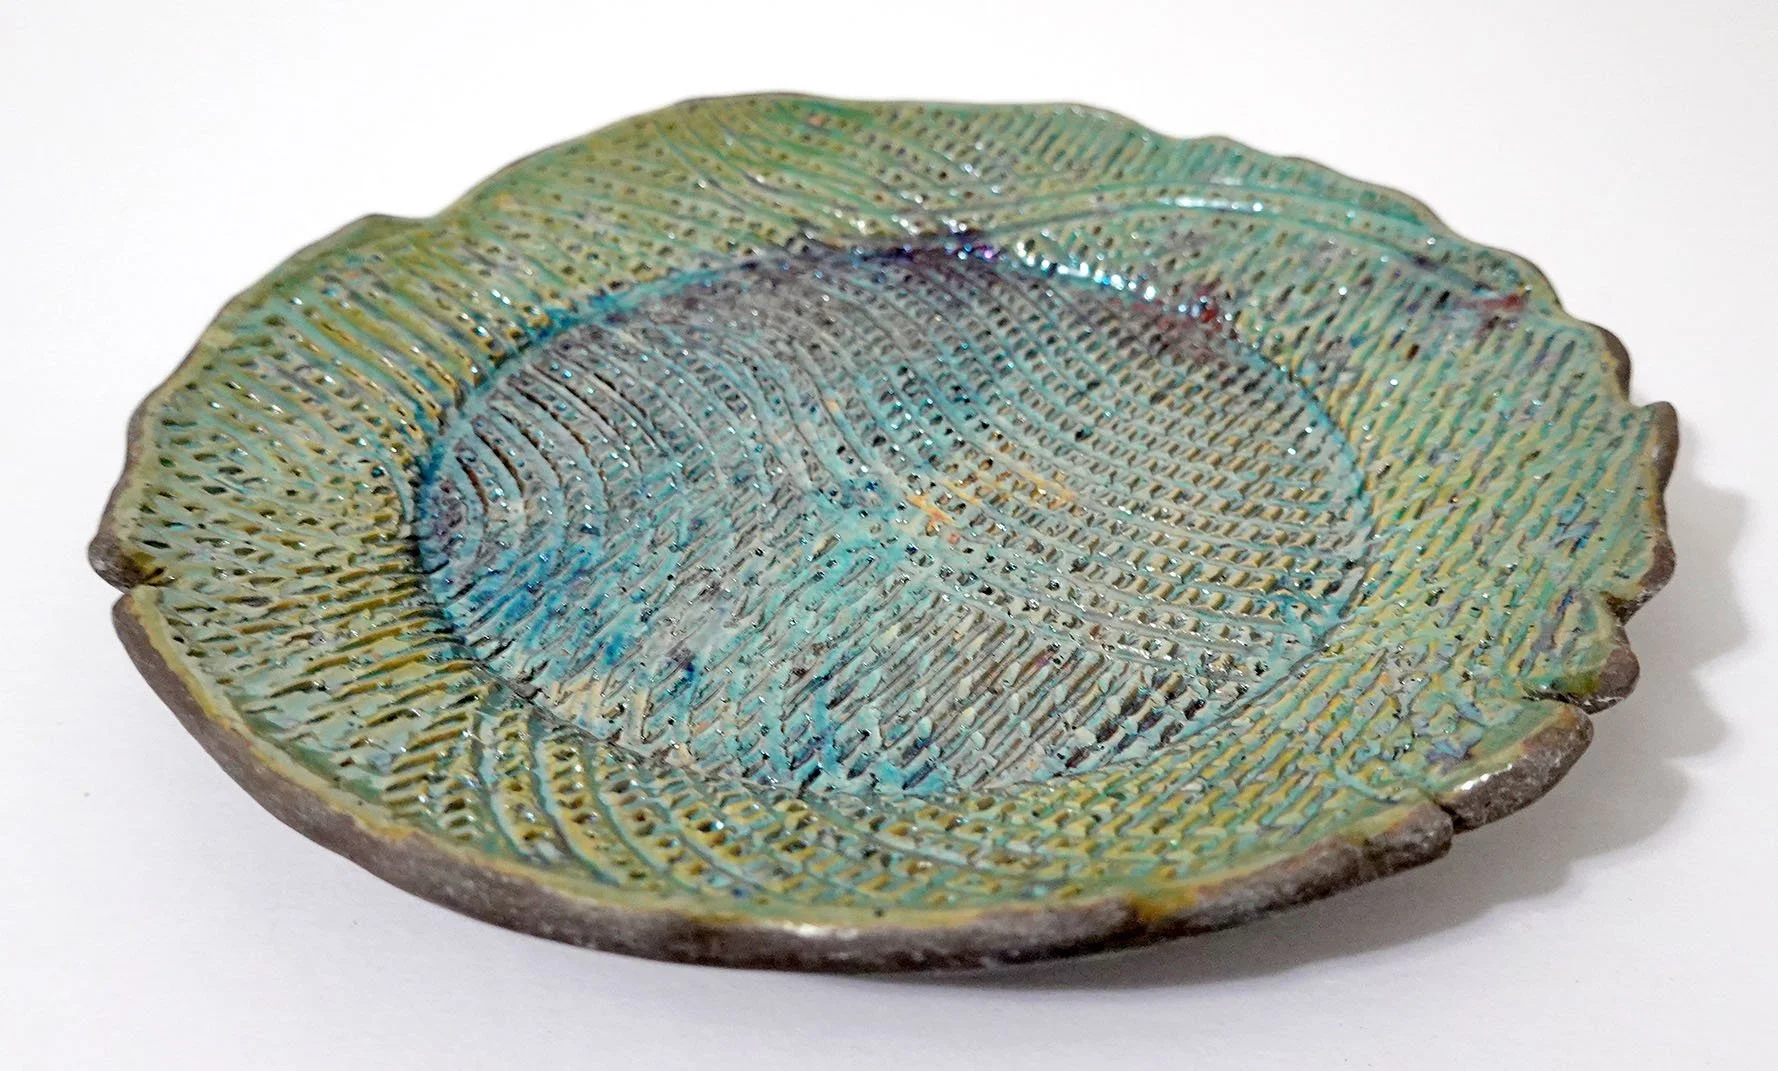
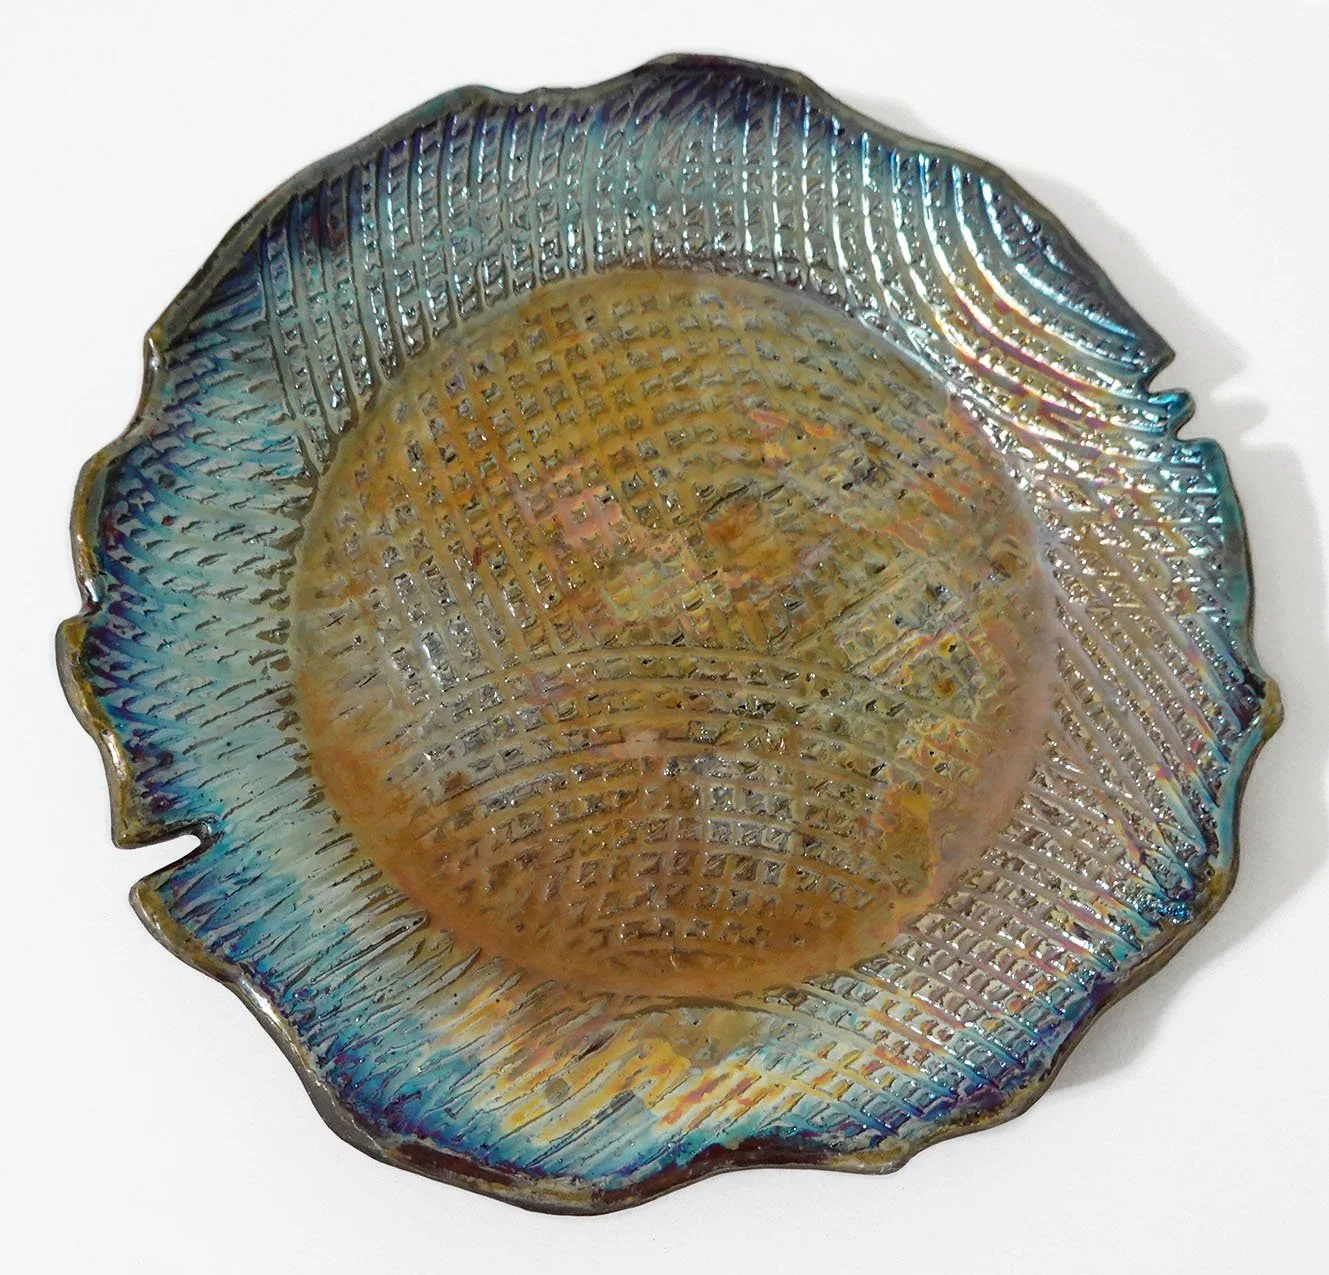
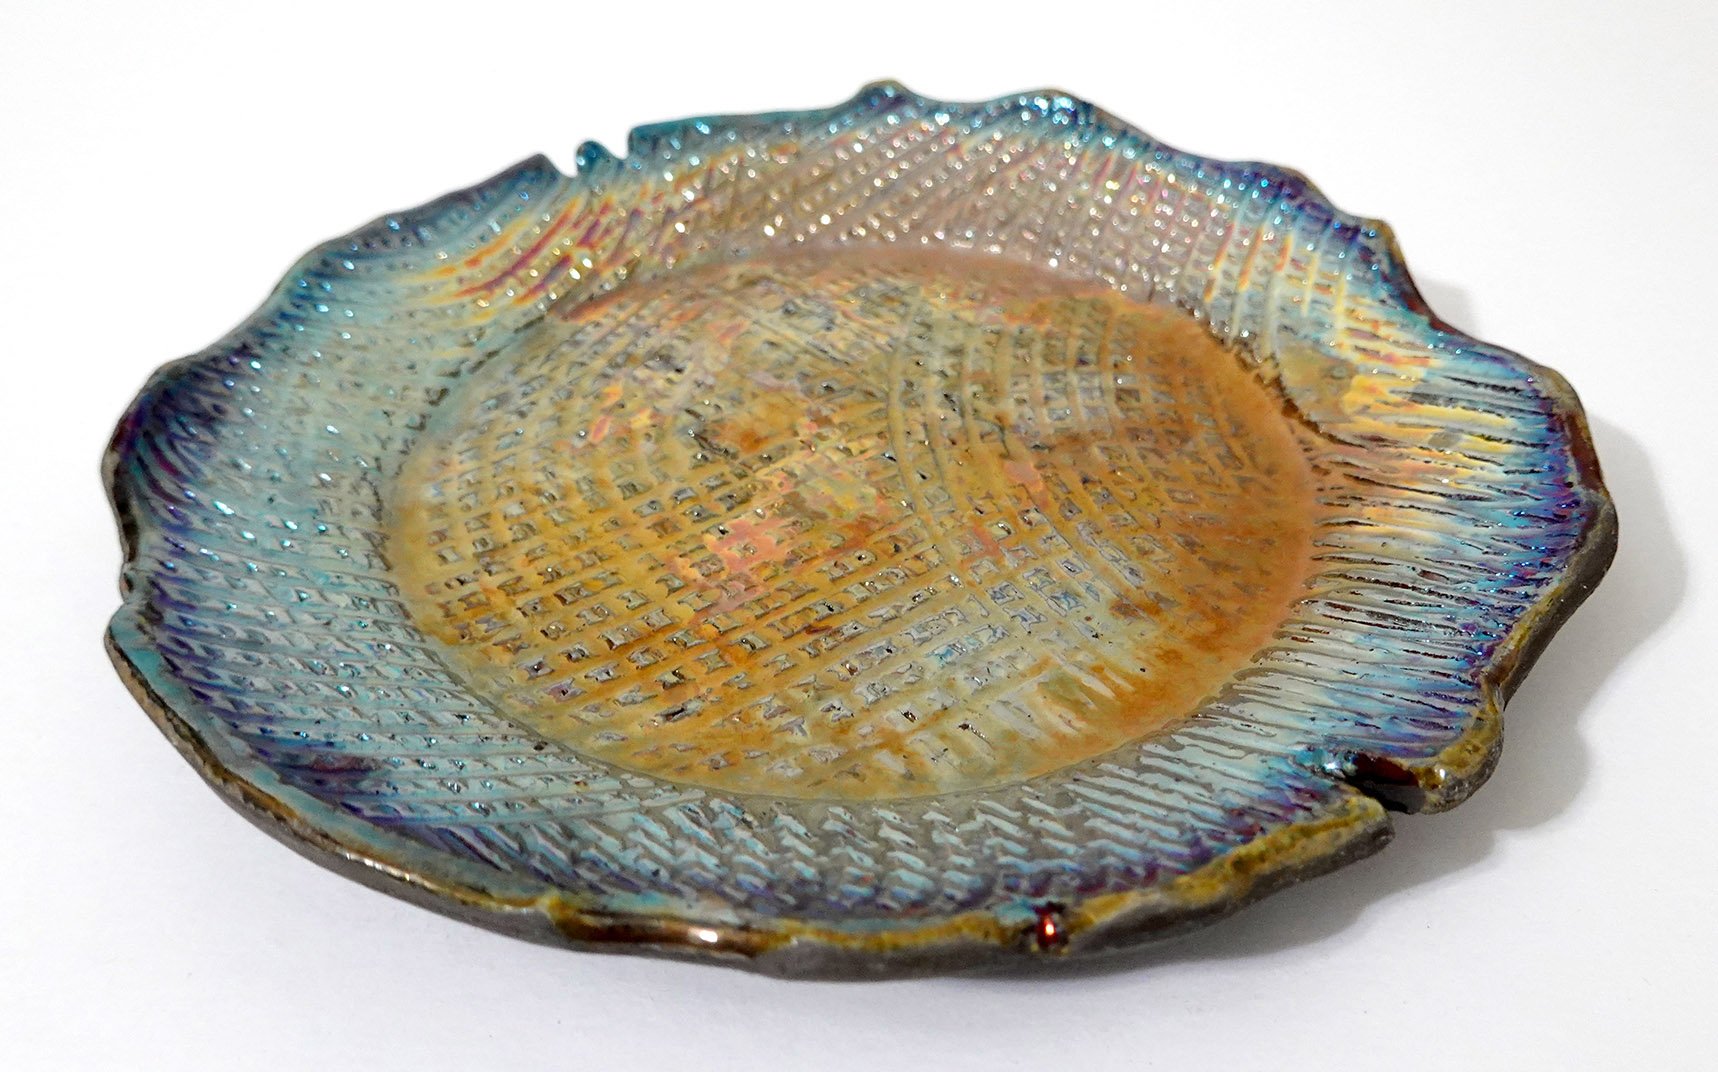
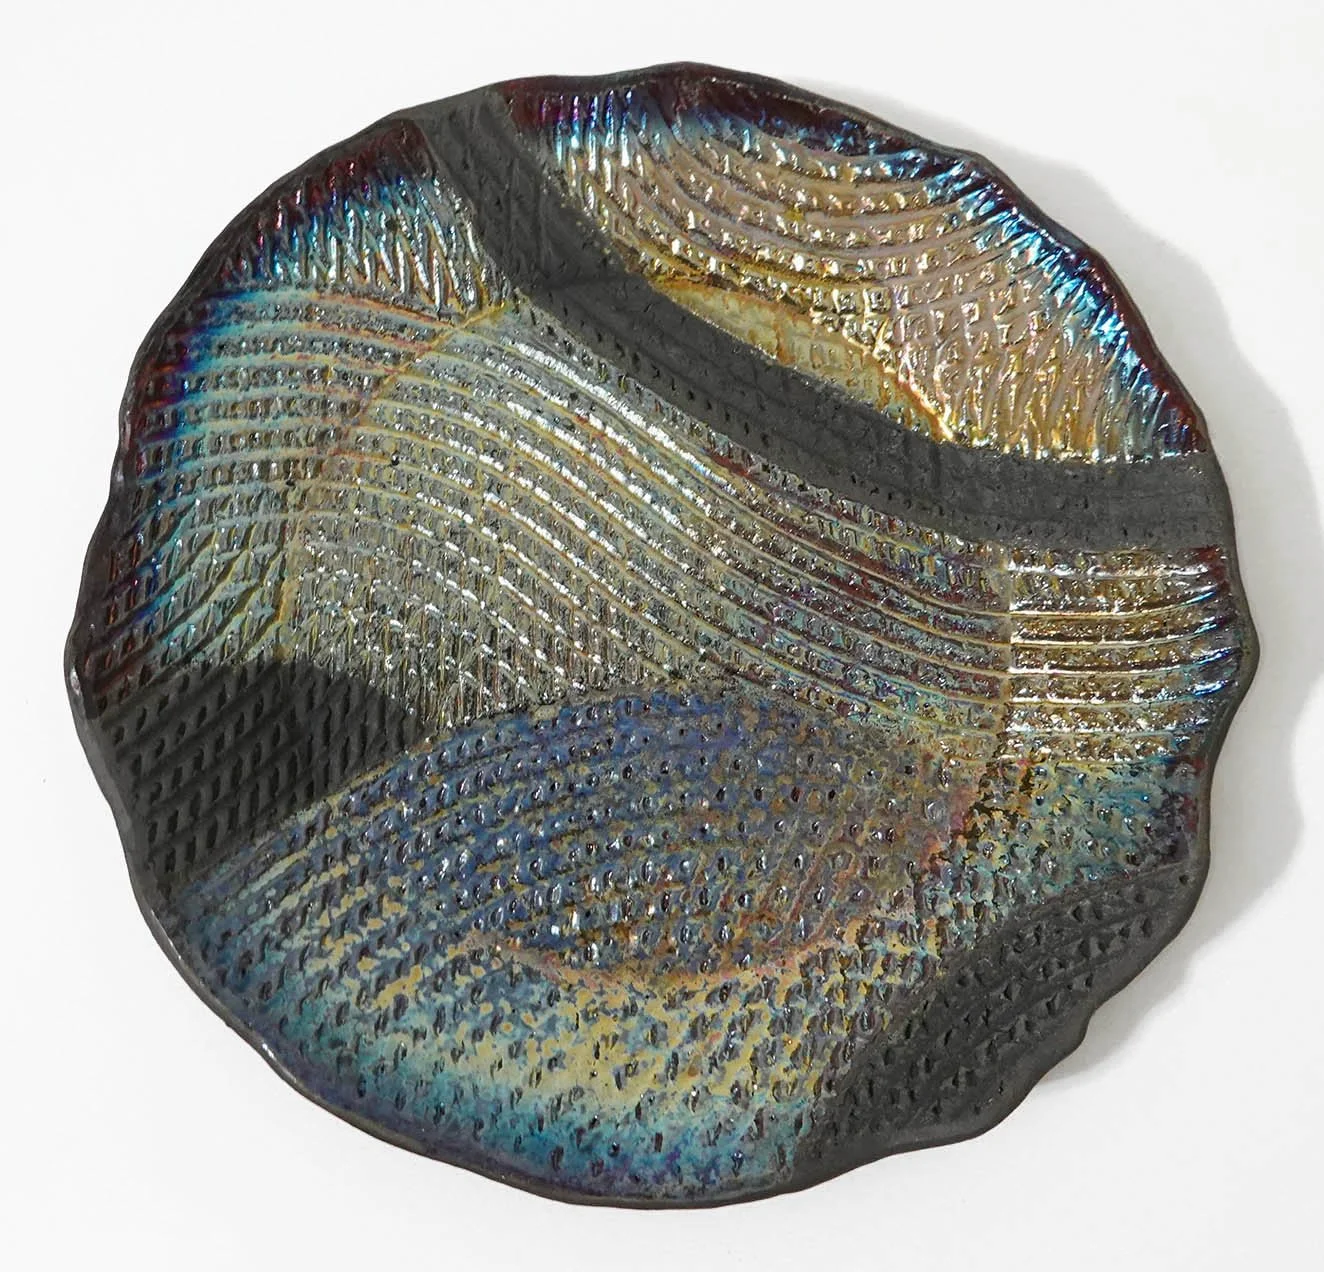
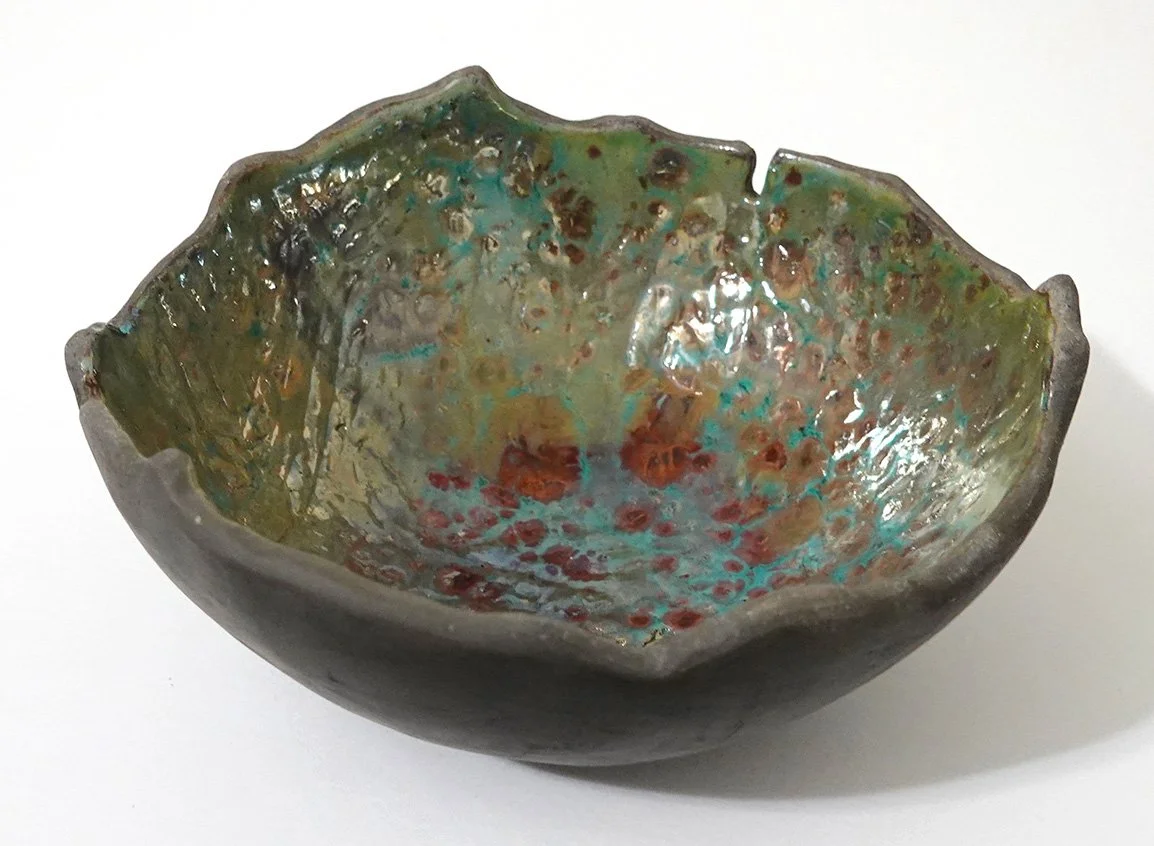
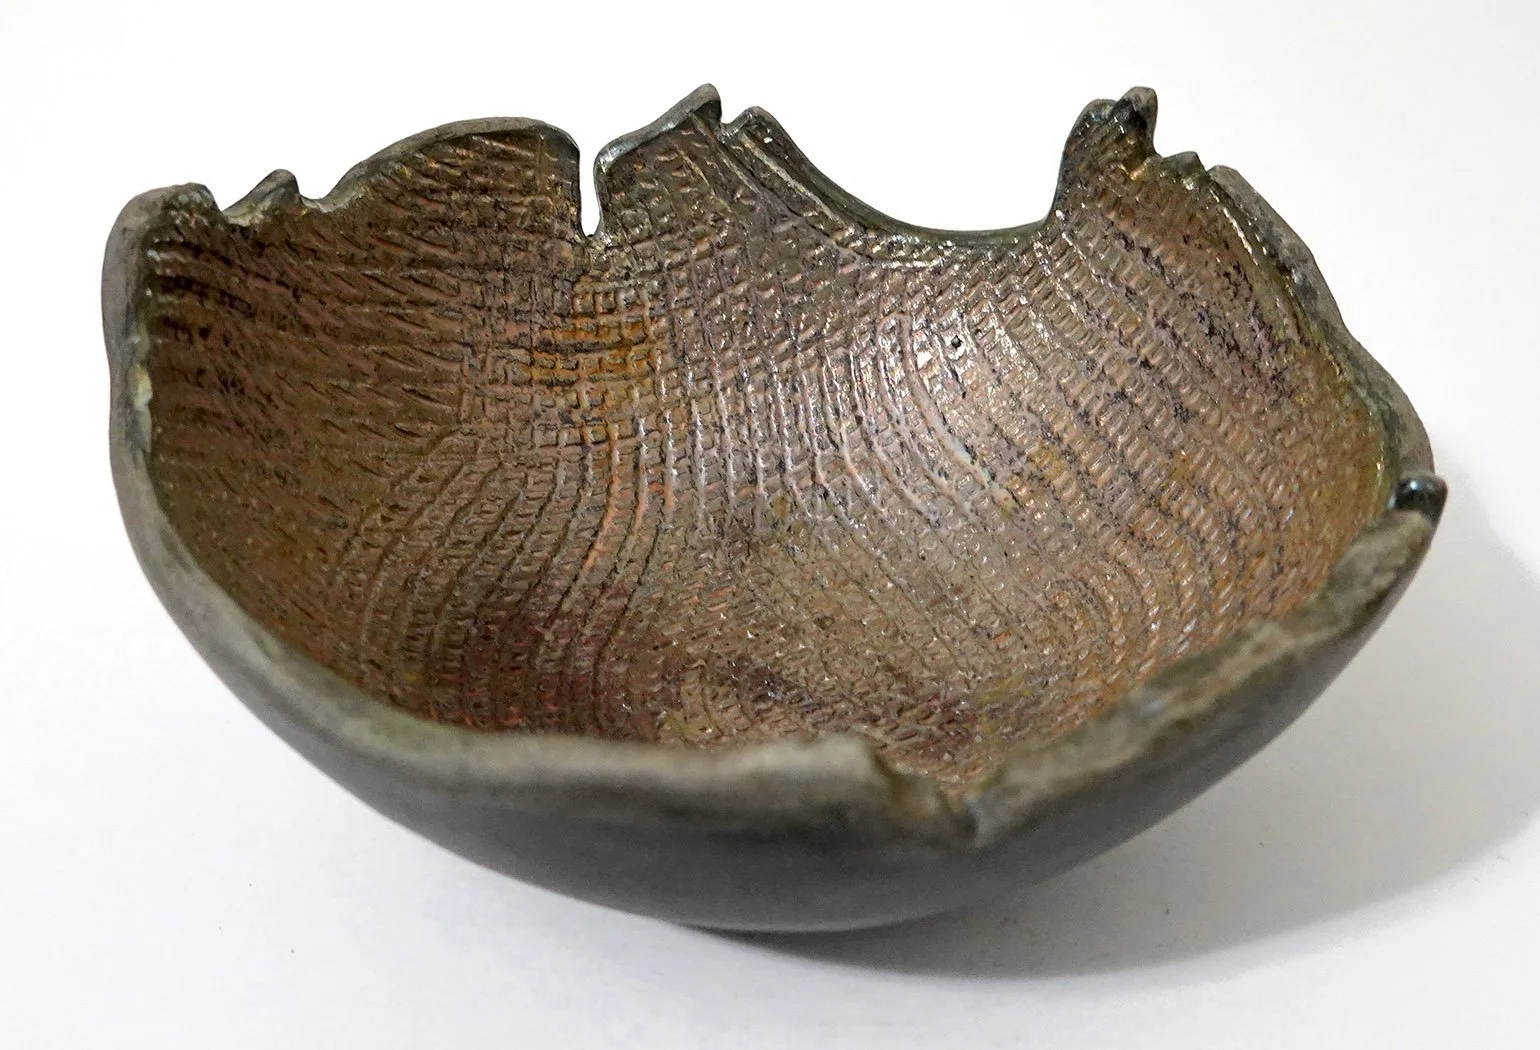
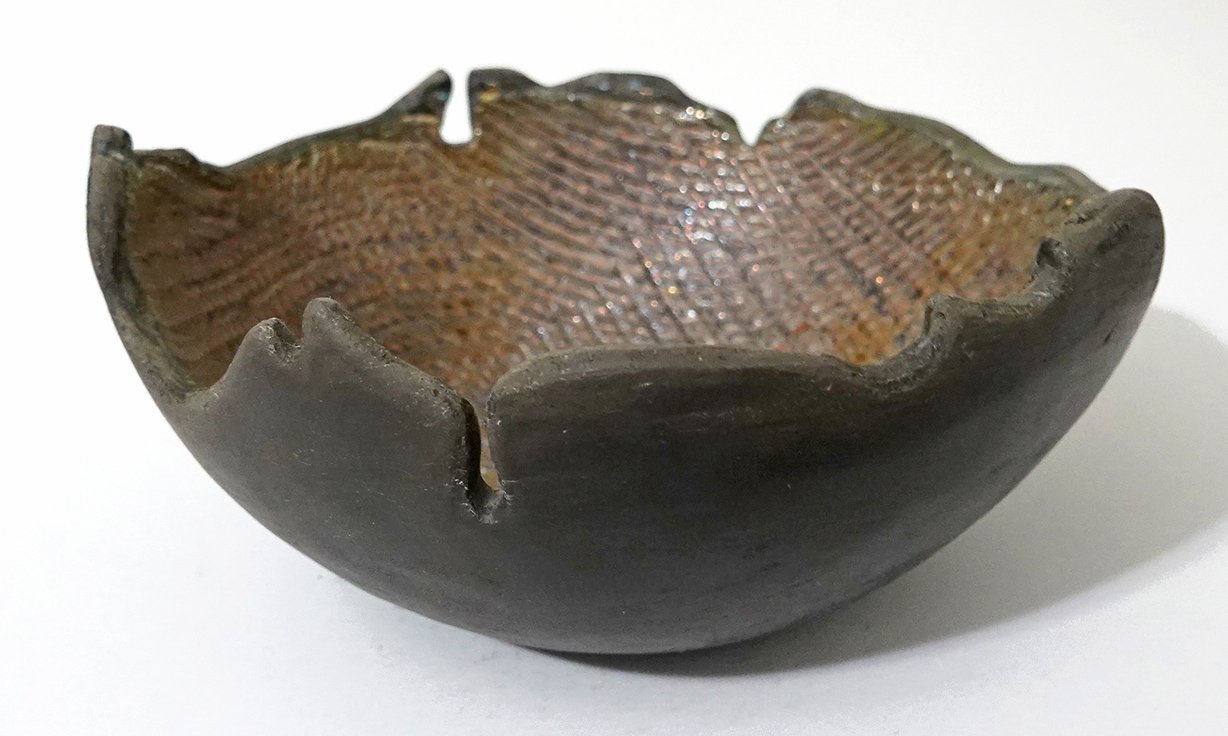
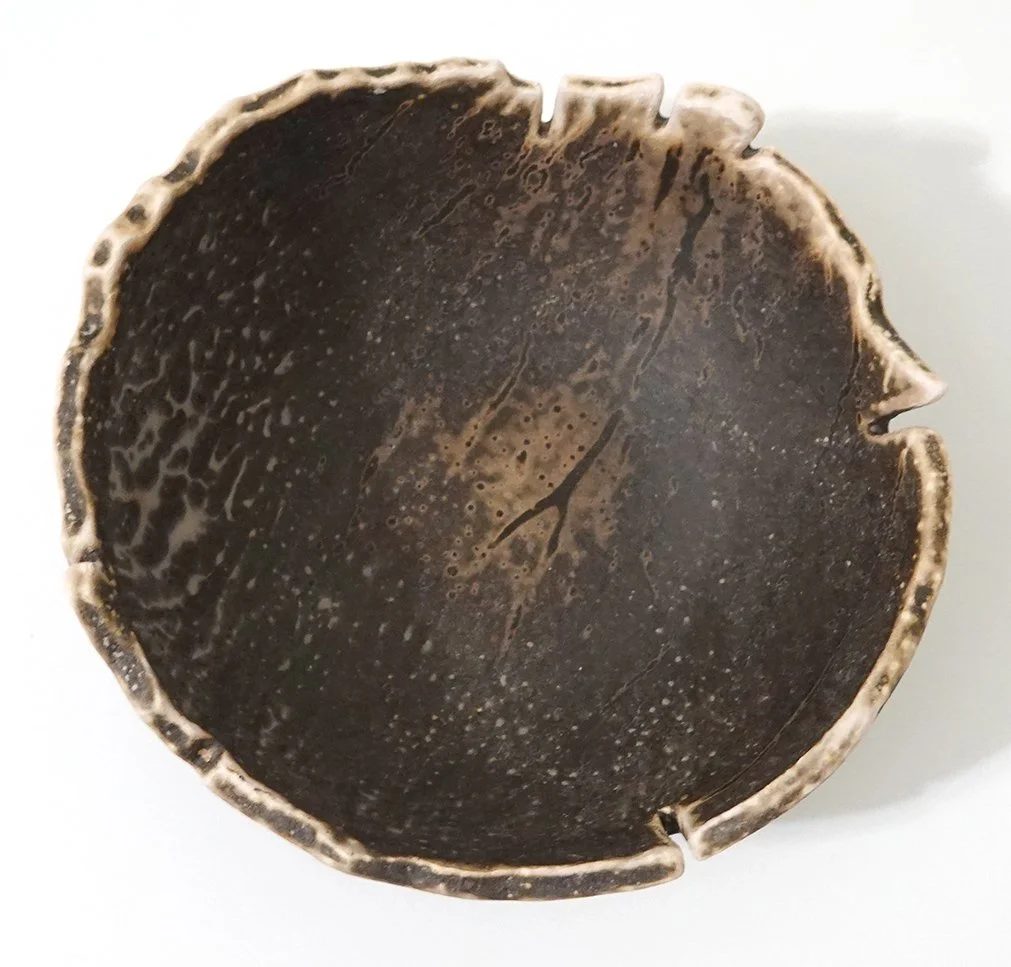
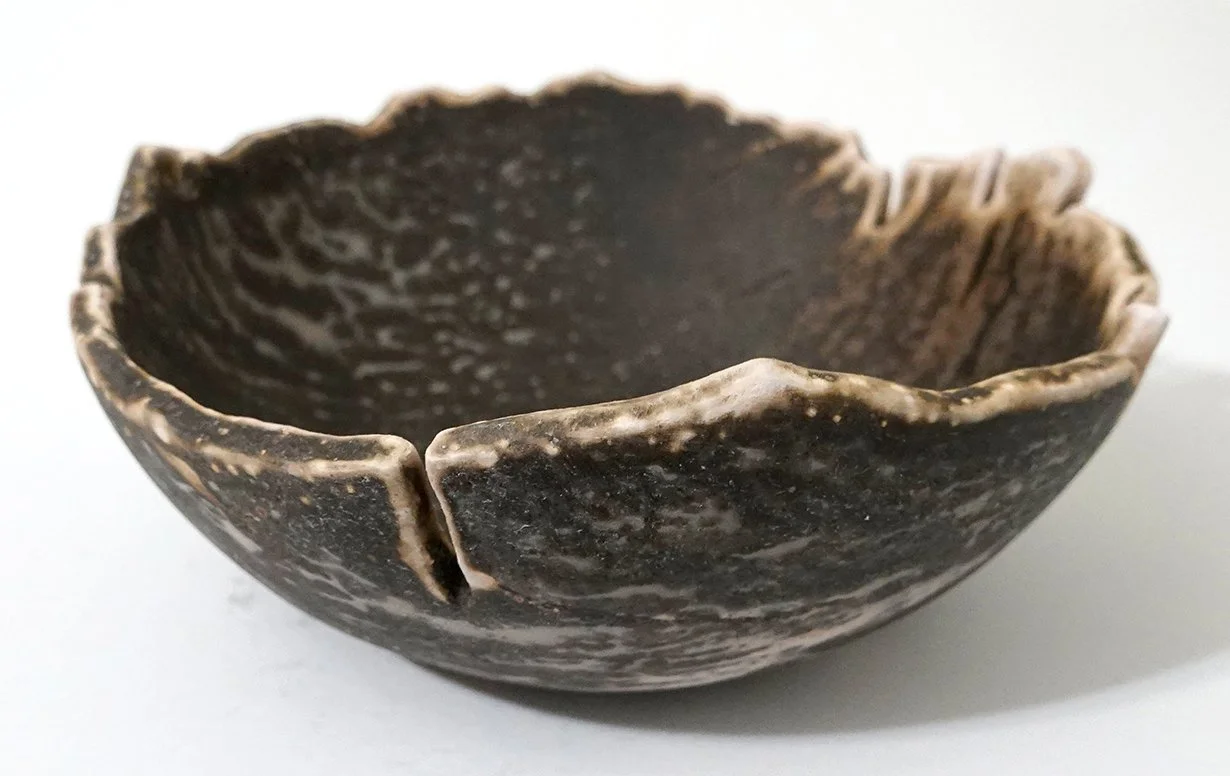
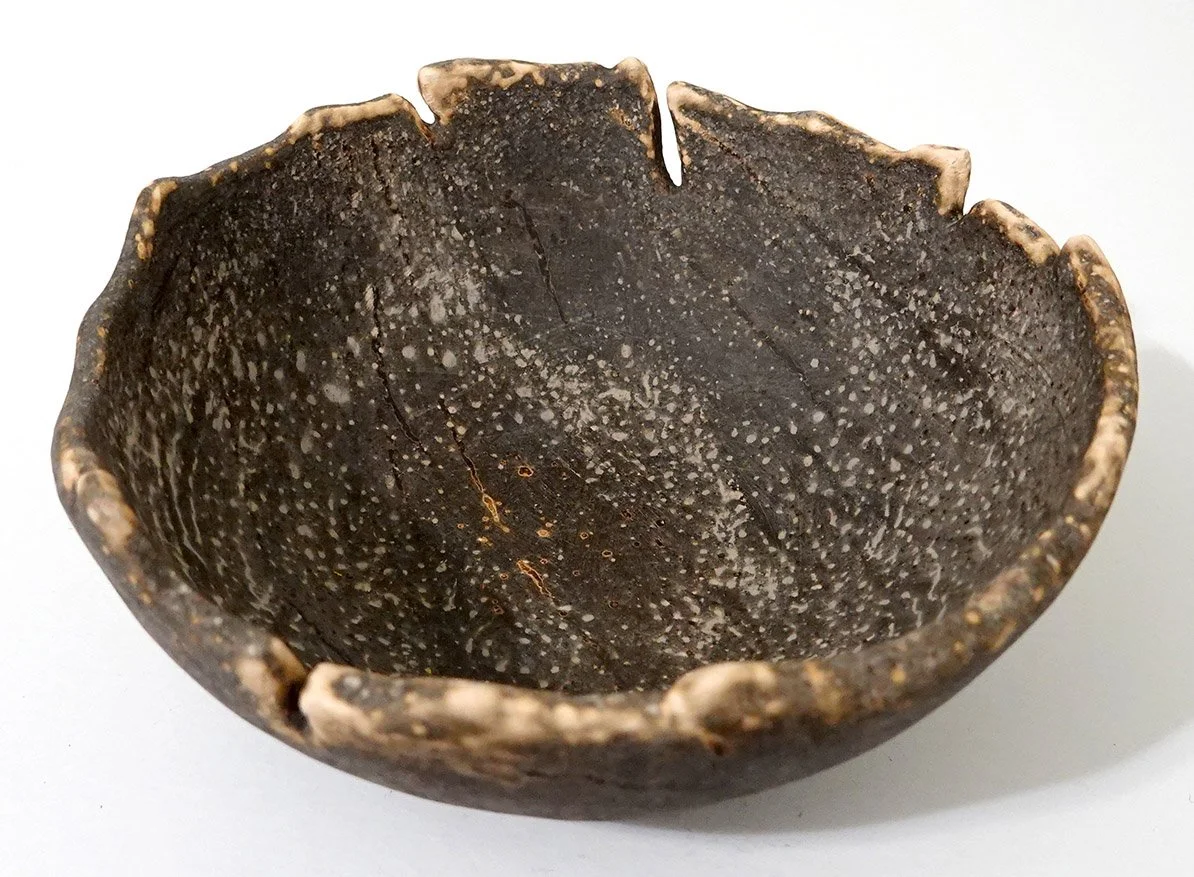
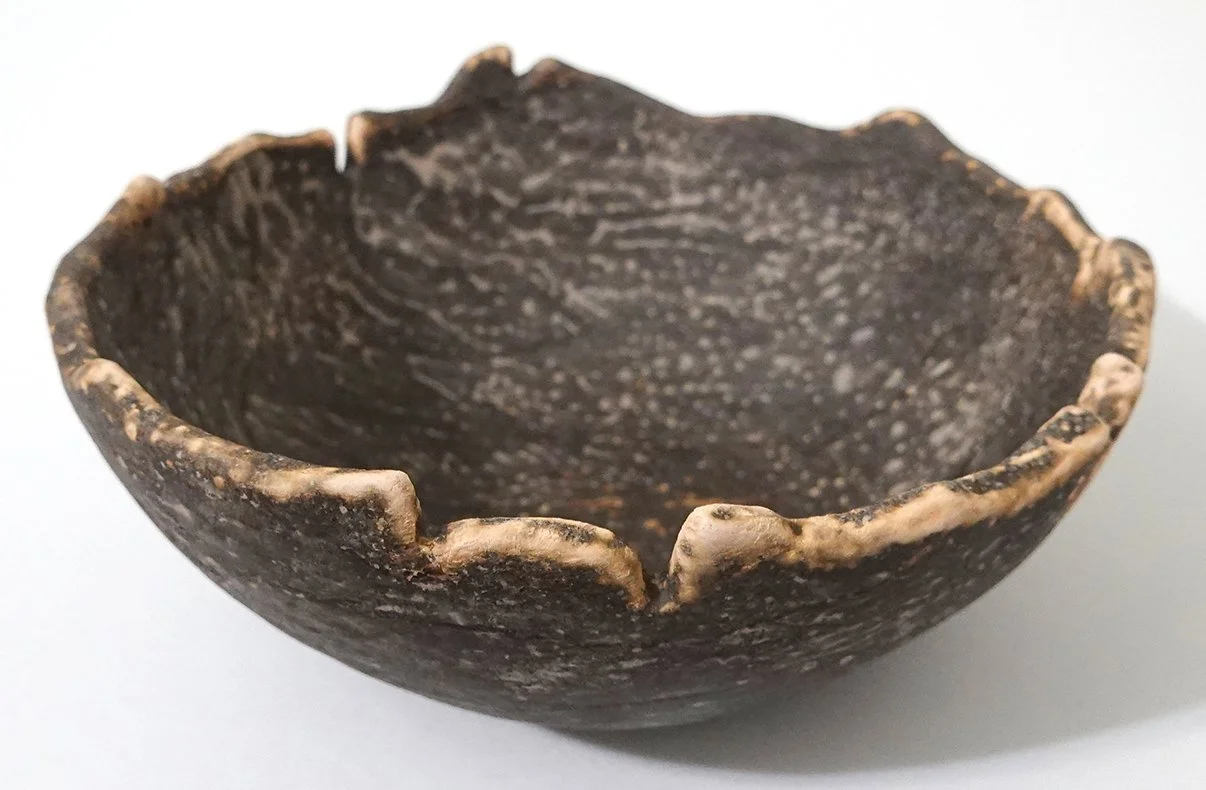
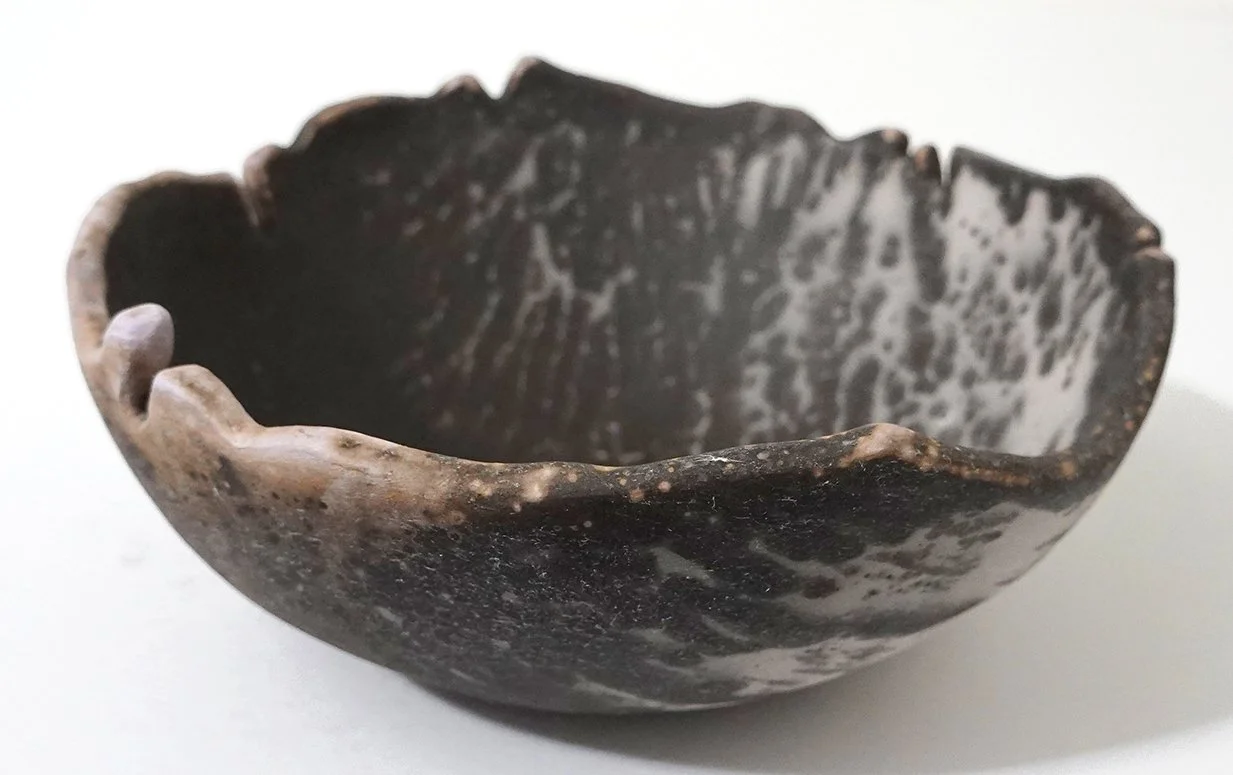
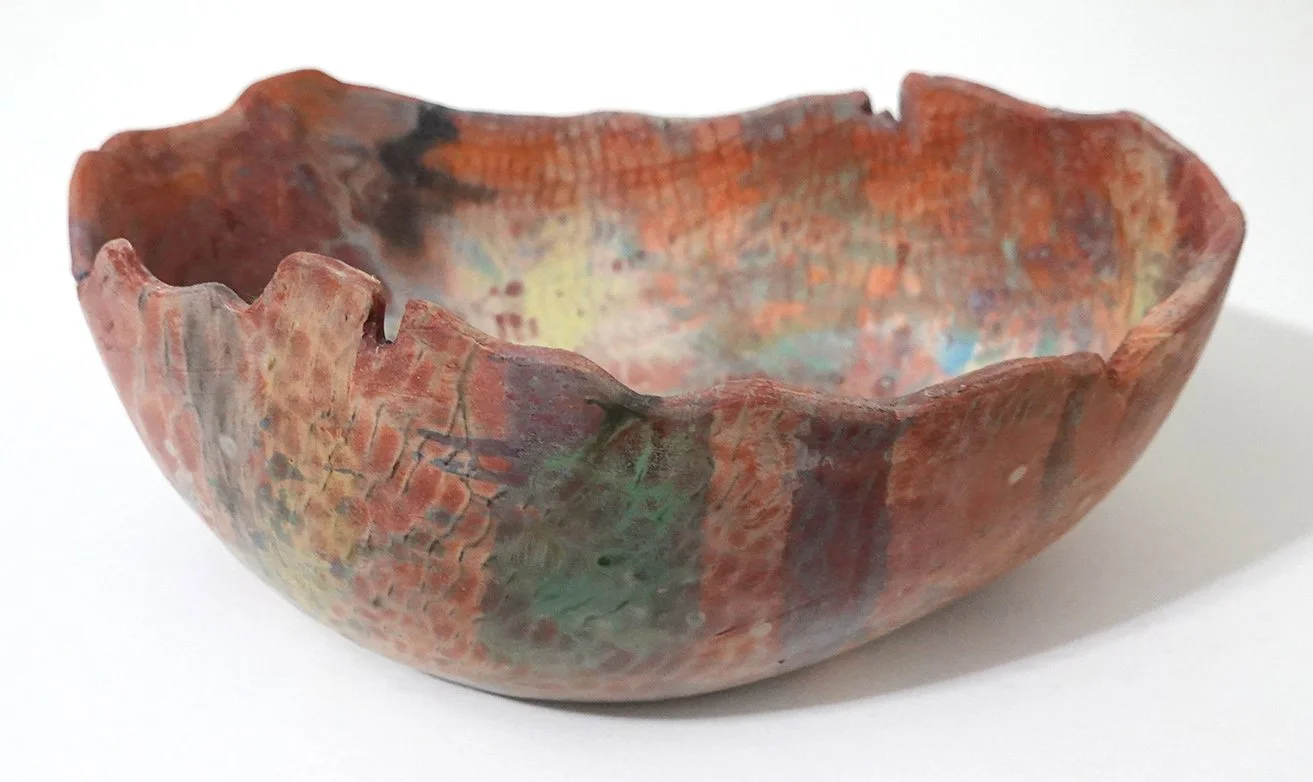
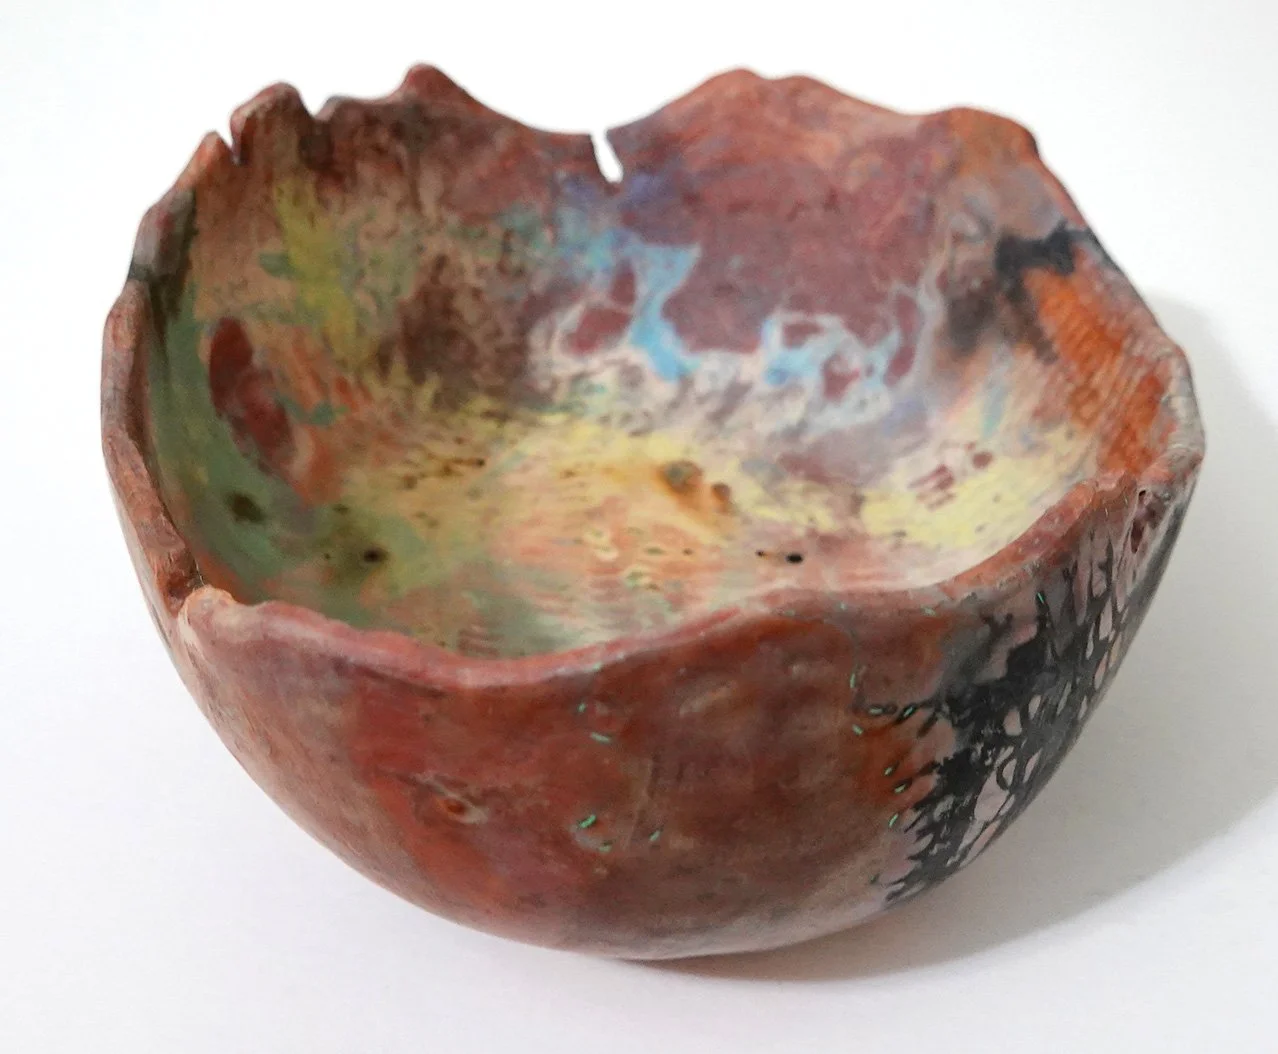
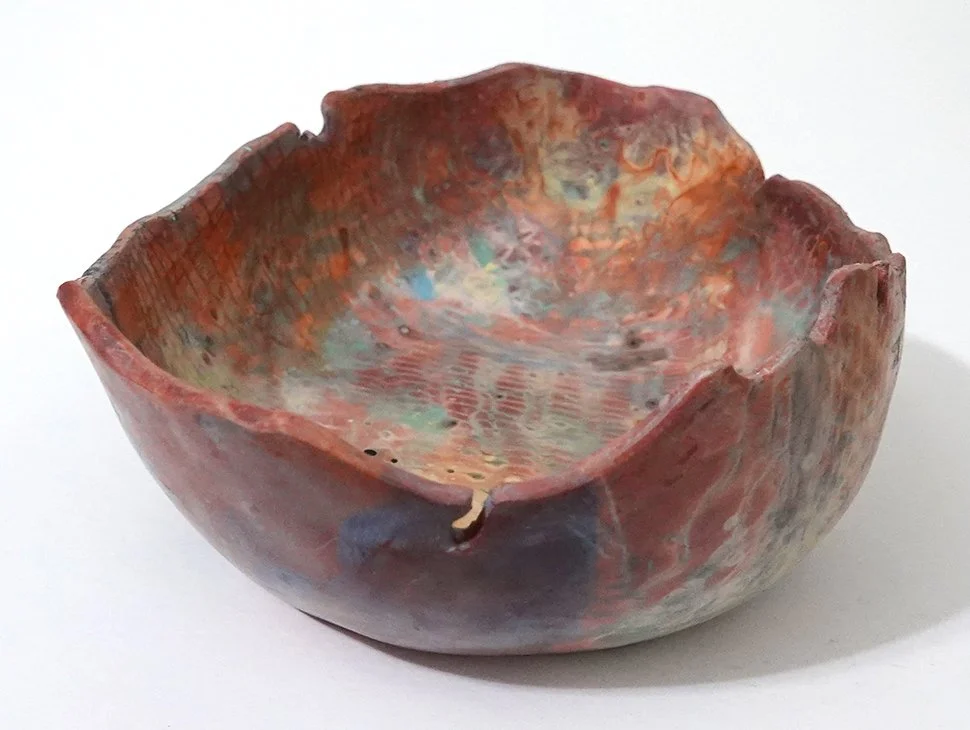
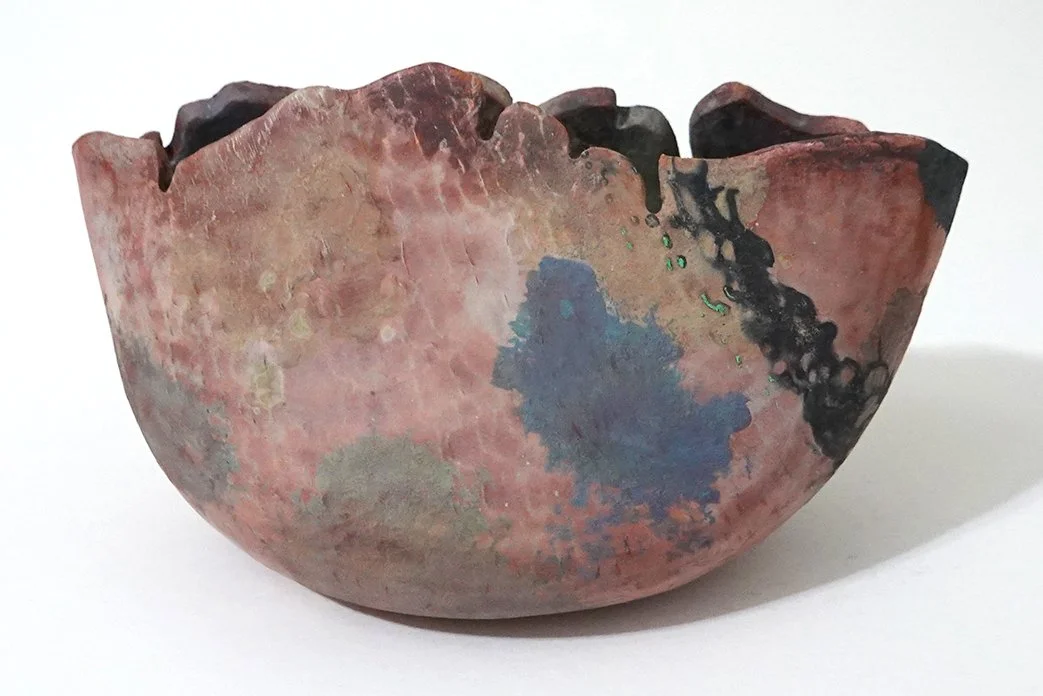
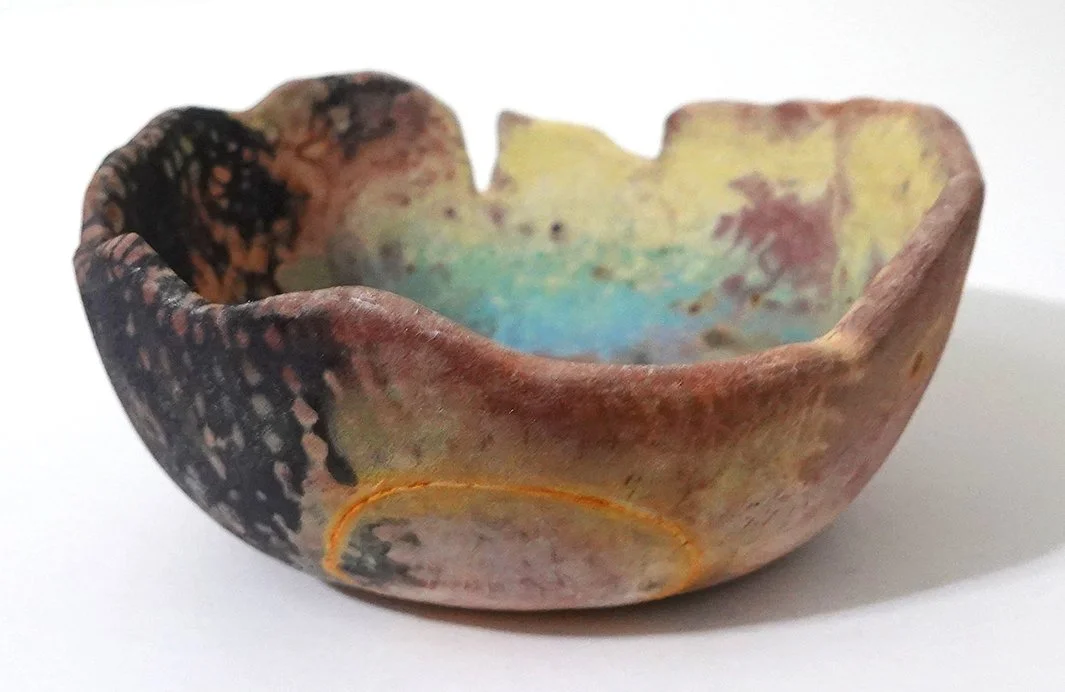
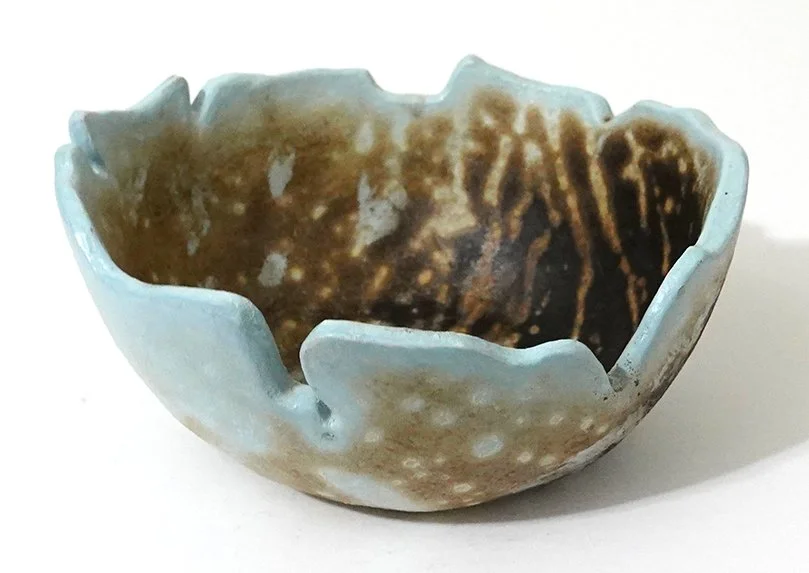
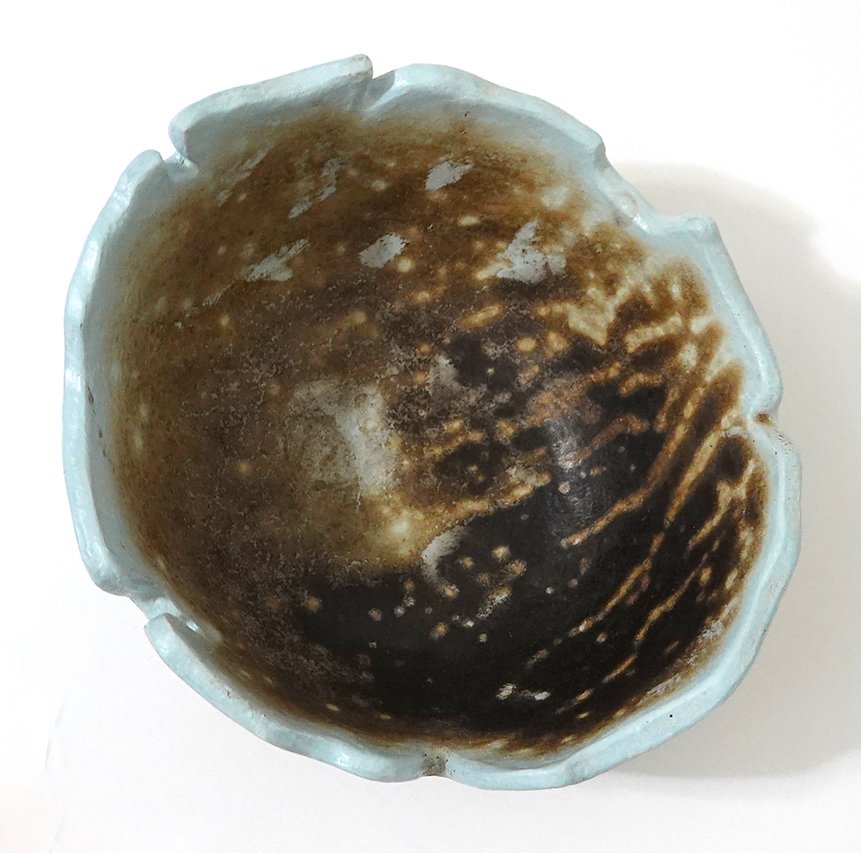
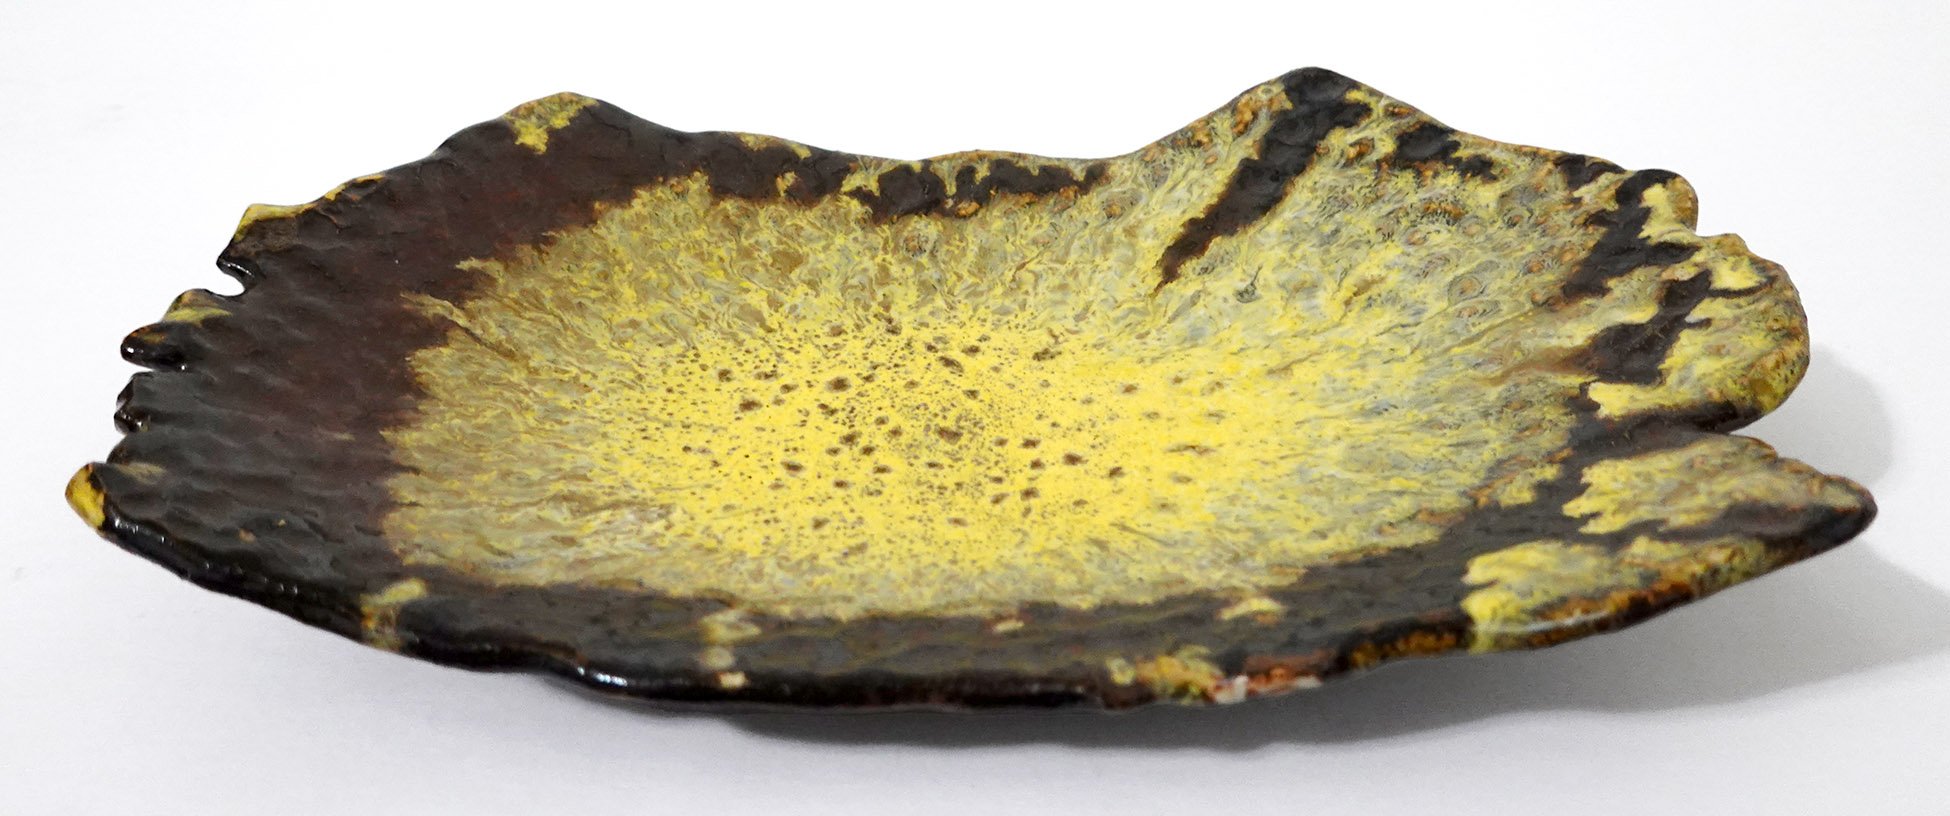
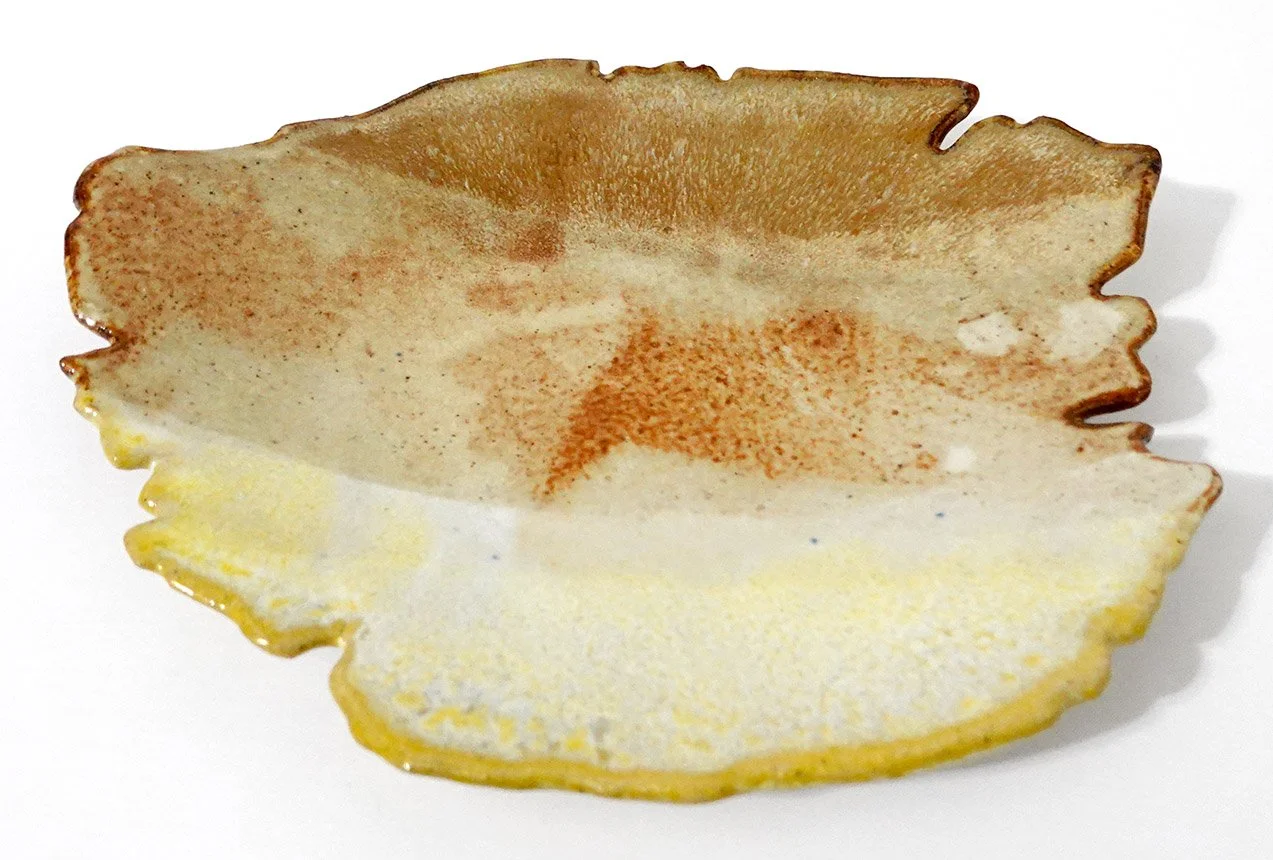
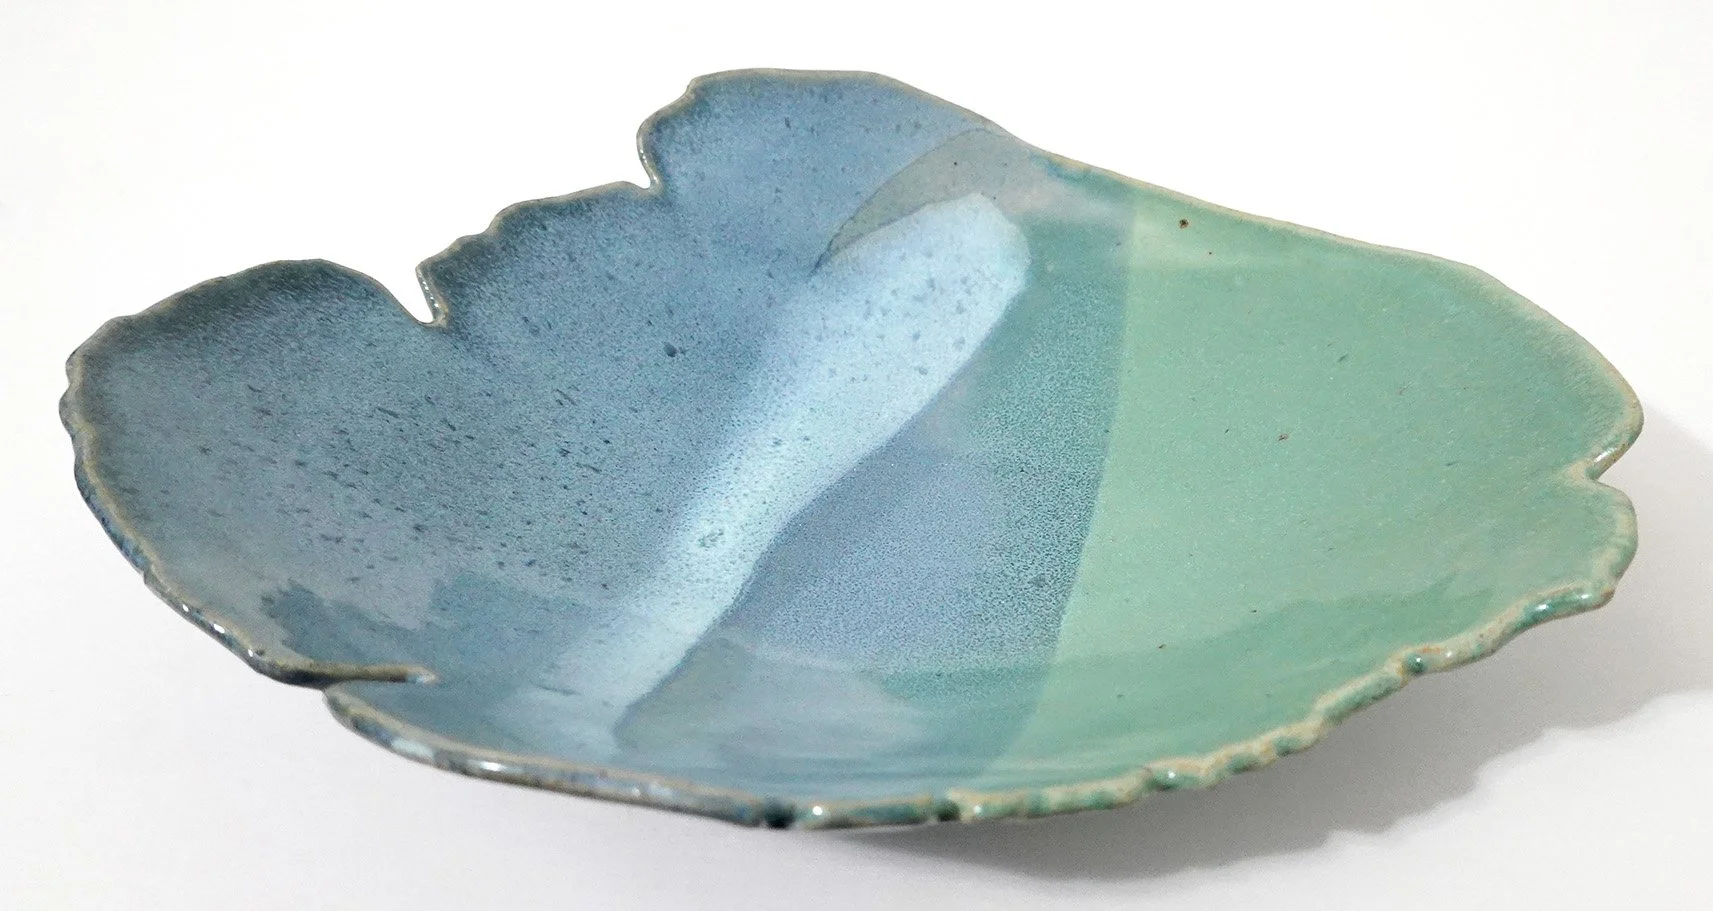
Though Riga is 2.5 hours away, getting to the museum took another 45 minutes or so of waiting and transit, but then I arrived! There were around 150 vendors of various types - basket weavers, woodworkers, ceramists, toy makers, farmer’s market stalls and bakers - and I would estimate maybe 90 of the vendors offered woolen goods including cloth, belts, clothing, mittens, socks, hats, and other accessories. In addition to those stalls, there were three major refreshment areas where attendees could buy food and drinks and port-a-potties were stationed nearby.
The fair was so big that I had to carefully section it as I went through, and it took me about three hours before I was confident I had seen each vendor. A handful of stations also had live demos, and there were also musical performances and a Latvian children’s play happening on a nearby stage.
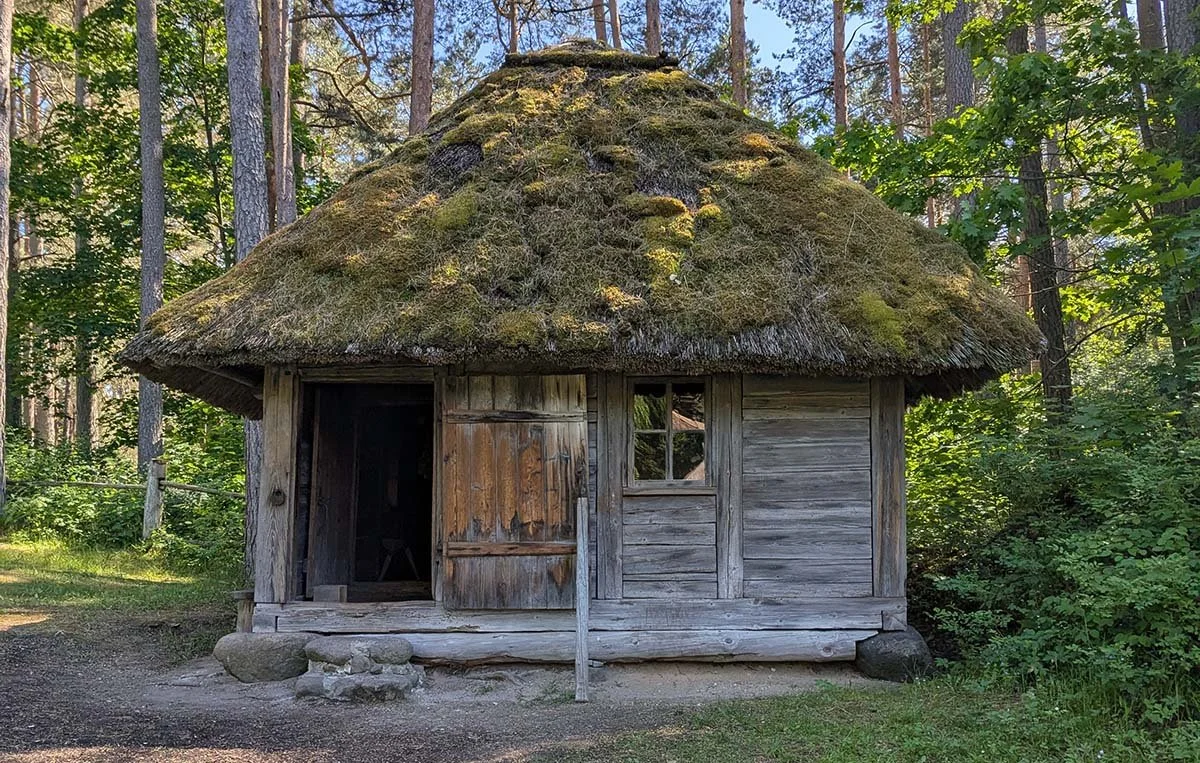
Though I didn’t buy much due to a combination of minimal luggage space, costs and size of offerings, and the fact that I don’t tolerate wearing wool directly on my skin, I really enjoyed browsing all of the wares. Afterward, I wandered through part of the Ethnographic Open Air Museum. Then I headed back to central Riga by bus, and by the time I arrived, it was already after almost all the museums and shops had shut. I got dinner at a nearby mall food court (a surprisingly delicious meal!), and then hopped on my bus back! I do plan to return for another day trip, since I didn’t really see much of Riga overall beyond the Ethnographic Open Air Museum.


