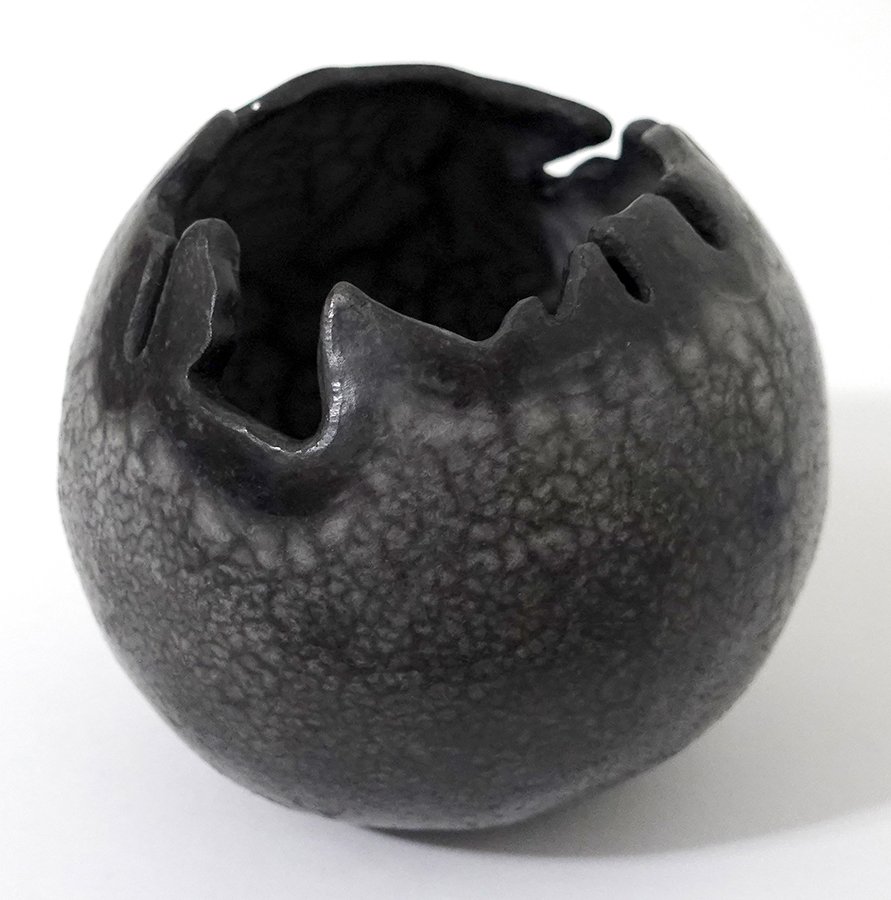
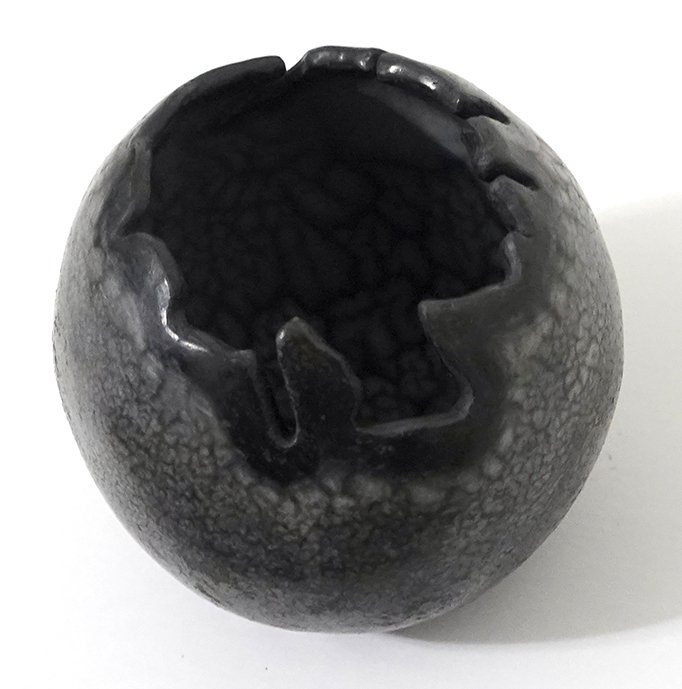
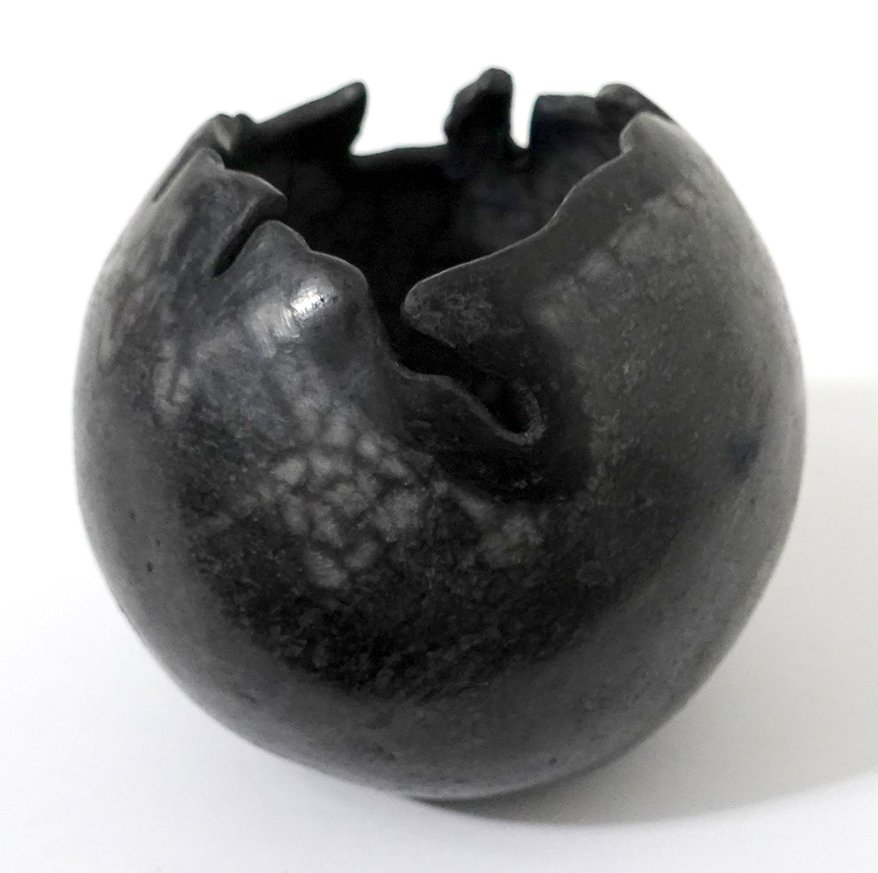
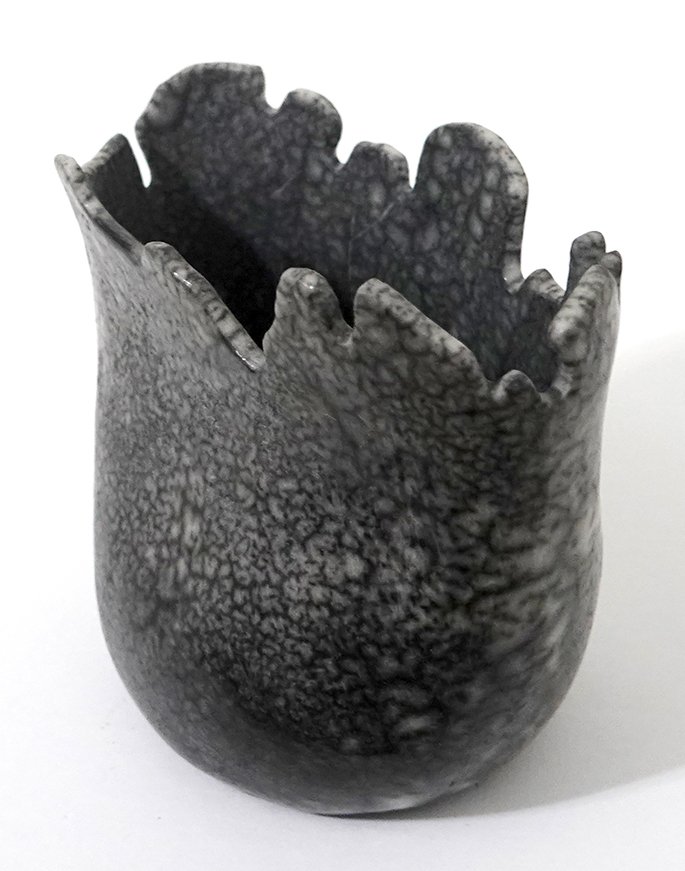
The pieces of bisqueware I brought to this workshop (with markings noting which ones broke during the stressful firing process).
At my April 2025 raku workshop at Dakota Potters Supply, I experimented with several new techniques. One that I was really interested in was seeing how adding a Mason stain (in this case, dark teal) to terra sigillata slip and applying it as a top coat on my greenware would ultimately react with different finishing methods.
There aren’t really good recipes for adding Mason stain to wet slip (usually you’d add it to dry clay powder by weight and then add the water afterwards). However, I already had a bucket of mixed up terra sigillata slip in my house, so I just scooped around a cup of it into a small tupperware and added a heaping spoonful of dark teal Mason stain. I then applied it with a fan brush to several pieces of pottery that were still wet - not even leather hard, a bit wetter than that. The coloration significantly lightened as they dried, and I was left with a very light blue coloration. I was worried that might not be enough, so I added another heaping spoonful of the stain to the remaining dyed slip and applied that to a few more ceramics, experimenting as well with placement and markmaking.
To the right, you can see an image of the bisqueware I brought to the raku workshop; the pieces with X’s on them blew up in or shortly after removal from the kilns, so they were thrown out.
At the workshop, I was interested in two different techniques that would make use of the Mason stains: crackle glaze and ferric chloride saggar (or “baked potato”) firing. In this post, I will share the crackle glaze results. I could have used a white crackle glaze (and maybe I should experiment with that to see how opaque it really is), but I was worried it would be fully opaque so instead I applied clear crackle to two of the Mason stain pieces.
This first bowl, which is the rightmost bowl without an X on it in the bisqueware image, just has clear crackle applied to the inside, lip, and just around the lip on the outside. The rest of the piece I left bare to absorb the carbon from the reduction atmosphere.
Unfortunately the crackle either didn’t really crackle, or if it did, the very low contrast between the smoky dark grey and the dark teal is such that very few cracks are really visible. I think if I try this again I will either need to use way less Mason stain or experiment with white crackle or a mix of white and clear crackle. It is still a very pretty bowl, but a bit plainer than I wanted on the interior given the expense and “decorative” status.
Next, I applied crackle glaze to the interior of the taller dish with Mason stain terra sigillata slip on the interior and a burnished exterior. I then applied one coat of naked raku slip resist to the exterior.
The Mason stain crackle interior behaved the same as with the first bowl, so I have similar feelings about it. However, I am enjoying the mixing of techniques on one piece of pottery and plan to explore similar options moving forward.


