ceramic artist

Copper Mesh Saggar Raku Pottery

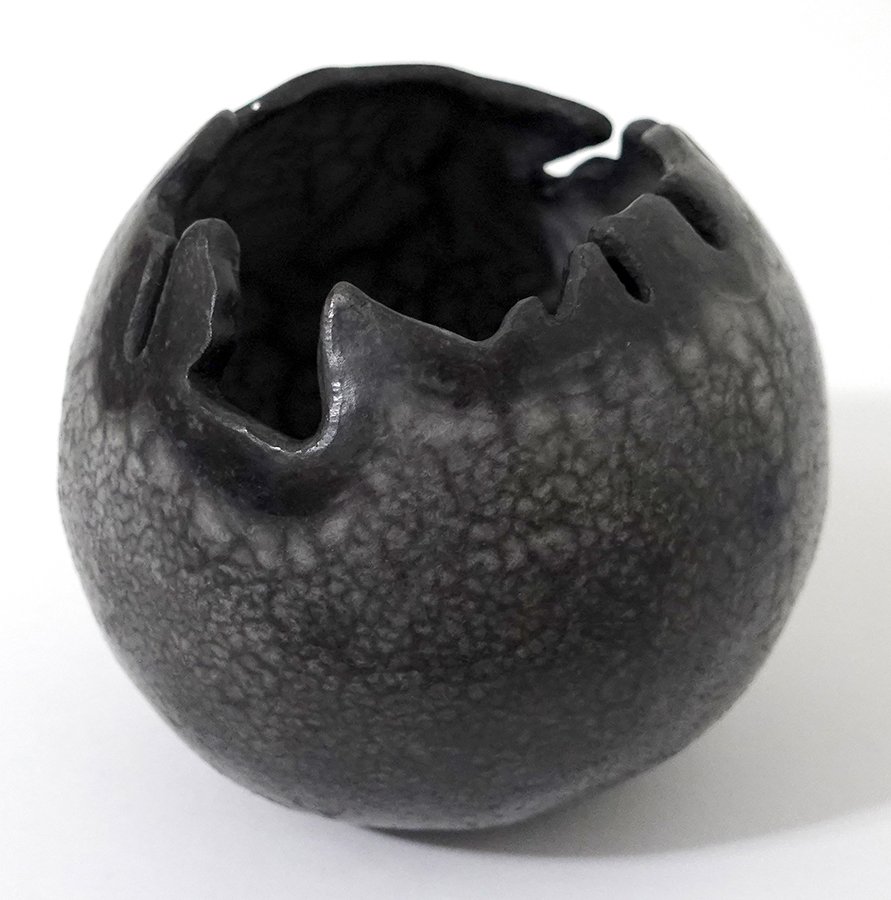
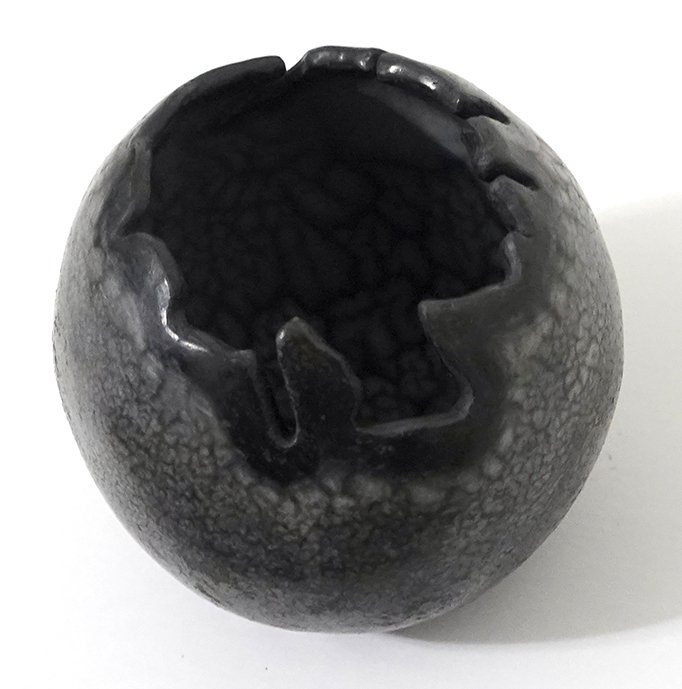
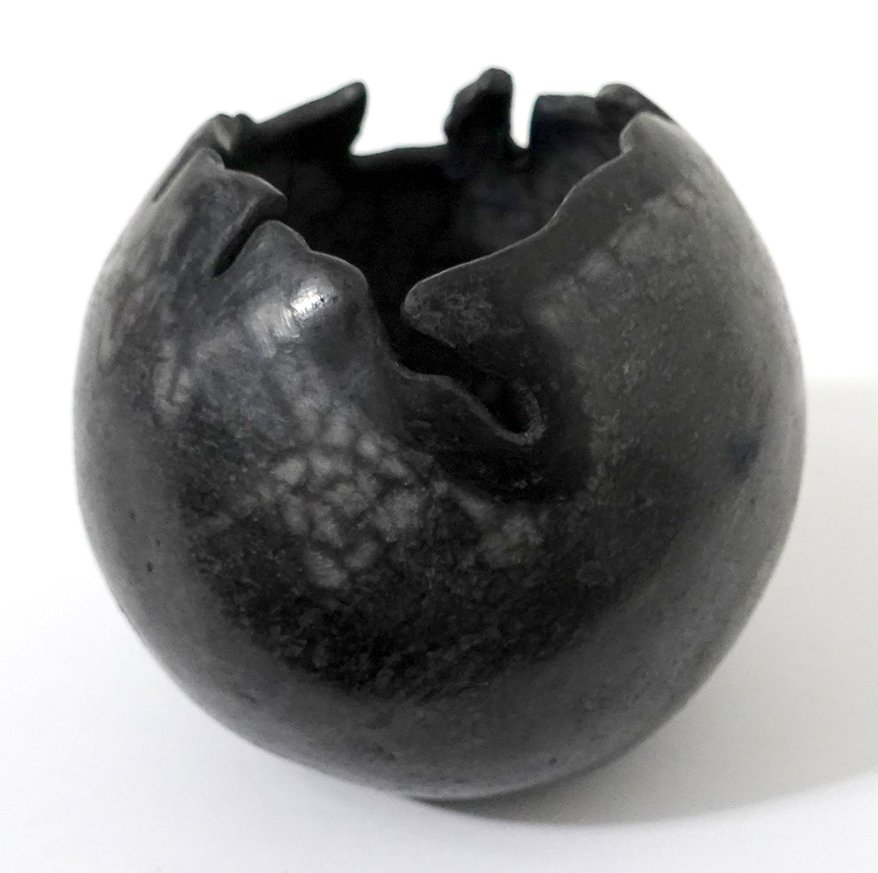
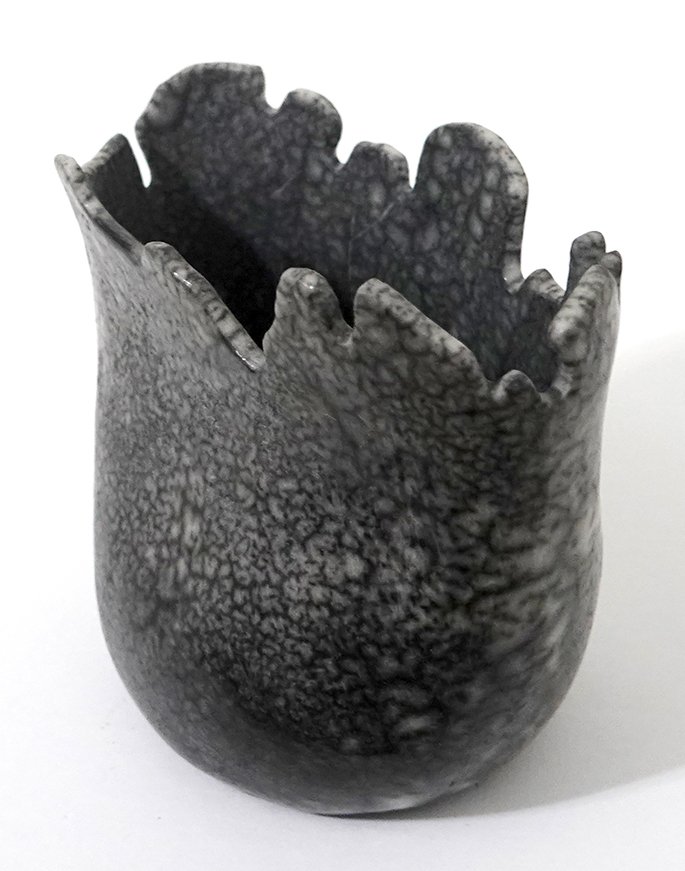
I was most excited about trying this technique out at this recent raku workshop, as I’d only learned of it recently and I couldn’t find many photos online of it! I purchased two different brands of copper mesh scouring pads and then unraveled the pads and wrapped the copper mesh “socks” around ferric-chloride-dipped ceramics. I then bundled it all up in aluminum foil and saggar fired them (also known as the “baked potato” method).

Some tips:

  • If the ferric chloride is still wet, it will melt the copper mesh, so ideally apply it after the ferric chloride has dried. However, that means you can’t also use sugar for additional carbonization as it gets knocked off. If you’re feeling risky, you can daub some more ferric cloride atop the piece and sprinkle with sugar but it’ll then eat away all the copper in those areas.

  • The tighter the mesh atop the ceramic, the clearer the results. Really hug the vessel tightly for the most overall effect.

  • The resulting finish when taken right out of the foil looks like a hot mess due to all the ash produced - but after you rinse the ceramics off, their true appearance is revealed!

I’ve since learned that you can just buy rolls of copper mesh (so you don’t have to go the cutting-and-unraveling-scouring-pads approach unless you already have some on hand); I may play around with that moving forward! I really like the results I got from this process. In different areas, the copper mesh carbonization marks look like fish scales (or maybe dragon scales!), chainmail, webbing, fishnet stockings, or unraveling yarn. When the mesh only is in discrete spots, its marks also contribute to a layered, graffiti-like aesthetic.

Here’s the most mesh-marked piece of the batch, a small oblong vase:

Next, a small orb:

A weird little vessel I’m calling an oddgon:

And finally a larger, sideways orb:

Honey Rakuware

I first tried honey raku in October 2023; I didn’t really like my own results at the time, but I learned two main takeaways in the process:

  • you very much want thin strands of honey rather than thick, so that it pulls into beads rather than leaving thick streaks

  • the honey works best on convex rather than concave forms, due to its propensity to run off vs. pool inside

With those in mind, I decided to give the honey raku finish another try atop two orbs, and I brought some honey drizzler sticks and a glass along for better stream control rather than using my earlier, clumsier technique of dispensing the honey via the squeeze bottle. Rotating these while they were insanely hot was asking a lot, so I really appreciated that Wanda was up for the challenge as she did that for me while I applied the honey.

Here’s the smaller sphere:

And the larger sphere:

The resulting pieces’ exteriors were smokier than the interiors since barely any honey made it inside, and the white shining out from the insides was distracting. I carefully stained the interior of the larger orb with India ink, and then watered it down a bit before staining the interior of the smaller orb as well. I love how they turned out; the bead trails of the honey almost look like planetary maps, comet/asteroid tracking paths, or constellations… a little bit like audio visualizations.

I also decided to experiment with a blue copper glaze in combination with the honey raku on a small bowl, even though the concave interior would be a challenge. What you can’t see in the below images is twofold: first, the blue lip is complemented by a blue base line, only visible when you lift the bowl up or get really down low. Second, this piece unfortunately lost the thermal shock lottery and has a number of minute cracks which make it less structurally sound. However, since it’s a decorative, low-fired piece anyway (as opposed to being food-safe or water-tight), the cracks are a permanent asterisk - but they won’t stop me from displaying or using it!

Slip Resist Naked Raku Ceramics

This was my first time doing slip resist naked raku ceramics, and it was definitely a learning process for everyone at the workshop, with more experimentation still needed moving forward! I did a fair amount of research the night before the workshop, and I was really glad I did. When we arrived the plan was just to do a one-step slip resist, but I had discovered David Roberts’ ceramics and wanted to try his technique. That required a two-step process (step one: dip into the slip resist, then let dry and step two: dip in clear glaze), which I convinced Wanda to let me do as well.

We began with the one-step system, but it was producing very low-contrast results for everyone. Some of them are still very cool, but I really wanted some full value finishes! As we fired the first of the two-step pieces, we saw that it was garnering better results. We’d already gotten through the majority of the slip resist pottery by then, but we pivoted the last third entirely to the two-step process regardless of whether folks wanted to carve through it. You may recall my last two pieces didn’t get fully fired, so I left them with Dakota Potters to refire another day. I recently got them back and in my opinion they’re the best of the bunch!

I put ten ceramics through the slip resist process; three were one-step and seven were two-step pieces. Unfortunately, we did find the two-step pottery were more likely to suffer casualties in the kiln. One of my two-step ceramics shattered so fully that it was just trashed there. Another blew a chunk of its side out, but is otherwise actually pretty cool so I plan to use a rotary tool to sand down the jagged edge and keep it.

Below I’ll show my eight undamaged pieces! First, two views of my first David Roberts inspired dish wherein I carved through the two-step surface to leave black lines:

Next, one view each of a one-step vase and bowl:

The below orb was also a one-step piece, but I added wax resist to the rim before dipping into the slip resist. Despite its low contrast, I think the pure black rim, the high burnish, and the shape contribute to making this one of my favorite pieces from this workshop. Here are three different angles of it:

Next, we have one image of the largest piece I fired at this workshop, and two views of another attempt at carving through the two-step surface on a small tray.

Here is the first of the two pieces I left behind to get refired - a large two-step orb!

And finally, the second of those two, an oblong vase:

Overall, I’m quite happy with these results so far, though I’d like to figure out how to regularly preserve larger white areas for even higher contrast. My burnishing was more successful on some pieces than others, but I do think it was worth the effort and I plan to continue to burnish for naked raku ware.

New Platters!

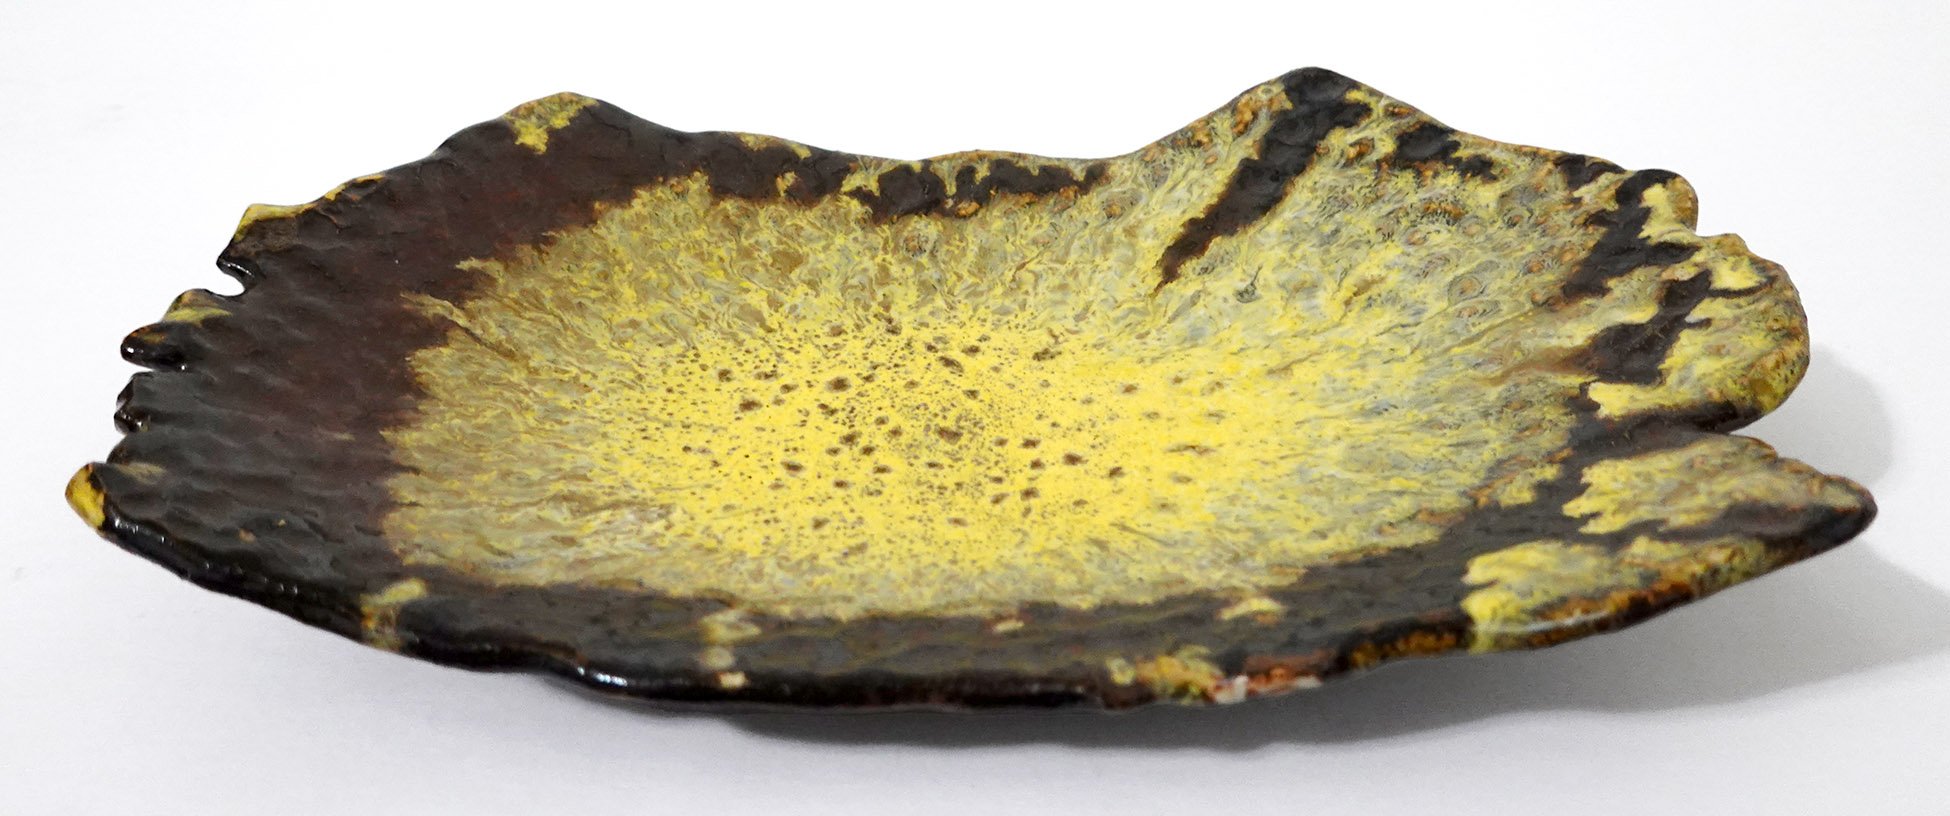
I’ve been increasing my production of platters and plates as rolling out slabs is faster than making pinch pots. I can make two or three in the time it makes me to create one pinch pot vessel.

Here are new platters / serving dishes / display plates! As a reminder, you can click into any of the images below to see them larger, and can then page through them all in that view as well.

New Planters!

I’ve been making quite a few planters for my own personal usage; it’d be cool to someday have my full plant collection in ceramic planters (rather than plastic)! I have hundreds of plants, so it’s a lofty goal. In addition, there’s always some amount of ceramic planter attrition due to storm/squirrel breakages so I regularly need to make replacements as well.

Here are my newest batch of planters! They all have between 2 to 4 drainage holes in their bases and the diameters range from 2-5”.