stoneware

I've Been Making Ceramic Sauce Bowls, Too!

In addition to the chopstick rests, I’ve made a number of little ceramic sauce bowls to gift to folks in Japan as well! To complement my leaf chopstick rest designs, I went with flowers for these small dishes. I photographed a range of six, and then provided you with a single shot of one of my favorites:

And as I did with my chopstick rests, I’ve made a few small ceramic Sioux City dishes as well. I’ve included as a size comparison one of my Sioux City chopstick rests next to these little dishes:

Though my own vision is to use all of the above pieces of pottery as sauce bowls (for wasabi, yuzu koshō, etc.), they could serve as little trinket/ring dishes, too.

My Own Ceramic Chopstick Rest Designs!

I’ve been producing a number of chopstick rests to give out as gifts this summer in Japan! The people are so nice and there’s such a gift-giving culture that I want to make sure I am able to reciprocate. I’ve mostly been making a variety of leaf chopstick rests:

However, I also am in the process of making a few Sioux City chopstick rests for those who are more connected to the sister city relationship between Yamanashi City and Sioux City or have strong bonds to Morningside University.

These are much more finicky to glaze, as keeping the text legible and the heart from “bleeding” into the white satin glaze requires a multi-step glazing process:

  1. I glaze the heart with two to three coats of glossy red with a small brush

  2. I apply wax resist to the heart and each of the letters with a very small brush

  3. I brush on two to three coats of the white satin glaze

  4. I painstakingly coax the glaze off the wax resist areas using a very small, wet brush

It’s tedious, but the results look great:

Shelby Prindaville's custom ceramic Sioux City, Iowa chopstick rest

Any of my chopstick rests can easily be converted into a magnet instead, if the recipients prefer to use them that way!

New Stoneware!

I’ve been steadily, slowly making food-safe, high-fire stoneware ceramics as well. Here are some pieces I produced this past year which I hadn’t gotten around to publishing until now!

First we have small plates - I’ve been using them as dessert or appetizer dishes!

Next, I’ve been continuing my landscape vase series! These are “rainy” versions.

Landscape Ceramics

I’ve been working on a series of landscape ceramics for some time now, and I plan to continue to add pieces! Here are some I completed in early 2022; these are all stoneware fired to Cone 6. The first three are vases, and then there’s a bowl, an egg-shaped vessel, and six small planters.

LSU Vet Med Artist Residency Artwork 8-19 Process

Here are a few of photos of the in-progress work for Skeletal Ceramics. The first image has some of the bones used in their respective vessels, followed by two more images of the raw ware or green ware. I didn’t take photos while glazing because I was doing it outdoors in 98*F weather so I was sweaty and covered with glaze - as well as acutely aware that I probably needed more glazing time than the shop would be open for!

LSU Vet Med Artist Residency Artwork 8-19

This is Skeletal Ceramics, assorted handmade stoneware vessels imprinted with or formed around various canine, equine, and swine bones from the anatomy lab, 2022.

Shelby Prindaville's Skeletal Ceramics collection

I made this body of ceramics start-to-finish on site at the LSU School of Veterinary Medicine and with purchased supplies and firing assistance from Southern Pottery Equipment. The canine, equine, and swine bones used include skulls, jawbones, various vertebrae, scapula, femurs, and sacra. The glazes used were an Amaco Shino Cacao Matte Cone 5-6 Glaze (SH-32), a Spectrum Satin White Hi-Fire Cone 5 Glaze (1121), and a Spectrum Satin Mottle Hi-Fire Cone 5 Glaze (1122). I applied the Cacao Matte to all the textured/impressed areas and then sponged off the outer surfaces, then put on a generous two coats of the Satin White, and then painted a little of the Satin Mottle on kind of haphazardly and then more carefully at the lips. I fired to Cone 6. I was really happy with how this combination performed, as they do look like bone themselves! Seven of these pieces sold during the exhibition to three different buyers.

The anatomy lab allowed me to take the bones I’ve been using back with me so that I can continue to develop this collection, so stay tuned for more.

Rolling with Ceramic Glaze Changes

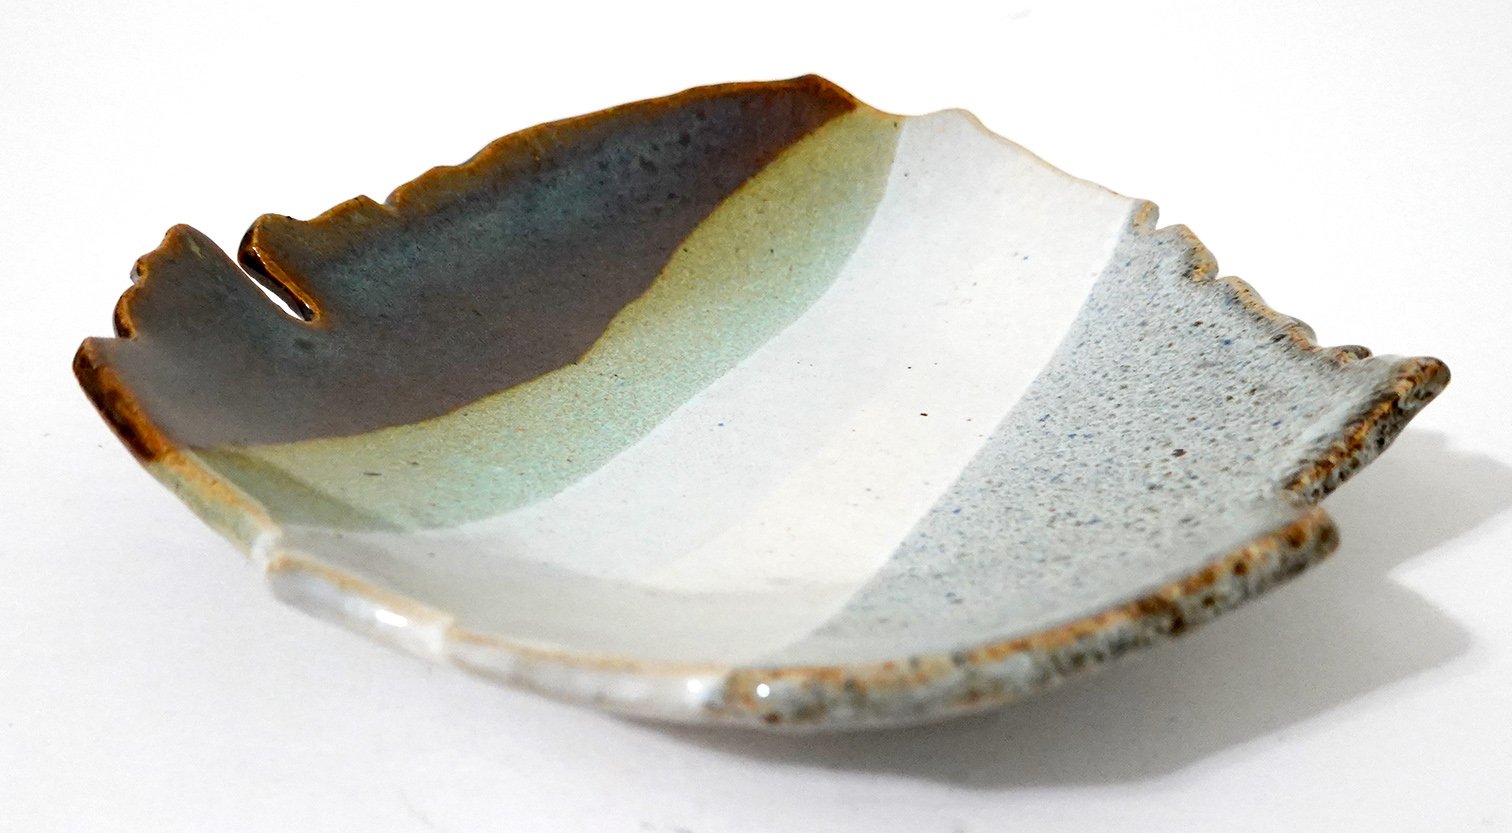
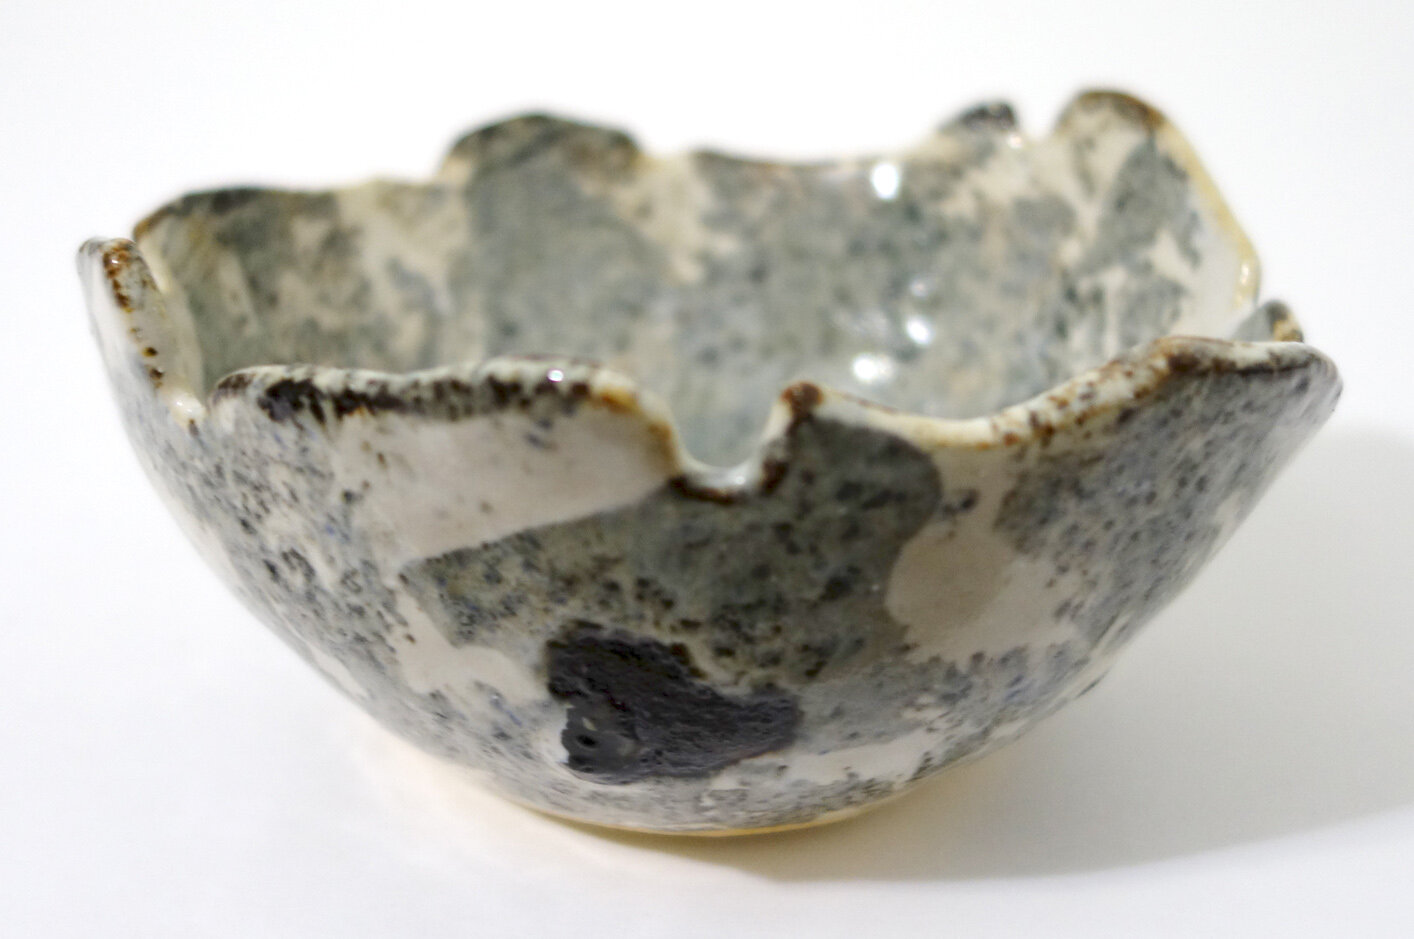
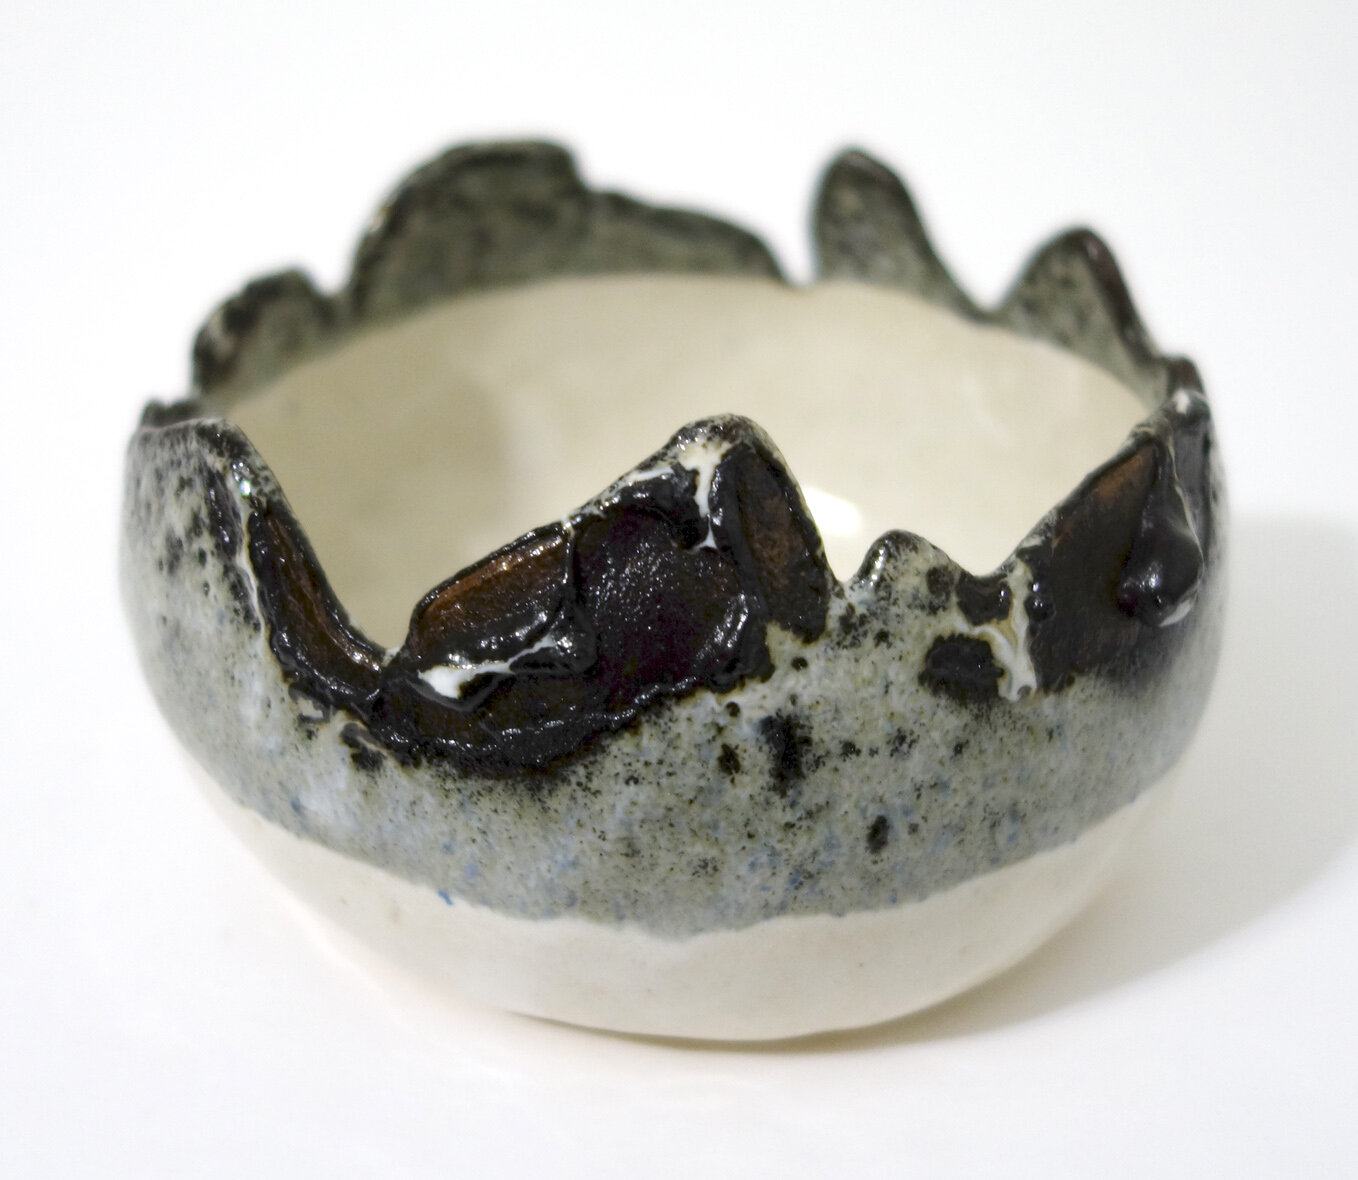
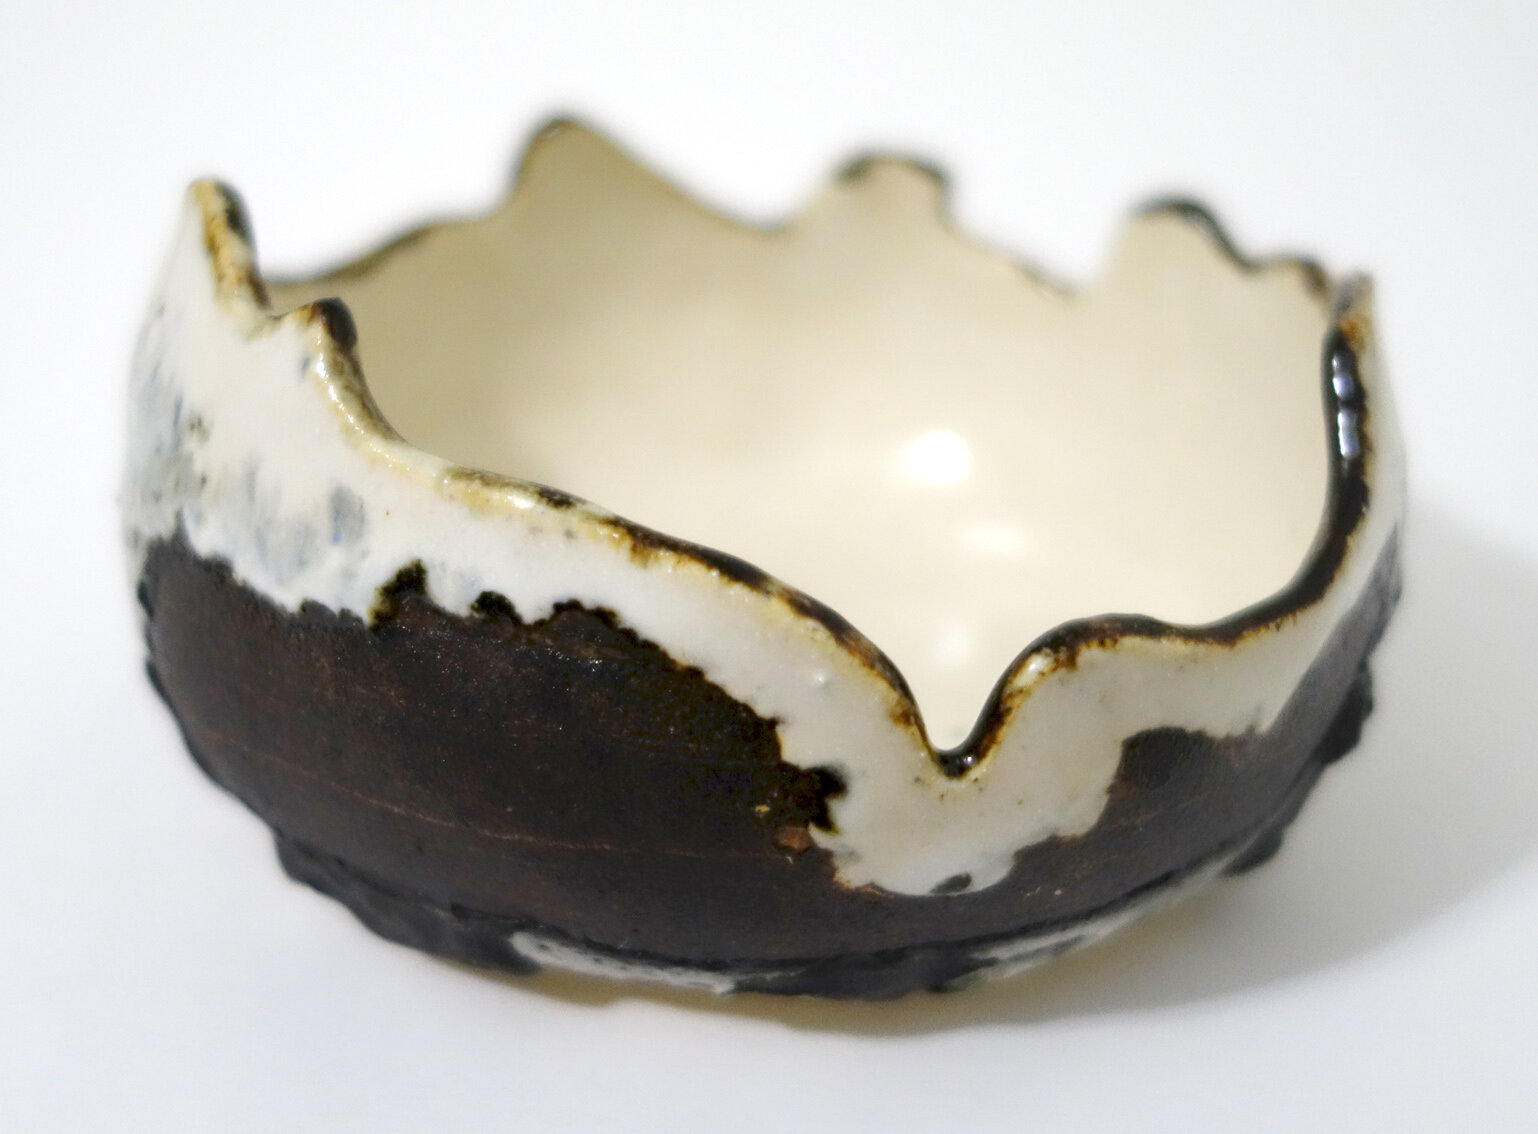
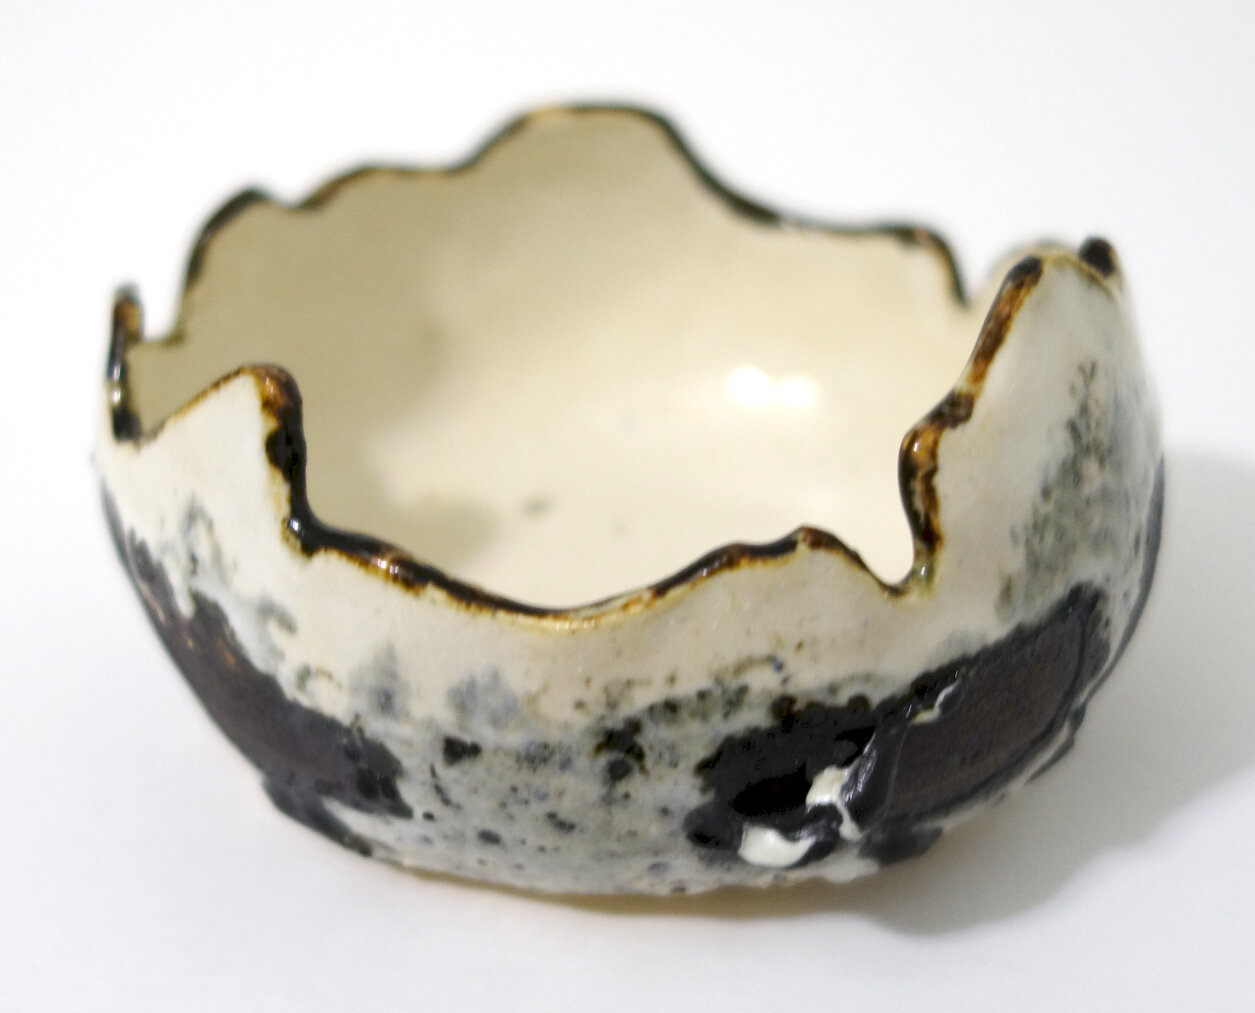
Speaking of glazes: I’ve been learning that the discipline of ceramics involves many variables, and some of the variables are less constant than I’d expect. In the discipline of painting, when I use up paint and I need to buy replacement tubes, they are very consistent in formulation so they are almost never perceptibly different. In ceramics, due to weight, volume, and cost issues we mix most of our glazes ourselves. This introduces a lot more human error compounded by potential supply line vendor changes in the ingredients and user contamination. To continue the comparison, it’d be like if I switched brands and sometimes even types of paint and expected continuity!

To state it simply: I’ve learned that when a bucket of glaze is gone and we remix it, I cannot expect the same aesthetics or behavior from the new glaze as from the old, even if they are purportedly the same. In some ways this is disconcerting, of course. But it is also a real opportunity, and it adds some exciting pressure and novelty into the glazing process. The novelty is self-explanatory; the pressure comes from if you want consistency since you only have as long as those buckets last for the desired effects to relatively predictably result.

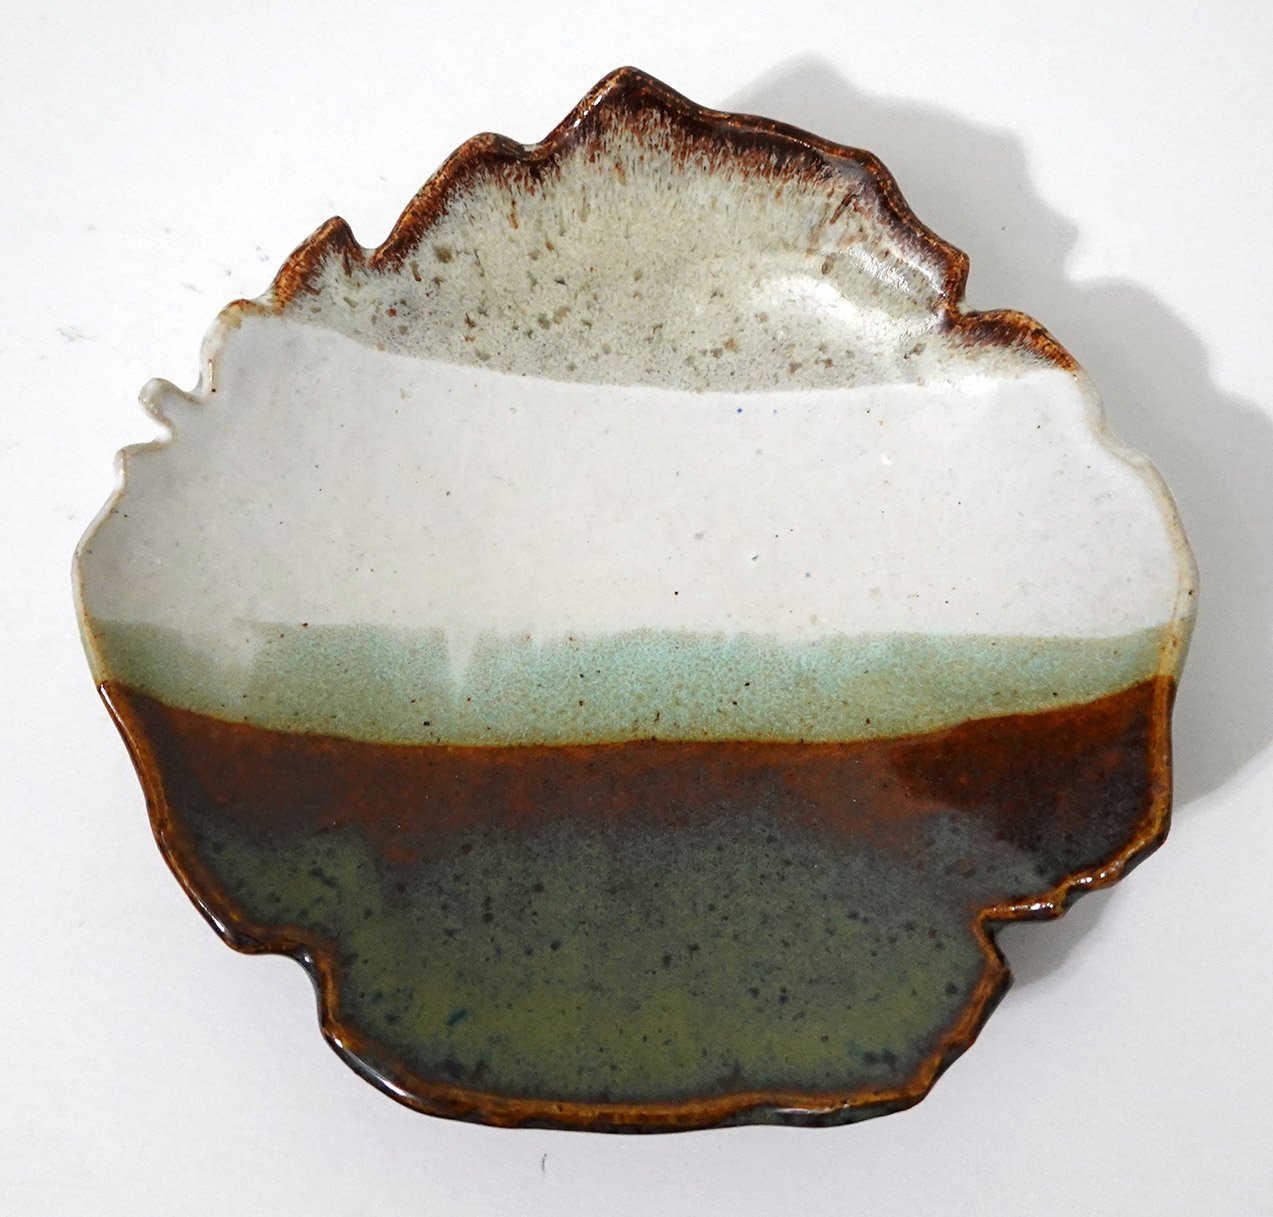
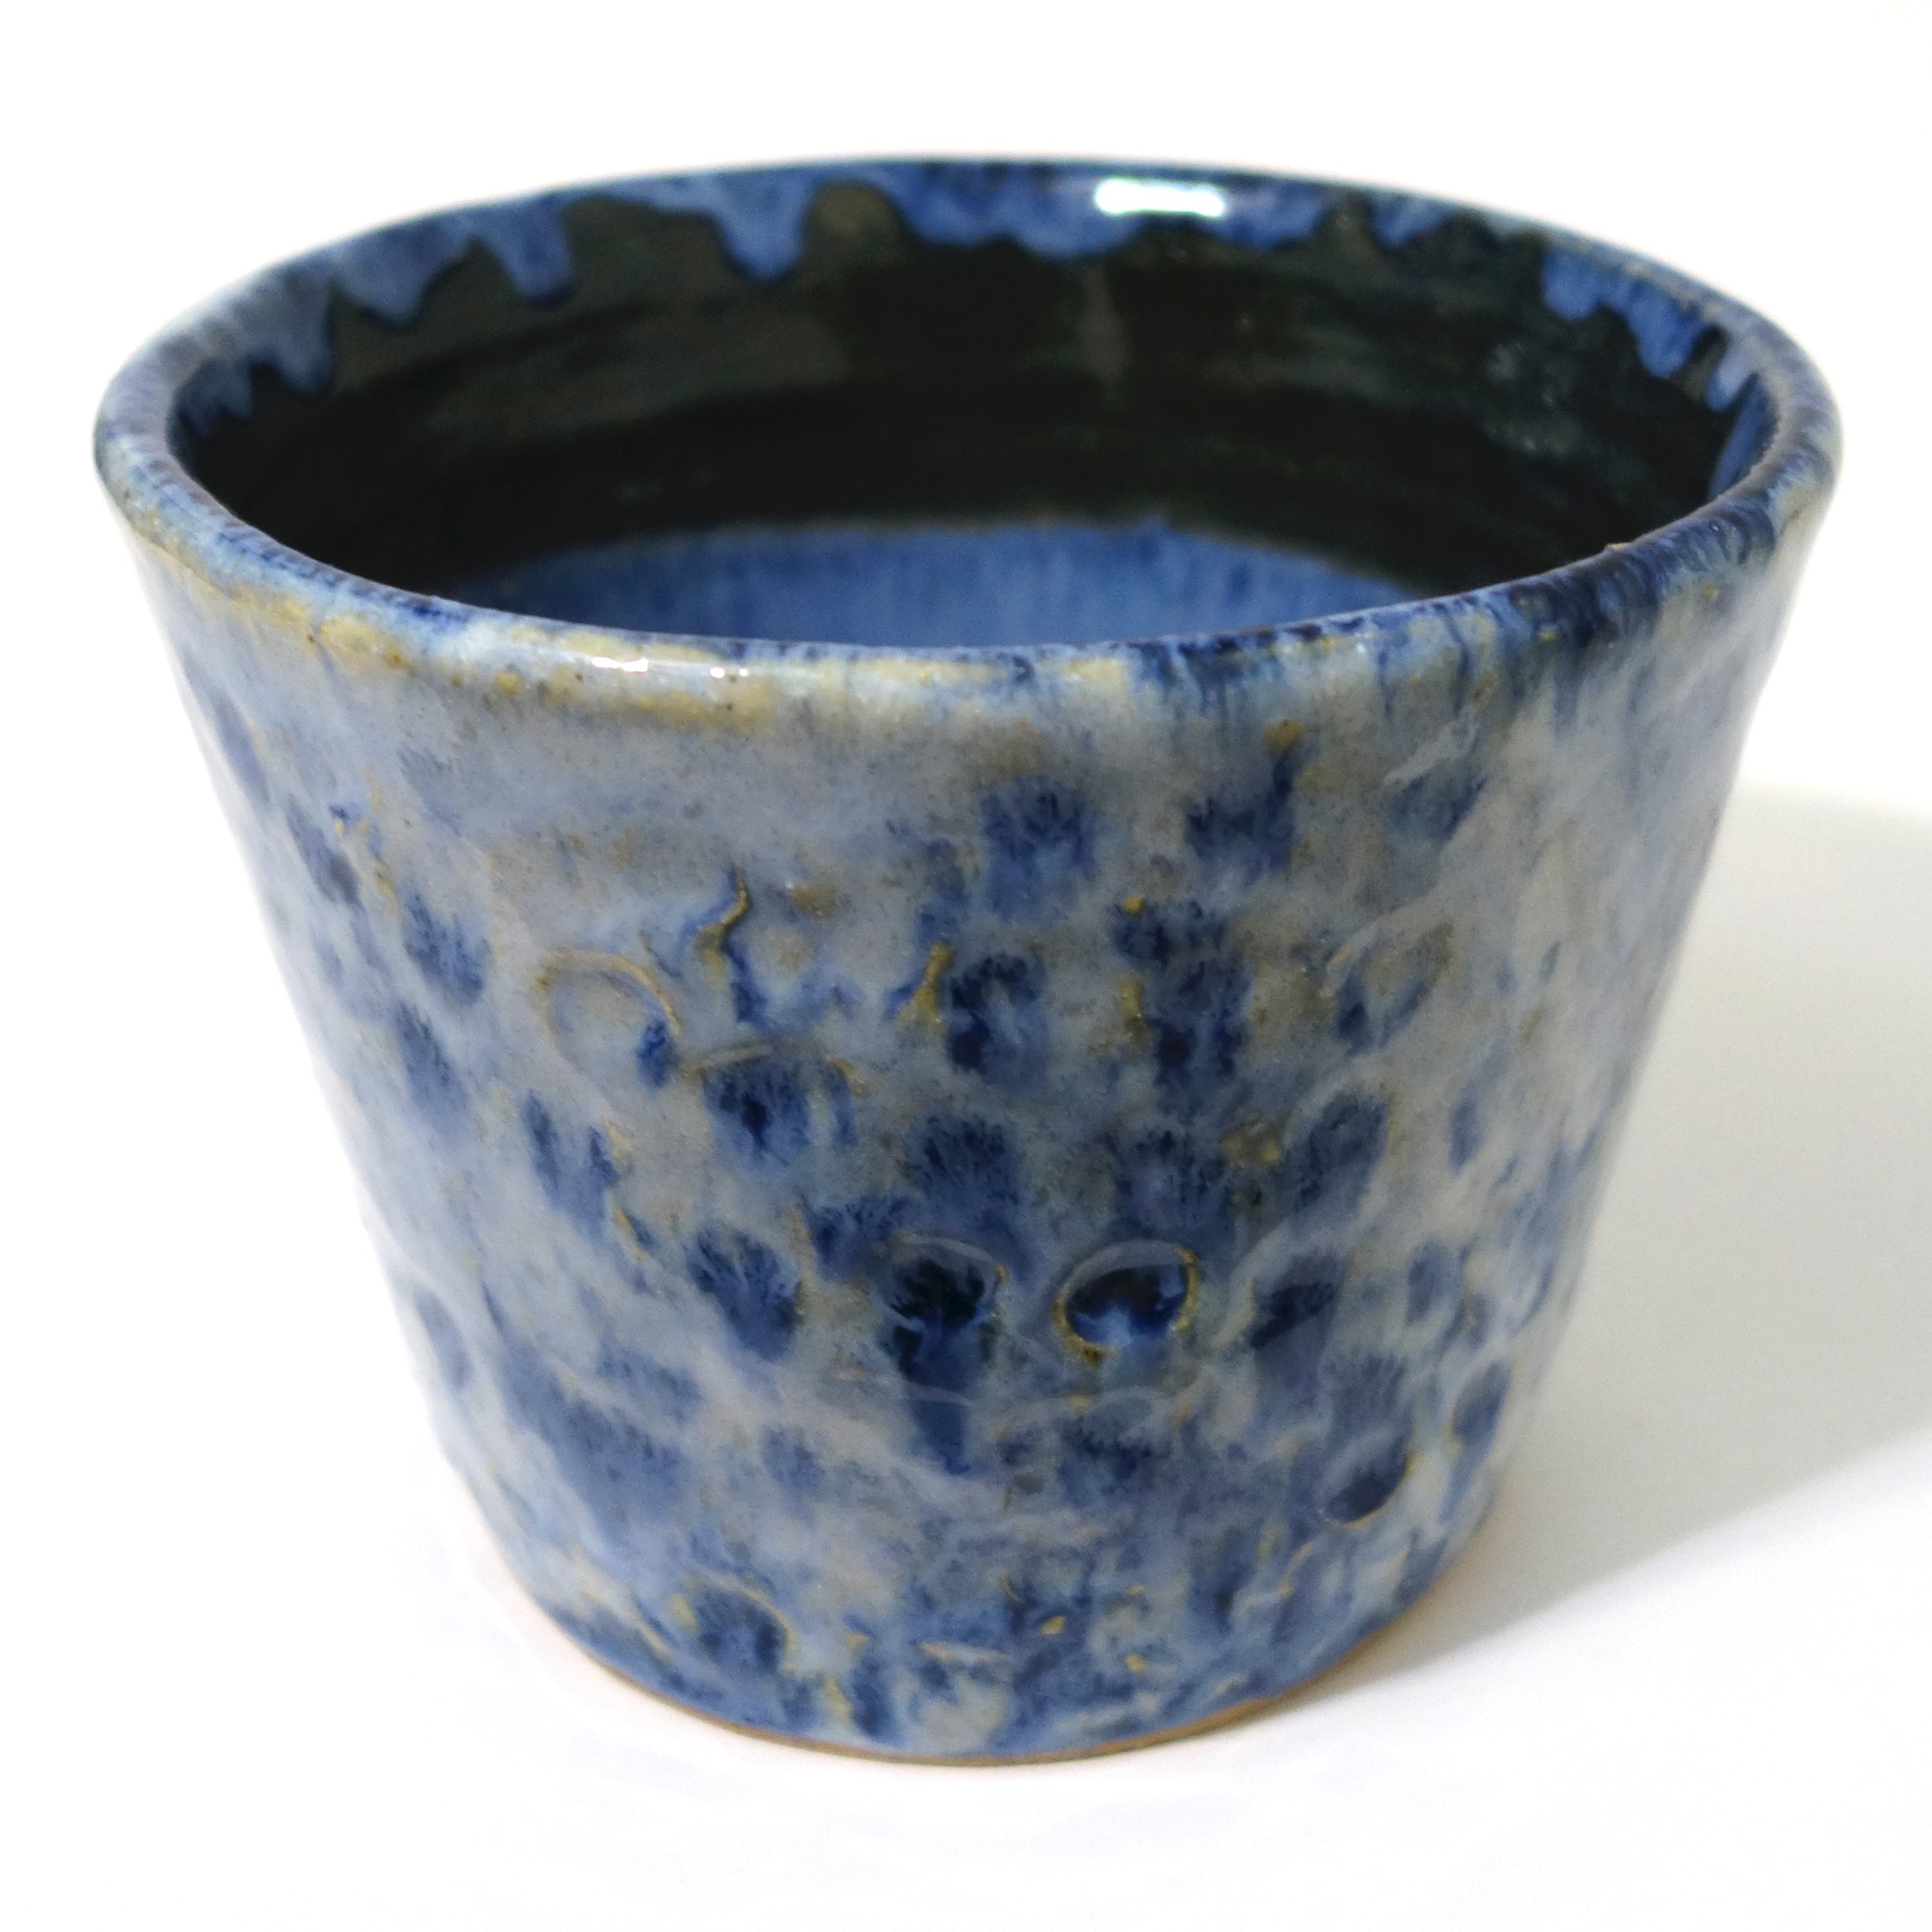
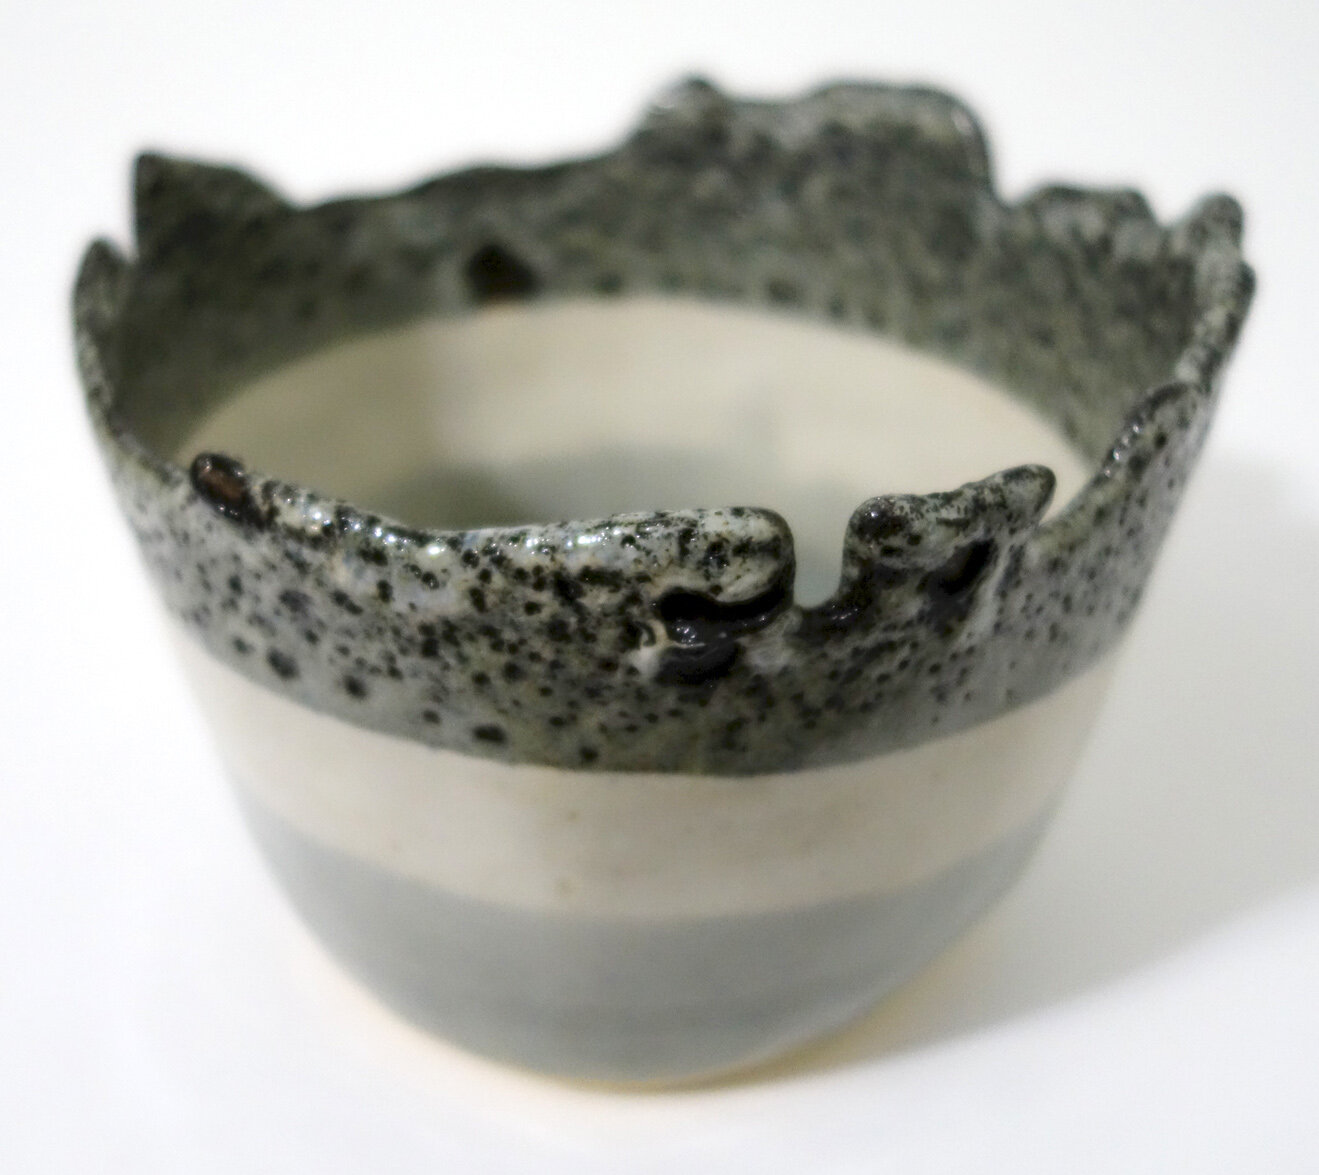
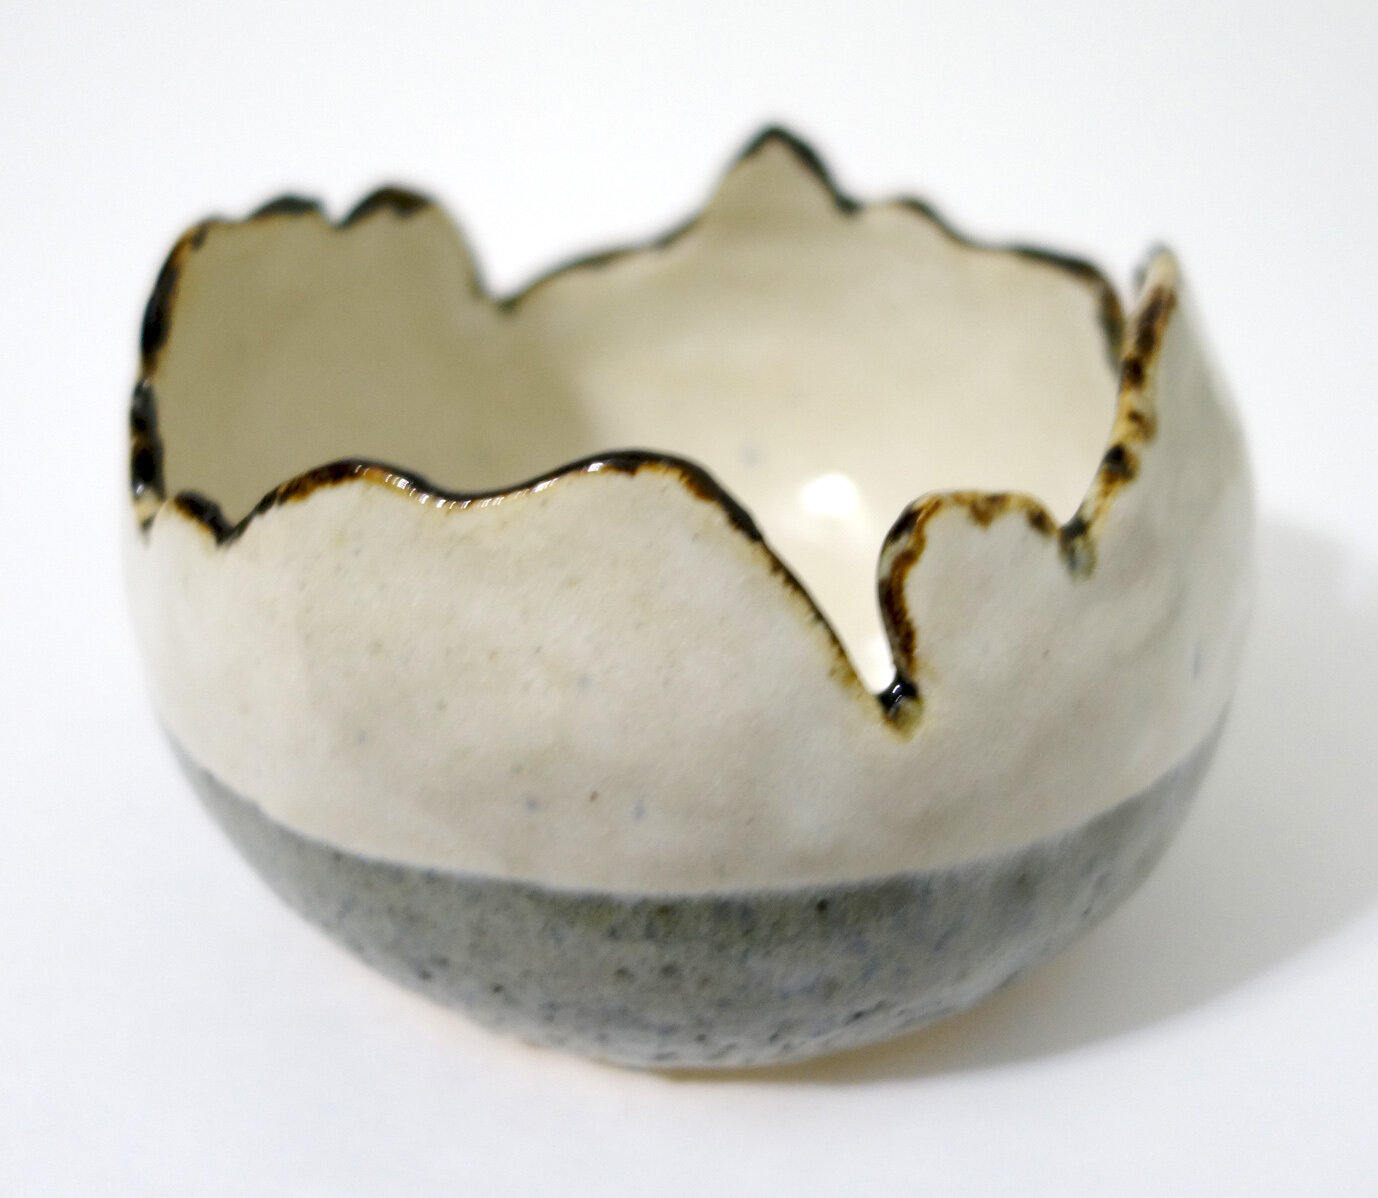
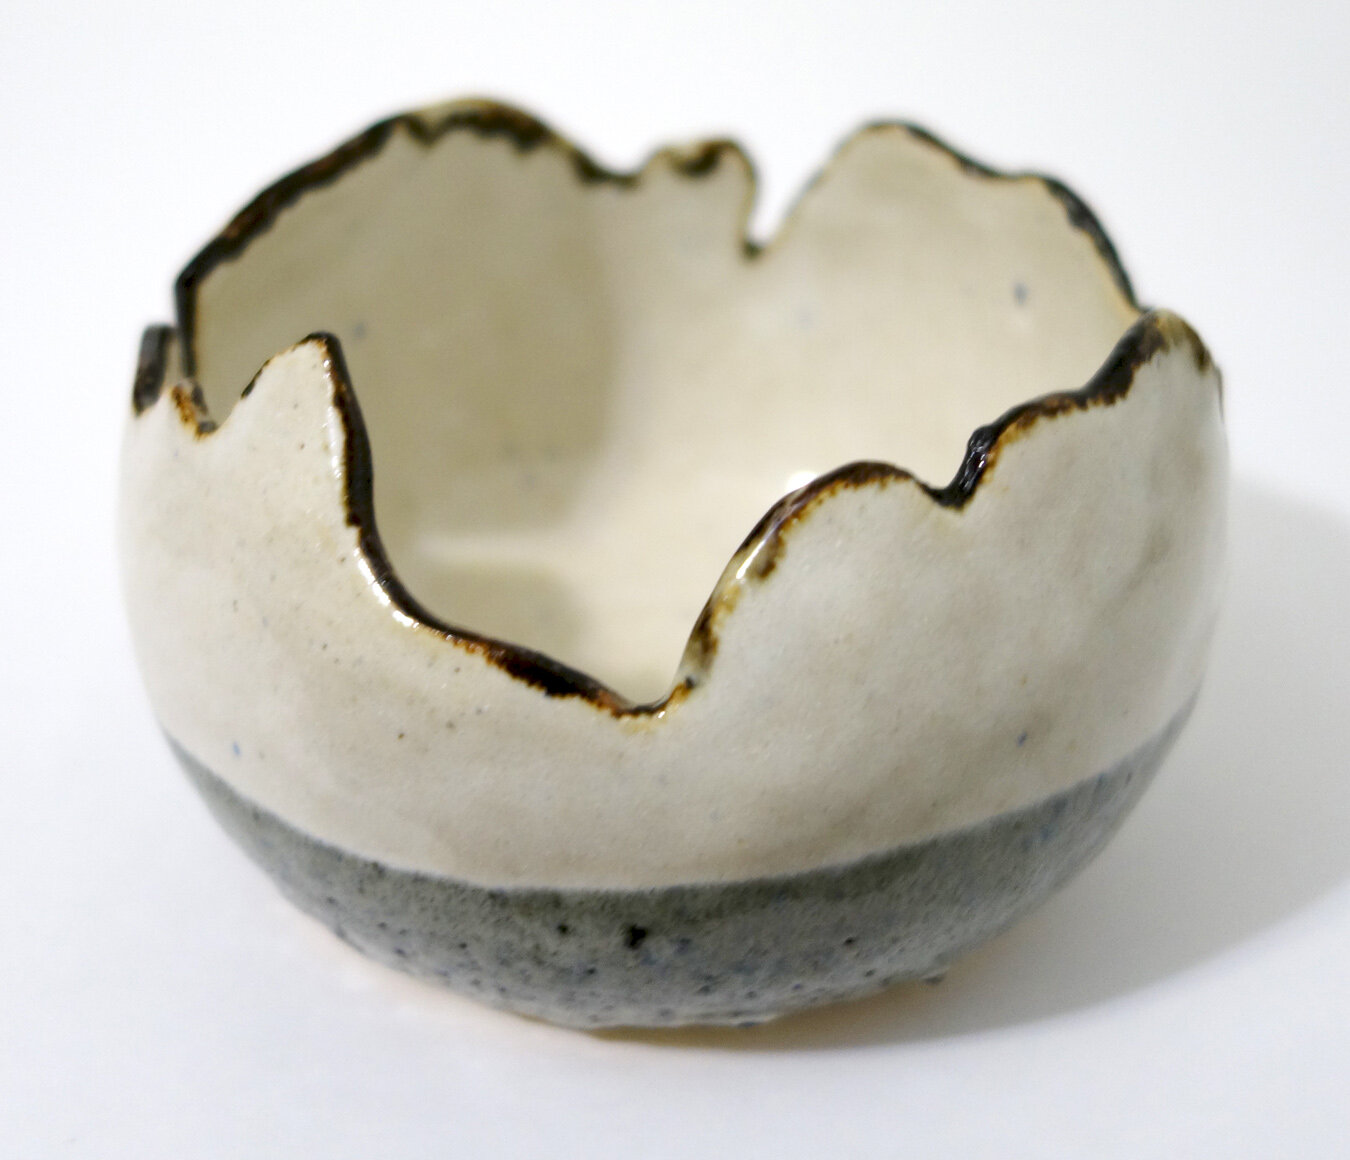
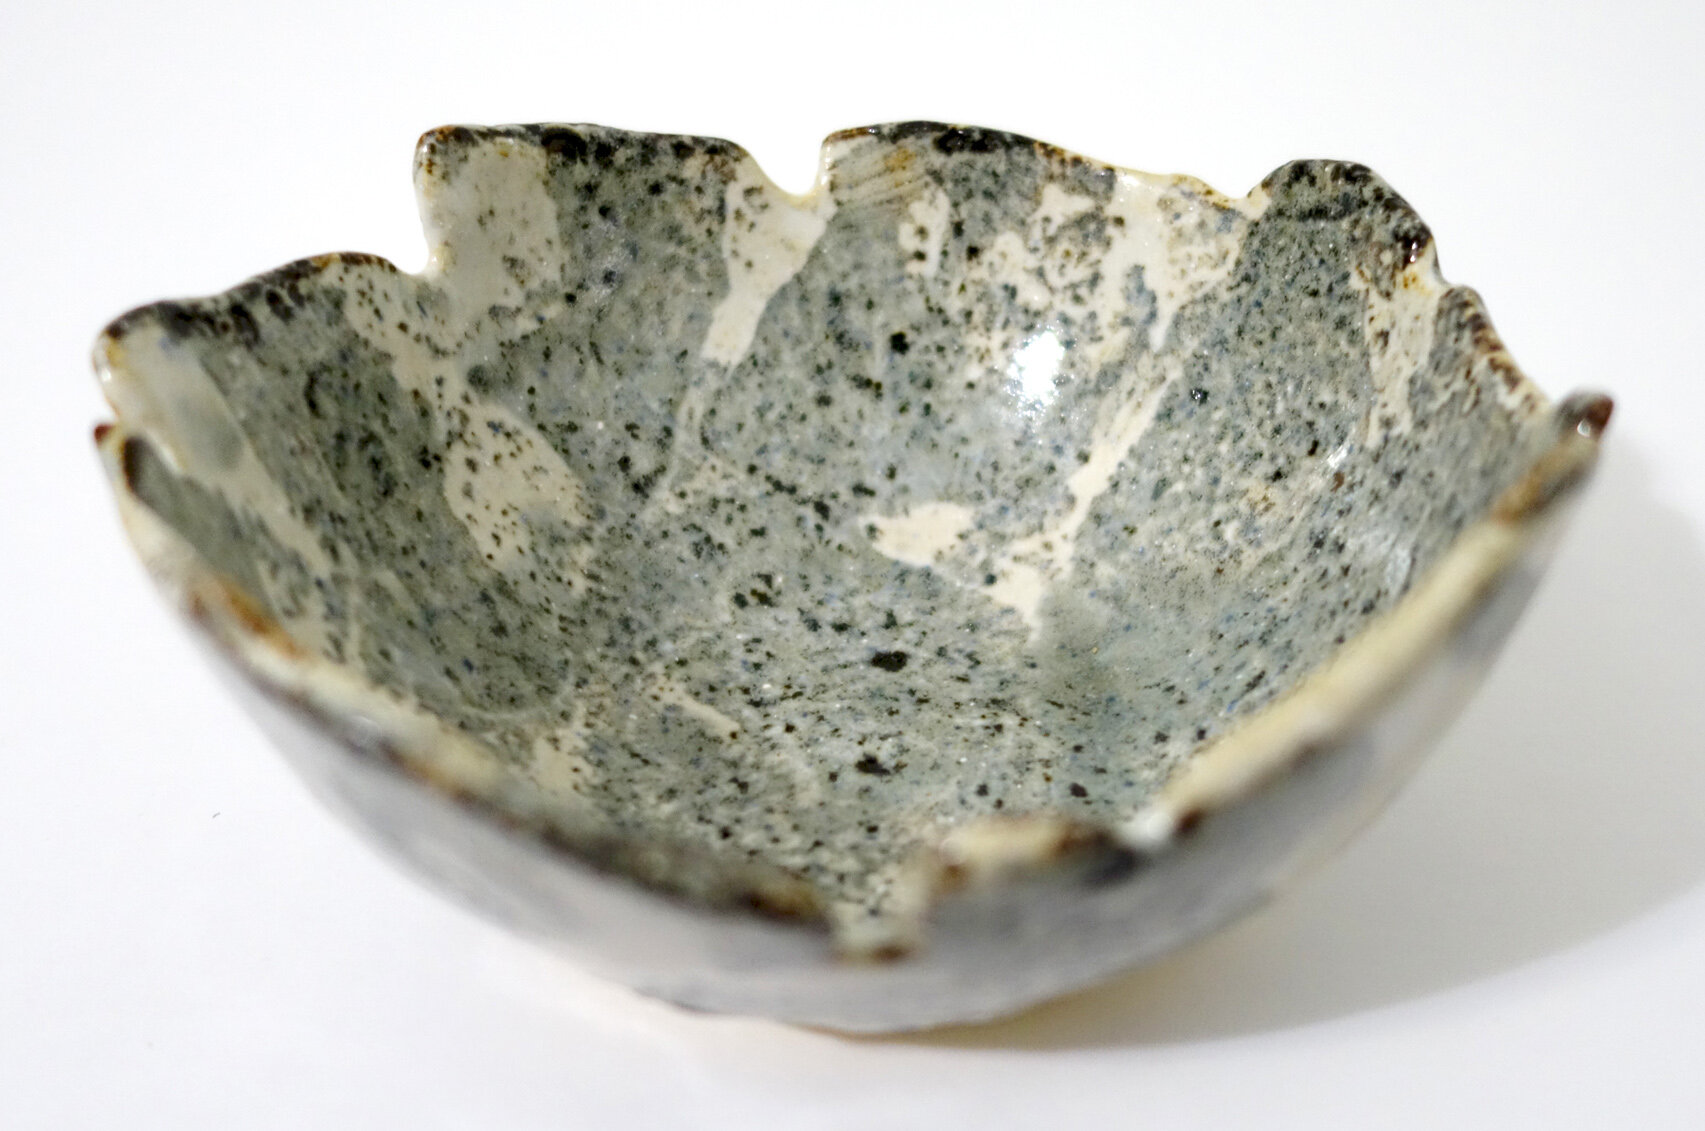
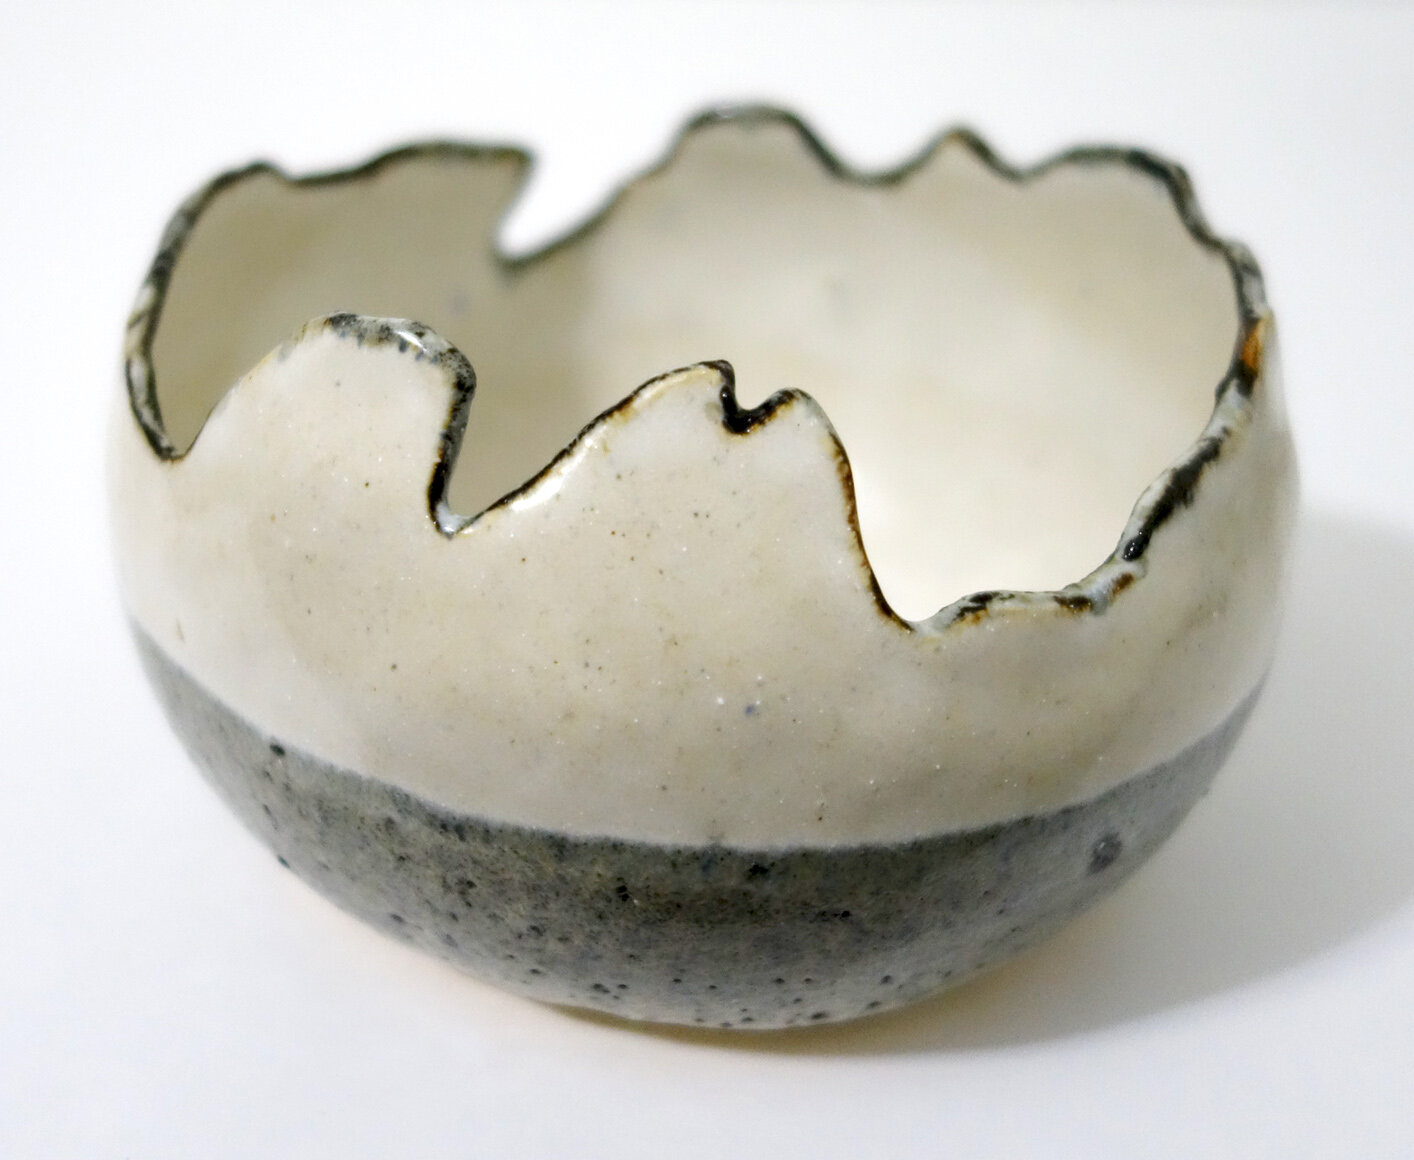
Below is how Cone 6 Larry’s Black under Iron White looked with the bucket of Iron White that we were using last year.

You can see that the Iron White behaved in a very glossy way, was relatively thin at one coat but varied in thickness dependent on number and types of application coats with opacity ranging from translucent to decently opaque. At its most opaque, it was white. The Larry’s Black underneath went to a glossy and stable spectrum of various values of blue dependent on the application thickness of both colors.

We used up that bucket of glaze a few months ago, and the new Cone 6 Iron White appeared. Below are two new pieces that use Green Tweed, Larry’s Black, and the new mix of Iron White.

This Iron White is thicker at one application coat, a little yellower, and more opaque and matte. It also interacts quite differently with Larry’s Black. The matte-over-gloss effect causes the Iron White to crater and blister atop Larry’s Black; you can see it does not do that over Green Tweed as Green Tweed is itself more of a matte glaze.

Cratering and blistering are frequently considered “glaze defects,” but I enjoy the texture that some “glaze defects” provide - if you review my body of stoneware ceramic work you’ll notice that I am drawn to crawling as well.

Since these were my first pieces with the new bucket of Iron White, I didn’t know about this new interaction yet - I was expecting glossy results aligned to that first batch above. Now that I know, I’ve glazed a bunch of new ceramics with this cratering/blistering effect in mind, and they are waiting in the kiln until it’s filled up and ready to fire. I’m excited to see them come out!

More Stoneware Ceramics!

I’ve been posting about my raku productivity of late, but I have also continued to make stoneware pottery too!

I really like the combination of two glazes - standard Cone 6 recipes for a white and “smoky brown.” I particularly like the crawling that frequently results. I sometimes add in a complementing lighter grey glaze which is a discard mix of my own creation and therefore likely very difficult to reproduce once gone.

Below are eight different pieces. They include, respectively, a bowl, two images of a planter, two more of a second bowl, a third bowl, two images of a dish, a fourth bowl, two images of a fifth smaller bowl, and two images of a sixth bowl.