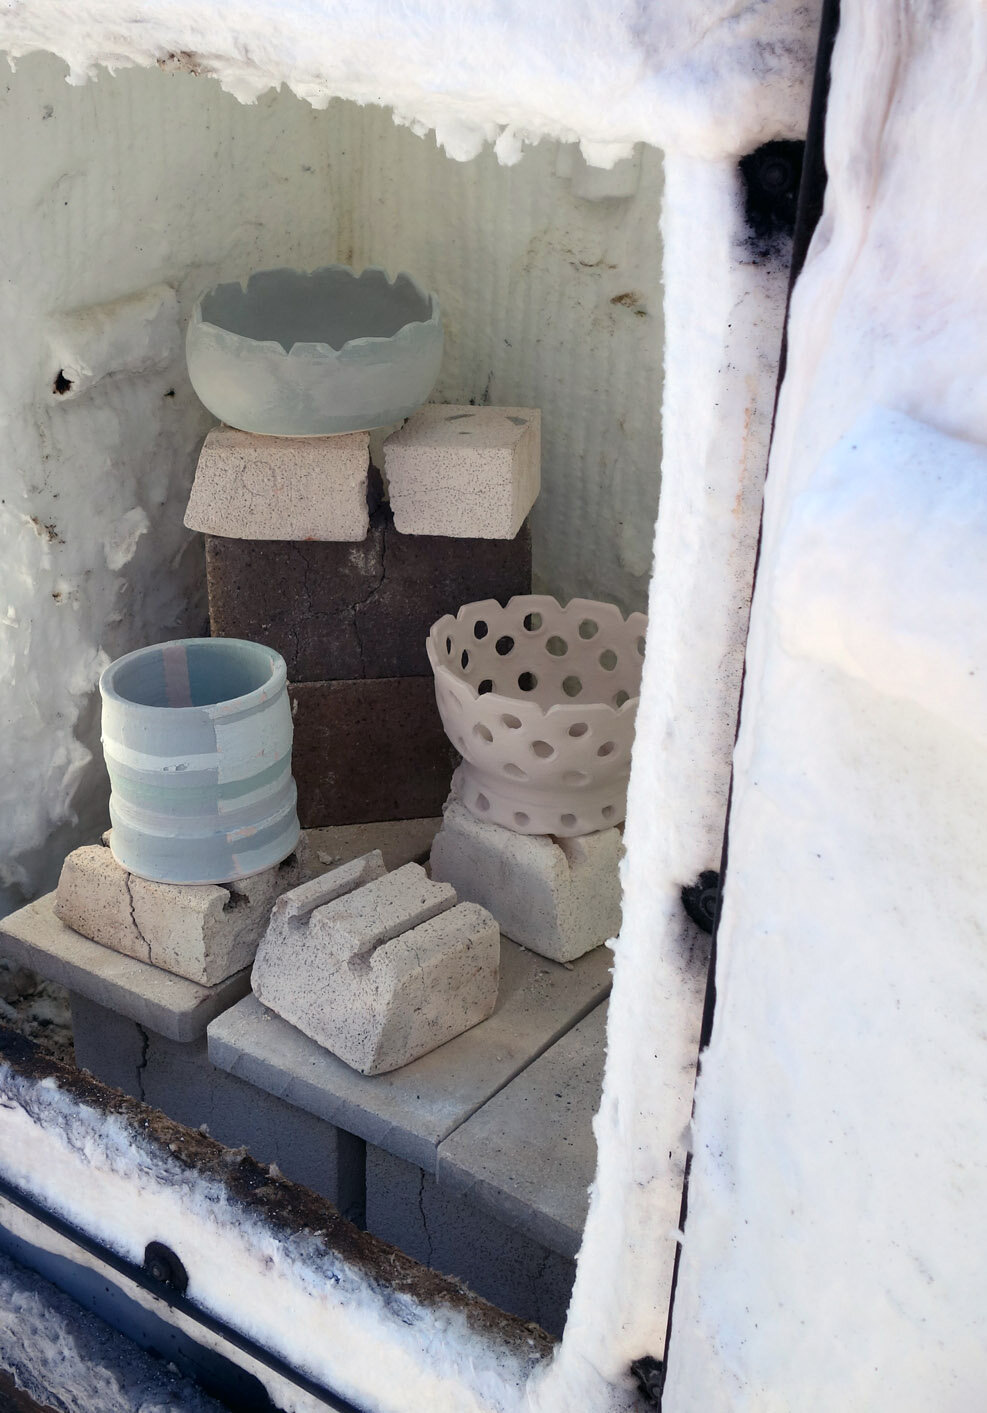
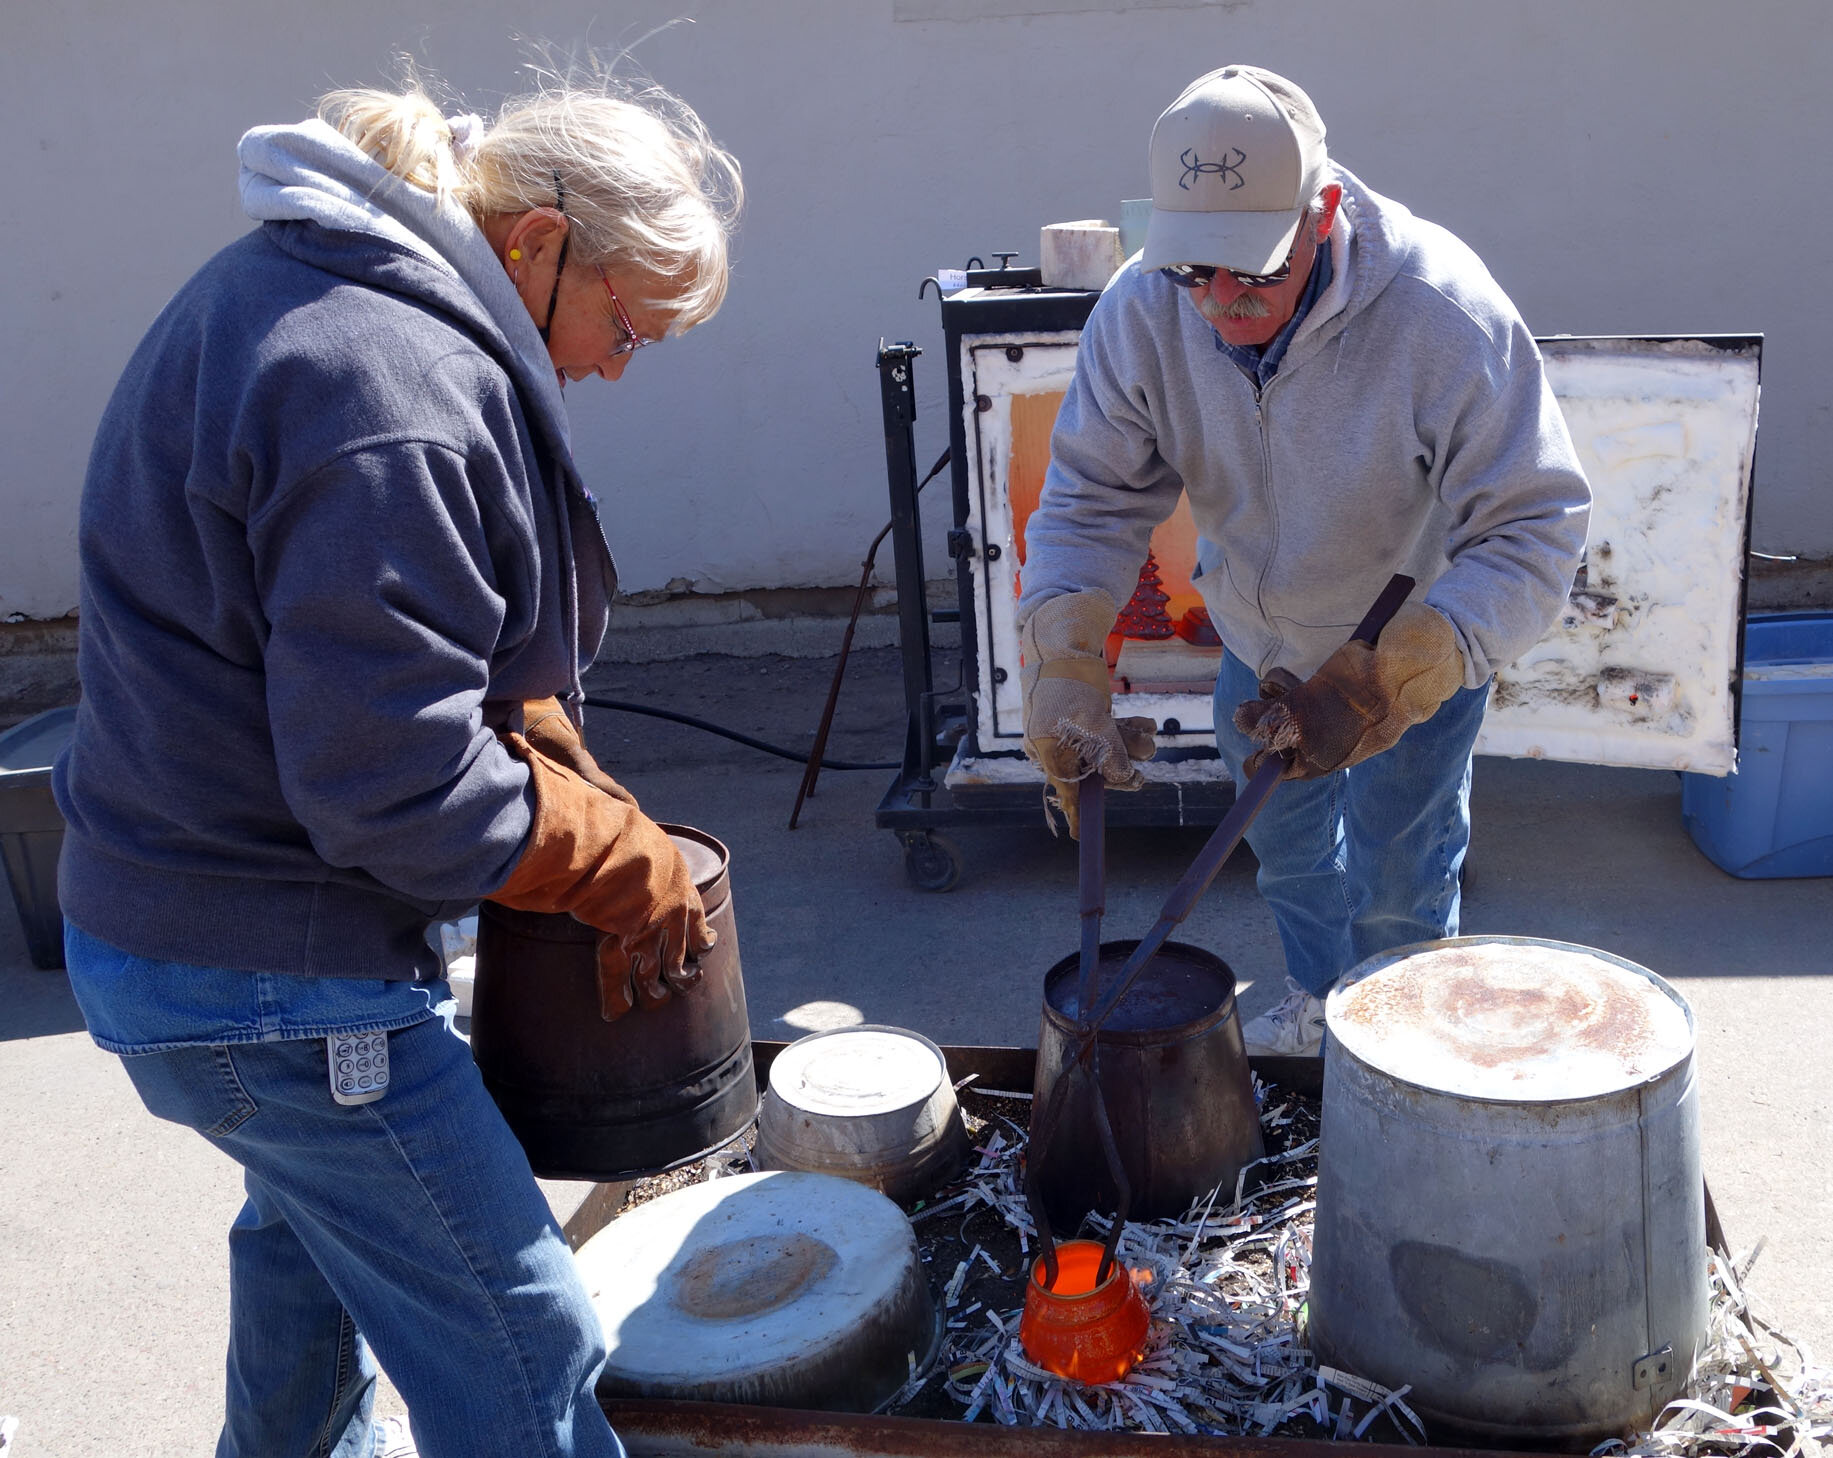
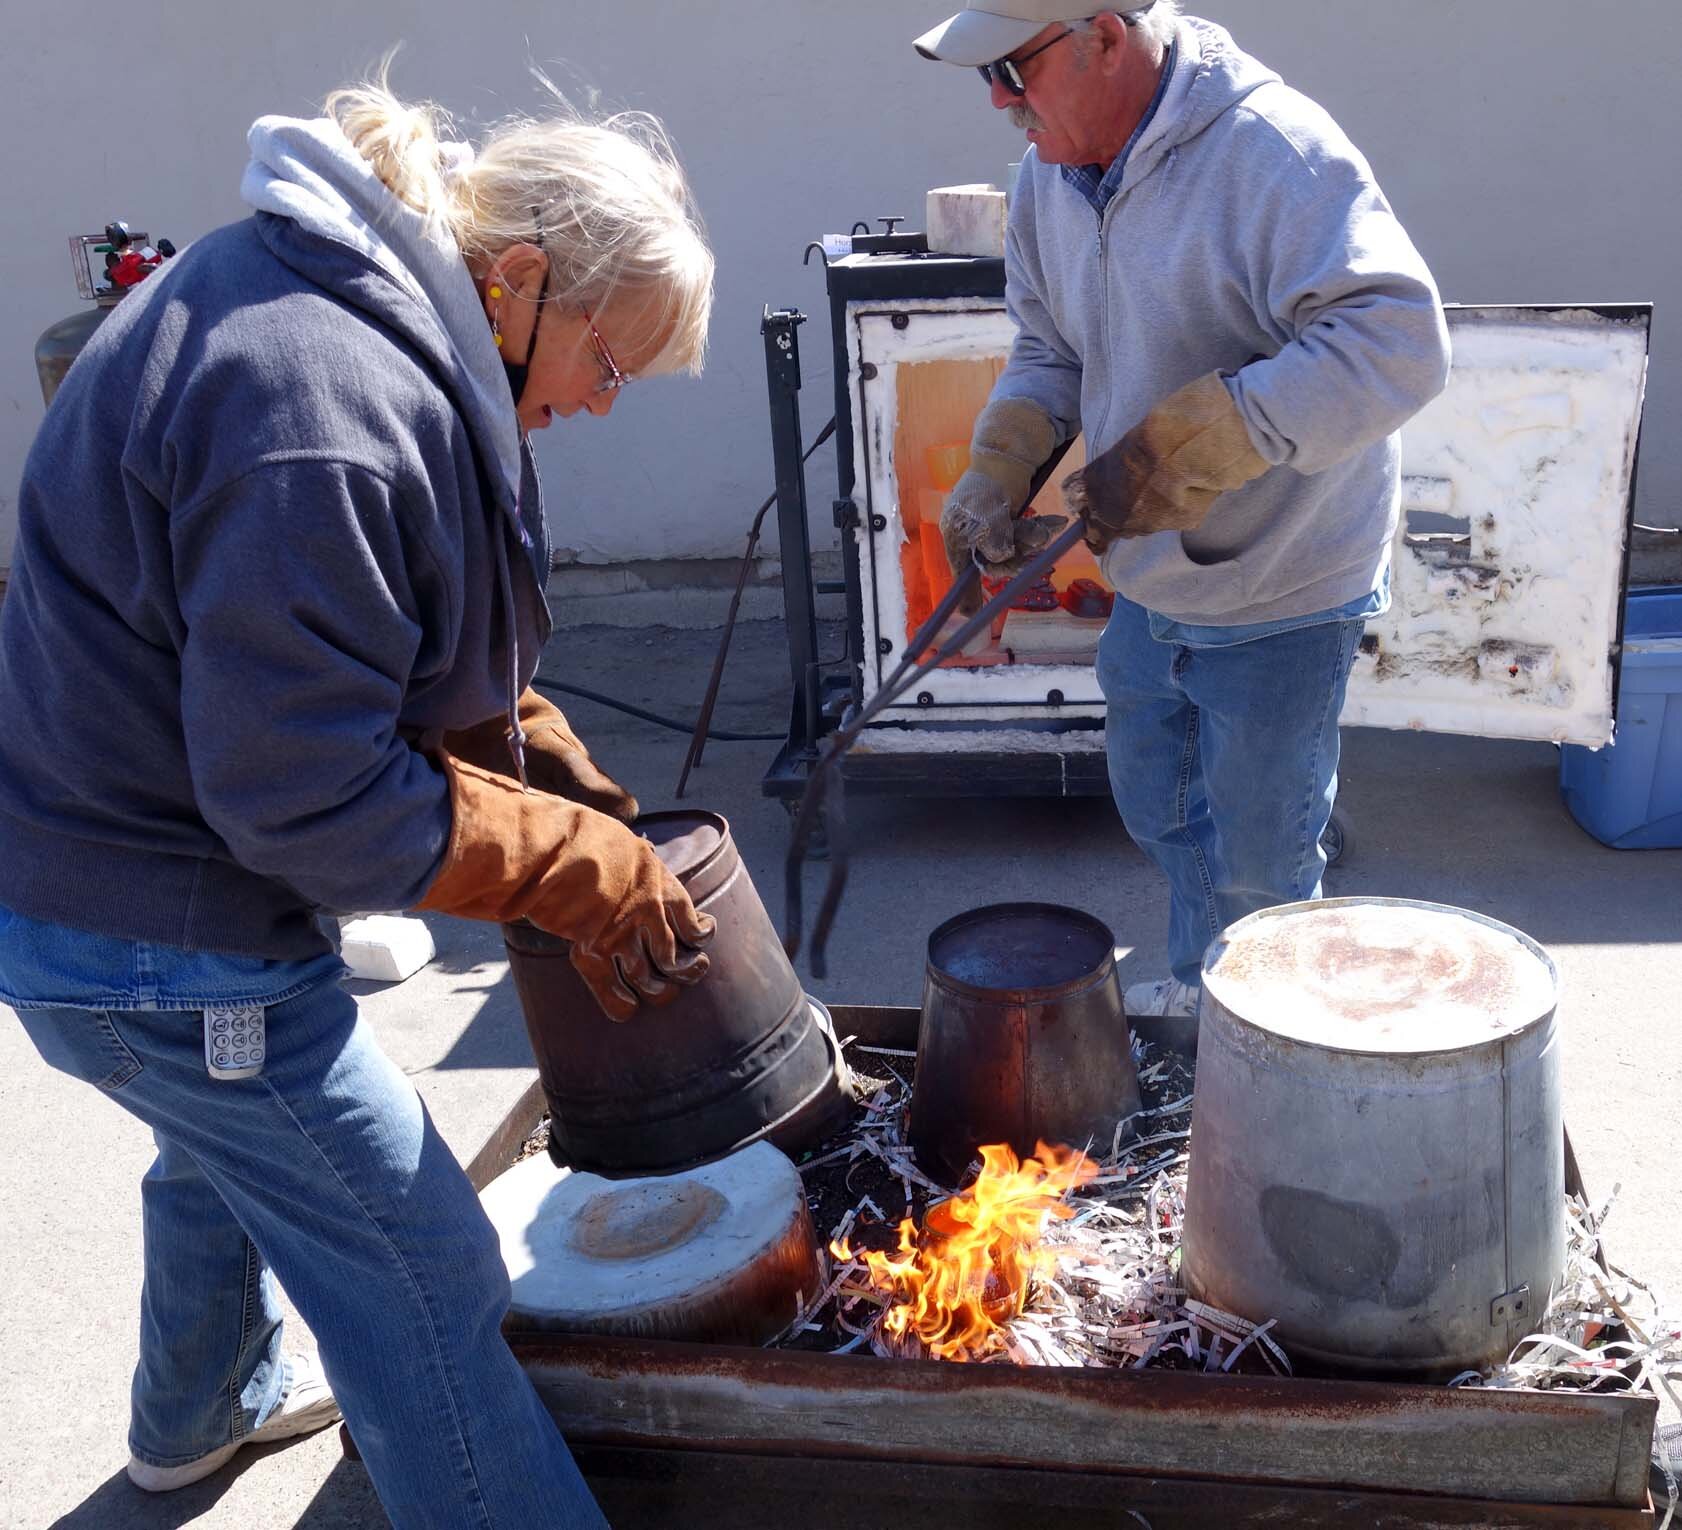
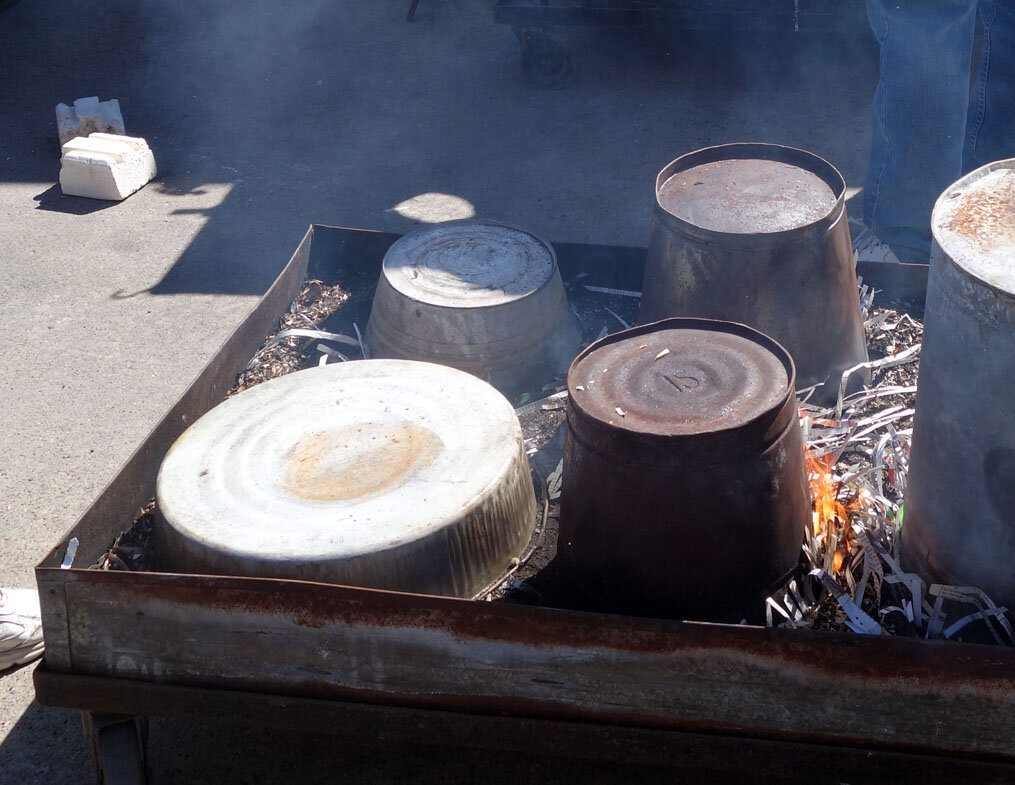
Second Raku Workshop - Copper Glazes Edition

I decided to try copper glazes again, but with some wild cards thrown in - I experimented more with unglazed negative spaces, and tested out some different types of glaze.

This first piece has “Midnight Luster” glaze on the interior and a lithium carbonate glaze on the exterior. It’s quite attractive in photo, but it did suffer from a bit of pitting, meaning the glaze pooled in some spots and it bubbled and hardened in ways that are suboptimal; instead of a smooth surface, there are rougher points within.

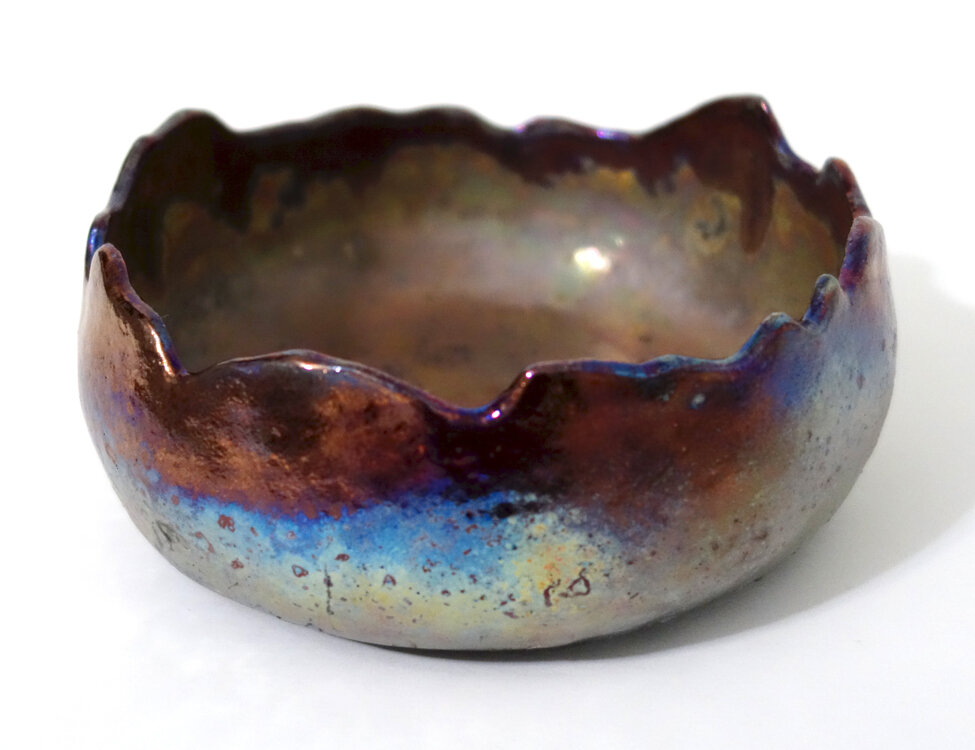
This next piece is interesting in that I had intended it to be a more standard bowl, but in the bisque firing process its sidewall accidentally got damaged and it was involuntarily edited into the shape it has now. I sanded it down a bit and decided to move forward with it; I can imagine that the cavity might improve accessibility to whatever is stored within!

I was pretty proud of this platter as a handbuilt piece, but unfortunately though it made it through the bisque firing unscathed it was unable to handle the temperature fluctuations of the raku firing and it sustained a crack across about 2/3 of its base. It is not salable now, but I still wanted to share the piece with you!

Finally, here is the most experimental piece of the metallic batch - I used both “Emerald Copper” glaze and a thinned out crackle glaze to create the exterior dripping decoration, and used “Midnight Luster” on the interior. The bottom of the exterior is just the result of carbon trapping in unglazed raku clay.

Second Raku Workshop - Horsehair Edition!

I attended a second raku workshop at Dakota Potters Supply in July! I brought eight pieces along, but this time unfortunately two of them did crack during the process as the wild temperature swings were too much for them. Thus only six pieces made it through.

At this workshop, I decided to try one of the techniques that I hadn’t yet attempted - horsehair and/or feather application! I had two twists in mind, though.

The first is that I had just had over seven inches of hair cut off in a summer chop, and my hairdresser kindly collected it for me upon my request to use in this raku process! I like the conceptual power of it being my own hair, plus human hair results in a more delicate line (though I do have pretty thick hair).

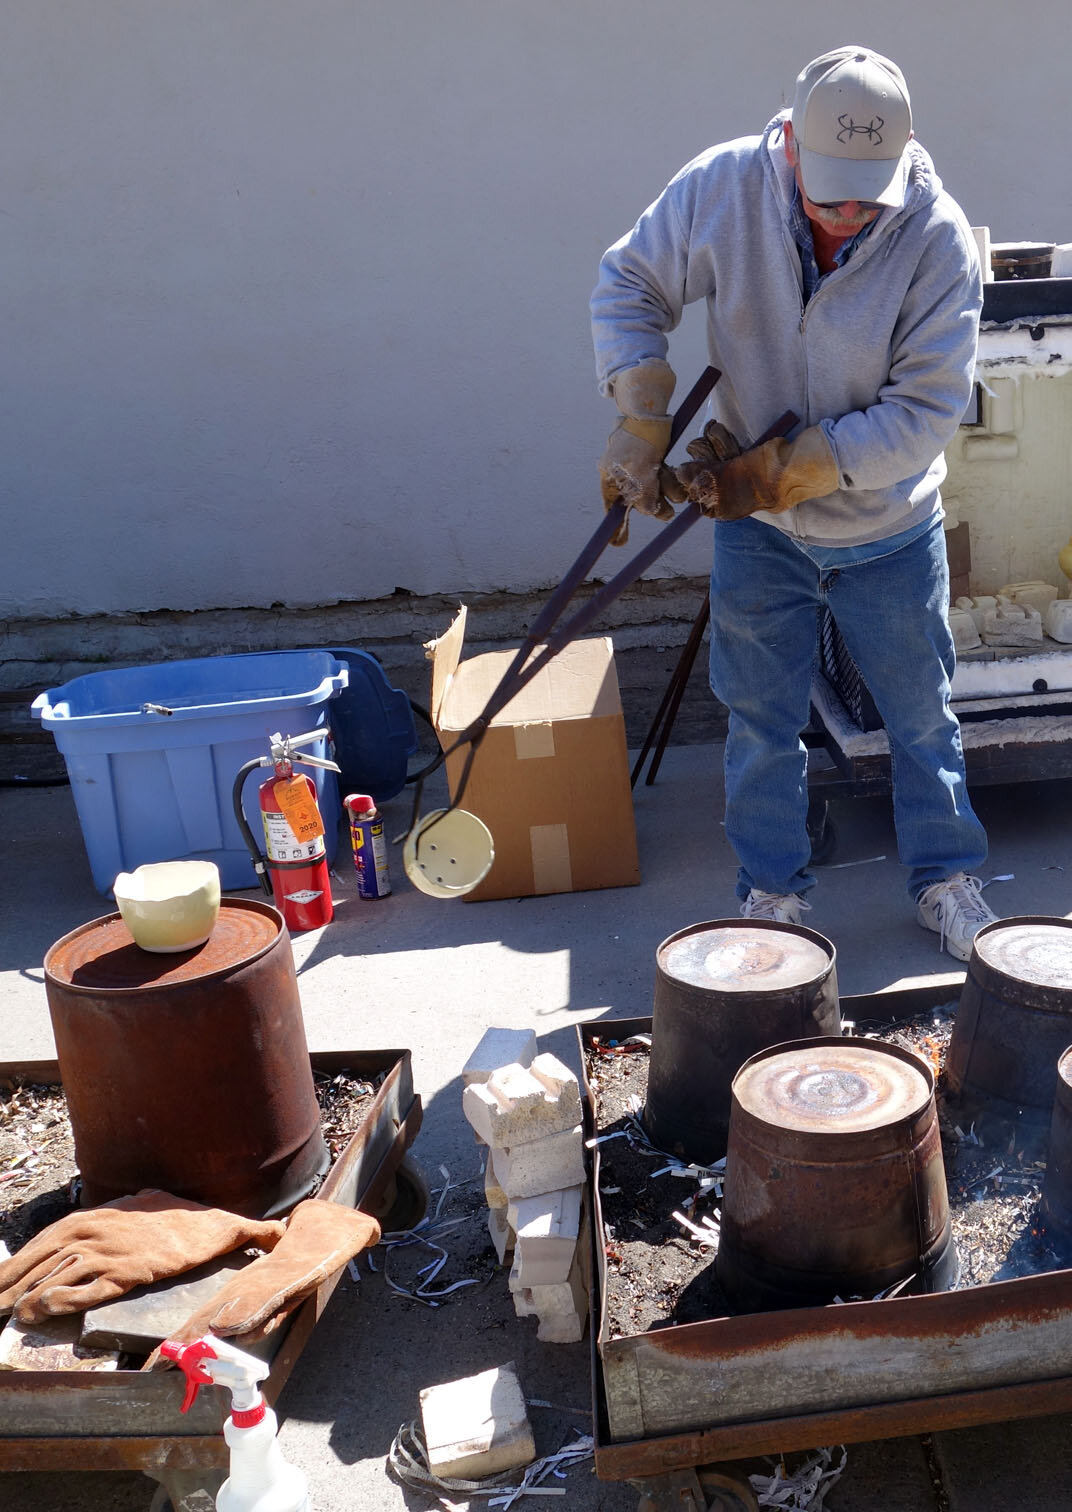
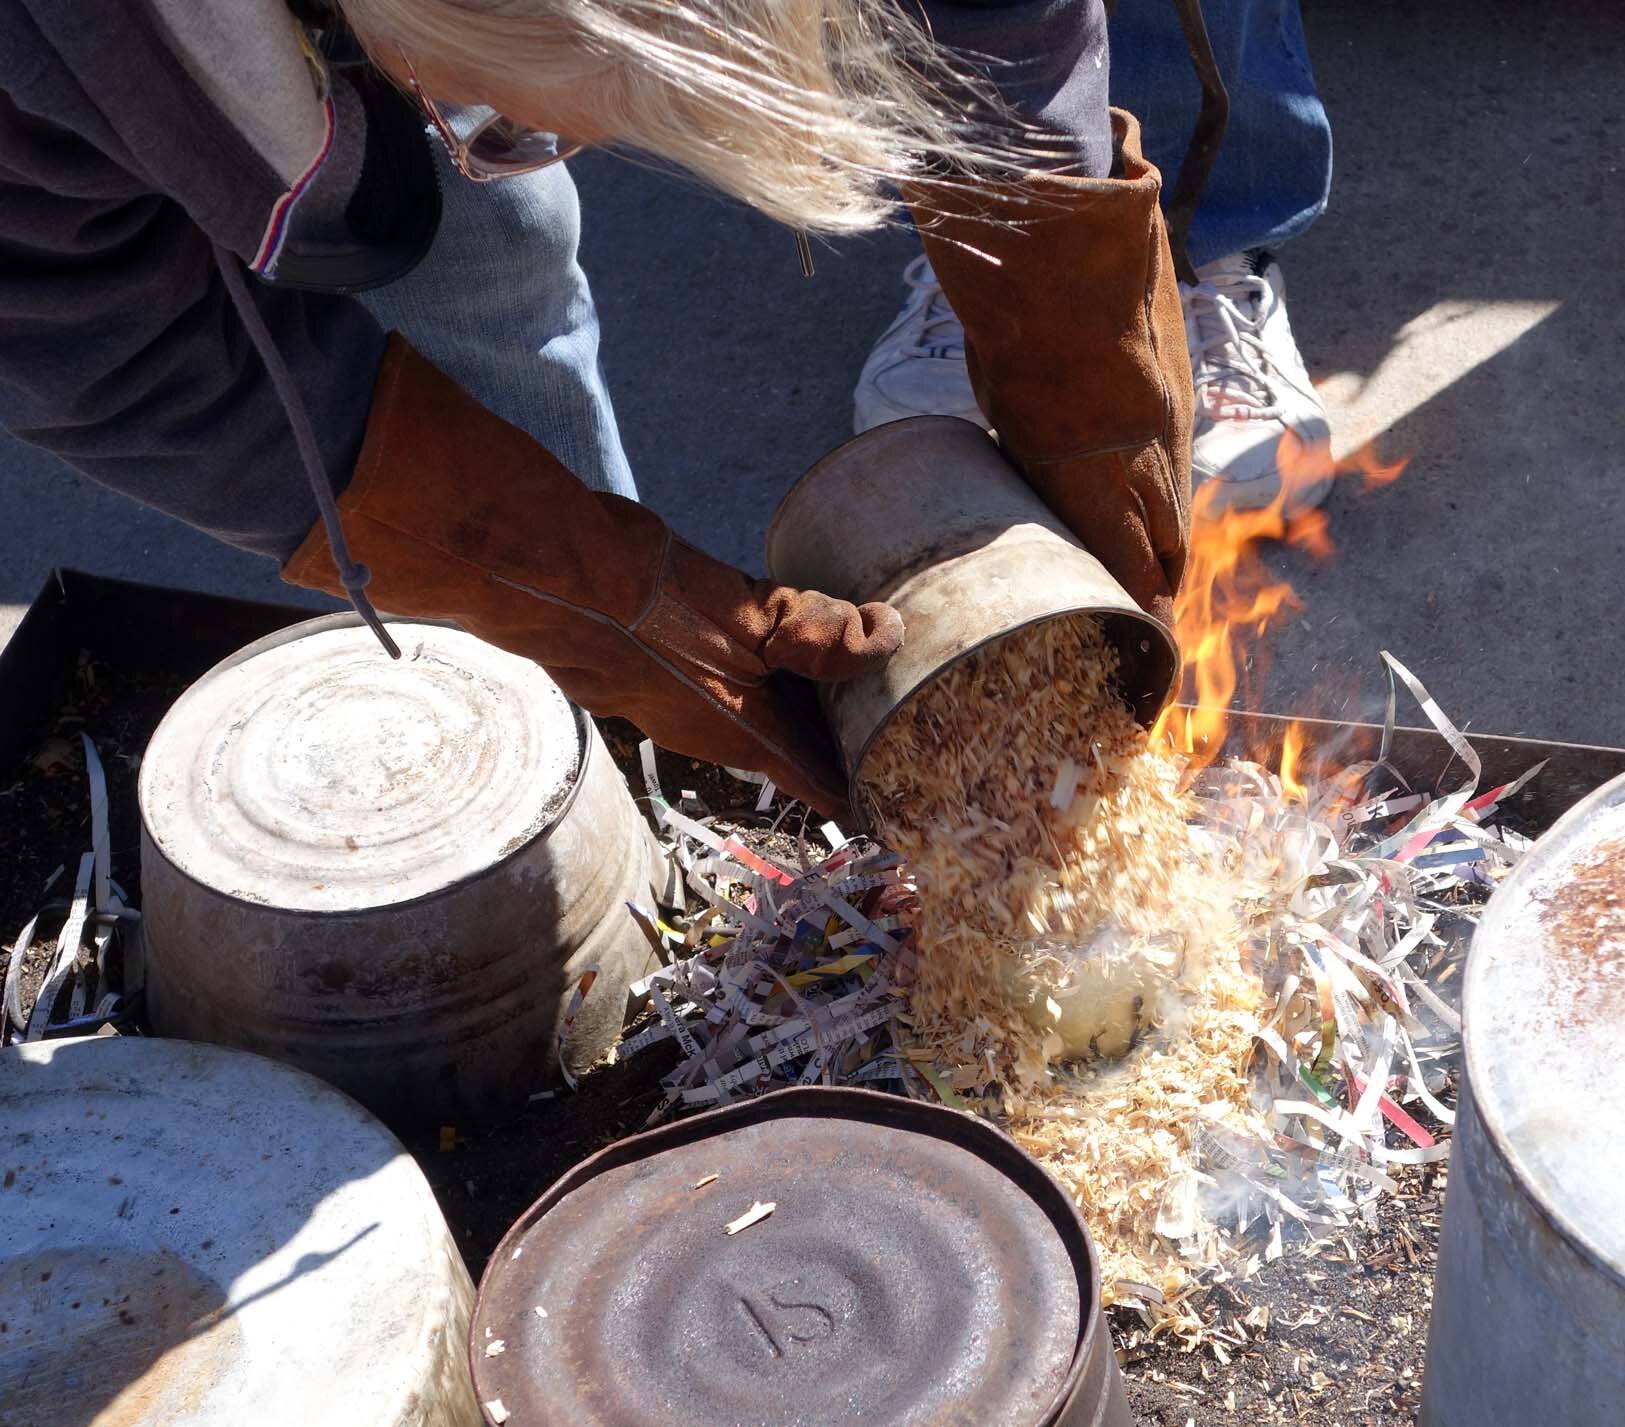
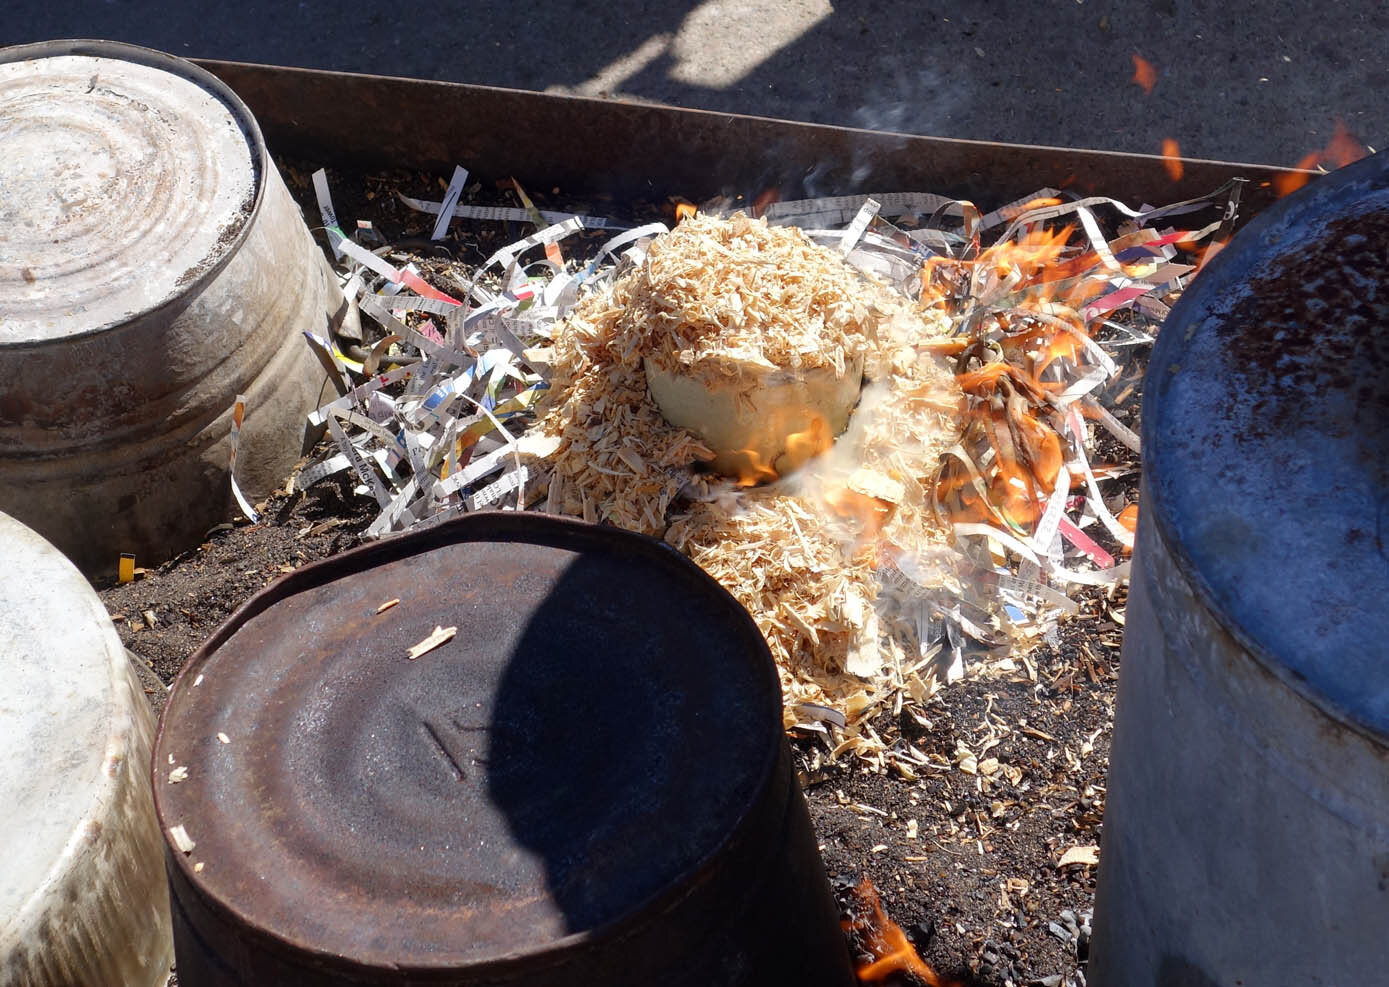
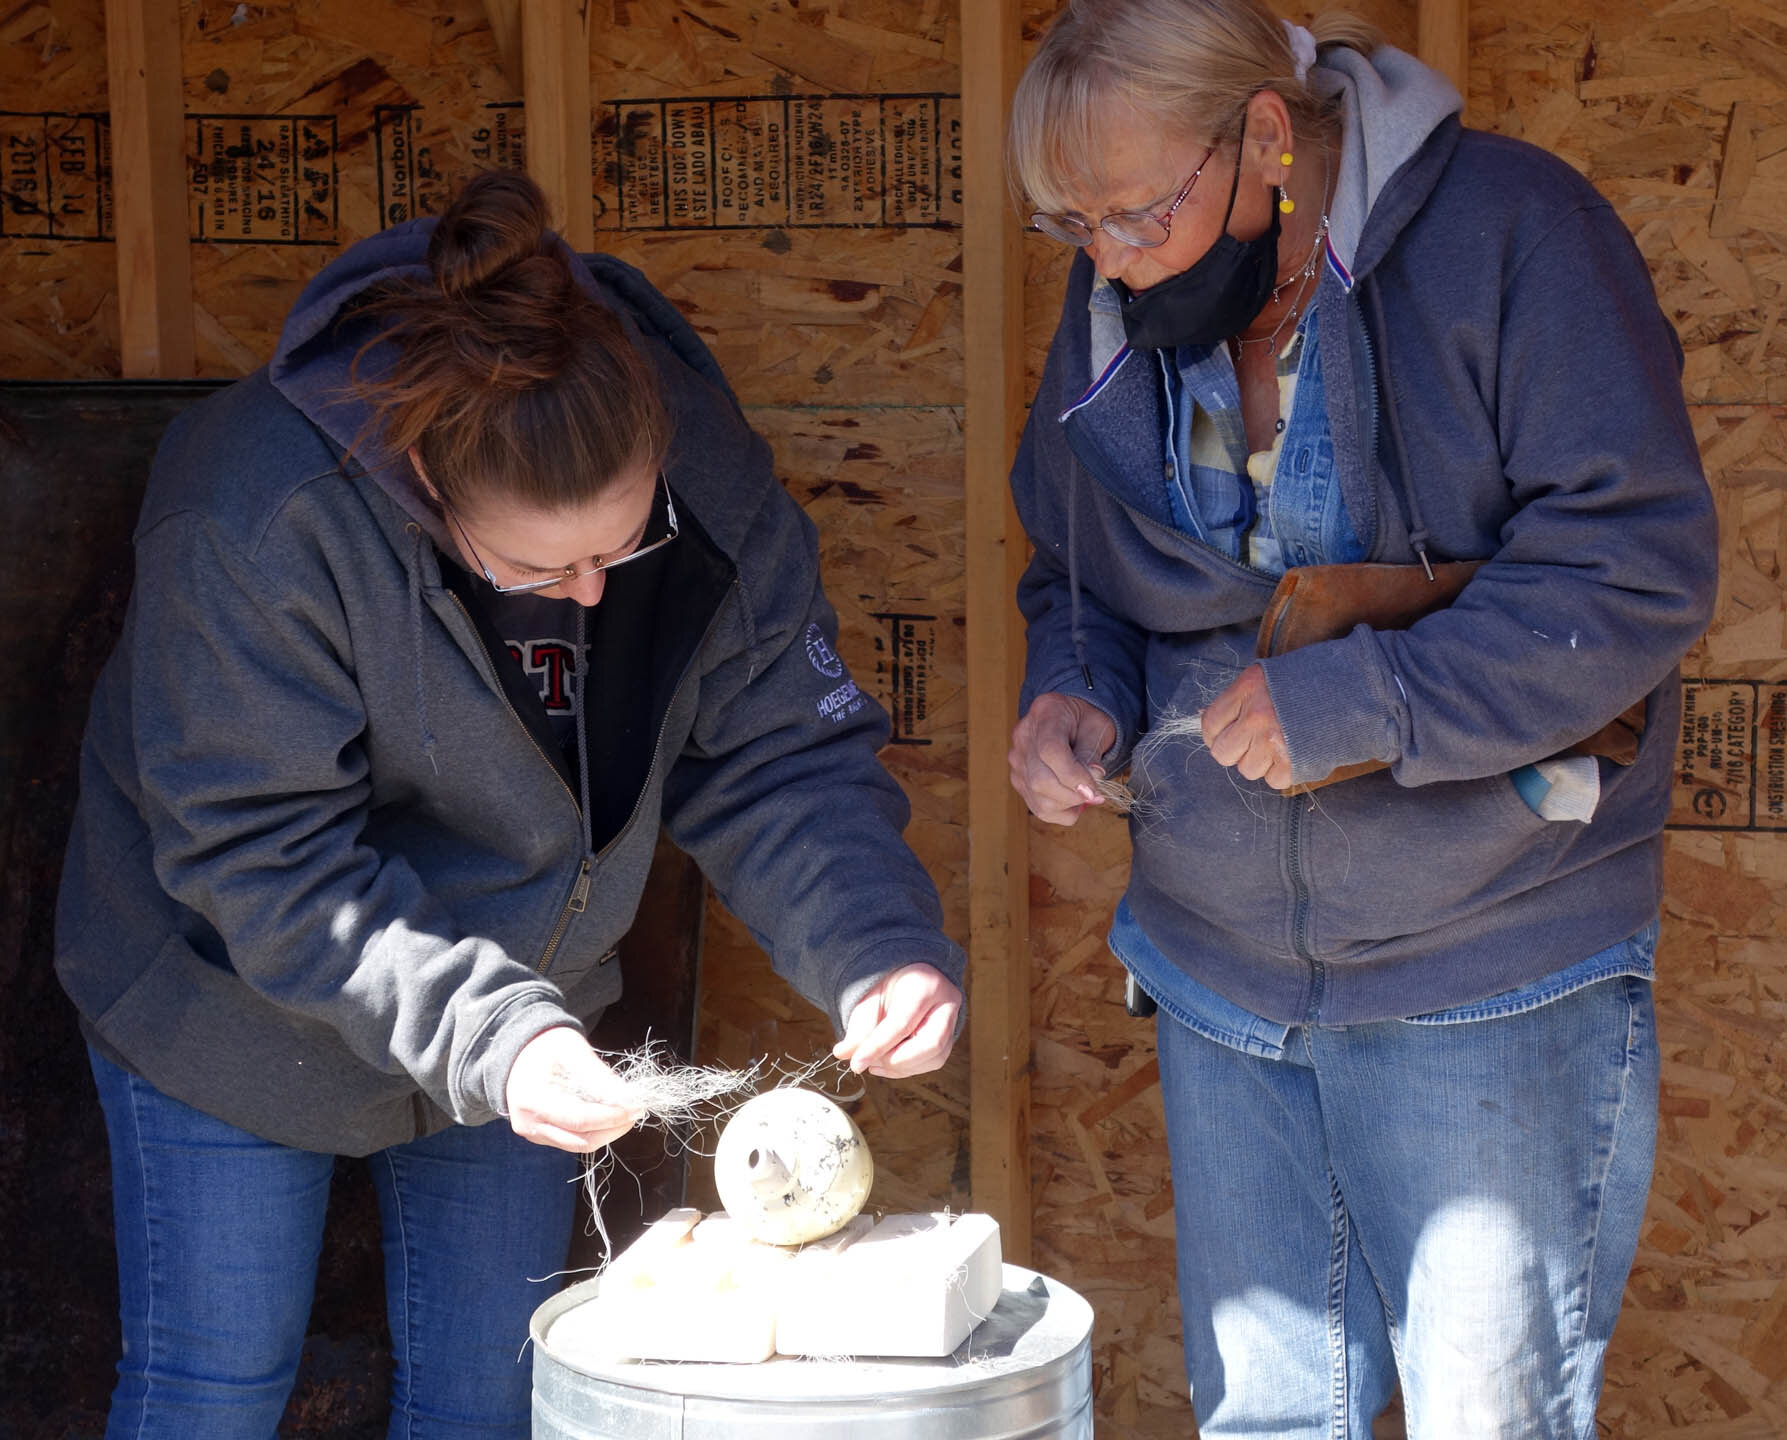
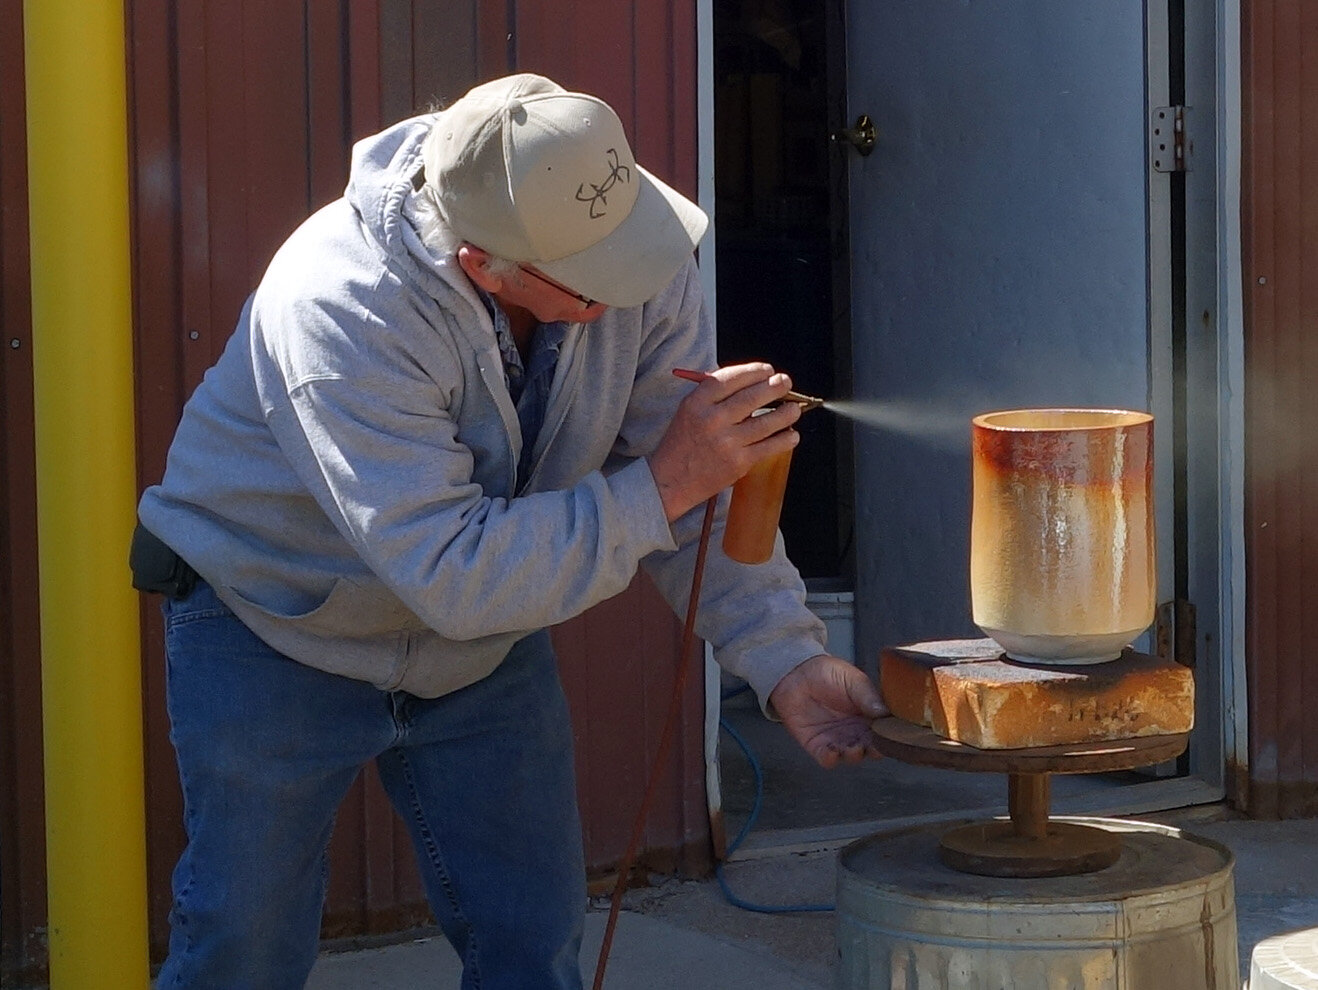
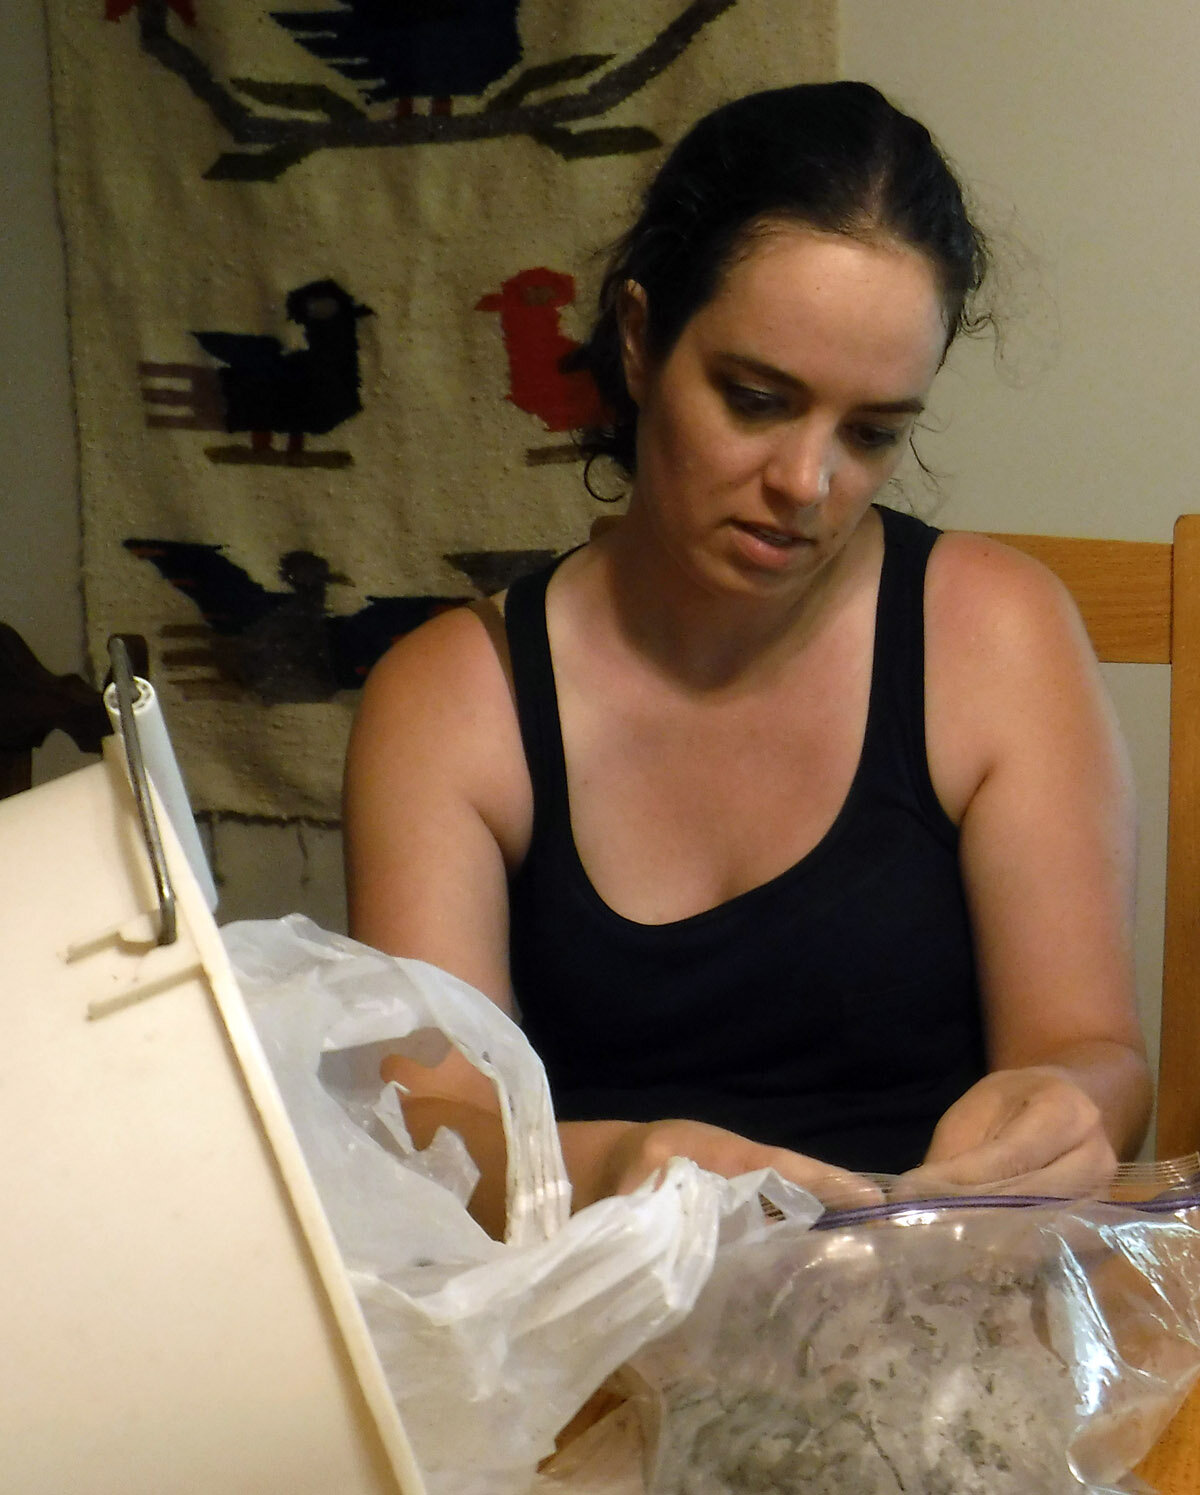
The second is that I had gathered in my ceramics research that sprinkling sugar is a possibility as well and decided to request giving that a simultaneous try. Dakota Potters had never heard of using sugar in this way, so Wanda was really curious to see the results too! She helped me add my decorations as there’s only a short window of time where the piece is at the right temperature to trap the carbonized additions.

Wanda and I adding the hair and sugar to my just-out-of-the-kiln, blisteringly hot bowl.

This above bowl turned out really nicely!

This vase was even more of a showstopper, as it is the tallest piece I’ve handbuilt thus far and the height lends drama to the overall impact.

I made three “horsehair” (my hair) pieces, but the third one cracked so these two are the ones that got through without issue!

Whiterock Conservancy New Artwork: Surface

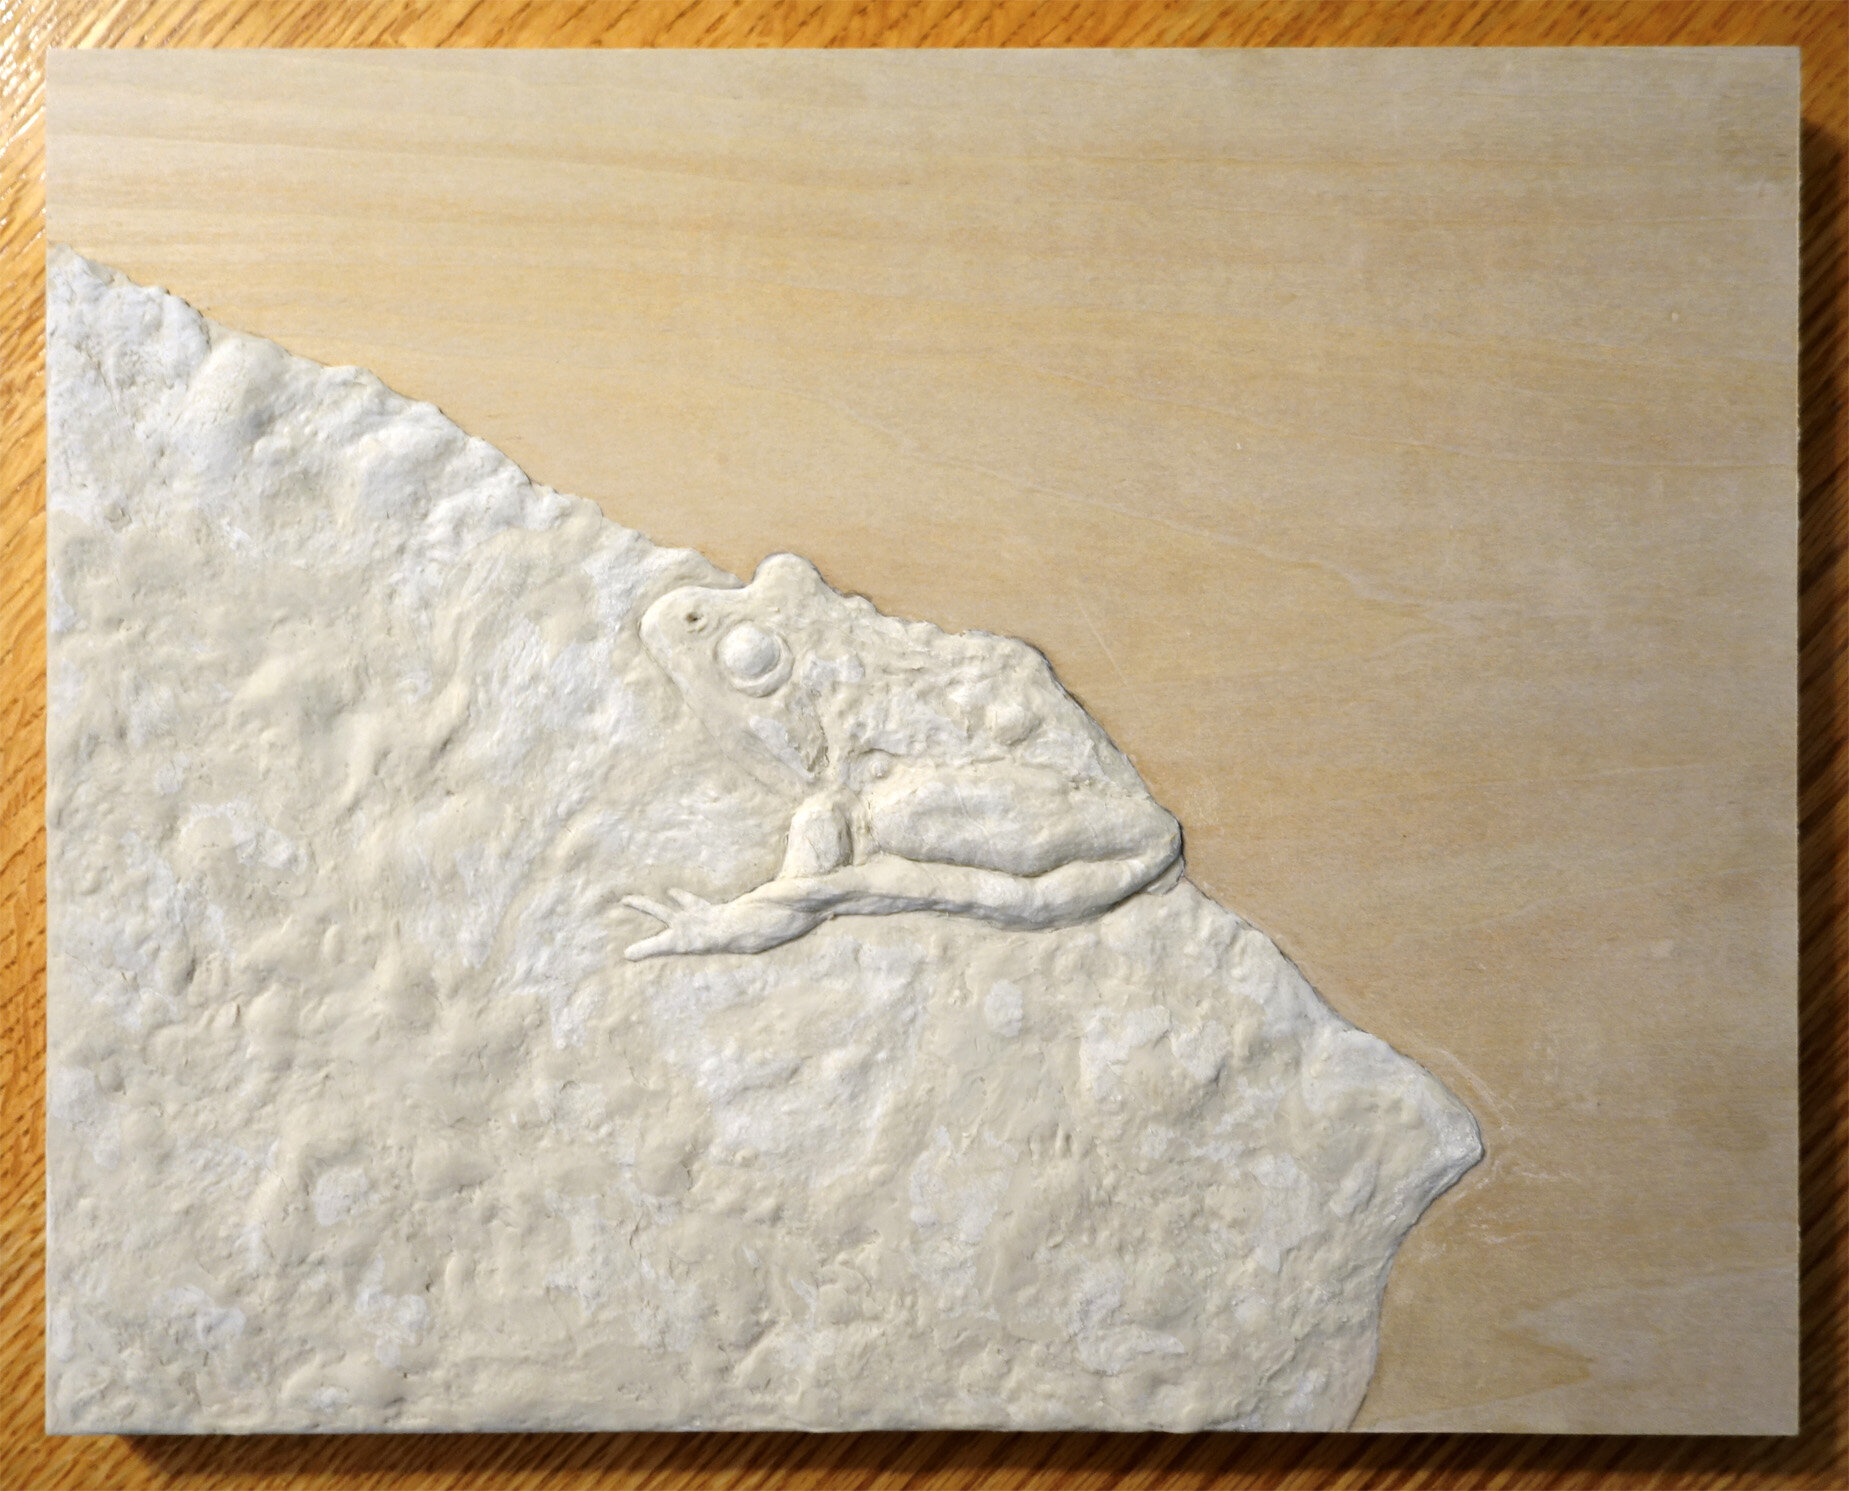
I just finished my second relief from my Whiterock Conservancy residency earlier this summer! This piece depicts an American bullfrog, Rana catesbeiana syn. Lithobates catesbeianus, floating on the surface of one of Whiterock’s turtle ponds.

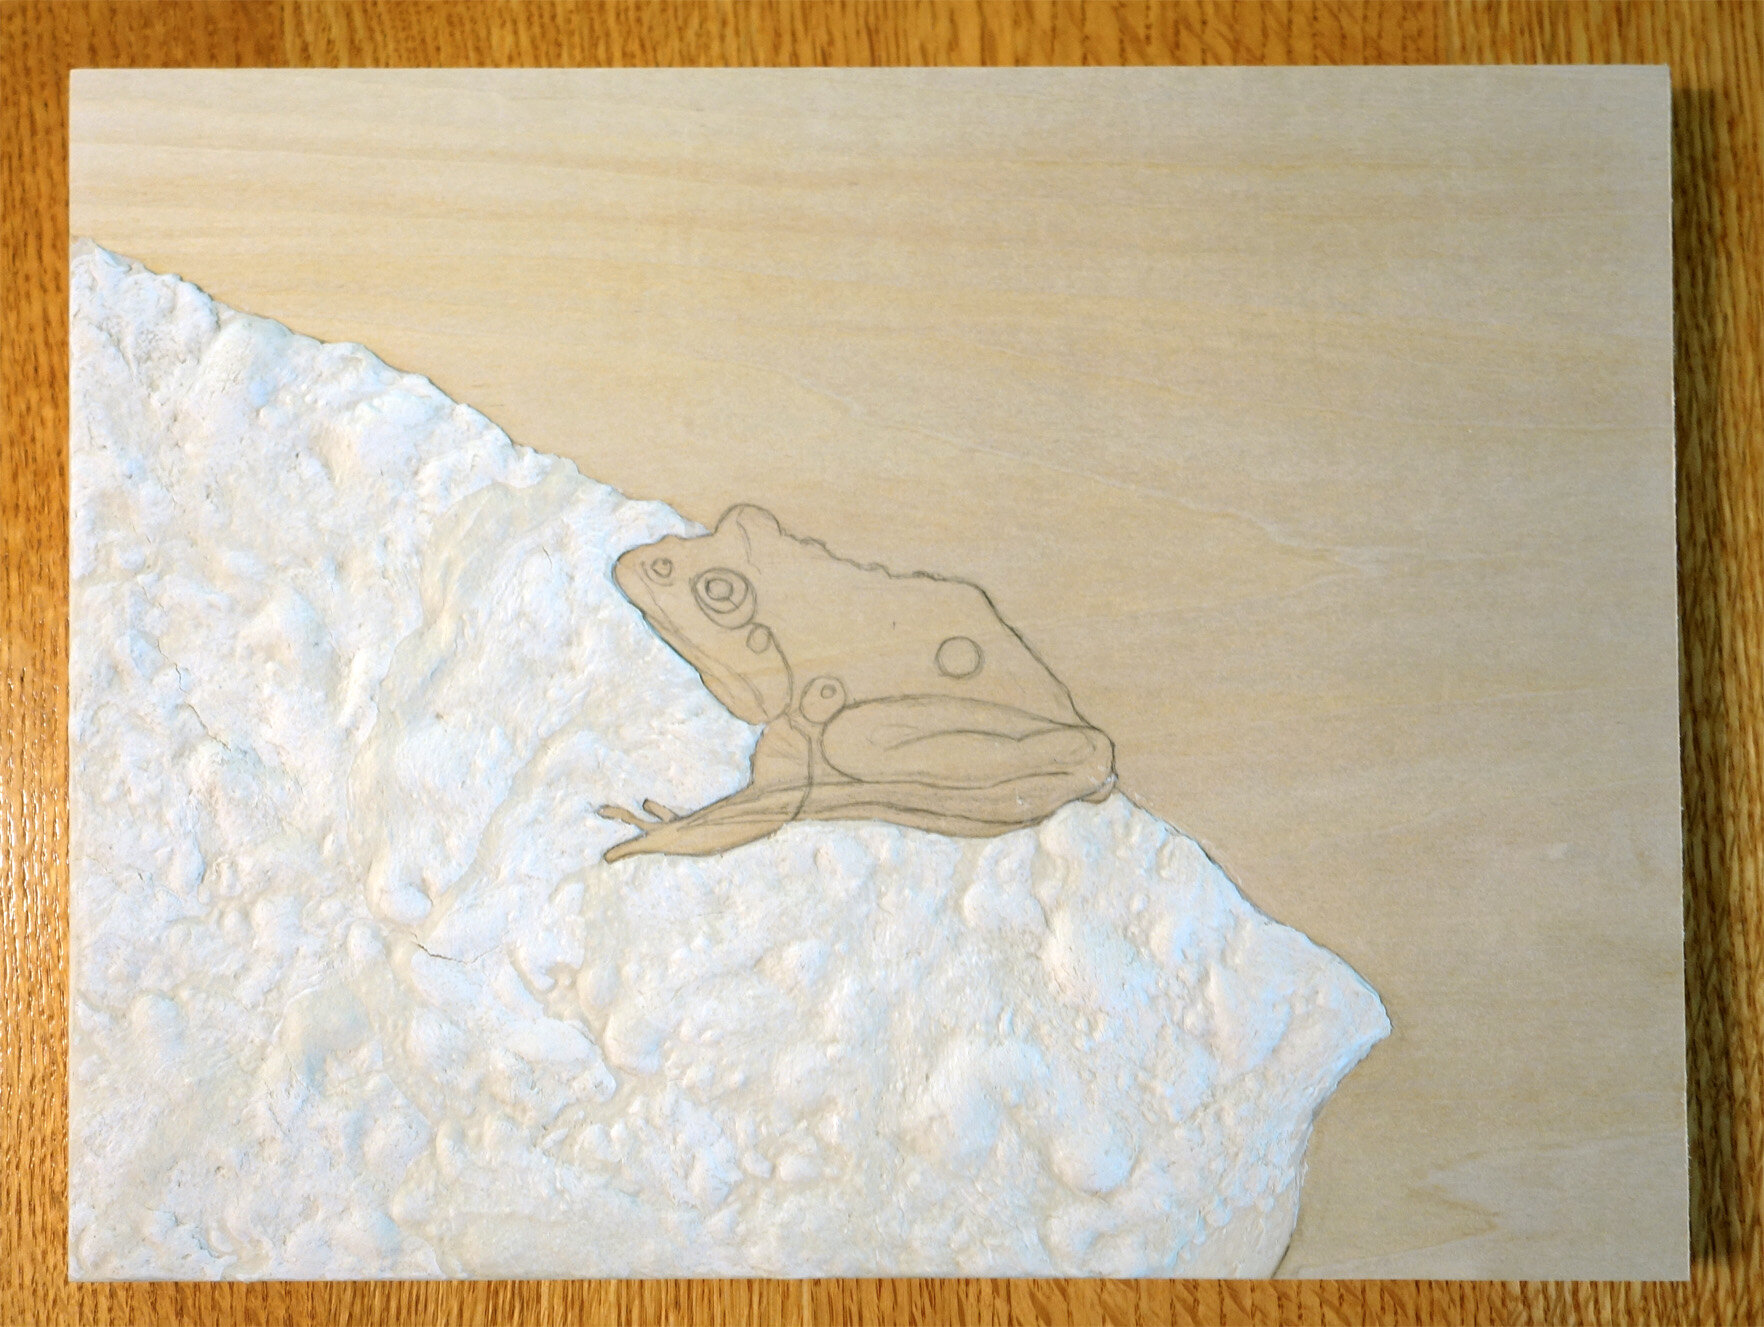
Here are a couple of process pictures of the underlying QuickCure Clay relief. I began by sculpting the above-water portions of the bullfrog, and then added patches of algae as well.

After I finished the relief elements, I began to paint! I’m pretty pleased with the end result. I finished this piece with two coats of gloss varnish to contribute to a wet appearance.

This is Surface, 12x16x2”, QuickCure Clay relief and acrylic on basswood panel, 2021.

The Curious Case of the Antenna Fern

I’ve been keeping houseplants for over fifteen years, and fairly early in that timespan I became a serious hobbyist. At this point, it’s not that common for me to find a species of plant for sale in a nursery I’ve never seen before. I wish it happened more often! However, recently I bought a fern that was completely new to me.

Some context: I keep what I would consider to be a small number of ferns; many ferns require a level of watering or humidity that can be hard for me to consistently supply. I was previously holding stable at four species of ferns which have proven pretty resilient - Nephrolepis exaltata 'Mini Russells' (a miniature Boston fern cultivar), Nephrolepis exaltata ‘Green Fantasy’ (another miniature Boston fern cultivar), Polypodium formosanum 'Cristatum' (ET Fern), and Davallia fejeensis (Rabbit's Foot Fern). However, due to my branching out into carnivorous plants, I’ve become more accustomed to daily watering. As such, I am willing to give more fern species a go and brought three new ferns into my collection this summer. Two of them I’ve either seen before even if I haven’t acquired them or at the very least have seen similar versions, and then there’s this third…

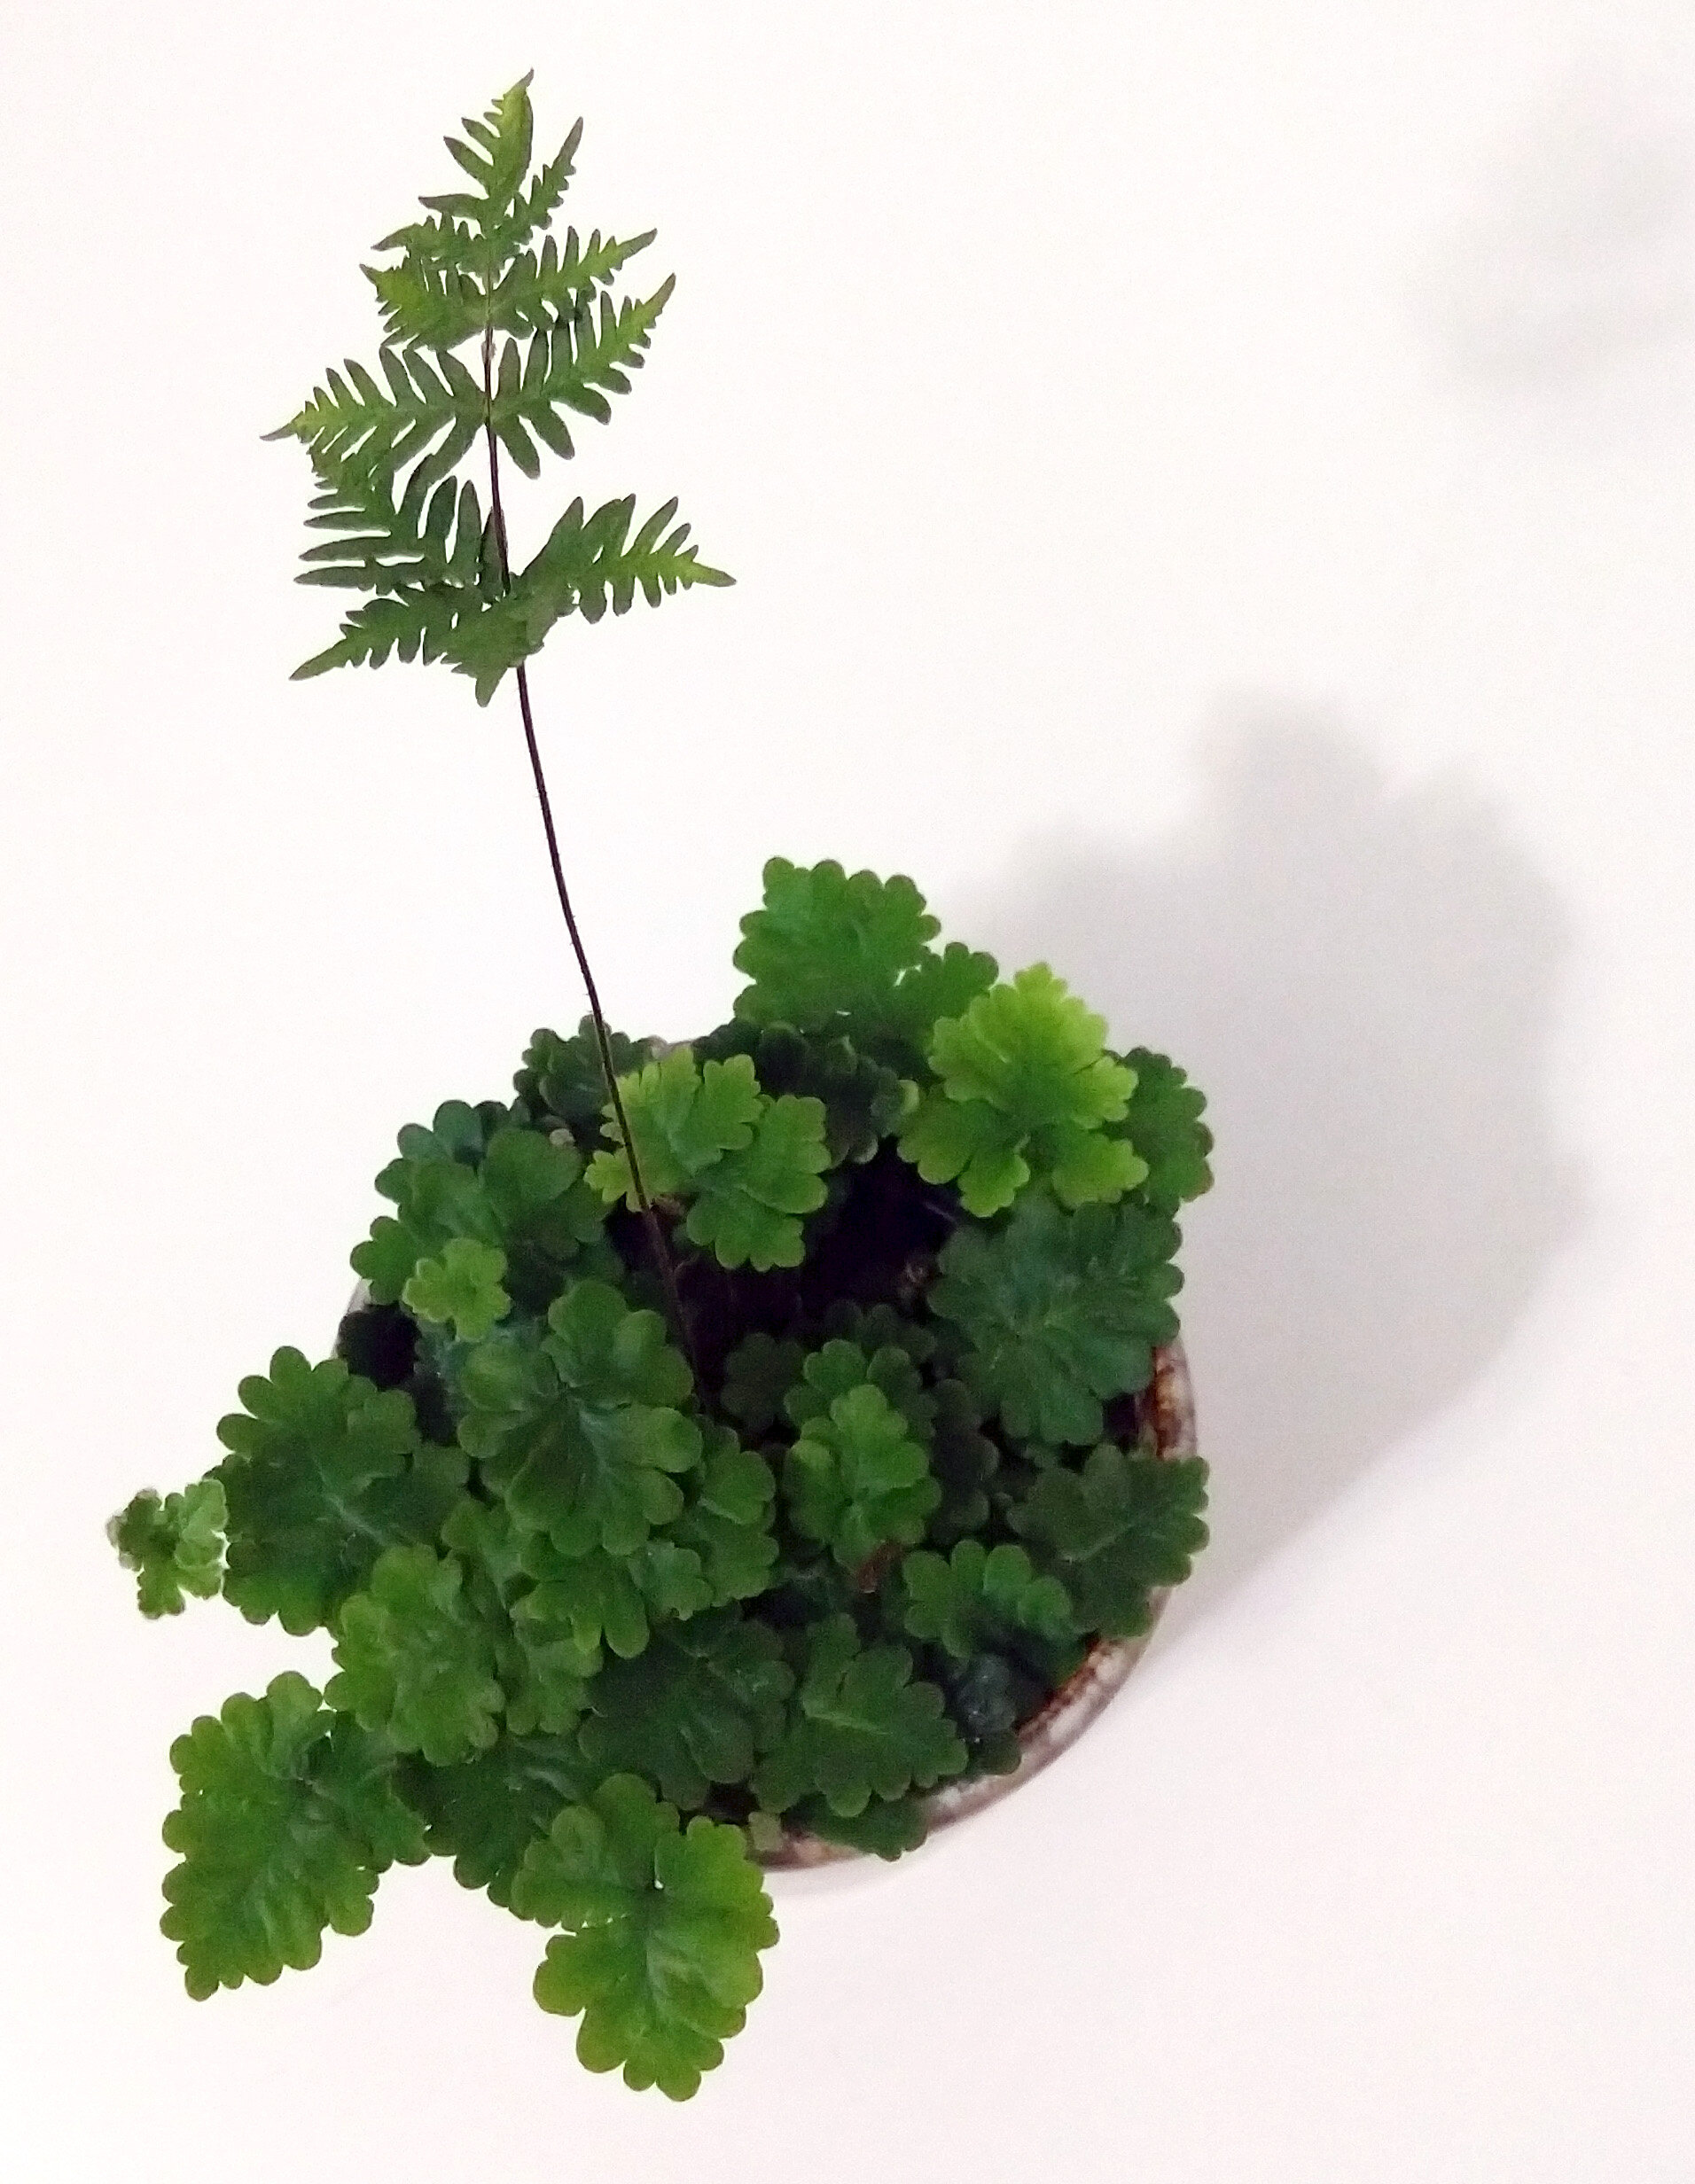
The tag called it the “Antenna Fern” and provided the scientific name Doryopteris cordata. When I purchased it, it had a soft groundcover of rounded, verdant, gently hairy leaves and I found it very attractive.

My Doryopteris pilosa var. gemmifera “Antenna Fern.”

My Doryopteris pilosa var. gemmifera “Antenna Fern.”

A few weeks after it had come into my collection, it appeared to be growing a very errant new leaf. Instead of unfurling at ground level, it grew taller and taller until it loomed eight inches over the rest and after unfurling, it looked to be a completely different fern. I assumed a spore or very small plantlet from another fern species had gotten mixed up in my plant, and figured that was that.

As a couple more weeks passed, I grew even more curious as I assumed that if it was a second fern, another leaf or two would begin to appear in a central crown formation. This hadn’t yet happened.

As I was studying my main plant while trying to see how the interloper was doing, I decided I wanted to know more about the “Antenna Fern.”

Upon researching the fern, the provided scientific name of Doryopteris cordata does not actually exist. This is not that surprising; plant nurseries often mislabel their stock. The actual scientific name is Doryopteris pilosa var. gemmifera. But here’s the real shocker: I discovered in my research that the second fern is in fact the first fern; Doryopteris pilosa var. gemmifera is an extremely dimorphic fern, but apparently as many as one in five fern species exhibit some degree of leaf dimorphism (this also surprised me). In this case, the dimorphism results in a sterile groundcover and a fertile canopy that is better able to disperse spores into the wind. The colloquial name “Antenna Fern” is in fact a nod to the fertile fronds.

My research also confirmed that this is a rare plant in both cultivation and in the wild; however, if you’re interested in it there do appear to be some online vendors offering it up! Just a note of caution, though - from my own experience, this fern does need moisture at all times; I went on a three-day trip and upon my return it was desiccated and crisping, whilst all my other ferns were doing just fine. A good drink did refresh it, however, and aside from a couple crisp spots it’s fully bounced back as you can see in the photo above! I do wonder if this is my fern’s first ever antenna, or if the nursery also thought that the fertile fronds were hitchhikers and cut them off…

First Raku Workshop Pieces - White Crackle Edition

I’m just going to call it how I see it; the white crackle pieces I got out of this first round of raku firing were by and large underwhelming. The instructions say to put three coats of the white crackle glaze on; I think my interpretation of what three coats should be was thinner than the intended result. Next time, I plan to do at least five coats. However, it is also the case that in order to deter cracking, we did not plunge these pieces into water upon removing them from the kiln. Though dunking into cold water does increase the chances the whole piece shatters, it will also increase the crackle effect in any survivors. Not doing so may have also limited the resulting crackle in these ceramics.

I did apply and rinse off India ink on all the below pieces in a post-process attempt to heighten the crackle’s contrast; this did have a very slight effect, but it didn’t do nearly as much as I’d hoped.

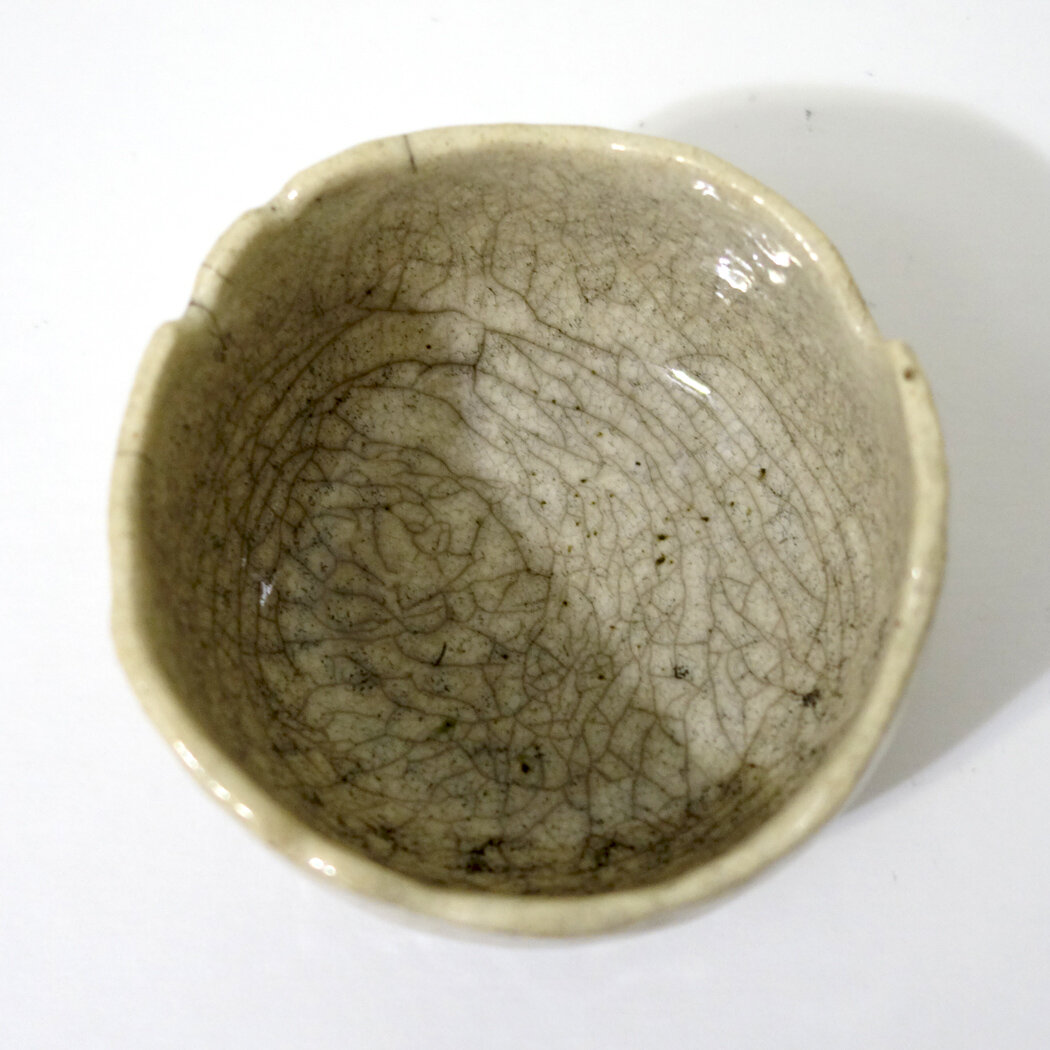
Below is the first piece; it’s a small dish, and honestly, the crackle is more impactful in these photos than it is in person. To me, it’s not that interesting of a piece, which is a shame as the costs of the process make it more expensive than I think its aesthetics merit.

The second piece has a similar aesthetic; it is perhaps a bit stronger, but still not as powerful in the crackle as I’d like. This one is a planter; raku is not watertight, so I plan to coat the interior with Thompson's WaterSeal to hopefully increase longevity before planting inside.

The third piece is much the same as the second, including it being a planter. The India ink soaked into the general glaze body more on this one, though, in a kind of pitting or freckling effect.

I had completed all of my white crackle glazing on these pieces before I fired any of them, which I now realize was a mistake; I should have glazed and fired one and then adjusted my process for the subsequent pieces. Admittedly, that is only somewhat possible as there are a limited number of firings per workshop, but it is a strategy that I plan to consider moving forward.

Finally, I present to you the only white crackle piece from this workshop that I consider to be successful! A combination of luck and possibly forgetting how many coats of glaze I applied and thus erring on the side of adding another contributed to this result. The brownish tinge near the top rim is an artifact of the smoke staining the surface; it is easily removable in the first 24 hours of the ceramic’s post-glazing life but then settles in. I somewhat thoughtlessly removed it from all the above pieces, but with this one I realized I could use it as a design element and didn’t remove it all. The strong black at the base is an artifact of the burning substrate (newspaper, in this case); it too could have been readily removed early on in the process but I again thought it added a dynamism to the piece. This one, too, is a planter, and will be receiving the Thompson’s WaterSeal on the interior.

I am still intrigued by the possibilities the crackle glazes (white and clear are the most standard options; turquoise is a rarer possibility as well) offer, but I will be more conservative moving forward with this glaze type due to this overall turnout on my first batch of attempts.

First Raku Workshop Pieces - Copper Glazes Edition

Here are my copper glaze pieces! These all turned out beautifully, but let me tell you - I learned that I cannot control what I’m going to get, at least not with all the variables that were at play at this raku workshop! The local temperature and humidity, the time in transferring from kiln to reduction, the organics used, the timing and duration of any burps (adding oxygen back into the reduction environment) - each and every factor influences the final color, shine, and character.

Amusingly enough, from having surveyed some sample pieces in advance of glazing, I determined I quite liked lithium carbonate as the interior glaze and used it on the inside of all four of my copper pieces. For the lips and exteriors, I tried out a few different options - some more lithium carbonate with a touch of Molly’s banding purple, emerald copper, golden rainbow, midnight luster… and a couple of the exteriors look almost identical despite or perhaps because of my experimentation, in concert with the rest of the environmental factors! (Because the exterior glazes didn’t align with my expectations of them, I don’t remember which specific bowls got which exterior glazes.)

In this first bowl, the lithium carbonate interior is matte and relatively dull, and it provides a stark contrast to the dark shiny rainbow lip and exterior of the bowl.

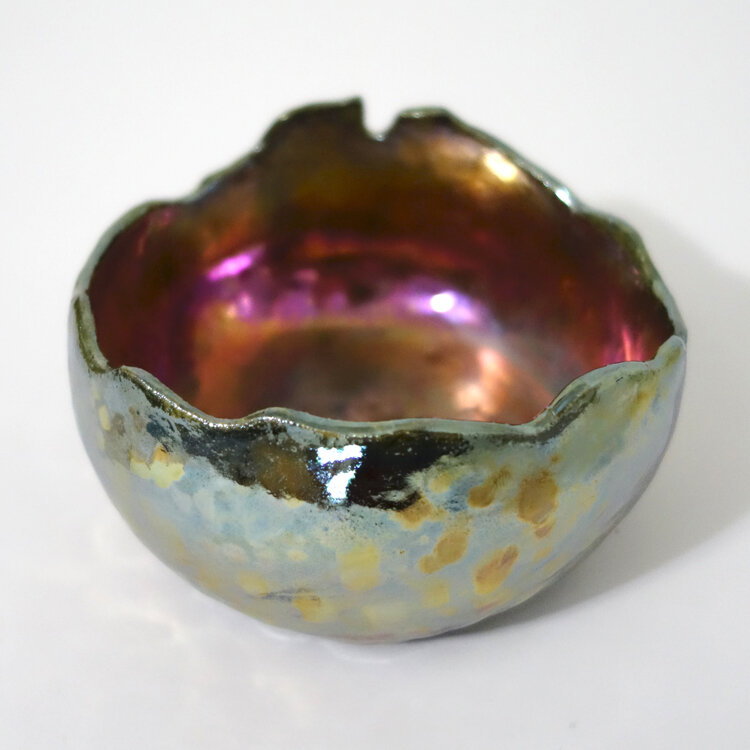
This second, smaller bowl - like every bowl here - has lithium carbonate on the inside, but this time it resulted in a satin, coppery base and a high gloss, pink-and-rainbow interior side. The exterior is also high gloss but contrasts the interior with silvers, golds, and aqua hues, accented by some sooty squiggles. This is perhaps the loudest bowl, and it gives me a unicorn cupcake vibe.

Here is the third bowl! In many ways it’s the most subtle of the four, but it is nevertheless quite rich. The lithium carbonate here developed a semi-gloss interior that has a lot of variation, rings, and finely-detailed contrast. The exterior reflects some of the same color palette of the interior, but it adds some turquoise and blue into the mix and has a higher gloss.

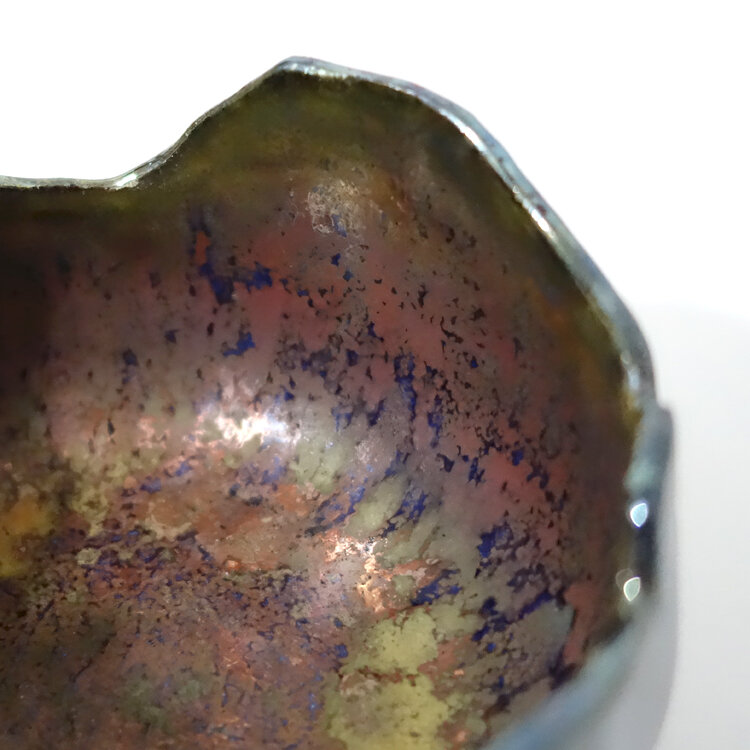
Finally, we come to my favorite piece from the whole day! This bowl is really nice. The lithium carbonate interior here has a high gloss and is very coppery with splashes of blue and purple and finely detailed contrast. It is complemented by a high gloss dark rainbow exterior that is very reminiscent of the first bowl and pretty reminiscent of the third bowl in this post.

Though much of the reason this last bowl is so powerful is its glazing, another consideration is that it is the largest of the pieces I brought. With that in mind, I plan to bring mostly large pieces to my next raku workshop.

Which copper glaze bowl is your favorite?

First Raku Workshop Pieces - Baked Potato Edition

As I mentioned in my first raku post, the “baked potato” technique involves coating the bisqueware in ferric chloride, sprinkling it with sugar, salt, and/or horsehair, and then bundling it up in aluminum foil like a baked potato before firing it. The one example piece we were shown of this technique was interesting but not super compelling, so I just tried two “baked potatoes” out in the form of a couple cache pots.

Interestingly, the resultant pieces did not come out as advertised, but I do really like how they ended up. I was told the sugar and horsehair spots would turn black, but on my piece they are mostly white with some grays. This could be for a couple reasons: A) all the environmental variables at play - the local temperature and humidity outside, the ferric chloride purity and concentration, the thickness and tightness of aluminum foil, etc. B) at the time I understood I was to put one bundling of aluminum foil on, but afterwards I heard that perhaps the instructions called for two. Reason B is all the more interesting because some of my foil burned off in the kiln, exposing part of the pottery inside. The kilns did not have organics inside beyond what was in the “baked potatoes” and had vents providing air flow, so maybe the burning of the foil resulted in less carbon trapping than would otherwise have occurred?

Due to the general inconsistencies and vagaries of raku firing and the complicating factor of my still not being sure how many layers of aluminum foil is advisable, I’m very unclear on if I can replicate the appearance of my “baked potatoes” in the future.

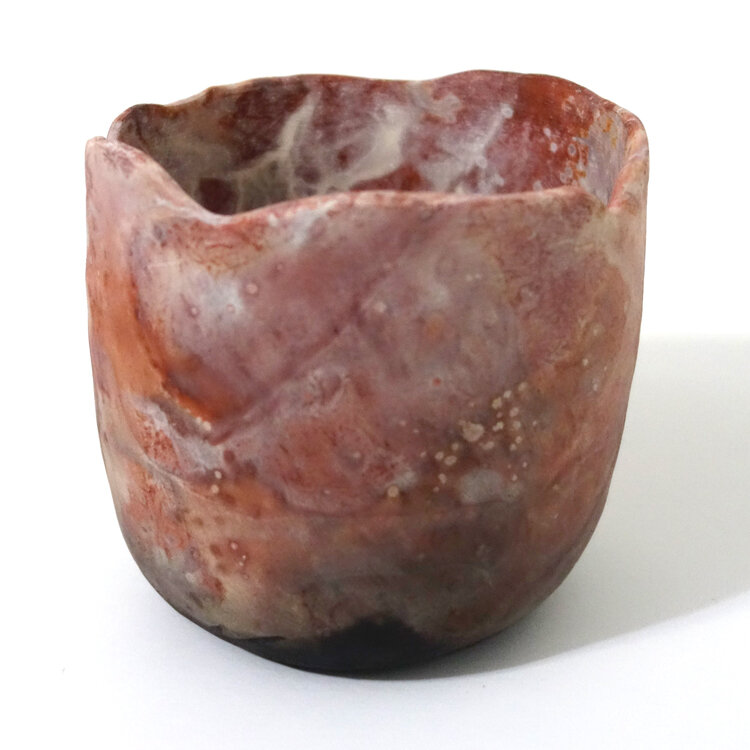
Here is my first “baked potato” cache pot. As you can see, it kind of looks like red marble or agate. I had the choice of sealing these pots with a gloss or matte coat. I chose the matte, which I stand by.

And this is my second “baked potato,” which was fired in the same round as the first. I do really like the appearance of these, but I’m not as convinced that it’s best suited to cache pots though it certainly will look nice as such. I’d like to try a large bowl or two with this technique next time, as I think that could be even more gorgeous - though it’s all dependent on how the firing goes!

Cross Off Another Bucket List Item: I've Done Raku!

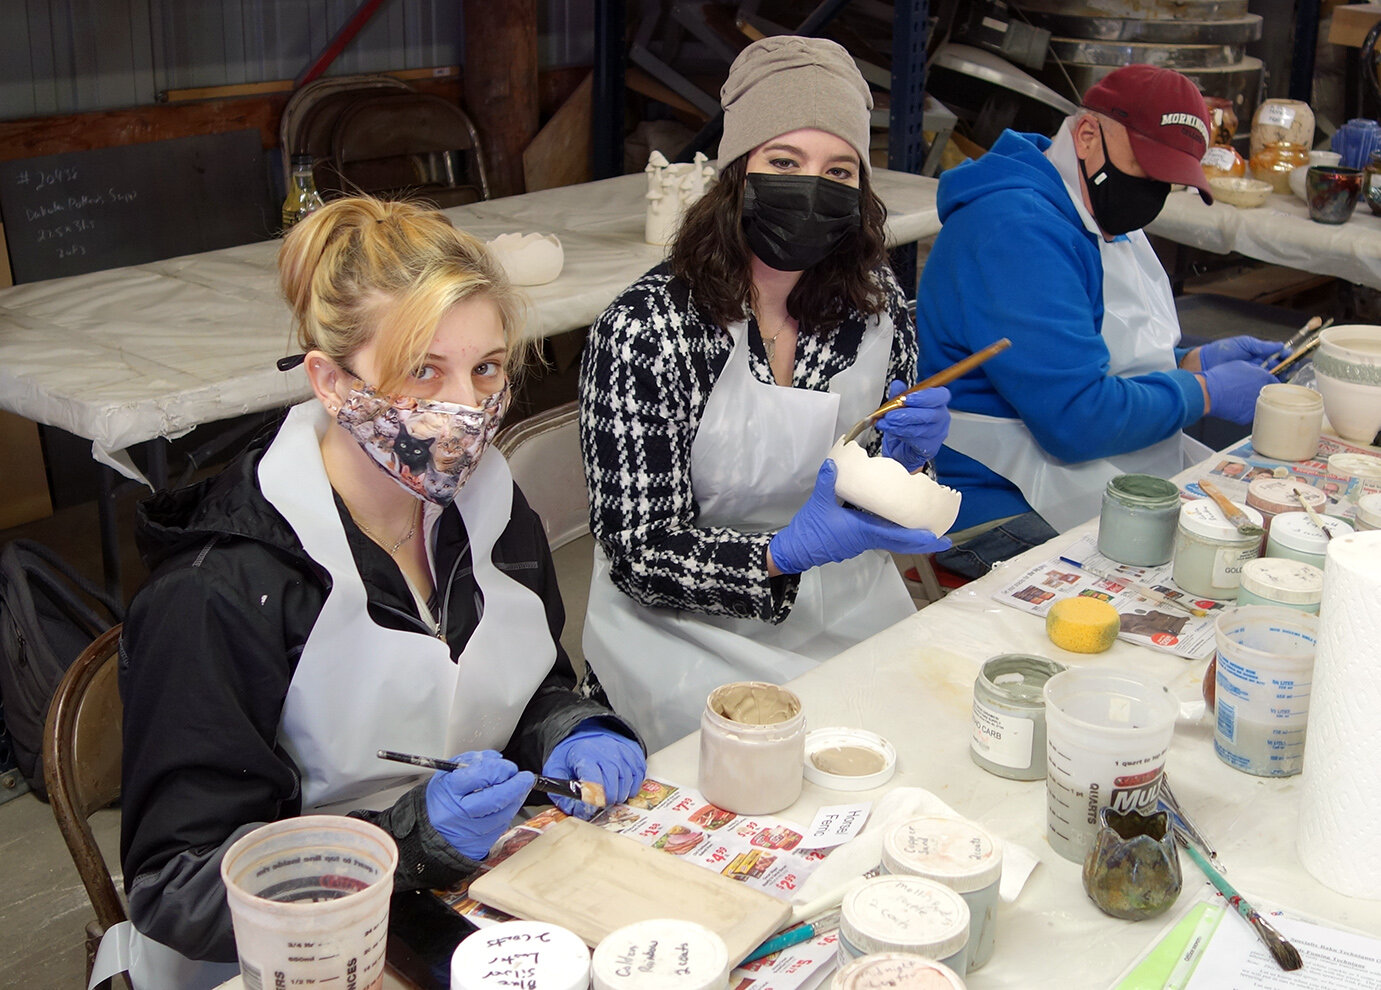
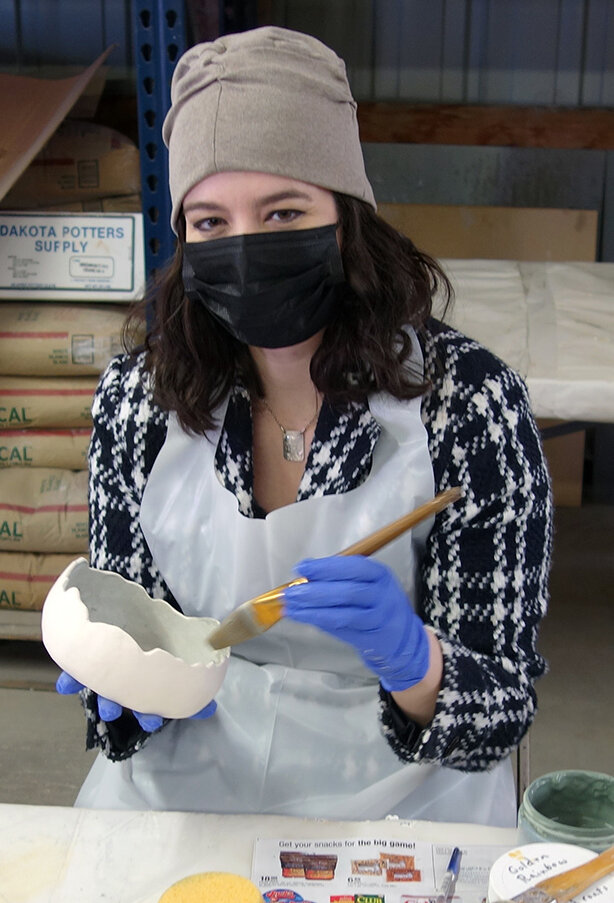
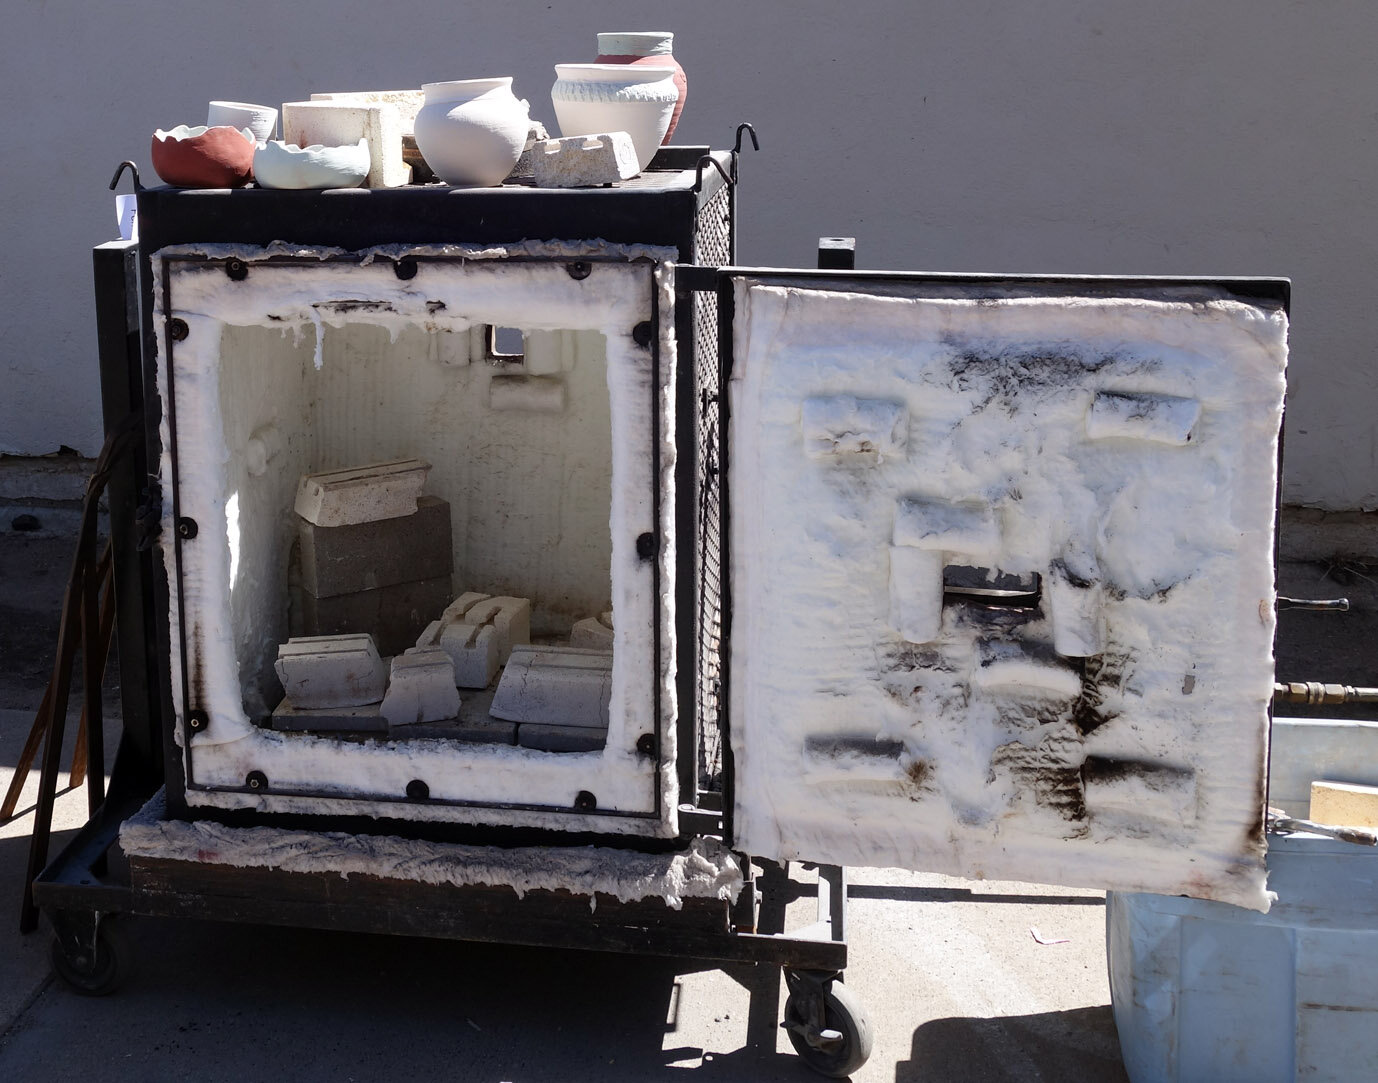
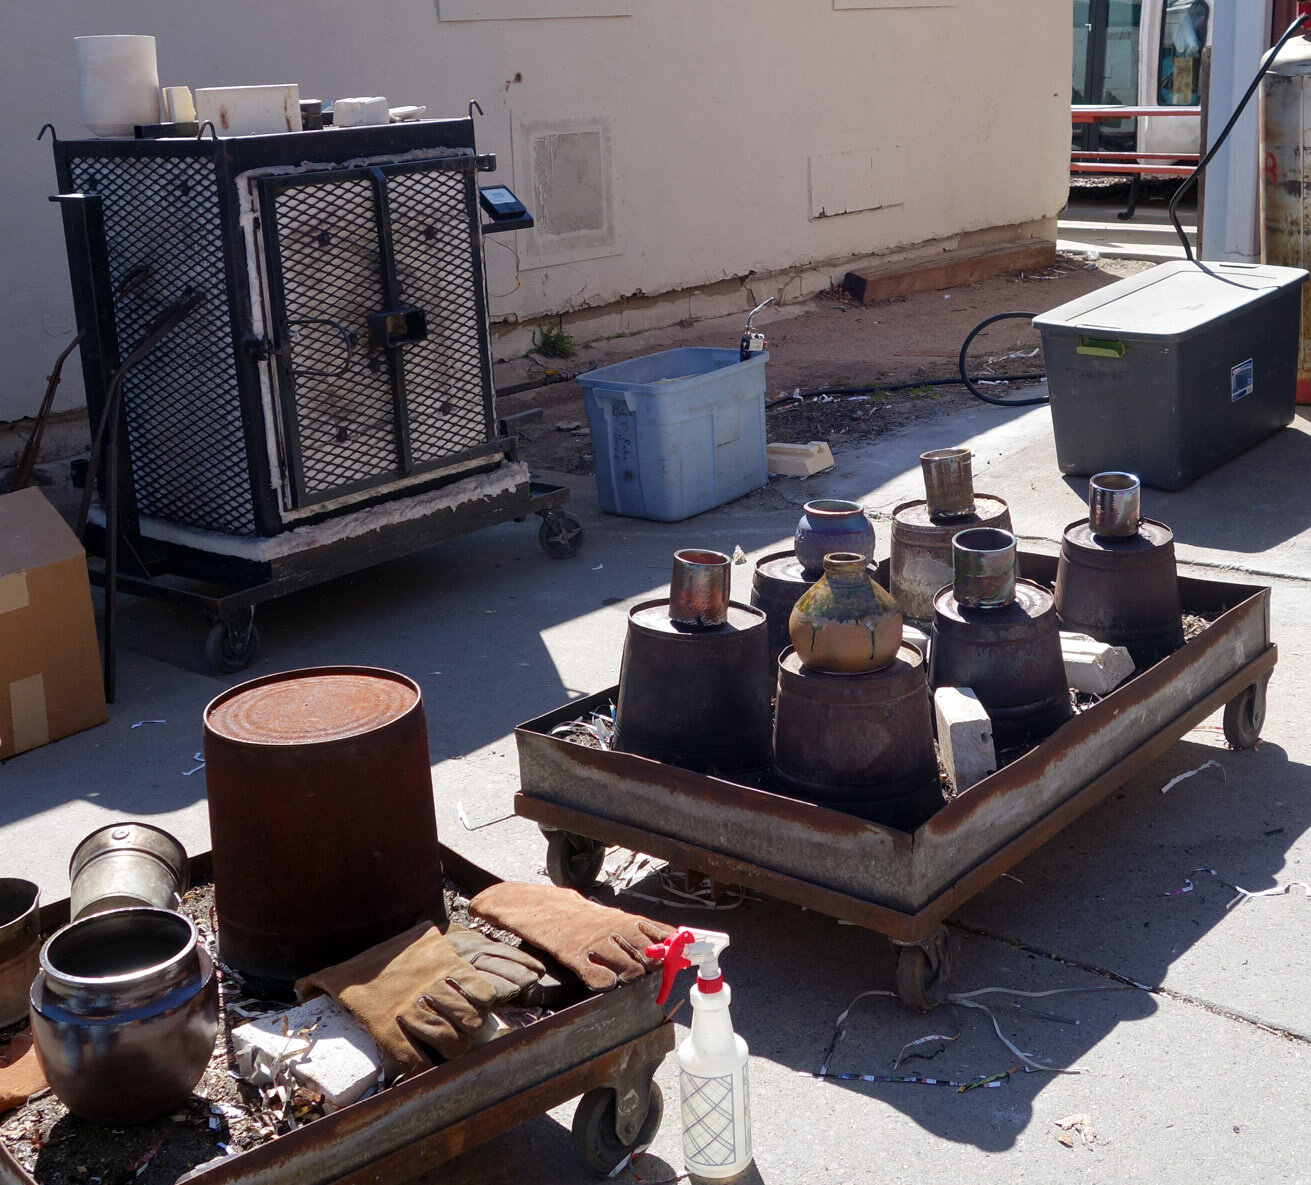
I’ve always wanted to do raku firing ever since I first saw a piece of raku pottery and learned of the technique as a child - but it’s never been an opportunity I could take advantage of until now! A few months ago I attended a Saturday raku workshop at Dakota Potters Supply in Sioux Falls, SD, joined by my ceramics faculty member Paul Adamson and graduating senior Anna Uehling. Raku, first practiced in Japan, is a low-firing technique that makes use of wide temperature swings, reduction, and carbon trapping to create some really ornate artwork. Due to the low-fire nature of the process, the pieces are mostly decorative; they are neither watertight nor food-safe.

Here is a slideshow of the day’s adventures. This post will be followed by a series of posts exploring each of the three different glazing techniques I tried! There were five different techniques available, and I was most interested this first go-round in three of them.

  • Crackle glazes (either clear or white), with the goal that carbon gets trapped in the crackles

  • The “baked potato” technique, wherein you coat the bisqueware in ferric chloride, sprinkle it with sugar, salt, and/or horsehair, and then bundle it up in aluminum foil like a baked potato before firing it

  • Copper glazes

  • Ferric chloride spray

  • Horsehair and/or feather application

Polyspermy in Plants

I’ve been making hybrid aloe and gastrolea seedlings from my own collection for about a year now, and in my curiosity I looked up whether plants can combine genetics from more than one father in the same seed, which is called polyspermy. This is different than seed pods on the same raceme containing different parentage (one flower being fertilized by one neighbor and another by a different one), which is a common phenomenon; the type of polyspermy in plants that I’m talking about means that one seed has three (or more) biological parents. The answer is apparently yes, but it’s such new research that there’s not yet clear information about which plants can and which cannot; proving it’s even possible only happened four years ago!

I think it’s pretty cool how much there still is to learn and research and document in the world!

Whiterock Conservancy New Artwork: Attuned

This is the first figurative piece I worked on at Whiterock Conservancy - a relief portrait of a small species of frog I found in abundance at the river shoreline. The Blanchard’s cricket frog, Acris blanchardi, is an endangered or threatened species in three states so far and is listed as a "Species of Greatest Conservation Need." It is considered a type of chorus frog, and is one of the smallest species of frogs in Iowa. Surprisingly (to me, at any rate) it is also considered a type of tree frog despite being semiaquatic and therefore not having the toe pads of their arboreal brethren.

As always, I began with a contour line drawing. My goal with this piece was a stylized, squashed relief reminiscent of antique bronze relief doors, so after finishing the drawing I began laying in the QuickCure Clay relief. Here are two process photos showing the beginning of that QCC work.

At this point, I got too involved in the actual creation to pause, so we’ll skip ahead to the finished work! This is Attuned, 14x11x1.35", QuickCure Clay relief and acrylic on basswood panel, 2021.

Attuned by Shelby Prindaville, Whiterock Conservancy 2021 artist in residence.

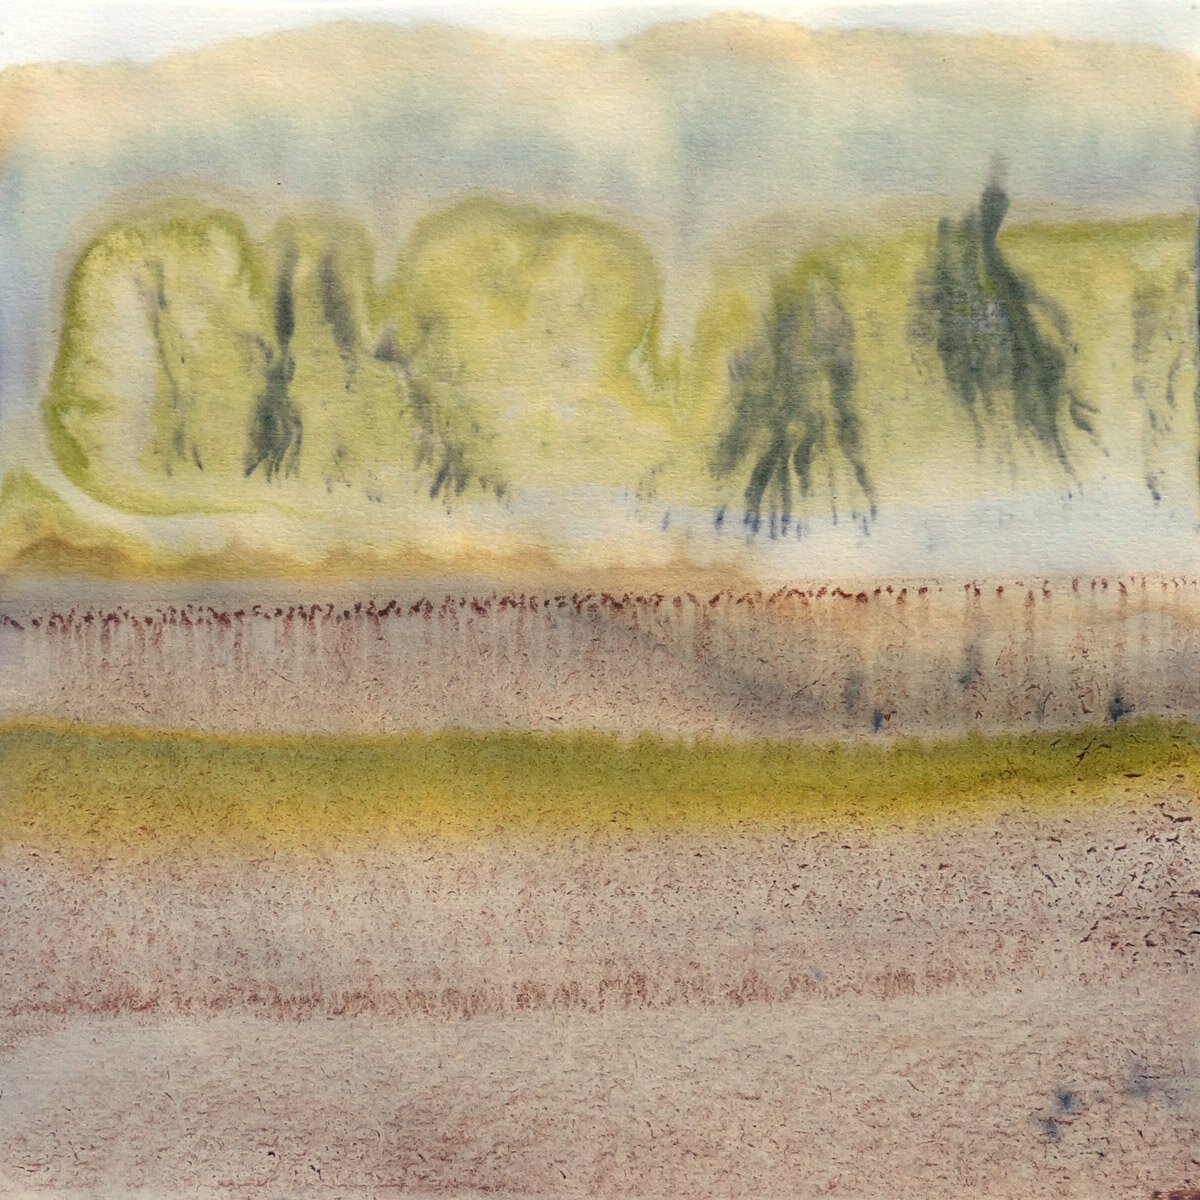
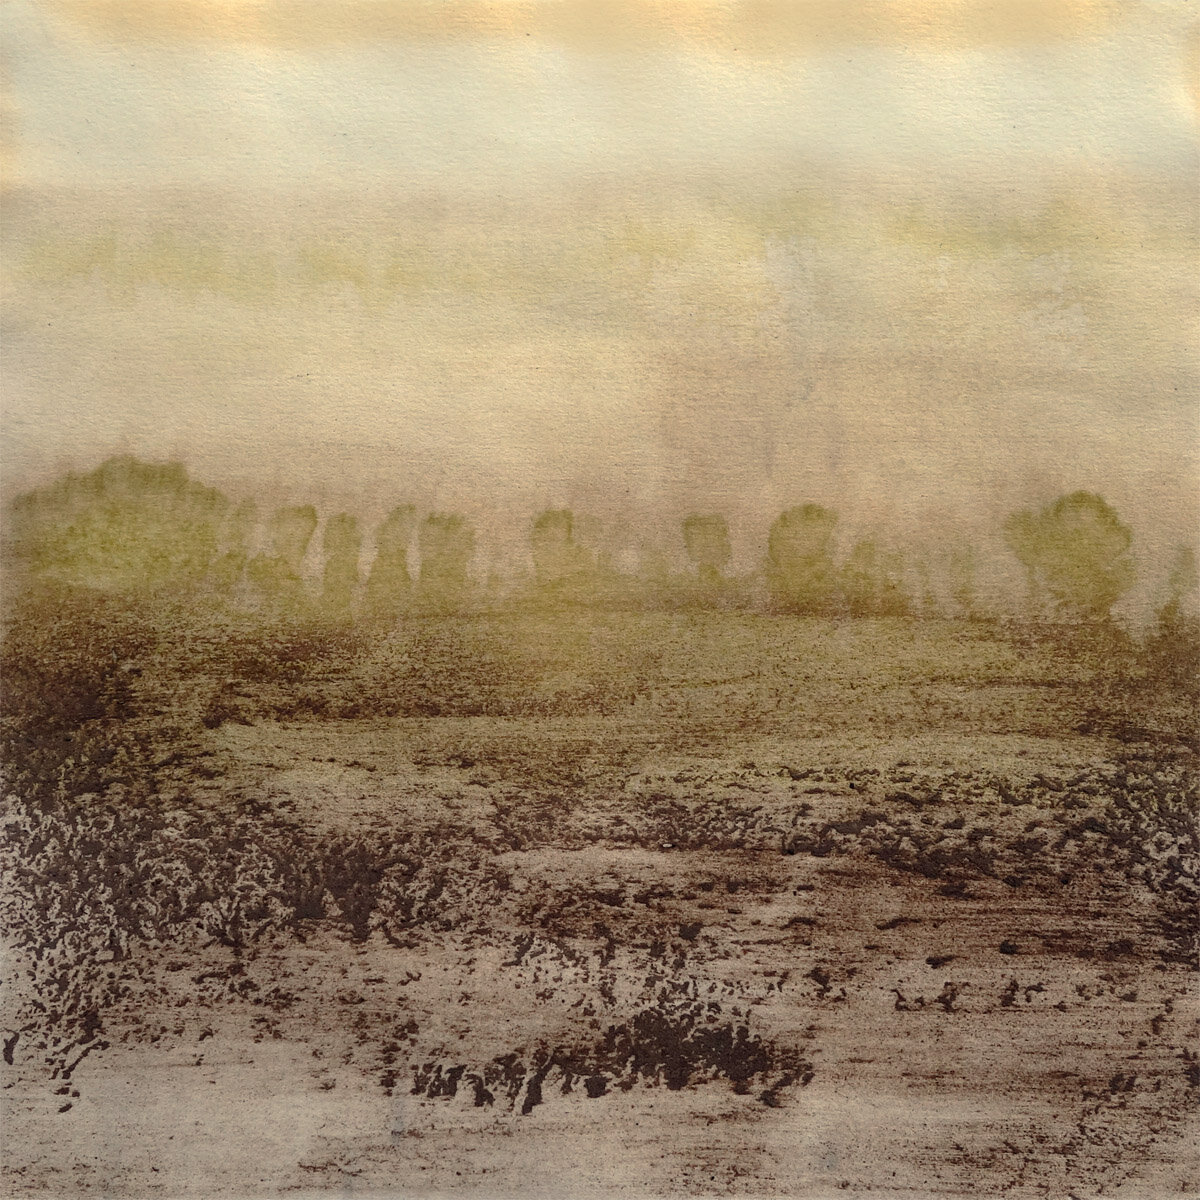
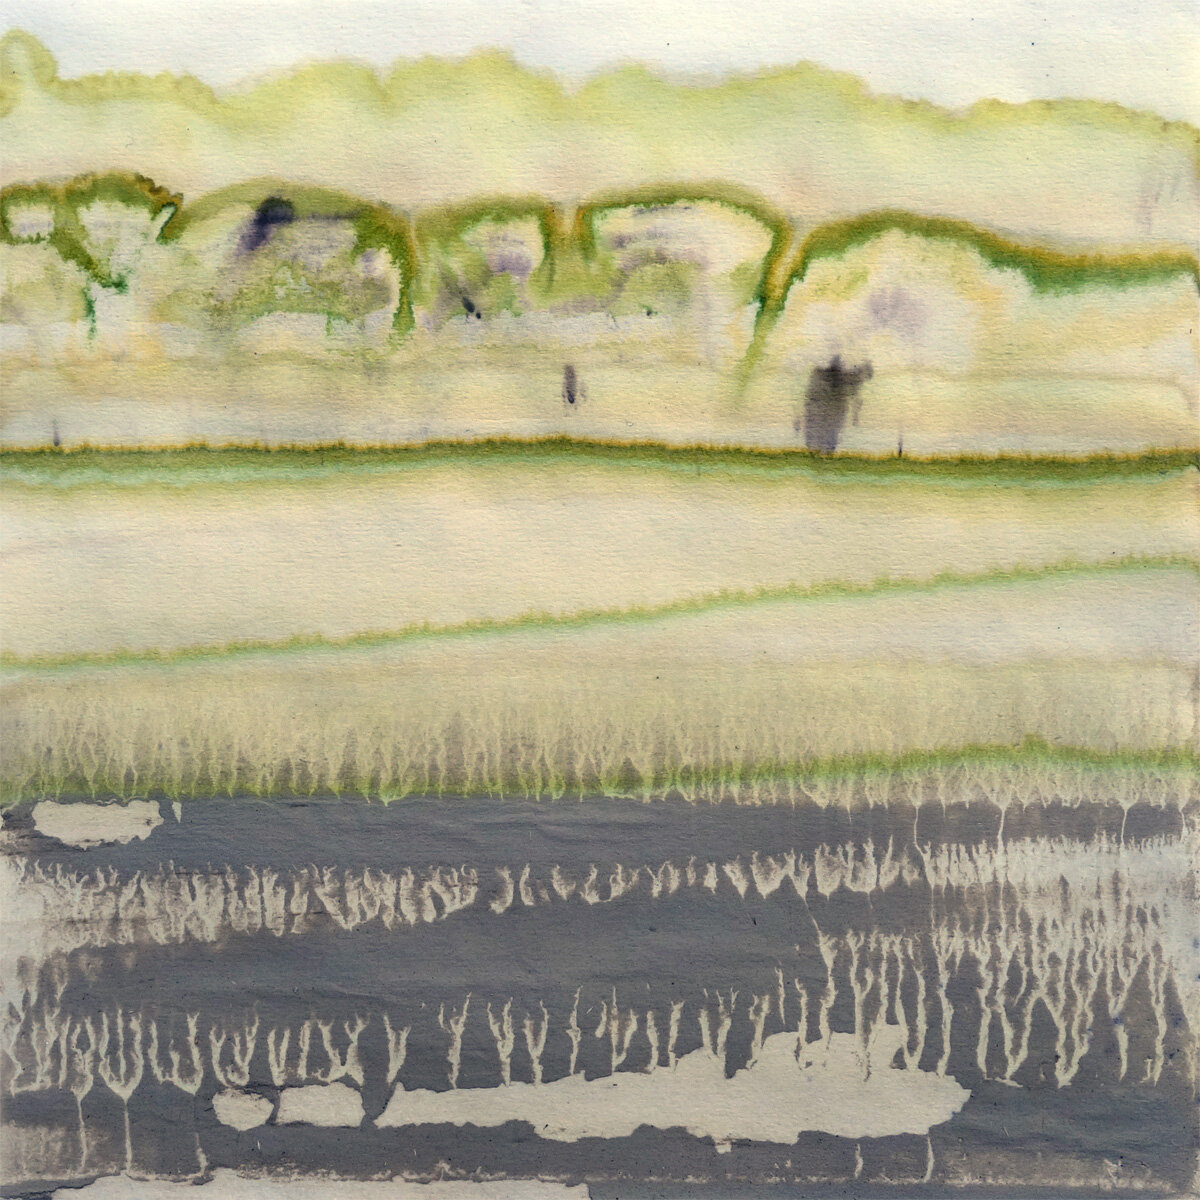
New Artwork: Whiterock Conservancy 8x8" Chromatograms

I and my friends gathered many natural materials while on my Whiterock Conservancy artist residency - plant, flower, fungus, bark, lichen, soil, water, rock, and mineral samples - which I then processed into a pigment solution and “printed” on filter paper through chromatography.

I’ve done a version of this before on my BROTA residency with the Buenos Aires Botanical Garden; that time, I used fairly standard scientific 4” rounds and only used one plant species per round for individual portraits that also captured differing seasons within the botanical garden. This time, I sized up to 8x8” squares, and additionally made a handful of larger 23x18” pieces; with these my chromatography features entire ecosystems. This post will display my new 8x8” pieces! The first photo is just a process pic, followed by 19 different chromatograms. (I donated three others to the conservancy, Liz Garst, and the groundskeeper Amanda who shared the tree frog with me.)

I’m really excited by this series and am interested to see how these pieces age in terms of pigmentation going fugitive; I have sealed them and hope they retain their coloration for many years to come, but their likely degradation over time certainly fits with themes in my broader bodies of work about ecological conservation and loss. My Buenos Aires pieces do appear to have lost a little saturation over the past two years, but they still display a good range of color. In that case, each round made use of only one plant species; in this case, since there are mineral and soil components as well, I have hopes that those sections will endure even longer than the plant pigmentation.

Whiterock Conservancy Journal 3

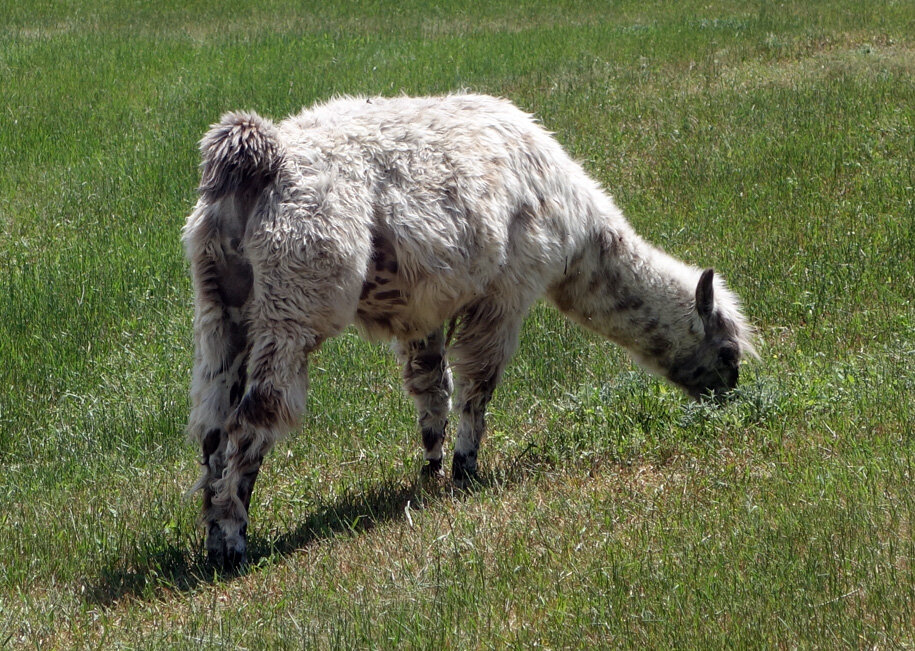
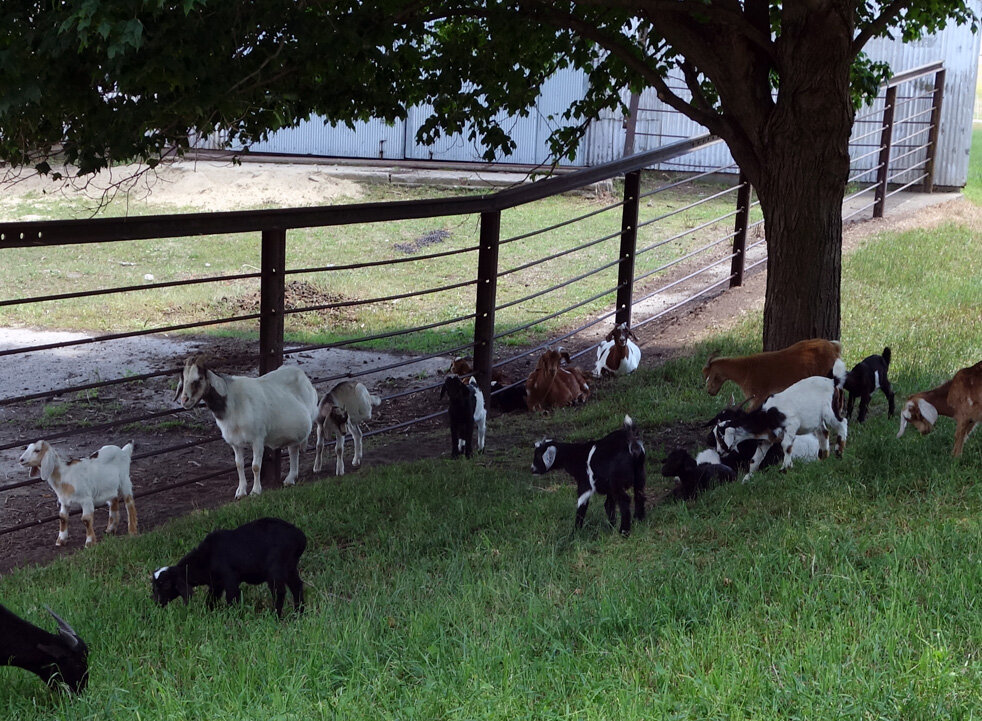
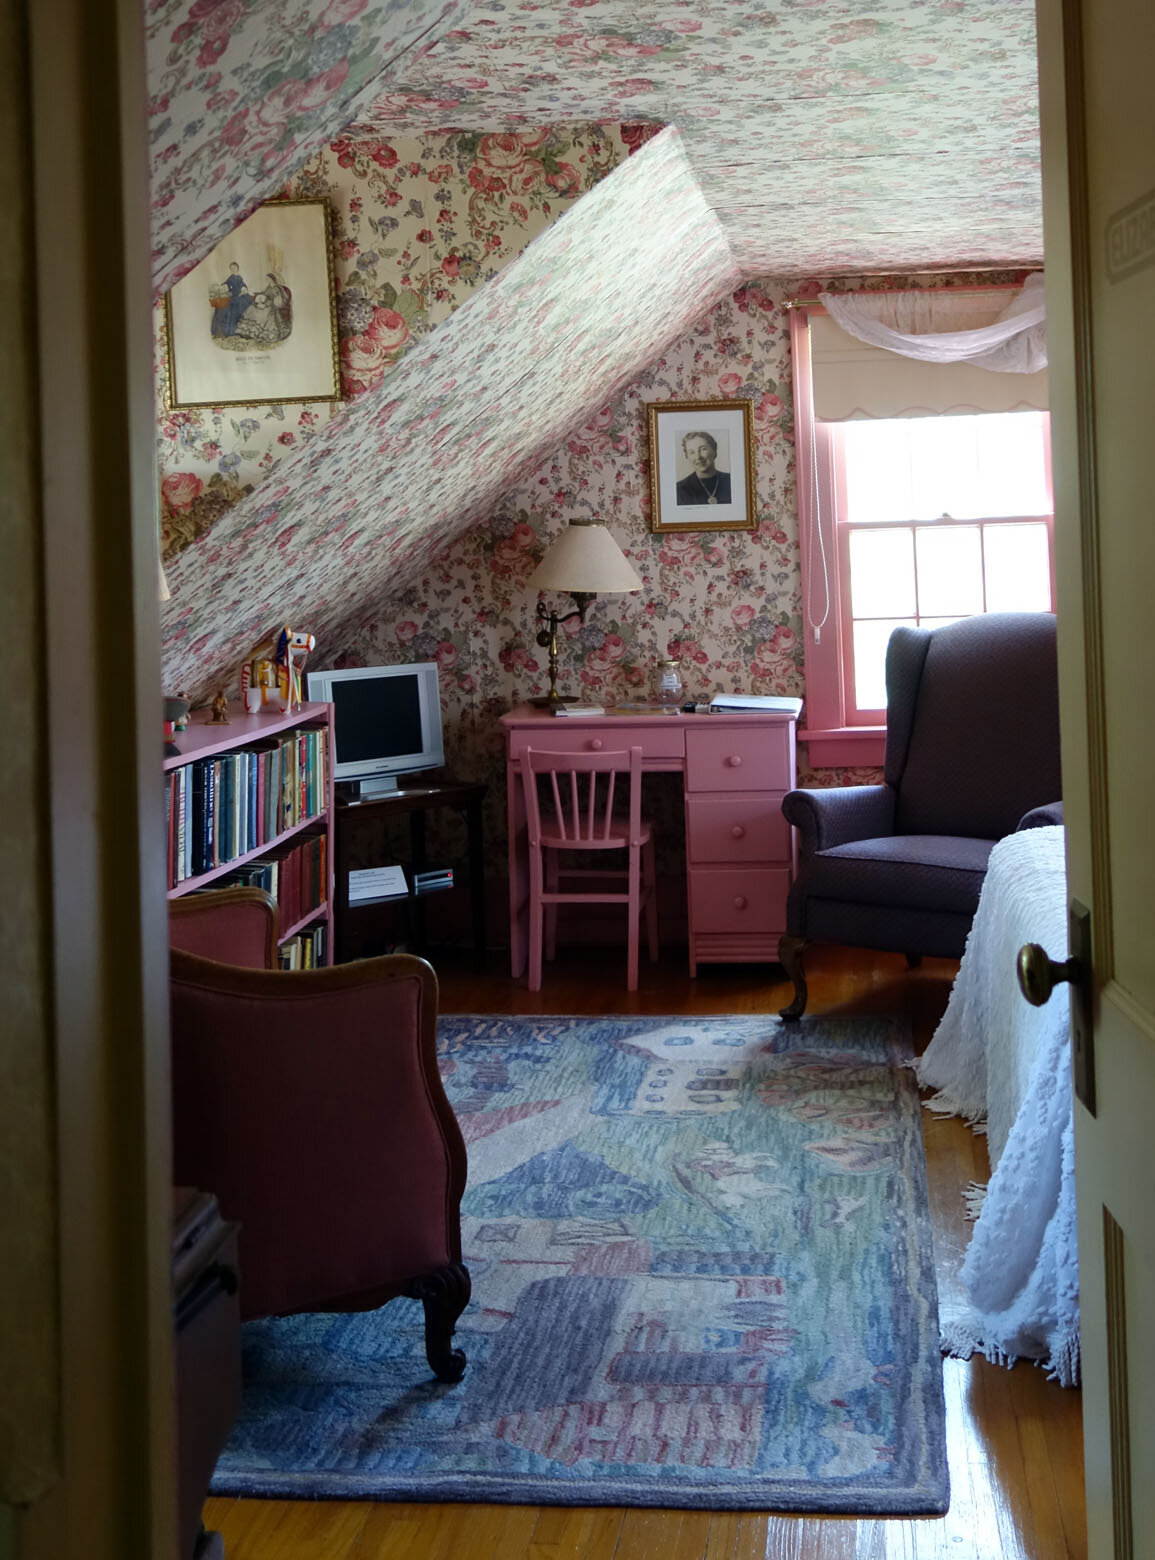
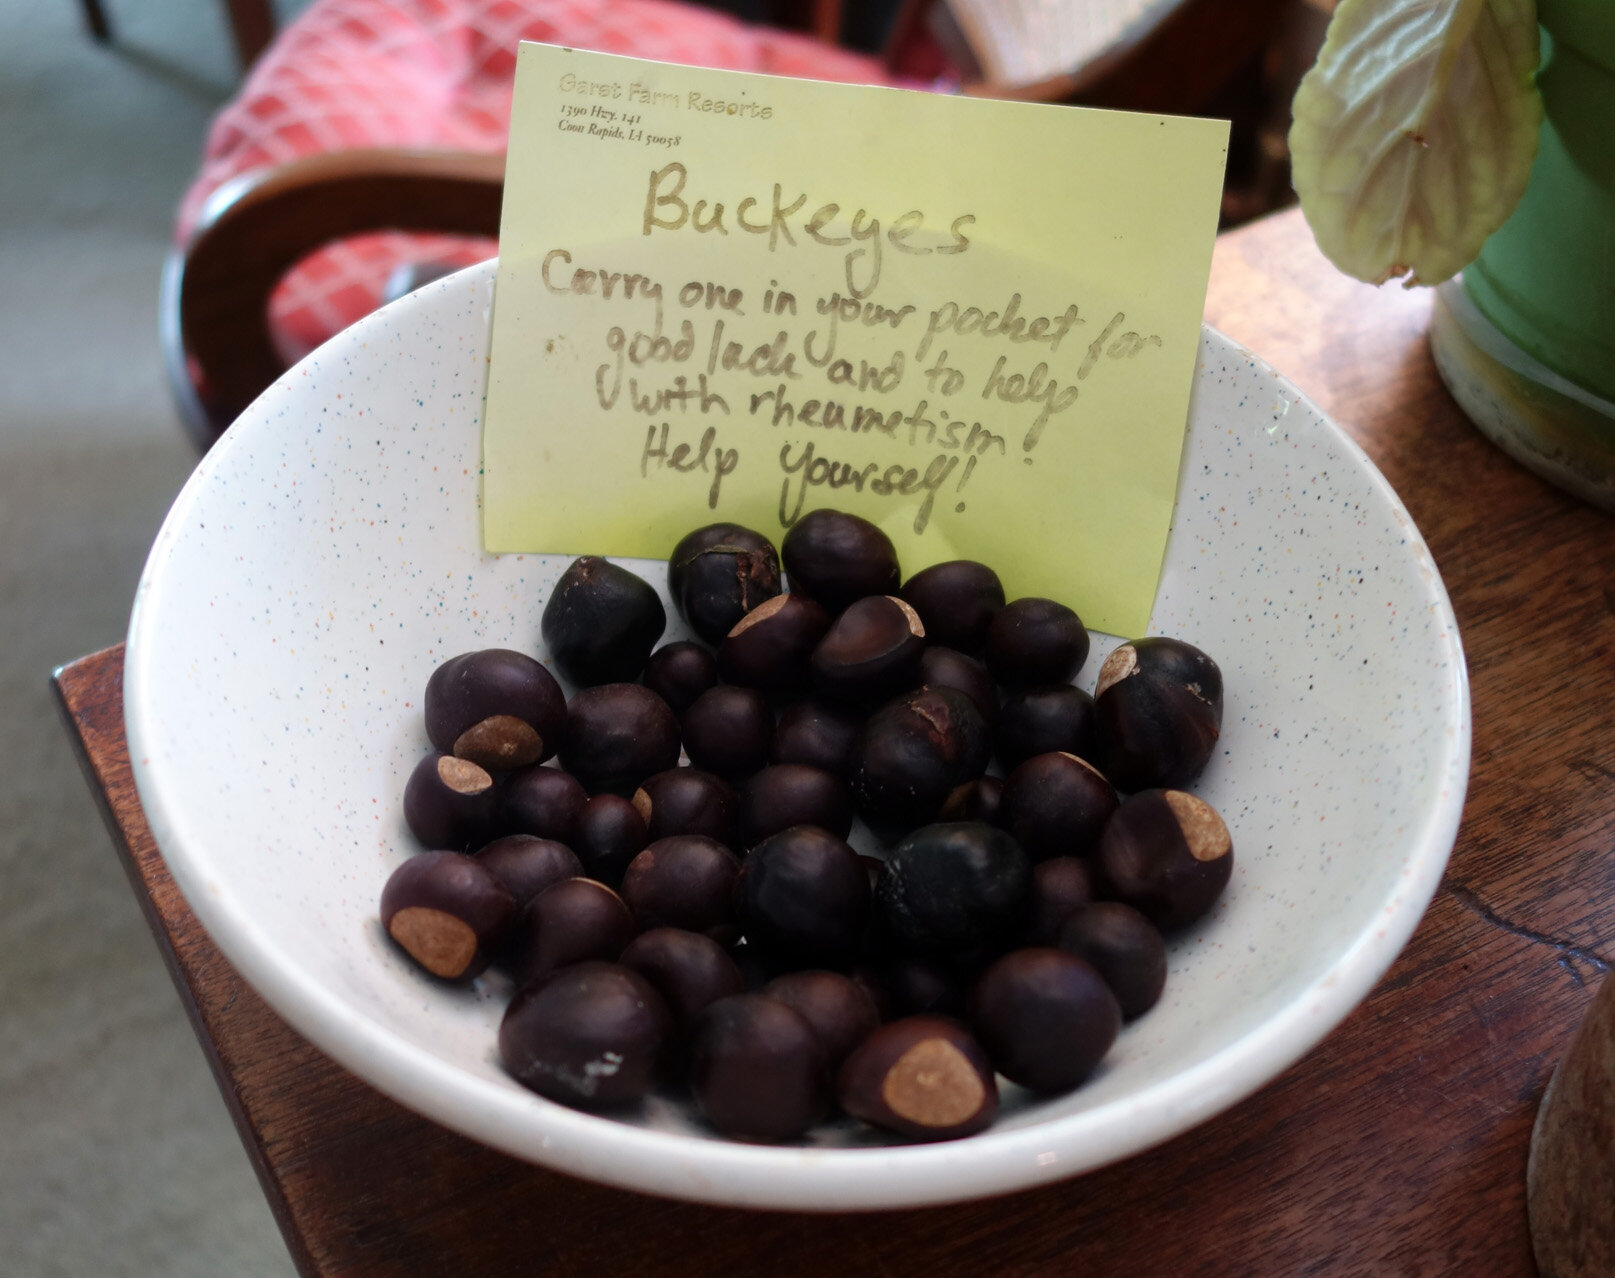
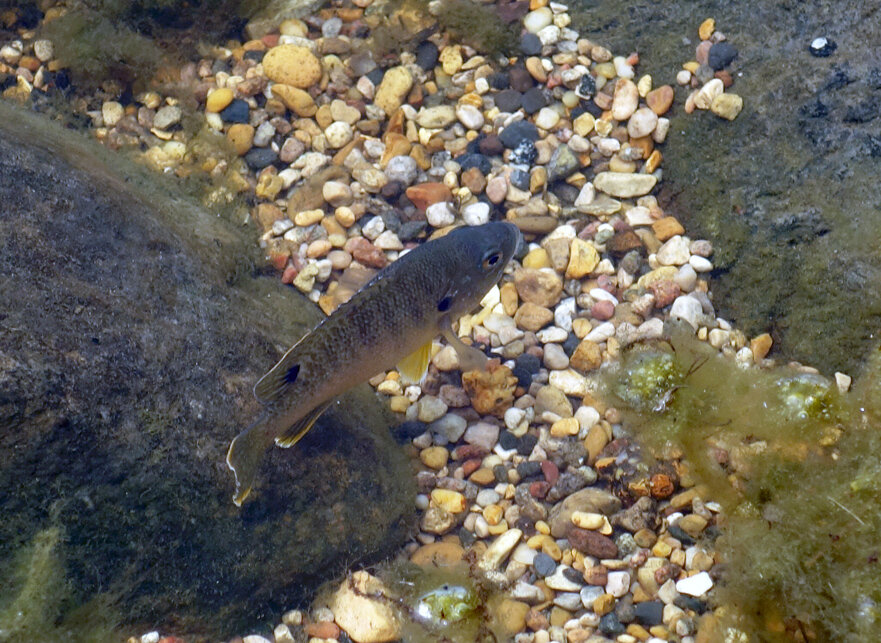
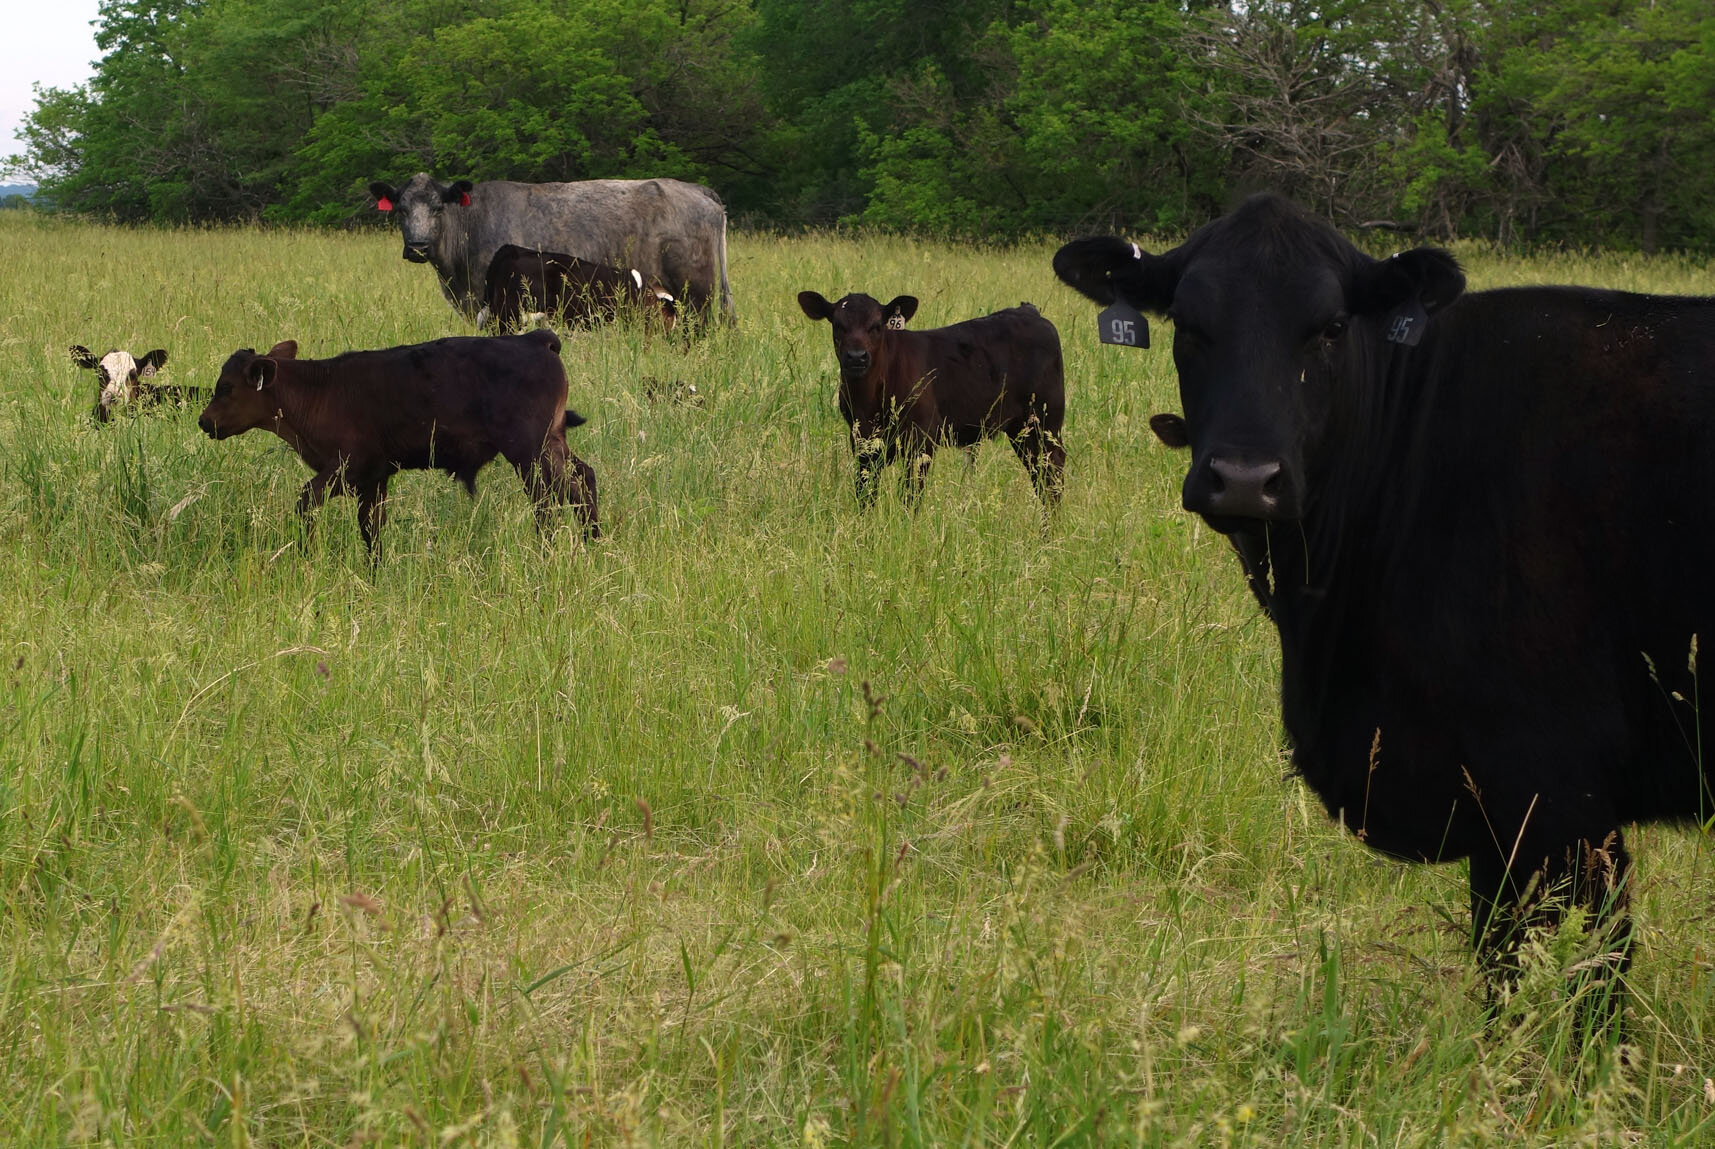
On the ninth day, we visited the farm again (and I took some photos of a few farm animals and the inside of the historic Garst Farmhouse!) because I wanted to wander around the large and relatively clear Garst Home Pond; I brought the underwater camera I purchased for scuba diving with me and hoped to take some cool fish photos! However, I didn’t think this plan through very well, as I wore my normal tick-prevention gear of long pants and sneakers (sprayed thoroughly with Off! Deep Woods repellent), so I didn’t want to wade in if I could help it. Luckily there were a few spots with large enough rocks at the edge where I could get on top of them and then submerge the camera to capture initially flighty but ultimately curious bluegill fish (Lepomis macrochirus)!

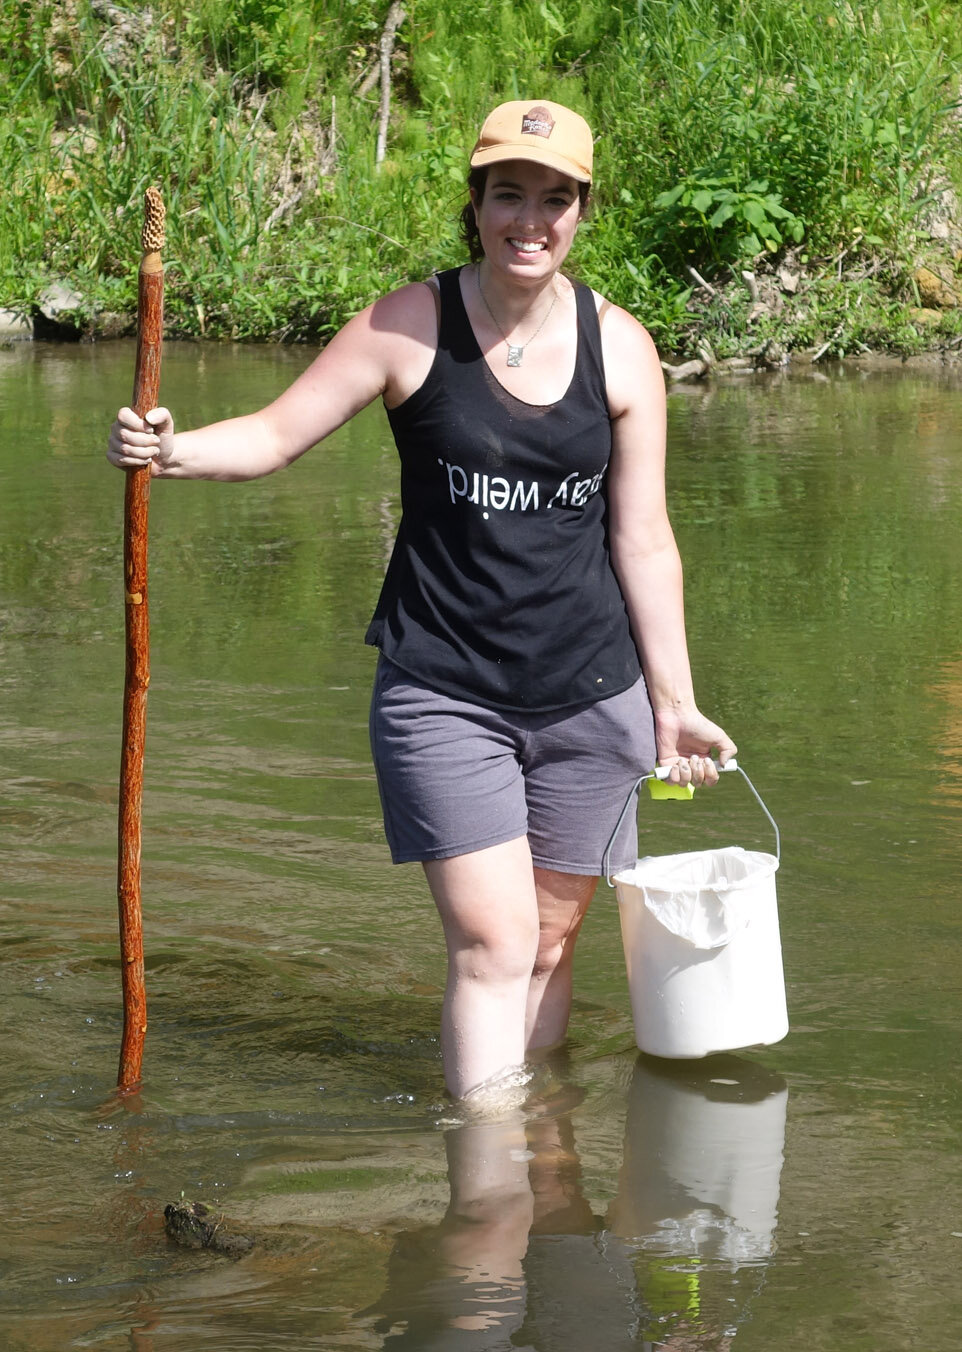
We then stopped off for a wardrobe change and I forded the river with the walking stick this time to harvest some more “blue” clay, which made the whole journey much easier! After this, my last two friends departed, and I was on my own for the rest of the residency.

I spent the whole of the tenth day working on the base drawing and then some of the sculptural elements for a mixed media frog relief.

On the eleventh day, I worked on artwork some more as well as investigated the town of Coon Rapids a bit more - I visited the antique store, the bakery/café, and the Mexican restaurant. I also stopped into Adel, IA, to check out Harvey’s Greenhouse as I’d been told they have multiple greenhouses, with one entire one being devoted to cacti and succulents. In the evening, Liz Garst stopped by and we chatted, I showed her my work thus far, and she tried to tell me of a site she thought I might try for red clay… but when my navigational ineptitude was making it clear I’d never be able to check it out based on her verbal instruction, she then took me on a short Gator ride to physically point to the location!

On the twelfth day, I worked on artwork some more.

The thirteenth day brought a thunderstorm! This was welcome in that the area desperately needs rain, but unwelcome in the sense that I had planned to try to go to the potential red clay site but couldn’t given the weather. I also couldn’t bike either! Instead, I continued to work on artwork and during a pause in the rain took a stroll down to the river beach.

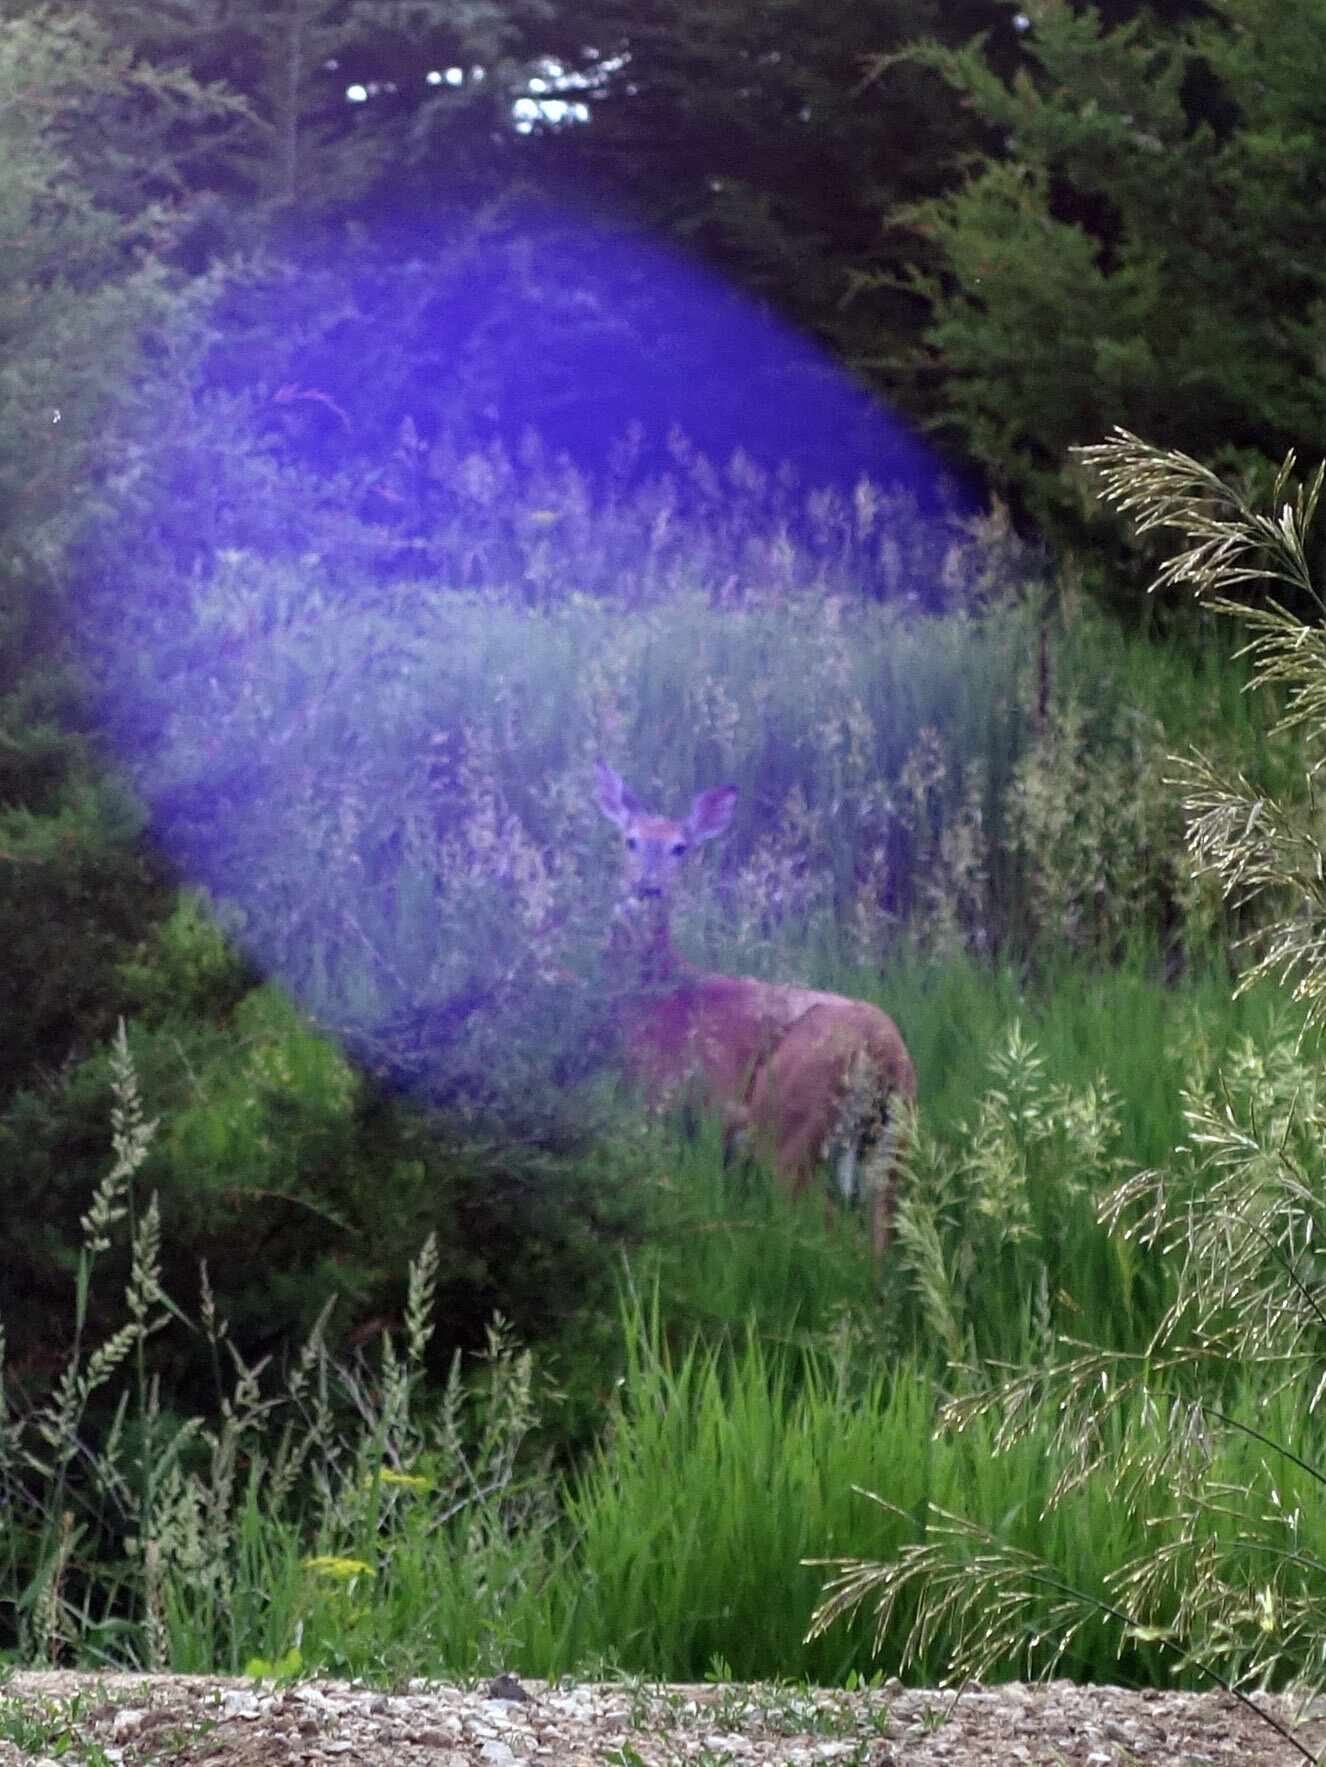
On my last full day, I adventured again! In the morning I took the Gator the same route Liz showed me to try out a different site for red clay; the way becomes impassable by UTV at a certain point, so I had to hike the rest of the way without a trail. This meant wading through grass that in some cases was taller than me, and the ground in some areas was still sodden from the rain! I made it though, only to find it was much the same as the other cliff my friends and I had tried. Ah, well; I gave it my best efforts this go-round and perhaps this unfinished business will call for a future residency here again at some point! I worked on artwork in the afternoon, as the daytime temperatures toward the end of this residency were in the mid-90’s, and in the evening, I biked the Steve Garst trail from the Visitor’s Center into Coon Rapids. Along the way, I passed by a pond that had wild river otter in it! I felt blessed, but also a bit frustrated; I was wearing shorts since I was biking and the very tall grasses, nettles, and other plants surrounding the pond made it impossible to photograph through well but were also not pleasant on the skin as I tried to get closer. I also had a height disadvantage! So the best photographic proof I have is pretty Nessie-level in quality, which also means I don’t have good artwork reference imagery, but it was a really cool experience nonetheless.

The following morning, I packed up all of my artwork and belongings, cleaned the place up, finished my entry in the Whiterock River House Journal (a physical guest book), and headed out in the early afternoon! The final photos in this slideshow are of the River House itself.

Whiterock Conservancy Journal 2

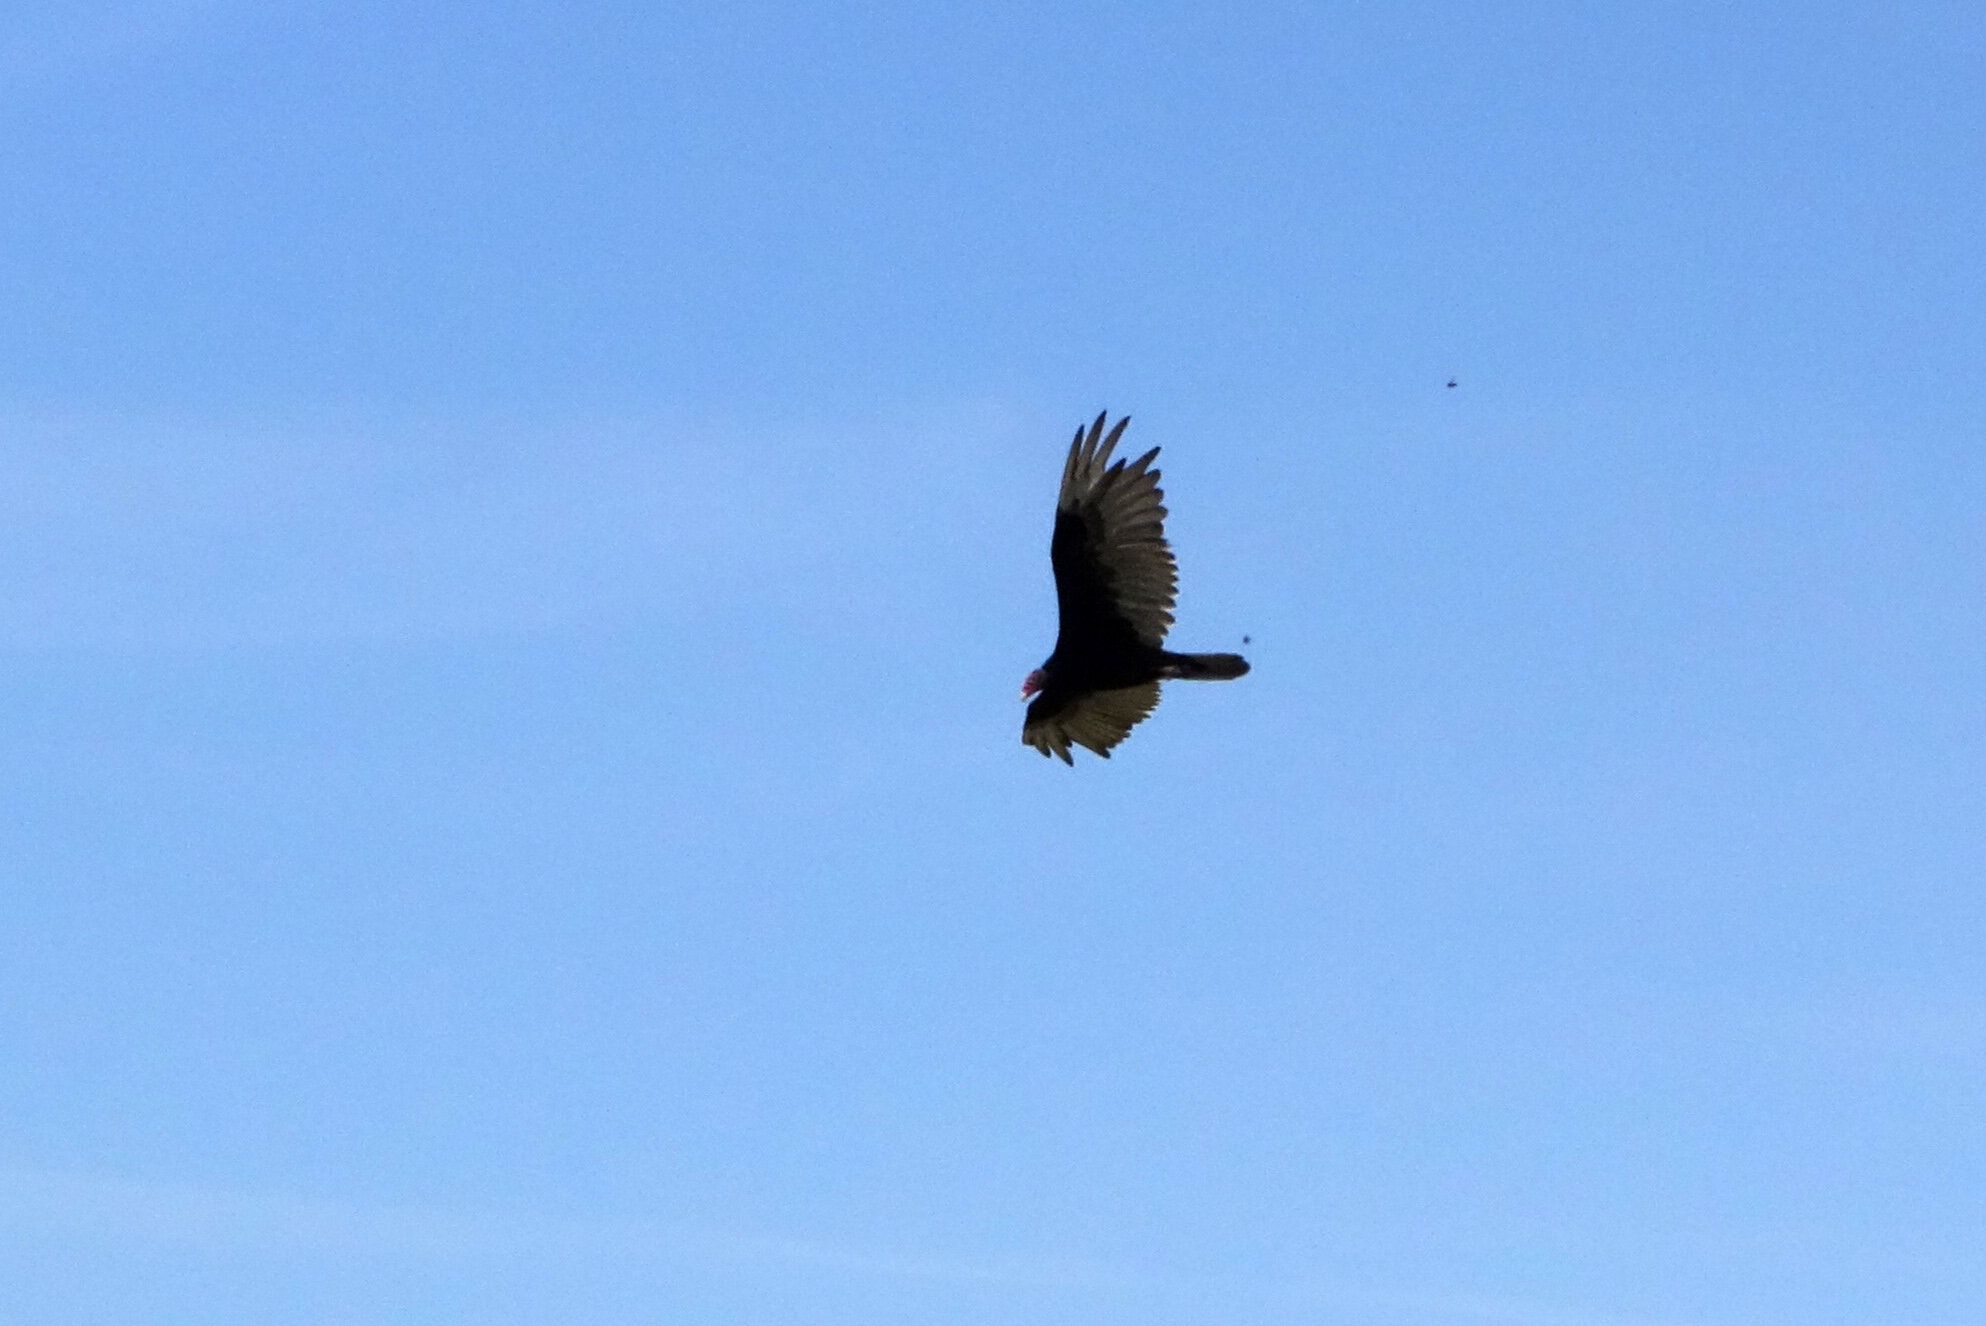
The fourth day of my residency at the Whiterock Conservancy involved taking the Gator UTV out to the Garst Farmhouse Historic District - a long trip! We saw a coyote for just a moment, and several turkey vultures. There was also a ridiculously friendly miniature donkey at the farm who I enjoyed making the acquaintance of. I didn’t take many photos on this day as I had discovered to my dismay the previous night when attempting to swap out and recharge my very low camera battery that I had somehow managed to overlook packing my charger and spare battery (which was charging in it). I’m still not sure how that happened; it’s one of the most important items to bring along and I’m usually so good at packing! I think it’s a combination of not having traveled much the past year along with a more procrastinated packing approach (admittedly in part due to the proximity of the residency).
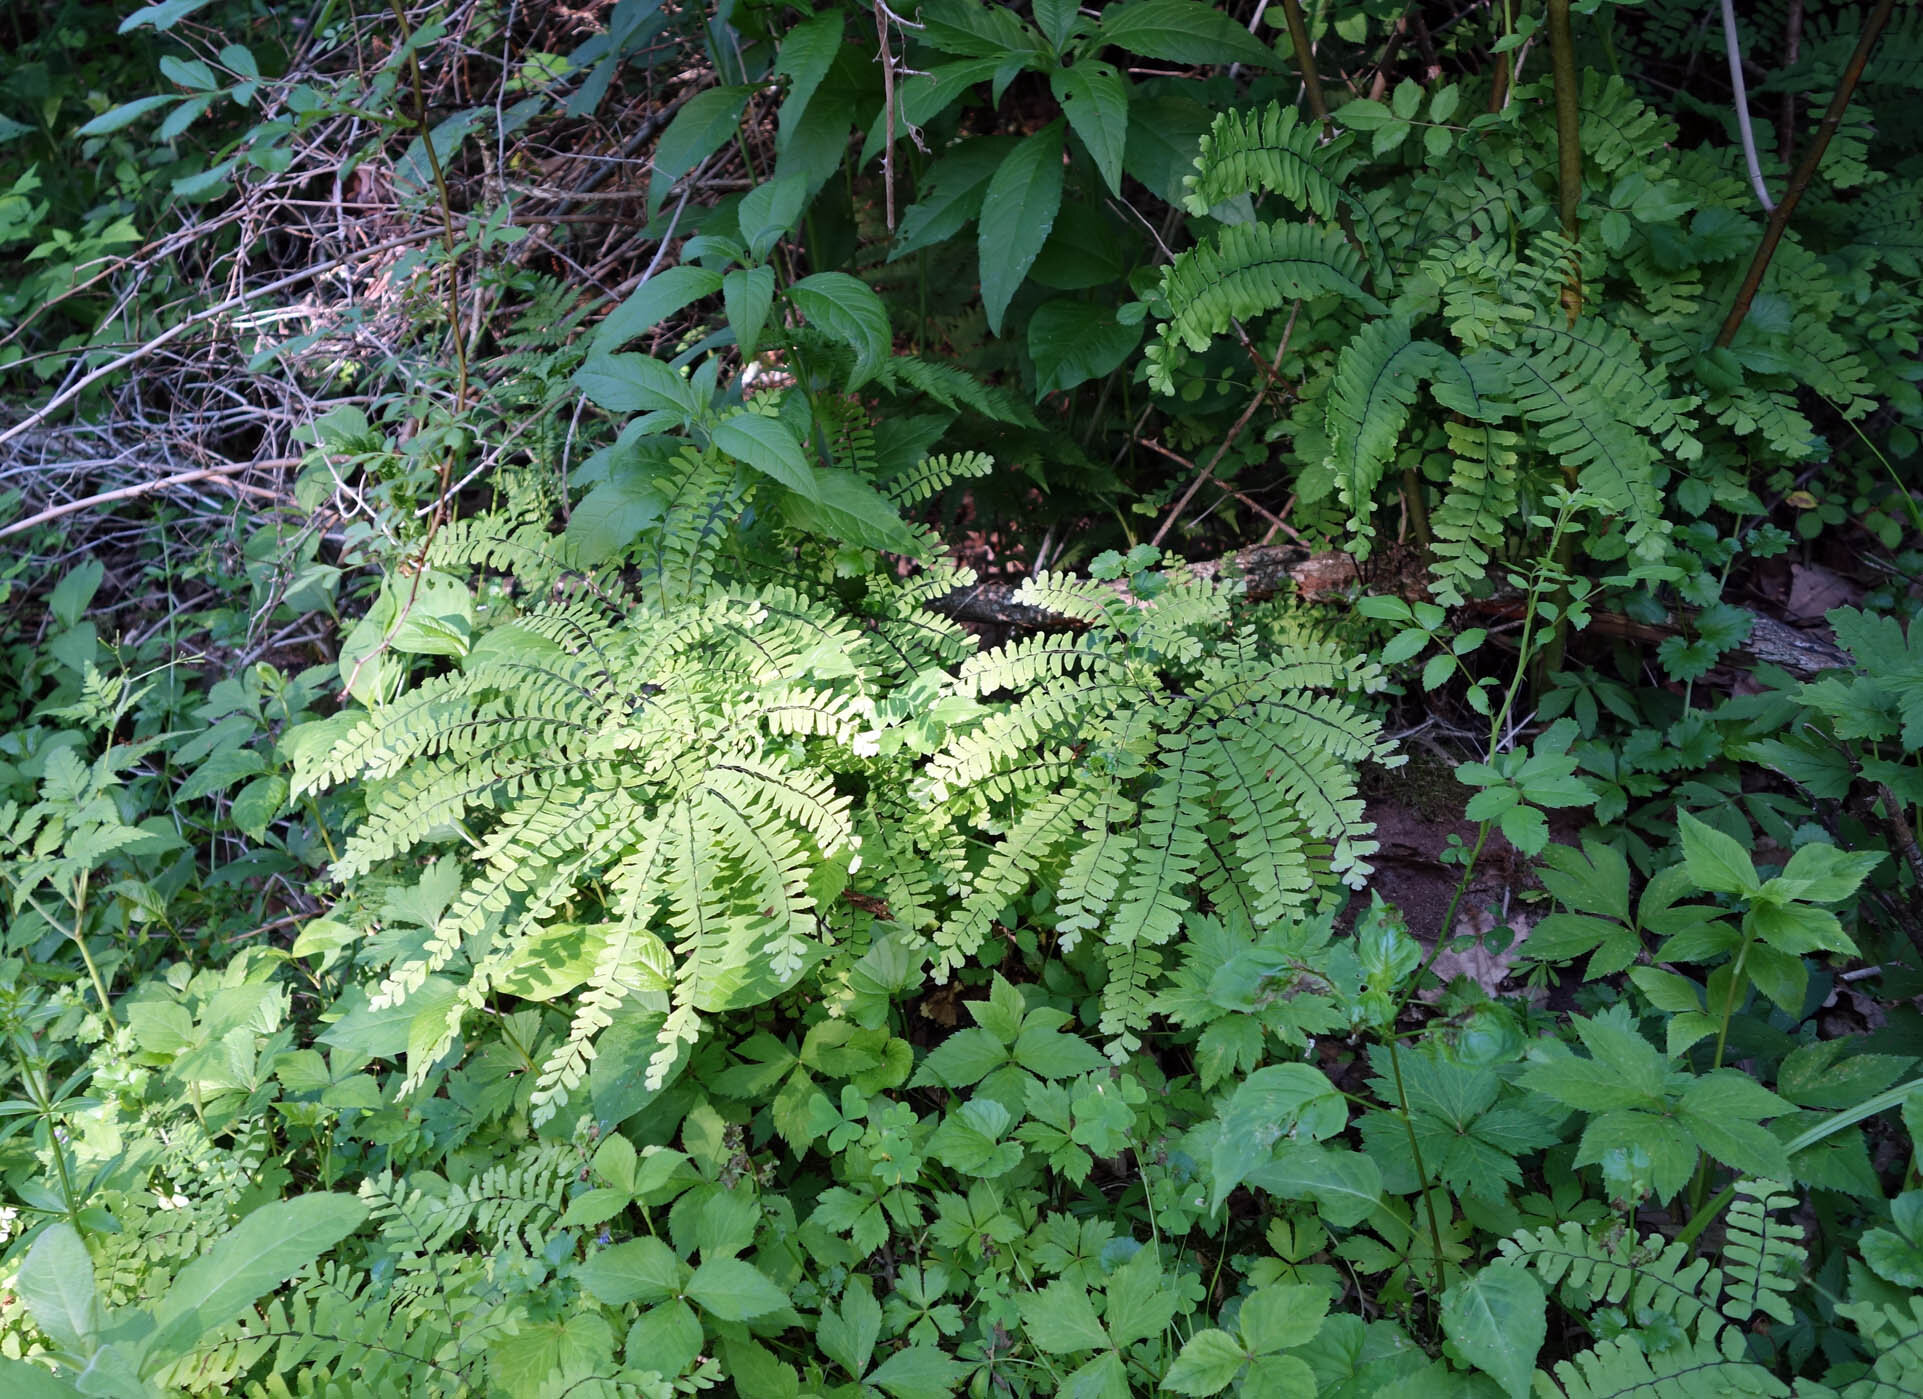
I was just beginning to resign myself to needing to drive a round-trip five hour journey to retrieve it when my friends all came together for me and managed to send the charger and spare on their way with a friend who was arriving to join our party that evening. After she got here with my fully charged spare and the charger itself, I was so relieved! We celebrated by going on a five-person evening hike of the Shooting Star Trail. It has a lot of beautiful ferns, and I found two absolutely tiny wild strawberries which I harvested for chromatography purposes.

The fifth day of our residency brought another two of my friends and their children! We set off as a group of eight on a hike of the Pond Hopper Trail with its abandoned log cabin, explored the beach again, and checked out the River House Barn.

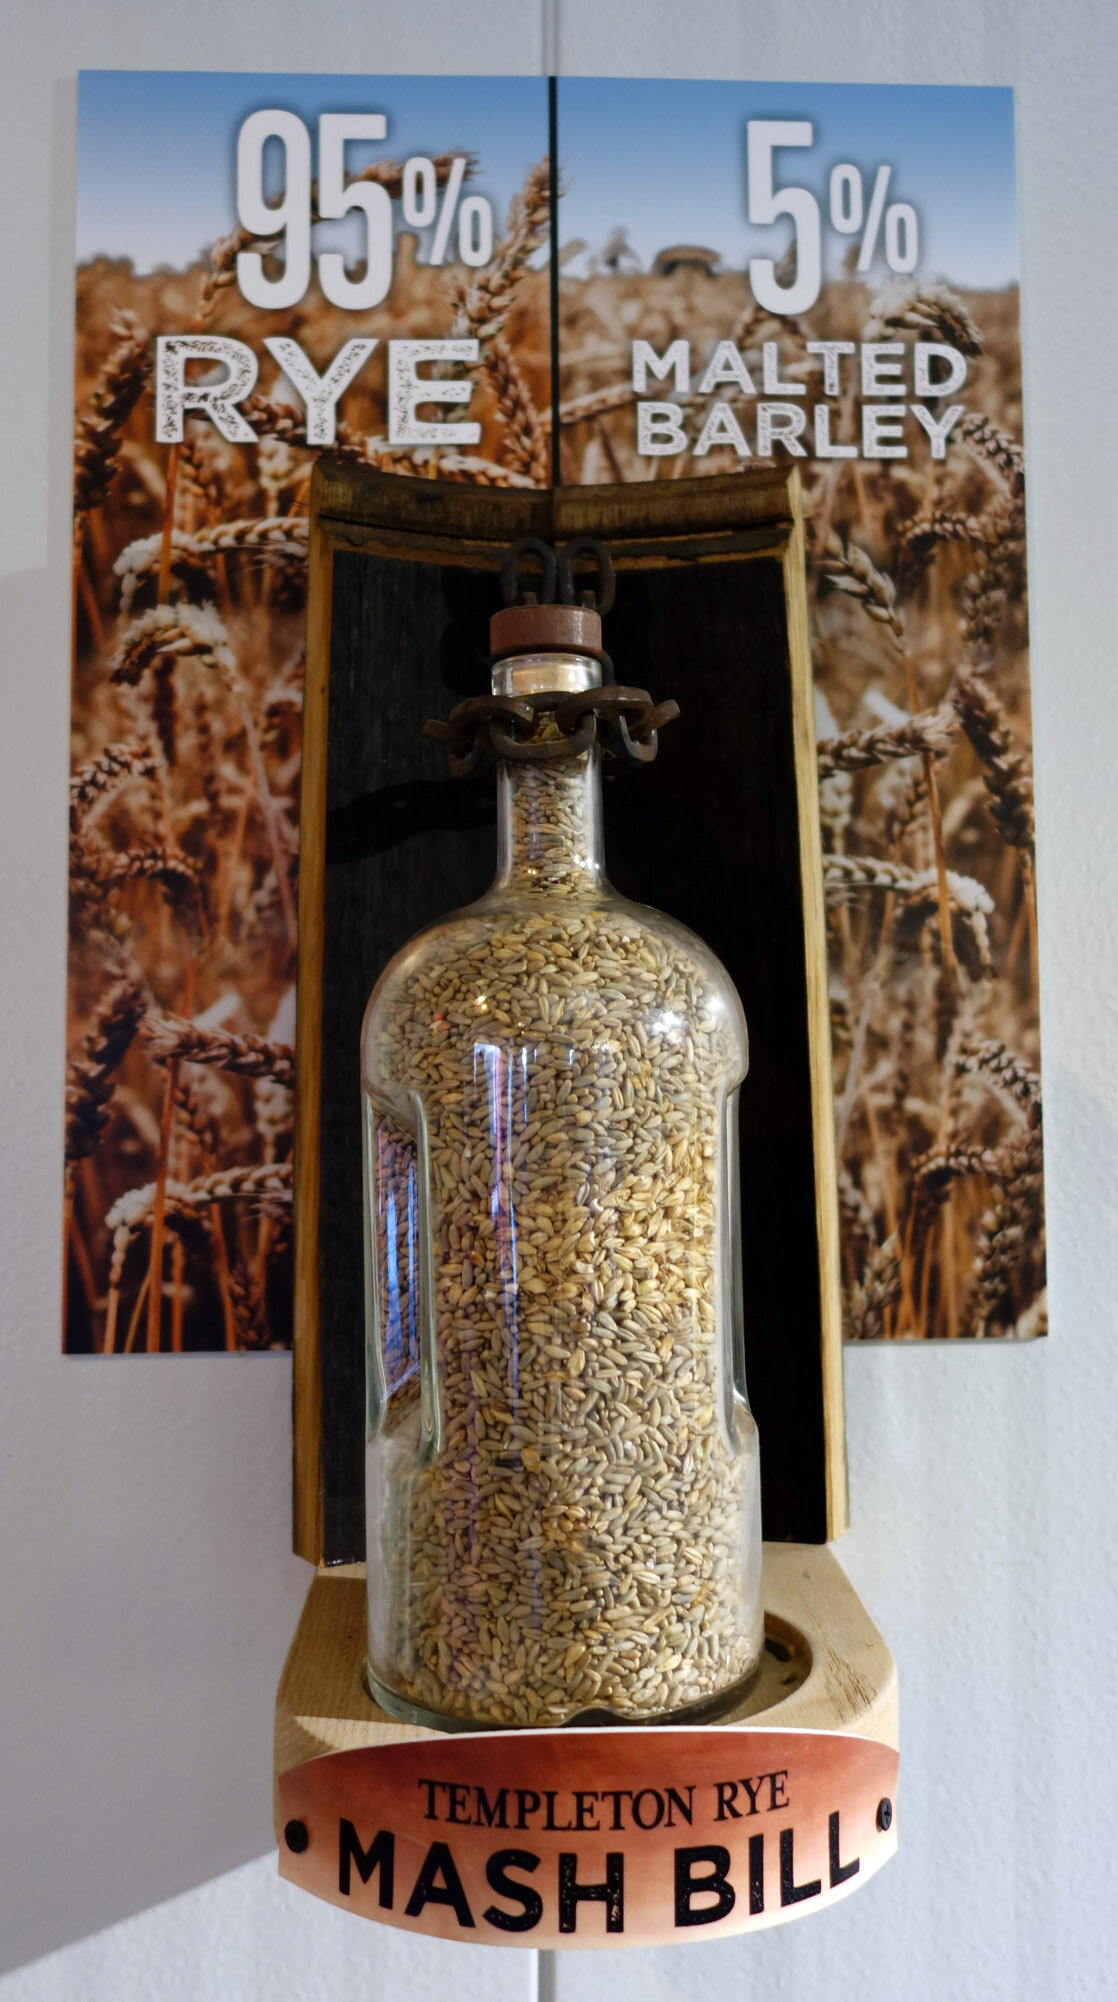
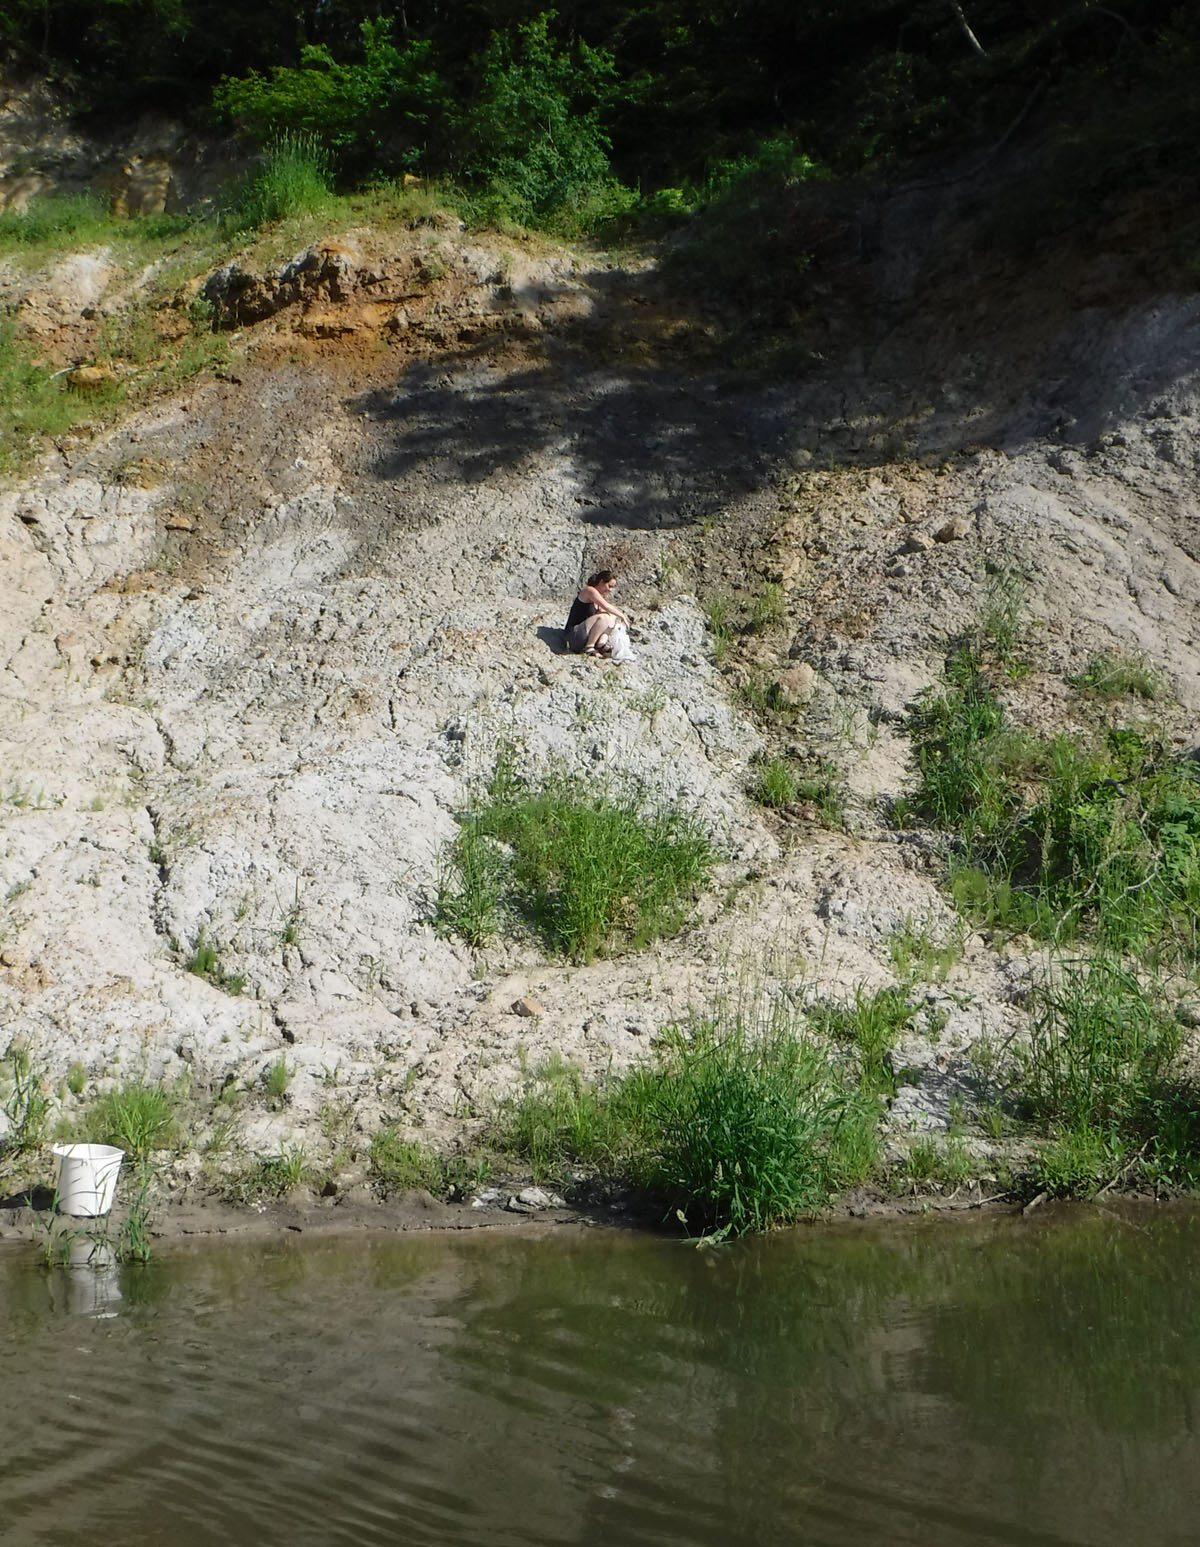
On the sixth day, the eight of us hiked the Riverside Trail and explored the 805 Cabin area. We then went on the Templeton Rye distillery tour in nearby Templeton, IA! In the late afternoon, we returned to the beach and I harvested some of the “blue” clay that is a part of the cliffside across the river while a couple of my friends played in the river and were nibbled upon by minnows. To get to the clay, I needed to cross the river, squelch through the very-eager-to-eat-shoes opposite bank, and then climb up a relatively steep cliffside before digging it out and trying not to gather too many rocks, roots, dirt, and other materials in the process. I didn’t get a ton of it - maybe six or seven pounds - as after the vein I was digging became exhausted, the others were all even higher and I thought they were too steep to tackle. Plus I was worried about trying to manage too heavy a weight on the return journey!

It was an even more precarious climb back down with the clay in hand, and crossing the river while laden also proved difficult! I resolved to go a second time and make use of the walking stick in the house to get some more from a bit higher up. The rest of the evening I cleaned most of the clay of rocks, pebbles, sandstone grit, and roots. One of my friends departed to start her own adventure hiking the Loess Hills for four days.

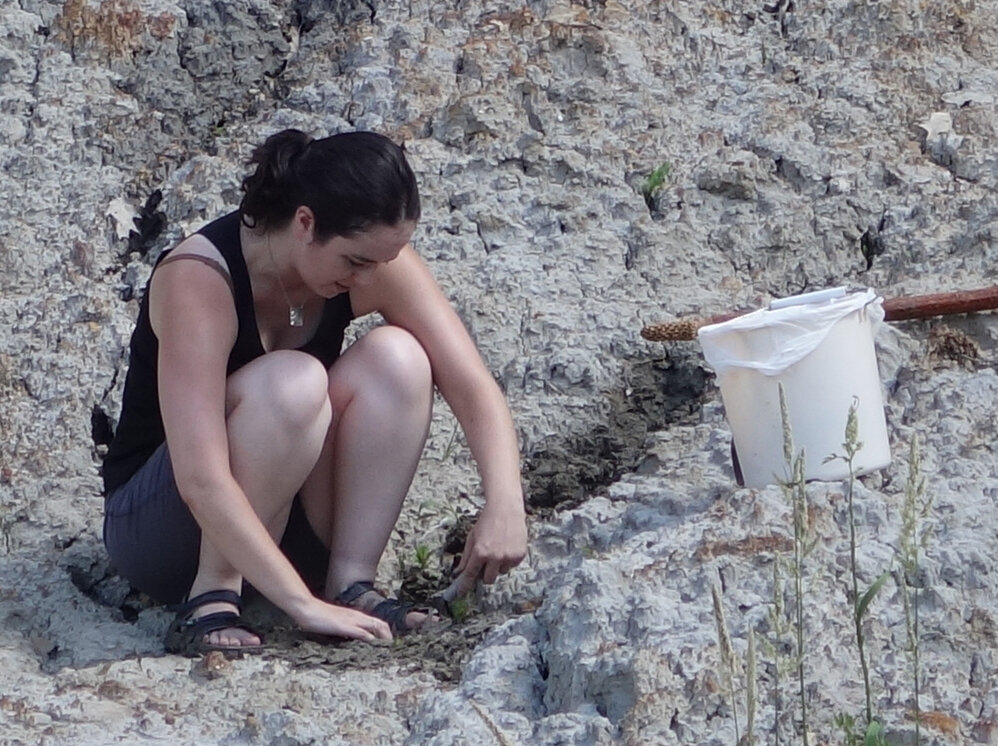
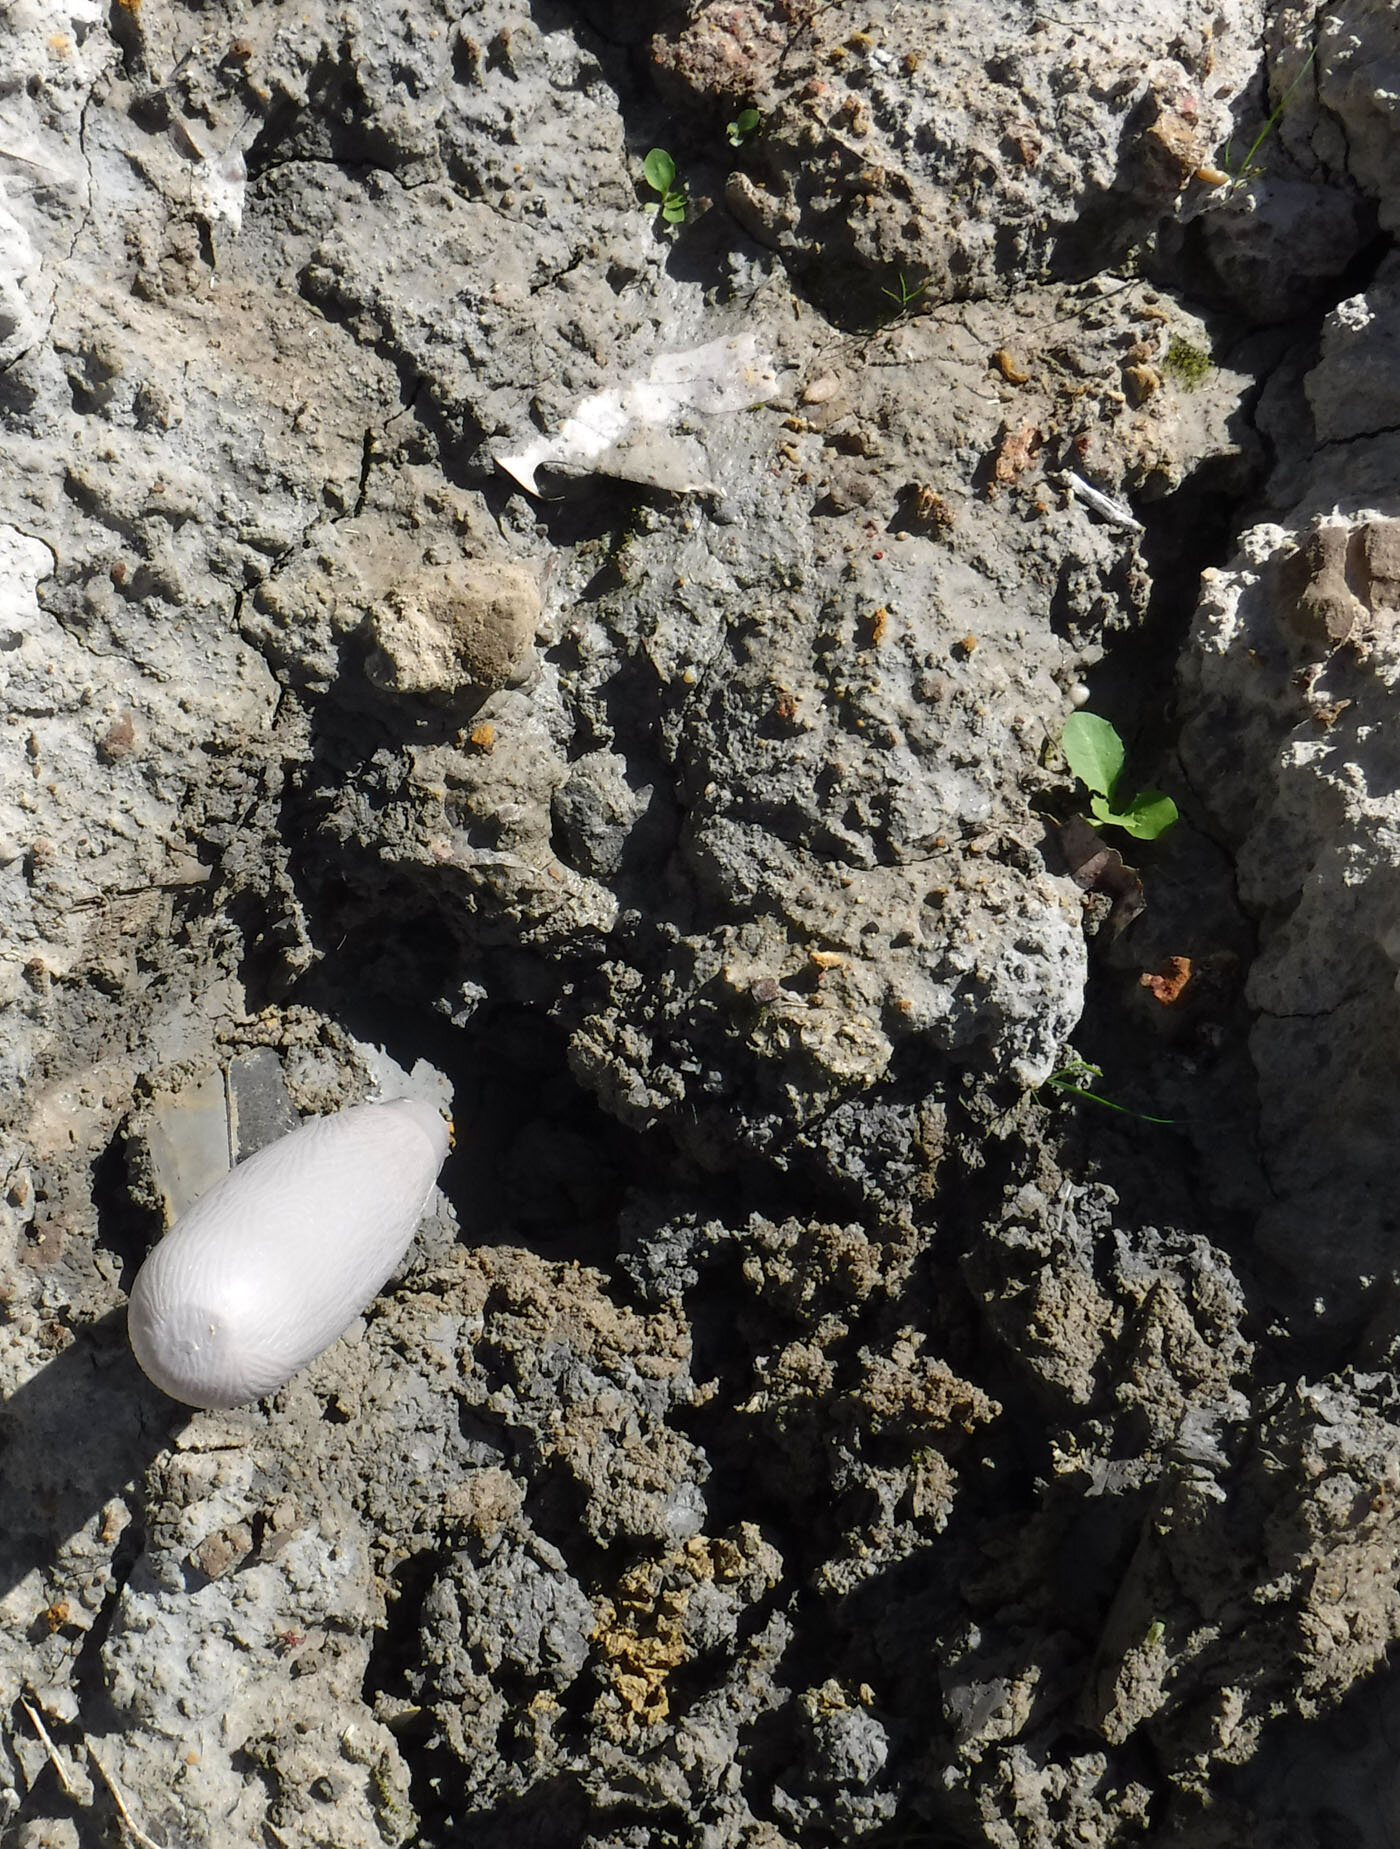
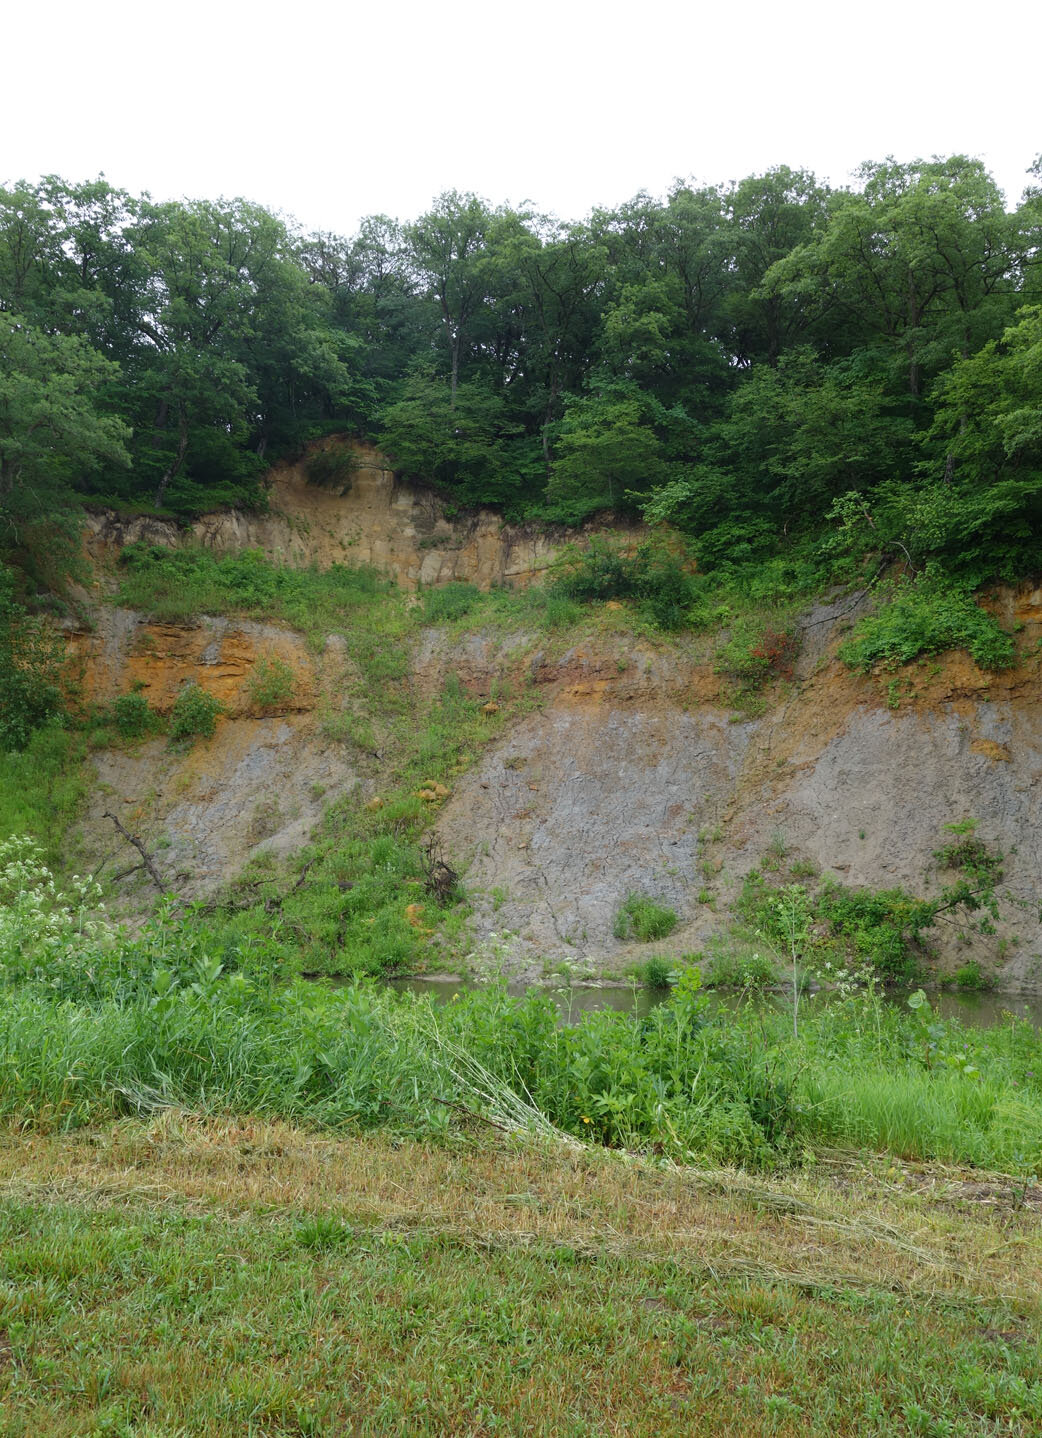
We took it pretty easy on the seventh day in the morning. I had been told that there was both “blue” and red clay in the land trust, but while I was told explicitly where the blue clay could be harvested, the red clay was just an aside. In the afternoon, we went on a Gator adventure to try to see if there was red clay harvestable in this other cliffside we’d seen on the way to the Garst Farmhouse. Unfortunately, when we got up close and started poking, it was all sandstone and solid rock; we managed to harvest about a teaspoon of red clay from one tiny little pocket! Later on I asked the groundskeeper who told me about the red clay where it was located, and he tried and failed to find it as well. He said it’s only harvestable in particular seasons/weather events and it’s just not possible right now.

Late that afternoon my two friends with their children also went back home, so it was just me and my two remaining friends who had arrived at night on the second day. We went on an evening Gator trip to see the final stretch of double track trail that we hadn’t yet explored on the other side of the bridge near the Garst Farmhouse, and were rewarded with a swooping show by a flock of swallows (which was nigh unphotographable due to their speed and size).

On the eighth day, we visited Des Moines as none of the three of us had been there before!

Whiterock Conservancy Journal 1

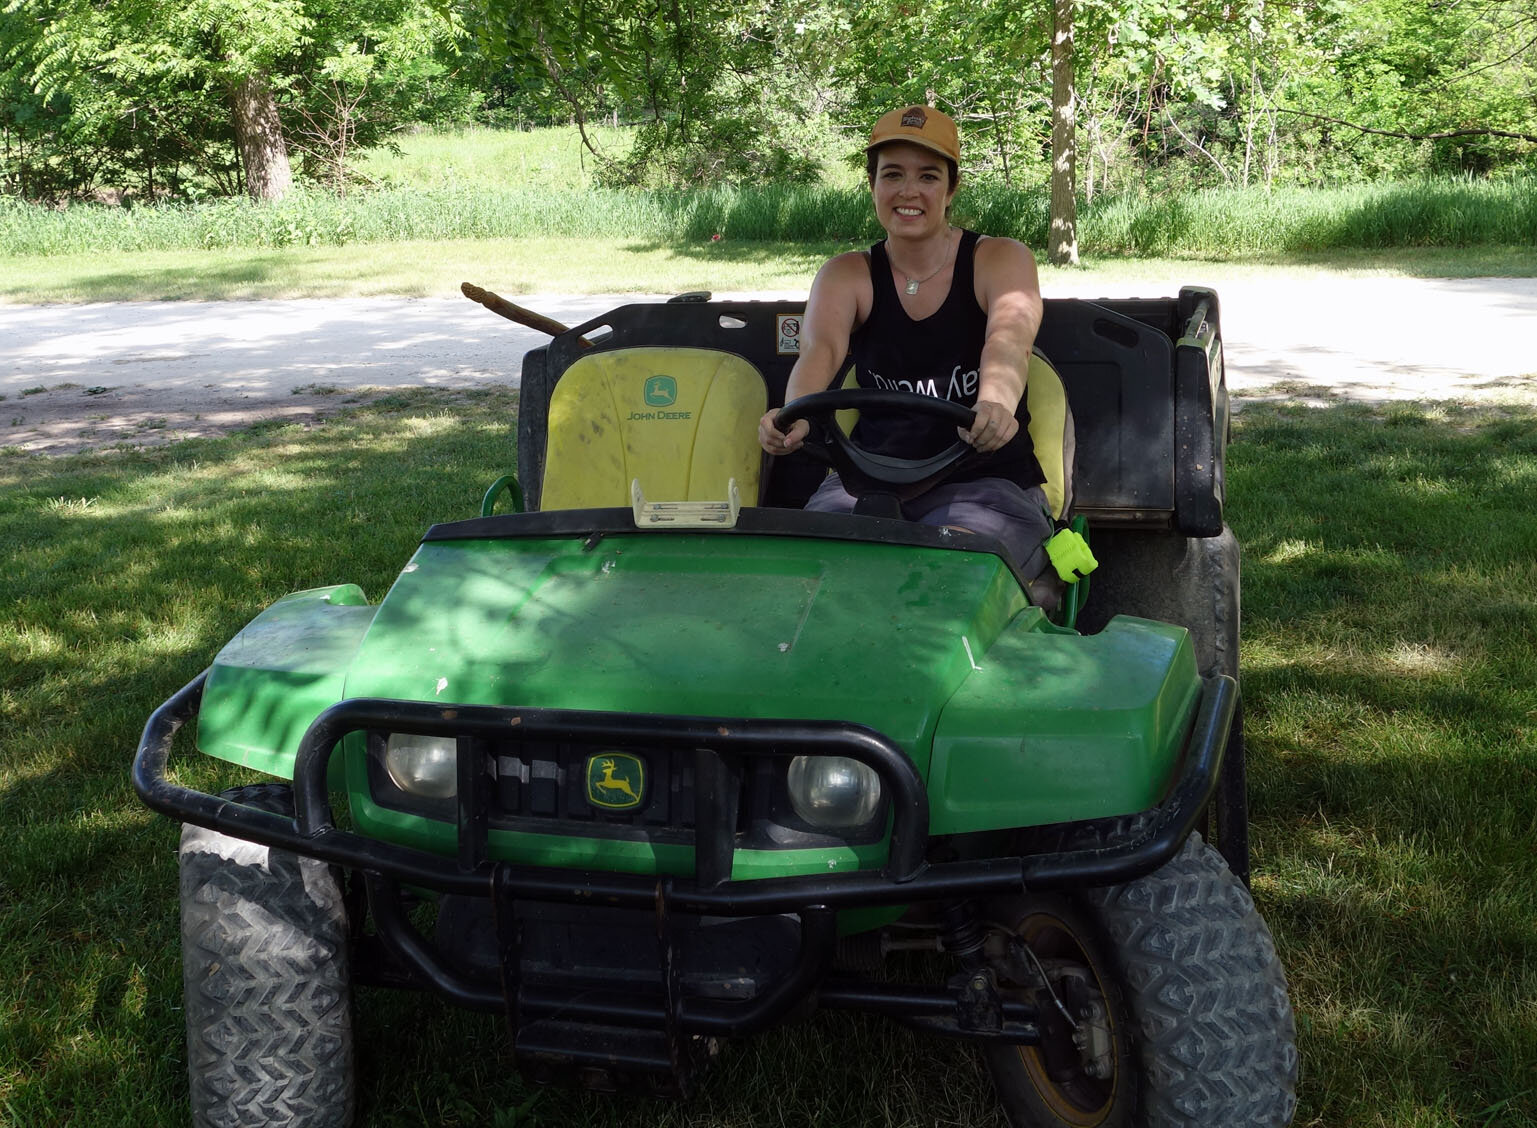
On my first day here, I unloaded my car which I had packed with art supplies, groceries, my bicycle, and a small suitcase. I’m staying at the River House, which is a very nice three-story house filled with art and books. I then headed over to Liz Garst’s house - she is the founder of the Whiterock Conservancy - and spoke with her and a couple members of her family for a while before heading back to the River House and testing out the Gator UTV.

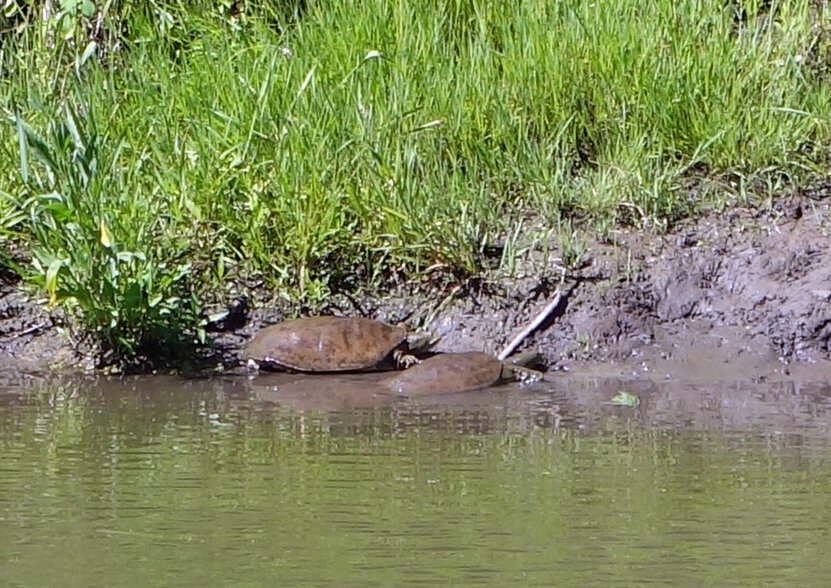
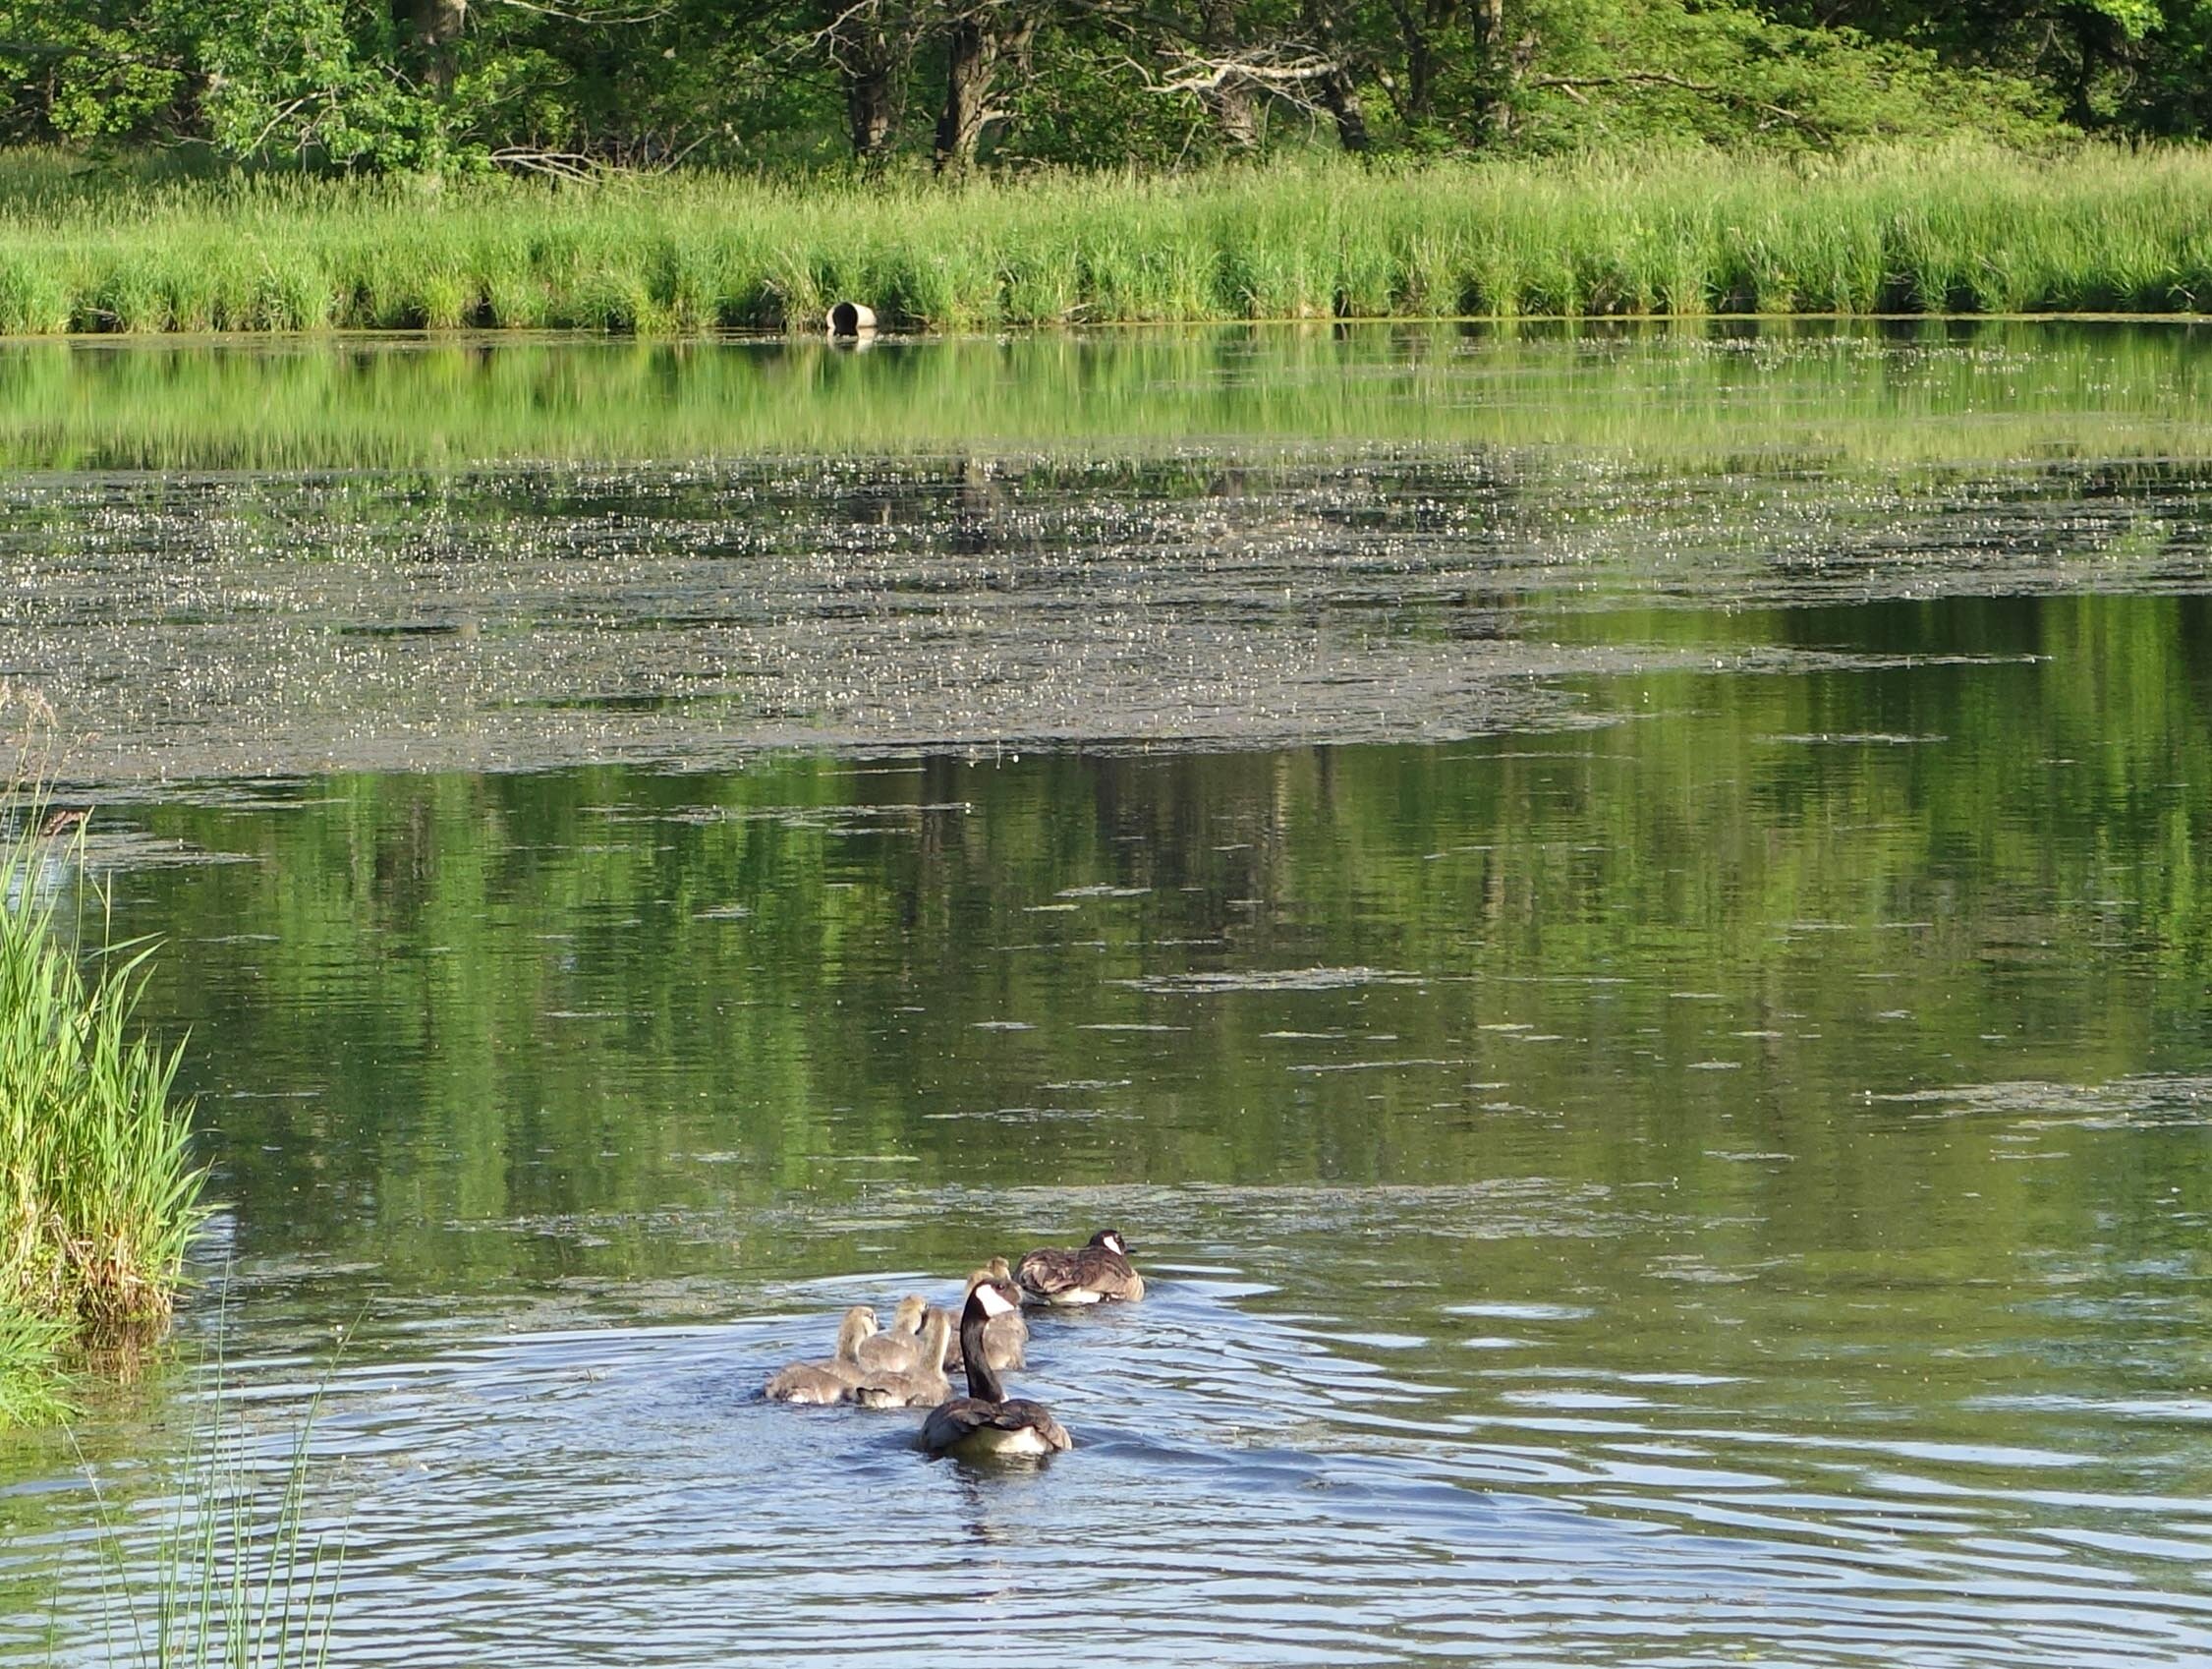
The second day I met two of the groundskeepers here, and one - Amanda - took me on a small tour of the prairie loop, the abandoned log cabin and turtle pond loops, and discussed with me some ideas on good pigmentation and animal sighting opportunities. I shared with her that I have had a deep desire to see a wild tree frog for the past few months, and she replied that she sees them occasionally and will keep an eye out. I also rode my bicycle on the main trail loop that goes down through the campground and out past the turtle ponds, and met a couple of very nice women camping on the way! I spotted a number of turtles from afar as well as some frogs, geese, and dragonflies. I also harvested some plants and soil samples with the intent of doing some new chromatography artwork. In the evening, two of my friends joined me as my guests for about a week of my two-week residency!

On the third day, my friends and I ate breakfast together and then took the Gator UTV out for a spin, and I taught one of them how to use it. Then I biked the turtle pond section while they Gatored it, and we met at the top of the hill and hiked the Bluebell Trail together. It took us about 4 hours to get back to the UTV, but that was at a very leisurely pace and we collected a lot of chromatography material along the route! On the way back home, I passed Amanda and stopped to say hello; she remarked that she had seen a tree frog as well as a toad about five minutes previously near a tree and pointed it out. I hopped off my bike and went to search the radius, and I miraculously found the tree frog! He even held really still on the branch he was on while I took him out of the brush and permitted a decent amount of photos before he got froggy on me. That evening we were all invited to cocktails at Liz’s house where she shared more about Whiterock’s mission of conservation and sustainable agriculture as well as her family history - including a visit from Soviet Union premier Nikita Khrushchev during the Cold War to learn about hybrid corn from her grandfather!

Artist Residency at the Whiterock Conservancy!

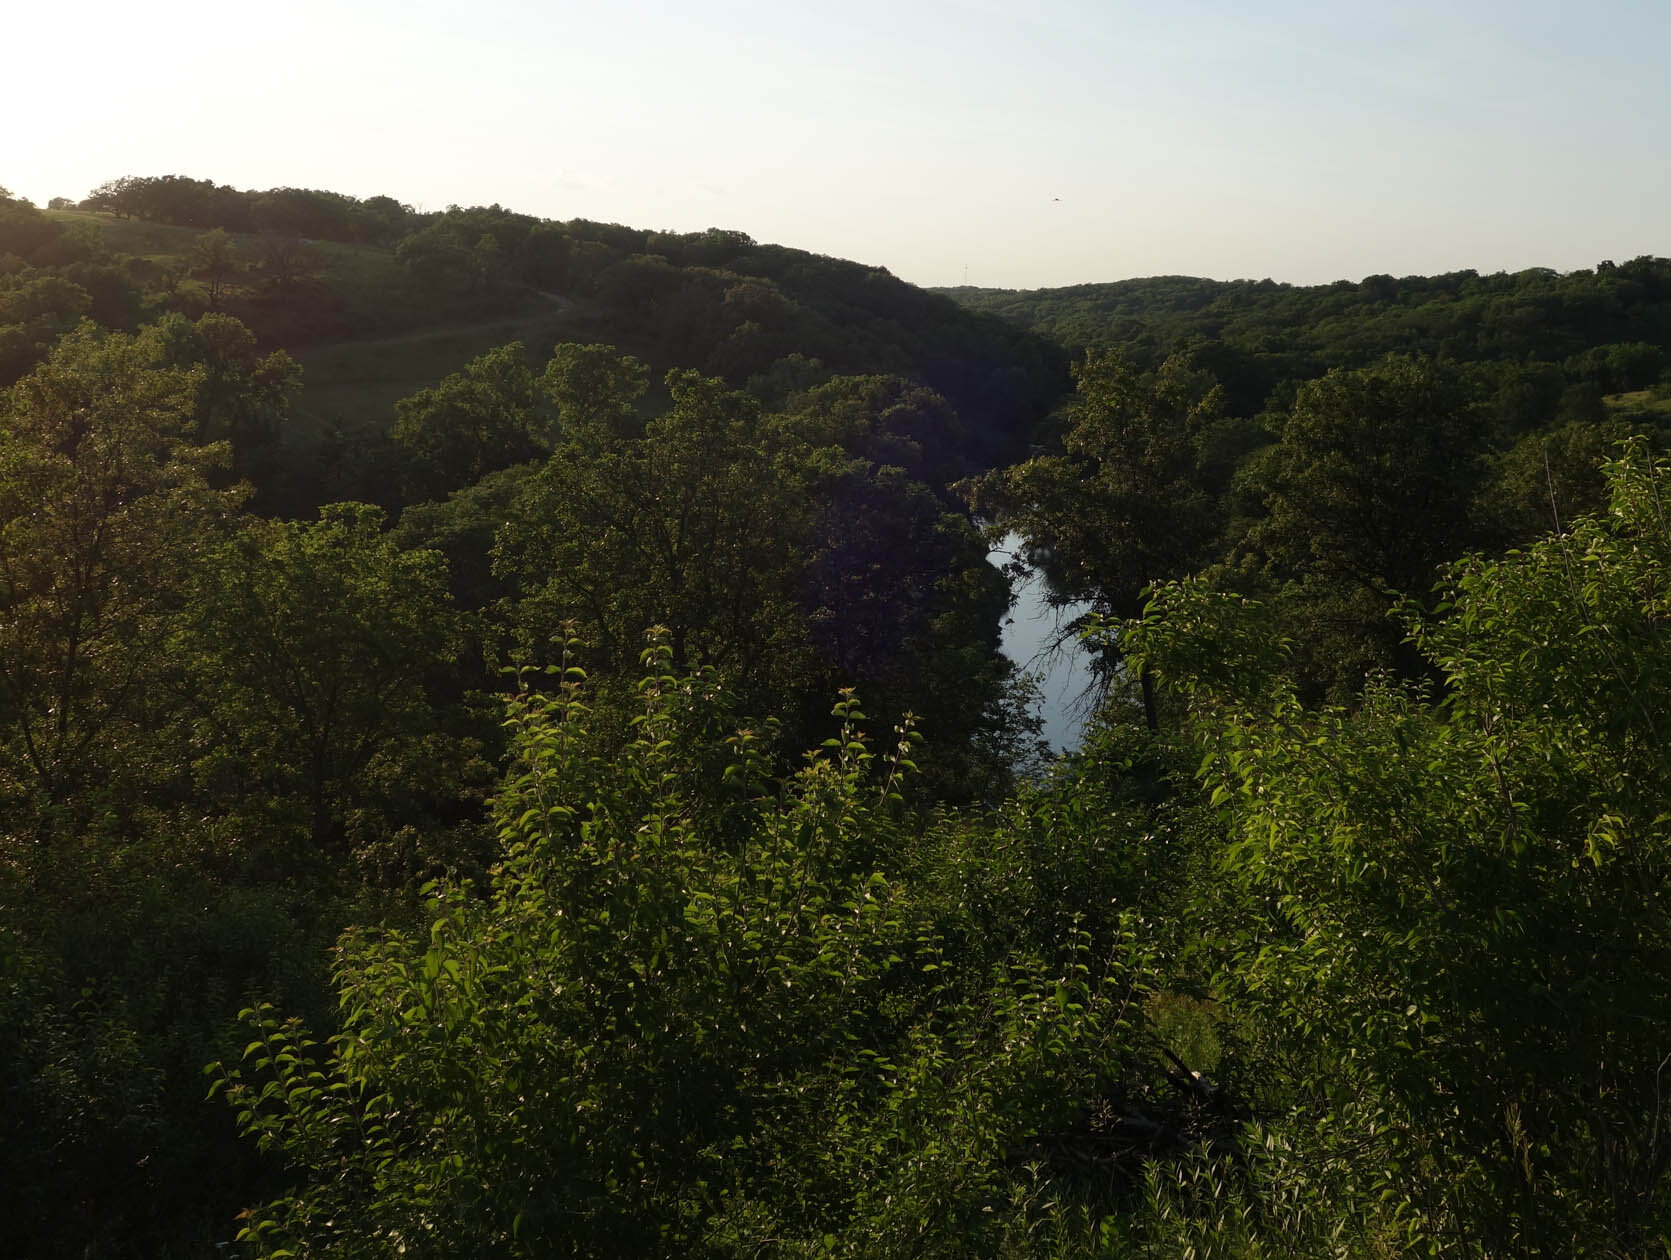
I am currently attending a fully funded artist residency at the Whiterock Conservancy outside of Coon Rapids, IA! Whiterock Conservancy is a nonprofit land trust. I was invited to attend after applying along with a recommendation from my friend Terri McGaffin, who completed a residency here a couple months ago!

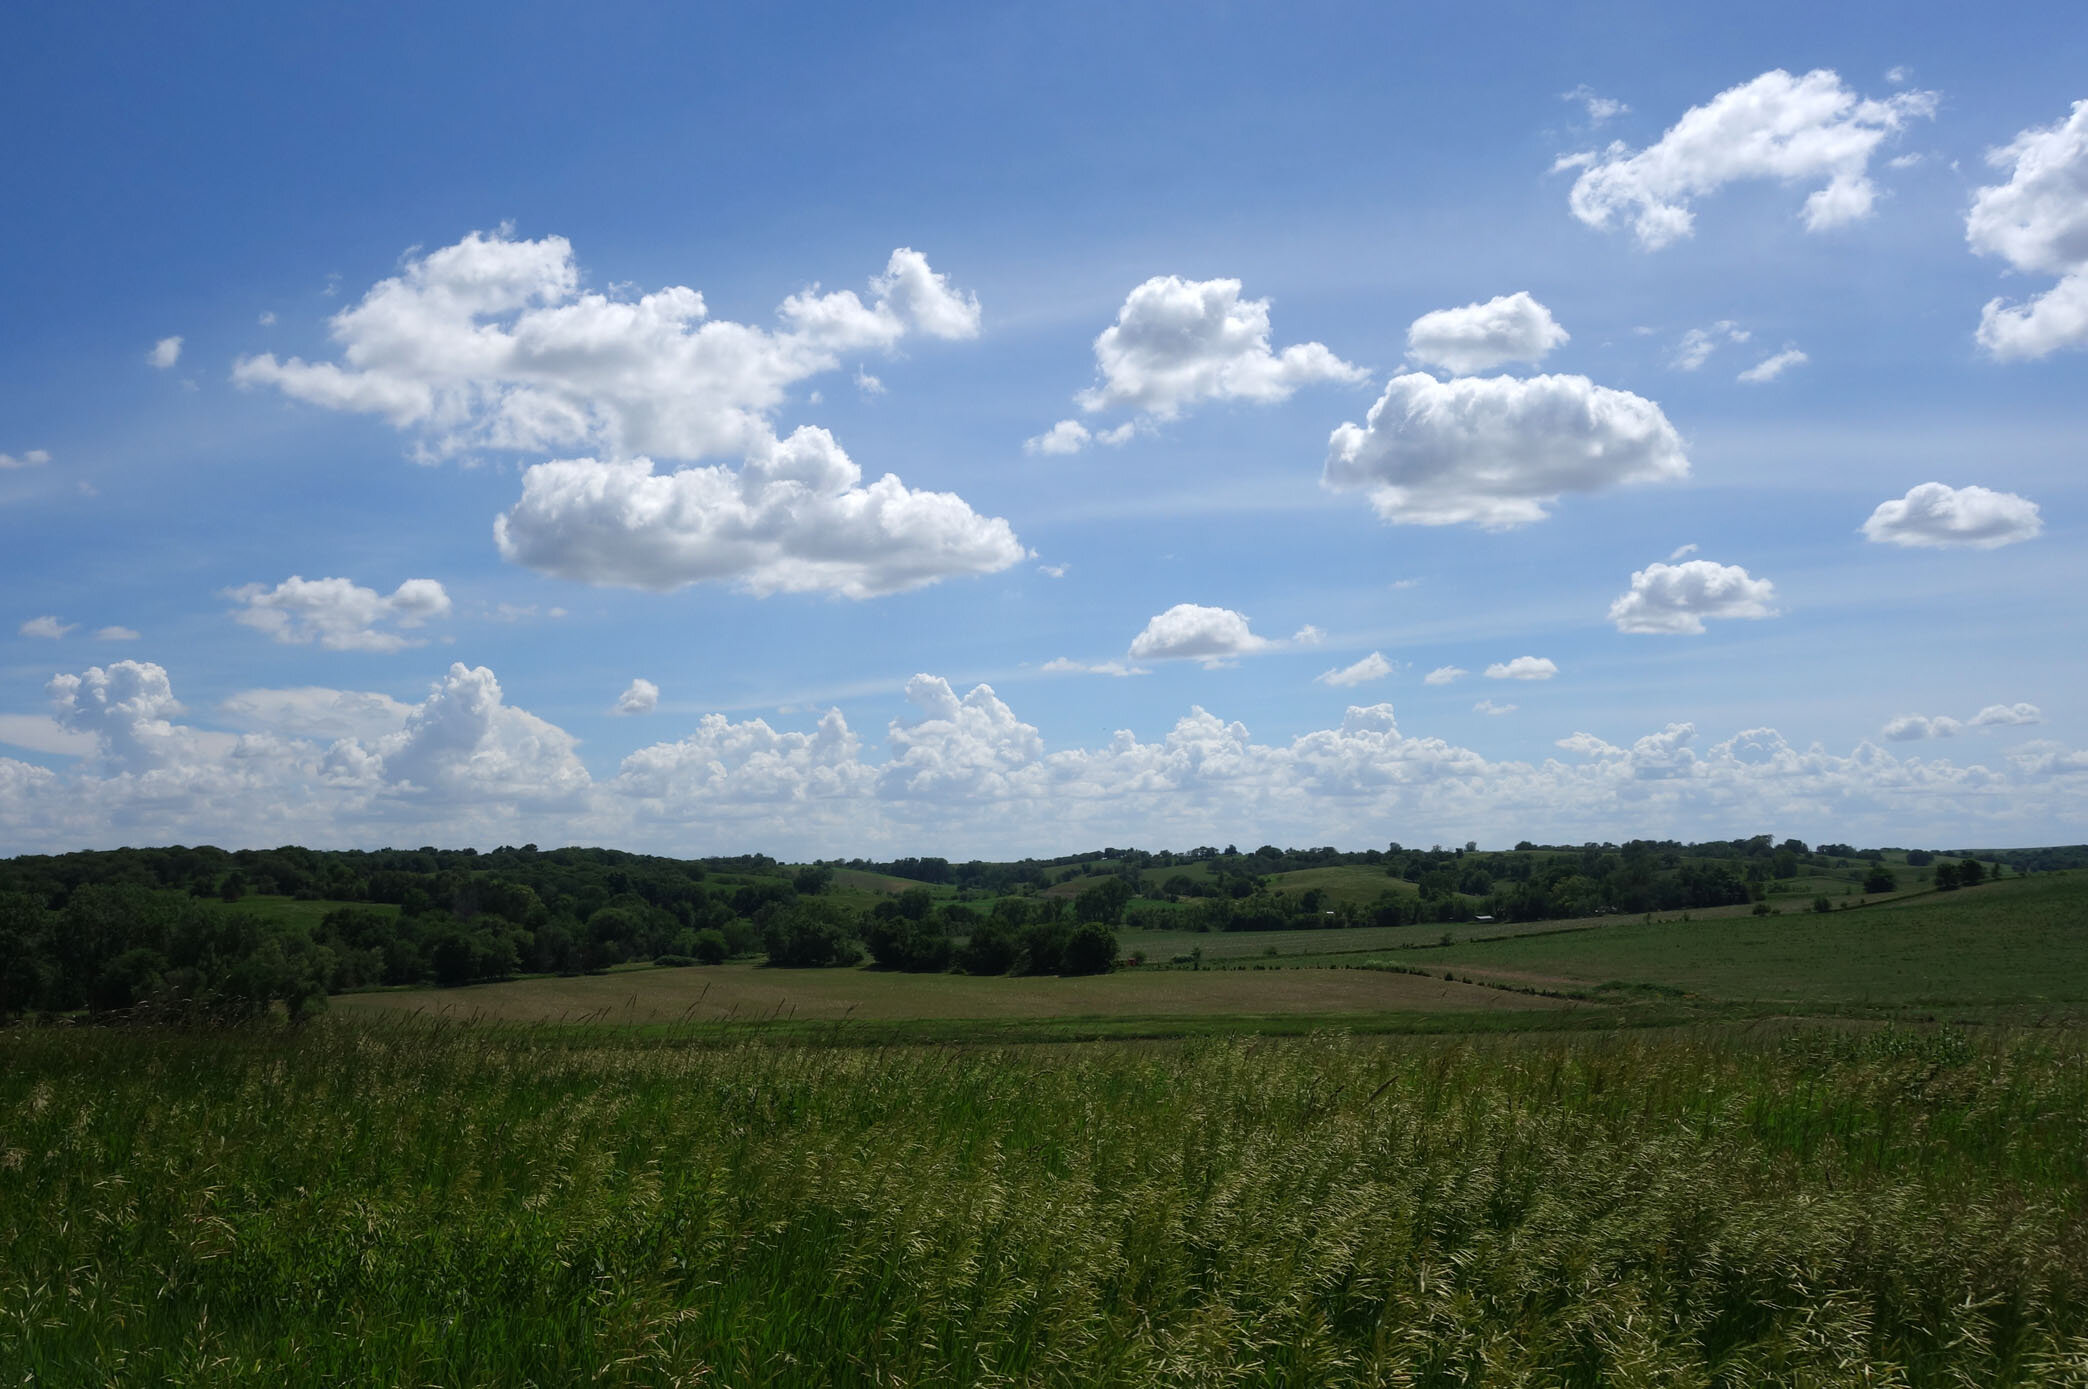
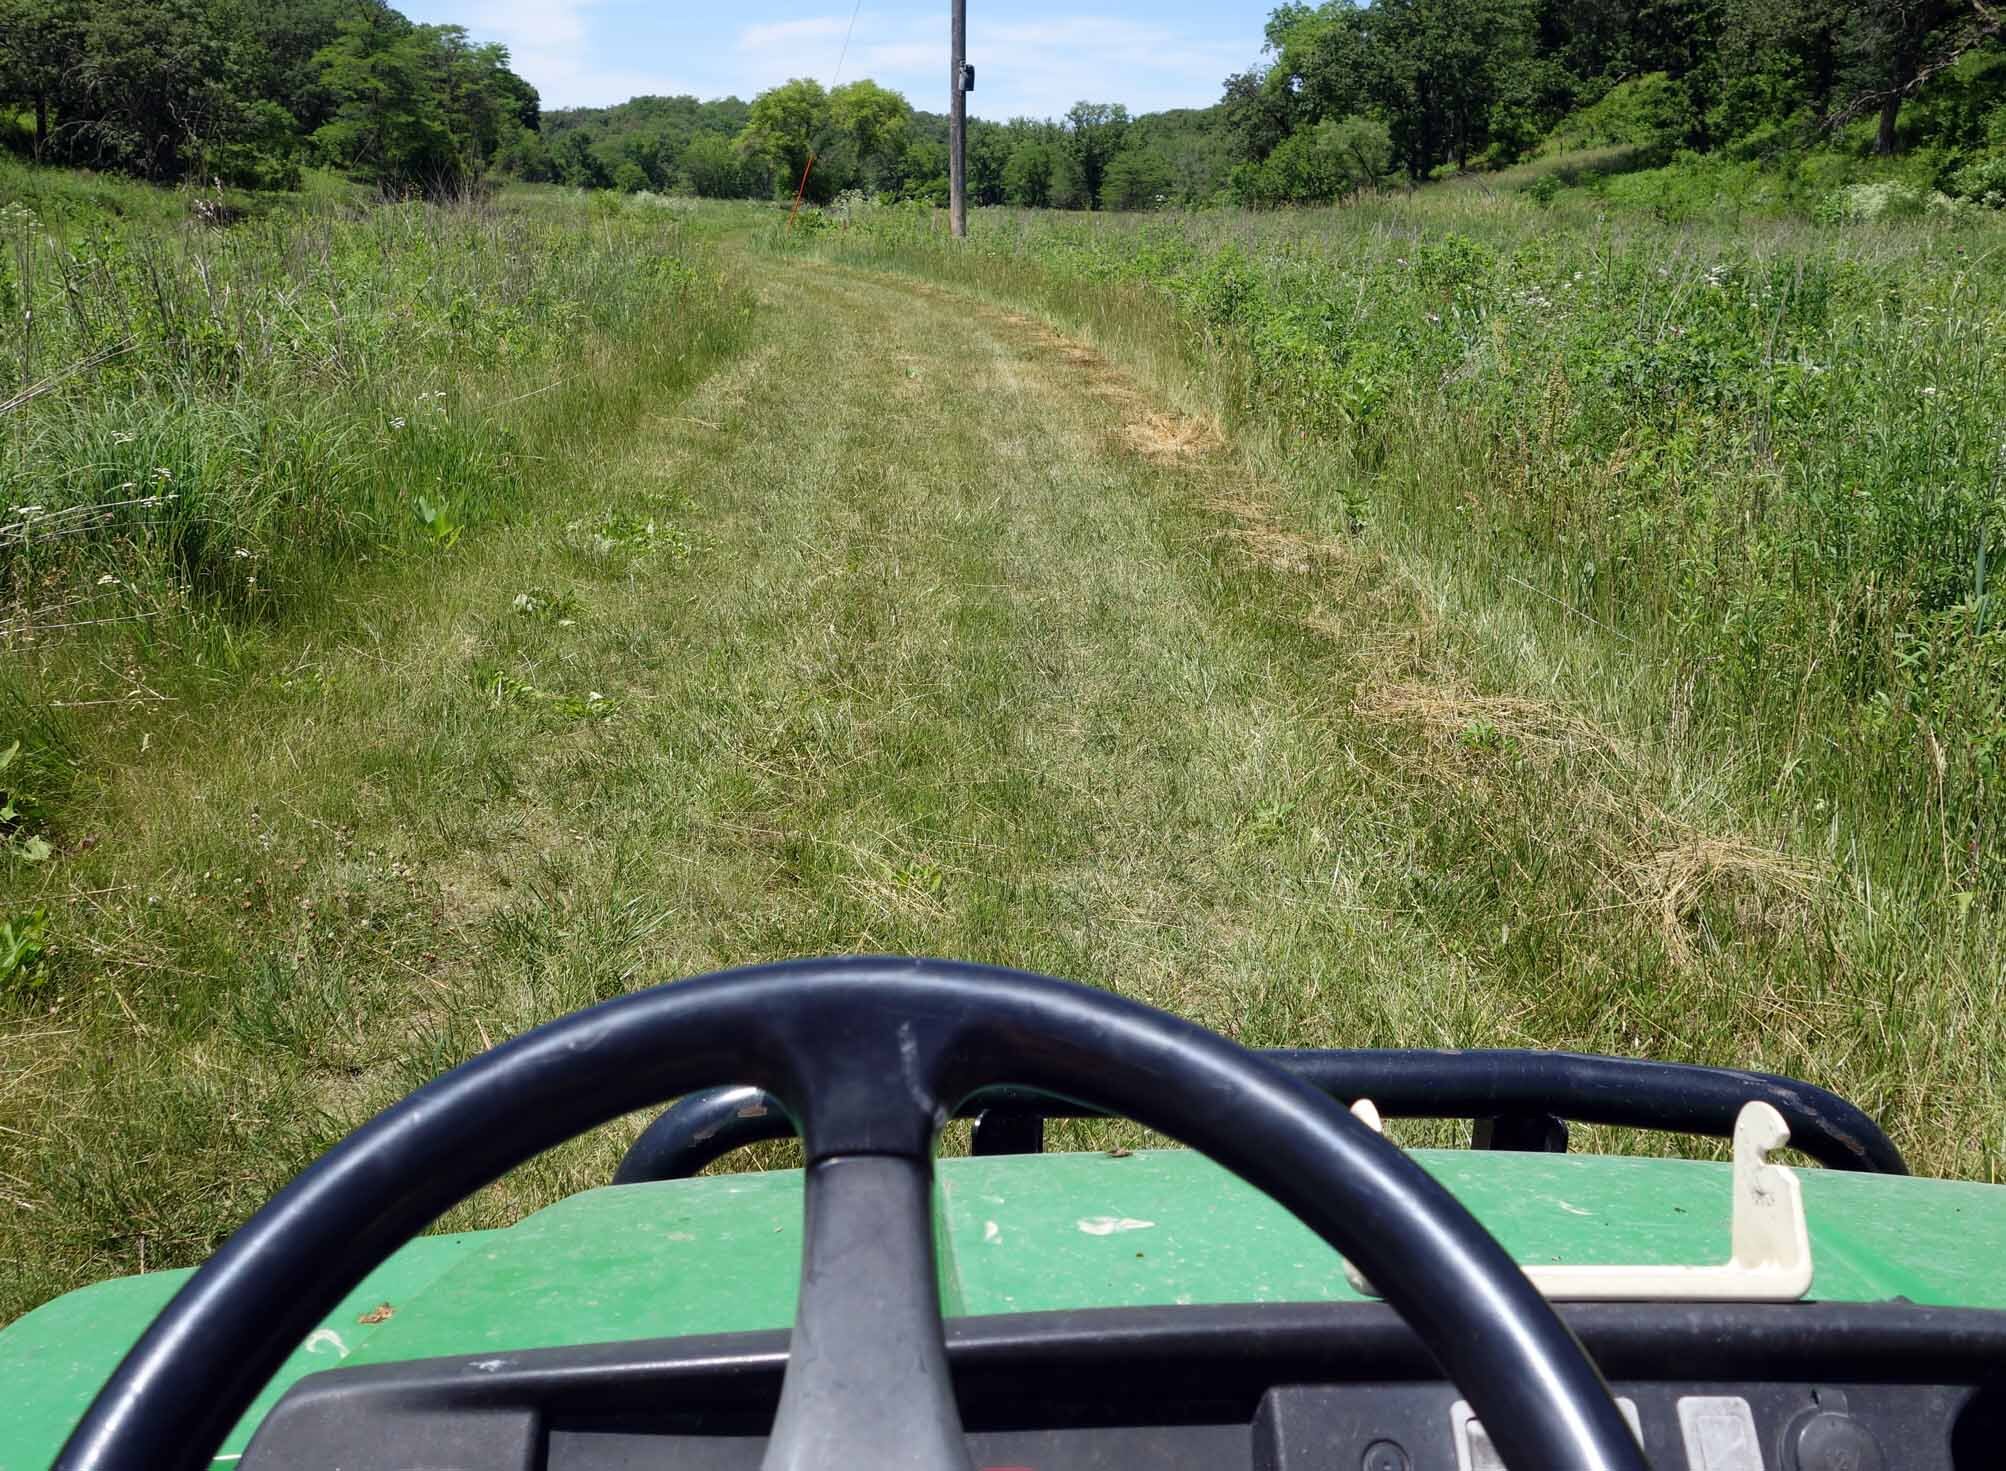
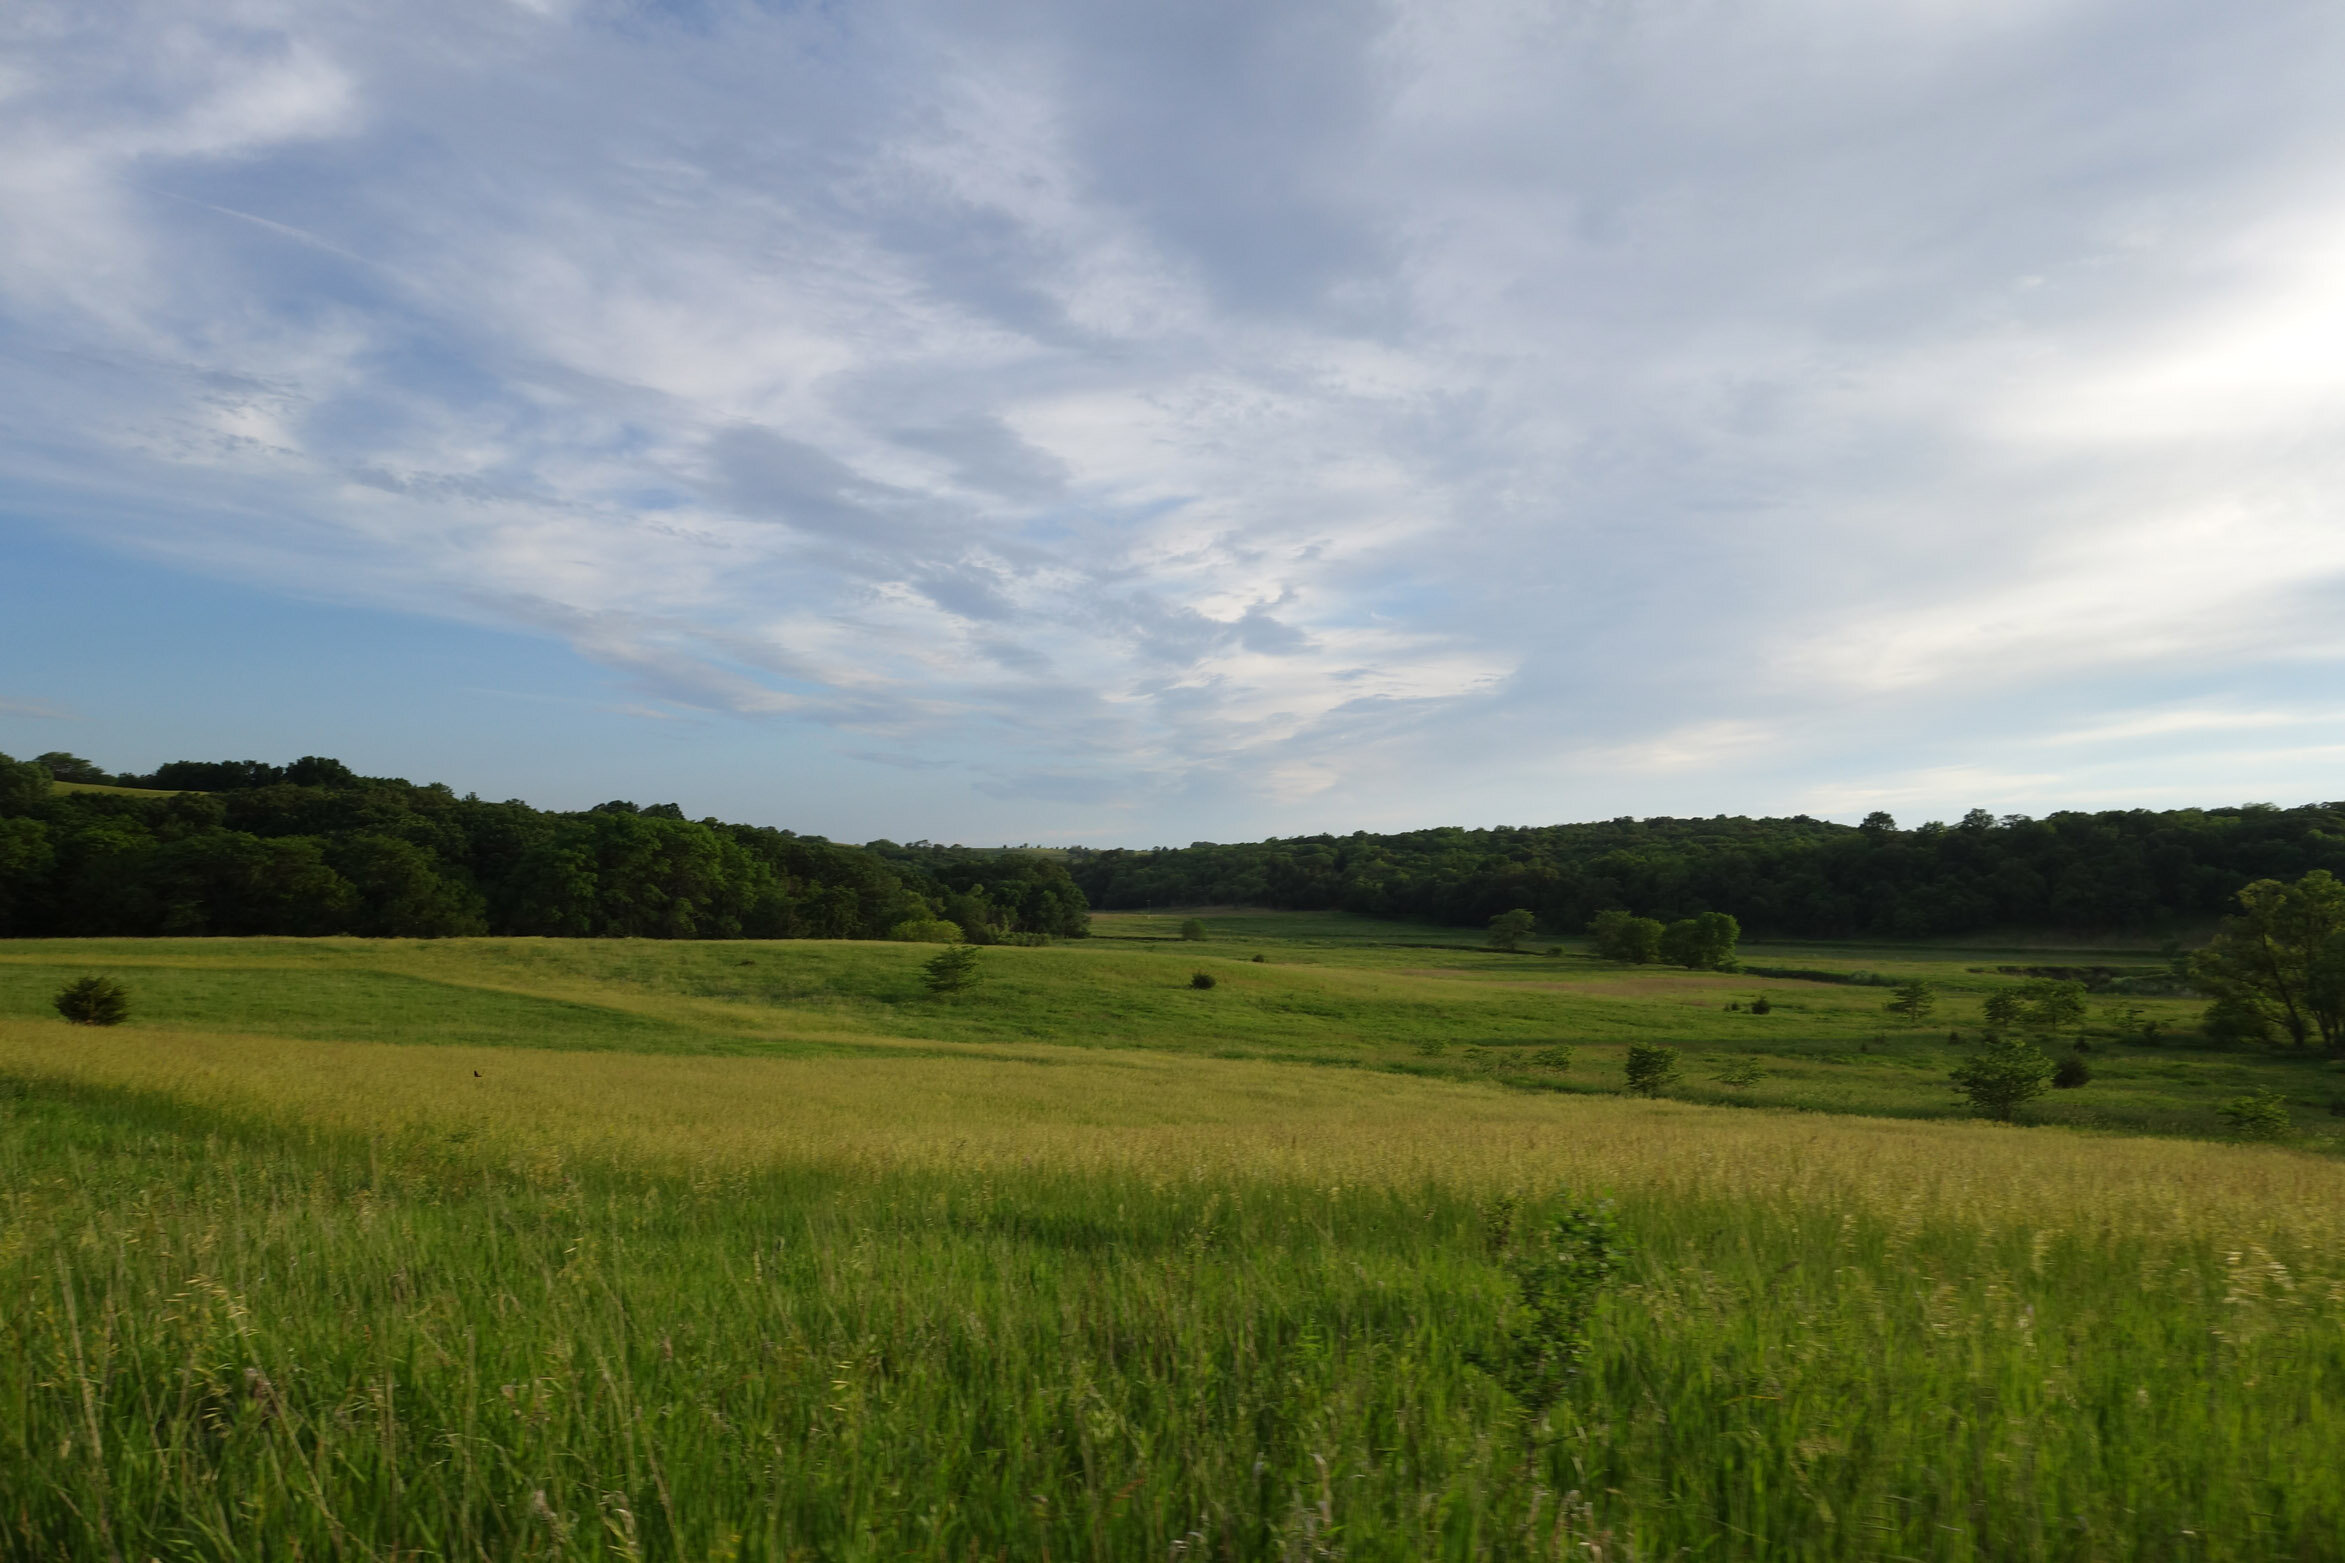
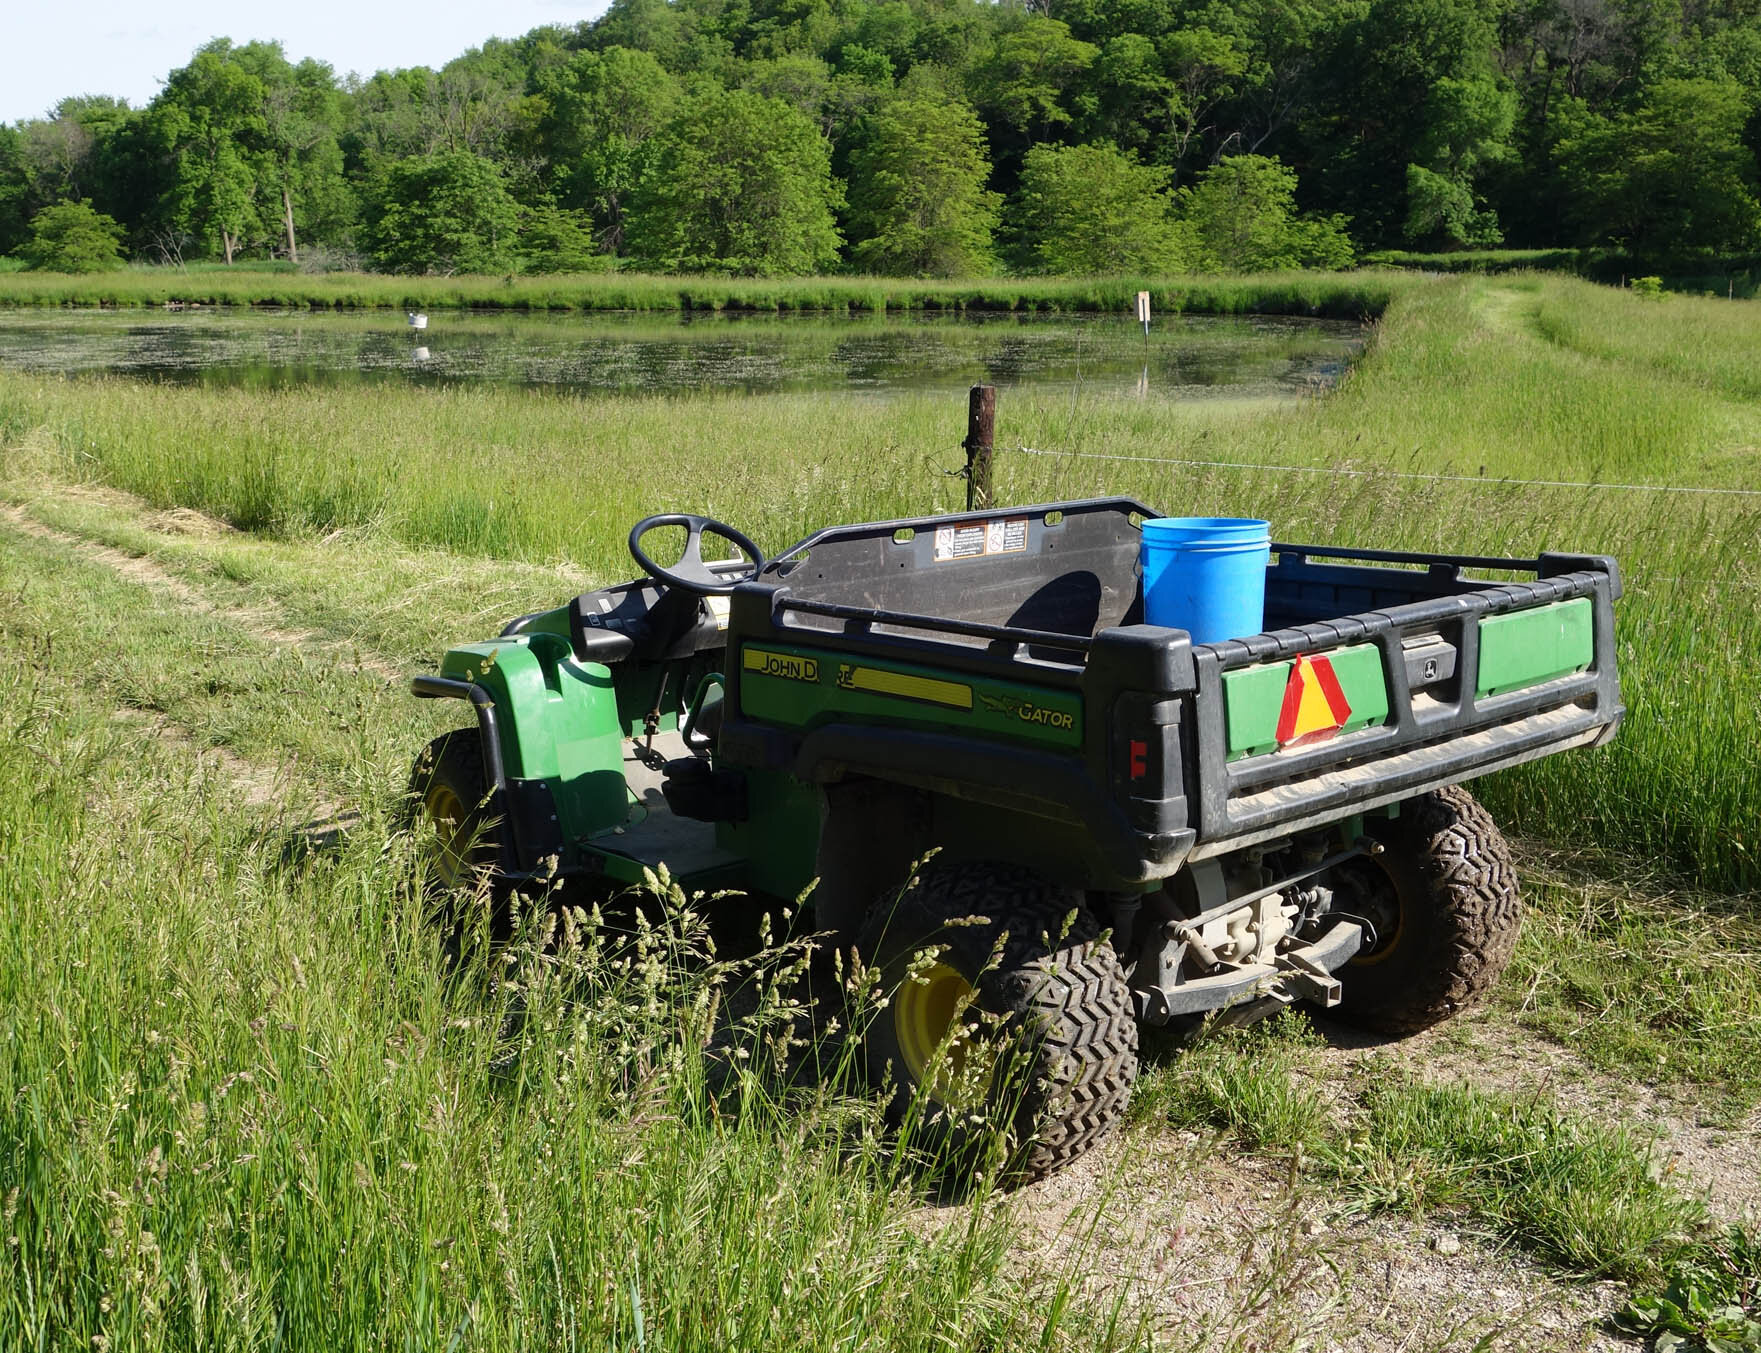
The residency is hosted at the River House, and the conservancy spans over 5,500 acres; as such, I brought my vehicle and bike along, but I have also been provided with a Gator UTV as a part of the experience. I wasn’t sure whether I’d enjoy driving a UTV around, but it turns out I do! As you’re motoring up a steep hill in total isolation and crest the top to see the landscape unfold around you, you can’t help but feel the wonder of both nature and human ingenuity.

Stay tuned for photos of my explorations, journal entries, and new artwork!

African Violets

My pink-flowered variegated NOID African violet from a plant society sale in Baton Rouge, LA.  I’ve owned and created multiples of this plant since approximately 2010.

My pink-flowered variegated NOID African violet from a plant society sale in Baton Rouge, LA. I’ve owned and created multiples of this plant since approximately 2010. (January 2023 edit: I believe it might be ‘Precious Pink’.)

We all know I keep a large number of plants. Some genera never do well for me; others do well pretty much across the board, and then there are those that can be hit or miss. African violets, or Saintpaulia spp., are in the last category for me. (I know some of that is due to my unwillingness to adapt my own tending processes - I’m not super into wick watering, for instance, and I often top-water which can easily result in crown rot.) The first AV I remember keeping well enough to be notable is a NOID I picked up from a plant society sale in Baton Rouge, LA, around 2010. It’s a variegated dusty-pink-and-green standard AV, with pink flowers. It’s my most tried-and-true and therefore my favorite. (January 2023 edit: I believe it might be ‘Precious Pink’.)

The same pink-flowered variegated NOID African violet pictured above, but a few months later after it upped its variegation intensity.  Variegation is dependent on environmental factors including fertilization, light levels, soil type and age, and so on.

The same pink-flowered variegated NOID African violet pictured above, but a few months later after it upped its variegation intensity. Variegation is dependent on environmental factors including fertilization, light levels, soil type and age, and so on. (January 2023 edit: I believe it might be ‘Precious Pink’.)

After this NOID variegated standard was clearly sticking around, I bought a couple other standard green-leafed types from grocery stores. Either quickly or slowly, those all passed away. Time ticked onward.

I picked up a cute miniature AV with blue-violet flowers from Family Tree Nursery in Kansas City, and it seemed to be doing OK. I tried out a couple Primulina species, a very close relative in the Gesneriad family - one died quickly but the other thrived for a time, but then ended up deteriorating as well. I bought a gorgeous lime-flowering dark-green-ruffled-leaf standard and another AV I can’t remember well from the KC Gesneriad Society that both quickly went downhill. The mini kept doing all right, so I was up to two AVs that seemed to be able to handle the care and setup I provided. Time continued to pass.

The blue-flowered mini from Family Tree Nursery in Kansas City.

The blue-flowered mini from Family Tree Nursery in Kansas City.

I attended another KC Gesneriad Society sale. I was a bit wary given all the other deaths, but figured I’d try a few more out. I bought one AV with a beautiful set of flowers already growing that flowered but then croaked pretty soon thereafter, a cupped-leaf and a “girl-leaf” mini AV, and a trailing Russian hybrid called ‘Zimniy Tsvetok‘ (I distinctly remember a society member trying to persuade me it wasn’t worth getting, but I liked the look of it so I went ahead anyway) as well as a few Episcia species (another relative in the Gesneriad family). I also picked up another miniature, this time with a sort of white/yellow/pink variegation, from Family Tree Nursery. Around this time I also branched out into Sinningia species (yet another Gesneriad), and had middling levels of success and failure there too.

My girl-leaf mini that’s doing the best of its clones and even proffered a couple flowers recently!

My girl-leaf mini that’s doing the best of its clones and even proffered a couple flowers recently!

The “girl-leaf” mini AV began to fall apart, but some harvested leaves managed to grow pups. Those plants have matured into their own issues, and I’d categorize this plant as just barely managing to stay afloat in my AV collection. I wouldn’t be surprised if it’s eventually - or even rather soon - another goner. However, the most stable girl-leaf mini has just begun to bloom, which is a positive turn! It has put off a couple of light pink flowers.

The cupped-leaf mini has also continually struggled, though I’d say it seems to have stabilized a bit more than the girl-leaf mini has even though I don’t think I’ve seen it flower yet (or if I have, it was sufficiently long ago for my memory to fail me). I didn’t take a photo of it for this post as I was documenting the rest, due to a combination of its currently underwhelming stature and lack of flowers. All the Episcias have done just fine, though I have learned I dislike how often they have to be restarted in order to look nice. However, they do make good gifts since I am forced to propagate them so frequently!

The variegated mini that’s getting relatively large but which I believe has yet to flower for me.

The variegated mini that’s getting relatively large but which I believe has yet to flower for me.

The variegated mini has been doing better, and I have one plant of it that is actually looking pretty adult though I’ve yet to see it flower either. The first and mother to all of my blue-violet-flowering minis had a very weird crown situation set in, but it had been so prolific and stable in pupping beforehand that I have several replacement plants solidly in the ranks. I think it’s nearing the tried-and-true category, though I’ll still need a couple more years to be sure.

My RS ‘Zimniy Tsvetok’ trailing violet, which is one of my current favorites but seems to have peaks and valleys in vitality and has yet to propagate successfully.

My RS ‘Zimniy Tsvetok’ trailing violet, which is one of my current favorites but seems to have peaks and valleys in vitality and has yet to propagate successfully.

However, the real surprise for me is the RS ‘Zimniy Tsvetok’ trailing violet. It took a while to settle in when I brought it home, and it was touch-and-go for a time. Then it started to flourish, and it did very well for over a year, but eventually its leaves began to bleach and I thought it might not be salvageable. I pulled it out from its fluorescent light stand, repotted it, and put it in a shaded southern window (an oxymoron, I know) in an attempt at rehab. Its color slowly restored and it started growing again. It is now my biggest AV and - at least currently - my most consistent flowerer. The one propagation I’ve tried of it hasn’t done well at all, which does worry me in an “heirs and spares” sense, but the main clump (it’s a trailer, so it’s the only one in my collection that is meant to have multiple heads) is beautiful.

So at present, I keep six varieties of AV. Three are doing well: the tried-and-true NOID variegated AV from Baton Rouge, the blue-violet-flowering mini from Family Tree Nursery, and the RS ‘Zimniy Tsvetok’ trailing violet from the KC Gesneriad Society sale. Three are in various stages of surviving: the girl-leaf mini and the cupped-leaf mini (not pictured) from the KC Gesneriad Society sale, and the variegated mini from Family Tree Nursery. We’ll see how it continues to go!

Distrust of the Medical Community

I’m going to preface and close this post with my strong support of getting vaccinated, both in general and specifically with the COVID-19 vaccine. I have received both doses of the Pfizer COVID-19 vaccine; the sooner we achieve local and global herd immunity, the sooner we can regain a more normal world.

The United States is beginning to approach a new stage in the COVID-19 vaccination process: we are running out of people excited to queue, and are now attempting to convince those who are passively or actively opposing getting a COVID-19 vaccine to join the vaccinated so that we can reach herd immunity.

I have several students who have told me that they have rejected the chance to get vaccinated against COVID-19. While I haven’t grilled them on their own individual rationales, I know that there may be more than just political beliefs at play. The medical community is not infallible, and those patients who are privileged and/or lucky enough to have always received stellar health care are very fortunate - but others unfortunately do not have the same experiences.

A lot of people including myself bring up the Tuskegee Syphilis Study when discussing this topic. It wasn’t that long ago; it lasted for 40 years and only ended in the 1970s (after a number of earlier attempts to shut it down were unsuccessful). That’s still within the lifespan of people around today. But here’s another example from right now in 2021: nonconsensual pelvic exams unrelated to medical need have been and are still regularly being performed in the United States on women under general anesthesia - with one of the explicit rationales being that if women were asked for their consent beforehand, they might not give it. The state I’m currently living in - Iowa - banned this practice in 2017. That’s only four years ago. Furthermore, most of my life has been spent living in states that allowed or still currently allow this practice. Some doctors and medical institutions continue to lobby for nonconsensual exams under general anesthesia to continue. These can also extend to involuntary rectal exams on both sexes as well as penile and prostate exams. This is, sadly, just another of many examples of systemic medical transgressions and disparities.

As mentioned in the opening of this post, I have recently been fully vaccinated with the Pfizer COVID-19 vaccine, and I am grateful for that! I hope we can convince more folks to join us in this fight to attain herd immunity. But in order to do so, we need to acknowledge that some have legitimate concerns backed by personal or community experiences - and we also need to do better at tackling medical inequalities and oversteps. You can take action, too - through contacting your representatives and advocating for change, donating to organizations that are fighting these battles on the policy and legal fronts, and so on!

A Couple Commencement Photos

It was a good graduation! Here are a couple photos from the Morningside Flickr account of me processing and congratulating students.

It's Commencement!

Well, that was a strange and hard academic year we just finished, due to the pandemic, but I’m proud of our community for getting through it as best we could and being able to celebrate a range of accomplishments along the way.

Today is the graduation for our class of 2021! We had a wonderful string of senior thesis shows over the past month - the disciplines of graphic design, photography, animation, ceramics, drawing, and painting were all variously on display in the exhibitions of Courtney Klocke, Anna Uehling, Abby Koch, Kazune Oguro, and Carissa Powell. In fact, Kaz and Carissa’s two-person show will stay up through May 17th if you haven’t yet seen it and want to stop in!

Scandals in the Houseplant Hobby Part II

If you haven’t read my blog post titled “Scandals in the Houseplant Hobby,” I recommend you do that first, as this is a follow-up!

To recap: plants, notably the Philodendron ‘Pink Congo,’ that have been gassed (or occasionally painted) with ethylene to induce a temporary discoloration that may appear to unsuspecting buyers as a permanent variegation have begun to enter the houseplant trade. At the time of my first post, ‘Pink Congo’ was the only affected type I could list with specificity, but I mentioned that others were out there.

This spring, I’ve so far noticed two more pop up on one of the Facebook groups for houseplants - and this time, they’re both succulents. The first is Crassula ‘Buddha’s Temple’ and the second is Sinocrassula yunnanensis. Here are a couple screenshots I took of the plants for sale - in the second picture, it’s the middle row of plants that are impacted. Both were advertised as being Korean imports.

With the Crassula ‘Buddha’s Temple,’ people challenged the seller who initially defended these plants as untreated, natural variegation, but then a day later returned and admitted that upon follow-up, her importer confirmed that they were fakes. However, at least when I saw it, the Sinocrassula yunnanensis sales post made by a different seller hadn’t attracted any questions or consternation.

To me, both plants look really unnatural and kind of diseased or wrong, but then again I am deep in the hobby and know what plants ought to look like - I also think painted succulents and dyed and fake flowers look bad, so clearly my taste isn’t everyone’s as those treatments do have a ready audience in more amateur growers! I do wholeheartedly believe that any altered plant - whether it be gassed with ethylene, painted, dyed, glued with false flowers, etc. - should come with a clear label that lays out what has been done, the lifespan of the manipulation, and the impact to the health of the plant.