aluminum foil

Copper Mesh Saggar Raku Pottery

I was most excited about trying this technique out at this recent raku workshop, as I’d only learned of it recently and I couldn’t find many photos online of it! I purchased two different brands of copper mesh scouring pads and then unraveled the pads and wrapped the copper mesh “socks” around ferric-chloride-dipped ceramics. I then bundled it all up in aluminum foil and saggar fired them (also known as the “baked potato” method).

Some tips:

  • If the ferric chloride is still wet, it will melt the copper mesh, so ideally apply it after the ferric chloride has dried. However, that means you can’t also use sugar for additional carbonization as it gets knocked off. If you’re feeling risky, you can daub some more ferric chloride atop the piece and sprinkle with sugar but it’ll then eat away all the copper in those areas.

  • The tighter the mesh atop the ceramic, the clearer the results. Really hug the vessel tightly for the most overall effect.

  • The resulting finish when taken right out of the foil looks like a hot mess due to all the ash produced - but after you rinse the ceramics off, their true appearance is revealed!

I’ve since learned that you can just buy rolls of copper mesh (so you don’t have to go the cutting-and-unraveling-scouring-pads approach unless you already have some on hand); I may play around with that moving forward! I really like the results I got from this process. In different areas, the copper mesh carbonization marks look like fish scales (or maybe dragon scales!), chainmail, webbing, fishnet stockings, or unraveling yarn. When the mesh only is in discrete spots, its marks also contribute to a layered, graffiti-like aesthetic.

Here’s the most mesh-marked piece of the batch, a small oblong vase:

Next, a small orb:

A weird little vessel I’m calling an oddgon:

And finally a larger, sideways orb:

My Favorite Ceramic I've Made Yet: My Last April 2023 Raku Saggar Piece

I have a lot of my own ceramic pieces that I love, and there are a number of those that I plan to keep for myself for the foreseeable future! I’m pleased with each of the ceramics that came out of my recent April 2023 raku workshop; that work spans the realm between good to fantastic. One piece I made is my favorite ceramic I’ve made yet, though, which is a hurdle that was relatively easy to pass when I was a beginner back in early 2020, but is now a much rarer event.

This piece, like the others in this series I’ve made, was dipped in three coats of ferric chloride, wrapped in Muehlenbeckia axillaris or Creeping Wire Vine and then aluminum foil, and saggar-fired in a raku kiln. It is finished with kitchen wax.

Ceramic glazing in general is a lottery; there are a lot of variables and some are outside of your control. I think I won that lottery with this vessel!

April 2023 Raku Crackle and Saggar Ceramics

This is my second post reviewing my April 2023 raku workshop ceramics! This one will cover two of my three “baked potato” aluminum foil saggar-fired ceramics and my clear crackle piece.

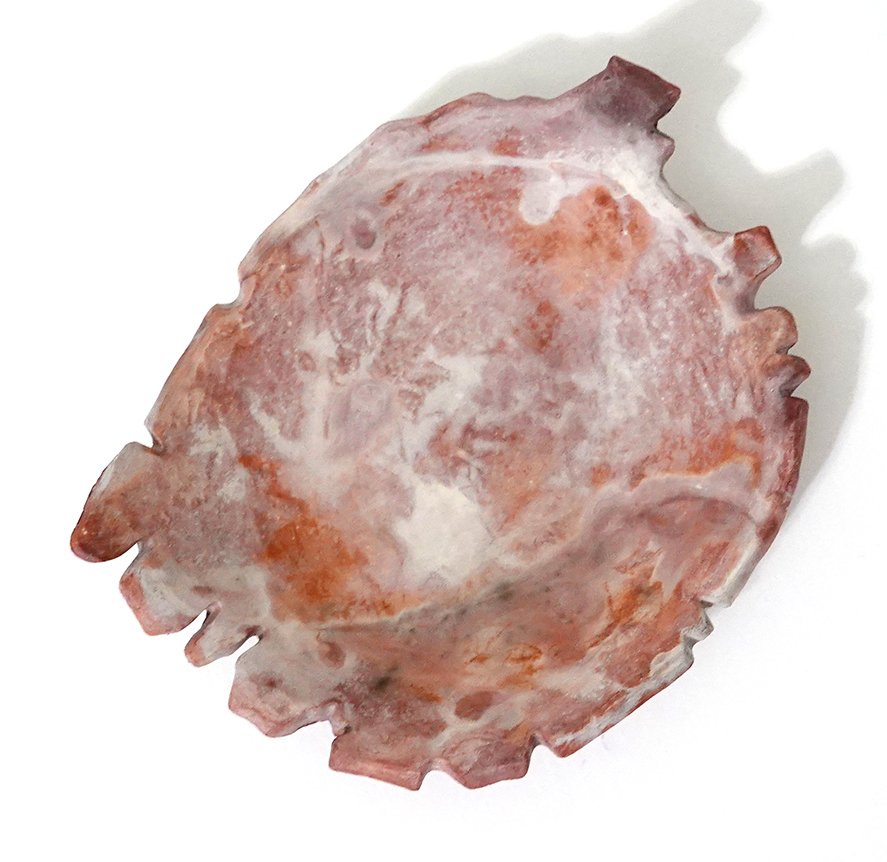
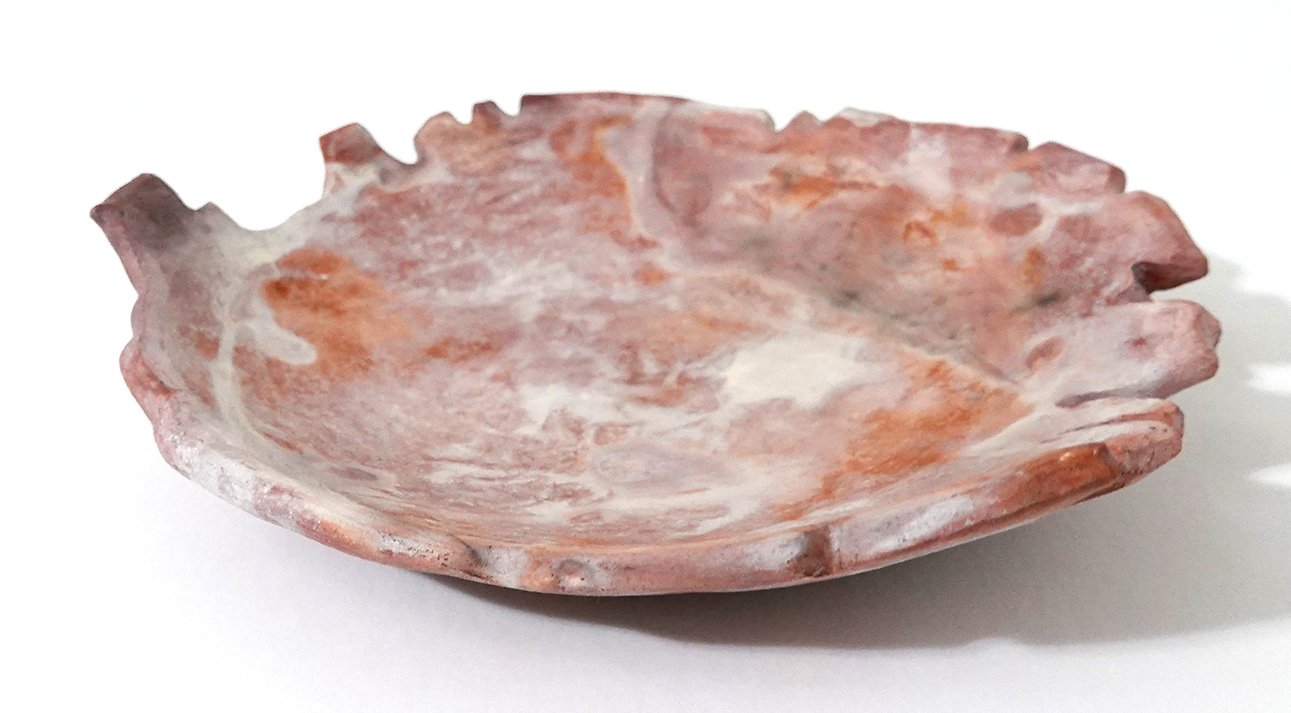
Based on my experimentation using plants at my April 2022 raku workshop, I only had real luck with saggar firing Muehlenbeckia axillaris, colloquially known as Creeping Wire Vine. I therefore used it again! Below is a plate that was dipped in three coats of ferric chloride and then wrapped in the vine and then aluminum foil and fired. The Muehlenbeckia axillaris impact is relatively subtle because it mostly went white to medium gray, but the plate overall turned out well. The very first time I did this “baked potato” technique, I used a matte clear acrylic spray. The second time, I went with gloss. I didn’t really love either, so this time, I went with applying a kitchen wax. I really like the way the wax looks, so I think that’ll be the winner moving forward!

Next, I did the same process with a vase - on this piece, I also sprinkled just a little sugar on as well for some small-scale spotting in the design. This one’s interesting as the Muehlenbeckia axillaris is more apparent, and it produced the full value spectrum on the same vase; the top vine piece is white to light grey, while the bottom vine carbonized a lot more and turned medium grey to black.

And finally, I chose to do a clear crackle on a small, necked vase. Handbuilding necked vessels is tricky, and I complicated matters with this piece by leaving my building process evident on the outside to contribute texture (while smoothing it for structure and stability on the inside). This was quite risky; I knew there was a good chance this piece could crack or break with thermal shock due to the thinner seamed areas. However, I was fortunate - it made it through the firing completely unscathed! I wanted to enhance the seams and stress spots that I had intentionally retained, so I painted over each of them and the lip of the vase with wax before glazing with Clear Crackle on the exterior. As I’ve explained before, this means the glaze doesn’t stick to the waxed areas, and the wax burns off in the kiln. The exposed, unglazed clay body then carbon traps the smoke in the post-kiln reduction atmosphere, turning a dark, smoky grey. I finished the piece by putting kitchen wax on the unglazed areas.

Again, none of the “cracks” in the below piece are structural - they are all decorative and this vase is fully sound.

First Raku Workshop Pieces - Baked Potato Edition

As I mentioned in my first raku post, the “baked potato” technique involves coating the bisqueware in ferric chloride, sprinkling it with sugar, salt, and/or horsehair, and then bundling it up in aluminum foil like a baked potato before firing it. The one example piece we were shown of this technique was interesting but not super compelling, so I just tried two “baked potatoes” out in the form of a couple cache pots.

Interestingly, the resultant pieces did not come out as advertised, but I do really like how they ended up. I was told the sugar and horsehair spots would turn black, but on my piece they are mostly white with some grays. This could be for a couple reasons: A) all the environmental variables at play - the local temperature and humidity outside, the ferric chloride purity and concentration, the thickness and tightness of aluminum foil, etc. B) at the time I understood I was to put one bundling of aluminum foil on, but afterwards I heard that perhaps the instructions called for two. Reason B is all the more interesting because some of my foil burned off in the kiln, exposing part of the pottery inside. The kilns did not have organics inside beyond what was in the “baked potatoes” and had vents providing air flow, so maybe the burning of the foil resulted in less carbon trapping than would otherwise have occurred?

Due to the general inconsistencies and vagaries of raku firing and the complicating factor of my still not being sure how many layers of aluminum foil is advisable, I’m very unclear on if I can replicate the appearance of my “baked potatoes” in the future.

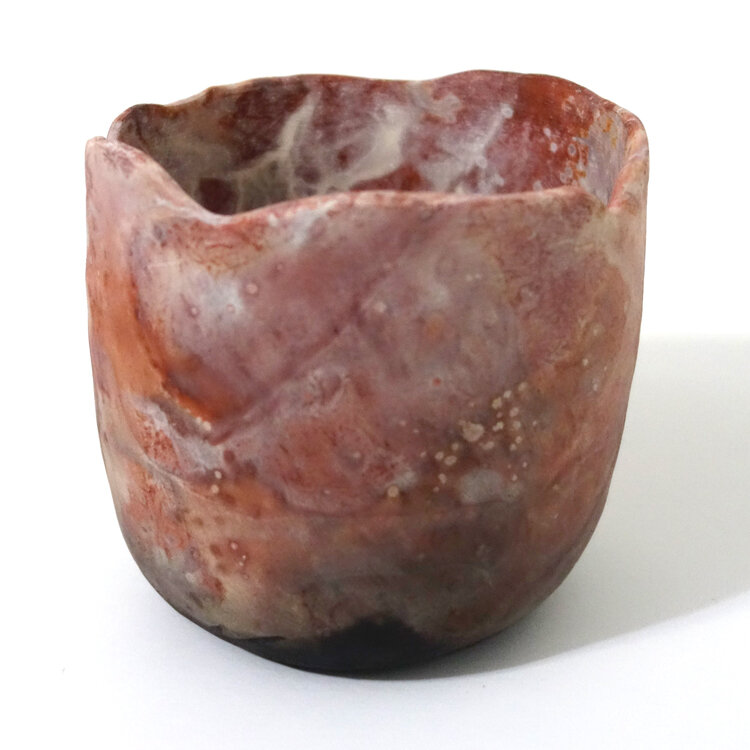
Here is my first “baked potato” cache pot. As you can see, it kind of looks like red marble or agate. I had the choice of sealing these pots with a gloss or matte coat. I chose the matte, which I stand by.

And this is my second “baked potato,” which was fired in the same round as the first. I do really like the appearance of these, but I’m not as convinced that it’s best suited to cache pots though it certainly will look nice as such. I’d like to try a large bowl or two with this technique next time, as I think that could be even more gorgeous - though it’s all dependent on how the firing goes!