tiles

I Bought a Rock Tumbler!

I’ve wanted a rock tumbler for a couple of years, but not quite enough to commit. However, I have also begun to amass broken ceramics, from raku thermal shocks to glaze fusing with kiln shelves to squirrel casualties (they try to bury nuts in my outdoor container plant collection in the fall, and repeatedly fail while digging up my plants and breaking planters in the process). Some of the broken pieces were favorites, so I just carefully collected the pieces and held onto them. (I did try to glue one planter back together, and realized that just doesn’t work well enough.)

It dawned on me that given my now multi-year interest in ceramics, I’ll have a renewable resource for the rock tumbler beyond an occasional rock harvest. I’ve beachcombed tumbled tiles before and even used them in assemblages, so I know I like the aesthetic - and, of course, the conceptual power of the push/pull between man and nature that creates them. If I make them myself out of my own handmade ceramics, I could generate enough to use the tumbled pieces for magnets or mosaics! I can also use any rejects as top dressing for plants, and I have a near infinite need there as my plant collection is unreasonably large and continuously expanding.

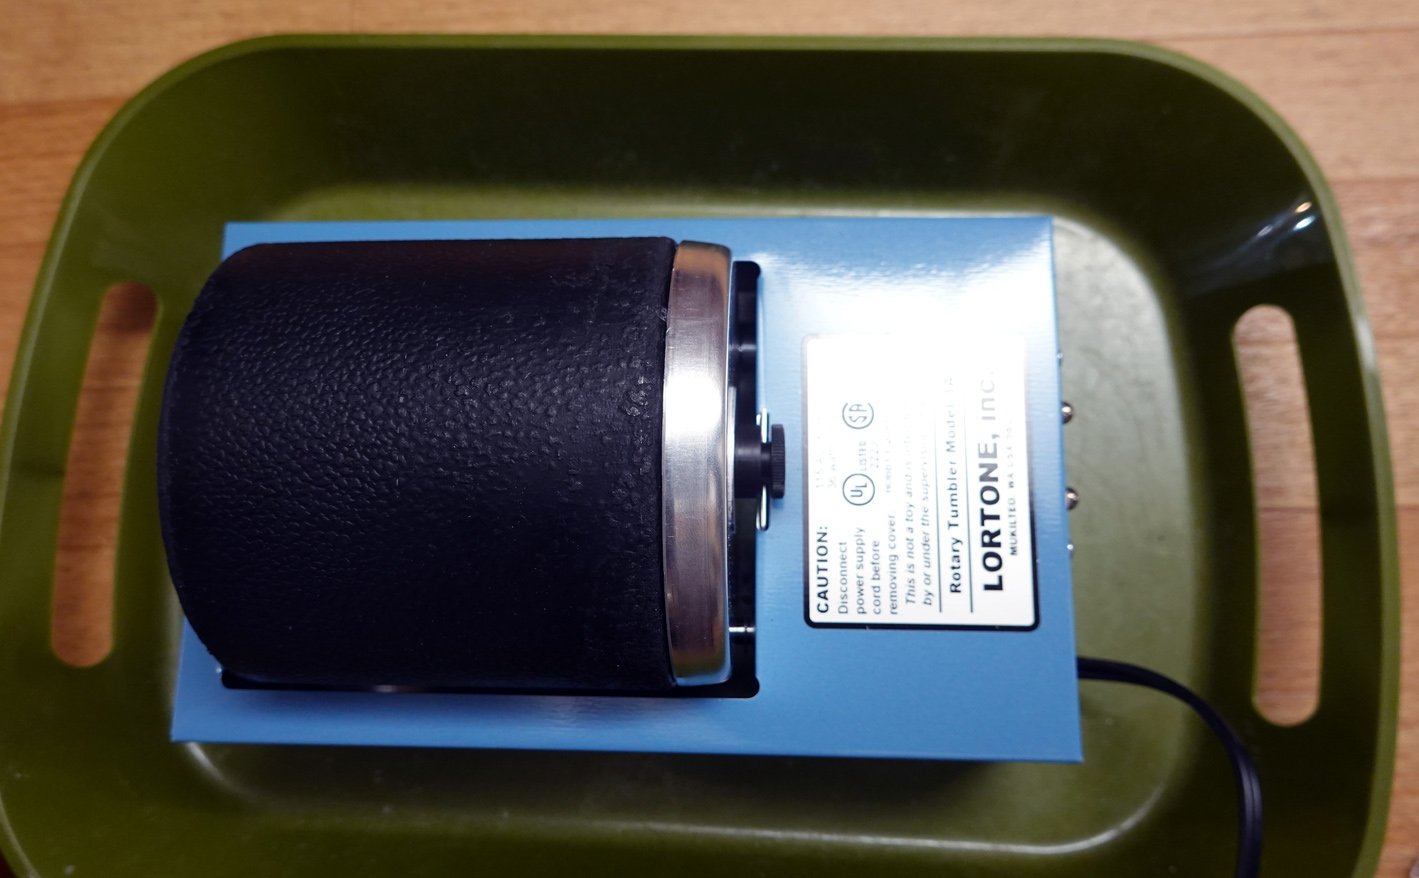
I began to research rock tumblers in early November. At first, I thought I’d just get a hobby one like the entry-level National Geographic model. However, I learned it doesn’t cost that much more to buy a quality version. I decided to go with Lortone as the maker. I wanted a rotary style - vibratory models also exist, but for my ceramic purposes I need the rotary tumbling action as vibrations are more helpful for surface polish while tumbling is what knocks down harsh edges.

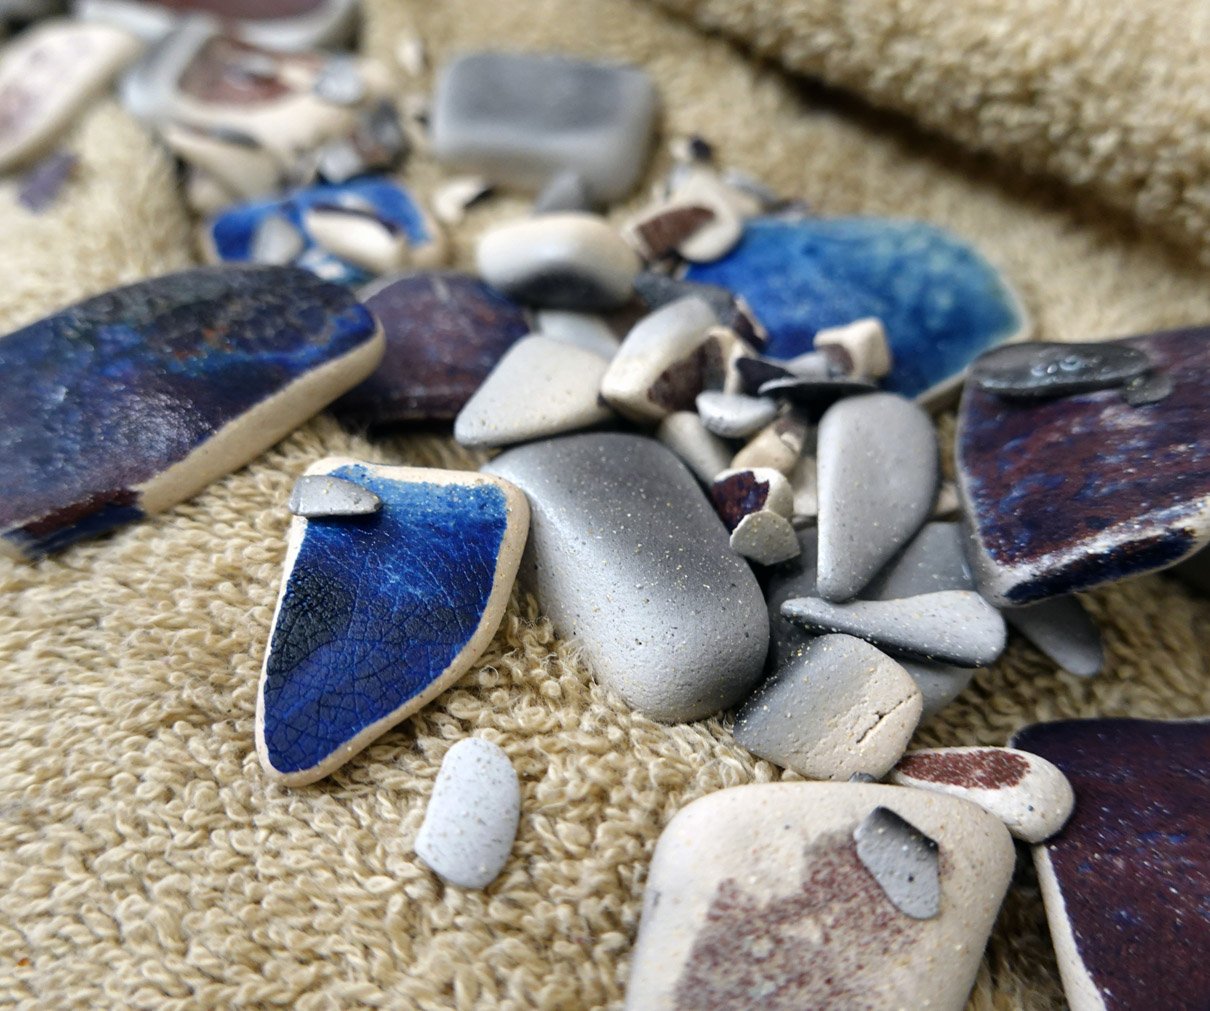
Most rock tumbling aficionados recommend a double-barreled design, but those were sold out and I imagined it might take several months for stock to replenish given holiday demand - I didn’t want to wait that long! I considered going for a bigger volume barrel next, but then I thought about the quantity of material I have to do at any one time and in reality, it’s not that much. I eventually settled on the Lortone Model 3A tumbler. While I think I’d likely have gone with the double-barreled 33B if it’d been in stock, I also think that running two barrels at once is more for those who plan to process mostly rocks rather than ceramics. With rocks, you need to go through several stages of polish to achieve a smooth finish; with ceramics, they start with a smooth glass finish and you just need to knock the sharp sides down! I can do that in just one rough grit tumbling session.

I’ve only owned my tumbler for a few weeks, so I’m still learning, but I’m having a lot of fun and have run through my backlog of broken ceramics already! In trying to find more fodder, I’ve realized I can easily recycle my ash test tiles I created when testing ash glaze recipes for my Whiterock 41.816, -94.646 ceramic collection, so I’m still working on processing those. I love that I now have a use for otherwise already-served-their-purpose ceramics like test tiles too.

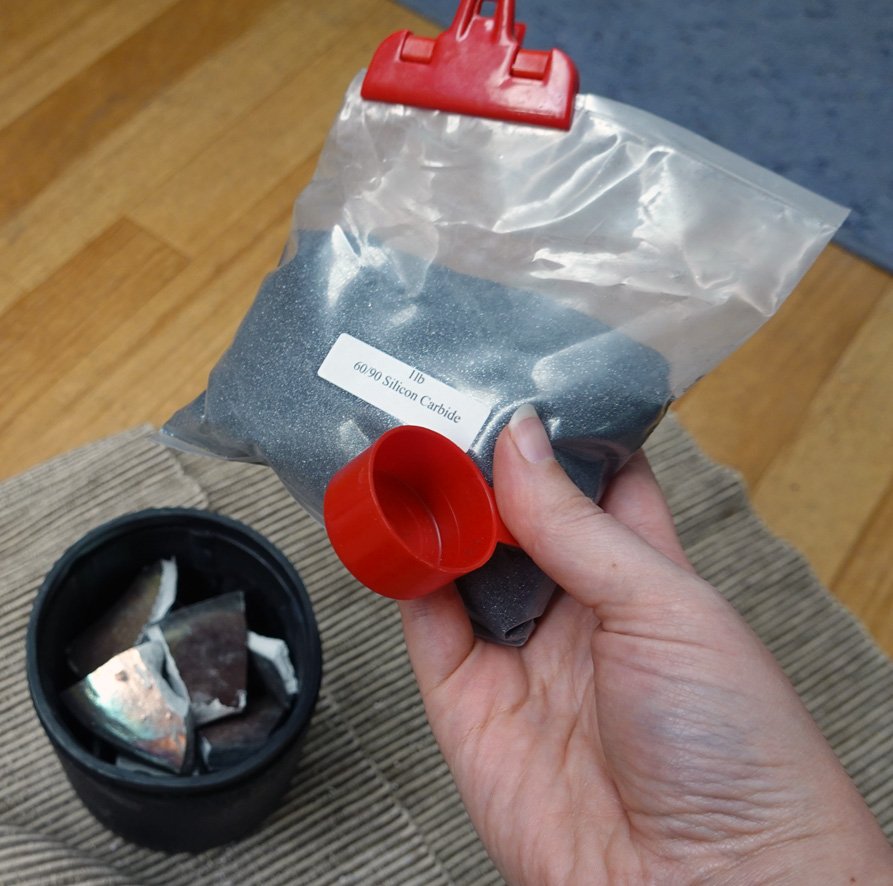
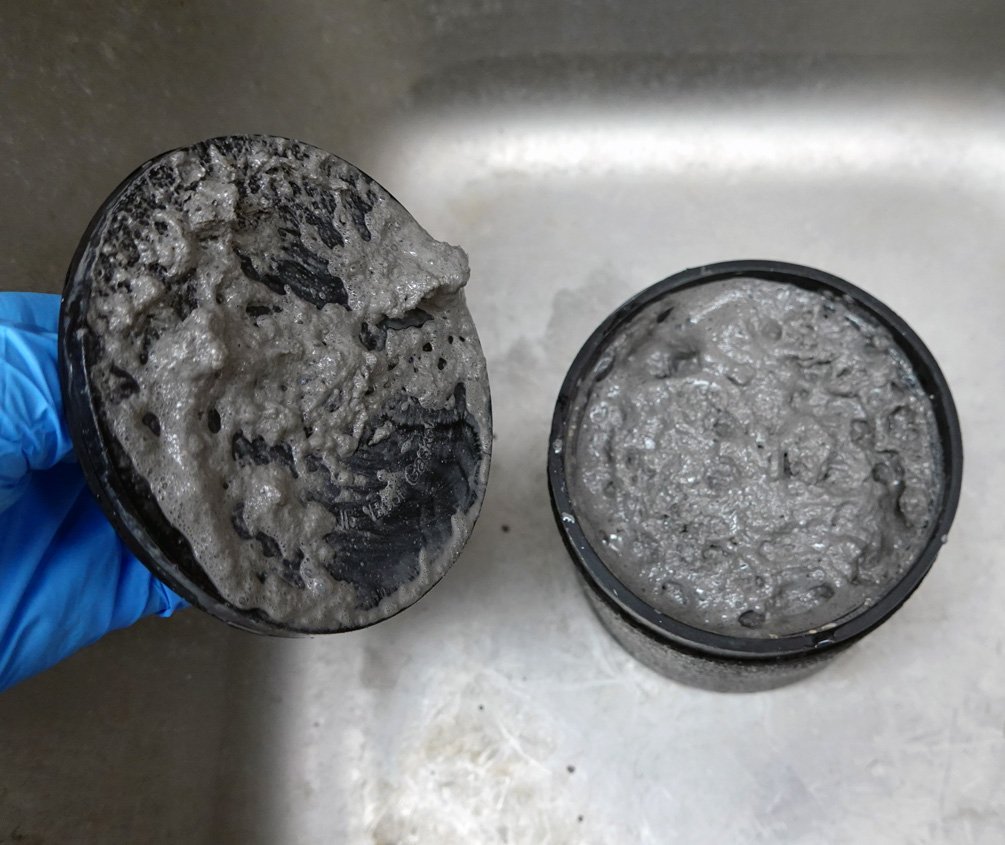
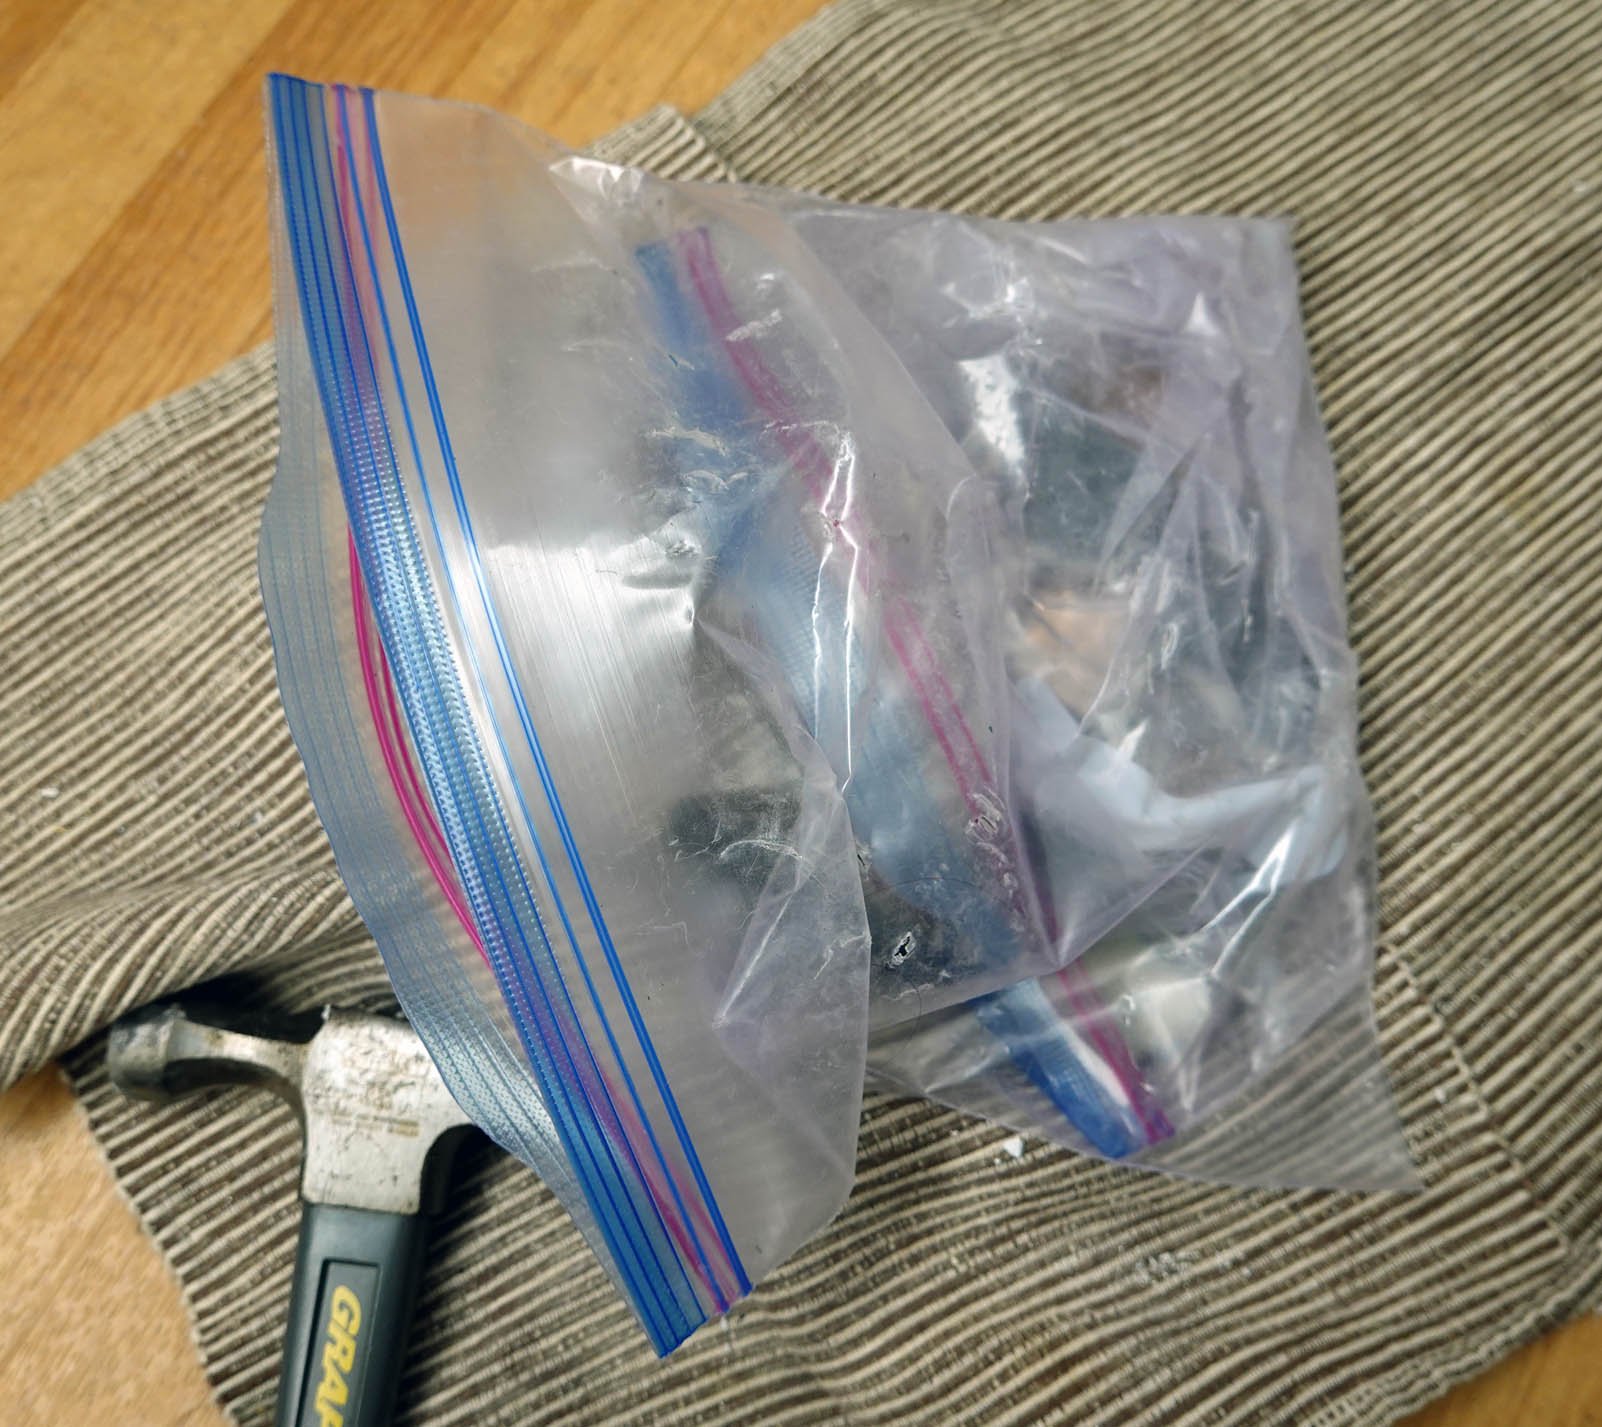
Here are some photos of one tumble from start to finish! (You can click into any of the images to see them at a larger size.)

Cerdeira Village Residency Journal 5 - New Artwork!

When I was shopping at the market across from the Mosteiro dos Jerónimos, I saw a few azulejos tiles of rabbits, and I bought myself one of them - it reminded me a little of Albrecht Dürer's work.

After I finished the turtle sculpture, I decided I would do a rabbit and a bird as a partner piece to the turtle and nest mostly due to that market experience.  When I started looking at various images of rabbits in order to find one to sculpt, I decided that proportionally and structurally, a hare would be more interesting than a rabbit.  And given that I had been thinking about rabbits and hares due to this azulejos tile that reminded me of Dürer, I decided to base my sculpture off of Young Hare.

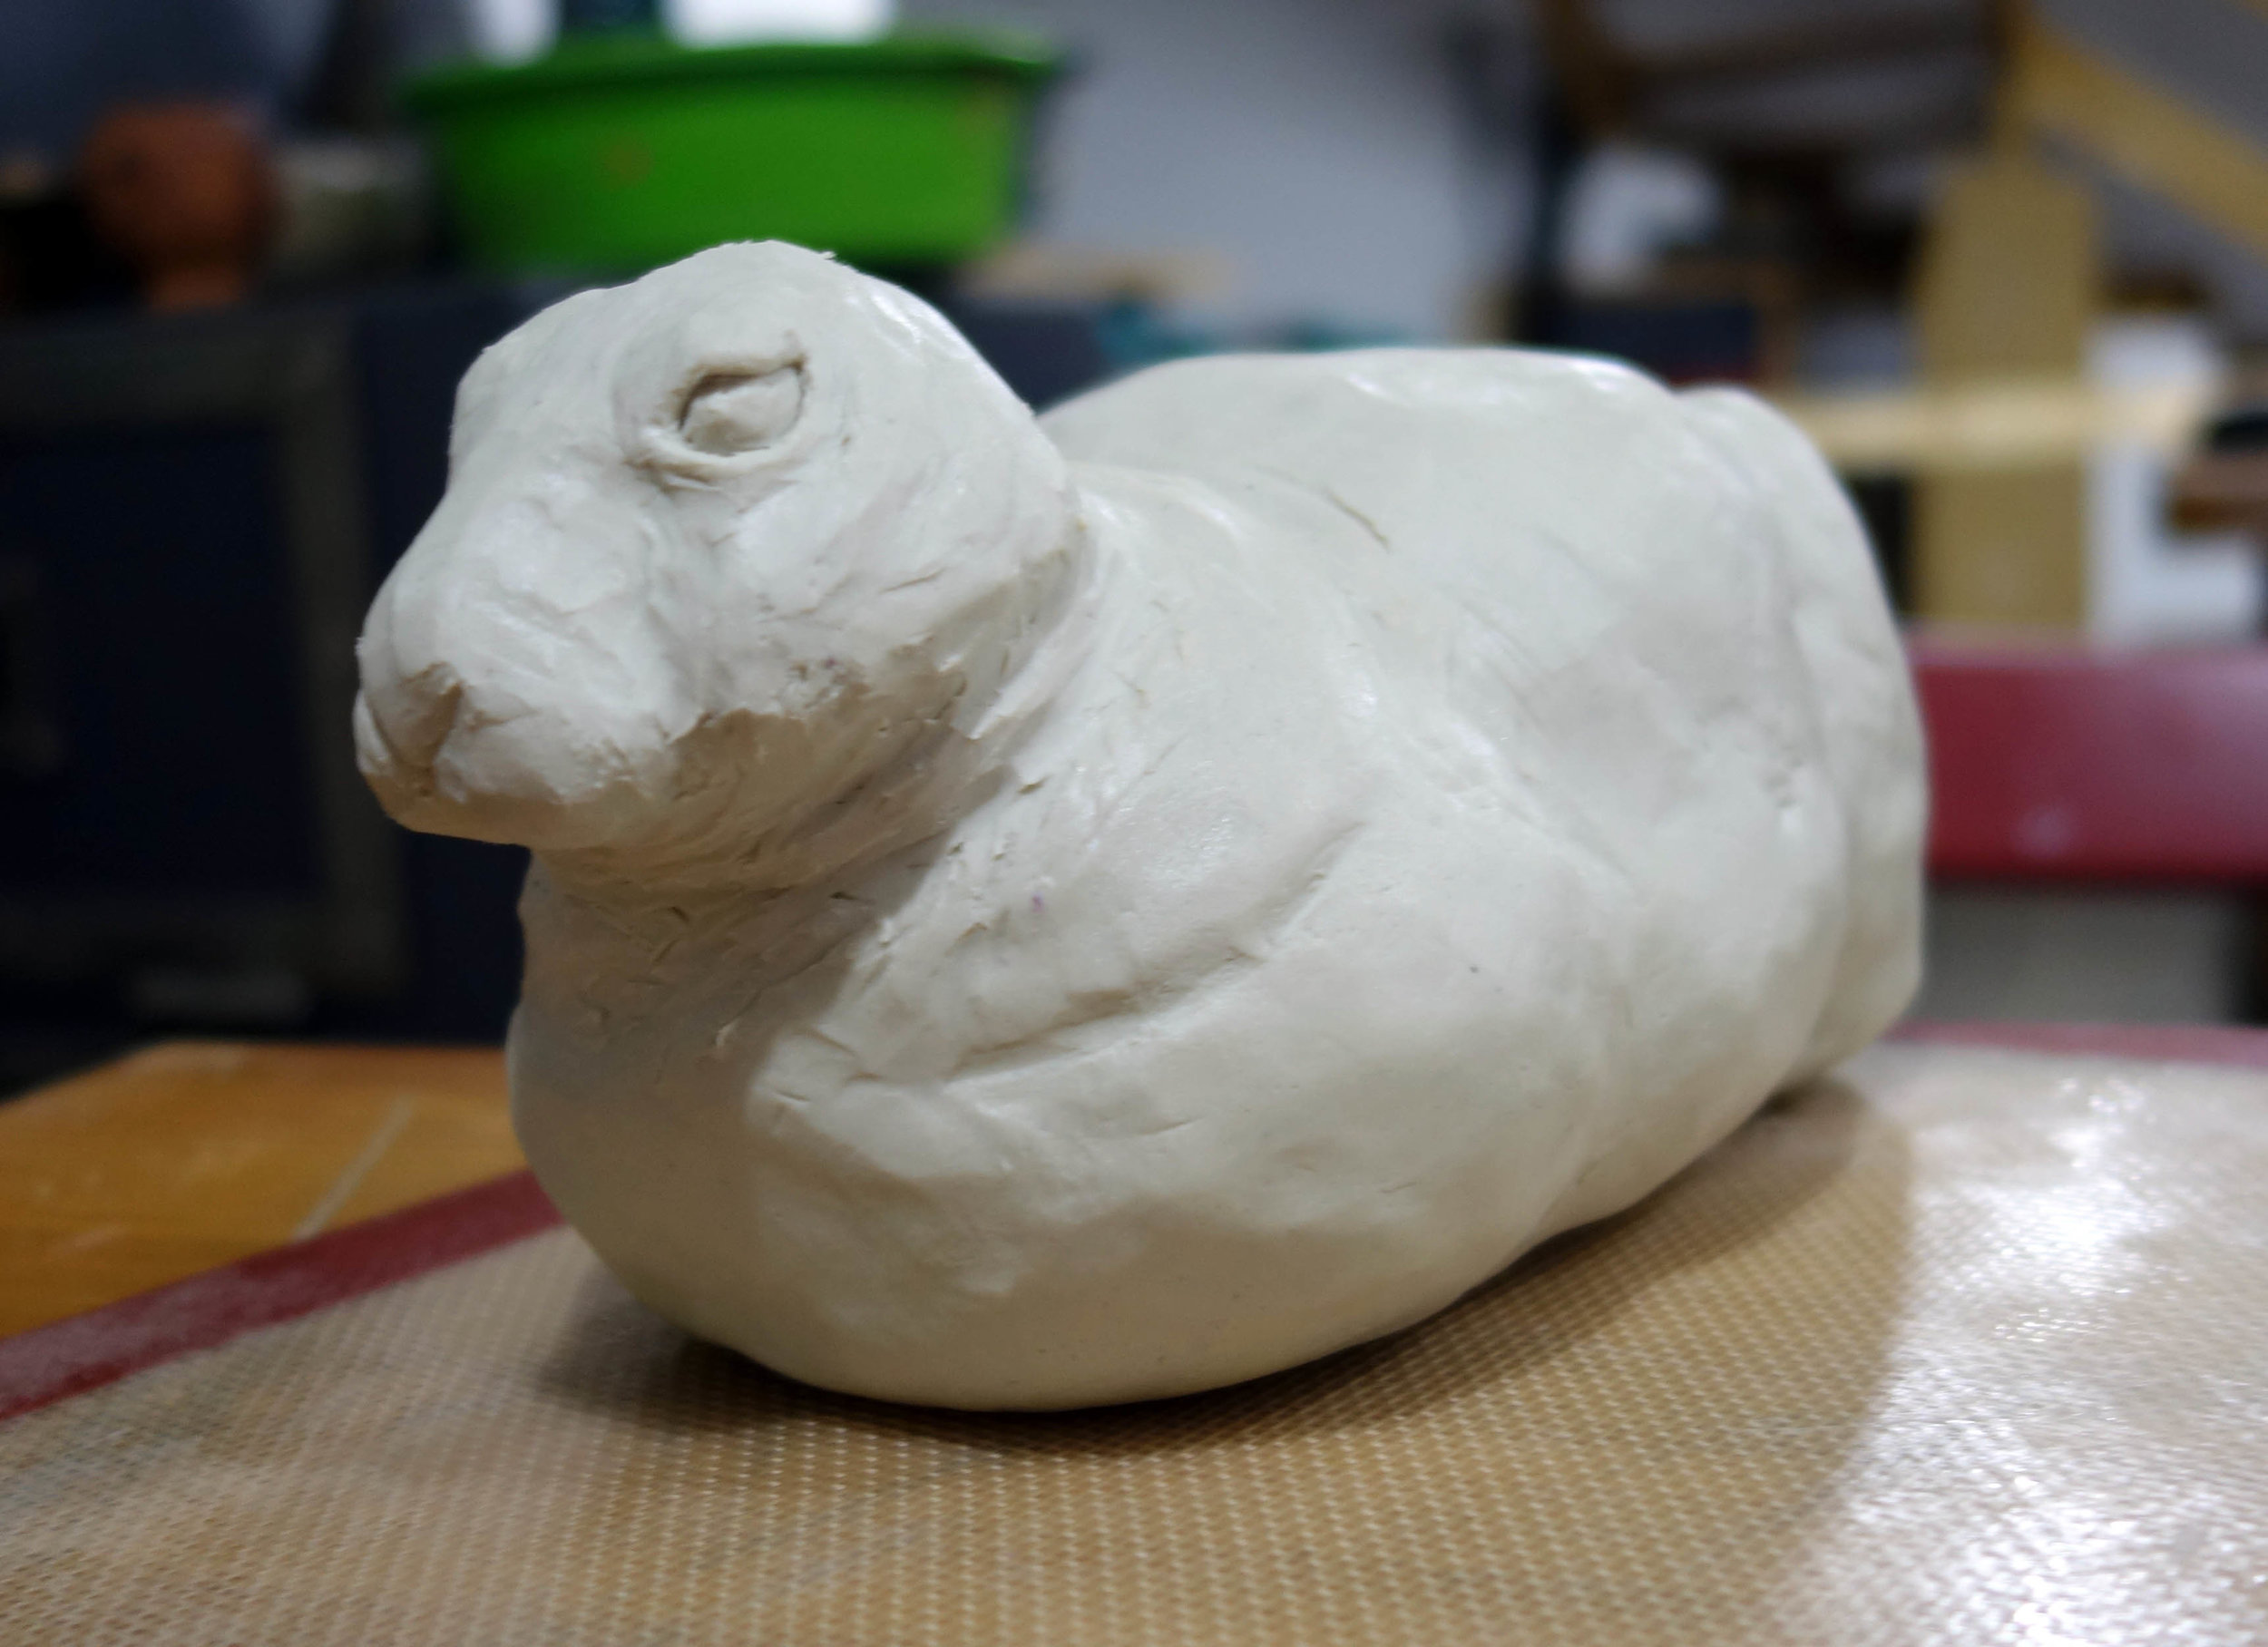
It was really quite fun sculpting a watercolor painting, as it were, and one that I highly admire.  I started off again with a styrofoam and wire base and then added QCC and began to form the body and head.  

I added the feet in three separate parts, and finally the claws and ears.  After every part was added, I detailed the fur and added some jackalope-esque branches in front of the ears.  This all took several days to come together, and obviously there were parts I had to construct myself in attempting to realize a three-dimensional animal out of a two-dimensional painting of it.

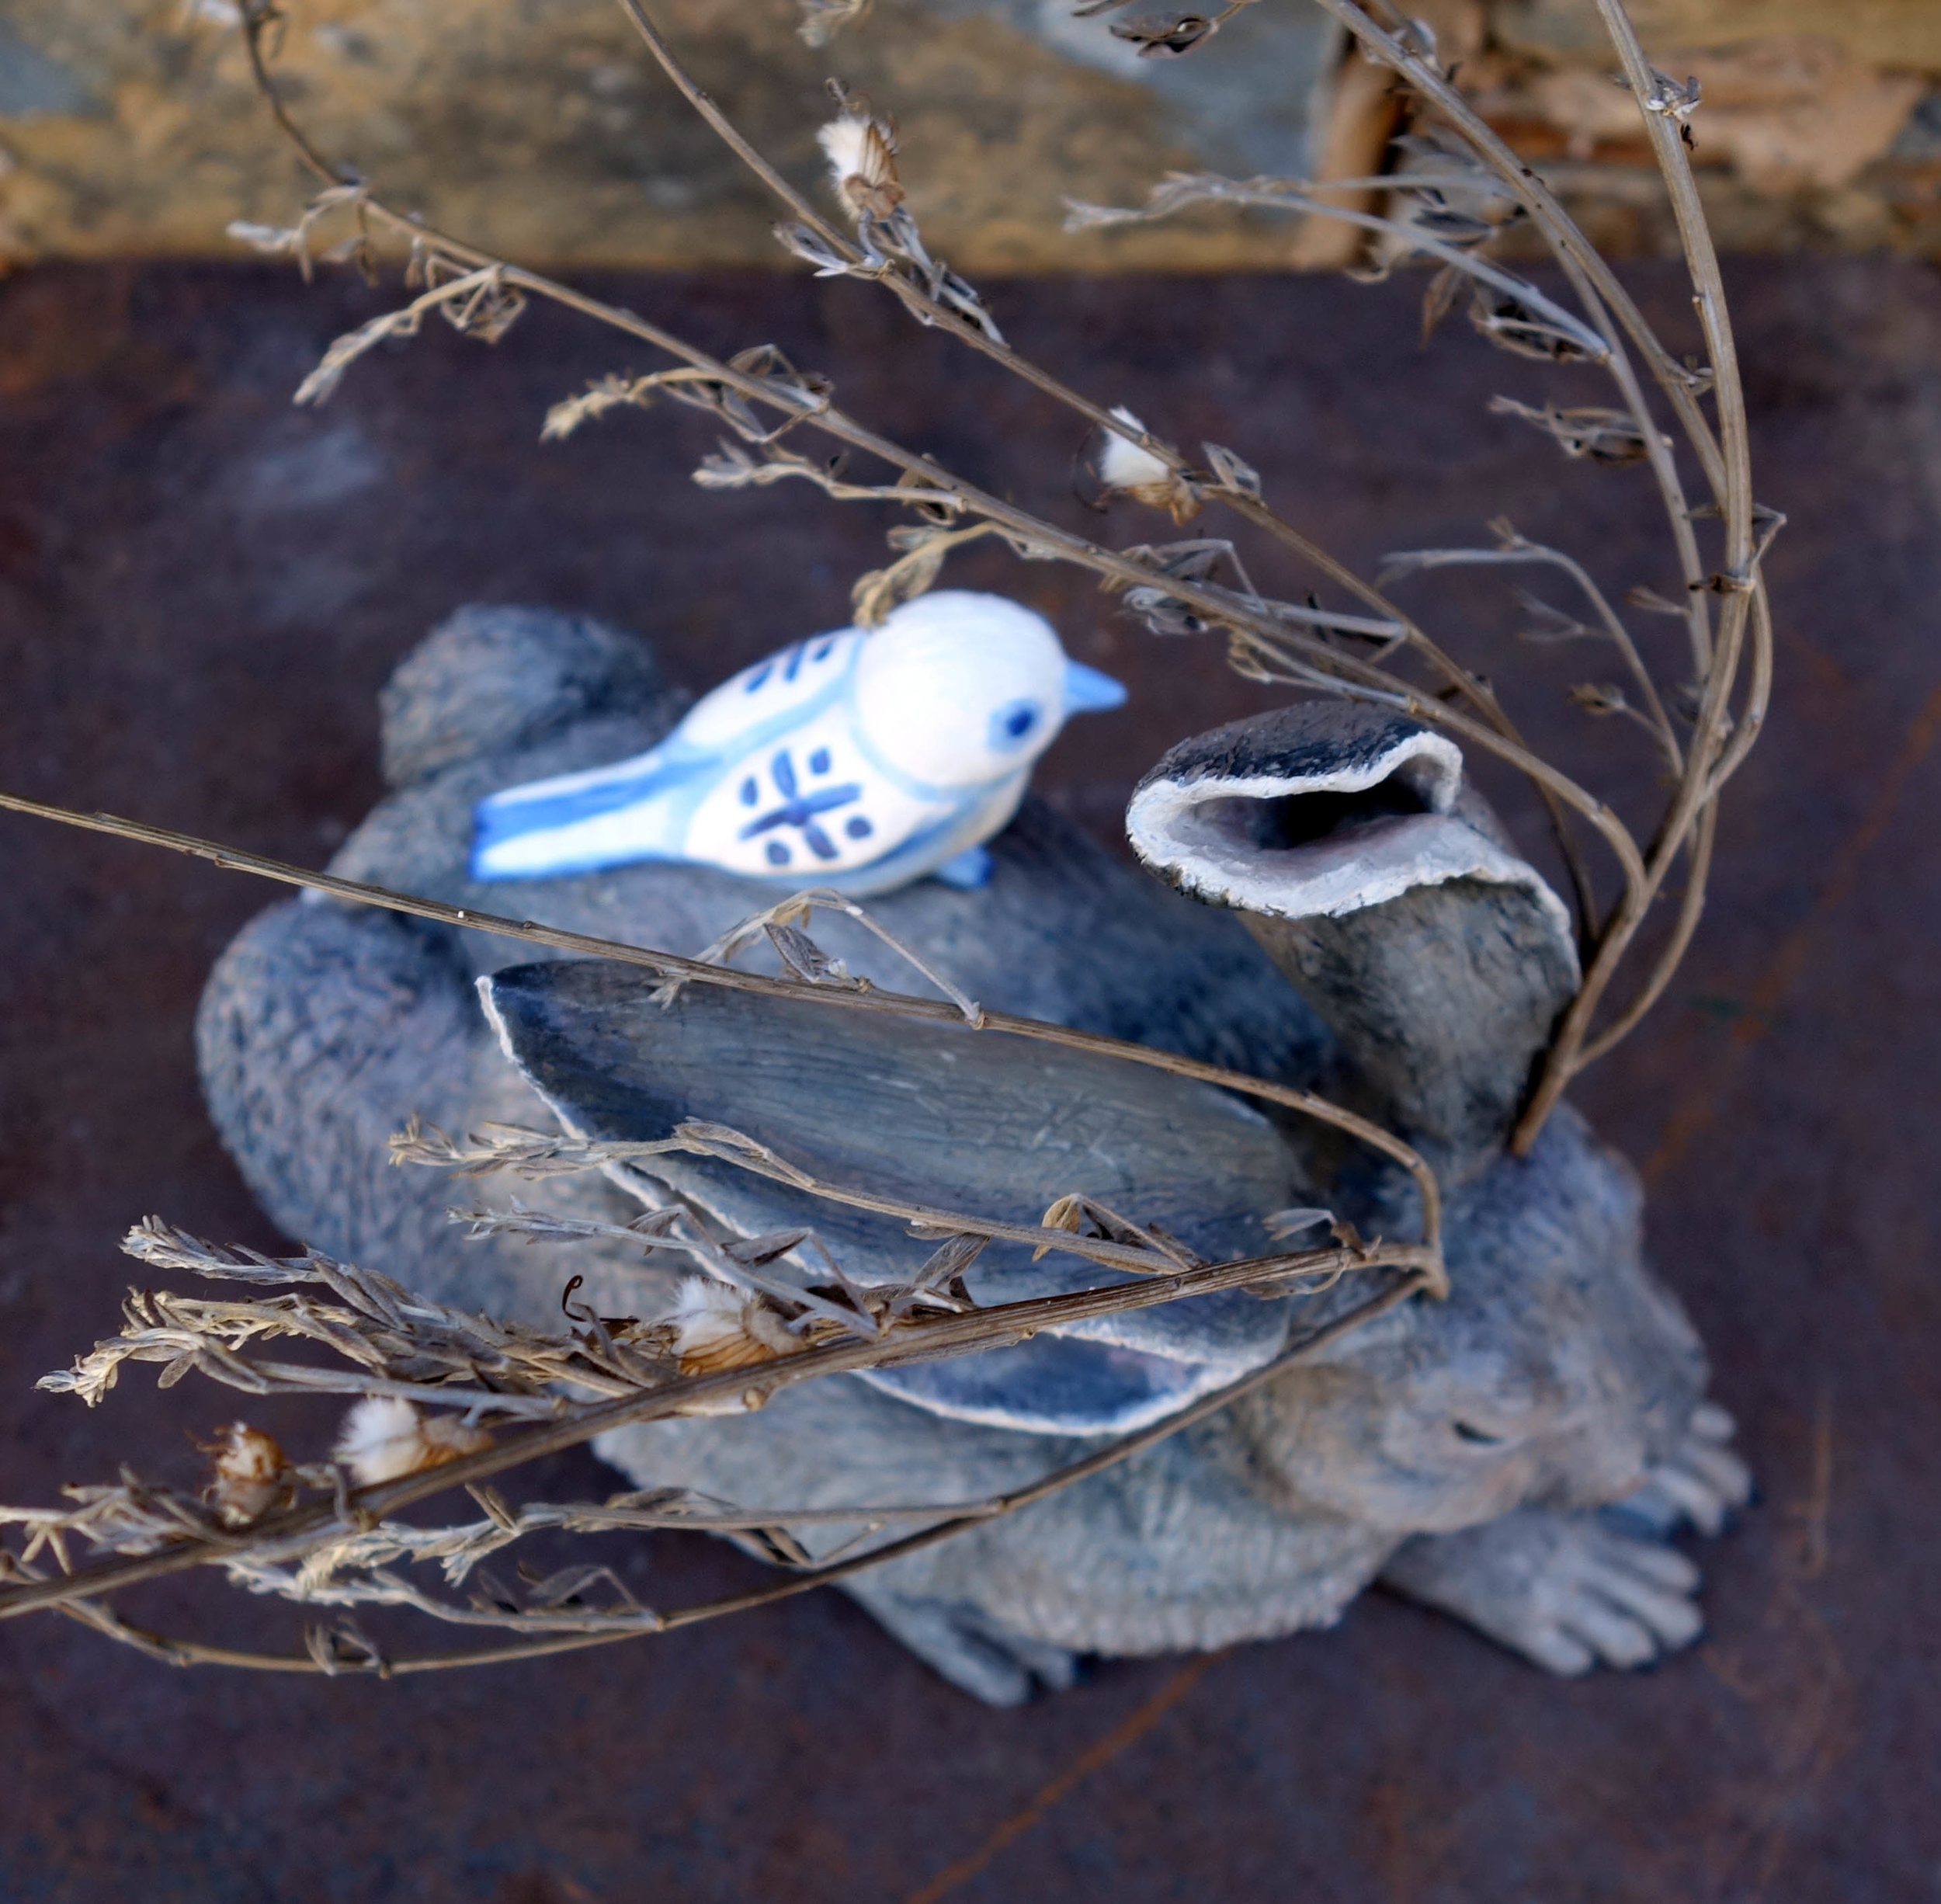
I had planned on sculpting a bird with the hare, but I liked the hare so much alone that I reconsidered.  As I was trying to decide what to do, I thought about how I would progress with the painting of the hare.  In the beginning I had thought about painting the rabbit in azulejos-inspired colors as well, but I realized when doing the turtle that the style that the shell and eggs looked quite good with it because they were fairly smooth, but when I tried to paint the turtle head and legs with various tints of blue, it got too busy and weird due to their pebbled surfaces (so I reverted them back to the clean white).  The fur of the rabbit is quite heavily textured, so I decided to paint it in a fairly realistic coloration through referencing Dürer's piece again but turning the colors just a little bit cooler in a nod to the azulejos theme and my own practice of using blue as a dominant color in my own work.

In deciding to paint it in naturalistic colors, though, I thought the two pieces wouldn't seem very related, so I figured I should do a bird - but a detachable bird, in case I ended up displaying the pieces separately as well or in case the bird didn't turn out so well.

I knew I wanted the bird to be in the azulejos color scheme, but I wasn't sure if I wanted to approximate an actual species/patterning like I did in the slider turtle shell design.  In the end, I decided the bird should be even more clearly a reference to the azulejos tiles; then there would be this strong representation in the bird and the eggs, a referential-but-also-naturalistic one in the turtle, and then an almost entirely naturalistic representation in the hare.

So here it is!  I also haven't accurately measured or titled it (though Young Hare will show up in the title somehow), but it is a mixed media ceramic sculpture including QCC, acrylic, and found branches.  Some of the photos below are of it in bright sunlight, so the cast shadows on the bird can be a little hard to parse, and all are against a brown/gray background which can make the branches difficult to differentiate too, but I will take photos of it in a white gallery space as well.

Cerdeira Village Residency Journal 3 - New Artwork!

When I woke up for my first morning in Cerdeira Village, I was still a little tired and quite sneezy - I thought I would escape from my Kansas allergies but there are apparently still plenty of plants I'm allergic to in Portugal!  I soon shook it off, though, and Julia and I made breakfast and started to get to know each other.  Next I went to set up my studio space; the atelier is downstairs and next door from the residency housing.  I took over two small pottery tables and a bigger workshop table and began working on my first piece.  

When I proposed my project for this very competitive residency, I took note of how ceramics-oriented the website was and my proposal was to make some fully 3D pieces out of QCC since of late I've been doing only relief work with QCC.  For my first sculpture, I decided I would create a slider turtle with branches growing atop its back supporting a nest.  I picked a turtle for a few reasons - 1) I'd sculpted two turtles a few years ago out of QCC but never felt I fully resolved their form and wanted to improve upon that work; 2) there is a multicultural myth that the world is supported on the back of a great turtle; 3) I hadn't seen very many animals in Portugal yet given that I'd only been there a couple days, but I had seen at least two different species of slider (red-eared and yellow-bellied) at the Estufa Fria in Lisbon.

I started the sculpture by carving a rough approximation of the shell out of styrofoam.  This was mostly to save on clay usage - I can only carry one bucket of it at a time due to the size and weight it occupies in my luggage, so I want to be smart in how I use it up - but also helps with the weight of the piece, which is important because I will have to ship my artworks back to the US and weight sharply increases the shipping costs.

Then I applied QCC in a relatively thin layer around the styrofoam and began to shape and detail it (hacking out bits of styrofoam as well if I needed to).  The shell took a lot longer than I thought it would to really shape properly; I did not finish it the first day.

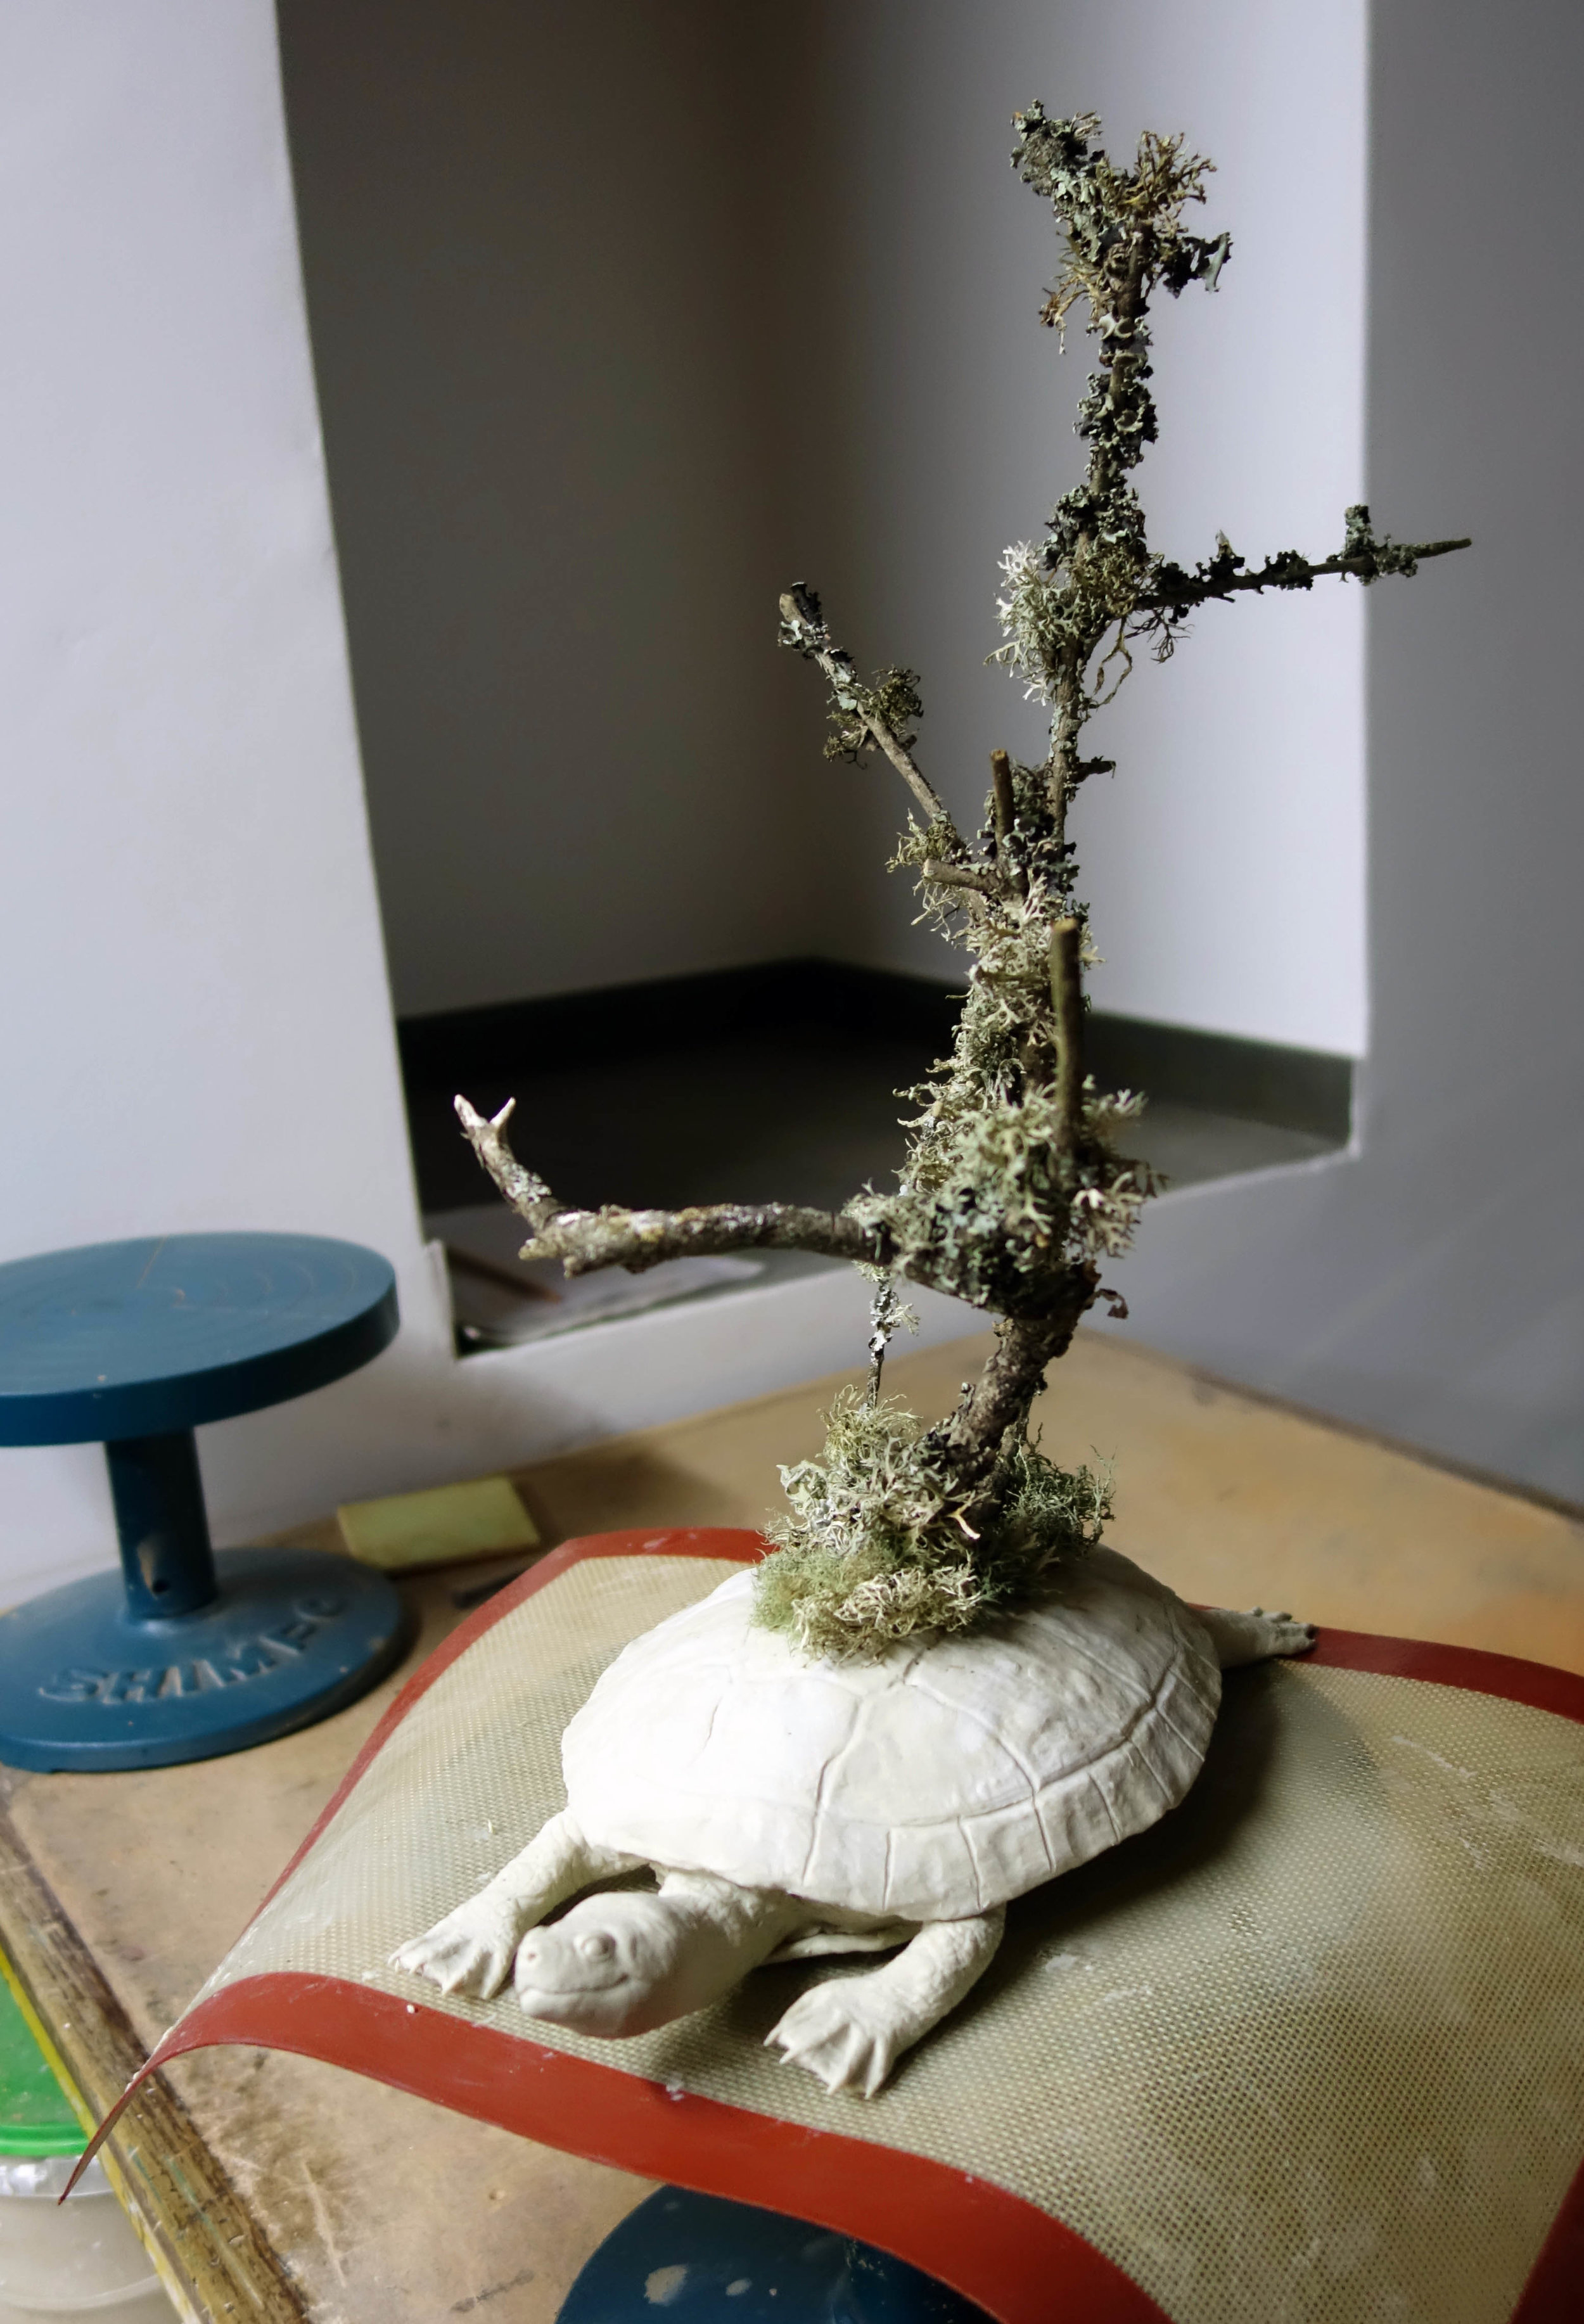
I continued work the second and third days on the turtle.  After finally detailing the shell, I moved on to the head and feet.  I did them all separately so I could be very considered in my markmaking, and finally I assembled all the pieces and added a tail and other final detailing by the end of the third day.  I had planned to make the branches and nest out of the QCC as well, but I became enchanted by the local lichens that grow on the trees here and ended up pushing real branches into the turtle's back before curing the whole piece.

 Afterwards, I did add a nest and two eggs made out of QCC into the branches.

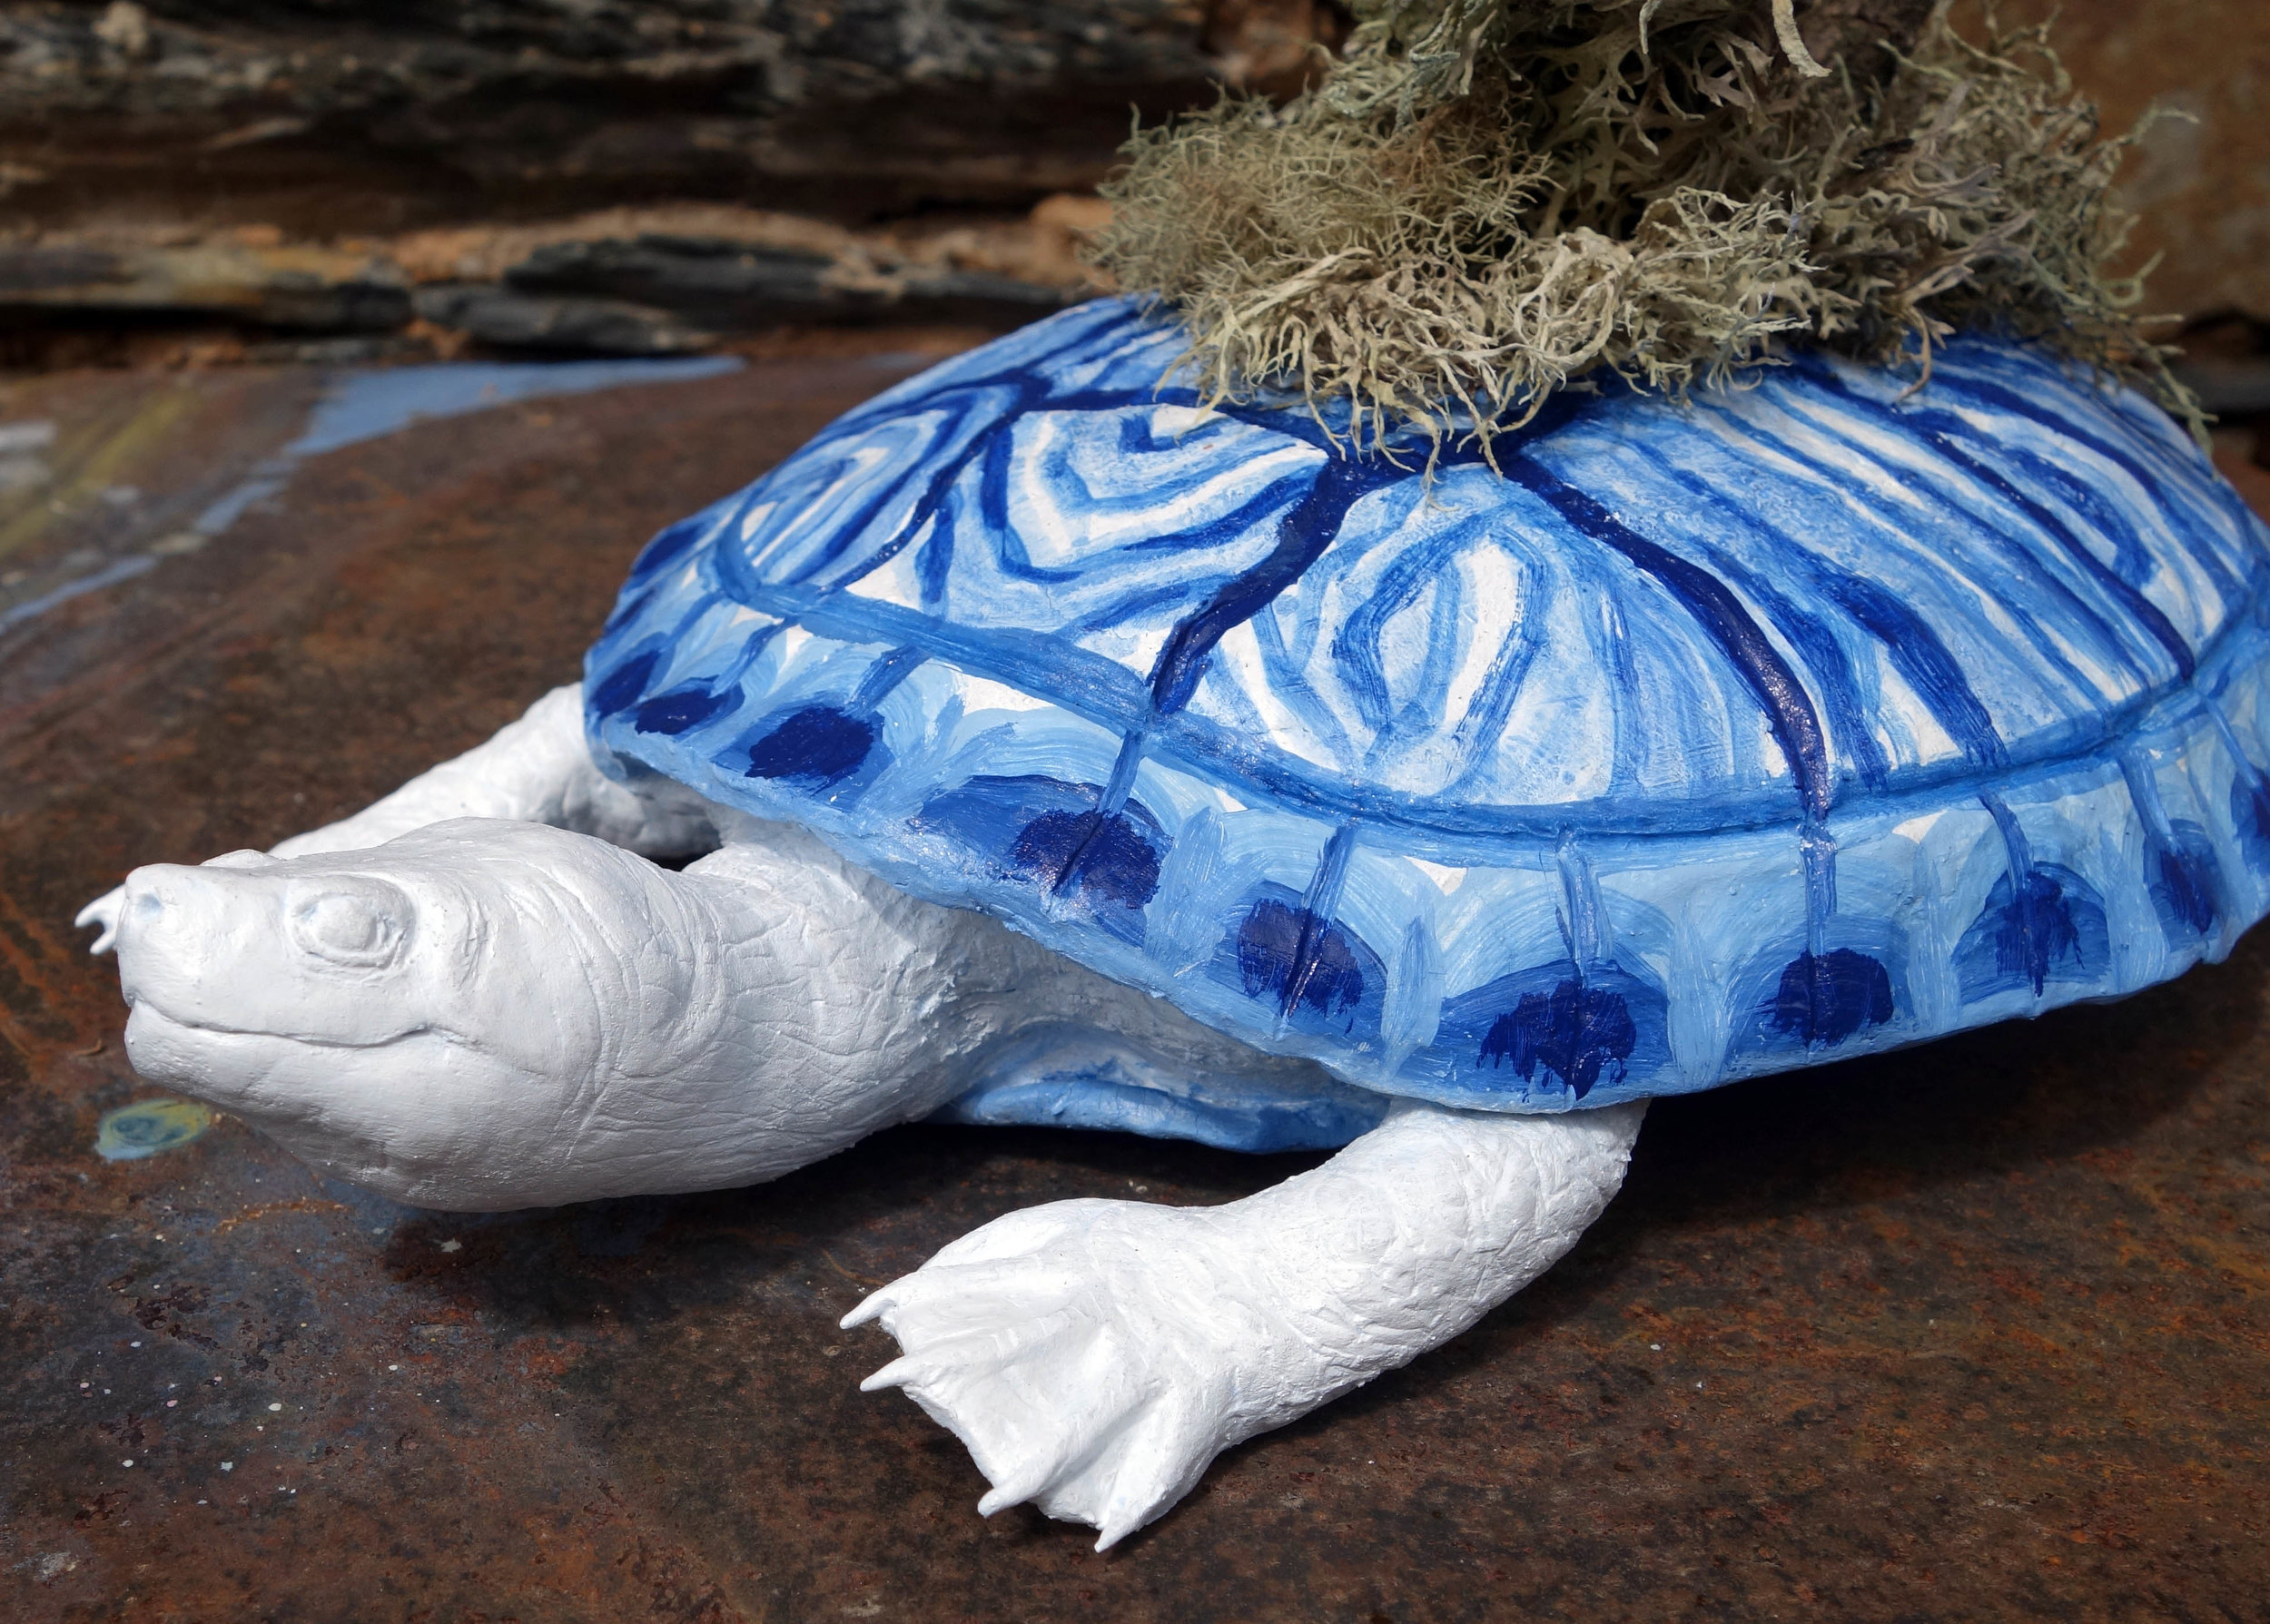
On the fourth and fifth days, I painted the turtle, nest, and eggs white.  I had got it into my head to reference the azulejos tiles so common to Portugal in the painting of the sculpture; the starting point was turning the natural light tan of the clay the bright white of the glazed tiles.  I had only brought one type of paint with me - my Golden OPEN Acrylics - which are great for normal painting needs but are really poor as a base coat due to their long dry time.  Here in Cerdeira Village, they seem to dry even slower - in fact, barely at all - and I ended up just going ahead and painting the turtle shell with an azulejos-inspired, painted-turtle-shell-based design on the sixth day here despite the shell still being faintly wet.  I also painted the eggs with a small decorative motif seen in the corners of some azulejos tiles.  The turtle and eggs took almost a week to dry, but aided by my eventual realization that I needed to put them outside in the sun to assist, they were handle-able by the time I needed to install them in their exhibition space the morning of June 2.

So here's the piece!  I haven't measured it yet, nor titled it (I've got some ideas mulling), but that will come.  It is a mixed media ceramic sculpture including 3P QuickCure Clay, acrylic, and found branches and lichens.