Week 4 of the Arts Itoya Residency

In my last week, our shows and artist talks were scheduled to take place on Wednesday, June 26th from 2-6pm. I was completely studio-focused in the days leading up to the reception, and I managed to get six paintings up for display; however, the sixth one wasn’t quite finished yet so I planned to continue to work on it at home. I’m pretty pleased with this amount of production in a four-week residency, though I definitely bolstered it by coming a week in advance to get over my jet lag while purchasing art materials and gathering reference experiences and imagery!

We had already packed up everything in the studio aside from the displayed artwork in order to host the reception on the 26th. I was departing on the morning of the 29th for Kyoto, and needed to ship my luggage to Tokyo before that. It seemed silly to me to revive my studio practice given all those details, so after the show ended, I deinstalled my artwork and took it and all my studio materials back to the house.

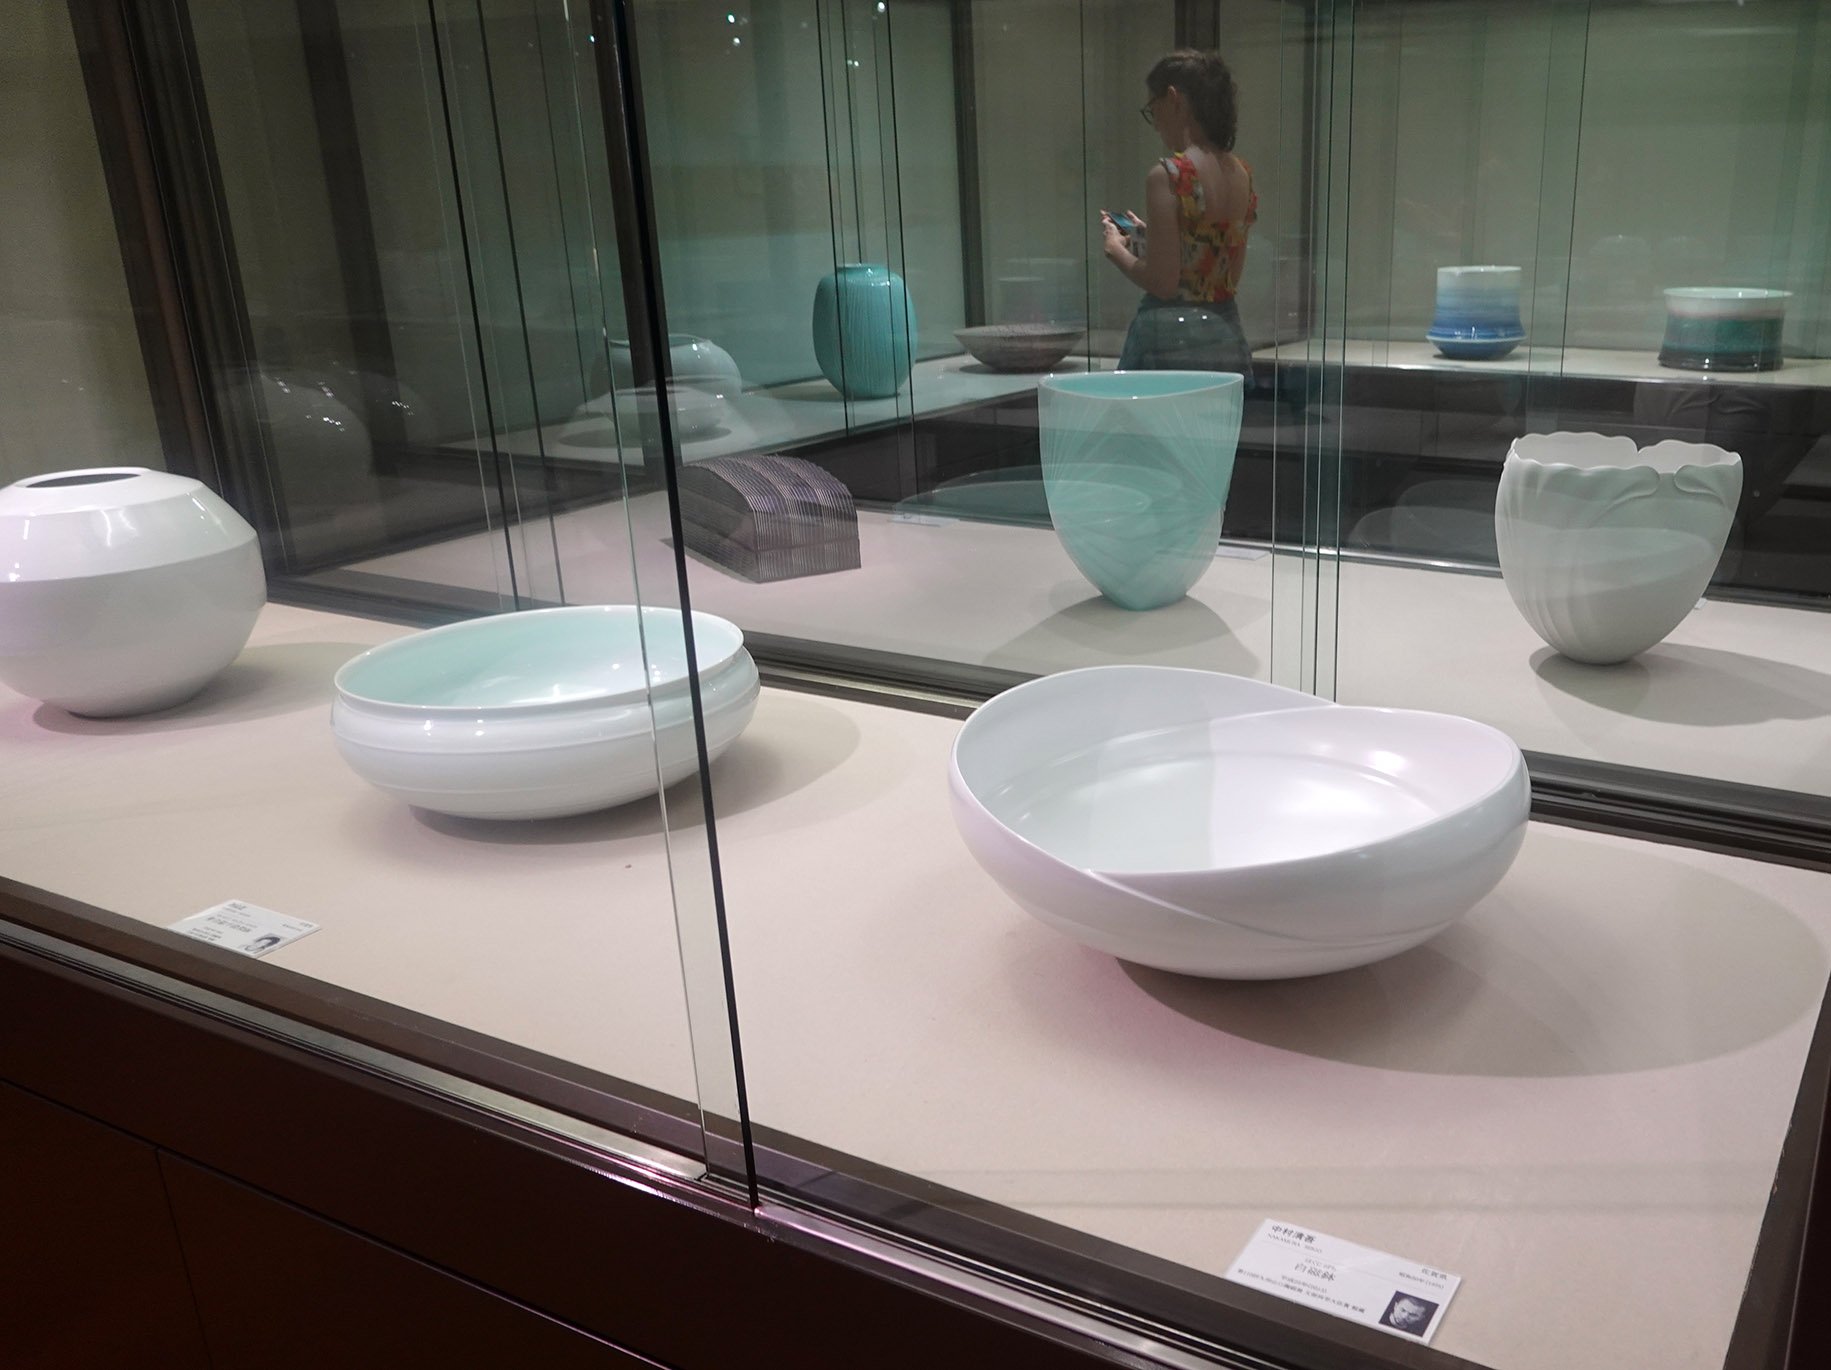
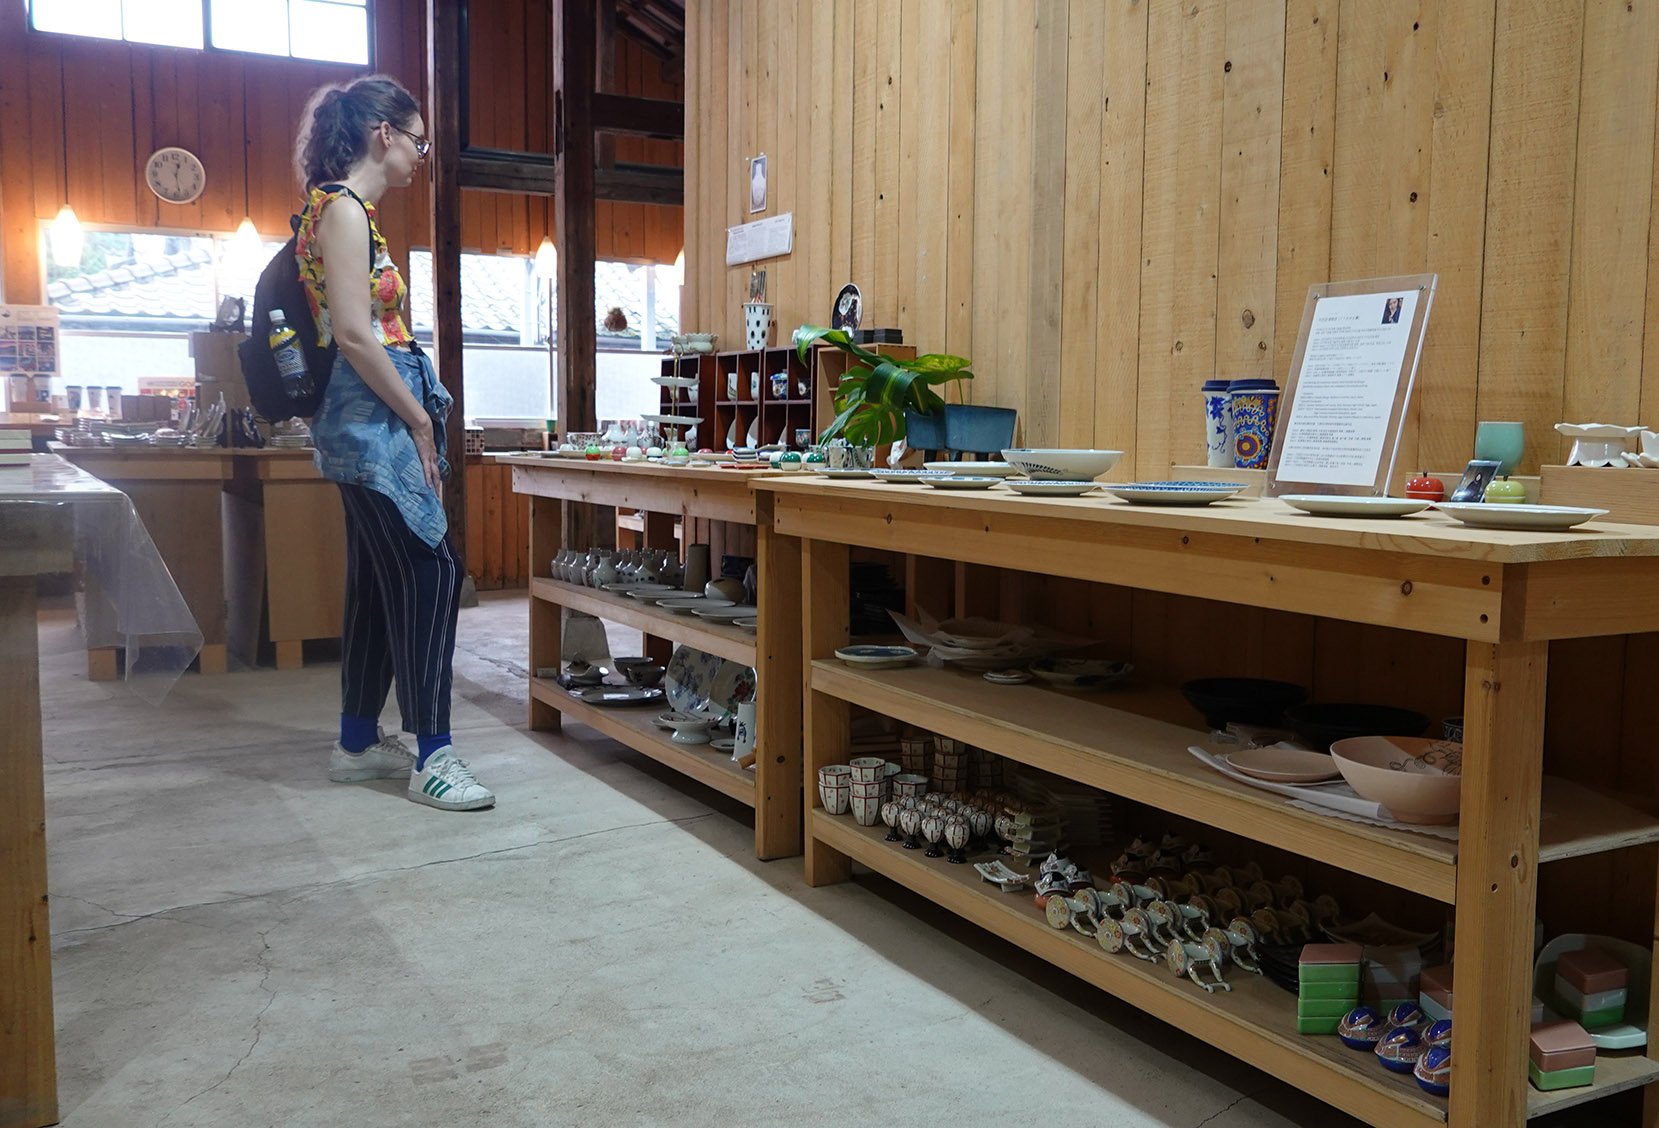
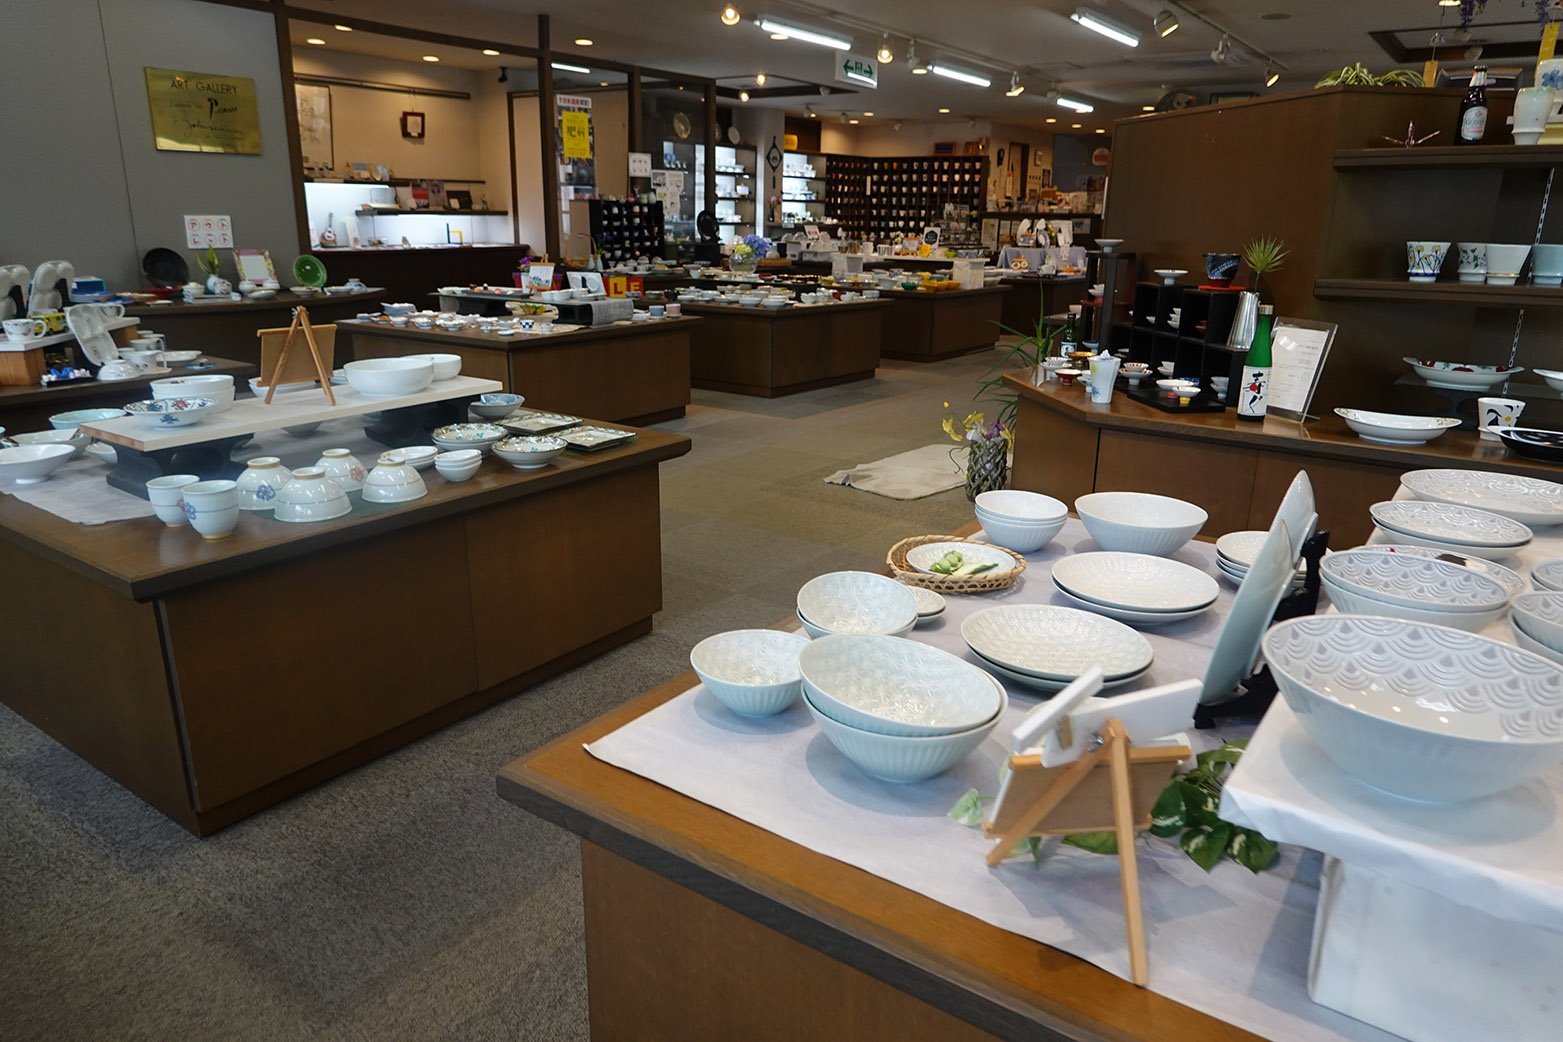
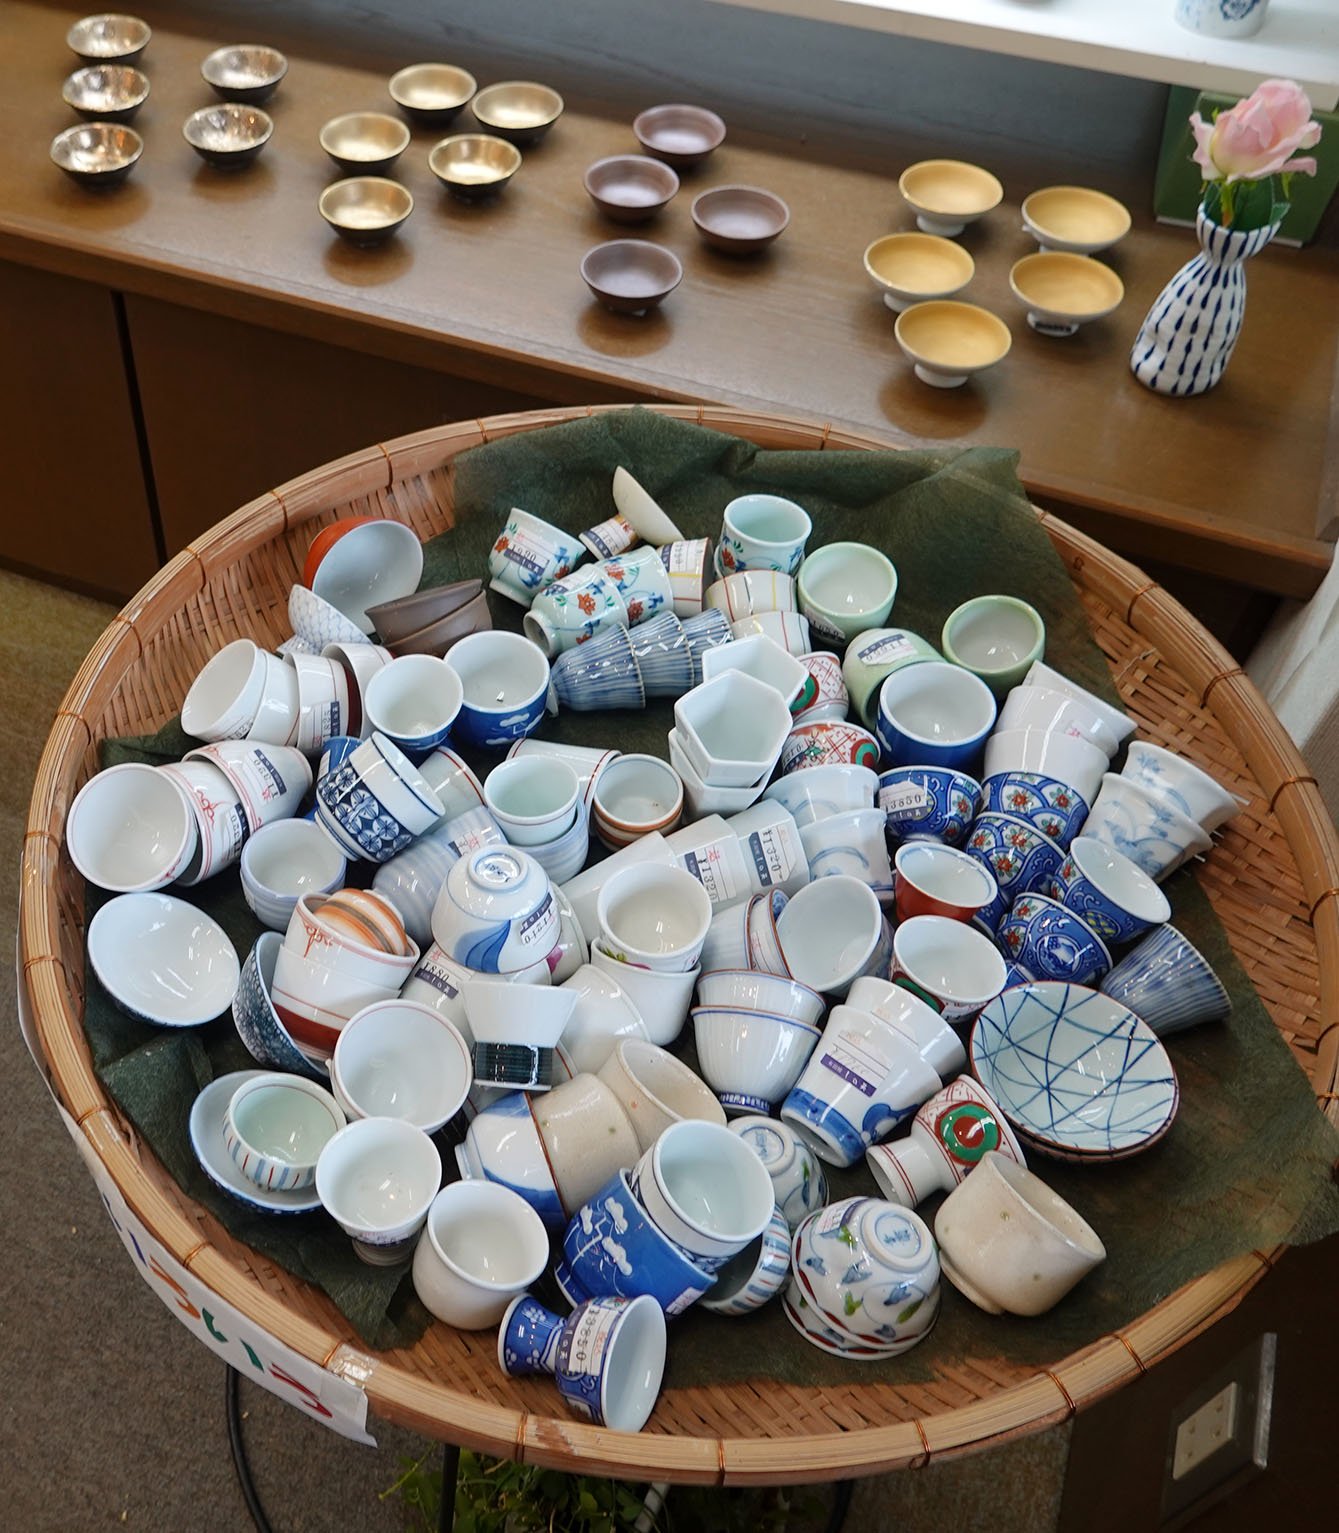
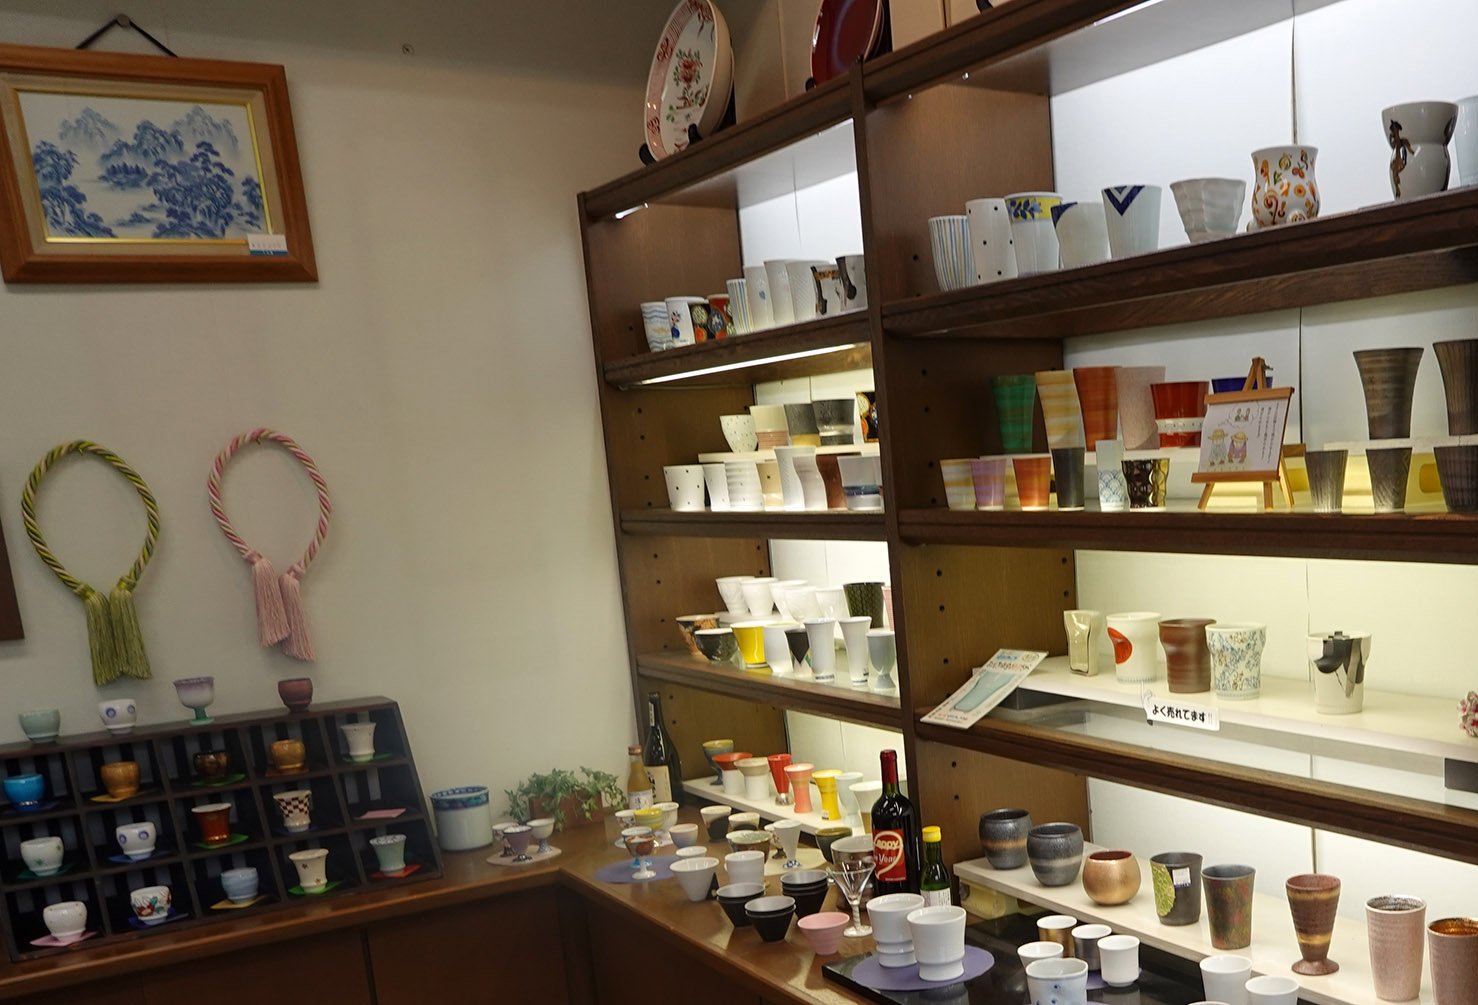
Then on the 27th, Emily and I visited Arita! Takeo-onsen, the town which hosts the Arts Itoya residency, is located in Saga prefecture in Kyushu (the southwestern Japanese main island). Saga prefecture has three particularly famous porcelain towns: Arita, Imari, and Karatsu, and I wanted to visit at least one of them! In terms of the porcelain produced, I like both Arita and Karatsu in terms of aesthetics (Imari porcelain is a little too ostentatious for my taste). Arita is much closer to Takeo than Karatsu, so it was the better choice for a day trip in terms of both time and cost. We first stopped at their ceramic museum, and then walked to a famous studio called Kouraku Kiln. After that, we walked to the major porcelain shop center Arita Sera and ate lunch. We then visited a LOT of porcelain stores (we probably visited about 50, but I think there might’ve been 100 there). I’ve never seen such a large, single-subject shopping district before and I am pretty confident it’s impossible to take in all at once; there’s too much to look at and our feet were also voicing complaints. There was so much to see that we barely bought anything due to the mental overload, the very real luggage size/weight limitations, difficulties in transporting fragile ceramics, and the fact that we’d already bought some ceramics from a store in Takeo; we stuck to small items only. I bought a gift and four pieces, and Emily bought two gifts and two pieces.

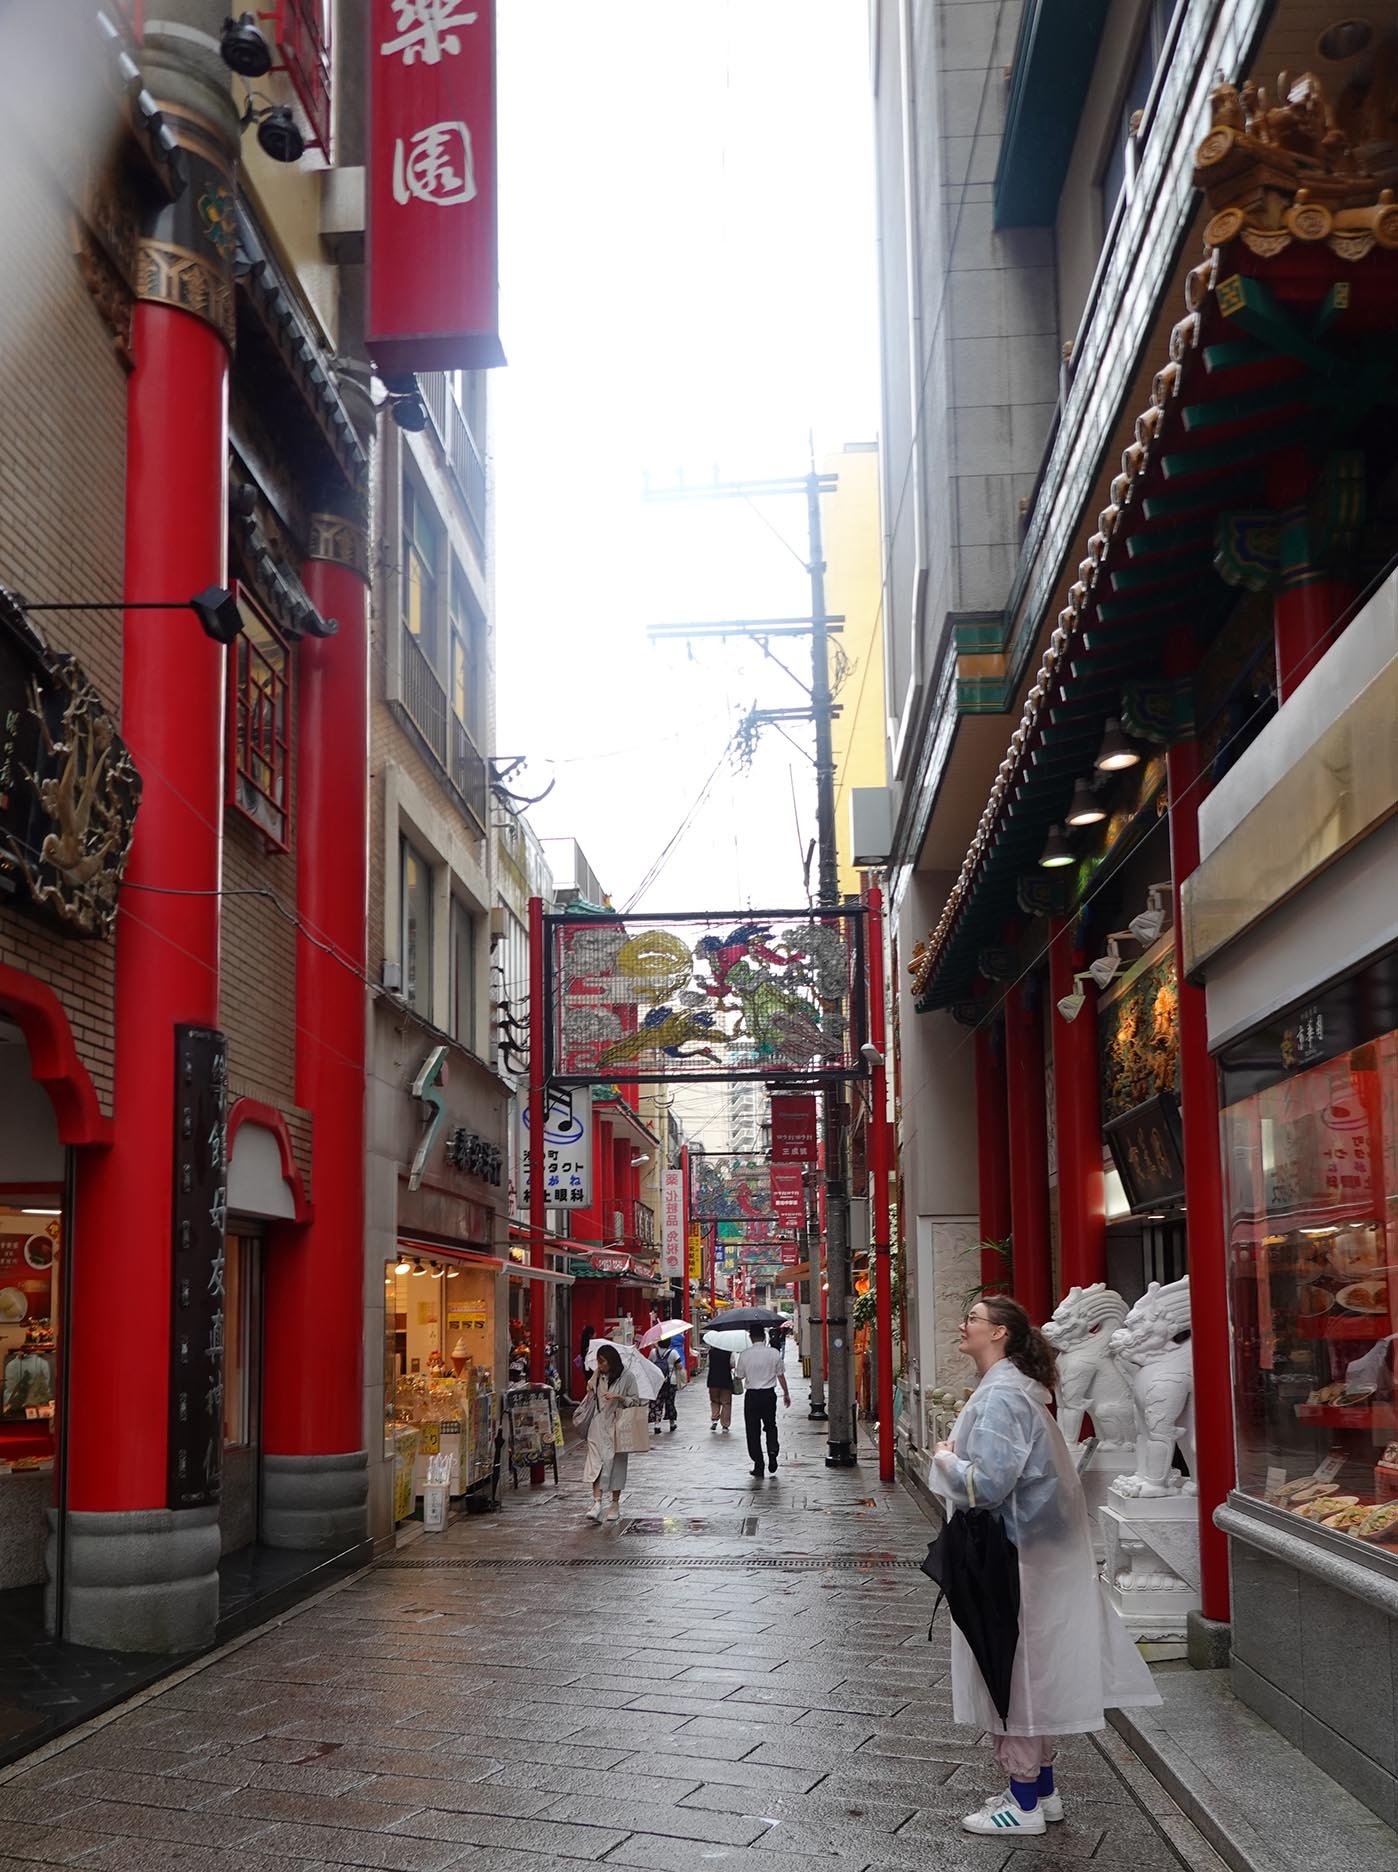
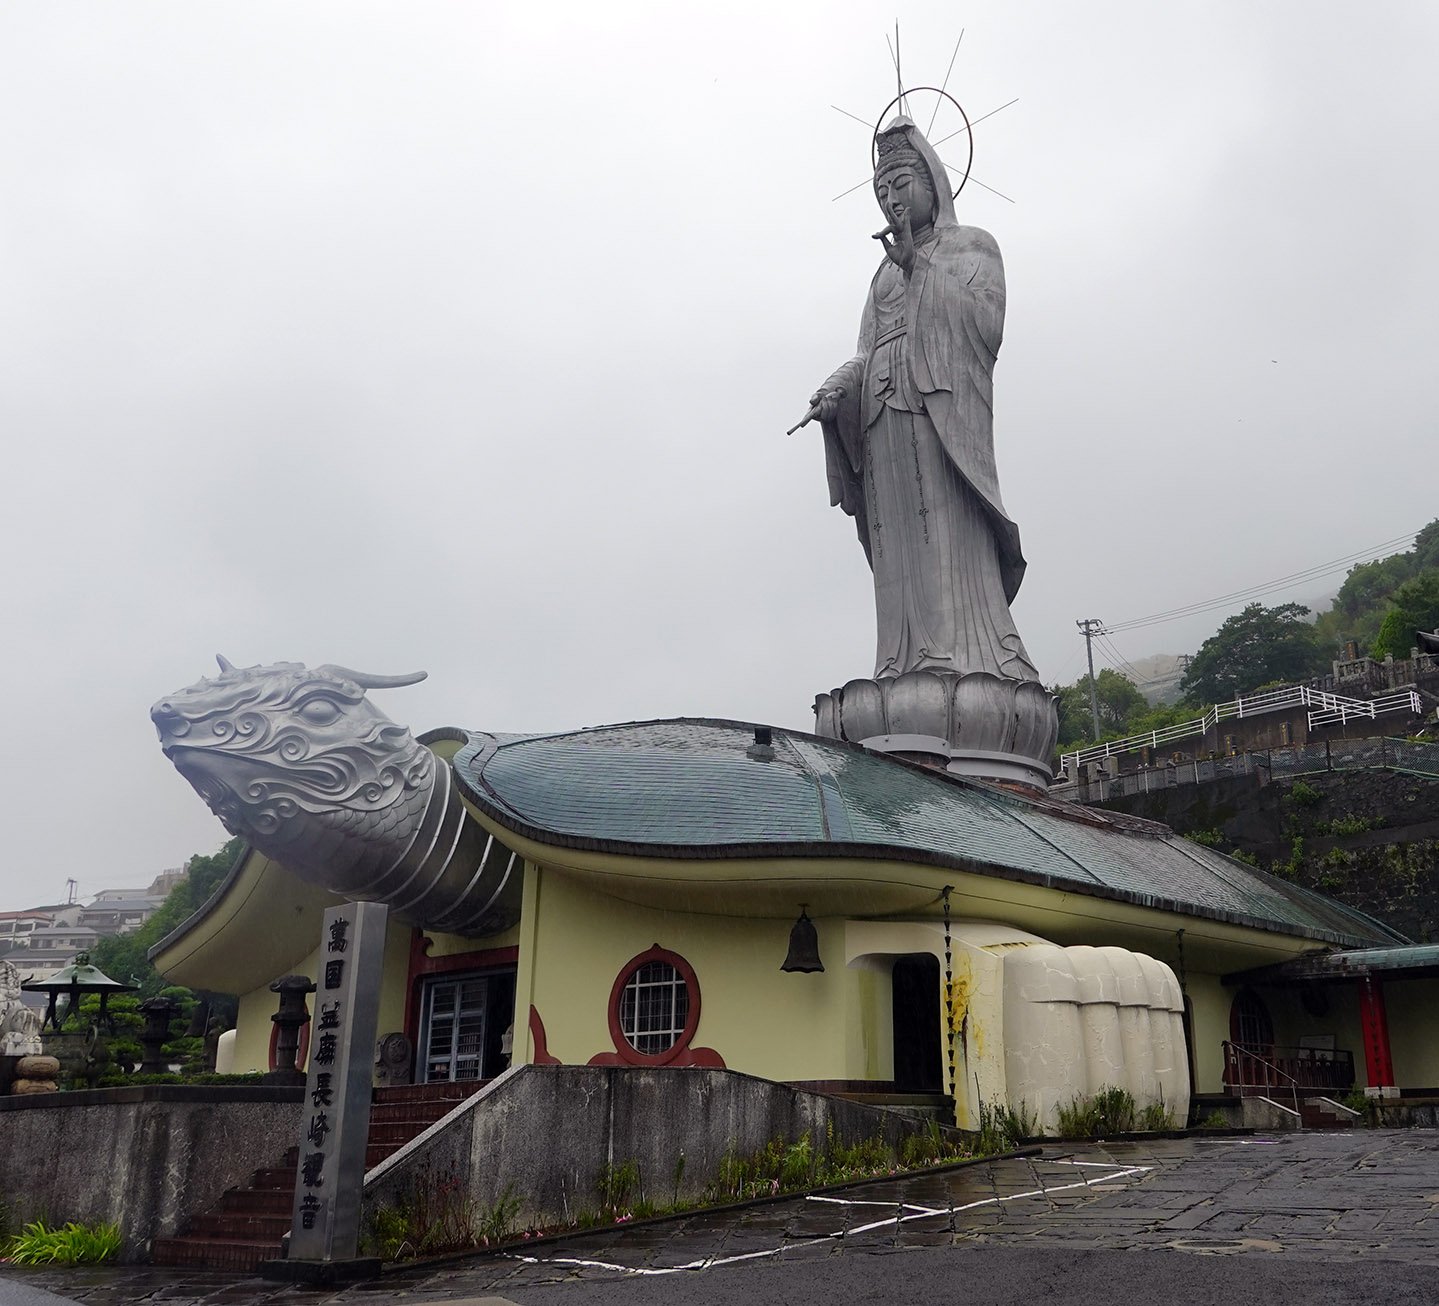
On the 28th, we visited Nagasaki. My former colleague Masa Watanabe had urged me to do so, and Hiro seconded the recommendation. We made our first stop at their prefectural art museum, and then went to lunch before checking out their very small Chinatown and then wrapping up at a Buddhist temple, Fukusaiji. That evening, Hiro helped me ship my two large pieces of luggage to my Tokyo hotel with Yamato Transport. And with that, my last week at the Arts Itoya residency came to a close!

Arts Itoya Painting 5: Messenger

My fifth painting is of a sika deer (Cervus nippon), painted atop a decorative camellia metal leaf washi paper. I applied the paint atop the gilding in a thin, translucent layer so that the metal leaf is still visible. In areas where the paint colors are similar to that of the metal, it’s difficult to see much difference head-on - but in darker coloration spots, you can discern it. However, if you stand at an angle or due to the light environment when reflections are apparent, the gilded decoration is visible throughout the whole painting. Below are two photos of the same painting, visually demonstrating what I describe above!

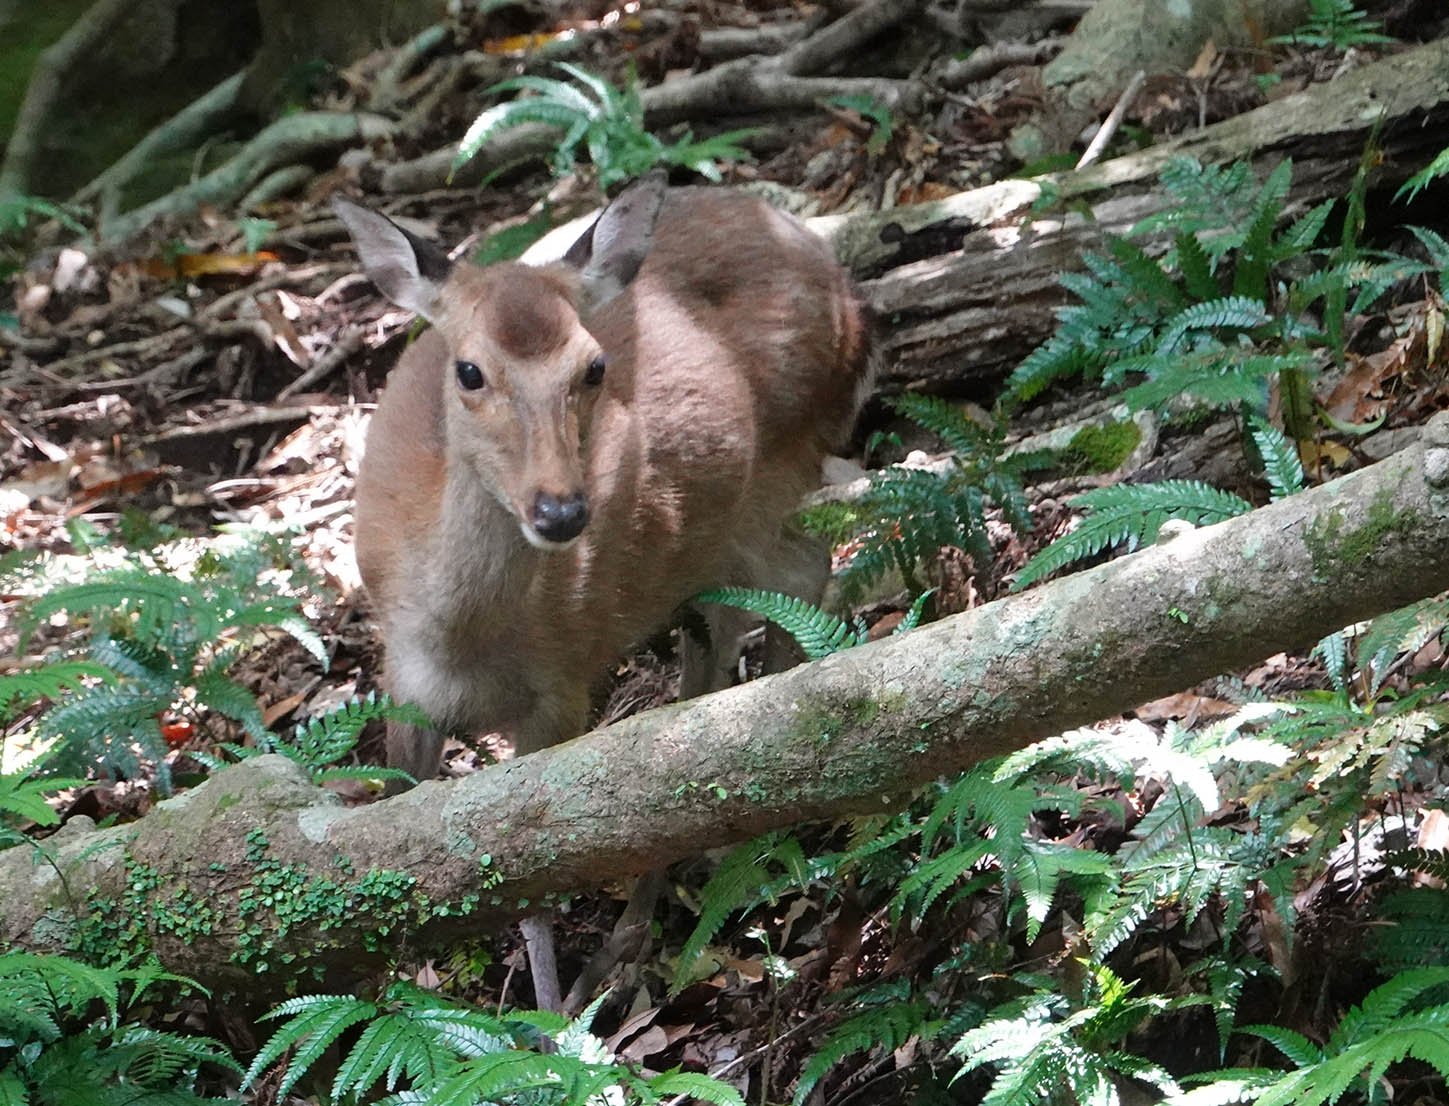
I encountered wild sika deer in Yakushima (the subspecies C. nippon yakushimae) and in Nara as well as saw them in zoos in Fukuoka and Yamanashi City. They are famous in Nara, as more than 1,200 roam freely around Nara Park and the grounds of several temples and shrines due to the deer serving as sacred messengers to the gods in the Shinto religion.

This is Messenger, acrylic on gilded washi mulberry paper, 26x18”, 2024.

Shelby Prindaville's acrylic painting of a sika deer on gilded washi paper.

Shelby Prindaville's acrylic painting of a sika deer on gilded washi paper, with the metal leaf visible throughout.

Arts Itoya Painting 4: Shingling

My fourth painting is of a shingling plant I documented in Yakushima, in this case Ficus pumila. Ficus pumila is a native species in Japan (and other East Asian countries). I’m always attracted to epiphytic shingling plants (plants that climb up trees or rocks vertically such that their leaves look like lush shingles atop their substrate). This was a very time-consuming painting in both the drawing and painting stages, but I think it was well worth the effort!

Yakushima Island was not as fertile for rice production as other areas of Japan, so during the Edo period, Yakushima paid for its shoganate taxes by logging sugi trees and producing wooden shingles rather than in the more customary rice. This deforestation had negative environmental impacts. Reforestation and conservation efforts including declaring the island a UNESCO World Heritage site have since tried to rebalance the important island forest ecosystem. This painting’s title references both the plant’s growth habit and common grouping name as well as Yakushima’s ecological history.

This is Shingling, acrylic on round wooden panel, 12x12x.875”, 2024.

Shelby Prindaville's "Shingling" acrylic painting of Ficus pumila on a round wooden panel.

Week 3 of the Arts Itoya Residency

Shelby Prindaville's Arts Itoya solo exhibition "Ikigai" show card!

In my third week at Arts Itoya, I continued to spend a lot of time in the studio! Rainy season had officially commenced, so studio time was even more cozy. I also caught a cold, but it was a fast one - only lasting a few days. I was happy it had waited to strike until after my Yakushima visit, as that meant I didn’t have any issues with my scuba diving or intense hike.

One rainy afternoon, my bike hydroplaned atop some slick ground tiles and I hit the ground, so I had a number of scrapes and bruises from that. I was even more inclined to stick to the studio afterwards! We were also aware that our exhibition was coming up quickly. I designed my own show card as well as the poster for everyone’s shows within the multi-artist exhibition gallery. For my own show, I chose to title it Ikigai (生き甲斐). Ikigai is a Japanese concept/philosophy that has already made its way into English, much like zen, bonsai, and wabi-sabi. Ikigai is your reason for living; it combines passion, mission, and profession.

There were still a couple of new adventures! I had discovered that there is a lake with swan boats relatively nearby, so Emily and I went on a swan paddle boat outing. We also visited the Yoko Museum and Japanese Garden in Takeo. We observed that all the ceramics were wired down, and my theory is that this is an earthquake-damage-prevention measure.

Arts Itoya Painting 3: Lifelong Renter

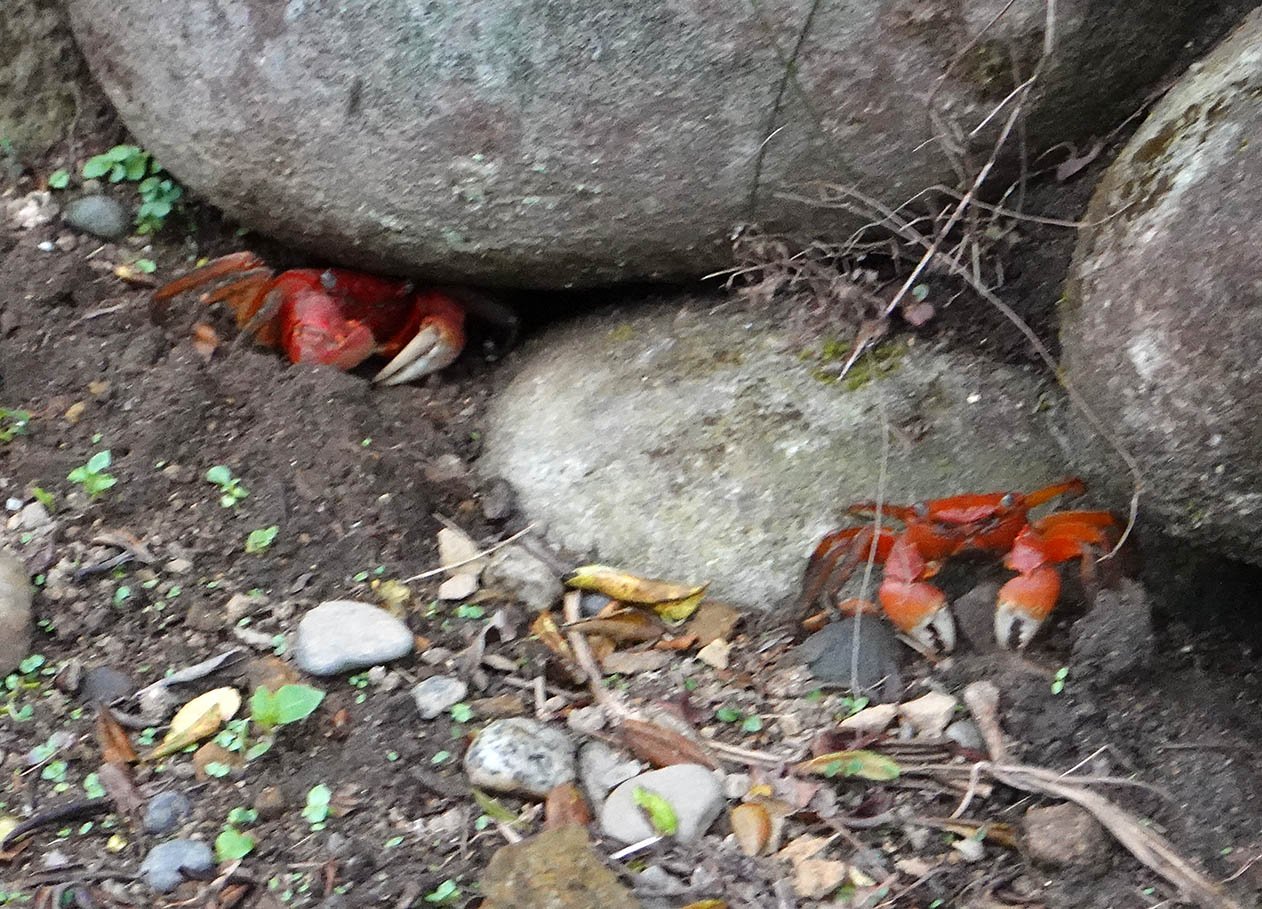
My third painting is of a little hermit crab I met in Yakushima who was determined to be on his way. While I was working on the painting, a local Japanese man who stopped in at the studio shared with me that the name for hermit crabs in Japanese is ヤドカリ(yadokari), which means “borrowing lodging” or tenant. This painting is meticulously detailed and somewhat pointillistic.

The title is tentative, but for now: this is Lifelong Renter, acrylic on wood panel, 14x14 x.875”, 2024.

Shelby Prindaville's acrylic painting of a hermit crab, Lifelong Renter.

Arts Itoya Painting 2: Pursuit (Ichi-go ichi-e)

My second painting is atop an aluminum leaf paper. This paper was hard to work with, as the paint doesn’t grip to it as well as I’d like (and my new Holbein metal primer did not help), and the tape I used to anchor the paper to a board ended up removing the foil off the corners. However, I persevered! The subject is a male Japanese rhinoceros beetle, called kabutomushi here in Japan: Allomyrina dichotoma. The adults only live for 2-3 months after pupating.

I plan to carefully varnish the beetle before framing this piece, but I’ll do that at home - so for here, it’s done! All of the metal leaf papers are hard to photograph, but I’m pretty happy with the below image.

This is Pursuit (Ichi-go ichi-e), acrylic on aluminum leaf paper, 11.5x17”, 2024. The Japanese romaji in the title, ichi-go ichi-e or 一期一会 in kanji, is a four-character Japanese proverb that means “one time, one meeting” and is about embracing the present.

Shelby Prindaville’s acrylic painting of a kabutomushi or Japanese rhinoceros beetle (Allomyrina dichotoma) on aluminum leaf paper.

Week 2 of the Arts Itoya Residency

Once we got to the studio, I began to paint! I tend to put in pretty long hours, so there was far less exploring going on - but there was a bit. While all the residents get along well, several enjoy independence. Emily and I both get along really well and like the same destinations so we began doing pretty much everything together. We asked a volunteer with the residency, Charlie, if he’d mind showing us a nearby koi store. With the owners’ permission, I used my underwater camera to take photos, much to Emily’s delight! We got some good images and the koi store owners were so very sweet. Japanese hospitality is outrageous. Despite the fact that it was clear we weren’t going to be customers, and they’d already done us a favor by letting us take photos of the fish, they also sat us down, showed us some documentary clips of their store and fish at different times, plied us with tea, coffee, and cookies, and offered their home’s art up for viewing as well as their bathroom to us. I need to up my hospitality game!

I learned that their average koi’s lifespan is 100 years, but that the oldest koi fish in Japan lived for 200 years! They also shared that this is the slowest time of year for their shop, and that the most spectacular fish come through in October and November. However, they are going to be getting new stock in next week so we plan to return!

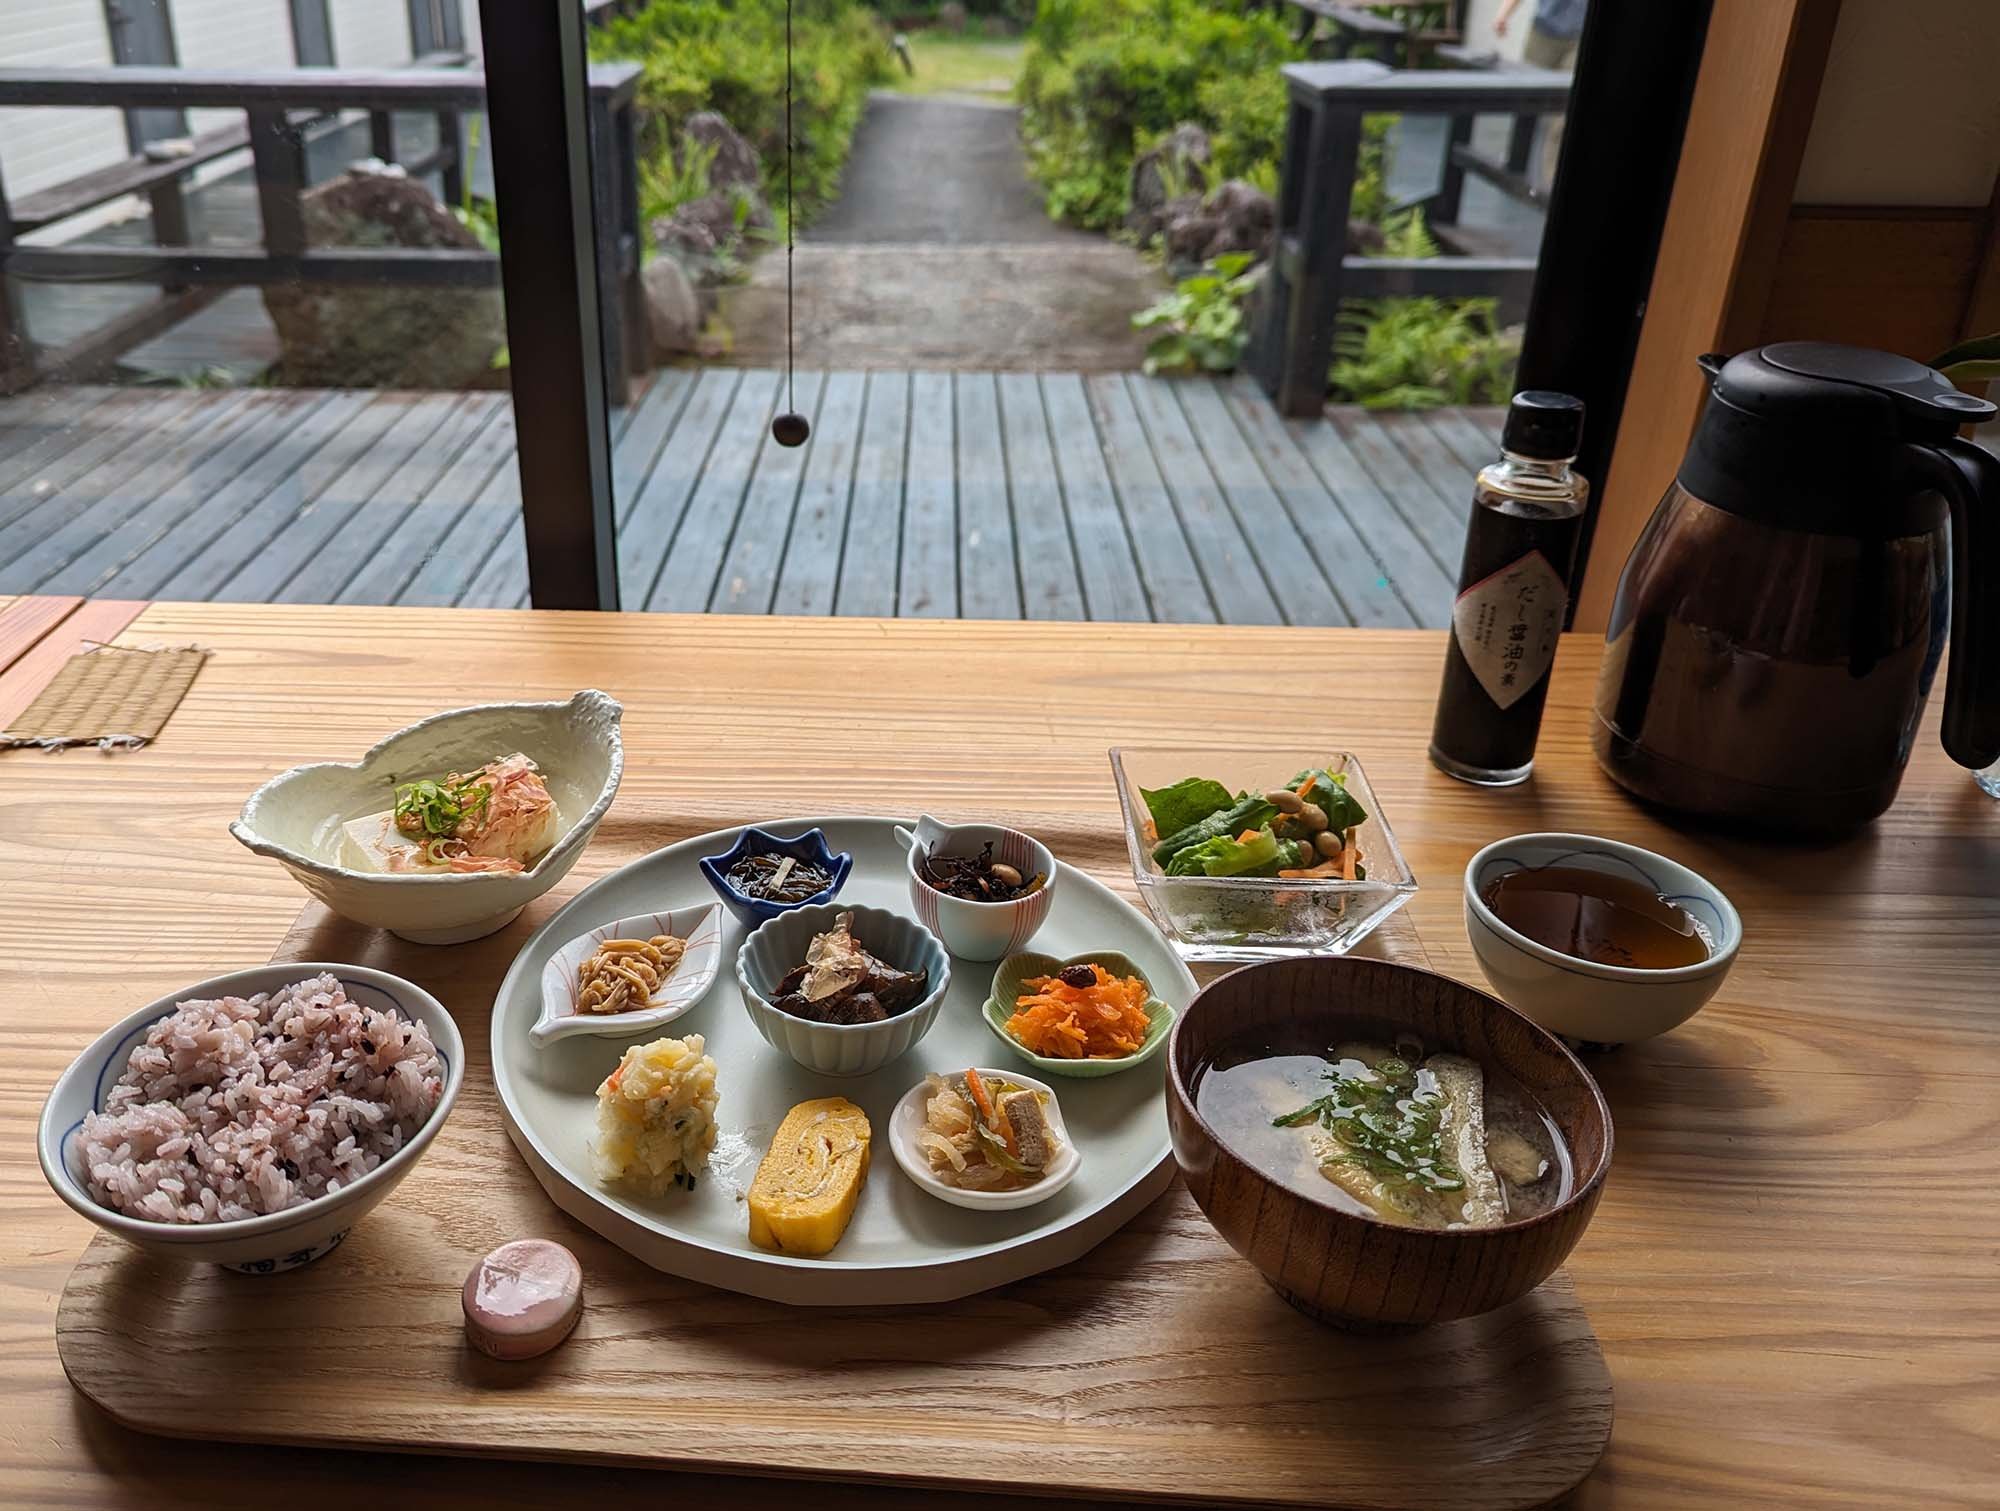
We also began to explore a bit more of the culinary scene in Takeo, but it’s rough being a vegetarian here. Our favorite places include Irie, a Jamaican/Italian bar with a delightful owner and employee pair, as well as Sol de Verano (a Spanish tapas bar with delicious Basque cheesecake) and a tofu hot pot and gelato place. We also tend to eat at least one meal per day from a konbini (Family Mart or 7-11).

Hiro took four of us who wanted to go on an excursion to a hydrangea temple and shrine which is up a mountain in Takeo, and that was really beautiful, though my ears refused to pop for some time so I was happy when I could finally hear again!

Intersperse that with a lot of studio time, and a few late night onsen visits, and you have a full picture of my second week!

Arts Itoya Painting 1: Duality

The first painting I completed at Arts Itoya is of two backlit hibiscus flowers from Yakushima. The substrate is a gold and silver leaf flecked Torinoko paper; I added the translucent green coloration. I was inspired by the dark fantasy iconography of flowers in anime, particularly in Hell’s Paradise as well in Demon Slayer and Suzume.

This is Duality, acrylic on gold and silver leaf flecked Torinoko paper, 14.37x11.6”, 2024.

Shelby Prindaville's acrylic painting, “Duality,” of two hibiscus flowers on decorative washi paper.

Starting the Arts Itoya Residency in Takeo: Week 1

After flying into Fukuoka, I took an express train into Takeo. It’s about an hour and a half away, and I got there in the late afternoon. Hiro picked me up, and when I got to the residency three of the four other artists had already arrived! They include Stewart from New Mexico, Anna from Massachusetts, and Won from South Korea. Hiro showed me my room, where he had already stowed my two large pieces of luggage I had shipped with the takkyubin. He then gathered everyone together to show us the studio space, which is approximately a half mile away from the house. While that’s definitely walkable, Arts Itoya has very kindly provided each of the residents with an electric bike! This is actually my first time riding one, and I love it. Often if the ride is pretty flat I’ll just leave it off, but when there’s a fair amount of uphill I turn it on and the motor does most of the work! The problem was that one of the bikes was in the shop and Hiro wanted to pick it up, so he jogged to the studio while we rode behind him, and then we all walked to the bike shop together to pick up the other bike. We then explored the studio, made some requests (I needed way more tabletop than was currently on offer), and we rode back! Stewart is also vegetarian, so we then tried to find a place to have dinner and located a pizza shop not too far away so we headed there. It turns out it’s run by an Italian who moved to Takeo with his Japanese wife; they are both very nice. After that, we headed home and went to bed.

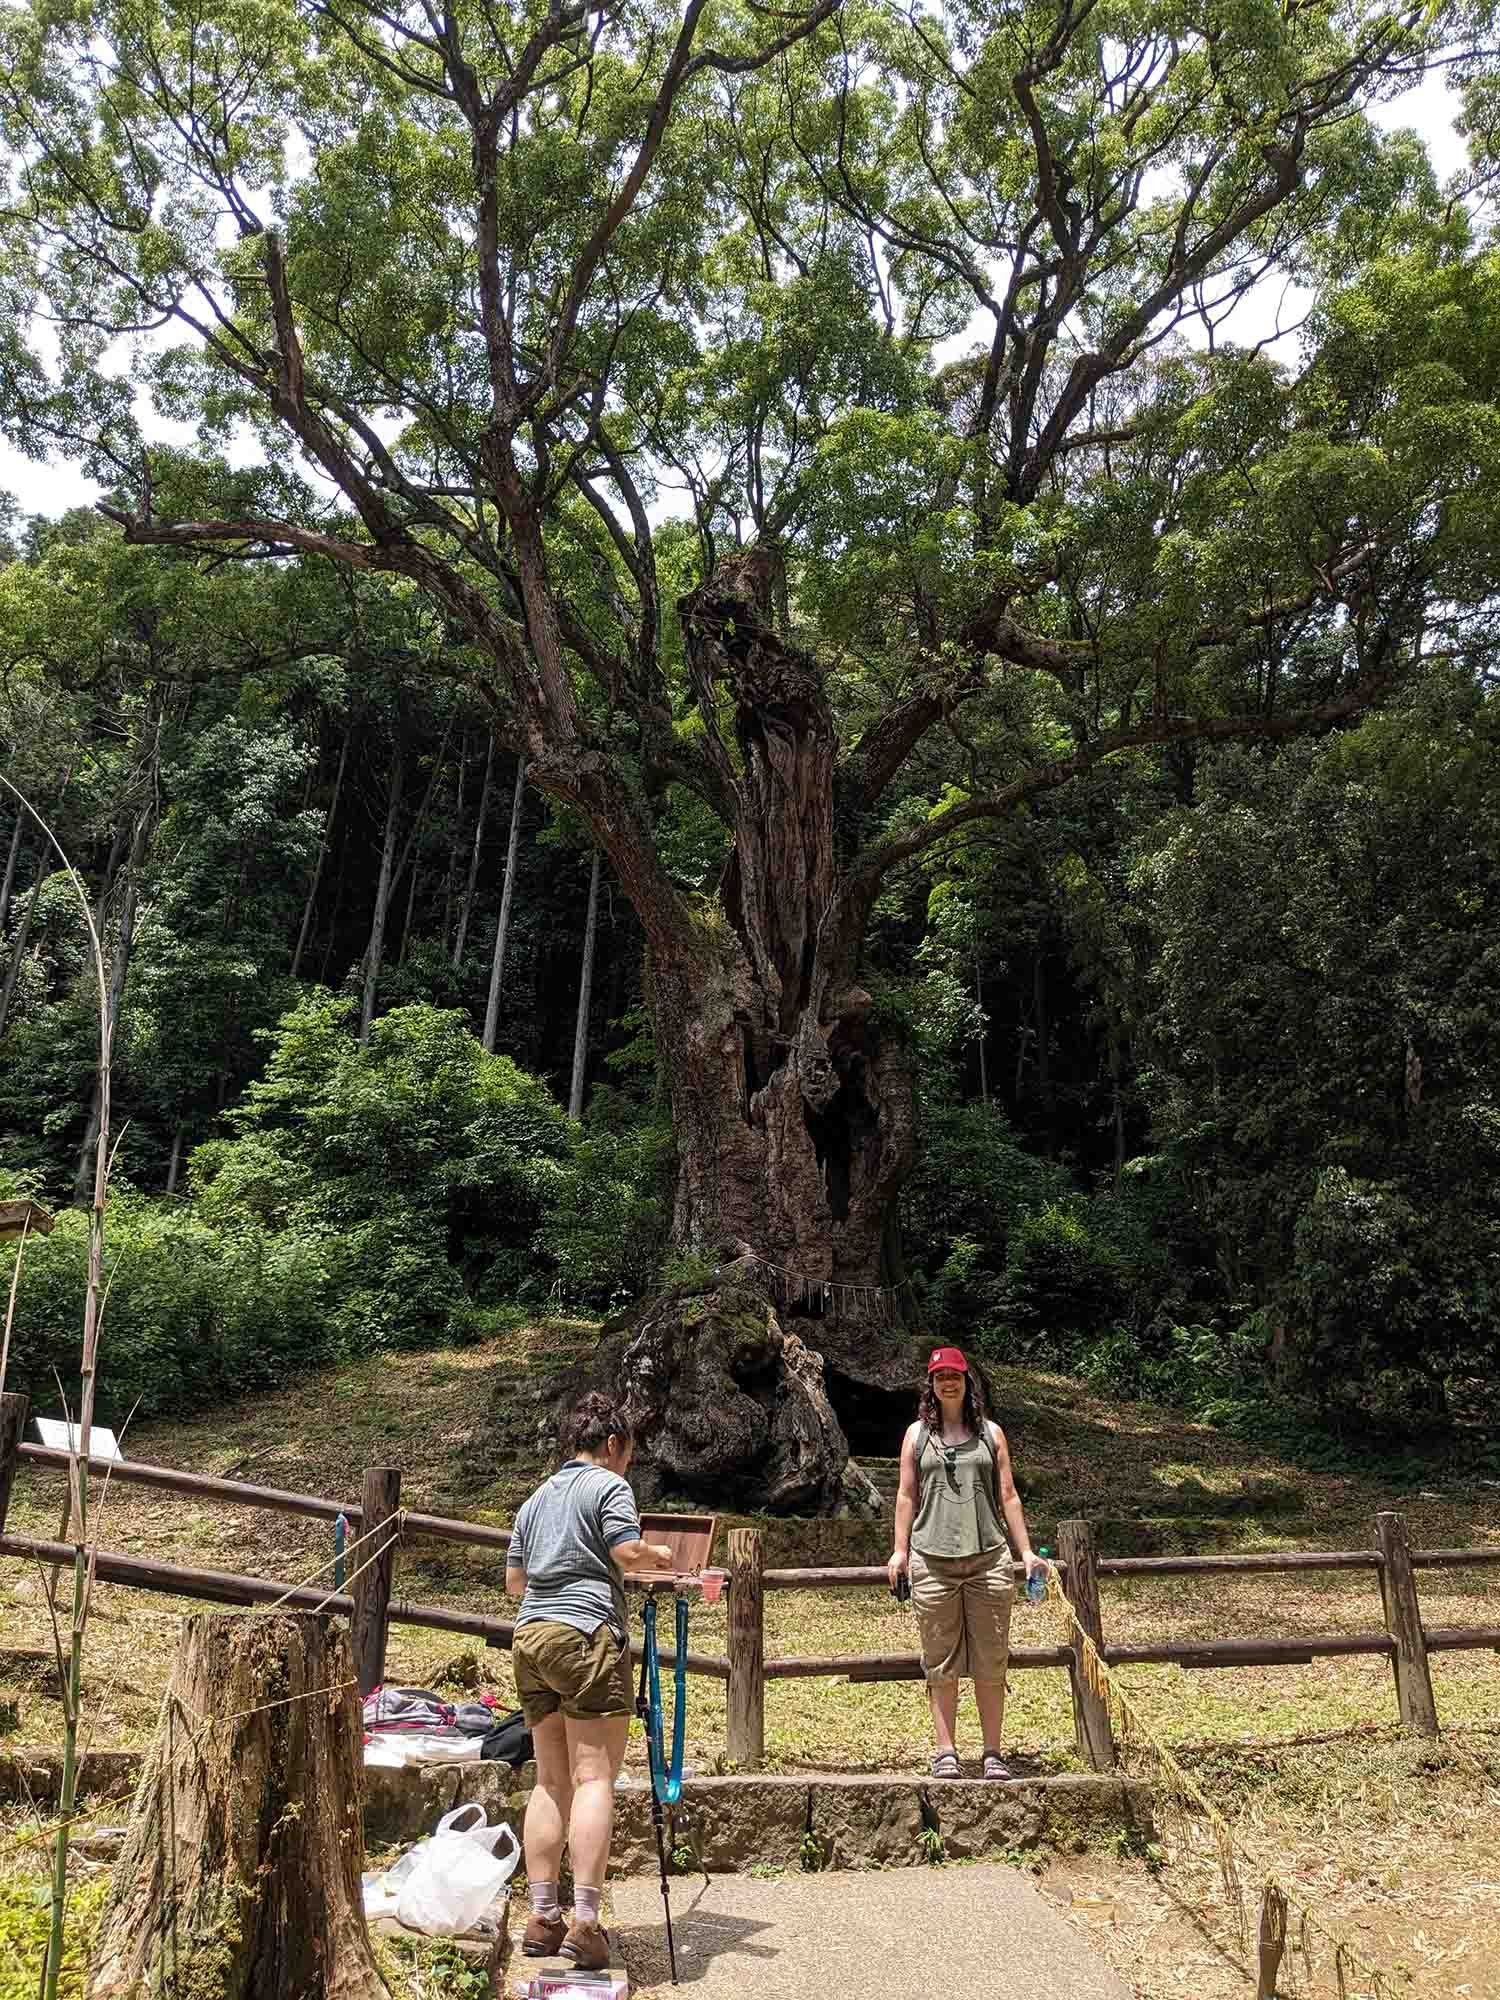
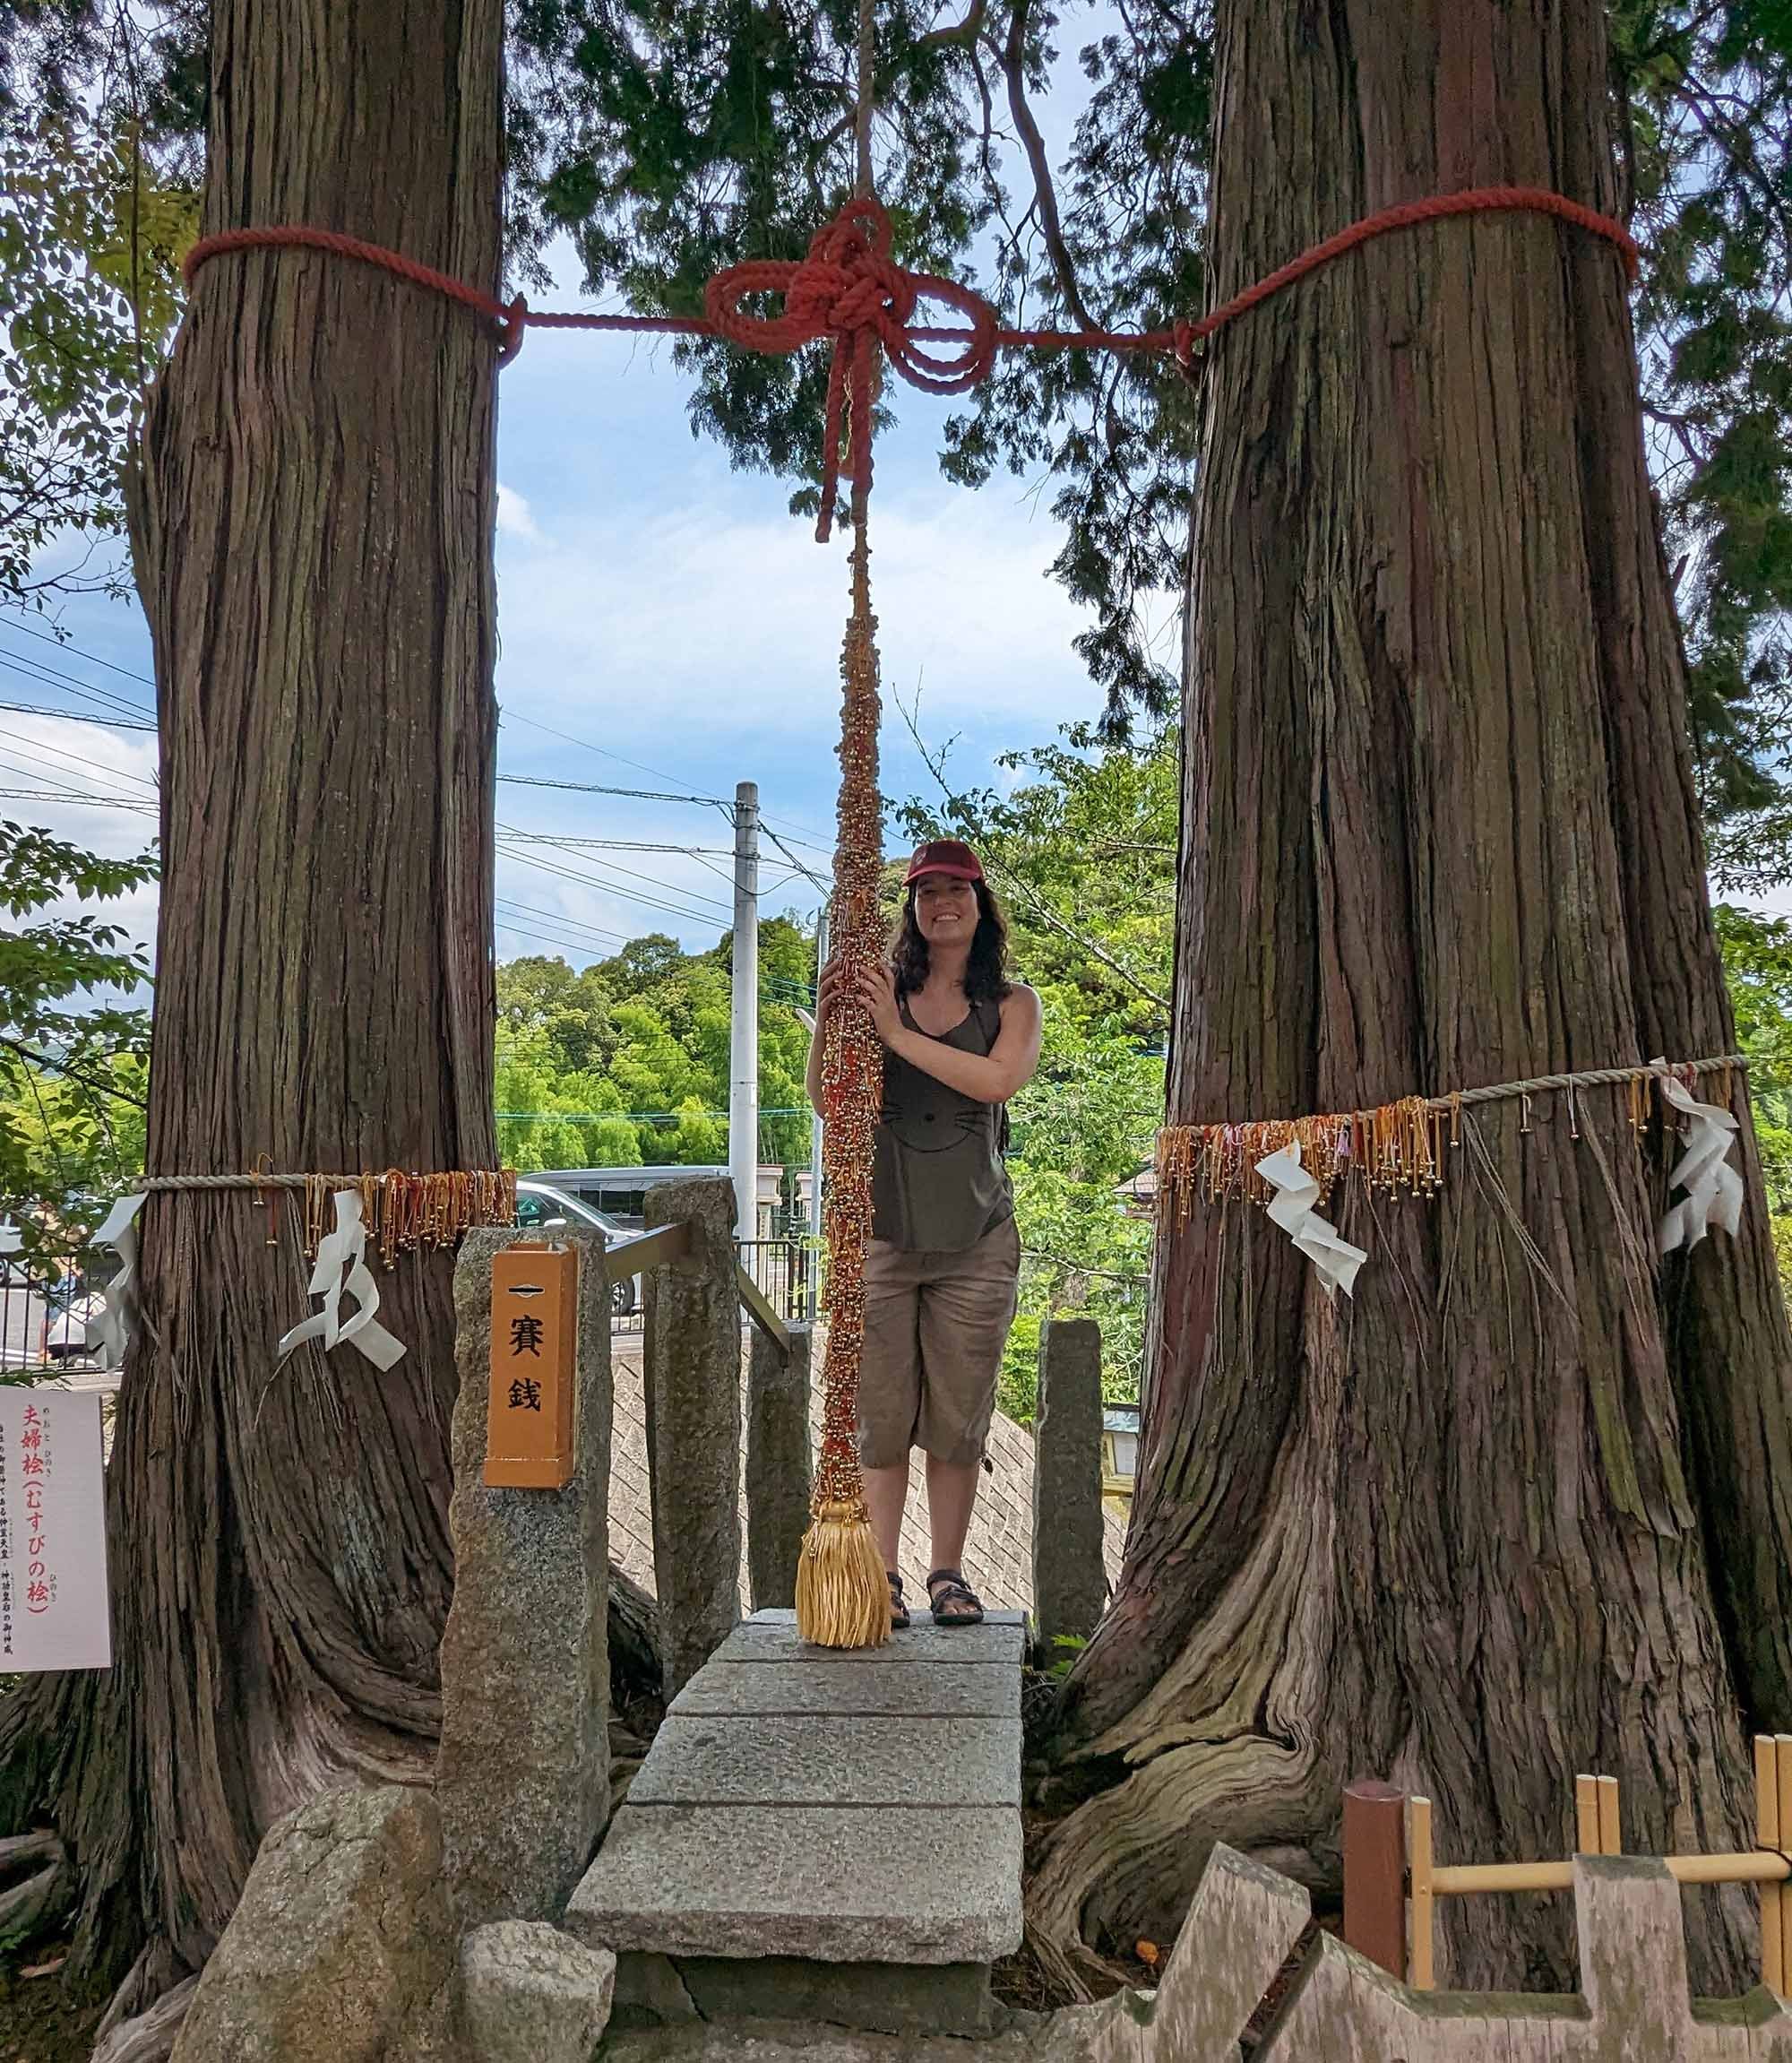
The next day, I began unpacking, did some laundry since I’d already been in Japan for a week, and sifted through my photos to see what I’d start to work on in the studio. The last resident also arrived: Emily from California. We’re a surprisingly US-heavy house - apparently a weird coincidence as most of the stays are more internationally diverse. The next few days, I mostly stuck to the house as I began to sketch out a number of pieces from my room’s desk, but I joined Emily on an excursion to a small botanical garden in Takeo and then visited a shrine with a 3,000 year-old camphor tree.

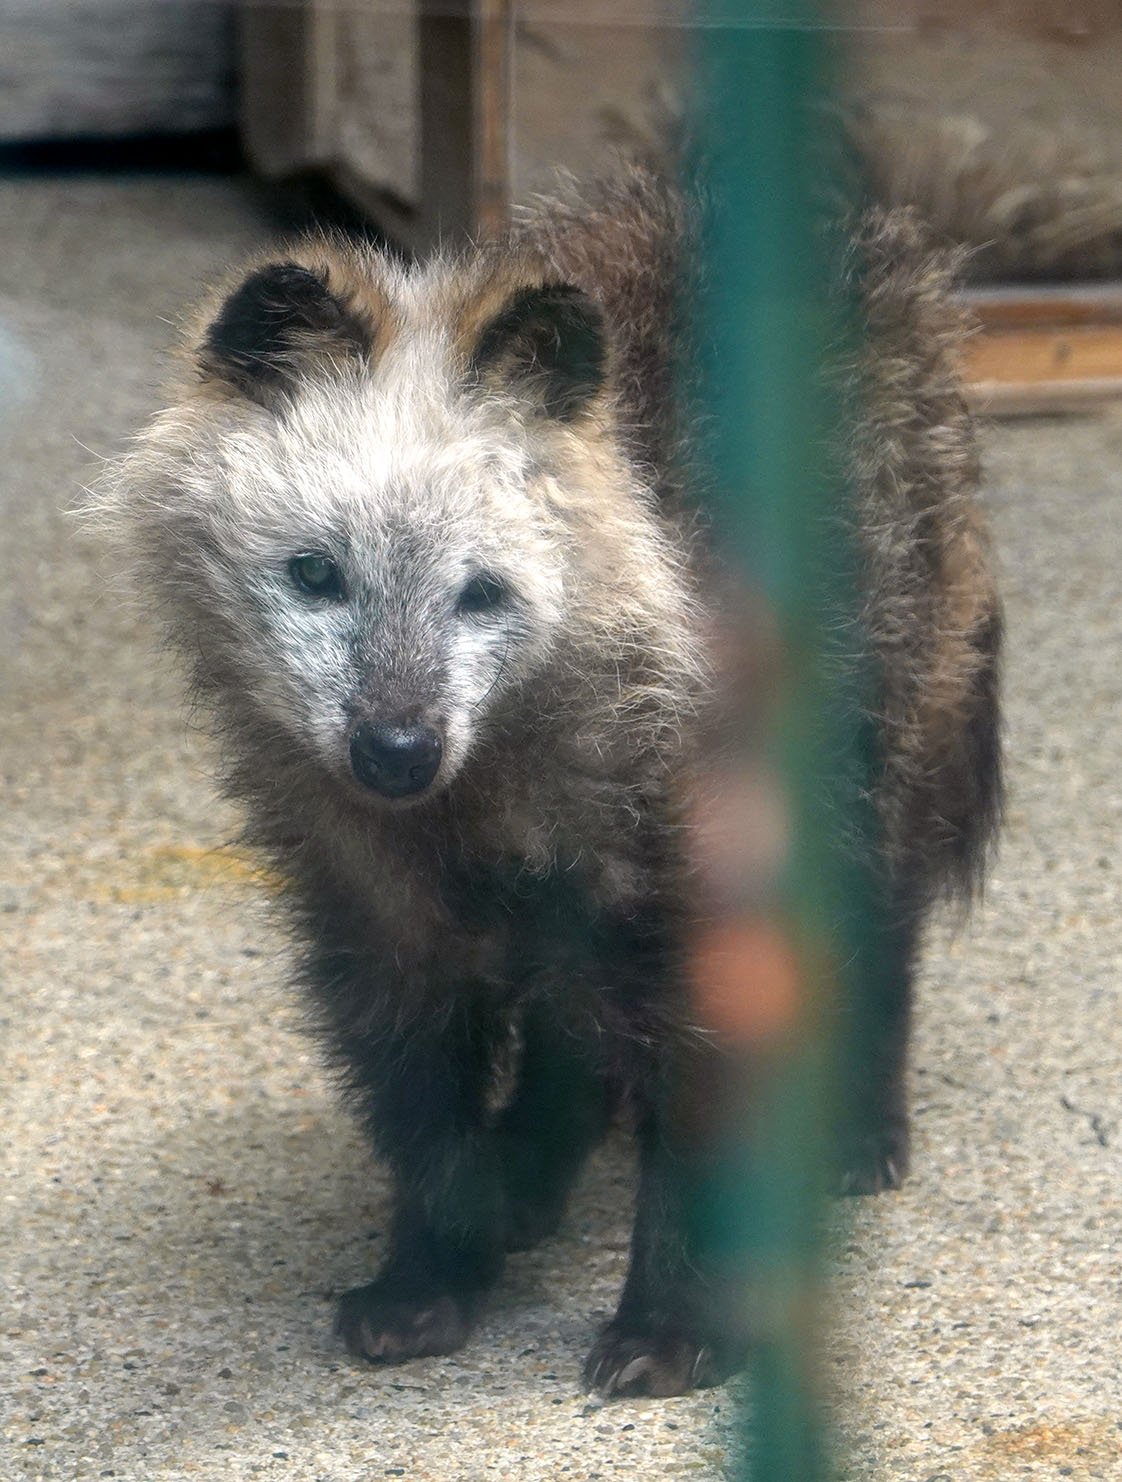
I invited Emily to go to Fukuoka with me that Thursday. I wanted to go to Fukuoka pretty early on during the residency for a few reasons: 1) the weather was only going to get rainier and hotter; 2) I wanted to go to Fukuoka Zoo to see tanuki and hopefully get some good images to paint from; 3) Rina, the woman I befriended in the Yakushima airport, was staying in Fukuoka for just a week before heading back to her home in Tokyo and she wanted to meet up again.

We headed out at 6:45am, as that would get us to the zoo right around their opening time of 9am and I suspected that our chances of seeing active tanuki were highest right in the morning since they’re nocturnal. On our walk to the zoo, we happened to see a dead Japanese centipede in the road. Mukade are a pretty iconic Japanese insect so it was interesting to see one; they’re quite large and have a nasty bite. When we got to the zoo ticket office, the worker looked really surprised that the only exhibit we asked about was the tanuki. We nevertheless beelined it to that spot, and after some confusion, we realized it was a very poorly positioned cage behind another caged hallway. There was a lone tanuki inhabiting it, but she wasn’t out - she was curled up in a bed in a hut and we could just make out a little fur. There were a lot of signs, though; upon translating them, we learned that this tanuki was named Immako and she was an ancient little tanuki who had already outlived their average lifespan. Wild tanuki typically live 6-8 years in the wild and 11-13 years in captivity. Immako is 13.75 years old. There was another sign discussing her kidney problems and sharing that sometimes she’s not in her cage at all as she’s receiving kidney treatment.

None of this boded well, but Emily and I decided to circle back and took in some of the other animal exhibits in the meantime. Around 10:30am, our explorations took us right near her cage again so Emily suggested checking back in. I thought it was probably too soon but why not… but when we came back, the zookeepers were getting their breakfasts ready and Immako was up and waiting patiently for it! Unfortunately, while Immako is a very sweet being, she no longer really visually captures “tanuki.” I hope she breaks all the tanuki lifespan records, but for my painting purposes, she wasn’t representative enough of the species as a whole.

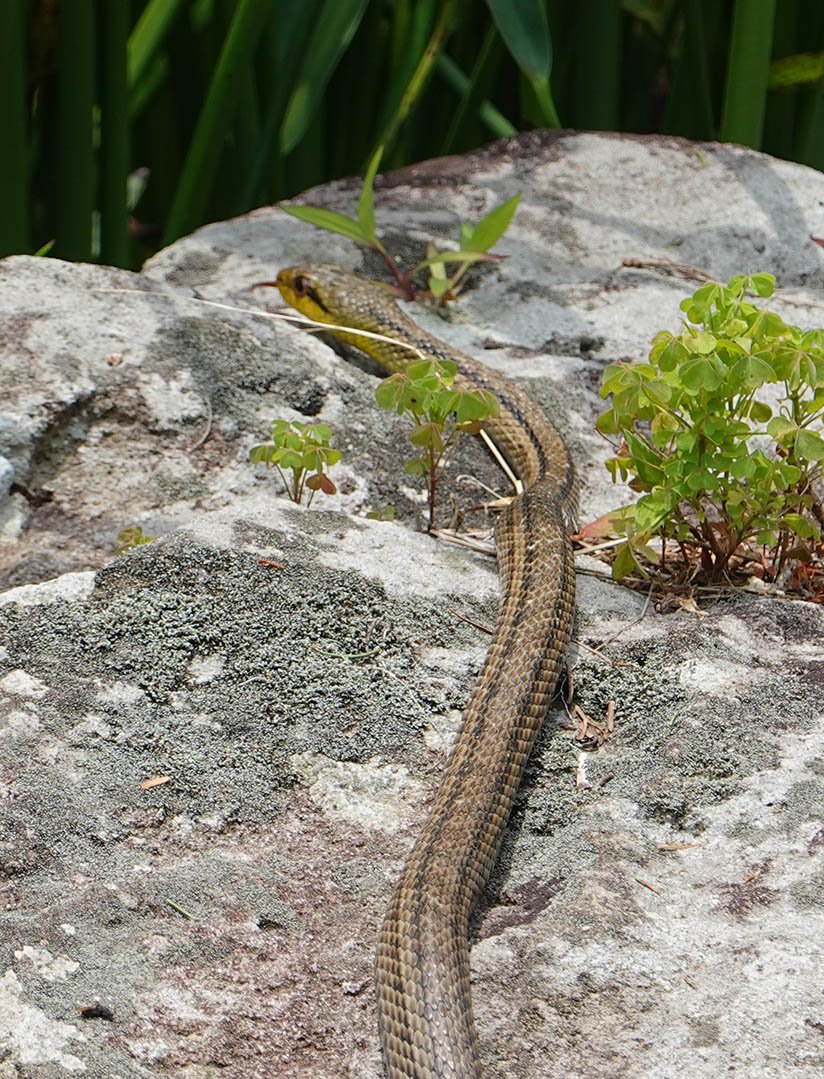
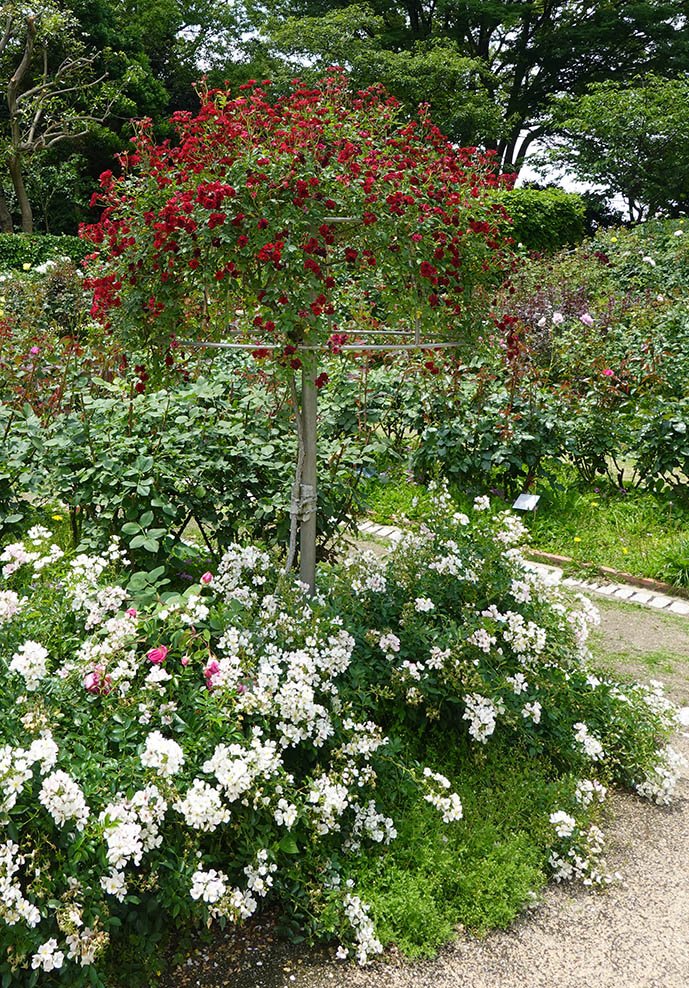
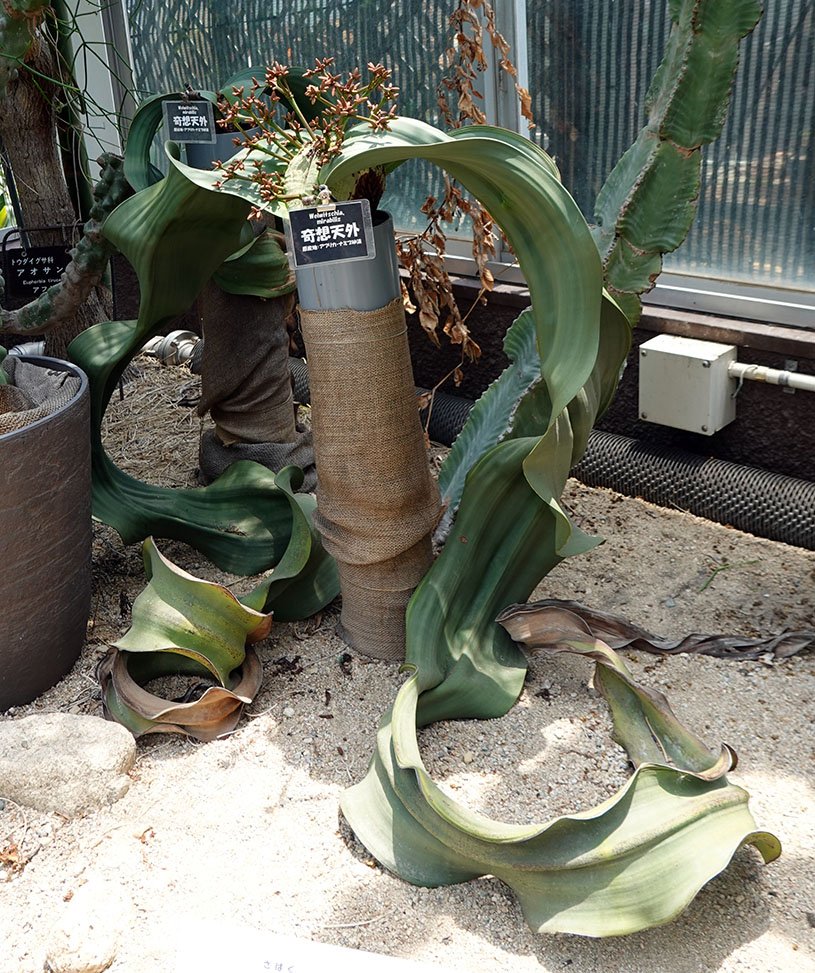
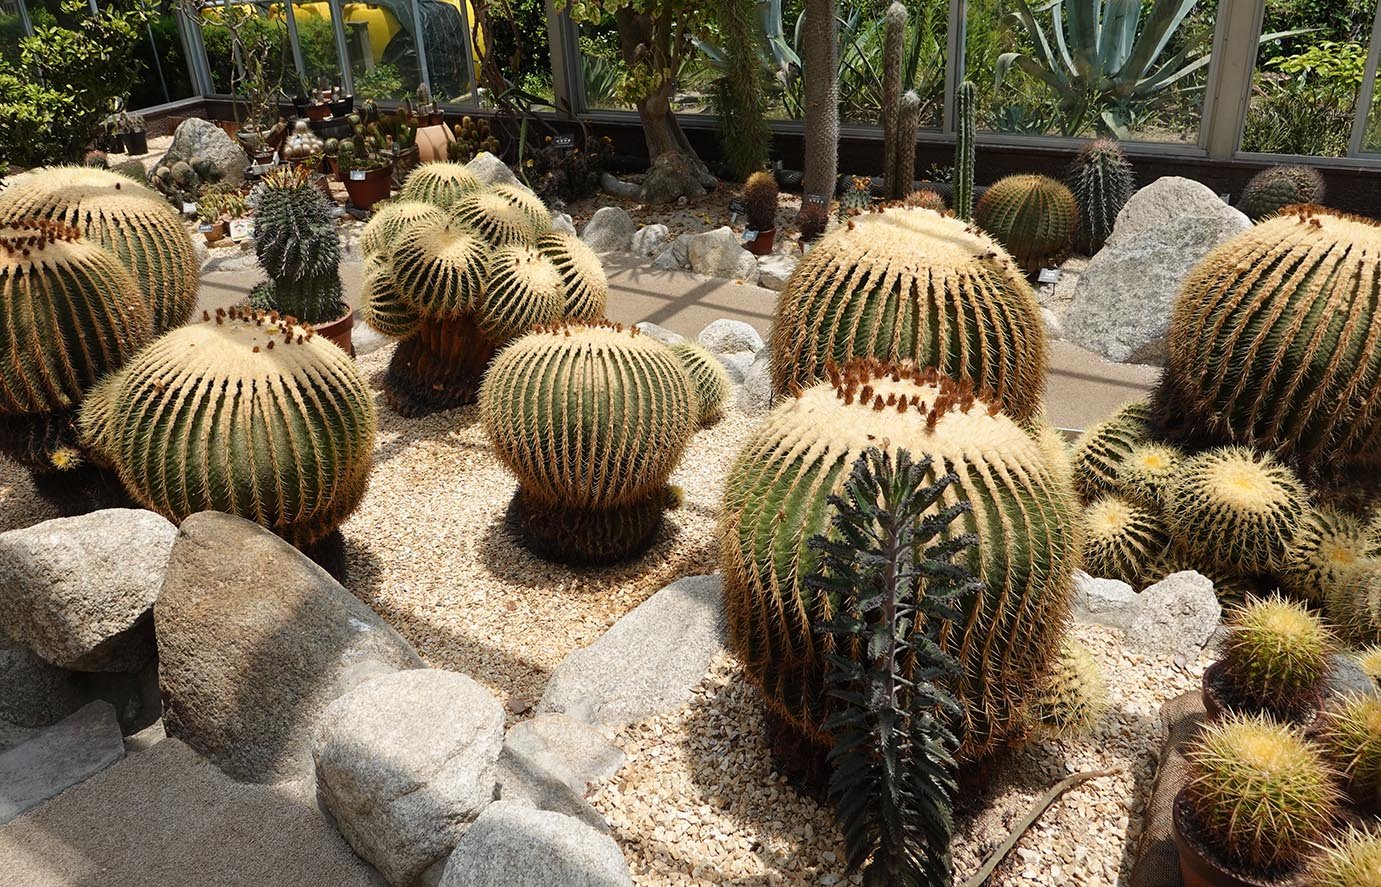
After we finished with the zoo, we checked out the botanical garden that is right beside the zoo as your admittance is included to both when you enter either. The zoo had a number of species but on the grand scheme of zoos was a smaller one; the botanical garden on the other hand surpassed our expectations and had some amazing outdoor gardens and greenhouses. Emily currently almost exclusively paints koi fish, and we found our first koi fish in Japan in one of the fountains at the botanical garden. We also saw a wild snake! They had some beautiful roses in the rose garden, and I particularly liked the ones that were grown into tree forms. In the greenhouses, not only did they have some truly stunning specimens (their Welwitschia mirabilis were spectacular and their barrel cacti were also very impressive) but they also had an orchid sale! That was a little torturous, honestly, as I wanted to buy a number of their plants but I’ve looked into it before and transporting plants internationally is a giant headache involving getting a CITES certificate and dealing with customs and it just isn’t practical at this time for me.

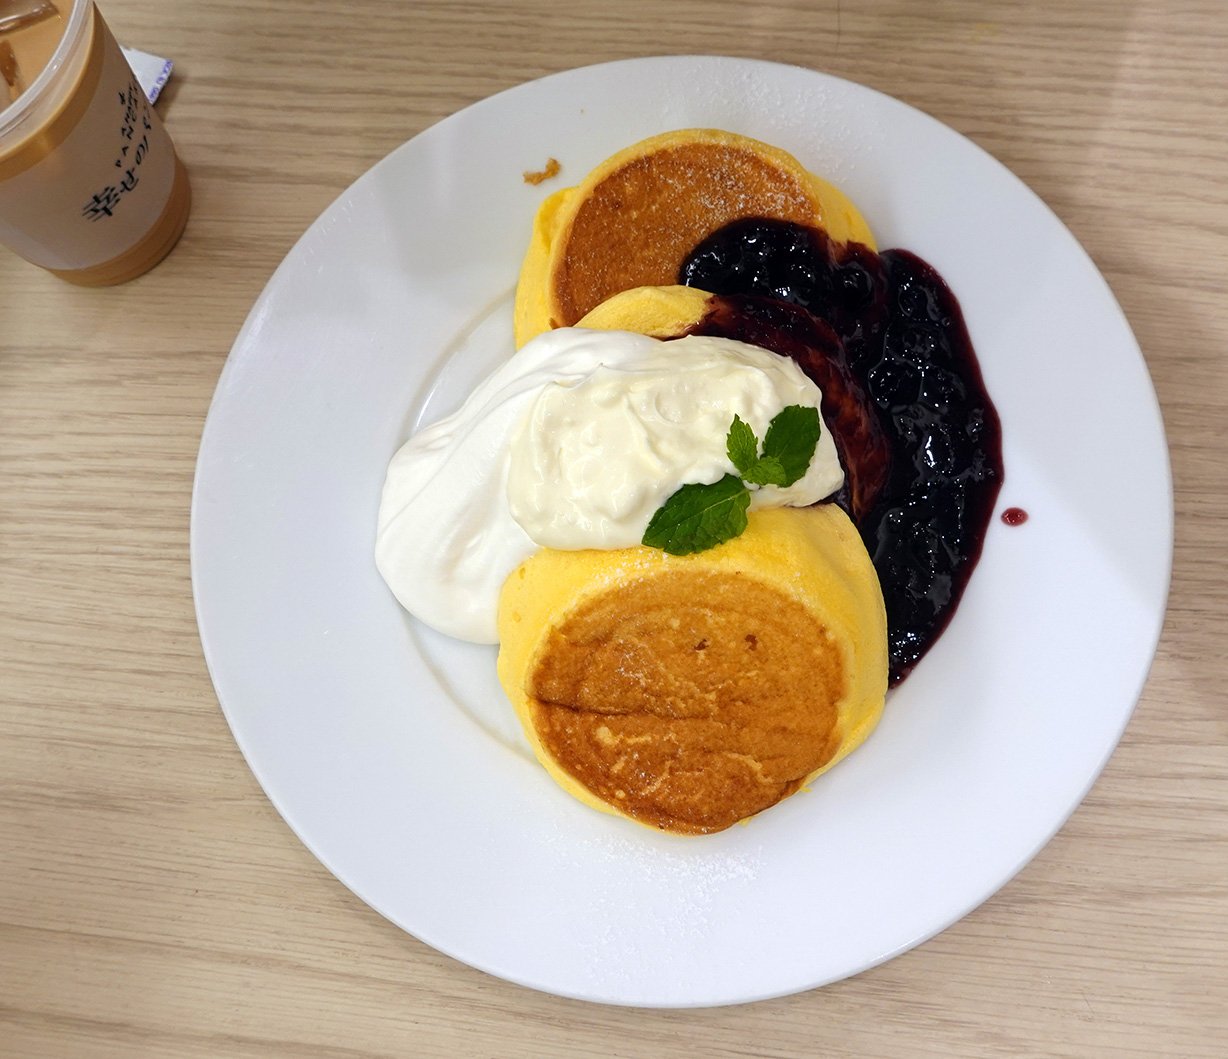
Post-garden, we met up with Rina at a vegan cafe and had a really nice late lunch. Then Emily and I walked through downtown Fukuoka to a soufflé pancake restaurant so we could try the famed Japanese soufflé pancakes! After that, we returned to Takeo. That evening, we decided to visit the onsen in Takeo for the first time! We splurged a little for the outdoor onsen at 740¥ (the indoor one is 500¥), and also had to rent towels for another 300¥ since we didn’t bring any along. We discovered the outdoor onsen actually has three different pools and a sauna inside; there’s the outdoor hot bath at 41°C, the indoor hot bath at 42.5°C, and a cold pool called a mizuburo (that doesn’t have a listed temperature but a worker said is maybe around 14°C) which is icy cold. Our tolerance of the outdoor hot bath is probably only around 8 minutes, but then a plunge into the cold bath for a couple minutes and dipping a hand towel into its water to perch on your neck or head in the hot bath means you can cycle through for much longer!

The next day I drew again, and then on Saturday I was finally ready to haul all my art materials to the studio to begin to paint!

Yakushima!

On day four, I flew to Yakushima! At this point, I have two large suitcases, one roller carry-on, and a backpack. Trying to haul all of that to a remote island on a tiny plane sounded like a bad, expensive idea to me. Fortunately, Japan has already solved this problem and I sincerely wish all countries have this: takkyubin! These are luggage transport services that will ship your luggage to your next destination, and you can ask for them to hold the delivery for a few days as well. This meant that when I shipped my two large suitcases on the 28th, I asked that they be delivered on June 1st in Takeo (where the artist residency is located). I just took my roller carry-on and backpack along to Yakushima!

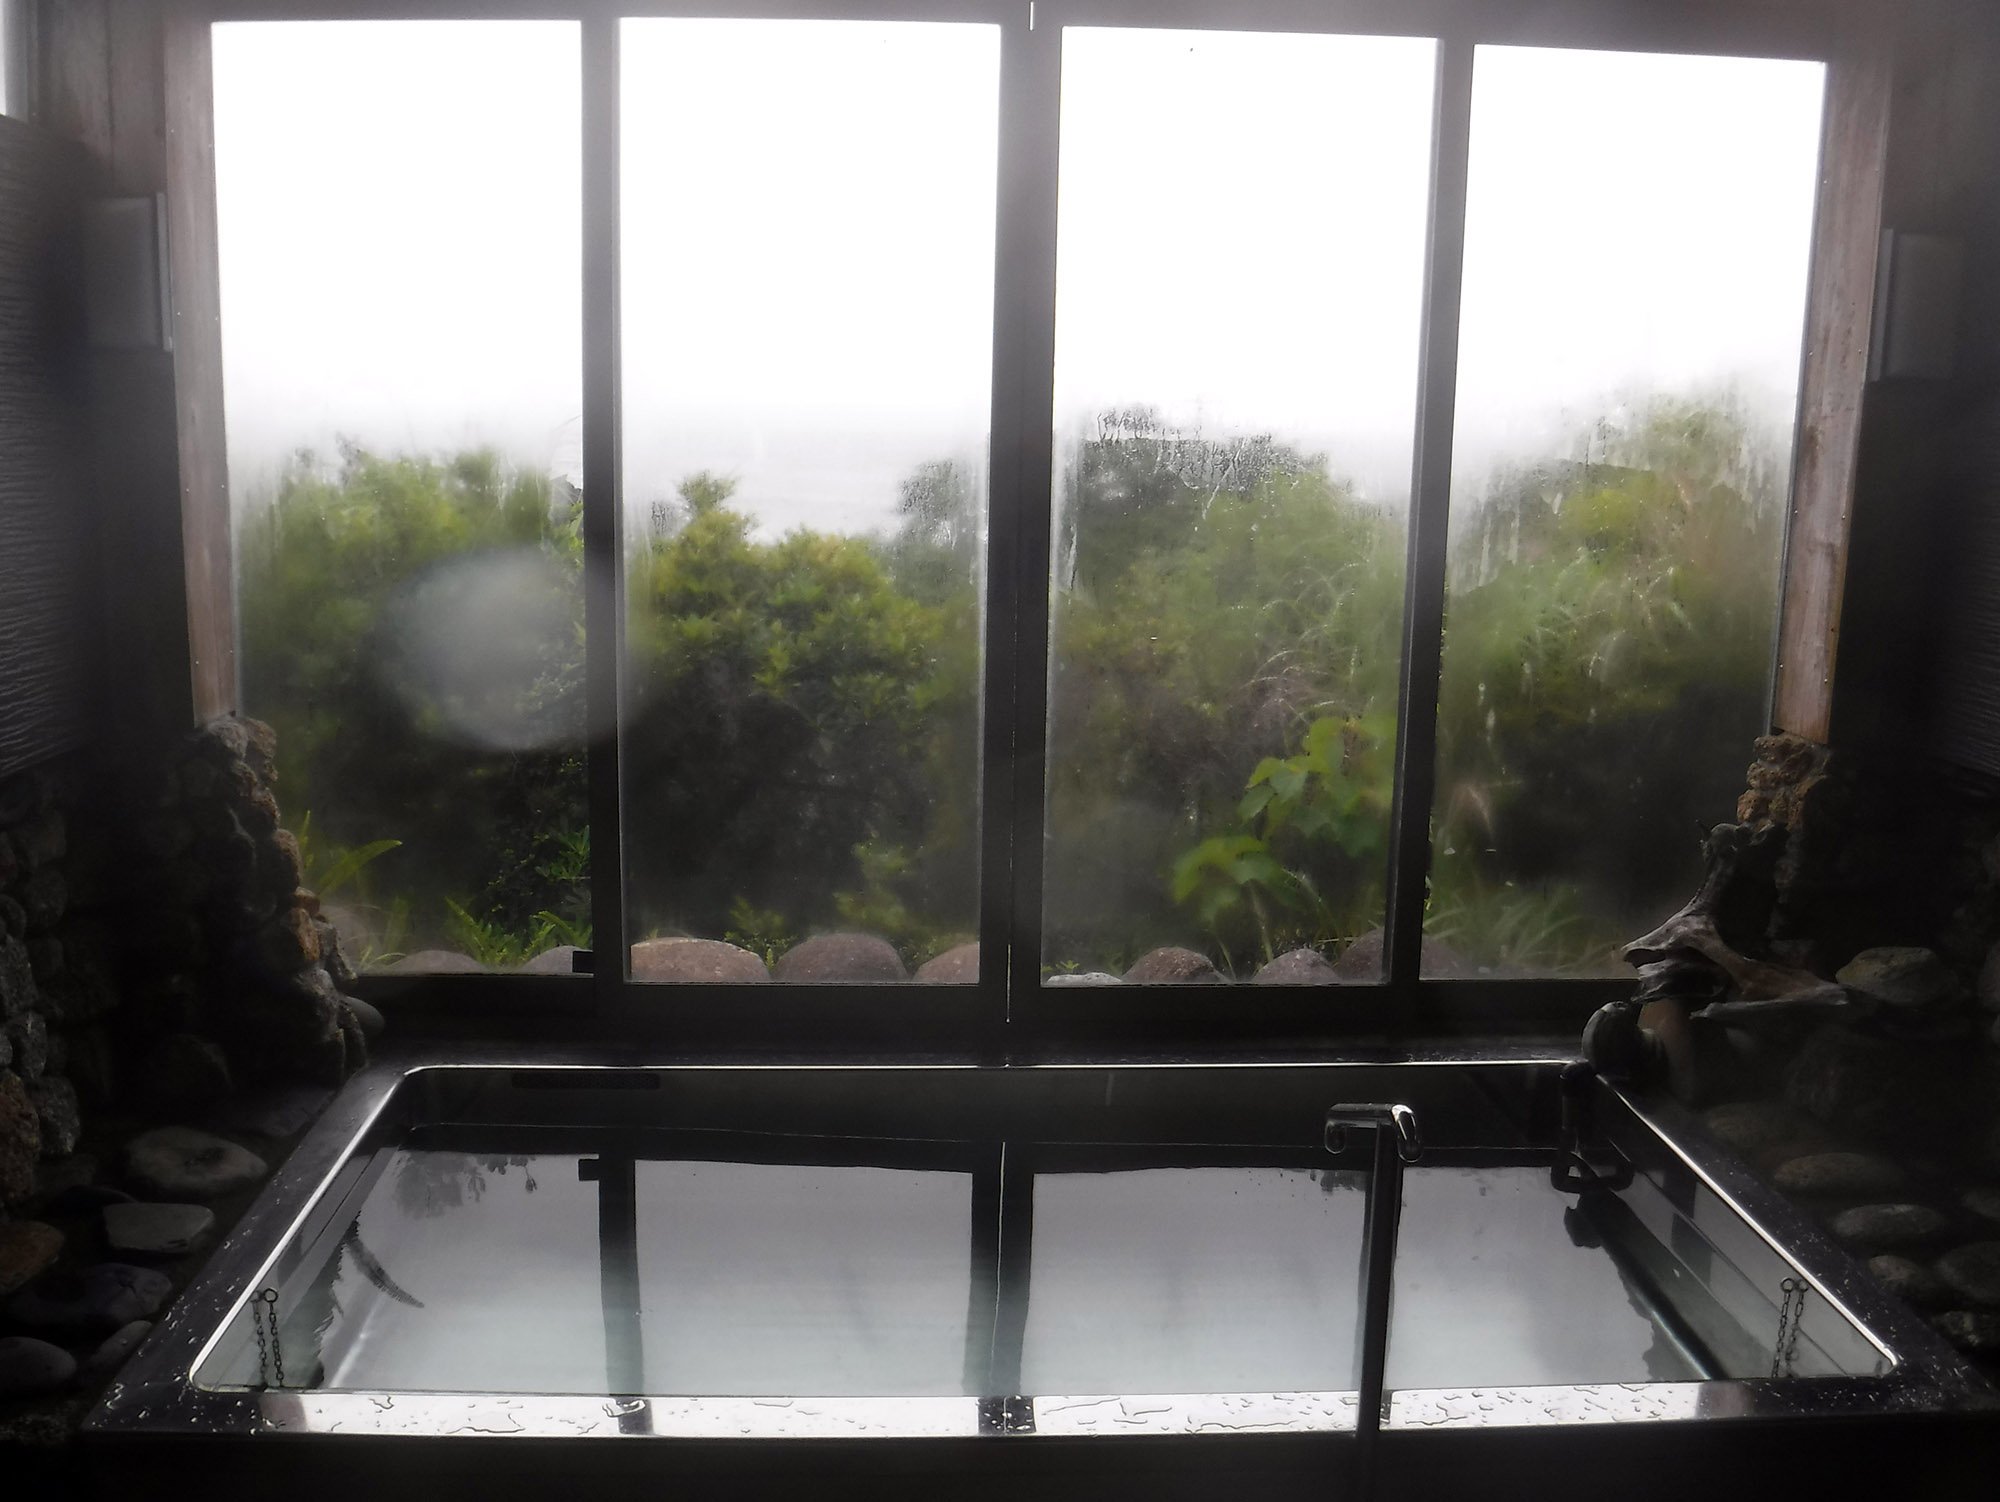
My flights from Tokyo to Kagoshima and Kagoshima to Yakushima were each delayed, as an incoming typhoon was disrupting weather patterns and causing a lot of rain and wind. The YES Yakushima tour service was also messaging me about maybe canceling / swapping my tours around, which was worrying, as they had been inundated the day before and had to shuffle those folks’ tours plus they were worried I and other travelers would be delayed overnight. Fortunately, I arrived that evening, and by that night the tour company had decided we’d stick to the original plan (which was my preference too!). In the bathhouse late that evening, I encountered the largest hunstmen spiders I’ve ever seen! They were larger than my hands. My one Yaksuhima regret is that I didn’t manage to get photos of them - by the time I left it was closed for the night, and every other time I brought my underwater camera, it was earlier and they weren’t out… but I was either out on an excursion or too tired to go the other late evenings.

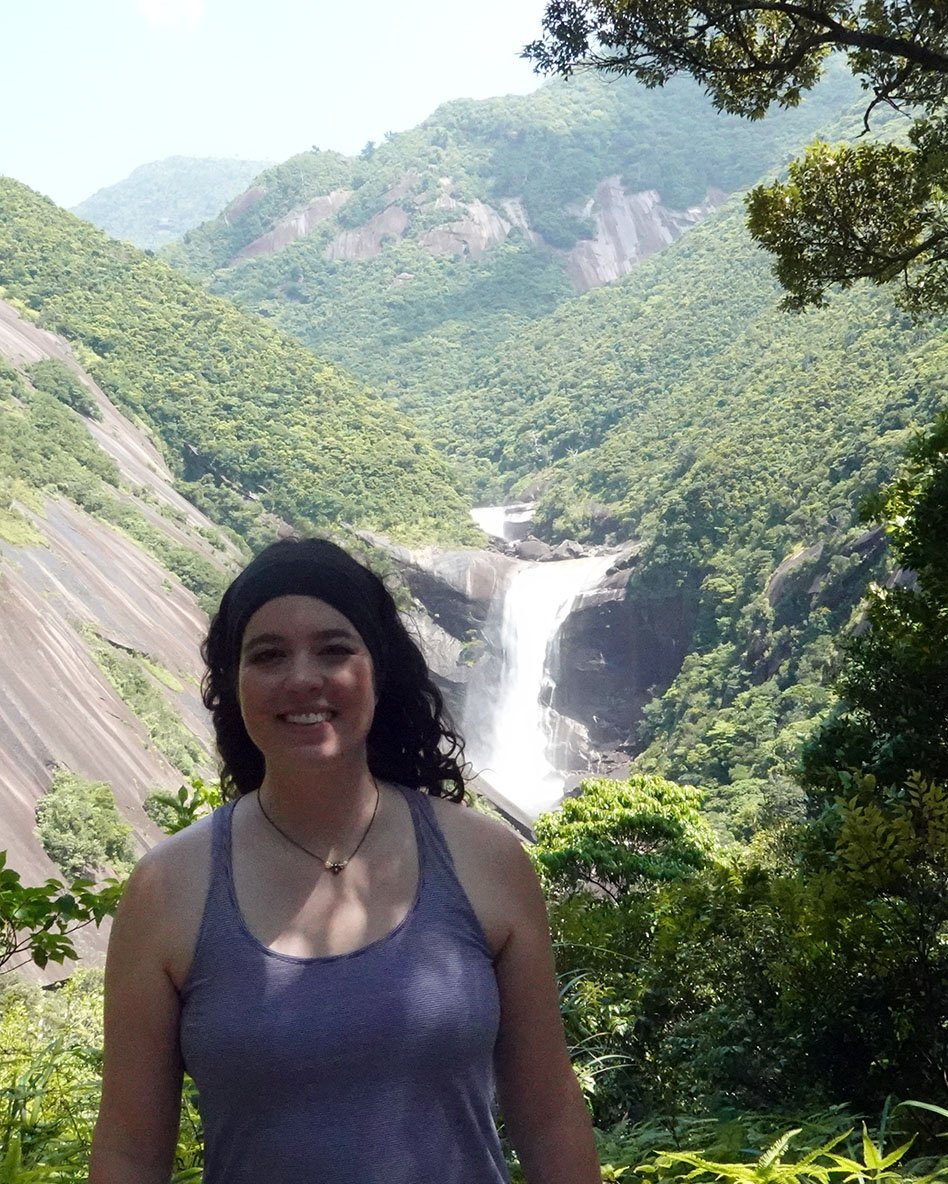
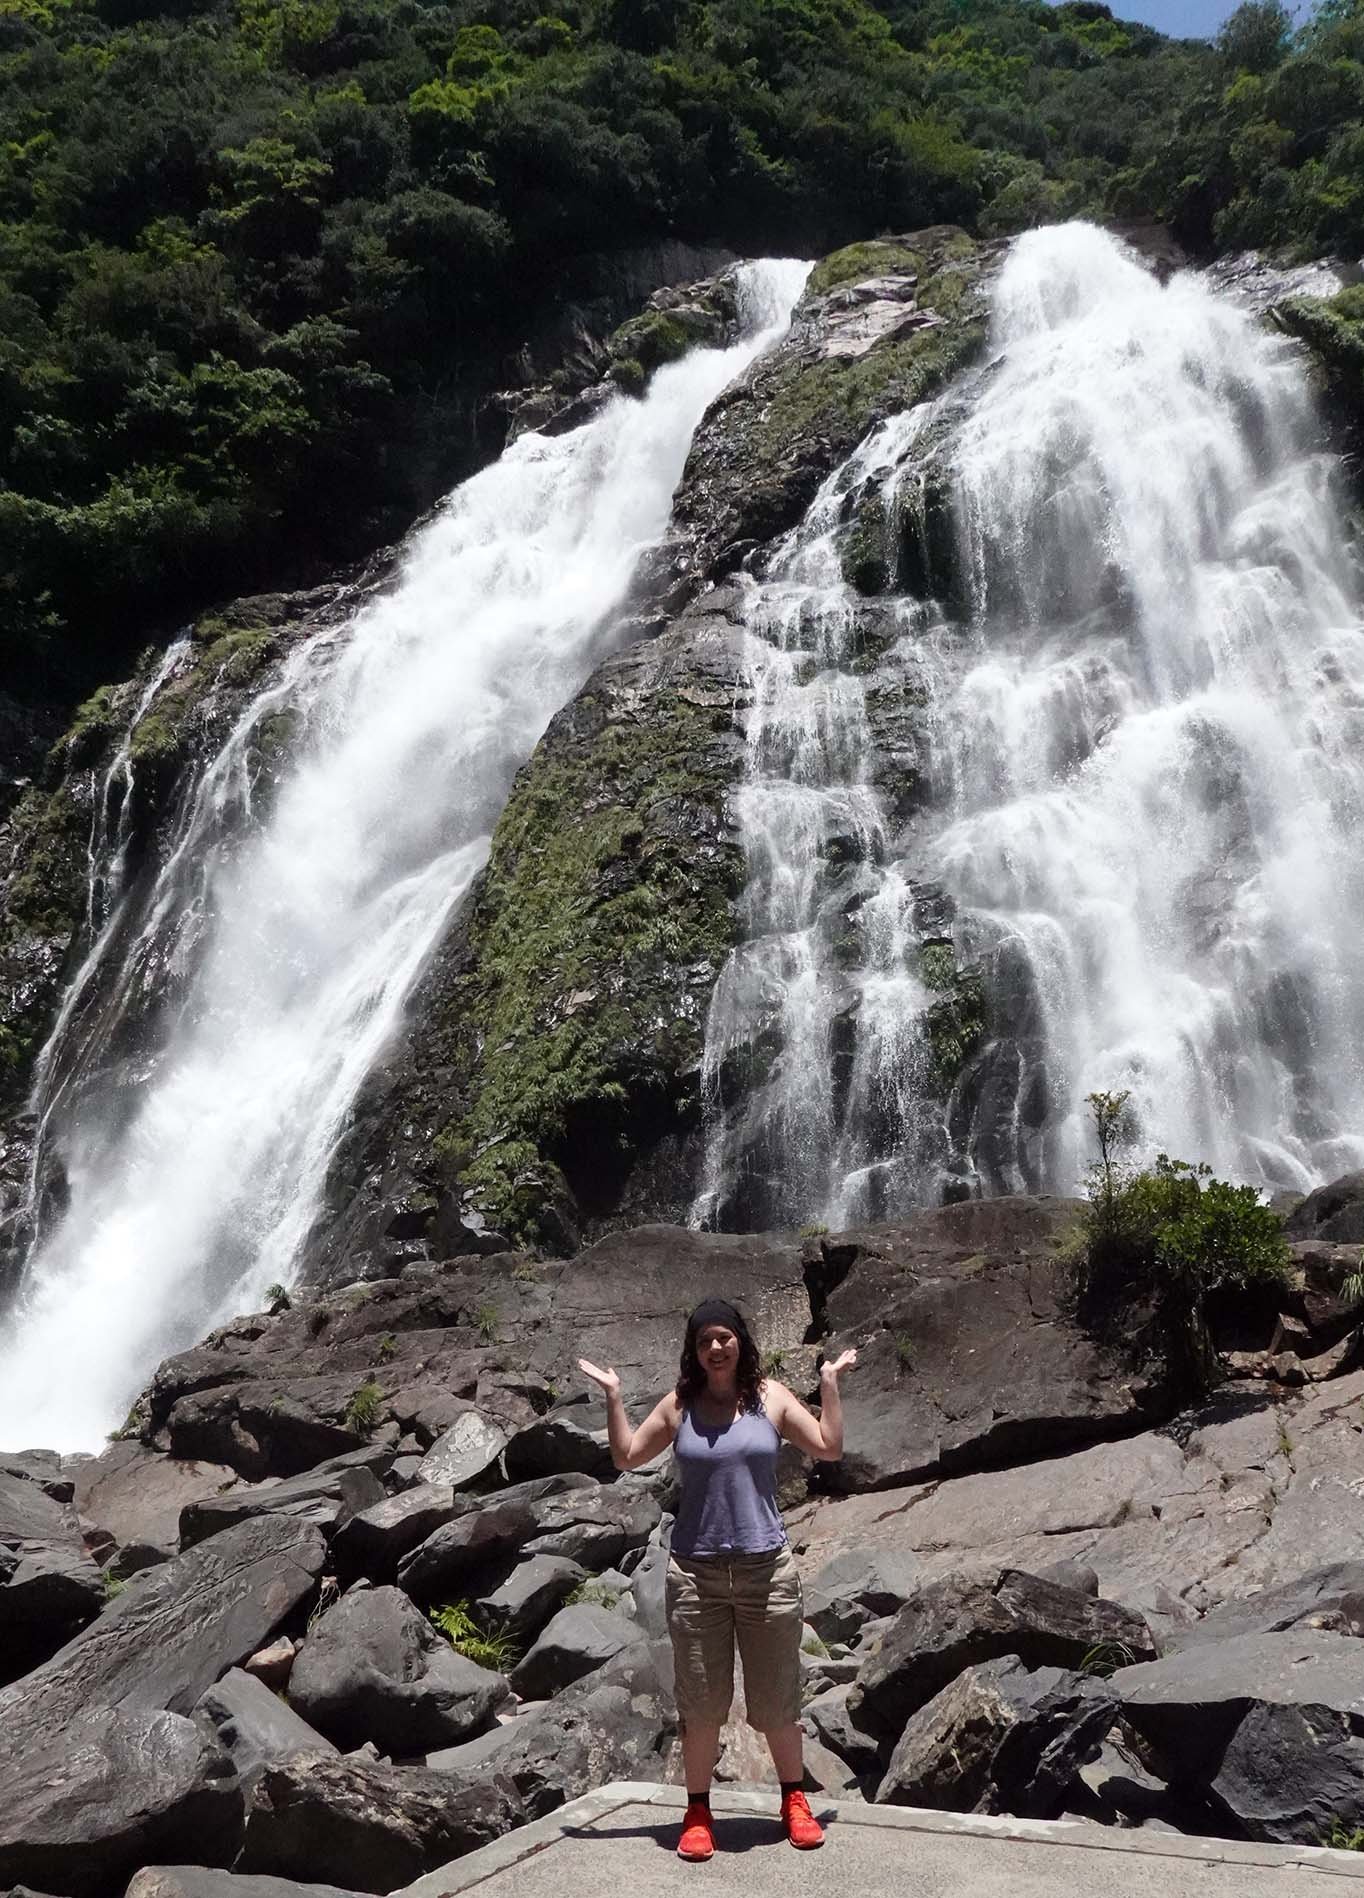
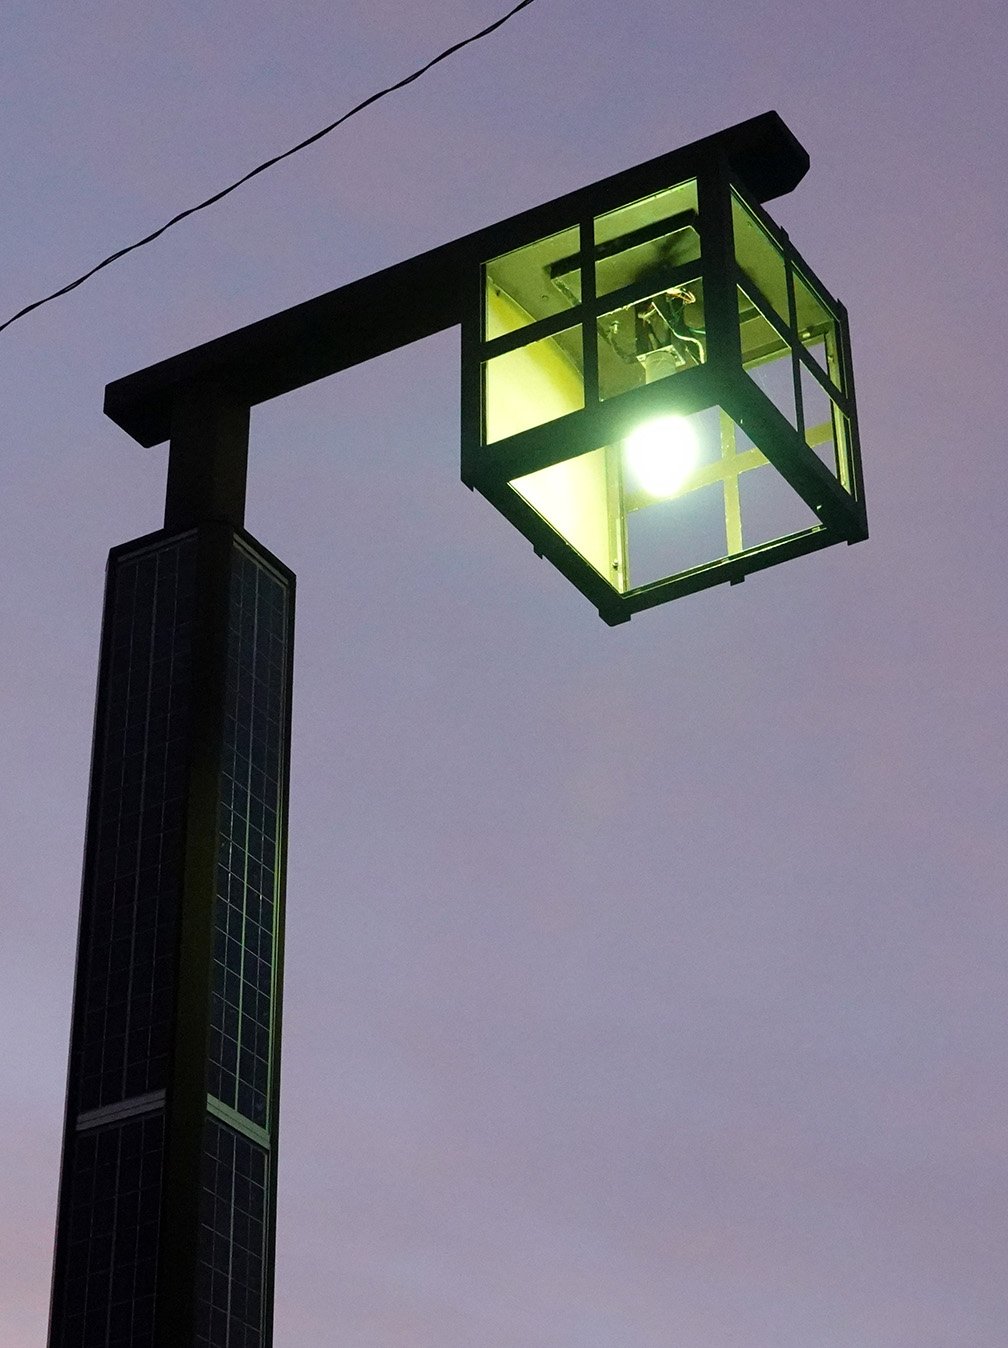
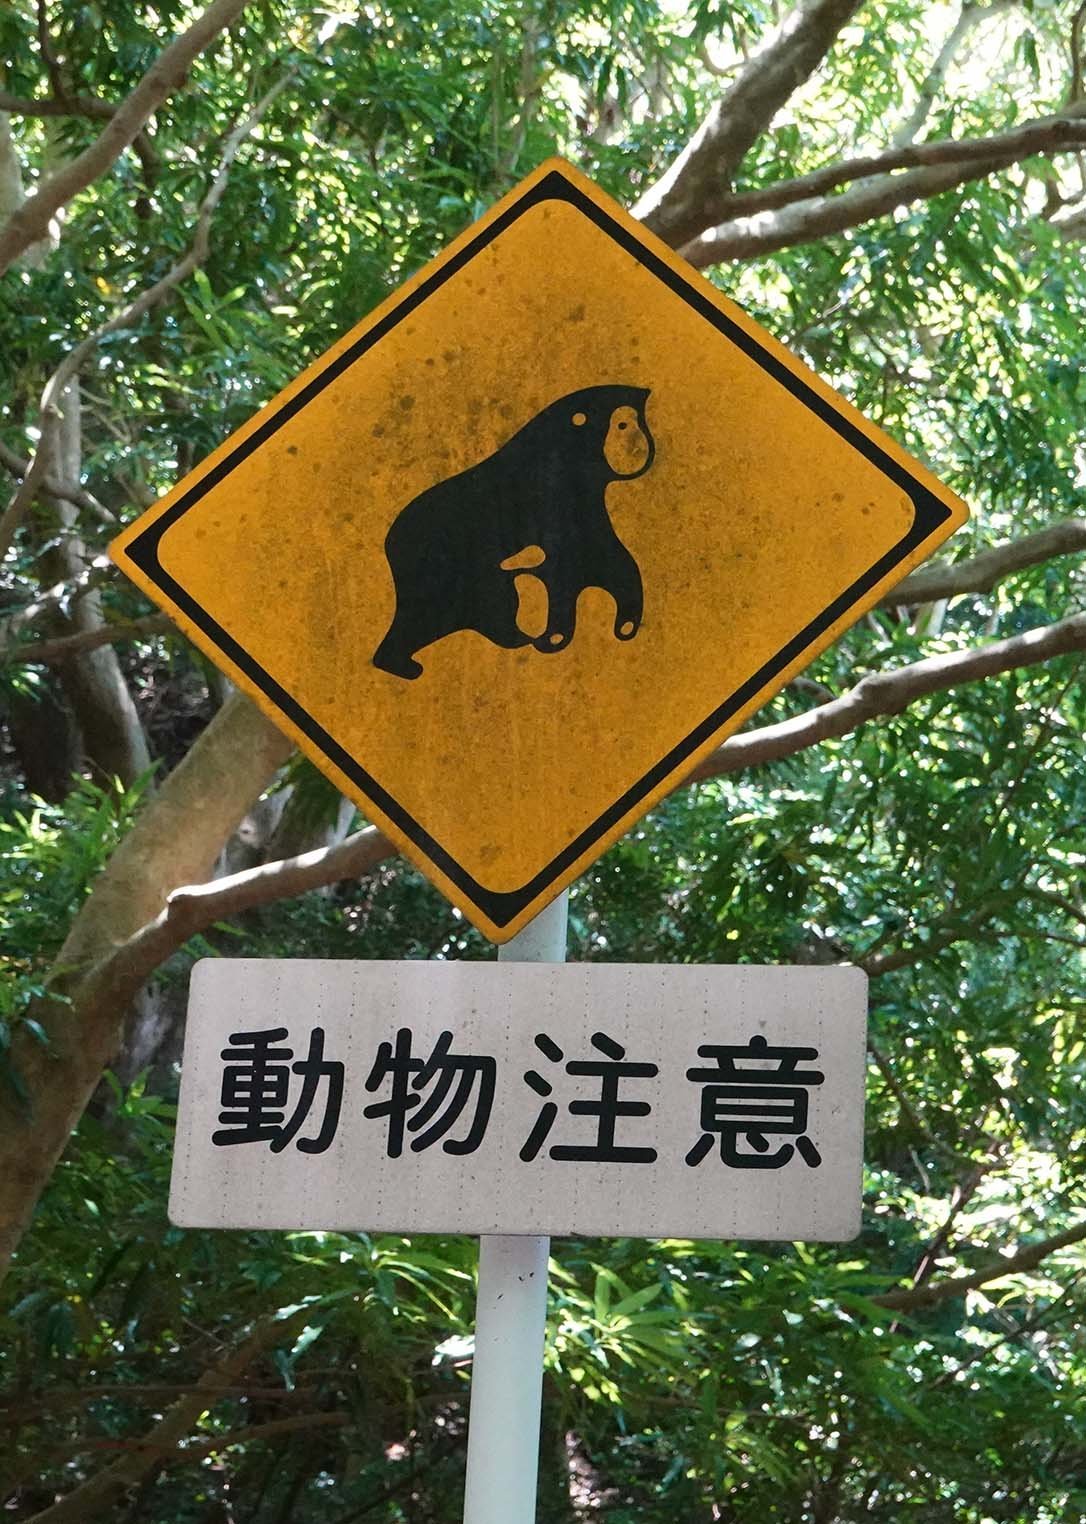
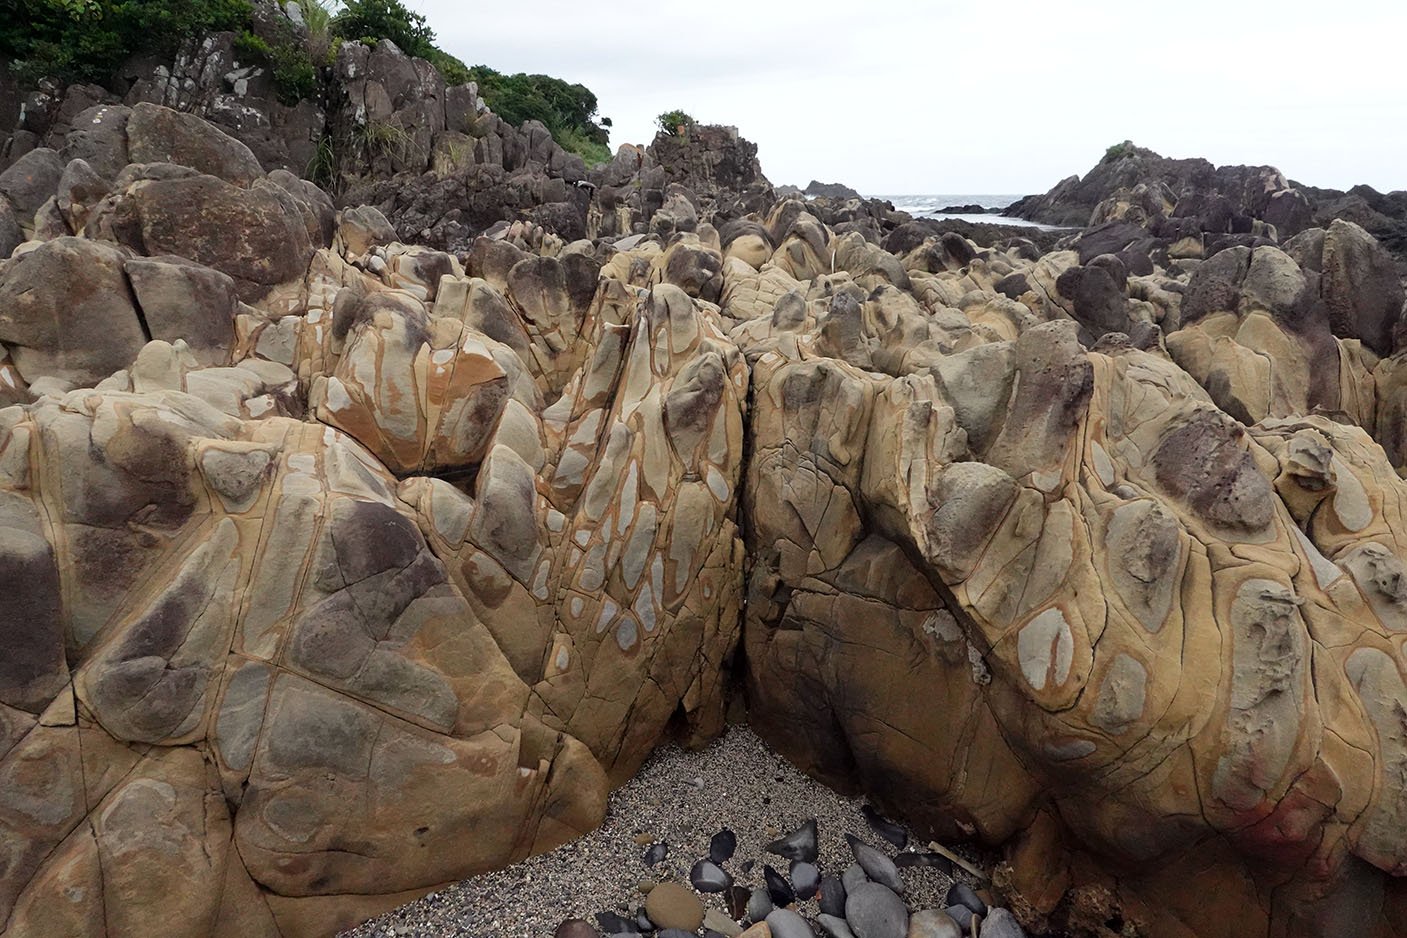
The next day started at 7:30am with a prepared vegetarian breakfast at the guesthouse (asked for in advance when I arrived), and then at 8:30am we set out on an island tour! We stopped at a tea farm, several waterfalls, drove a road known for Yakushima deer and monkey (but saw few monkeys, due to the hot weather that day), and stopped at a natural hot spring outdoor onsen. The tour concluded around 4:30pm, and at 7:30pm I had signed up for a turtle egg-laying evening tour. In between, I took a nap and ate. The turtle tour involved waiting until after nightfall when a sea turtle was already in the process of laying eggs and then carefully going in a group to watch her with the aid of red-light flashlights. My turtle was a loggerhead, which is the more common species. They rarely get green sea turtles on shore laying eggs, but it does occasionally happen. No cameras were allowed on the beach, and it was so dark I’m not sure they’d have done much anyhow. It was a cool excursion, though, as much in observing the logistics of the event coordination as in observing the turtle herself! We got back around 11pm, and the following day I had an early morning ahead so I crashed.

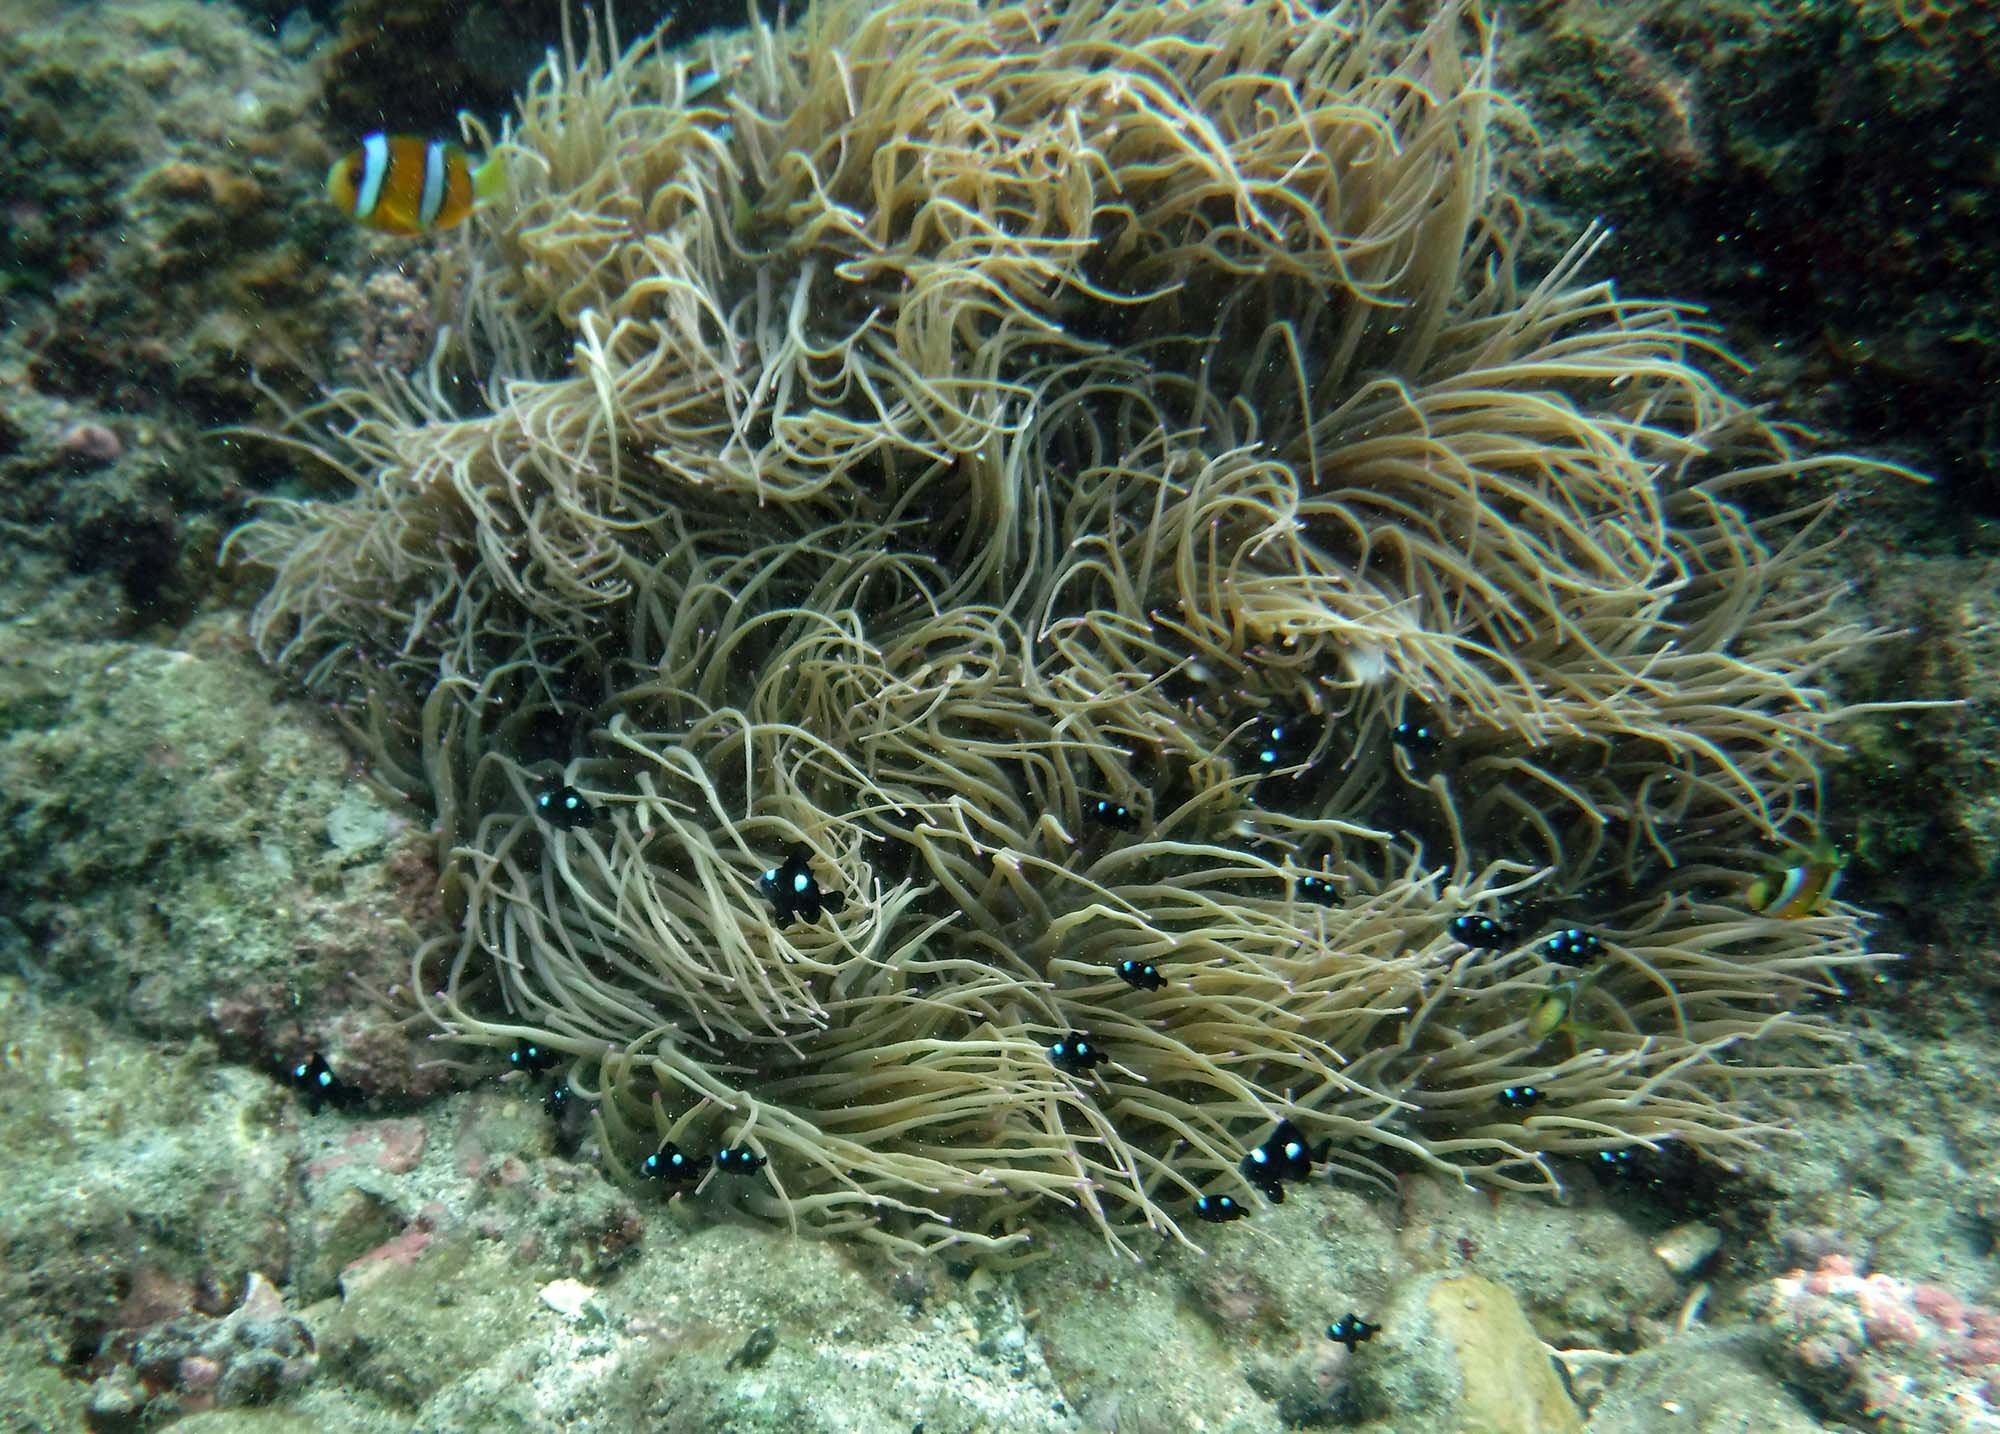
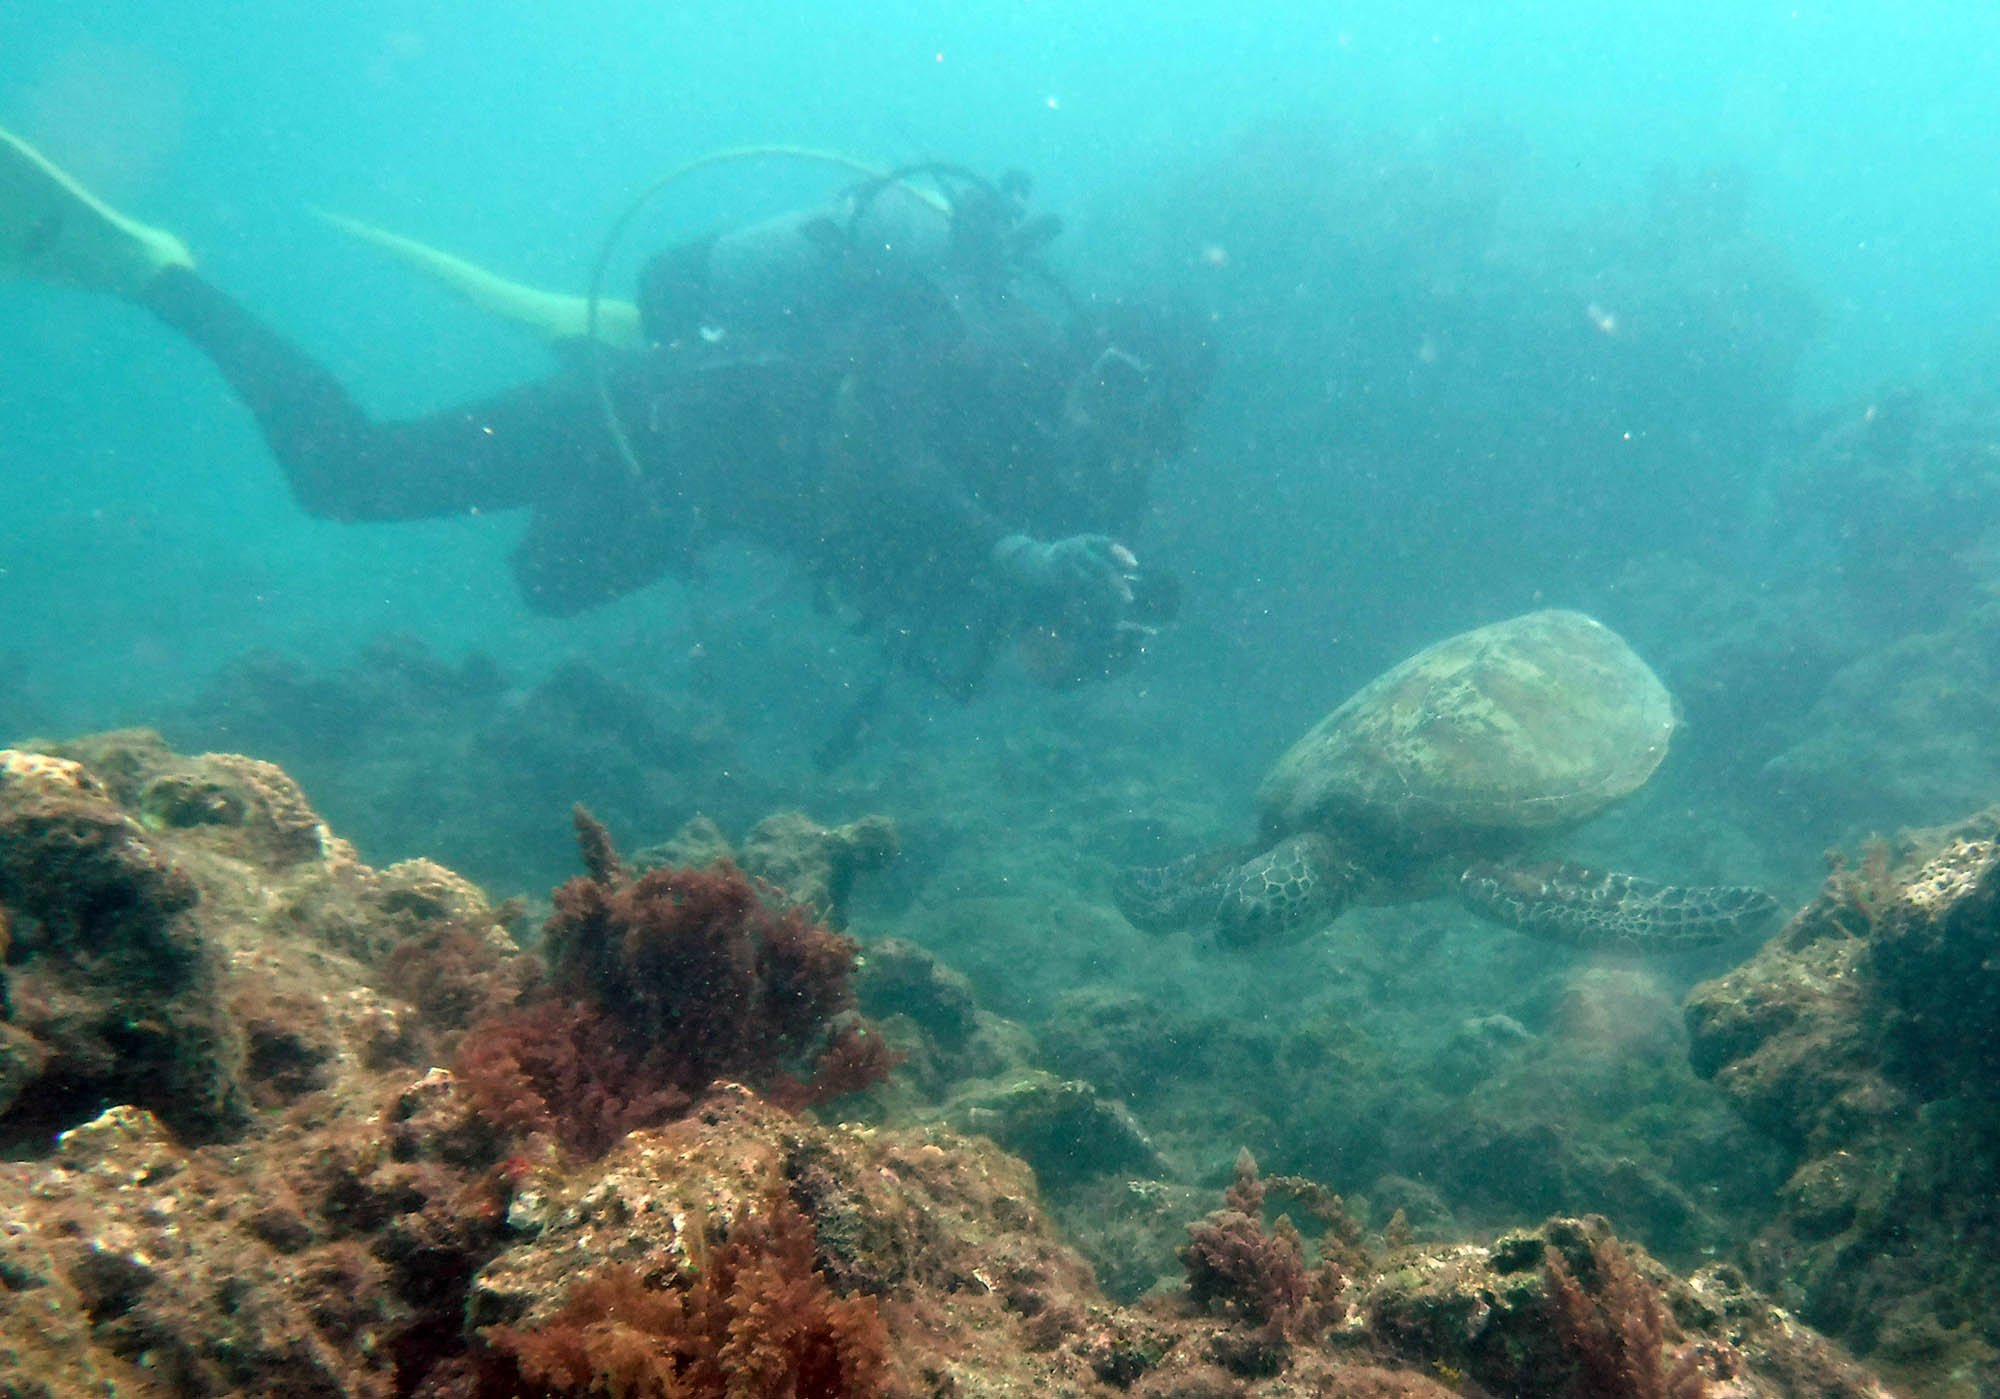
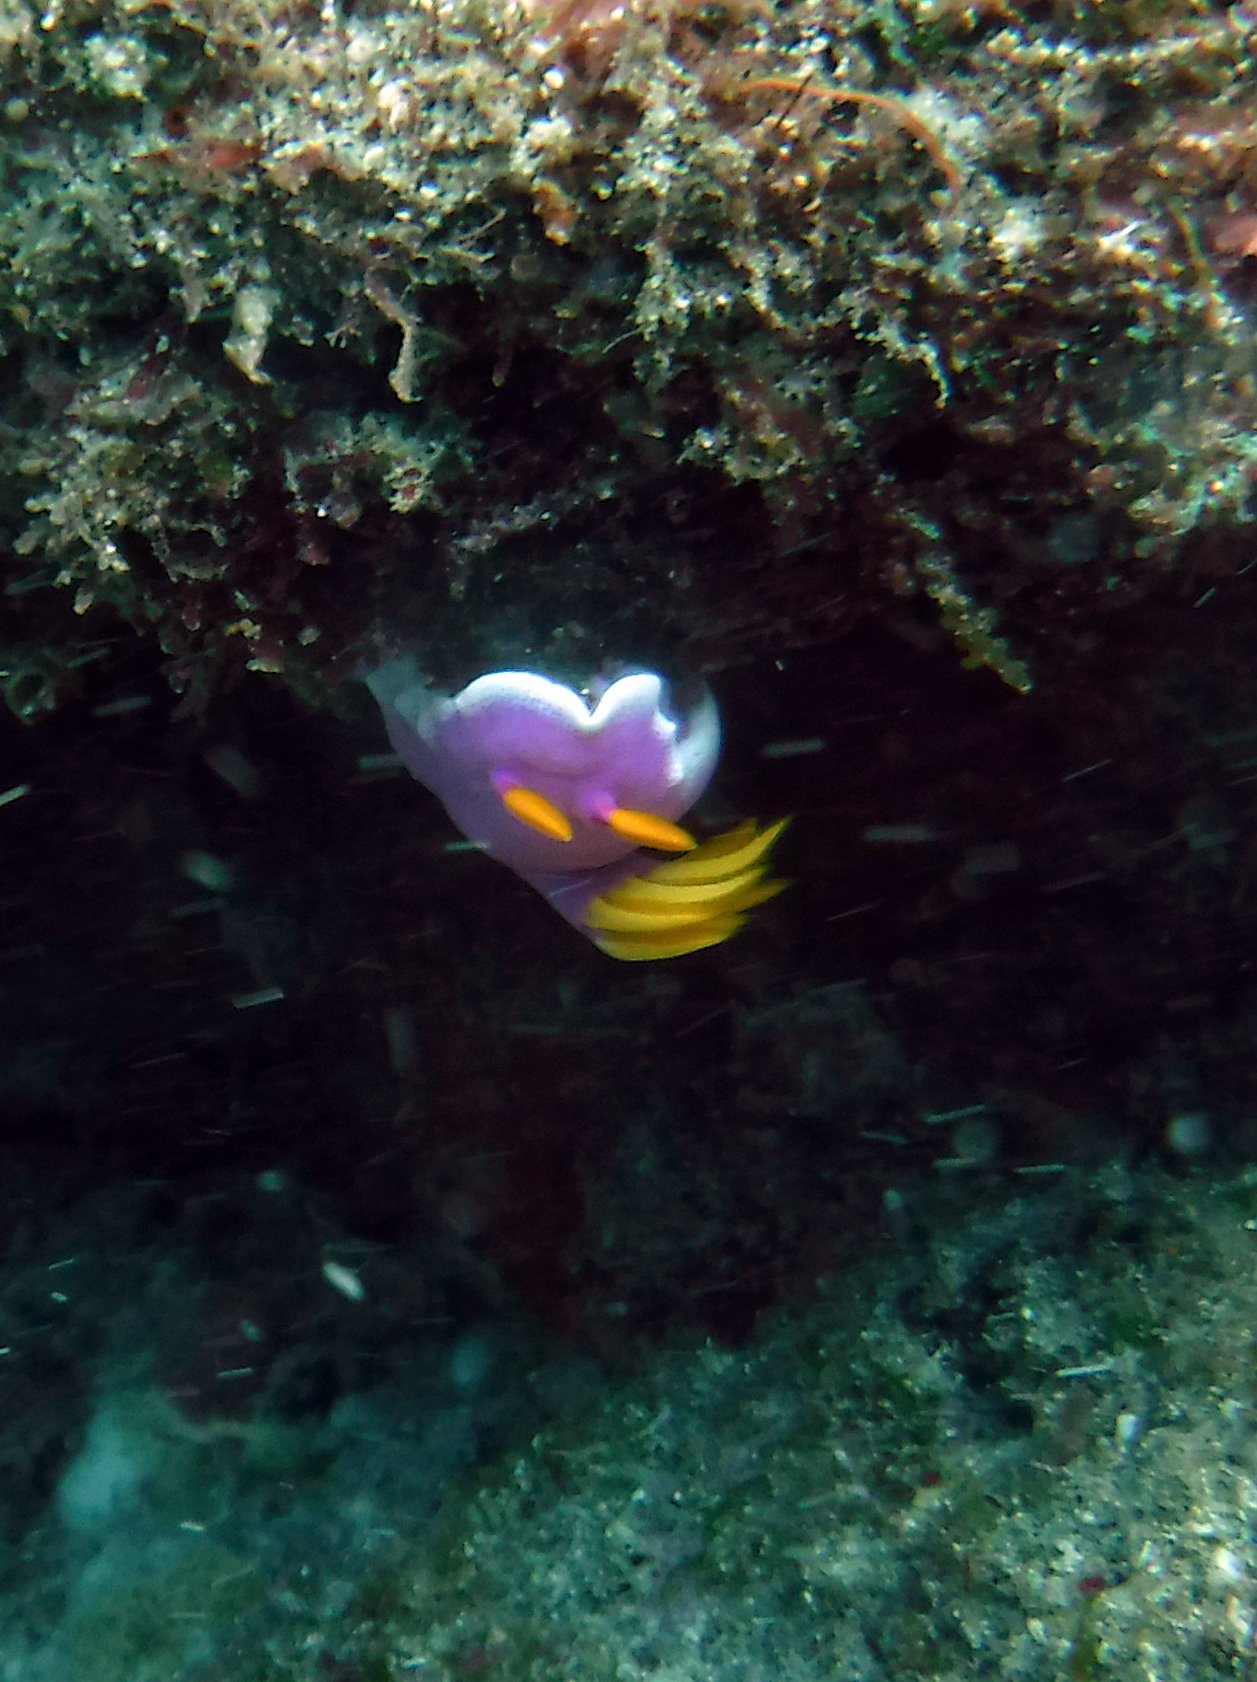
I woke up at 6:30am in preparation for a departure to the Yakushima Diving Center at 7:30am. We went over safety procedures and picked our beach entry spot, and then did a reef dive for about an hour. I’ve done scuba diving several times before in 2019, and I loved it then and continue to love it now. We saw an octopus, a moray eel, three green sea turtles, a beautiful nudibranch, starfish, fish, anemones, and a giant clam. I got some decent photos of one of the sea turtles and some nudibranch and fish, but it’s a fight to get my camera to focus and animals that are moving a lot (the octopus and eel in particular) are next to impossible to capture, at least at my current skill level. I got back to the guesthouse around noon, so I walked to a nearby restaurant for lunch, had some more rocky beach time myself, and then walked up to the main road and visited a few souvenir shops before going home and enjoying the bathhouse and having an early night.

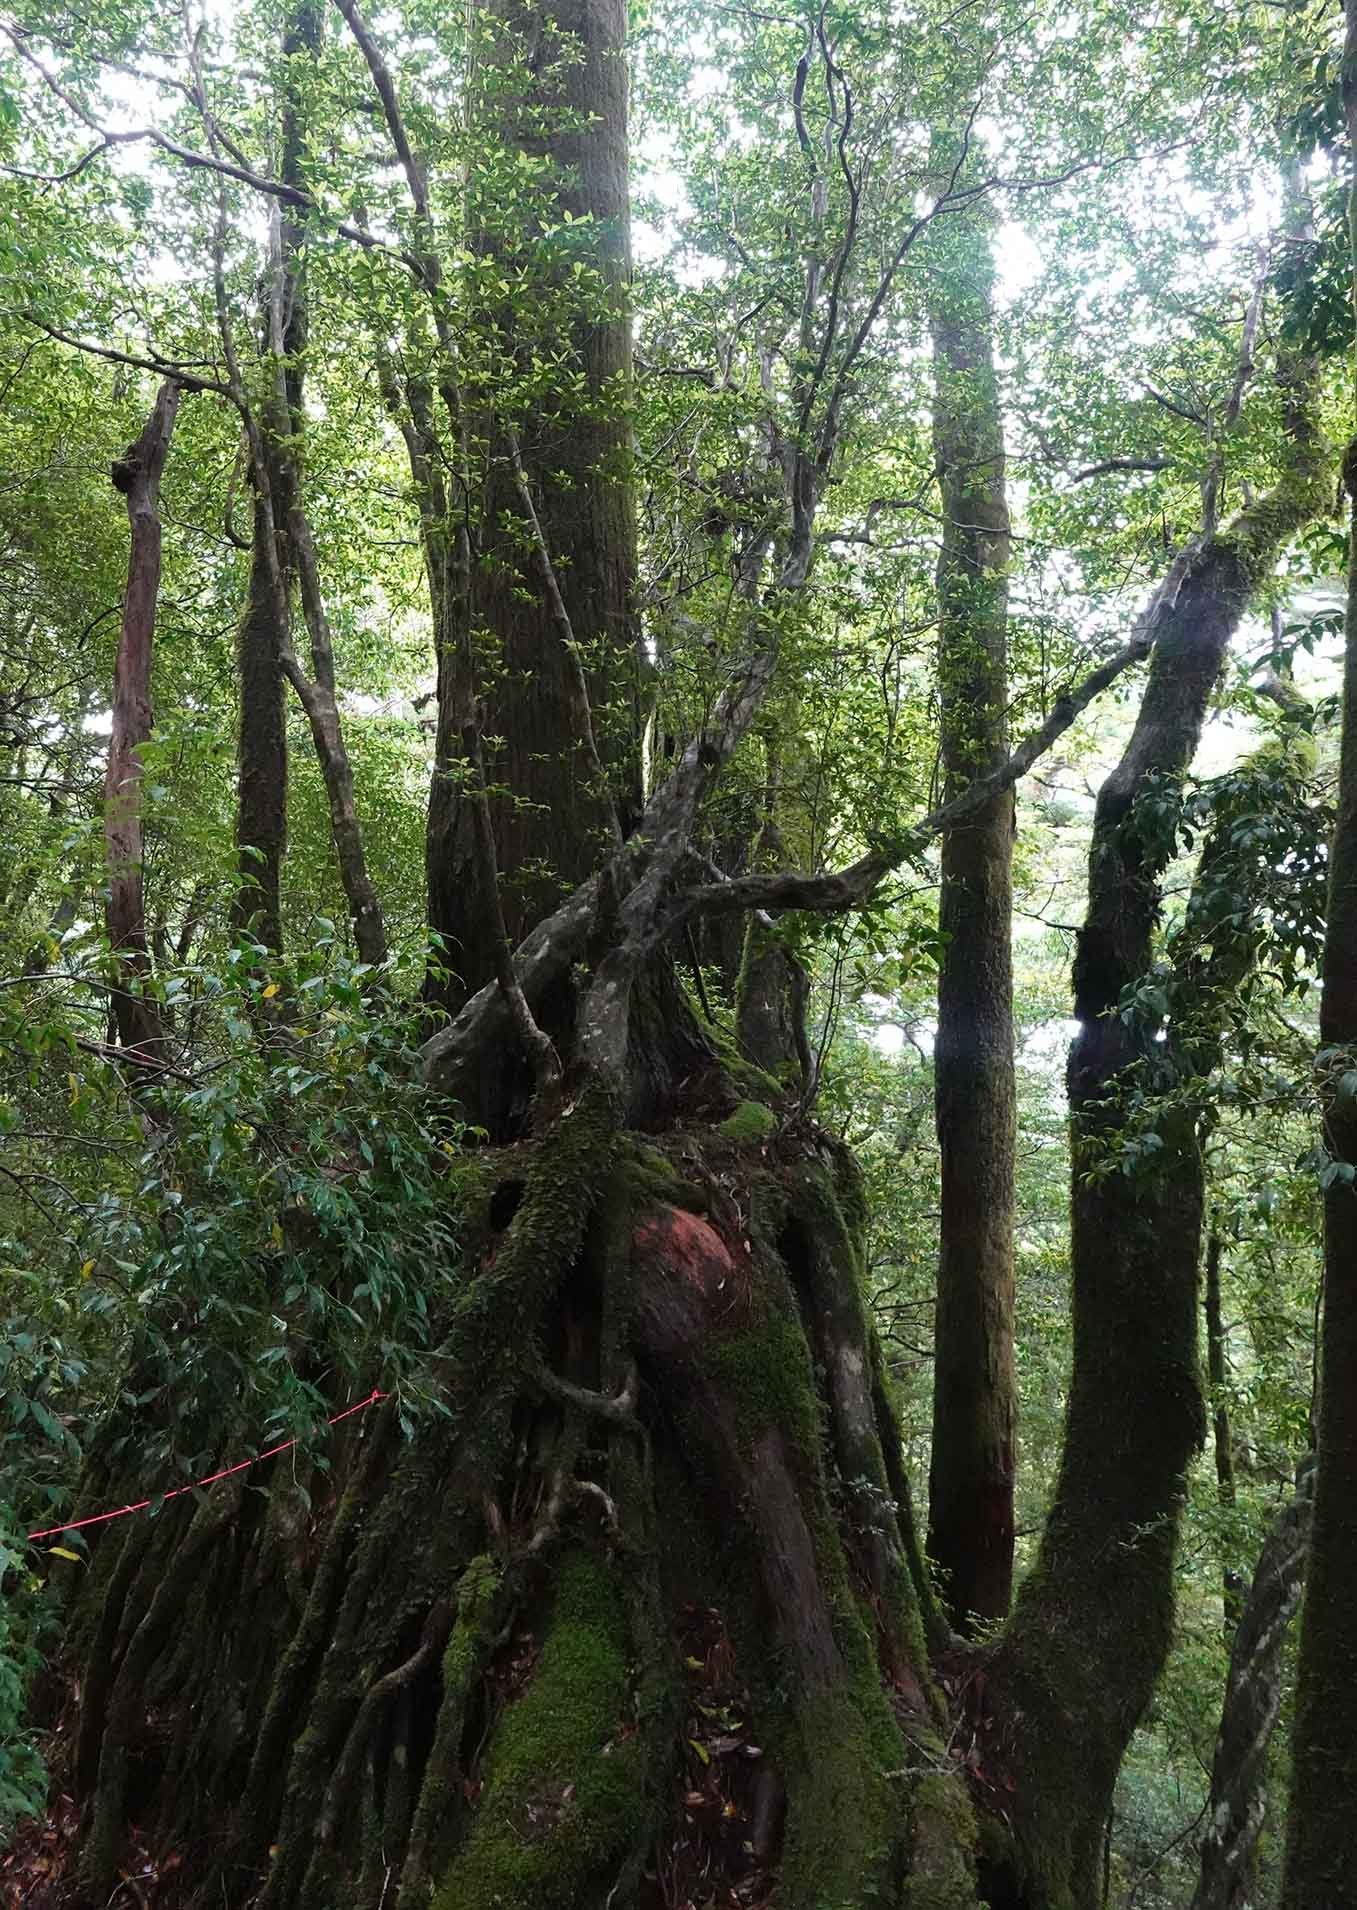
My last full day in Yakushima was a seven-hour forest hike! We departed at 7:30am for the Yakusugi Land & Yamato Sugi hike, which was rated as a 3/5 of difficulty but which I’d probably rate as more of a 4/5 due to constant elevation changes and lack of a trail for most of the hike. It also started raining about a third of the way into the hike, and none of the guest hikers felt like using an umbrella was possible because of the trees/branches all around us so we all just got soaked. It did feel very apropos for Yakushima. A decent part of this hike was in territory which has small leeches. Our guide tried to get us to see them as cute, but I was adamant that I did not want one. While I kept getting dirt on me that looked suspicious, I and one other hiker made it through without a leech! Our guide and two other hikers got one each. I did get bitten by something that I was allergic to though, so I rocked a large bite wound thereafter. The other most rigorous hike I’ve done was an 8-hour hike up and down two mountains in the Peruvian Amazon - this one was more intense, but at 37 I am actually fitter than I was at 27 so I performed better on this one! In fact, I was the fastest woman on the hike; we had our male guide and a male guest hiker who were faster, then me, and then a mother and daughter along. We got back to the guesthouse at 4:30pm and I hopped into the bathhouse right when it opened at 5pm, tried to hang up all my wet belongings, had an early dinner, and was asleep by 8:30pm or so.

The next day I ate another prepared guesthouse breakfast, packed up, and then took a taxi to the airport at 10am. My flight wasn’t until noon, but I wanted to check out the shops and an art gallery near the airport (the airport is so tiny it’s within walking distance to several stores). I popped my luggage in a coin locker and wandered around for about an hour. Then I headed back to the airport and made my way through security. At the gate, a Japanese reiki therapist named Rina befriended me and we chatted until we boarded the plane to Fukuoka!

My First Days in Japan

I departed my house at 5am on May 23rd, and by about 6:30pm on May 24th (including the time change) I arrived at my hotel in Tokyo. My flights went well, though somehow my vegetarian meal requests did not make it through to All Nippon Airways; this meant for the first meal I was given a banana, but then the flight attendants managed to scrounge me leftover vegetarian meals from first class (after normal meal services concluded) and in the process of all the negotiations around food, they enjoyed my very beginner Japanese so much that they gifted me with ANA swag at the end of the flight! I now have a small ANA sketchbook with surprisingly decent paper, postcards, and I think a balloon..? I haven’t opened it yet to know for sure.

Once I got to my hotel and even though I’d been up for over 24 hours at that point, I summoned the energy to go to the nearby 7-11 to see if I could withdraw money with my debit card, as I wasn’t able to when I was in Athens and I needed to be able to here due to the many cash-only establishments. Fortunately, it worked! I then bought some konbini (Japanese convenience store) snacks including onigiri, radish salad, and a yogurt drink. Then I crashed.

Over the next several days, the jet lag only allowed me to sleep for about 4-6 hours a night, which put a bit of a damper on my overall energy levels and did require that I give myself some grace. Due to the number of time zones between the US and Japan, it can take up to a week to recover from jet lag.

Shelby Prindaville with a live Japanese rhinoceros beetle (Trypoxylus dichotomus) in Mushisha.

On my first full day in Tokyo, I went to a beetle pet shop called Mushisha. There are some beautiful native beetles in Japan that children capture and keep as pets, and that interest has cultivated a variety of beetle-related pastimes including raising beetle species from around the world from grubs as pets and holding beetle battles. I knew I wanted to be able to photograph the beetles, so I had prepared a short speech ahead of time in Japanese explaining my wishes, and then wandered around taking bad photos through the cages. Then I gifted the staff with my business card and my greeting cards of mosquitoes, and explained that my paintings are very detailed and I wanted to photograph the beetles out of their cages. They very, very kindly acquiesced and I negotiated first one beetle, then a total of four. I also asked for the species info, and after I finished with the fourth they gave me the list and somehow none of the beetles I photographed were native to Japan! So then I got to photograph a bonus fifth beetle, as I really wanted to paint a native species as well. Once I finished, I got their email address so I can send them images of the paintings I will do of their beetles.

Then I walked to a very small vegan restaurant with a unique quirk - it only caters to single diners, and requests that there be no talking aside from ordering and payment. Some reviews found this to be a hostile choice, but as someone who dines alone frequently I wanted to experience this atmosphere! I found it very meditative, and would happily eat there again.

After that, I started my quest for decorative washi paper that I could use as a painting substrate. I stopped at Bingoya, which was kind of on the way back, and bought a really lovely sheet there. Then I went to Pigment Tokyo. This was the shop I was the most hyped for, as it sells metal-leaf papers and titanium panels, the likes of which I’d not yet seen for sale anywhere else. I bought several hundred dollars’ worth of supplies there! However, I later discovered they sold me a packaged-up, flawed titanium panel and then refused to refund it or fix it when I returned to Tokyo after my artist residency. They apparently only have a maximum of one week for returns, which implies real quality issues. I don’t recommend them. I later found similar products with much better customer service at Ozu Washi.

Shelby Prindaville at the Tsugu Tsugu kintsugi workshop.

On day two, I went to an antiques fair and flea market; then I had planned another activity but I just returned to the hotel and took a nap before joining a real kintsugi workshop in the afternoon. Real kintsugi uses urushi lacquer, and is actually food safe. Most modern kintsugi uses epoxy. Real kintsugi takes two to three months, as you apply multiple layers of lacquer and each has to cure, so we were just doing the finishing layer. It was educational, but this workshop was quite expensive so I wouldn’t recommend it to folks who just want a cultural experience.

On day three, I continued my quest for washi paper and I went to four more shops that sell it and bought another several hundred dollars’ worth of paper. I don’t expect to use it all immediately - some will definitely be for future use. I also came to the realization that I had already acquired so many new art materials that I was not going to be able to fit them into my existing luggage, so I bought a new piece of luggage at this point. This was always in the cards, and is what I did in Athens as well. Fortunately, Reddit has some really helpful Japan-focused subreddits, so I learned of a shop that sells them at wholesale prices and got a really good deal on one! Most of the stores were selling large suitcases for 24,000 - 88,000¥ (about $153 - $560), but I got mine for under 8,000¥ ($50).

At the final shop of the day called Ozu Washi, I bought a ton of paper and also attended a washi paper-making workshop! This was way cheaper than the kintsugi workshop and also way more involved - I think anyone visiting Tokyo who might be vaguely interested should do one of these washi workshops as it was definitely a lot of bang for your buck. I will go back and do another one in July, as there are different processes and I’d like to see how some of the others work. The kind I did, pictured below, is called rakusui-shi / sukashi washi / lace washi.

Below are a few more photos from my first few days in Tokyo! The first is of the inside of Mushisha, the second is of the single diners only restaurant with window signage, and the last two are of parts of the inside of Pigment Tokyo - but again, I would encourage you to support other art supply stores instead, due to their poor quality control and extremely short return policy. I recommend Ozu Washi instead.

Upcoming: Advance to Gogh Exhibition with People's Choice Award

The Advance to Gogh flyer for participating artists, designed by Jean-Guy Richard!

My amazing friend and artist Terri McGaffin has organized the Advance to Gogh exhibition taking place at multiple galleries in downtown Sioux City, and she and Gallery 103 invited me to participate!

51 artists including me brought game boards (and some included game pieces and boxes) to the lottery selection on April 6th. I drew #43, which was Scrabble Junior!

I’m looking forward to the opening artwalk on Thursday, July 11, 2024 at 5:30pm beginning at the Sioux City Art Center and proceeding to visit all of the included venues:

Sioux City Art Center
Gallery 103
Three Rivers Gallery
Art SUX
Vangarde Arts

There will also be a People’s Choice Award with online voting, so stay tuned as I share more information about that as it becomes available! If you want to visit Gallery 103, it’s located on the ground floor of the Ho-Chunk Centre at 600 4th St, Sioux City, IA 51101.

I have to commend Terri - organizing such a big event across multiple galleries and organizations is a real labor of love and she’s doing a fantastic job with it.

Slip Resist Naked Raku Ceramics

This was my first time doing slip resist naked raku ceramics, and it was definitely a learning process for everyone at the workshop, with more experimentation still needed moving forward! I did a fair amount of research the night before the workshop, and I was really glad I did. When we arrived the plan was just to do a one-step slip resist, but I had discovered David Roberts’ ceramics and wanted to try his technique. That required a two-step process (step one: dip into the slip resist, then let dry and step two: dip in clear glaze), which I convinced Wanda to let me do as well.

We began with the one-step system, but it was producing very low-contrast results for everyone. Some of them are still very cool, but I really wanted some full value finishes! As we fired the first of the two-step pieces, we saw that it was garnering better results. We’d already gotten through the majority of the slip resist pottery by then, but we pivoted the last third entirely to the two-step process regardless of whether folks wanted to carve through it. You may recall my last two pieces didn’t get fully fired, so I left them with Dakota Potters to refire another day. I recently got them back and in my opinion they’re the best of the bunch!

I put ten ceramics through the slip resist process; three were one-step and seven were two-step pieces. Unfortunately, we did find the two-step pottery were more likely to suffer casualties in the kiln. One of my two-step ceramics shattered so fully that it was just trashed there. Another blew a chunk of its side out, but is otherwise actually pretty cool so I plan to use a rotary tool to sand down the jagged edge and keep it.

Below I’ll show my eight undamaged pieces! First, two views of my first David Roberts inspired dish wherein I carved through the two-step surface to leave black lines:

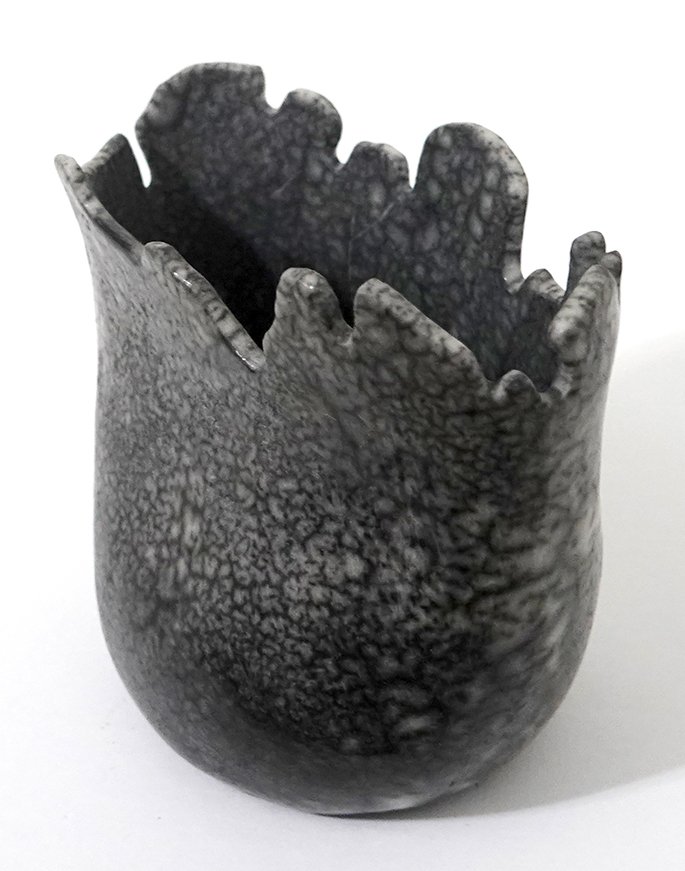
Next, one view each of a one-step vase and bowl:

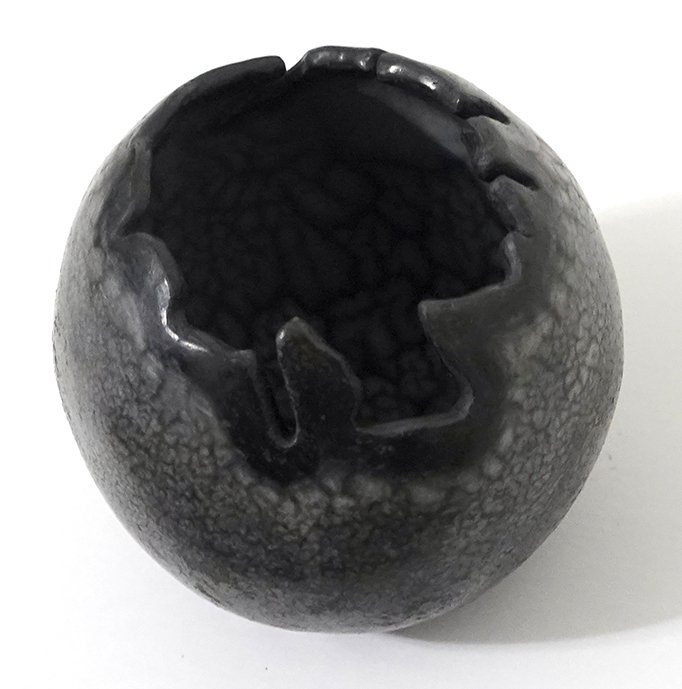
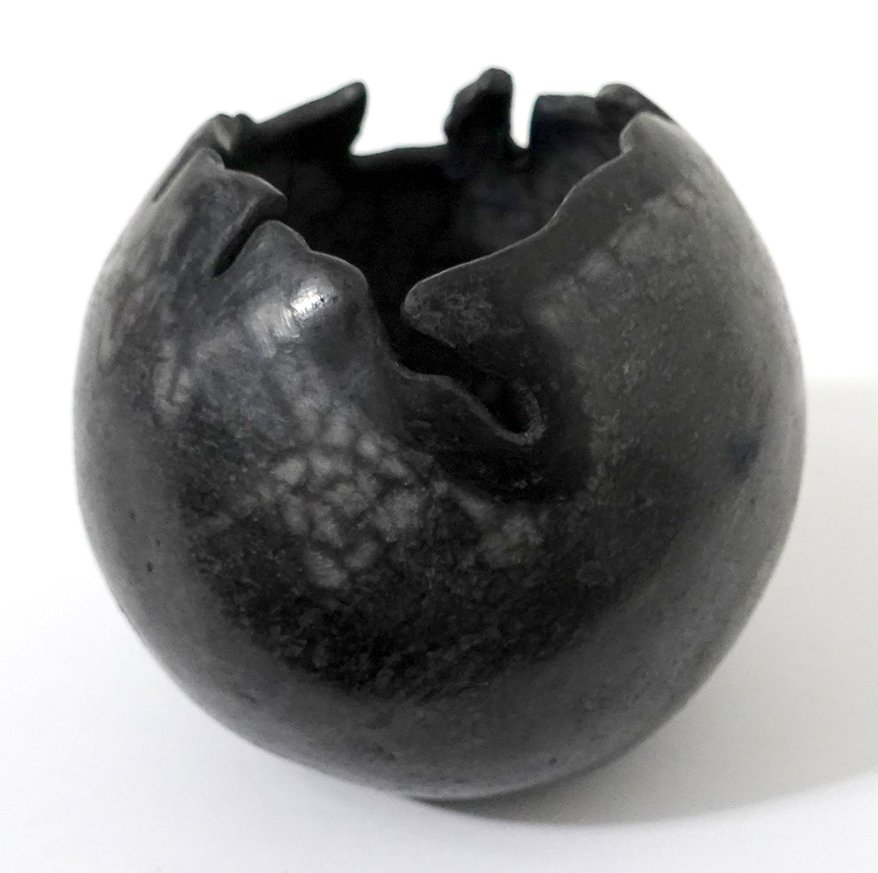
The below orb was also a one-step piece, but I added wax resist to the rim before dipping into the slip resist. Despite its low contrast, I think the pure black rim, the high burnish, and the shape contribute to making this one of my favorite pieces from this workshop. Here are three different angles of it:

Next, we have one image of the largest piece I fired at this workshop, and two views of another attempt at carving through the two-step surface on a small tray.

Here is the first of the two pieces I left behind to get refired - a large two-step orb!

And finally, the second of those two, an oblong vase:

Overall, I’m quite happy with these results so far, though I’d like to figure out how to regularly preserve larger white areas for even higher contrast. My burnishing was more successful on some pieces than others, but I do think it was worth the effort and I plan to continue to burnish for naked raku ware.

I was the ArtWorks 2024 Judge for the Sioux City Community School District

On May 2, 2024, I was honored to serve as the ArtWorks 2024 judge for the Sioux City Community School District. This was a massive show with 1,000 student pieces from elementary, middle, and high school students! It was a lot of fun to soak in all of the varied artwork on display, and it was very difficult to award only ten prize placements. I was really wowed by the students’ hard work and talent, and also by the teachers’ creative assignments and support!

I returned that evening to see the show’s opening night, and it was packed with admiring folks of all ages. Here are a few photos of parts of the exhibition - it was so big that these only capture a portion of it!

Obvara Orbs & Bowl

I only fired four pieces with the obvara process this go-round, as I had run through a lot last time and I mostly wanted to learn the slip resist methods at this workshop. However, I wanted some obvara burnished pottery to compare to my previous unburnished works, and I’ve also decided my spherical handbuilt pots are a somewhat signature decorative form and so I wanted to have some obvara orbs. I did a smallish bowl as well.

The burnish was a mixed success with obvara - it delaminated in a few spots on two of the orbs during the dunking, which to my eye is kind of unsightly as the revealed clay layer beneath is bright white, so I color-matched and painted those in with acrylic. However, one orb and the bowl had no delamination accidents, and the resultant sheen on all four pieces is beautiful. Overall, I am happy with these and would be willing to burnish for obvara again.

Below are one photo of each of my three new obvara orbs and three photos of my new obvara bowl from my April 2024 Dakota Potters Supply workshop!


Obvara and Slip Resist Naked Raku Workshop

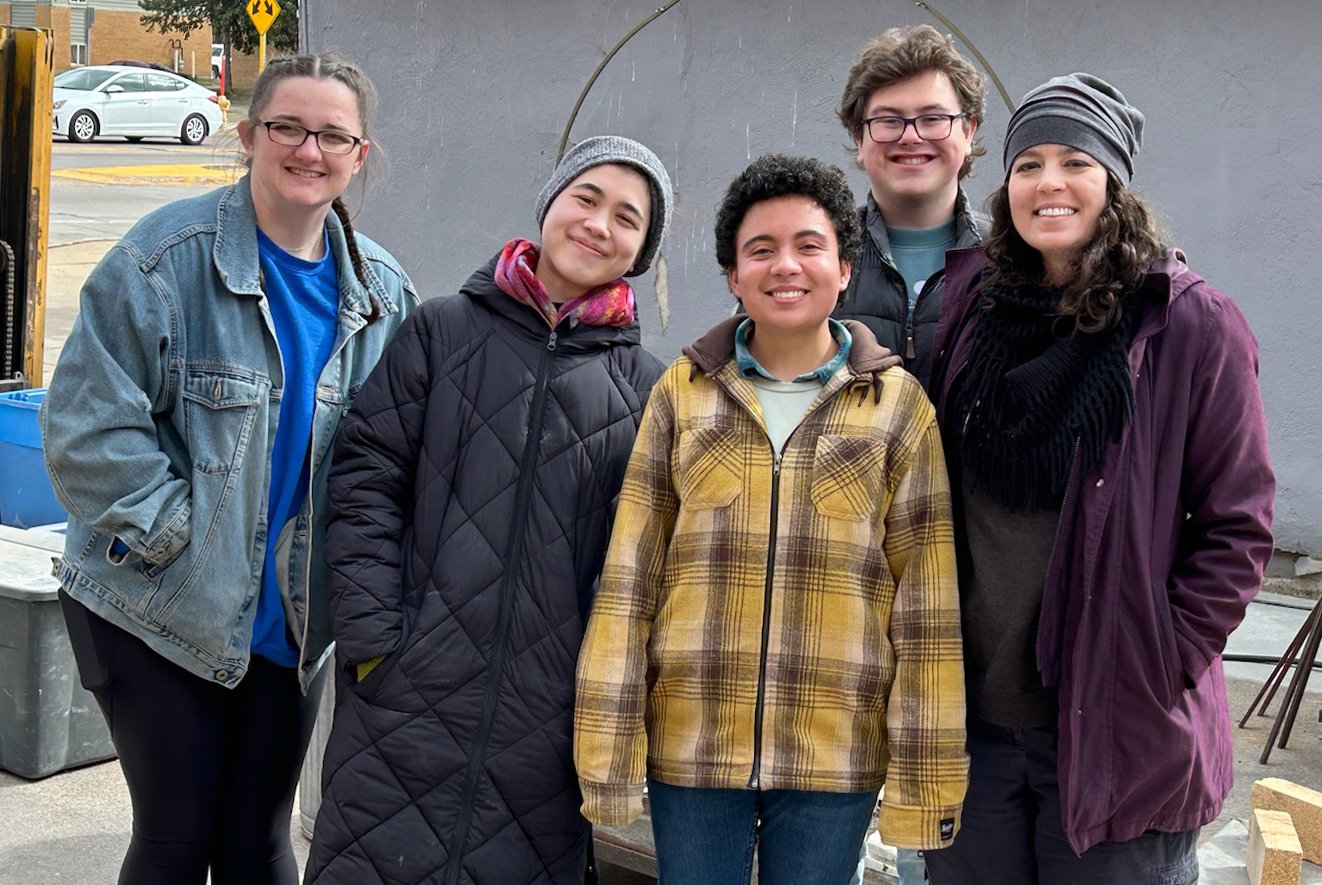
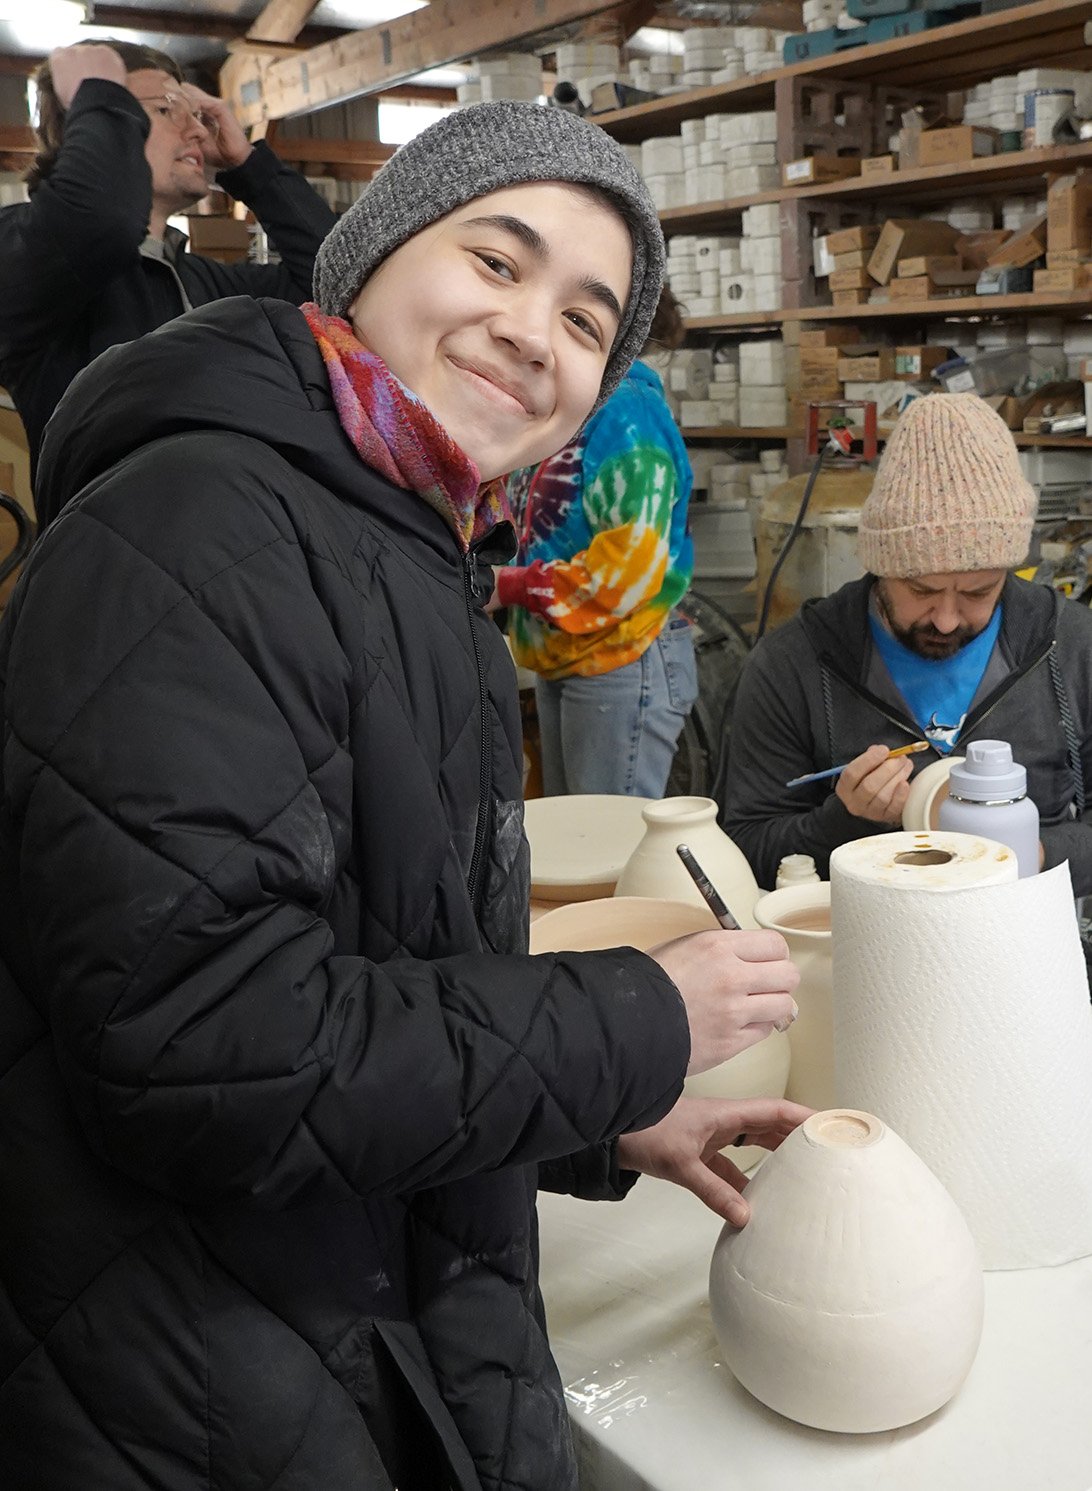
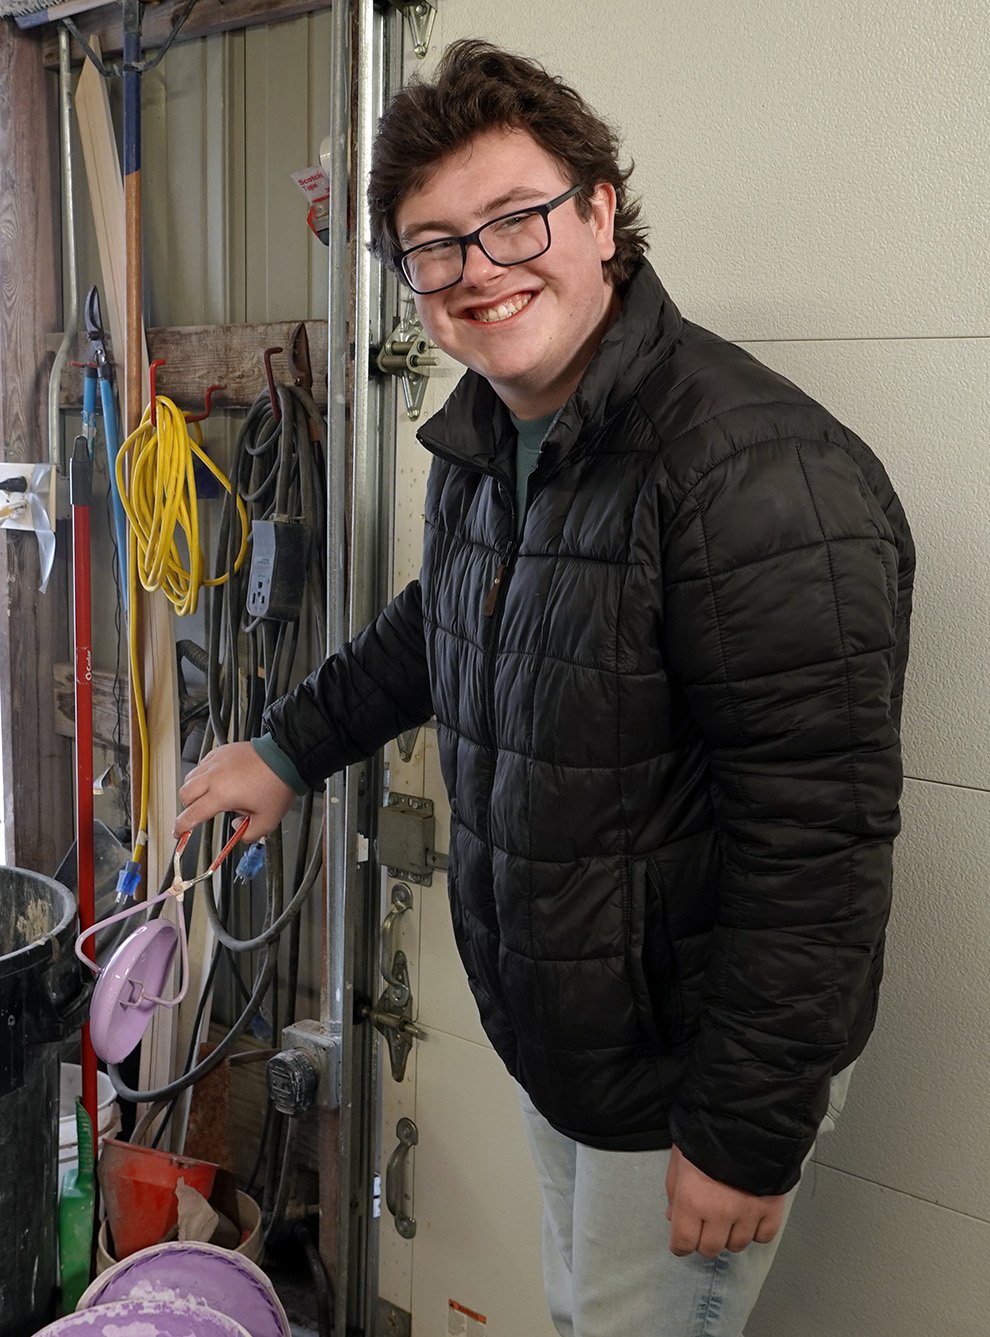
I just got back from another raku workshop at Dakota Potters Supply in Sioux Falls, SD! I brought along a group of faculty, alumnae, and students from Morningside University.

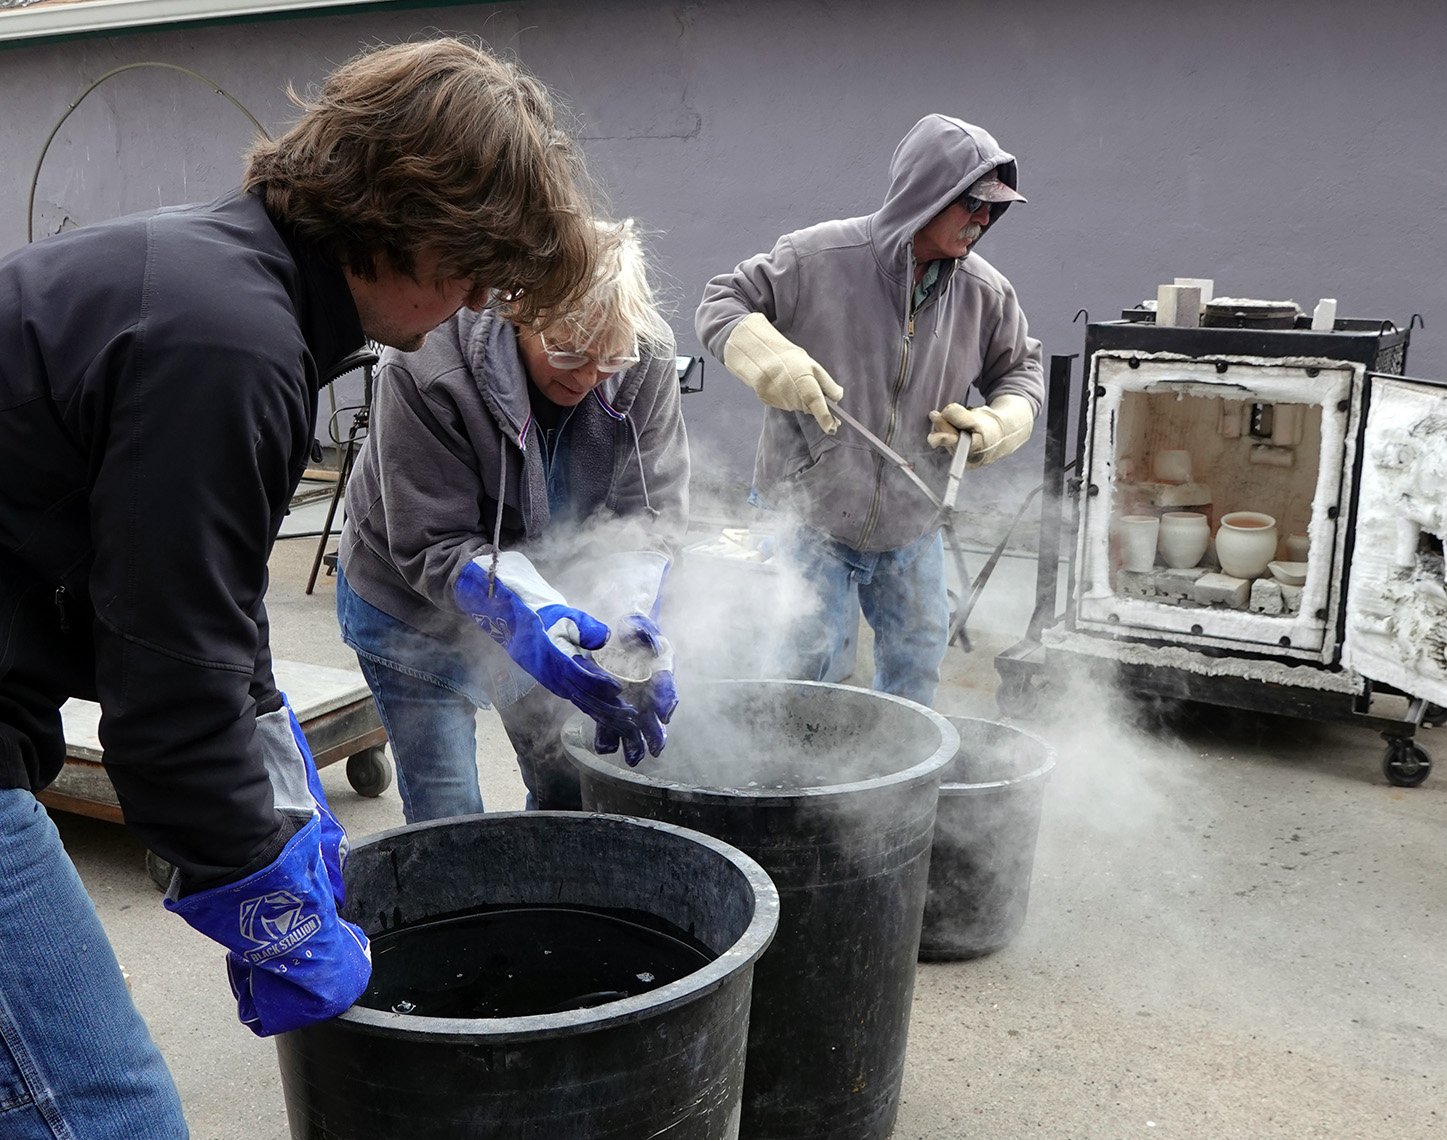
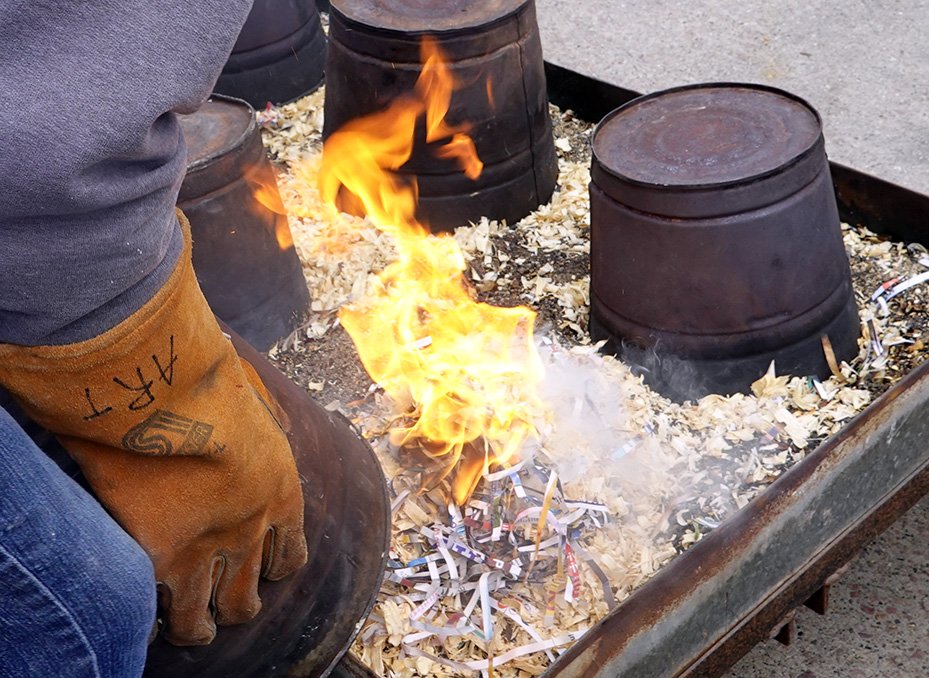
This workshop specifically focused on obvara and slip resist naked raku. I really like obvara, but since I just did a bunch in the fall, I only put four pieces through the obvara process and ran ten through two slip resist processes: one-step and two-step slip resist. Dakota Potters Supply had tried to troubleshoot the slip resist one-step process in advance of our workshop, but they really hadn’t figured it out so we were all experimenting and troubleshooting with our the slip resist attempts throughout the day.

I still need to edit the photos of my pieces - plus, two of them were underfired enough that Dakota Potters Supply kept them back to refire again later, so I don’t know when those might rejoin me (if they stay whole)!

Here are photos from the day of the workshop (Saturday, April 20, 2024):

Upcoming: Arts Itoya Residency in Takeo, Japan!

I’m excited to share that I will be attending the Arts Itoya residency in Takeo, Japan this summer for a four-week stay! Morningside University has been very supportive, and has given me both a Morningside Experience Grant and Ver Steeg Faculty Scholarship funding to help me accomplish this exciting project.

I try to learn at least some of the local language for all of my residencies, with varying levels of success. I’m proficient in Spanish, which helped a lot with my learning some French and Portuguese for residencies; with my recent Greek residency I learned enough to say a few greetings and somewhat be able to read the Greek alphabet, which helped in finding destinations via signage. For this Japanese residency, I knew I was going with enough advanced notice to actually enroll in a Japanese I class at Morningside this fall, and have been continuing to study Japanese this spring via Duolingo and a couple other apps as well as watching a lot of anime.

Japanese is a tough language to learn! The US State Department has categorized languages in terms of difficulty for native English-language learners. Spanish is a category I language, requiring an average of 750 class hours to achieve general proficiency. Greek is a category III language, requiring an average of 1100 class hours. Japanese is in the highest category, IV, at 2200 class hours. The other category IV languages are Arabic, Cantonese, Mandarin, and Korean.

At this point, I’ve studied Japanese more than any other language besides Spanish, and I am nevertheless not conversant yet in it. I can pretty much only accomplish basic one-way communication - me asking where the restrooms are, or saying that I am vegetarian - and very limited reading (I can read hiragana and katakana, but only know maybe 100 kanji). I can type it, but handwriting without looking at reference syllabaries is also not really within my capacity.

All that being said, this investment in learning as much of the language as I can ahead of time has already led to my giving a short speech fully in Japanese to our visiting Yamanashi City sister city delegation this fall, and has deeply enriched my knowledge of the culture and ecology of Japan. Several of my students have also gotten a kick out of being a classmate of mine! 私はこのなつ日本に行きます。たのしみです。

A New Challenge: Burnishing!

I’ve been preparing for a special raku workshop I’ll be taking faculty, alumni, and students to in late April where we’ll be doing slip resist naked raku as well as obvara again. The slip resist naked raku in particular is a new challenge that is pushing me to explore outside of my comfort zone and develop my skills, as we’ve been advised that we should use terra sigillata and burnish these pieces for the best finish.

What is burnishing? Simply put, it’s when you polish the surface of the clay to a high shine. Why burnish? It is a luminous way to finish the surface of a low-fire piece of pottery that will not be receiving any glazing, spray acrylic coatings, or other surface alterations like wax or paint.

I’ve dipped my toe into burnishing before, as I tend to make very smooth pieces and have casually burnished parts of a piece while smoothing. However, I’d never really looked into burnishing before or set out to fully burnish a piece and keep its burnish post-firing.

After researching, I believe there are six main variables. Those are:

  • clay body

  • clay body wetness level

  • lubricant

  • polisher(s)

  • bisque temperature / cone

  • final firing’s temperature / cone

I also learned that any piece I’d partially burnished before automatically lost its shine during the quartz inversion and vitrification stages in a high fire, and that it’s also a waste to do with pottery that you’ll end up glazing as the glaze will take the place of the burnished surface. Good to know! Burnishing is really for low-fire, “naked” processes. (You might think to yourself that I have done some of those processes before, including obvara and saggar-fired raku. And I have! So I now want to try using burnished ceramics for those, too!)

My clay body is Chad’s Bod, which I believe is a new local mix that’s proven to handle the thermal shock of raku well but means I don’t think anyone’s published any information on how it handles burnishing. I was advised by the workshop coordinators to apply the terra sigillata to leatherhard pottery and then burnish with pantyhose, a soft cloth, or a plastic bag. I gave that a try, but then gave up quickly on the cloth/plastic bag approach and moved back to my tried and true agate tools. The terra sig began to sort of start to mix into the clay body, but I did get a very nice shine! However, once bone dry, all of those pieces lost their luster. I spent some time digging online and found out that’s to be expected, as at a microscopic level the clay surface wrinkles enough to disrupt that reflectiveness as it fully dries out. I reapplied another layer of terra sig and reburnished a couple of these pieces, but the terra sigillata began to delaminate / flake off. Upon googling, that’s also a frequent problem with this specific sequence (burnished leatherhard pottery with a terra sig layer atop when bone dry and reburnishing). I tried another lubricant I read about online, vegetable oil, for the second burnish of a couple more of these pieces in the hopes that it’d be less likely to flake off, and it seemed to reduce the delamination a bit but there were still hot spots. So my first four pieces have some minor surface irregularities.

Next, I decided to try the advice I saw online to apply the terra sig to bone dry ceramics. I did so, and that did seem to be a better solution. The terra sig seems less likely to delaminate. On one of those, I tried putting the terra sig on and letting it fully dry, then using vegetable oil to burnish; that worked out pretty well. Then I tried putting the terra sig on and burnishing it once it was mostly soaked in, and that also worked out pretty well. Since the latter is the faster method, that’s what I plan to do moving forward.

Once I troubleshot and mostly resolved the delamination / flaking issue, I refocused on getting a perfect burnish. In my mind, Magdalene Odundo’s ouevre is my gold standard for burnishing. Her handbuilt pieces have such a flawless burnish and high shine. My best pieces thus far still have some ridges and low spots… but I’m also just starting my burnishing journey!

I’ve come to believe that to get that clean a result, the piece itself needs to be flawless pre-terra-sigillata and then I need to try to ensure a perfectly even terra sig application. Easier said than done, but now that’s the next step I’ve been working on.

Amongst all of this, I was worried as I’d read that some beautifully burnished pieces lose their burnish in the bisque fire due to the quartz inversion stage and my friend Susan also witnessed that firsthand. My studio typically bisque fires to cone 08, and that’s not too far from the cone 06 to 04 temperature of our normal raku firing. I decided to risk putting my first five burnished pieces into a cone 08 bisque kiln load to see what would happen, as if they lost it there, it’s very likely they’d lose it in the raku too. I am very, very pleased to report that they kept their luster! This also means I am quite hopeful that they will be able to keep it through the raku firing processes as well.

Whew, this is getting long! I’m writing all this out for a couple of reasons. The first is that as much as I can find it frustrating at times, I deeply enjoy creative problem-solving and wanted to share a taste of such an experience with you. The second is that after spending a lot of time researching burnishing online, there are a lot of vague or contradictory pieces of advice out there. I want to provide a resource that explicitly spells out every variable I’ve used and tried so that future burnishers can easily compare notes.

So - below are my current, best burnishing techniques and I will update this post with any new insights as they come:

  • clay body: Chad’s Bod clay body, smoothed as perfectly as possible (but not burnished) during the forming and leatherhard clay stages using wooden ribs and plastic spreader; try to have a completely flush surface with no bumps, pits, or scratches

  • clay body wetness level: wait for the clay body to become bone dry

  • lubricant: apply terra sigillata as the lubricant because it performs well and it is whiter than the clay body which will increase the contrast of the final product; apply it carefully with a fan brush to both the interior and exterior of the piece and try not to leave any visible brush marks; brush it on continuously until you’ve put two to three layers onto the main decorative areas, and at least one onto hard-to-access interiors

  • polishers: after you’re finished applying the terra sigillata (when it’s not so wet as to come off on your fingers, but the bone dry pottery sucks all the moisture out very quickly so I do it pretty much immediately upon finishing application), use a combination of the plastic spreader, agate tools, needle tool, and river stone to polish, not pressing very hard and trying to go in multiple directions to catch any imperfect lower spots

  • bisque fire at cone 08

  • raku fire at cone 06 to 04 (fingers crossed!)
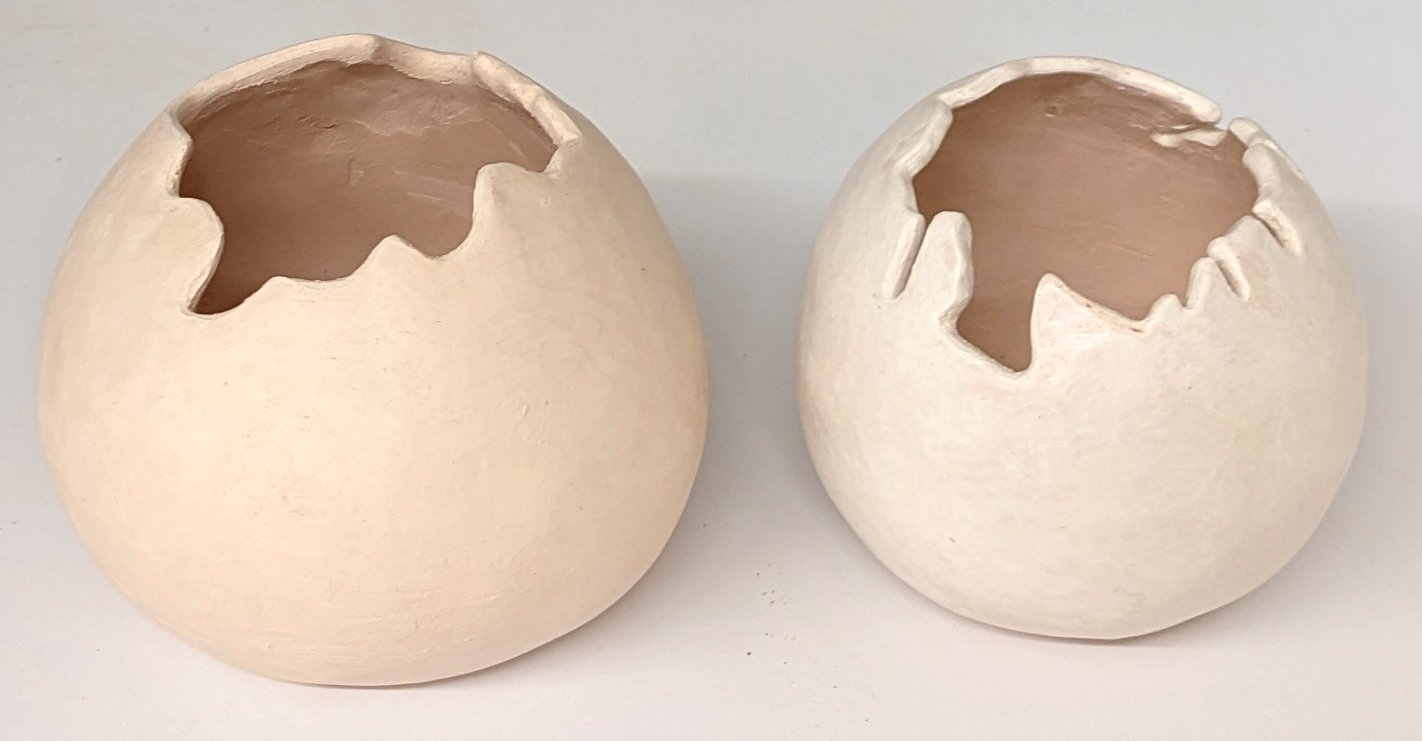
On the left, an unburnished Chad’s Bod bisqueware vessel. On the right, a terra sigillata burnished bisqueware piece (on this piece, I did not apply terra sigillata nor burnished the interior). Note the difference in sheen and color.

Predatory and Scammy Art Calls

Part of an artist’s professional practice is regularly exhibiting artwork in solo and group shows. Solo shows involve their own processes, so this post will focus on group exhibitions.

Artists join galleries, cooperatives, or clubs that offer exhibitions, build networks that invite them to various opportunities, and browse aggregated lists of open calls. There’s always been a spectrum to the types of calls out there in terms of their advantages and disadvantages to the artists, but the pandemic unfortunately fostered a boom in predatory and scammy listings.

Let’s just start with a description of the general process: most group exhibition calls have application fees that range from $15-75, which you pay just to be considered. If you are fortunate enough to be accepted and the exhibition is not local, artists are typically expected to pay for the artwork transportation costs (either driving and delivering the work in person to regional sites or outbound-and-return shipping to further afield locations). If artwork is damaged in transit (two of my pieces this year have been due to poor packing on the gallery’s end, as they arrived in showable condition, were exhibited, and then returned to me with broken frames), it’s also on the artist to pay for repairs.

Some shows do have cash awards which can help tip the financial equation back into the artist’s favor, but typically only a couple of pieces receive prizes - so a common scenario might be that 300 artists pay $40 to enter 3 pieces for consideration for Exhibition X, 35 artists’ 50 artworks might be accepted and those artists spend an average of $100 on shipping, and then the top two juror’s choice artworks receive prizes of $500 and $250. The $11,250 raised in the application process beyond the show awards pays for the show advertising and listing fees on aggregation websites, juror honorariums, gallery overhead, and reception catering. 465 artists pay $40 and get rejected, 33 artists pay $140 and participate in the show, and 2 artists respectively net profit $360 and $110 and participate in the show.

While I have won a number of cash awards at shows, my overall application and exhibition record is financially net negative. So why do it? Well, it is a cost of being in this business, much like licensing fees, union membership, or uniforms can be in some industries. In the world of academia in particular, your artistic profile is in part judged based on your exhibition record. Exhibitions can come with benefits beyond prizes, too - they may lead to artwork sales, press coverage, juror requests, and additional opportunities.

There are good, meh, and bad calls out there. Good calls tend to have free to low application fees, physical gallery shows as well as digital access, prizes, and a sizeable audience of viewers. Meh calls might cost more than you’d like to apply, don’t come with prizes or reserve the prizes for an in-group (prizes go to members of X collective), or may have too general a call such that they’re pretty intentionally aiming to raise money rather than seeking out specific subsets of artists/artwork for their real show vision, but nevertheless have physical gallery shows and a sizeable audience of viewers. Bad calls are clear cash grabs - they are often online-only shows with application fees or are “free to enter and a small fee for selected artists” but then accept every artist, and don’t actually have an audience of viewers. These predatory organizations also usually host numerous online “shows” simultaneously, because the purpose isn’t highlighting the artwork - it’s to rake in as many fees as possible.

There were always a few predatory organizations, and it can be tricky to tell the difference between meh and bad sometimes, particularly with newly-launched ones. But during the pandemic, a lot of shows were forced to move online and it masked which organizations were illegitimate, which simultaneously encouraged the growth of scammy sites and inculcated worse standards in inexperienced artists.

The aggregation website Call For Entry, or CaFÉ, used to be the industry standard aggregation website, with EntryThingy in second and Submittable in third. I say CaFÉ “used to be” the industry standard because it’s now verging on the unethical by allowing bad, pay-to-play companies to drown out the real calls (presumably they allow it because those companies pay CaFÉ per listing). Though I never kept track, I’d guess that I used to see 1 bad call for every 10 meh or good calls; now on CaFÉ it’s more like 10 bad calls for every 1 meh or good call.

I think there’s now space for a newcomer to create a better listing engine that filters or eliminates those bad calls entirely, or maybe real art organizations just need to use Submittable more. EntryThingy is OK, but it’s always had suboptimal UI - but now that CaFÉ has sold out, maybe EntryThingy is better for the time being?

New Platters!

I’ve been increasing my production of platters and plates as rolling out slabs is faster than making pinch pots. I can make two or three in the time it makes me to create one pinch pot vessel.

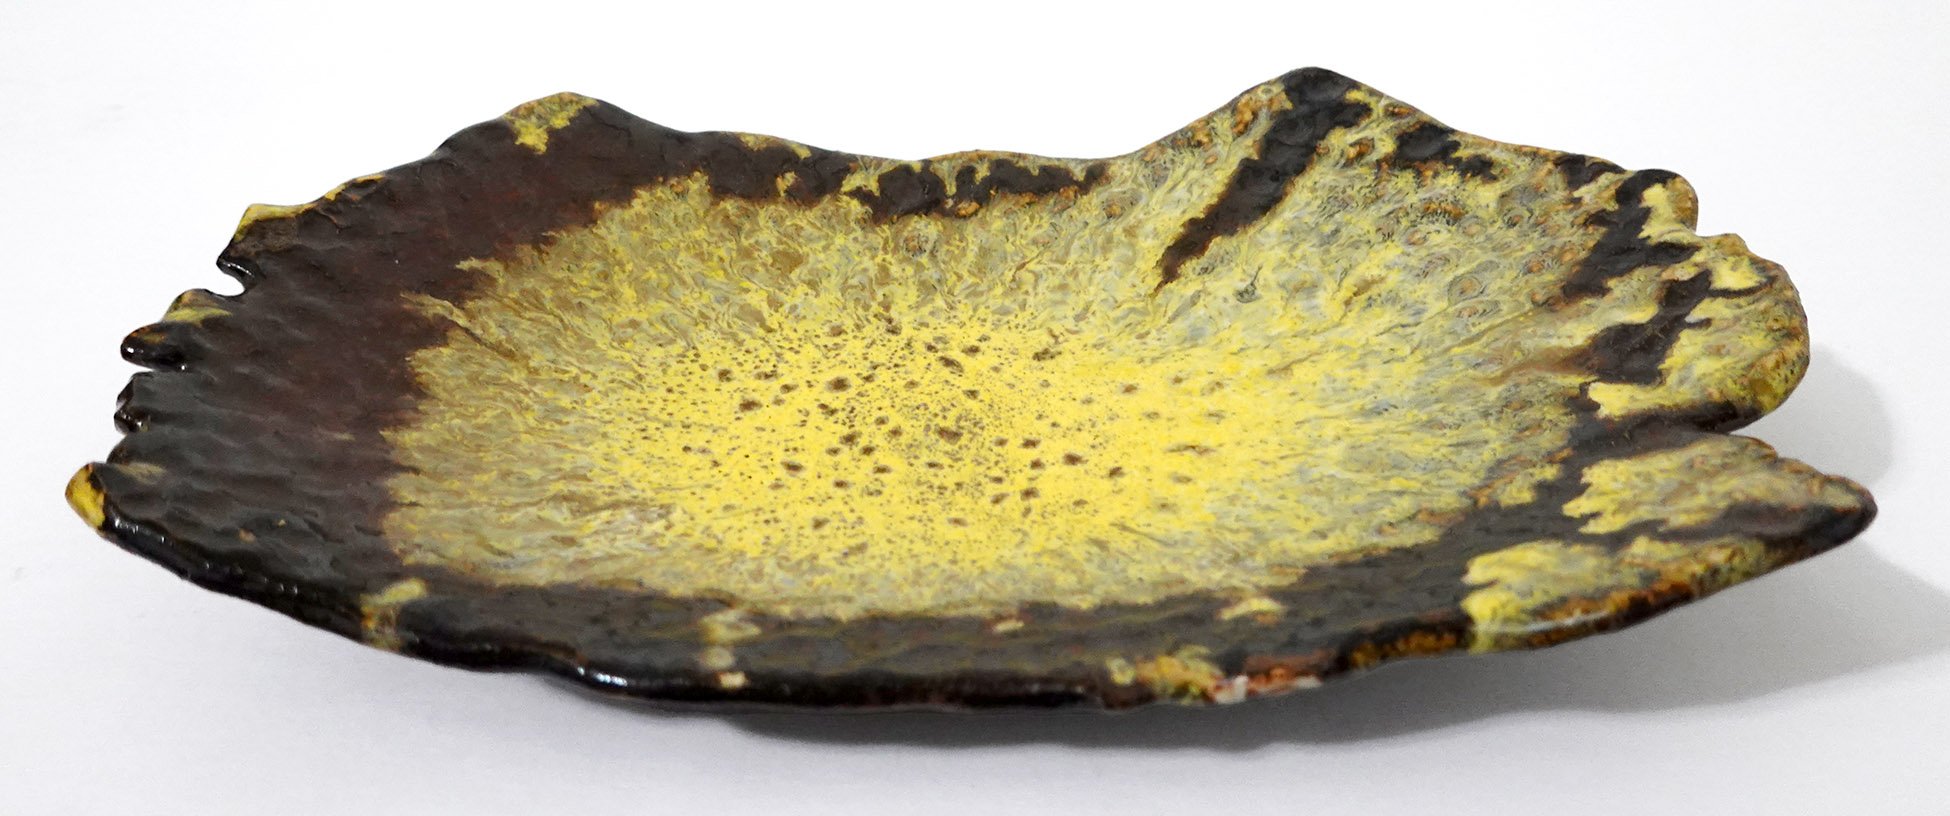
Here are new platters / serving dishes / display plates! As a reminder, you can click into any of the images below to see them larger, and can then page through them all in that view as well.