New Artwork

Arts Itoya Painting 6: Fleeting

I had mostly finished this painting in time to exhibit it at Arts Itoya, but I knew I wanted to work back into it before declaring it actually complete. Once I returned home from Japan, got past the jet lag, and had a bit of time remaining before the school year started, I tweaked a number of areas until I was truly happy with the resulting piece.

This is Fleeting, acrylic on decorative Japanese stationery, 10.7x10.7”, 2024. It depicts a male crimson marsh glider (Trithemis aurora), also called a crimson dropwing, in flight above water.

Shelby Prindaville's acrylic painting of a male crimson marsh glider.

Shelby Prindaville's acrylic painting of a male crimson marsh glider.

Advance to Gogh Show is Up - With My Scra-baa Junior Piece!

KTIV chose to use footage of me looking at artwork to illustrate their article about the Advance to Gogh event.

Just a reminder that I’m participating in a large group exhibition of over 40 Siouxland artists: Advance to Gogh. The opening artwalk receptions for this event (held at the Sioux City Art Center, Gallery 103, Three Rivers Gallery, Art SUX, and Vangarde Arts) was on Thursday, July 11th. I’m unclear on exactly when each of the participating venues will take down the show, but I believe it’s up at least through mid-August.

To the right, you can see an image of me looking at some of the exhibited artworks which was published by KTIV, and if you check the article and video out there’s more footage of me at the reception as well as their own event description and interviews.

In case you can’t make it, though, I’d like to share with you some images of what I did! In the random lottery, I drew the gameboard Scrabble Junior.

The original Scrabble Junior game board.

I decided to keep the illustration and prompt for “sheep” and then painted over all the rest of the illustrations and prompts, color matching with paint to “restore” the rest of the board to a clean, new appearance. Next, I painted a lamb at the base, added the words “& Shelby” to the wordmark, and carefully redrew the grid lines with marker.

Shelby Prindaville's repainted and drawn-over game board.

Finally, I added words for sheep in many languages to illustrate how one plays Scra-baa Junior!

This is Scra-baa Junior (“A ewe-nique edition!”), mixed media including acrylic, marker, varnish, and glue on Scrabble Junior game board with game tiles, 2024.

Shelby Prindaville's finished "Scra-baa Junior" artwork.

Arts Itoya Painting 5: Messenger

My fifth painting is of a sika deer (Cervus nippon), painted atop a decorative camellia metal leaf washi paper. I applied the paint atop the gilding in a thin, translucent layer so that the metal leaf is still visible. In areas where the paint colors are similar to that of the metal, it’s difficult to see much difference head-on - but in darker coloration spots, you can discern it. However, if you stand at an angle or due to the light environment when reflections are apparent, the gilded decoration is visible throughout the whole painting. Below are two photos of the same painting, visually demonstrating what I describe above!

I encountered wild sika deer in Yakushima (the subspecies C. nippon yakushimae) and in Nara as well as saw them in zoos in Fukuoka and Yamanashi City. They are famous in Nara, as more than 1,200 roam freely around Nara Park and the grounds of several temples and shrines due to the deer serving as sacred messengers to the gods in the Shinto religion.

This is Messenger, acrylic on gilded washi mulberry paper, 26x18”, 2024.

Shelby Prindaville's acrylic painting of a sika deer on gilded washi paper.

Shelby Prindaville's acrylic painting of a sika deer on gilded washi paper, with the metal leaf visible throughout.

Arts Itoya Painting 4: Shingling

My fourth painting is of a shingling plant I documented in Yakushima, in this case Ficus pumila. Ficus pumila is a native species in Japan (and other East Asian countries). I’m always attracted to epiphytic shingling plants (plants that climb up trees or rocks vertically such that their leaves look like lush shingles atop their substrate). This was a very time-consuming painting in both the drawing and painting stages, but I think it was well worth the effort!

Yakushima Island was not as fertile for rice production as other areas of Japan, so during the Edo period, Yakushima paid for its shoganate taxes by logging sugi trees and producing wooden shingles rather than in the more customary rice. This deforestation had negative environmental impacts. Reforestation and conservation efforts including declaring the island a UNESCO World Heritage site have since tried to rebalance the important island forest ecosystem. This painting’s title references both the plant’s growth habit and common grouping name as well as Yakushima’s ecological history.

This is Shingling, acrylic on round wooden panel, 12x12x.875”, 2024.

Shelby Prindaville's "Shingling" acrylic painting of Ficus pumila on a round wooden panel.

Arts Itoya Painting 3: Lifelong Renter

My third painting is of a little hermit crab I met in Yakushima who was determined to be on his way. While I was working on the painting, a local Japanese man who stopped in at the studio shared with me that the name for hermit crabs in Japanese is ヤドカリ(yadokari), which means “borrowing lodging” or tenant. This painting is meticulously detailed and somewhat pointillistic.

The title is tentative, but for now: this is Lifelong Renter, acrylic on wood panel, 14x14 x.875”, 2024.

Shelby Prindaville's acrylic painting of a hermit crab, Lifelong Renter.

Arts Itoya Painting 2: Pursuit (Ichi-go ichi-e)

My second painting is atop an aluminum leaf paper. This paper was hard to work with, as the paint doesn’t grip to it as well as I’d like (and my new Holbein metal primer did not help), and the tape I used to anchor the paper to a board ended up removing the foil off the corners. However, I persevered! The subject is a male Japanese rhinoceros beetle, called kabutomushi here in Japan: Allomyrina dichotoma. The adults only live for 2-3 months after pupating.

I plan to carefully varnish the beetle before framing this piece, but I’ll do that at home - so for here, it’s done! All of the metal leaf papers are hard to photograph, but I’m pretty happy with the below image.

This is Pursuit (Ichi-go ichi-e), acrylic on aluminum leaf paper, 11.5x17”, 2024. The Japanese romaji in the title, ichi-go ichi-e or 一期一会 in kanji, is a four-character Japanese proverb that means “one time, one meeting” and is about embracing the present.

Shelby Prindaville’s acrylic painting of a kabutomushi or Japanese rhinoceros beetle (Allomyrina dichotoma) on aluminum leaf paper.

Arts Itoya Painting 1: Duality

The first painting I completed at Arts Itoya is of two backlit hibiscus flowers from Yakushima. The substrate is a gold and silver leaf flecked Torinoko paper; I added the translucent green coloration. I was inspired by the dark fantasy iconography of flowers in anime, particularly in Hell’s Paradise as well in Demon Slayer and Suzume.

This is Duality, acrylic on gold and silver leaf flecked Torinoko paper, 14.37x11.6”, 2024.

Shelby Prindaville's acrylic painting, “Duality,” of two hibiscus flowers on decorative washi paper.

Slip Resist Naked Raku Ceramics

This was my first time doing slip resist naked raku ceramics, and it was definitely a learning process for everyone at the workshop, with more experimentation still needed moving forward! I did a fair amount of research the night before the workshop, and I was really glad I did. When we arrived the plan was just to do a one-step slip resist, but I had discovered David Roberts’ ceramics and wanted to try his technique. That required a two-step process (step one: dip into the slip resist, then let dry and step two: dip in clear glaze), which I convinced Wanda to let me do as well.

We began with the one-step system, but it was producing very low-contrast results for everyone. Some of them are still very cool, but I really wanted some full value finishes! As we fired the first of the two-step pieces, we saw that it was garnering better results. We’d already gotten through the majority of the slip resist pottery by then, but we pivoted the last third entirely to the two-step process regardless of whether folks wanted to carve through it. You may recall my last two pieces didn’t get fully fired, so I left them with Dakota Potters to refire another day. I recently got them back and in my opinion they’re the best of the bunch!

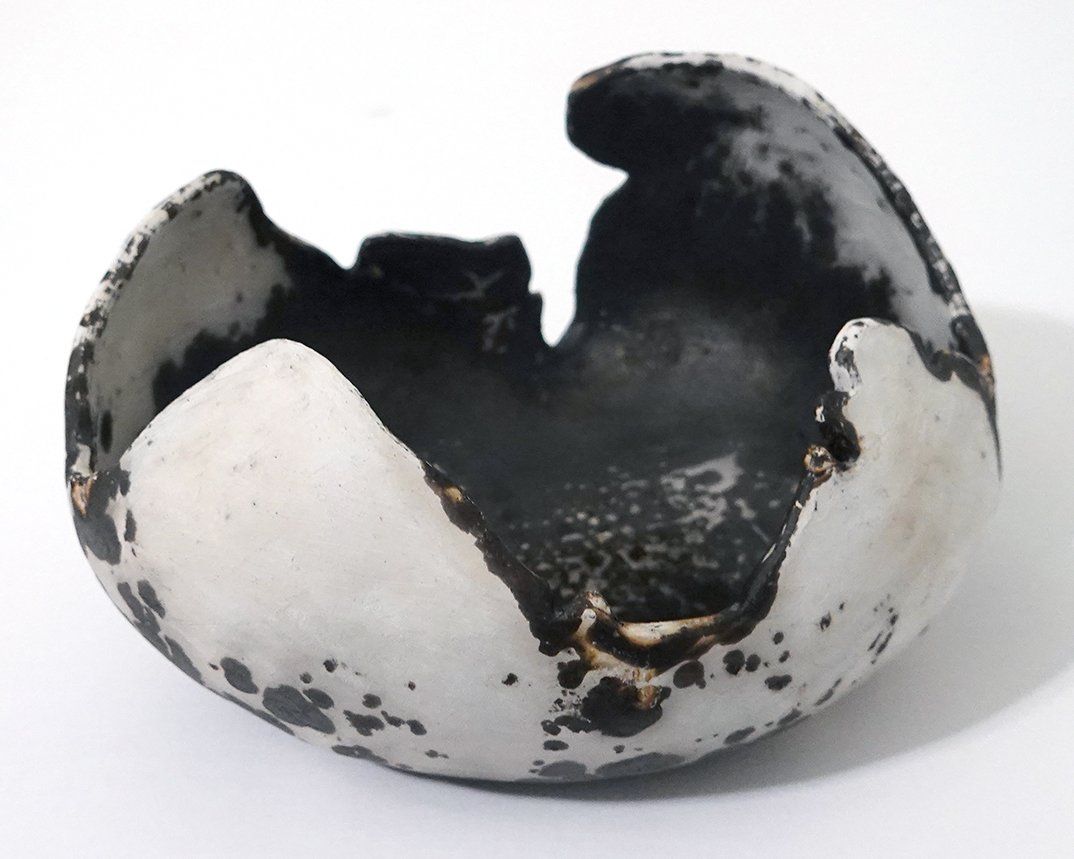
I put ten ceramics through the slip resist process; three were one-step and seven were two-step pieces. Unfortunately, we did find the two-step pottery were more likely to suffer casualties in the kiln. One of my two-step ceramics shattered so fully that it was just trashed there. Another blew a chunk of its side out, but is otherwise actually pretty cool so I plan to use a rotary tool to sand down the jagged edge and keep it.

Below I’ll show my eight undamaged pieces! First, two views of my first David Roberts inspired dish wherein I carved through the two-step surface to leave black lines:

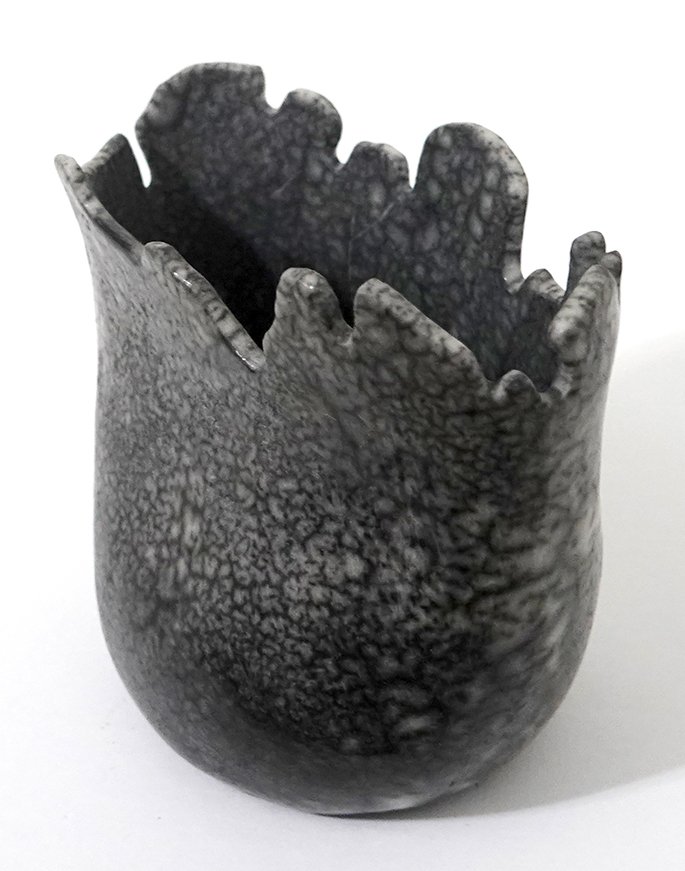
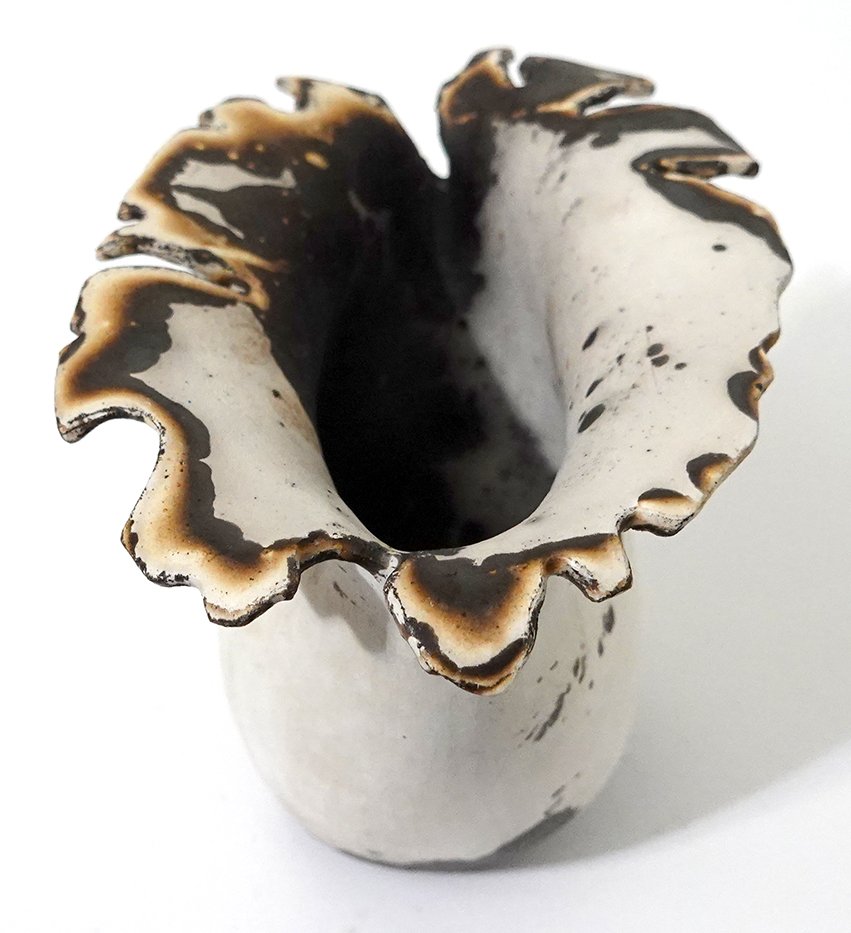
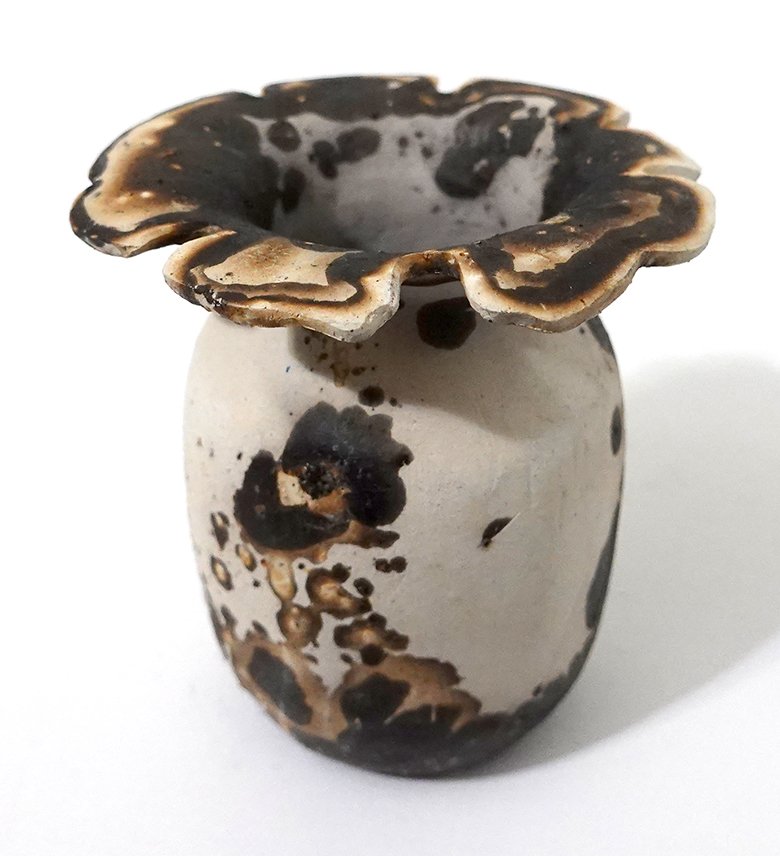
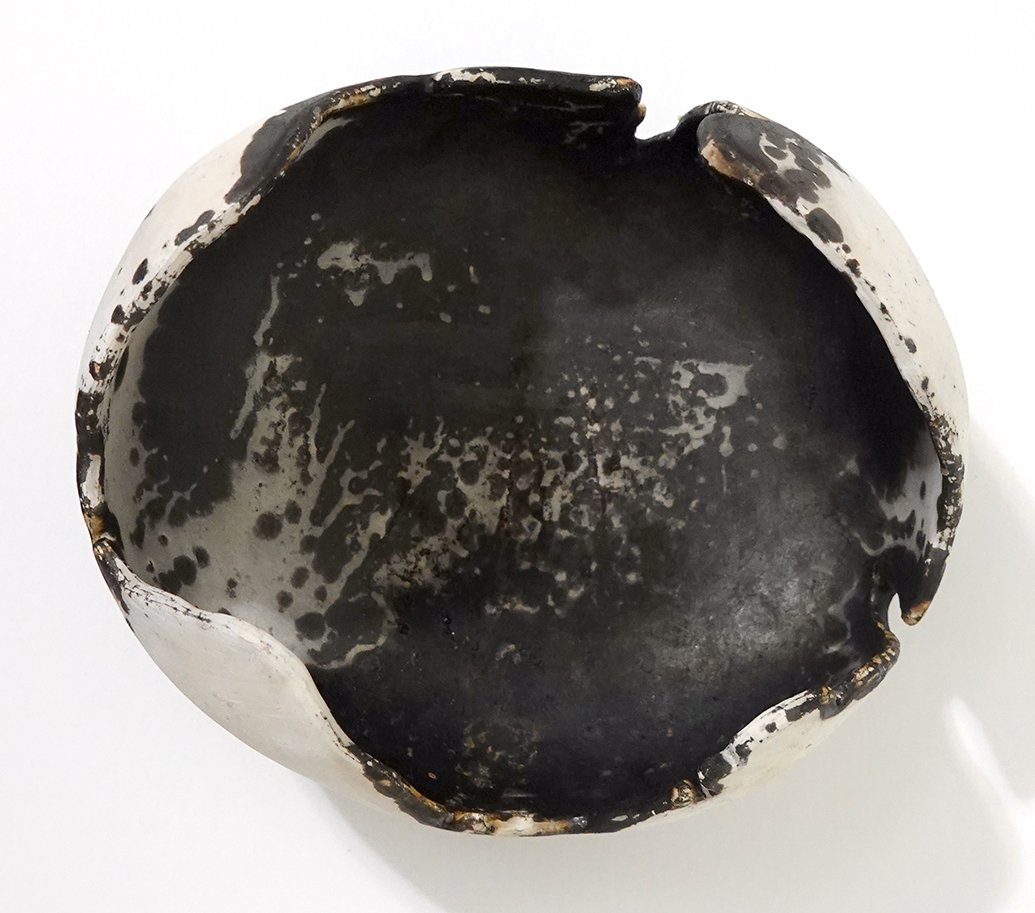
Next, one view each of a one-step vase and bowl:

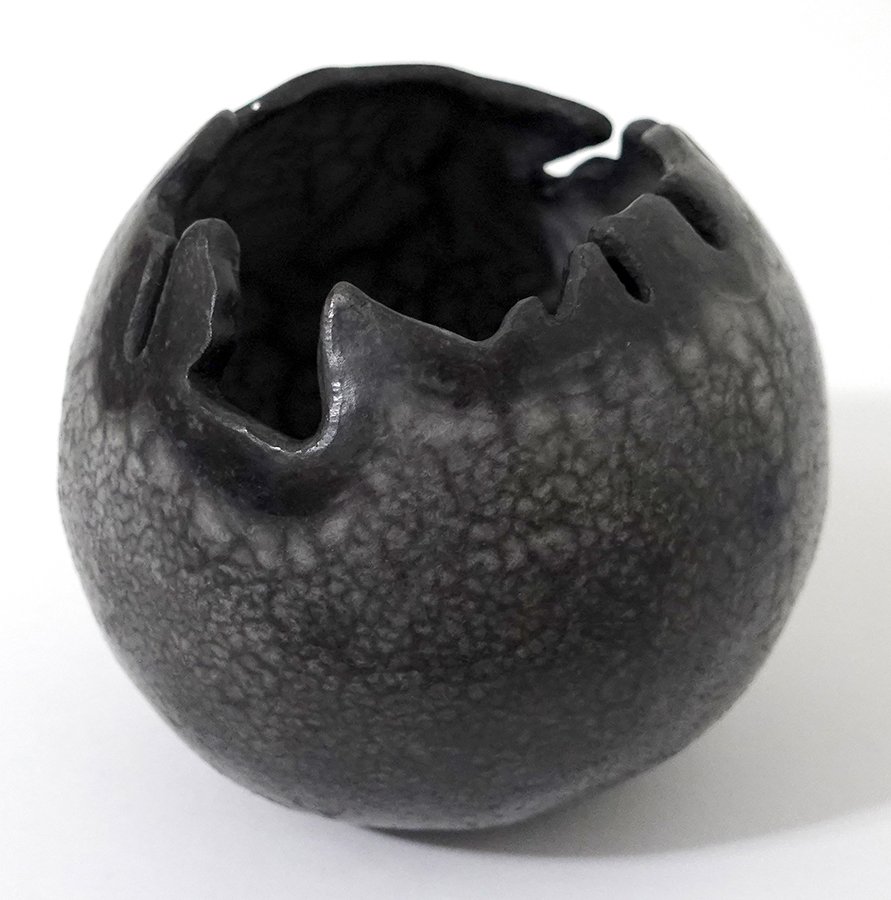
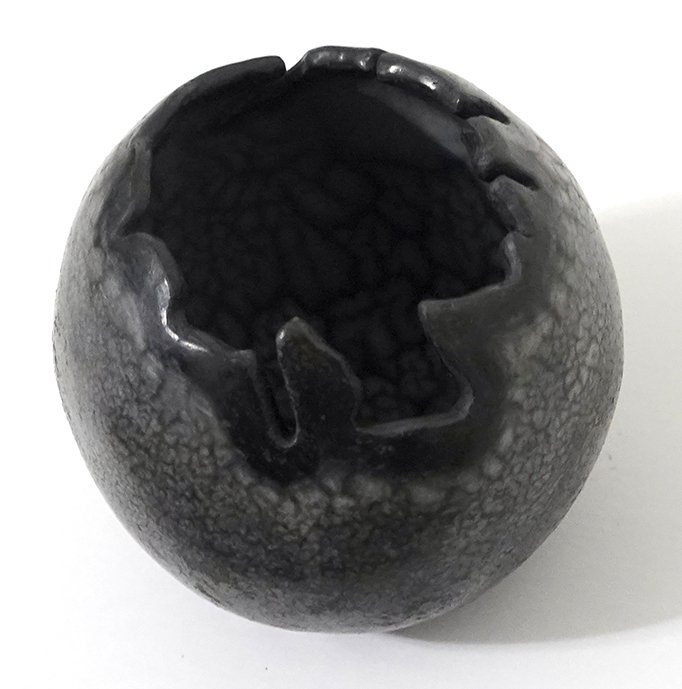
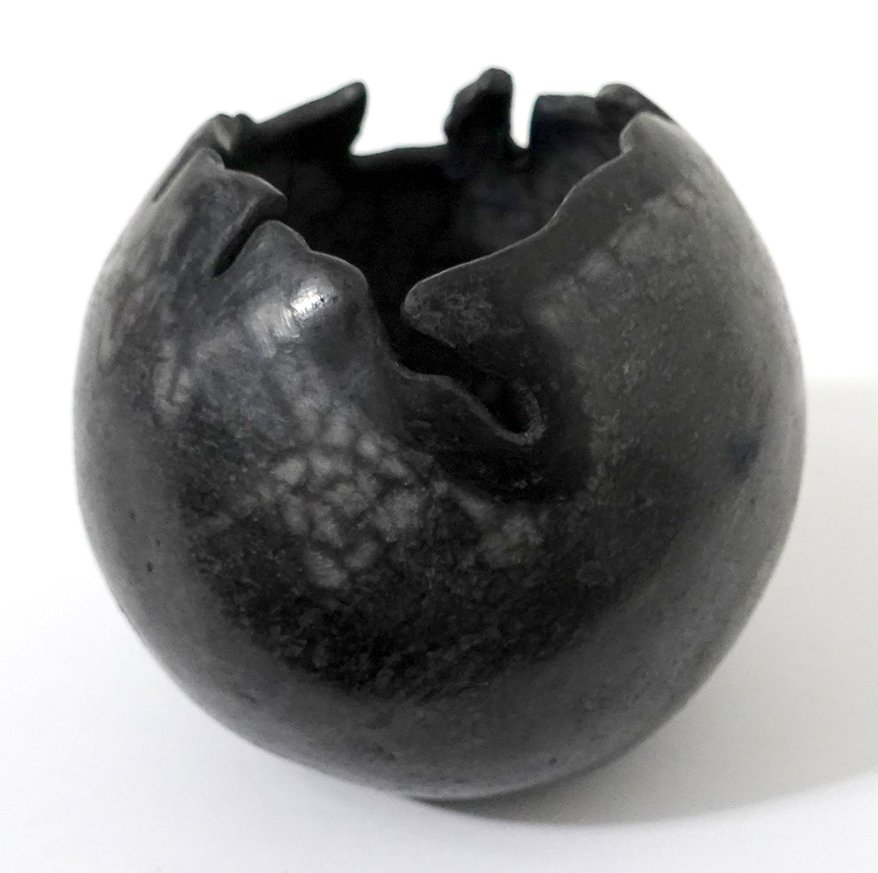
The below orb was also a one-step piece, but I added wax resist to the rim before dipping into the slip resist. Despite its low contrast, I think the pure black rim, the high burnish, and the shape contribute to making this one of my favorite pieces from this workshop. Here are three different angles of it:

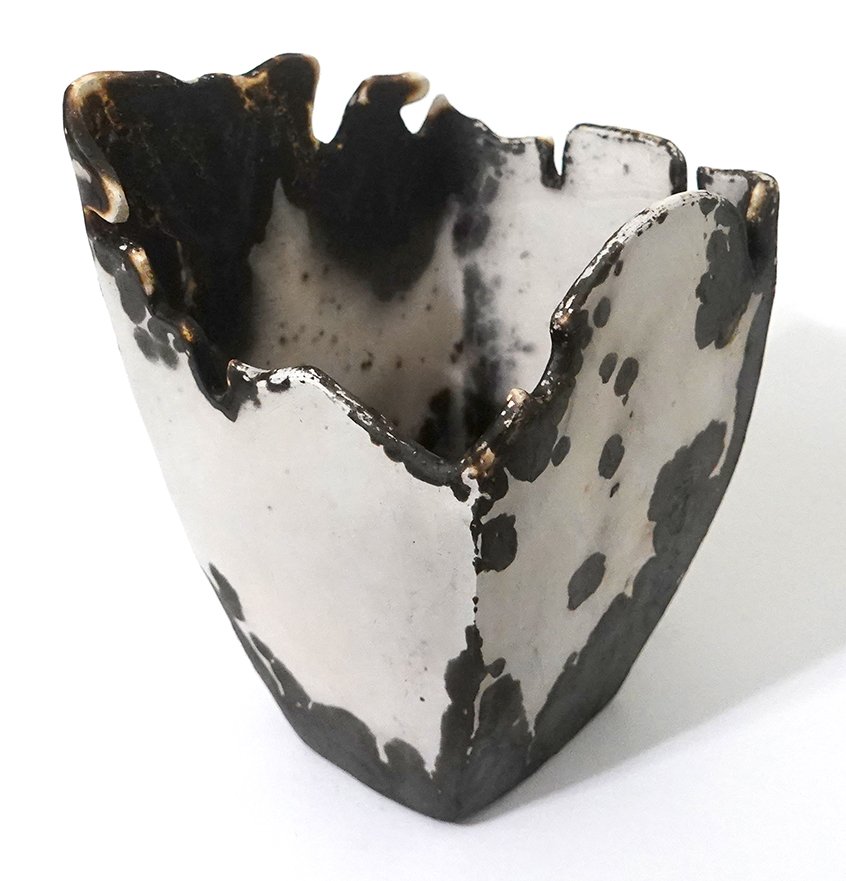
Next, we have one image of the largest piece I fired at this workshop, and two views of another attempt at carving through the two-step surface on a small tray.

Here is the first of the two pieces I left behind to get refired - a large two-step orb!

And finally, the second of those two, an oblong vase:

Overall, I’m quite happy with these results so far, though I’d like to figure out how to regularly preserve larger white areas for even higher contrast. My burnishing was more successful on some pieces than others, but I do think it was worth the effort and I plan to continue to burnish for naked raku ware.

Obvara Orbs & Bowl

I only fired four pieces with the obvara process this go-round, as I had run through a lot last time and I mostly wanted to learn the slip resist methods at this workshop. However, I wanted some obvara burnished pottery to compare to my previous unburnished works, and I’ve also decided my spherical handbuilt pots are a somewhat signature decorative form and so I wanted to have some obvara orbs. I did a smallish bowl as well.

The burnish was a mixed success with obvara - it delaminated in a few spots on two of the orbs during the dunking, which to my eye is kind of unsightly as the revealed clay layer beneath is bright white, so I color-matched and painted those in with acrylic. However, one orb and the bowl had no delamination accidents, and the resultant sheen on all four pieces is beautiful. Overall, I am happy with these and would be willing to burnish for obvara again.

Below are one photo of each of my three new obvara orbs and three photos of my new obvara bowl from my April 2024 Dakota Potters Supply workshop!


New Platters!

I’ve been increasing my production of platters and plates as rolling out slabs is faster than making pinch pots. I can make two or three in the time it makes me to create one pinch pot vessel.

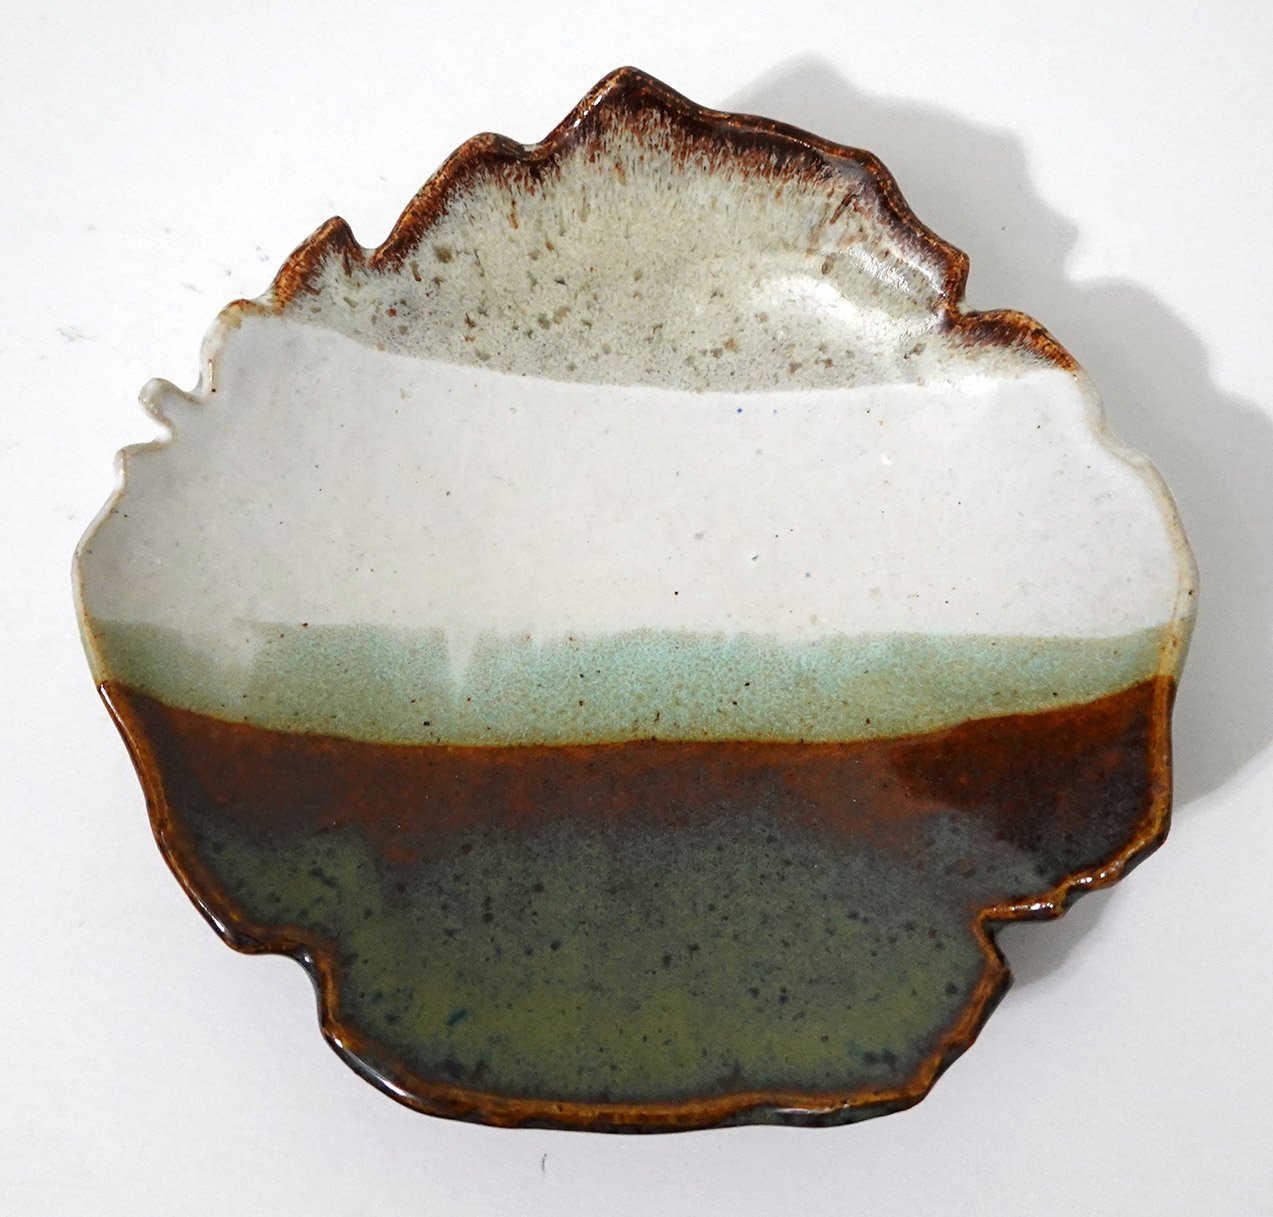
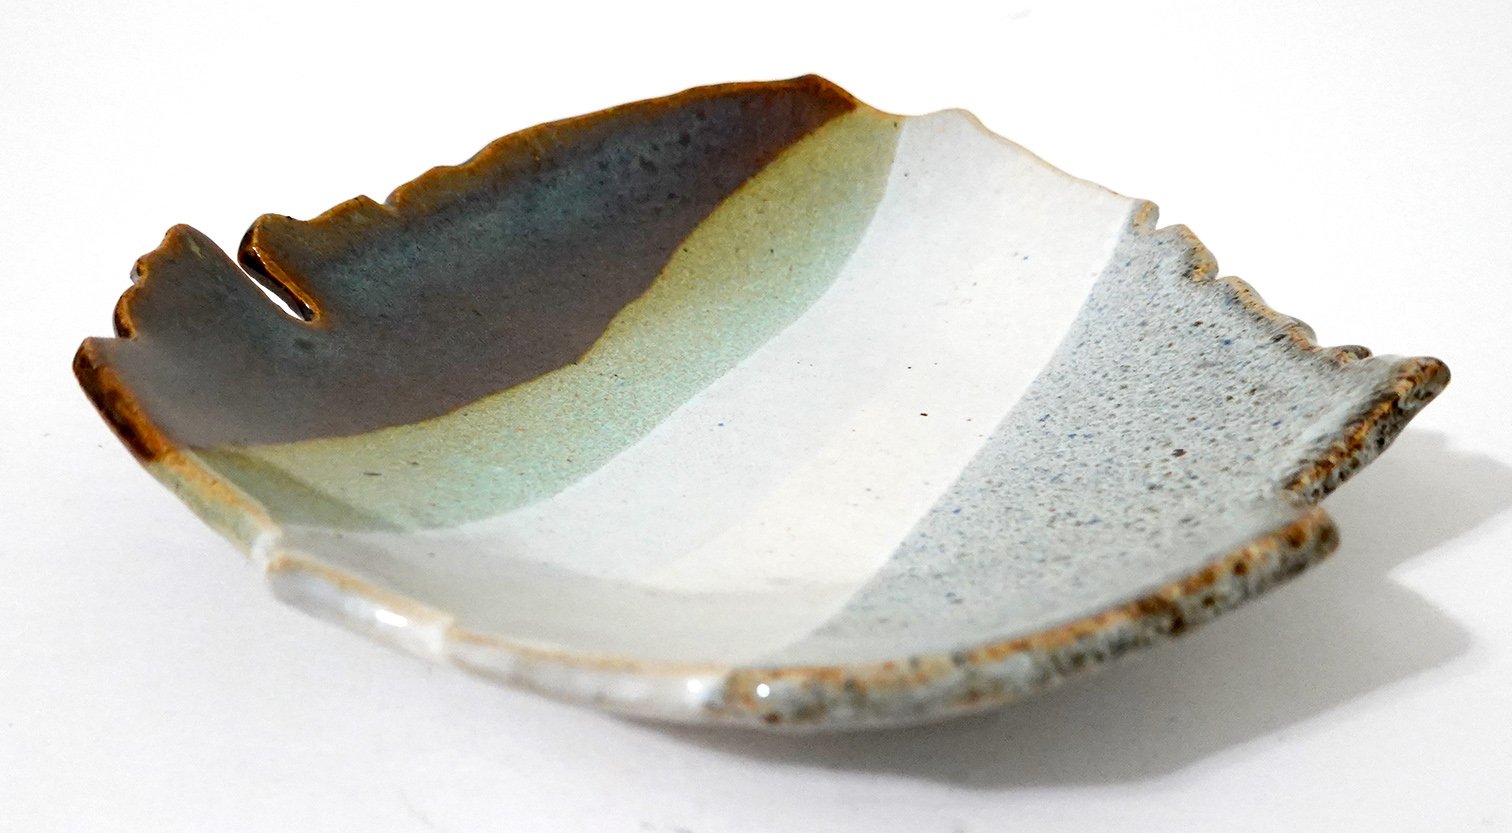
Here are new platters / serving dishes / display plates! As a reminder, you can click into any of the images below to see them larger, and can then page through them all in that view as well.

New Planters!

I’ve been making quite a few planters for my own personal usage; it’d be cool to someday have my full plant collection in ceramic planters (rather than plastic)! I have hundreds of plants, so it’s a lofty goal. In addition, there’s always some amount of ceramic planter attrition due to storm/squirrel breakages so I regularly need to make replacements as well.

Here are my newest batch of planters! They all have between 2 to 4 drainage holes in their bases and the diameters range from 2-5”.

New Stoneware!

I’ve been steadily, slowly making food-safe, high-fire stoneware ceramics as well. Here are some pieces I produced this past year which I hadn’t gotten around to publishing until now!

First we have small plates - I’ve been using them as dessert or appetizer dishes!

Next, I’ve been continuing my landscape vase series! These are “rainy” versions.

New Artwork: Incursion

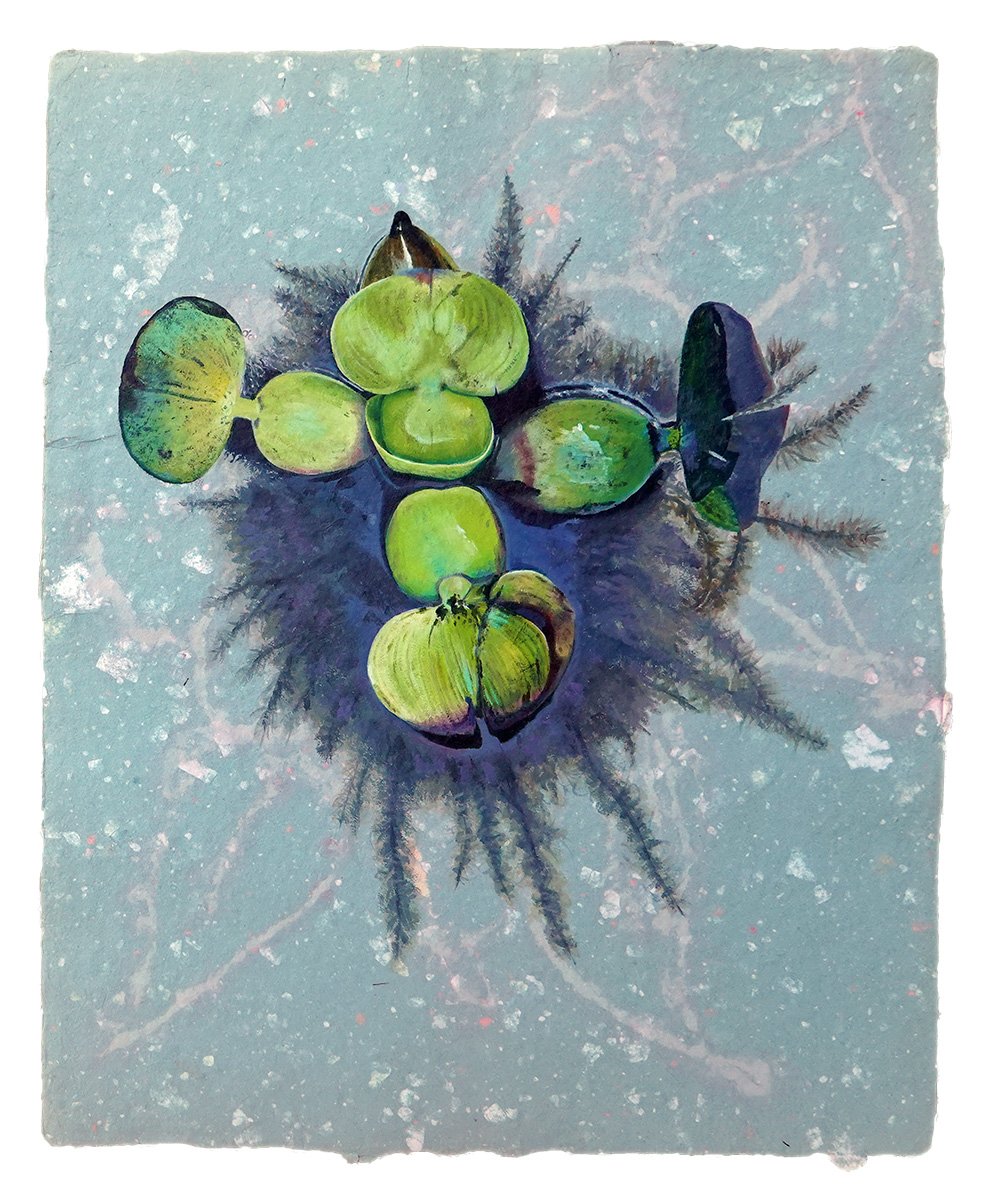
As was the case with my last new artwork, I began this painting while in residency at BROTA and the Buenos Aires Botanical Garden but didn’t finish it until now! It’s another painting of the water hyacinth - an attractive plant that due to human spread is now an invasive menace.

My first painting of this plant, Adrift, is intentionally more flat and graphic. It focuses on shape, color, and contour. In this painting, I wanted to add more realism through volume, depth, detail, and light via water reflection. The substrate is another beautiful handmade paper by Ato Menegazzo Papeles in Buenos Aires, Argentina.

This is Incursion, acrylic on artisanal handmade paper, 19.5x15.5”, 2023.

Shelby Prindaville's second painting of a water hyacinth.

New Artwork: Adrift

Every artist has a few pieces they’ve started but not yet finished… and then time passes. Some of them kick around for months or years before they get picked back up again - if they ever do!

This painting is a piece I began during my 2019 Argentinian artist residency at BROTA and the Buenos Aires Botanical Garden. I got it quite close to being finished at the time, but there were a few touches left to add… and upon my return to the US, I shifted focus to moving houses and beginning the next school year, then COVID hit… and I just never returned to it until recently!

This is a painting of a water hyacinth, which is simultaneously a beautiful tropical aquatic plant native to South America and also a globally invasive scourge. In places where it can withstand the winters, it quickly multiplies until it covers all the available surface area of bodies of water. In doing so, it not only crowds out other, native surface plants and can make surface transportation difficult (for both people and wildlife), but it also shades out the underwater ecosystem. Along with many other territories, it is an invasive plant in the US Southeast, and at one point the US Congress considered but ultimately didn’t pass a bill to introduce hippopotamus to Louisiana to help manage the water hyacinth population.

This is Adrift, acrylic on artisanal handmade paper, 19.25x14.5”, 2023.

"Adrift" water hyacinth painting by artist Shelby Prindaville.

My Obvara Raku Vases

And here’s the last batch of obvara raku ceramics from my recent workshop at Dakota Potters Supply - these are the burnished vases!

This first oblong vase was the only one that I saw and heard crack during the sequential baths. It is still usable decoratively, but it does have that asterisk about it so I likely won’t exhibit or sell it. (Note, I purposely selected photos of it that don’t draw attention to the relatively large crack.)

While at the workshop, I thought that was my only casualty - but when I was applying kitchen wax to the surfaces at home, I noticed this next squat vase has a small hairline crack as well. It’s not nearly as apparent as the above piece’s flaw as it requires close examination to spot. While a crack is never ideal, in a low-fired piece like these which was always going to be decorative (not water-tight nor food-safe), it’s far less problematic than it would be in a piece intended for that kind of usage. I’ll probably keep this one myself!

The rest of the below vases are completely unblemished. This little bud vase is the smallest of the bunch.

Next we have a larger, somewhat soft rectangular vase!

And finally, a somewhat flared cylindrical vase.

I hope you’re as into the obvara pieces as I am. I really like the aesthetics this process produces - but more than that, from a conceptual standpoint I love the organic chaos that creates those aesthetics.

My Obvara Raku Plates and Platters

In my previous post, I shared the obvara raku bowls I made on my October 21, 2023 workshop at Dakota Potters Supply. I also made some plates and platters! As always, you can click on any of the photos below to see them larger.

This first burnished plate depicts a bear, and you can’t convince me otherwise.

This next burnished plate is smaller than the first - it’d be good to hold jewelry or other small items.

A small obvara raku plate by artist Shelby Prindaville.

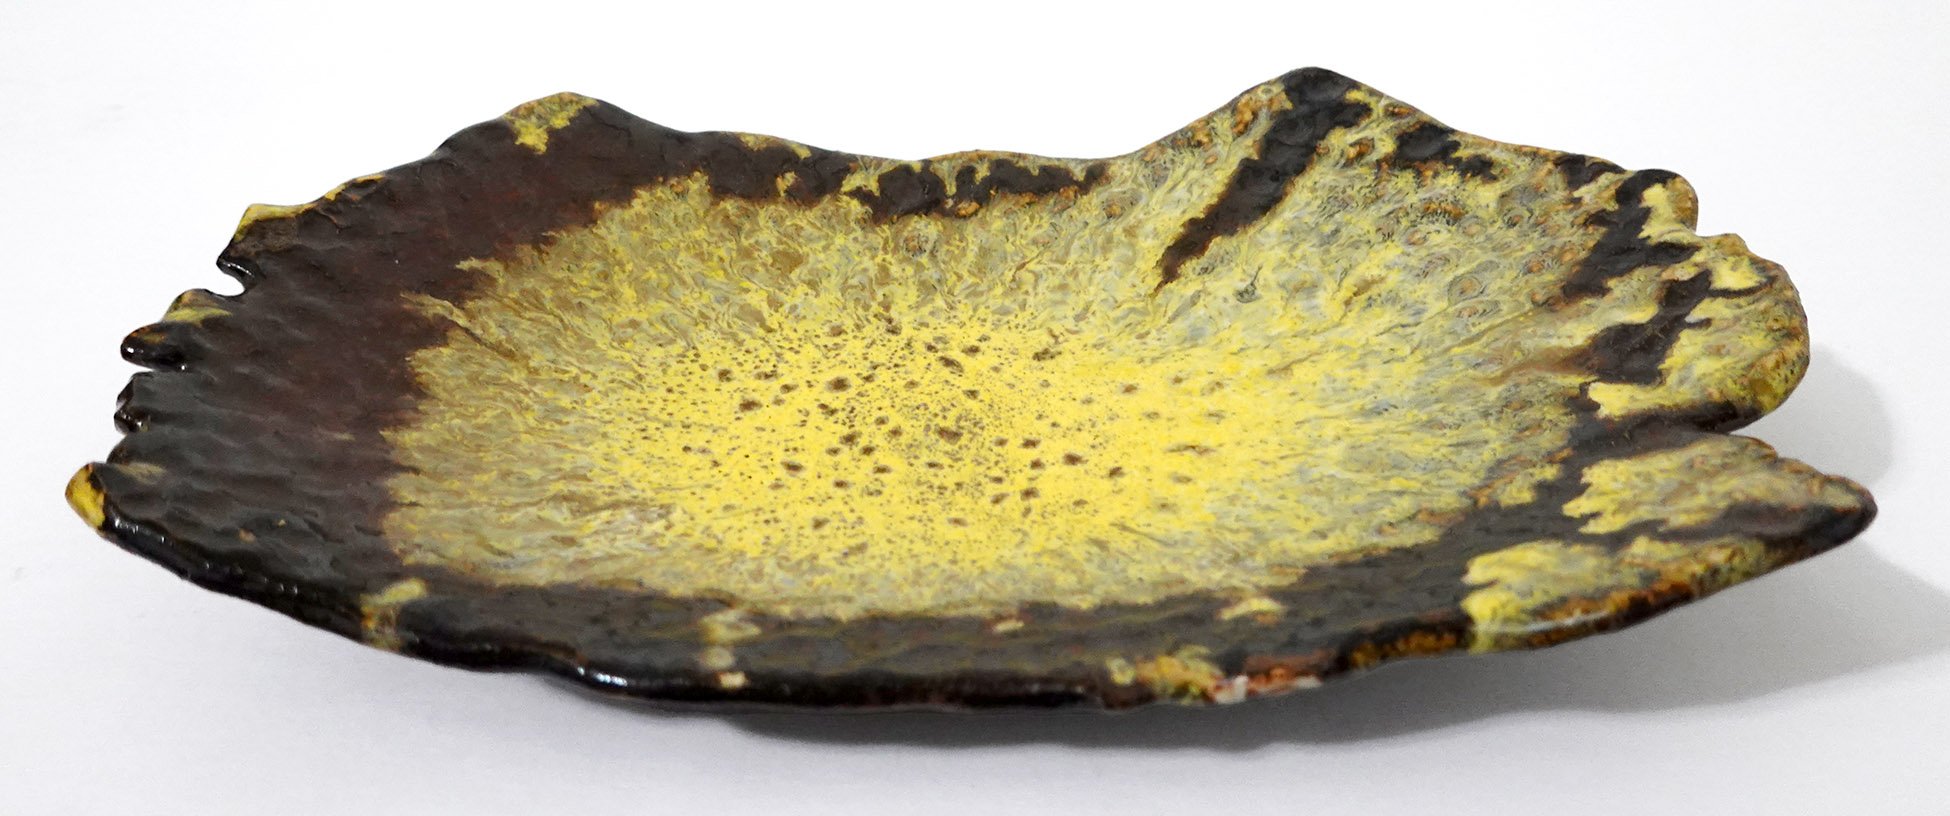
This final piece is the largest - it’s a platter or tray, and it has some light texture on its inside surface.

My Obvara Raku Bowls

Here is the first batch of my obvara raku pieces from my Dakota Potters Supply workshop on October 21, 2023 - I made enough that I plan to publish three posts covering the artwork! This post shares my obvara bowls and bowl-like vessels.

Again, as background, obvara is a low-fire scalding-and-sealing process wherein you create a fermented sourdough/beer bath, plunge approximately 980°C naked ceramics fresh out of the kiln into it, wait for them to start to bloom with different tan-to-brown markings, and then arrest the surface carbonization process by rinsing the pieces off in a water bath.

The obvara process itself scalds and somewhat seals the surface of the pottery, but I went ahead and added a thin layer of kitchen wax to these pieces as well for extra protection and sheen unification. All of the below images in each gallery row are of the same artwork from different angles.

This first open bowl has a smooth surface!

This second piece is another open bowl, but this time the surface has some light texture as well as a more variable form.

This third piece is smooth and a bit more closed, though there’s a quite variable lip. All of the pieces I’ll be showing you are handbuilt, pinch-pot designs.

Next we have another smooth and even more closed vessel! This one was a favorite of my fellow workshop attendees; they loved how the obvara surface turned out.

While you can click into each of the above images to see them larger, I want to close this post out with just one large image of the last smooth bowl I made!

An obvara raku handbuilt bowl by artist Shelby Prindaville.

Phoenix Athens Residency Artwork 10

A photo of a section of a cave wall near where I harvested my pigment - this spot had just a couple of red ochre ribbons, but deeper into the cave there was a bigger deposit.

I started making the substrate for this piece in Athens, but I continued it after my return home and painted it here! The background is special - the substrate is made of white concrete mixed with natural cave pigment I harvested at in an abandoned silver mine tunnel on my friend’s monastery grounds and then processed into powder. I believe it is red ochre, which is one of the original archaic pigments used in ancient cave paintings. I also applied the red ochre to the surface for extra pigmentation.

The subject matter is a wild adult male red fox (Vulpes vulpes) which I got to observe on Mount Lycabettus due to the kindness of my field biologist friend Dimitris! He discovered that this fox shifts dens around 8am when the sun begins to infiltrate his early morning den; the one he moves into a narrow cave tunnel with two openings in a cliff face. Watching him navigate an almost sheer rock wall to get to that second den was witnessing a truly skilled athlete in action.

I like that the substrate and the subject both have caves in common, and though I glazed the whole of the fox irises with gold, a portion of them beneath the glaze are just the raw red ochre. I managed to finish this piece in time to install it in my Materiality show in Eppley Art Gallery, so it’s on display there through October 7th if you’d like to see it in person!

This is Ancient Origins, acrylic, artist-harvested red ochre natural cave pigment, and concrete on recycled wood round, 17.5x17.5x.75”, 2023.

Shelby Prindaville's acrylic painting of a red fox atop artist-harvested natural red ochre cave pigment and concrete on a recycled wood round.

Phoenix Athens Residency Artwork 9

Having that one hoopoe sunbathe in what felt pointedly for me was a genuinely amazing experience, and even though I think the pose is somewhat challenging for viewers, I knew I needed to paint it.

Each time I’d walked past or into olive wood stores, I considered if I wanted to purchase an olive wood slab to use as a substrate. There were a lot of slabs that had been made into cutting boards, complete with runoff depressions and handles, but several stores offered flush slabs (I imagine with the intended usage being cheese and serving boards). One day, I was in another olive wood shop and I decided to sift through all of their flush slabs, and I found one with a really compelling wood grain design that in my mind referenced the hot summer Mount Lycabettus landscape, and I could envision putting the sunbathing hoopoe atop it. It was a smaller slab than I ideally wanted, but then again, whatever I acquired would have to fit in my luggage… and size was important but so was the wood grain design - and this one was pretty perfect. I dithered about it for a little bit, and then decided to take the plunge and get it. Post-purchase, I went into another olive wood store to see if I’d immediately regret my choice by finding a better slab, but they did not have one that positively compared with mine so I took that as a win and stopped second-guessing it.

The hoopoe’s distinctive, high-contrast plumage is particular enough that on this and the previous hoopoe painting I needed to do a full shaded drawing first (rather than merely a contour drawing, which is what I typically can get away with). As I tell my students, time management is crucial to being a productive, well-compensated artist - the faster you can finish a piece while keeping high standards, the sooner you can begin the next. The only other painting in recent memory that I’ve done a full shaded drawing for is Velocity, my painted turtle painting.

The underlying drawing, which I think gives you some insight into the difficulties I faced working atop this high-contrast substrate.

Drawing my sunbathing hoopoe on top of the olive wood was really difficult. Not in terms of making marks - that was fine! - but in terms of accurately putting a competing design on top of the loud wood grain already present. Even the placement and size itself was difficult to determine! Then once I began, sometimes the drawing perfectly aligned with the wood grain, which itself was startling and caused me to second-guess my work, but other times I had to dismiss what the wood grain was doing and superimpose a different line.

The painting was also tedious, in that the smaller-than-desired size of the slab meant the artwork too was a bit smaller than I wanted and I had to use my three smallest brushes to paint the whole piece. I also needed to layer the paint and build it up, as the high-contrast wood grain design bled through my first few layers of paint (particularly the white areas). I’d guess the white areas have at least six applications of white paint to achieve my desired opacity.

After I added the sun, it looked too anemic; a simple gold circle in the olive wood sky blended in too much. I slept on it, and the next day I decided to add a darker gradient halo to the sun. This detail was instrumental; I am really pleased with how much it enhanced the artwork.

I managed to finish this piece just before my show reception, so I snuck it into the show by placing it on a small stand on the gallery display counter. A number of viewers remarked at how natural and easy the piece looks in that it all flows and sits exactly where it should. Given how difficult it was to execute, that was rewarding to hear.

The field biologist who had taken me on a couple Mount Lycabettus hikes and knew I was painting hoopoes arrived and brought with him some sparrowhawk and hoopoe feathers he’d found. One of the wing feathers he brought perfectly aligns with my painting, which is really cool. I toyed with the idea of incorporating it into the painting, but decided not to do so (yet, anyway!).

This is Radiance, acrylic on natural olive wood slab, 7.5x16.5x.75", 2023.

Shelby Prindaville's acrylic on olive wood slab painting of a sunbathing hoopoe.

Phoenix Athens Residency Artwork 8

The wooden spool end before the mosaic and concrete.

I’m always interested in manmade constructions altered by the environment and time, and when I kept finding broken fragments of marble paving stones, concrete pathing, ceramic tiles, and so forth, I started picking them up. After amassing quite a collection, I decided I’d make a mosaic that referenced some of the artifact displays I’d seen in Athenian museums, so I took the angle grinder with a diamond blade to them to cut them down to at or below my desired height.

I then put one unique piece per type into the second recycled wood round from the electrical spool - this one had the upraised interior wooden frame with a circular outside and a square inside. (To block the holes, I had already cut and glued down a piece of masonite to the back - see the image to the left.) Once I found the layout I wanted, I put a smoother white concrete (compared to the previous large-grogged grey type I used in Realms) in and around it. I thought I probably wanted to paint it, but by this point my show installation was the next day so we just installed it in that mid-way state.

Once installed, my show was up until my last day in Athens, so I then took it down and brought it back to the US. Then I began to test out different possible compositions in Photoshop, and I settled on painting a couple rings of color - the inner gold and the outer blue - around the central composition in a design that references the mati aka evil eye charms. The three cool-colored mosaic fragments in the center are intentionally reminiscent of an eye as well.

After I painted the two rings, they looked too new, so I weathered them a little and made the blue border bleed into the white band inside to soften that edge.

This is Pathways, found marble, concrete, and ceramic paver fragments with acrylic and concrete on recycled wood round, 17.5x17.5x.1.3, 2023.

Shelby Prindaville's Greek pathways mosaic relief.